*This Small Built-In Workspace for Kids is sponsored by DAP and includes affiliate links. *
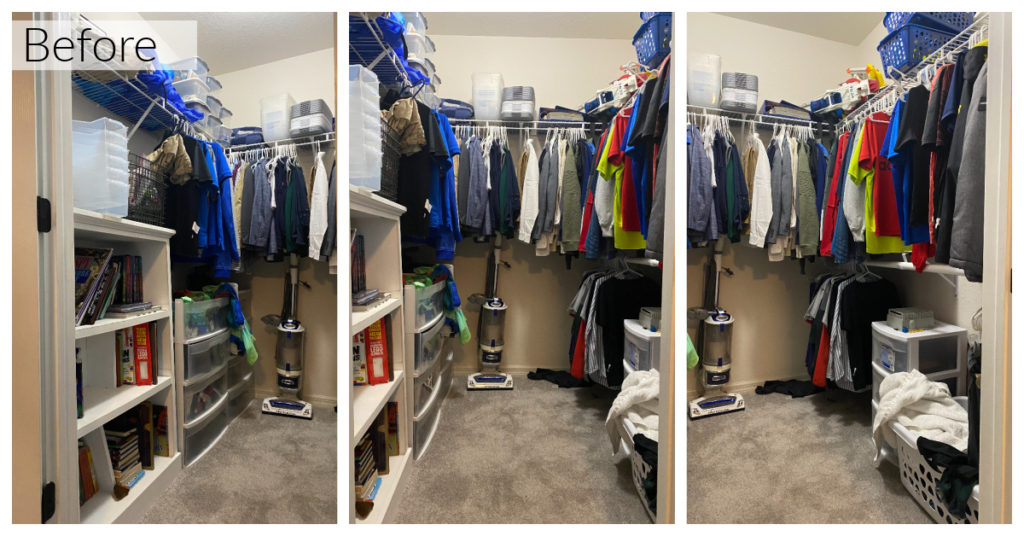
Problem: Unused Space
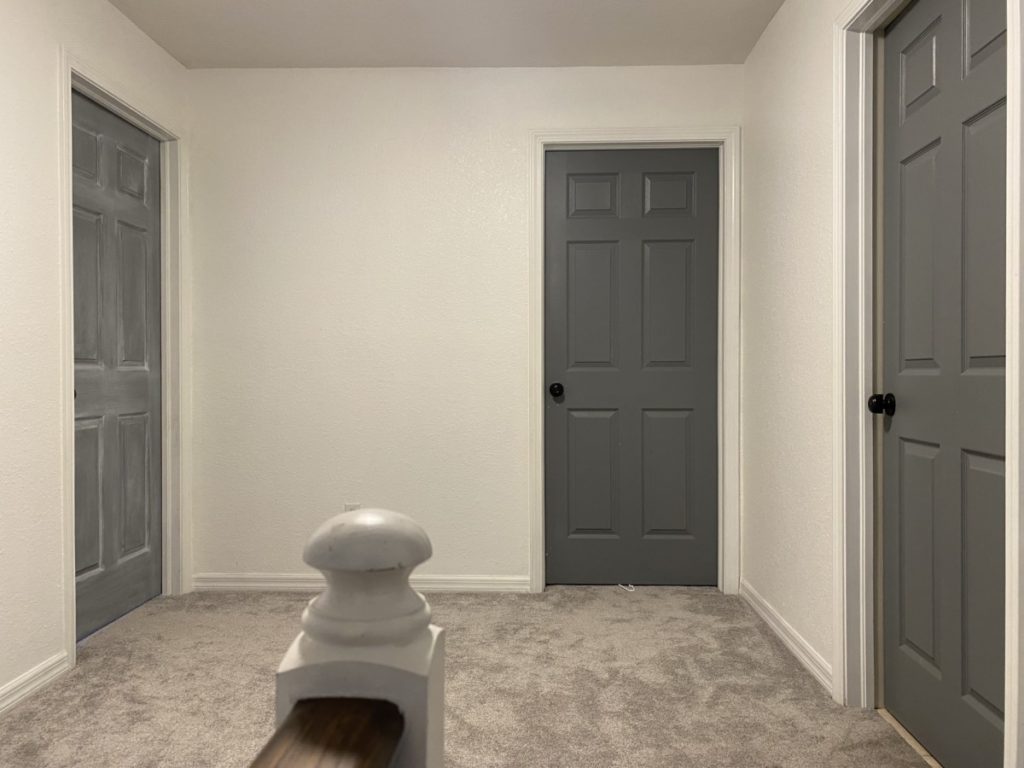
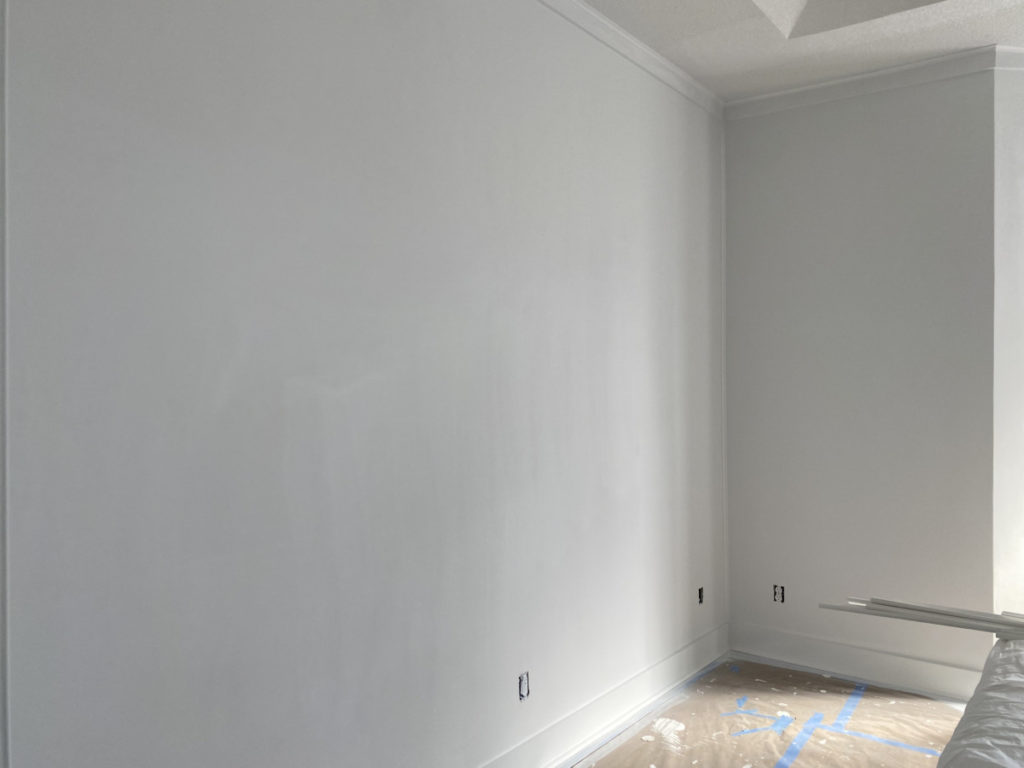
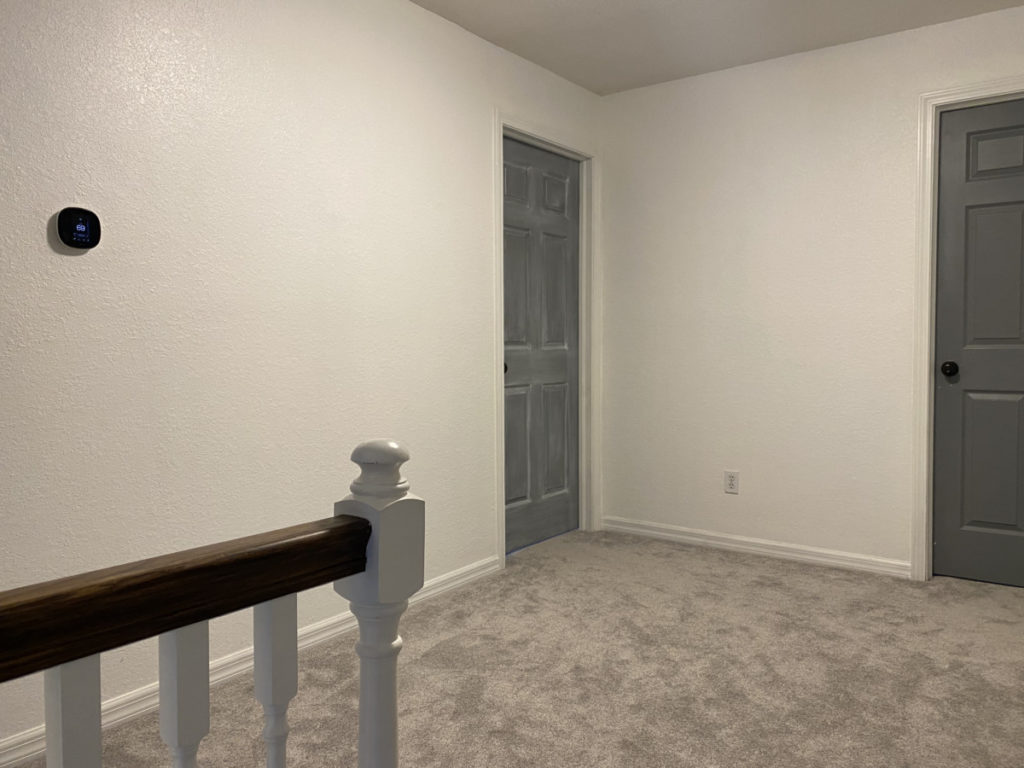
When we first moved into our current home I quickly went through each room and slapped a coat of paint on the walls/doors and called it “good”. (When I say “good” I mean my eye didn’t twitch due to it’s horrid original color, but I still had big plans… someday.) My upstairs landing area/hallway was one such area. It got a fresh coat of paint and it has sat in this state for 5 years.
Time For a Change
For 5 years I have had a perfectly usable 9’x10′ space that has not been utilized. If I am being honest with myself this 90 sq. ft. sat mostly unused because I had no idea what to do with it! Well, as my kids have gotten older their “play” looks a little different. When they were younger they needed plenty of floor space and large toy storage. Their “playing” has evolved and now requires workspace. My kids are big into Legos, board games, drawing/writing/creating etc. What my kiddos needed was a dedicated workspace to their hobbies.
| Tools Suggested | Materials Used |
| Eye Protection | Second Hand Executive Office Set (FB MarketPlace) |
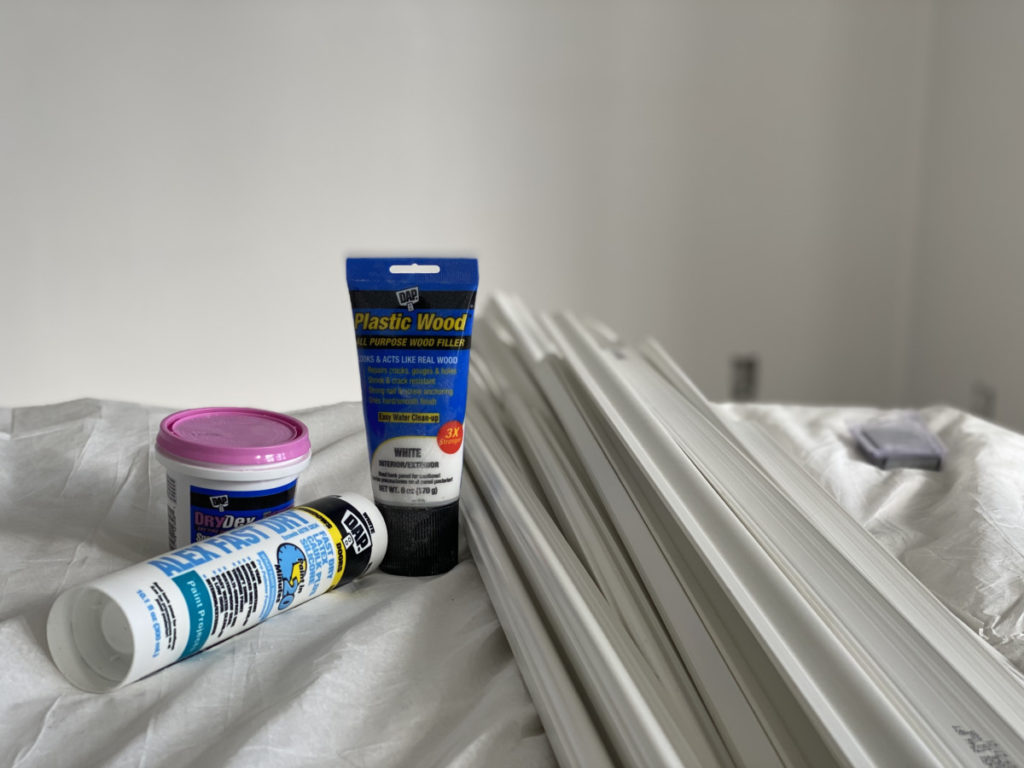
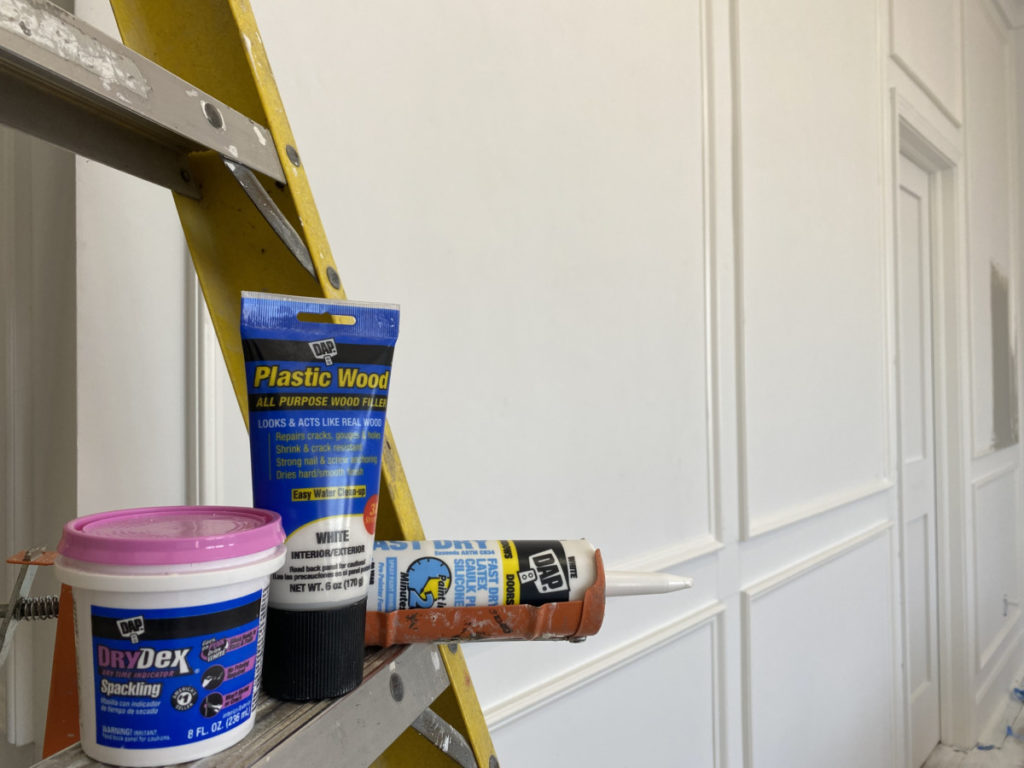
| Hearing Protection | DAP Plastic Wood All Purpose Wood Filler |
| Sander 180-220 grit | DAP Premium Wood Filler |
| Drill | WeldWood Wood Glue |
| Sponge Sanding Block | Alex Ultra Advanced Latex Sealant |
| Paint Supplies (Graco TC Pro) | RapidFuse Ultra Clear Adhesive |
| Utility Knife | Primer |
| Pry Bar | Paint |
| Hammer | |
Solution: Kids Workspace
The kids needed a workspace… Before I dive right in there were some things I need to consider. This is still an open space at the top of the stairs. I need to make sure that the design won’t be too intrusive, that the aesthetics would work nicely and timelessly , and it also need to be a functional space for BOTH my boys to hang out. (Also…$$$, lumber is not cheap right now so I want to make this space efficiently as possible.)
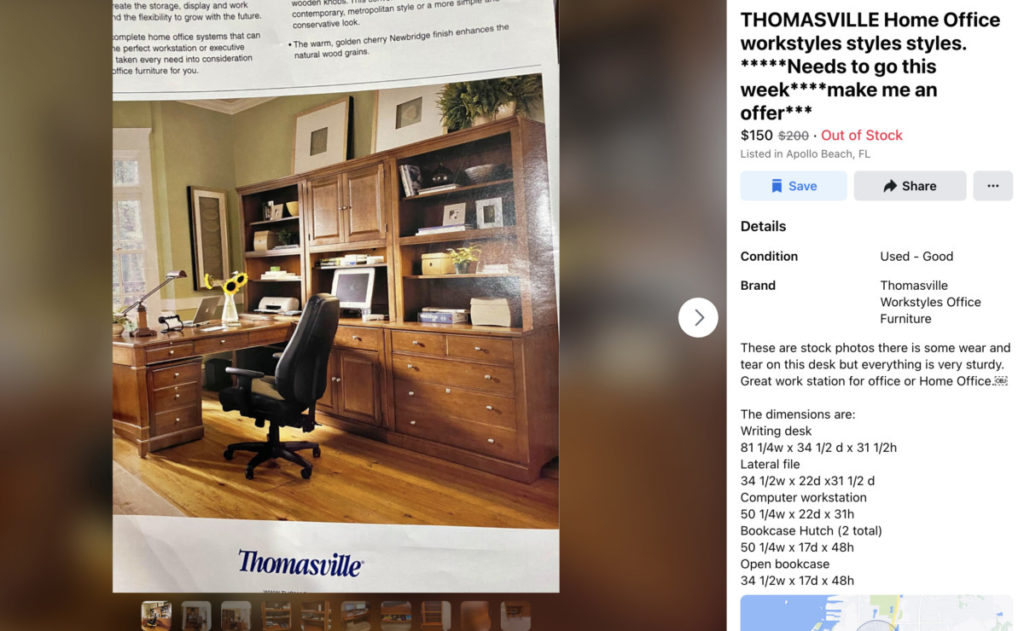
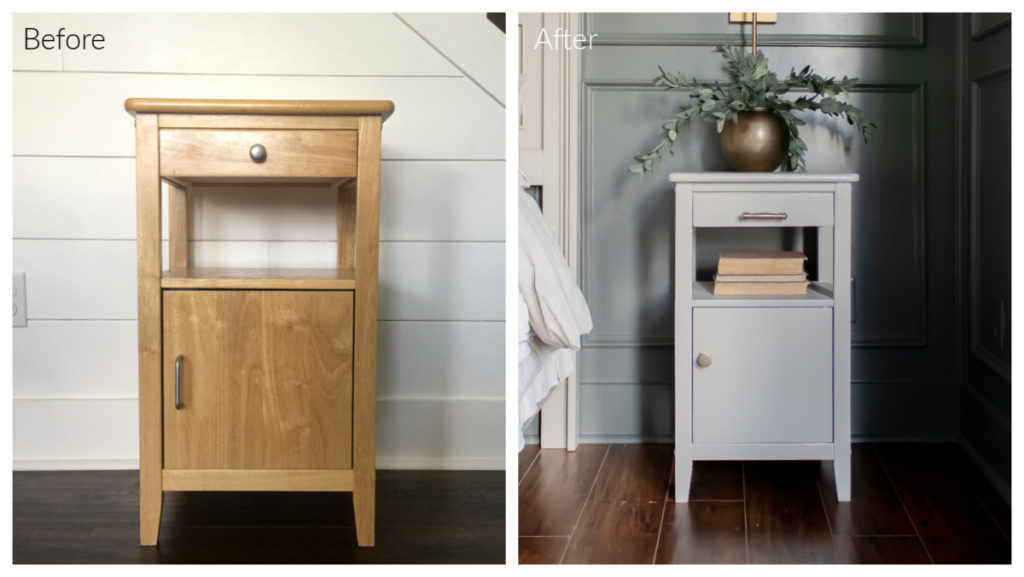
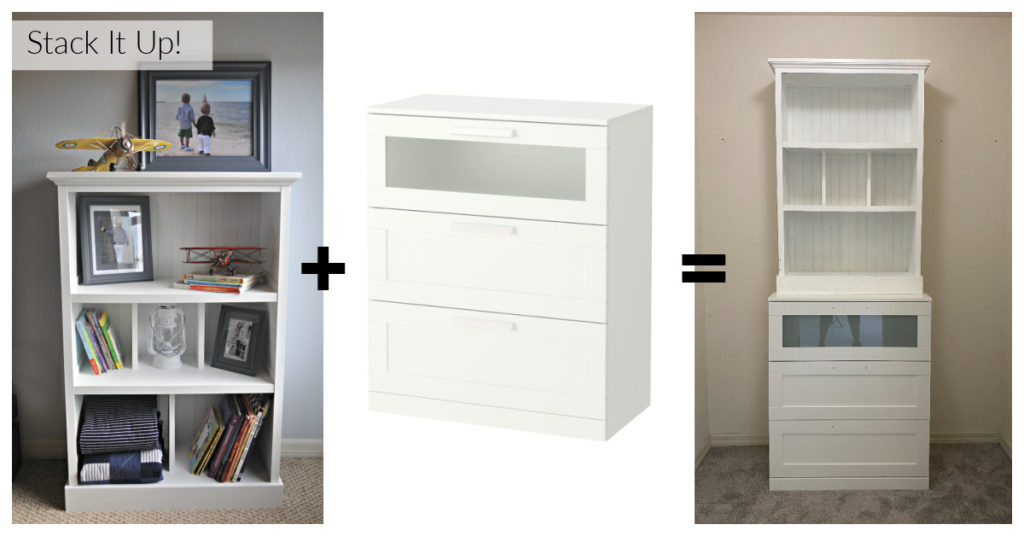
One day I was perusing Facebook Marketplace and I found a KILLER deal on some old executive office furniture. It was a huge set, WAY TOO BIG for my space! However, the great thing about “executive Office Desks” is that they are traditionally modular units. Modular; meaning I could use a few pieces that I need and maybe even save the rest for another project. (Foreshadowing much?)
So, I snatched up and ENTIRE heavy-duty, high-quality desk set for $150. There is no way I could EVER make anything of this scale on that type of budget. Honestly, just the $$ alone had me sold.
ALSO, I realize that not everyone has a large workshop and are comfortable building furniture. Giving this furniture a makeover would be a great way to show that you don’t need a developed skill set, a huge budget, or an arsenal of tools to create a beautiful space. So, let’s get started.

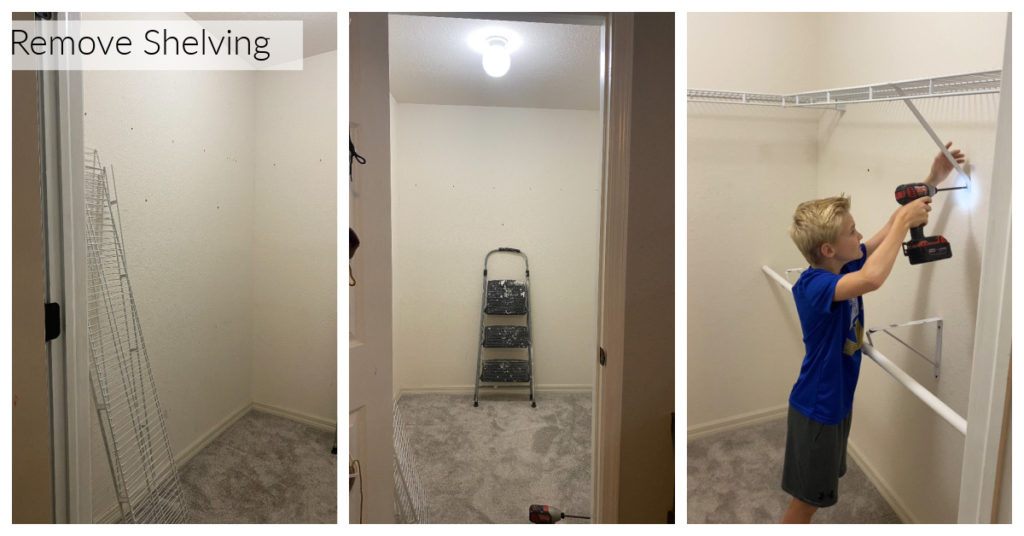
Prep For Paint
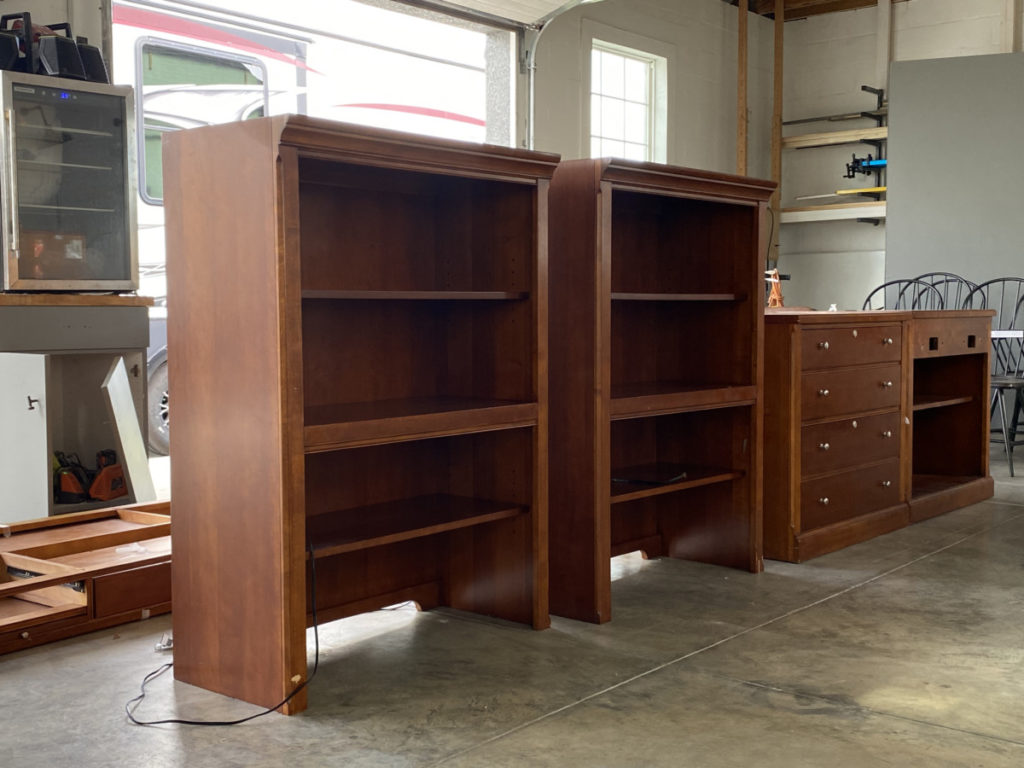
Disassemble/Edit
When refinishing a large piece of furniture, I highly recommend disassembling as much of the piece(s) as possible. For instance, in preparation to paint these executive office units I removed all the shelving, doors and drawers. Removing all these components for preparing and painting individually will streamline and perfect the process. I feel like it is always worth the extra time in preparing furniture for paint.
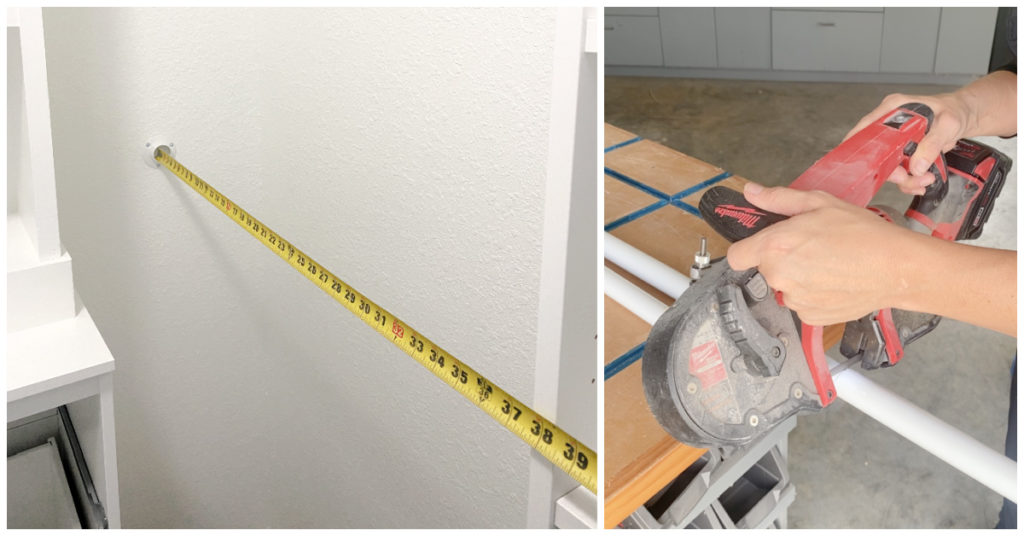
While the executive desk set was modular and allowed me to customize the set for my space, the peninsula desk was entirely too long for the space. What’s a girl to do? Nothing a circular saw couldn’t fix! Again, this was probably not a necessary step, but I really wanted to make this office desk set look like it was custom made for our small space.
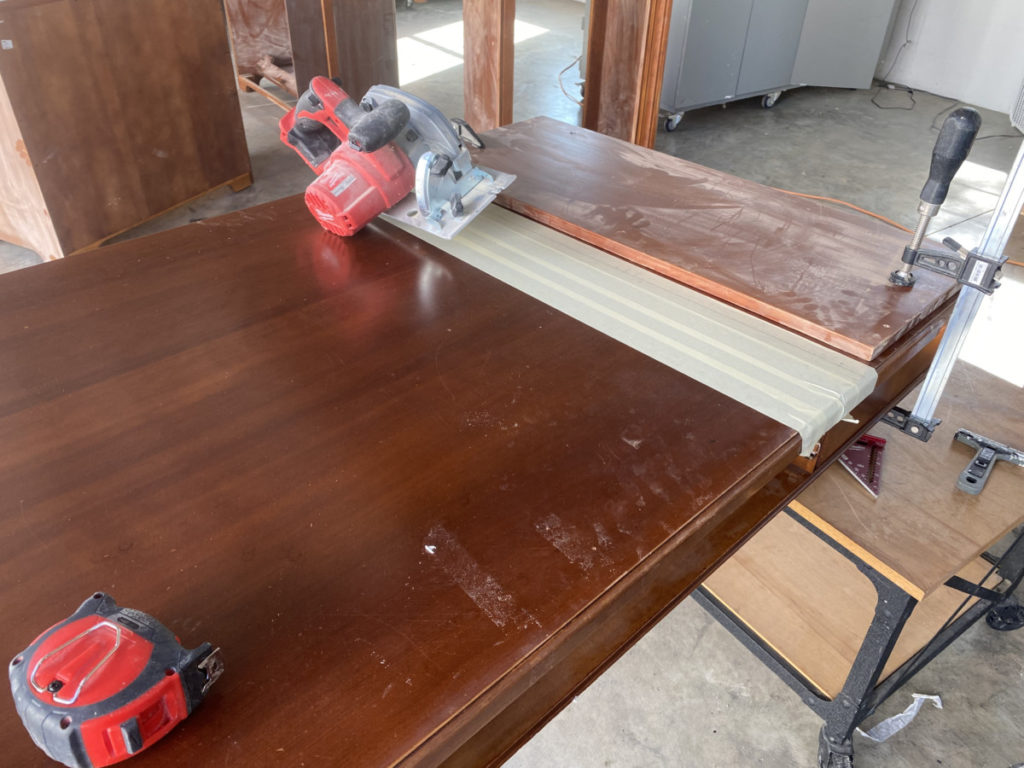
To modify the desk, I first measure the desired length and transferred that measurement to my desk. Using a straight board and clamped it to my desk. I used this straight edge as a fence for my circular saw. If you would like more details, you can see the process on my Instagram Stories.
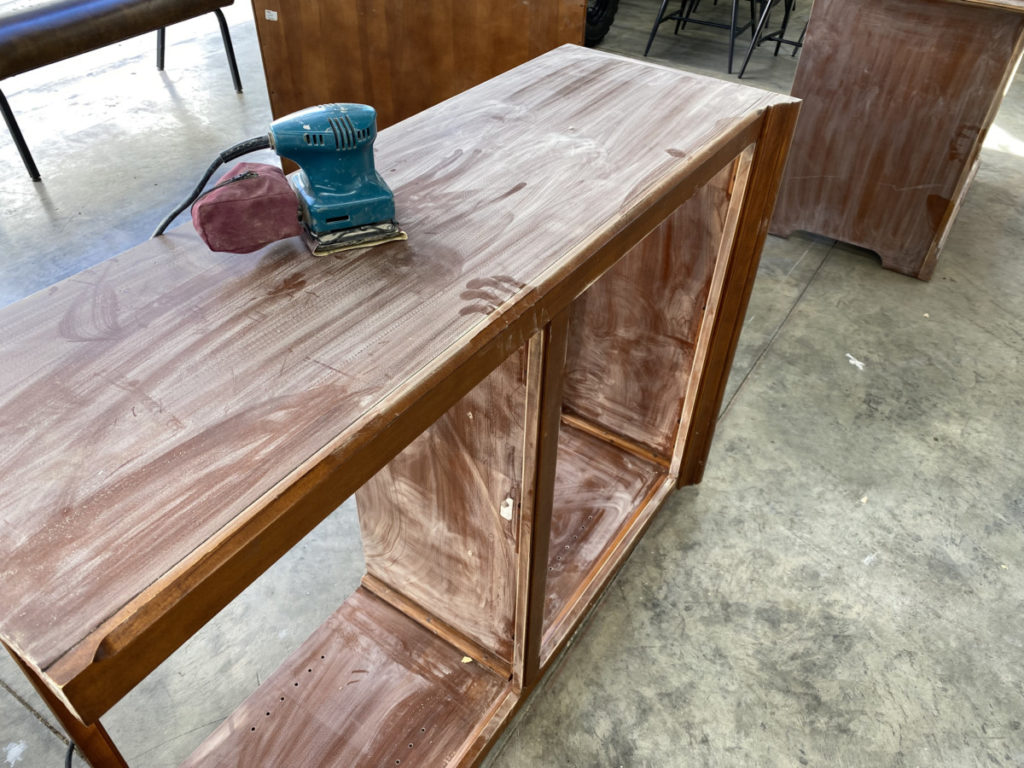
Sand/Scuff
Before we start painting, we are going to take one very important step to ensure our end product turns out beautiful and stays looking that way! While this is a very good quality wood laminate, it is laminate, nonetheless. Laminate/veneer surfaces are often very smooth and shiny surface, both of which are not ideal for painting… this is where a good primer will be your best friend. It is important that you prime to achieve good adhesion of your topcoat!
Repair
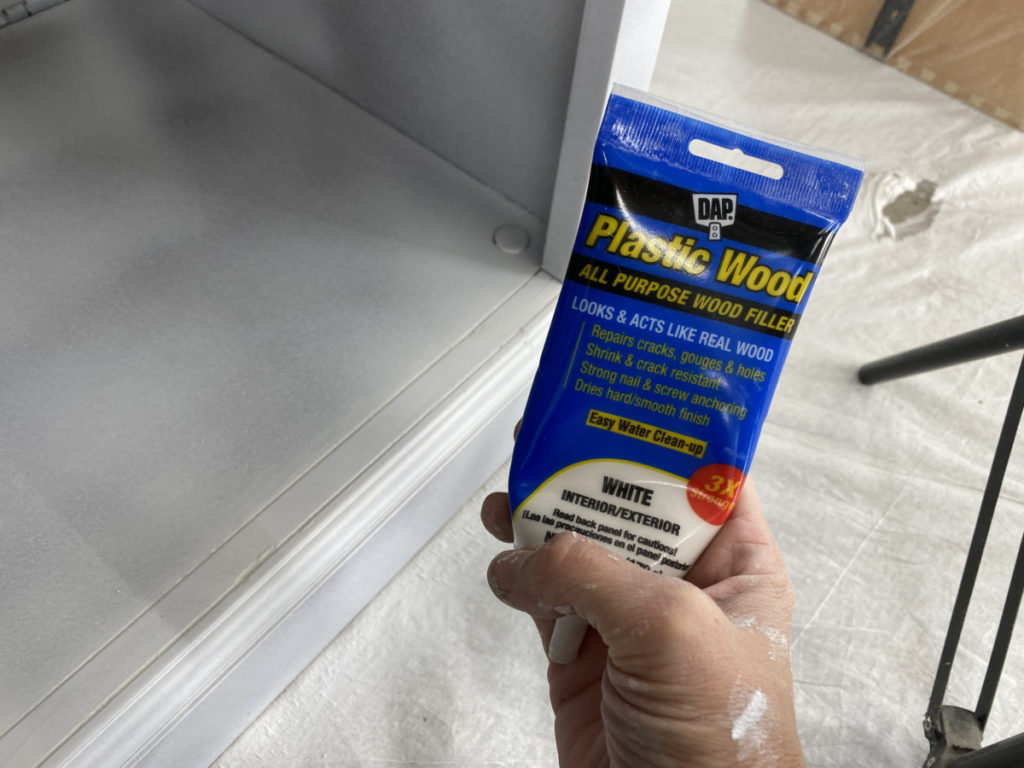
While I sanding my top hutch, I found a gouge that needed to be repaired. Repairing wood furniture is quite simple when you have the right products/tools. For the
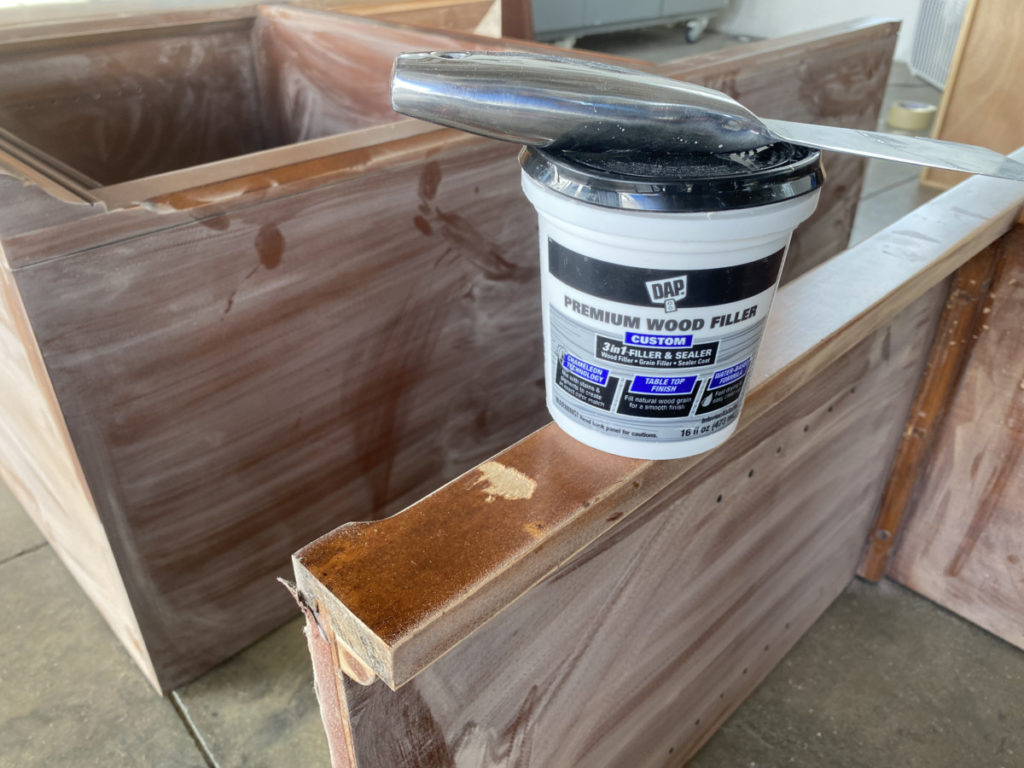
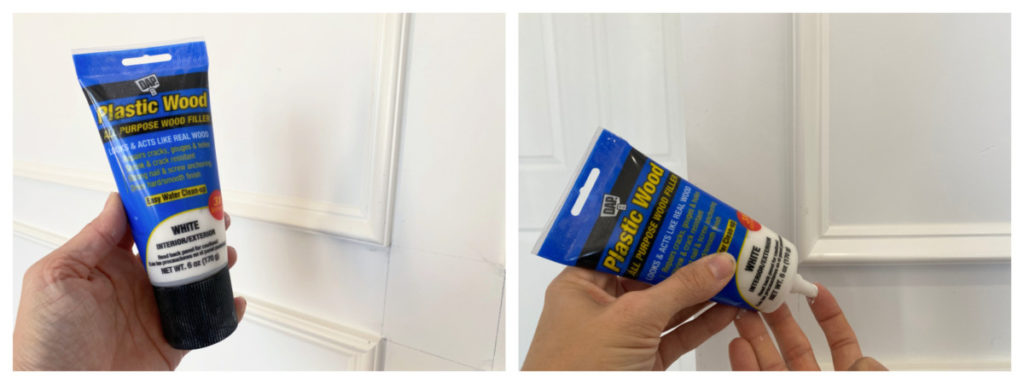
I prefer to use DAP Premium Wood Filler or DAP Plastic Wood All Purpose Wood Filler. I love that both won’t sink, shrink, crack and fall out. They both sand smooth to completely hide any imperfections. One COOL application of “Premium Wood Filler” is that you can actually tint it ! “Chameleon Color Blend Technology allows you to mix stains or pigments directly into the wet state for an exact color match.” You can get all the details here on DAP’s site.

The process of filling a blemish is straight forward, using a putty knife I generously fill the hole/gouge/scratch. (I like to overfill my repairs slightly so that I can sand them smooth.) Once the wood filler is completely dry and sand smooth using a 220-grit sandpaper. after it is smoothed to perfection it is good to go! I saved this process to my Instagram Stories if you are a visual learner. 🙂
(Obviously, I am about to primer this piece of furniture… However, if I were repairing a piece of painted furniture, I would not need to prime the repair first. I love that DAP products will not flash my paint; it is topcoat ready!)
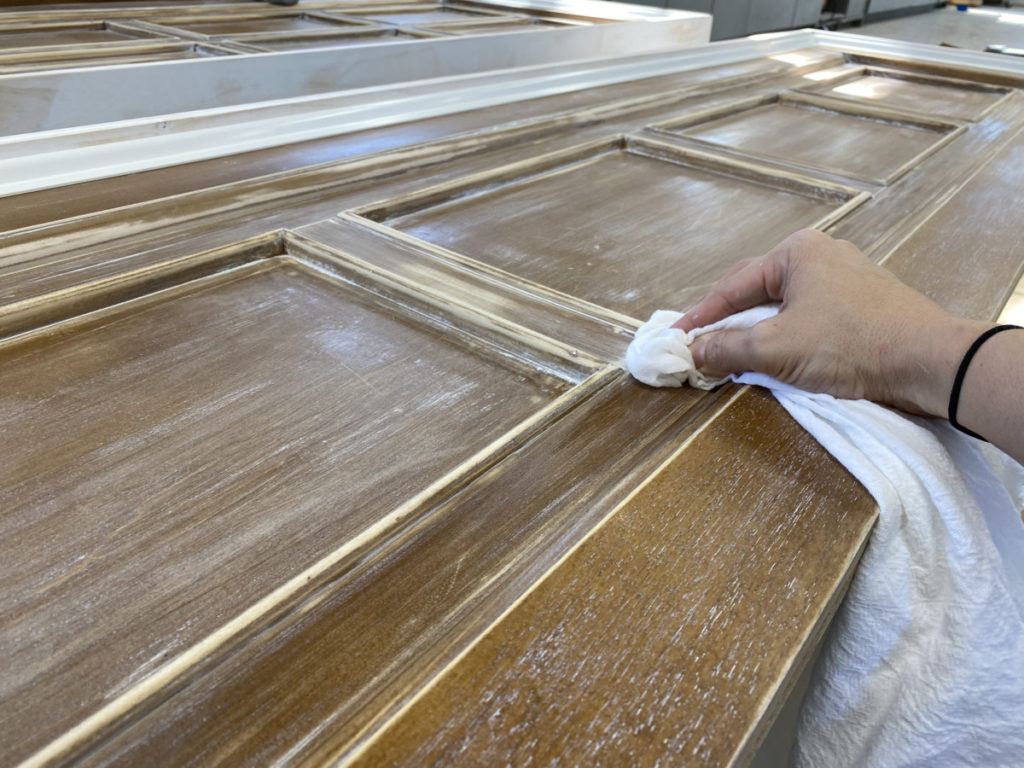
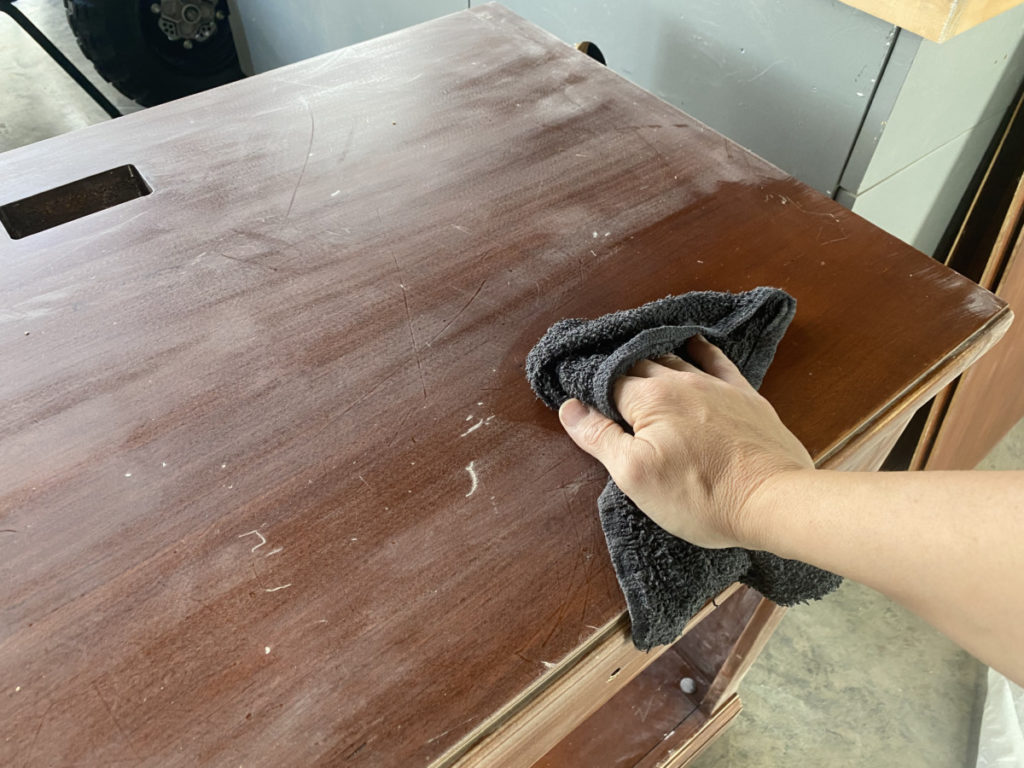
Wipe Down
Before priming or painting, I always recommend wiping down the entire piece with a damp cloth. This will remove any loose debris or dust. Removing dust will not only allow for better paint/primer adhesion it will also help create a perfectly smooth finish.
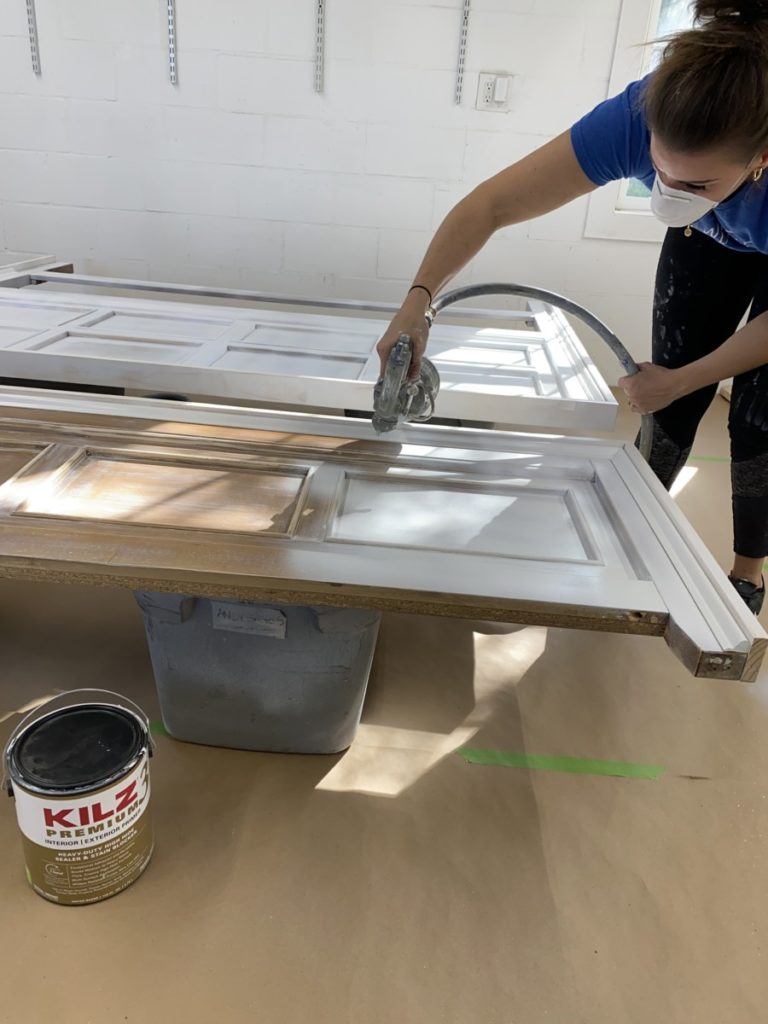
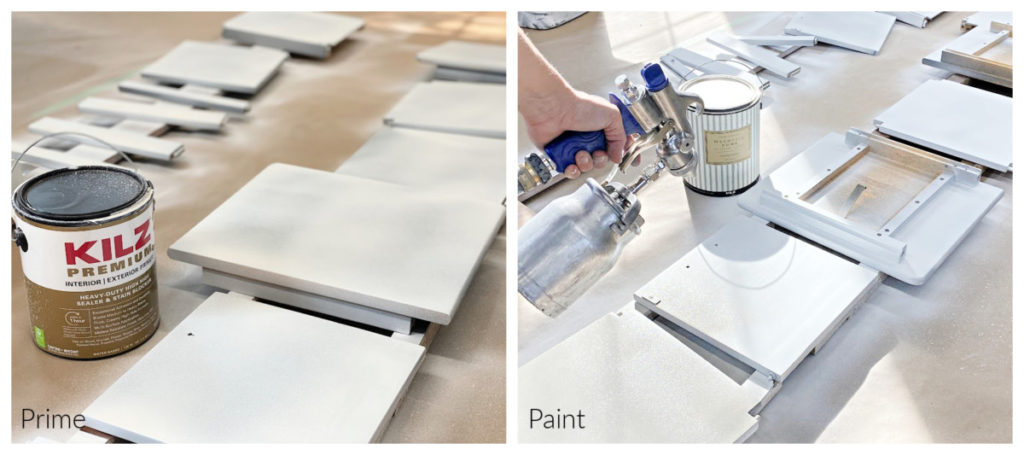
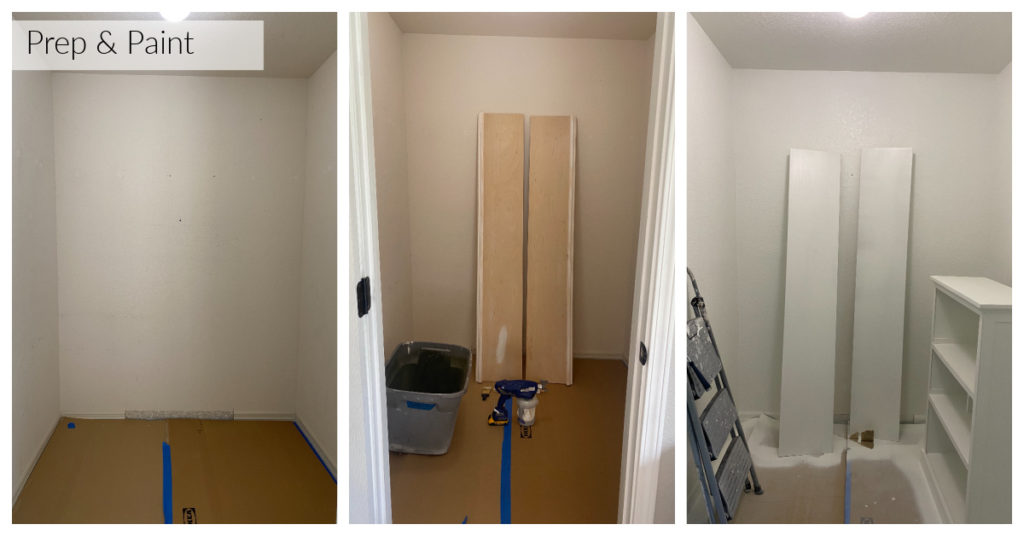
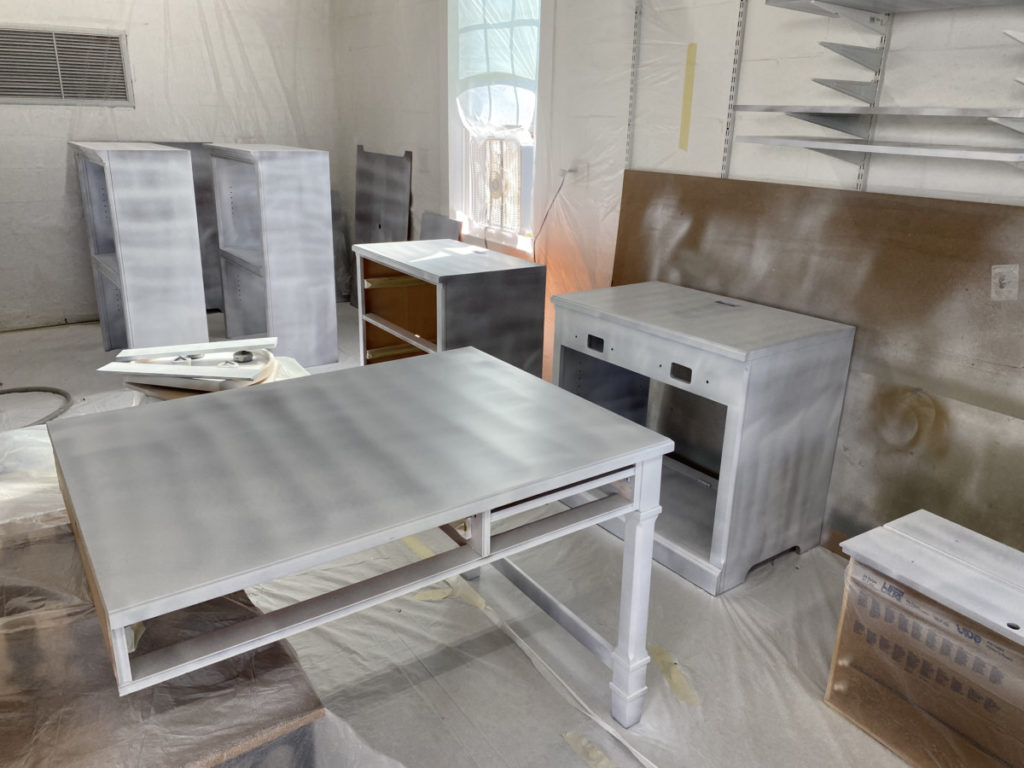
Prime
When priming make sure you always use a good primer, and one for your specific needs!
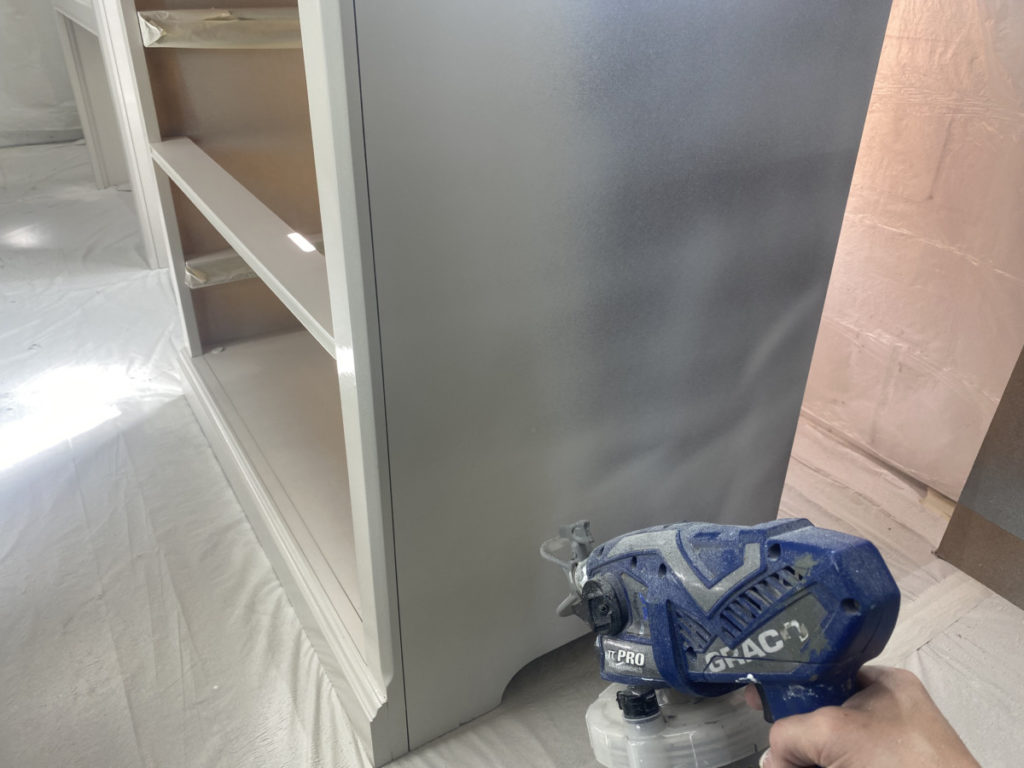
For this project I opted to use a paint sprayer to apply my primer. When applying any paint/primer make sure you reference the directions on the back of the can to ensure that your material can be used in a sprayer and use the recommend tip/point size.
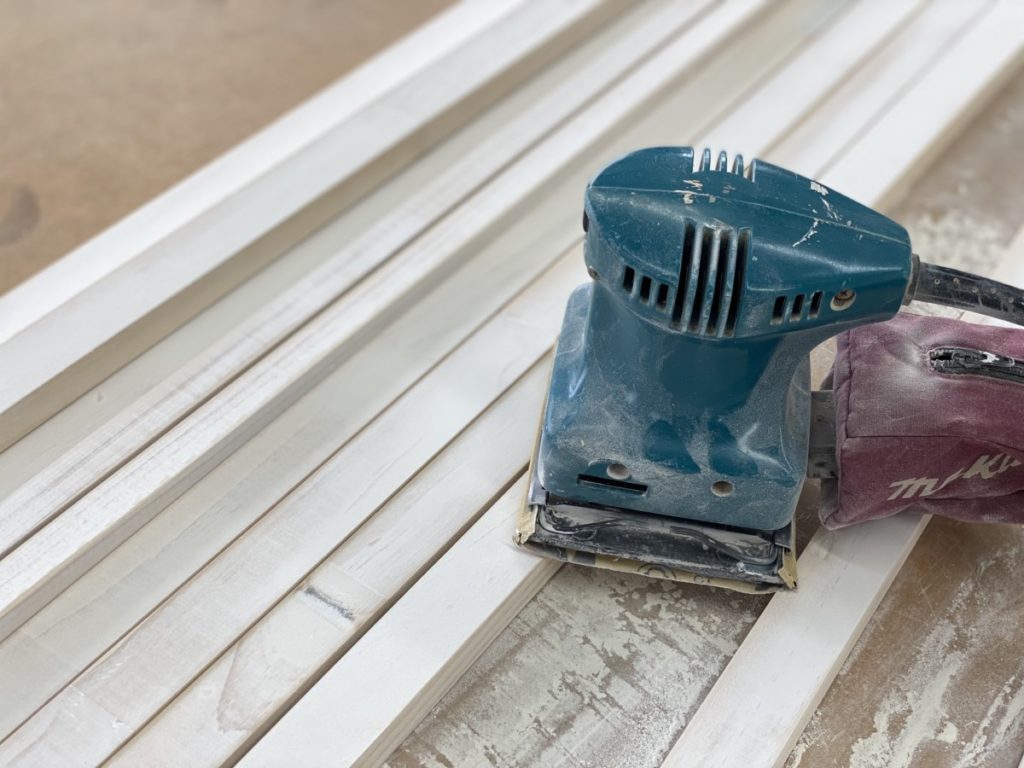
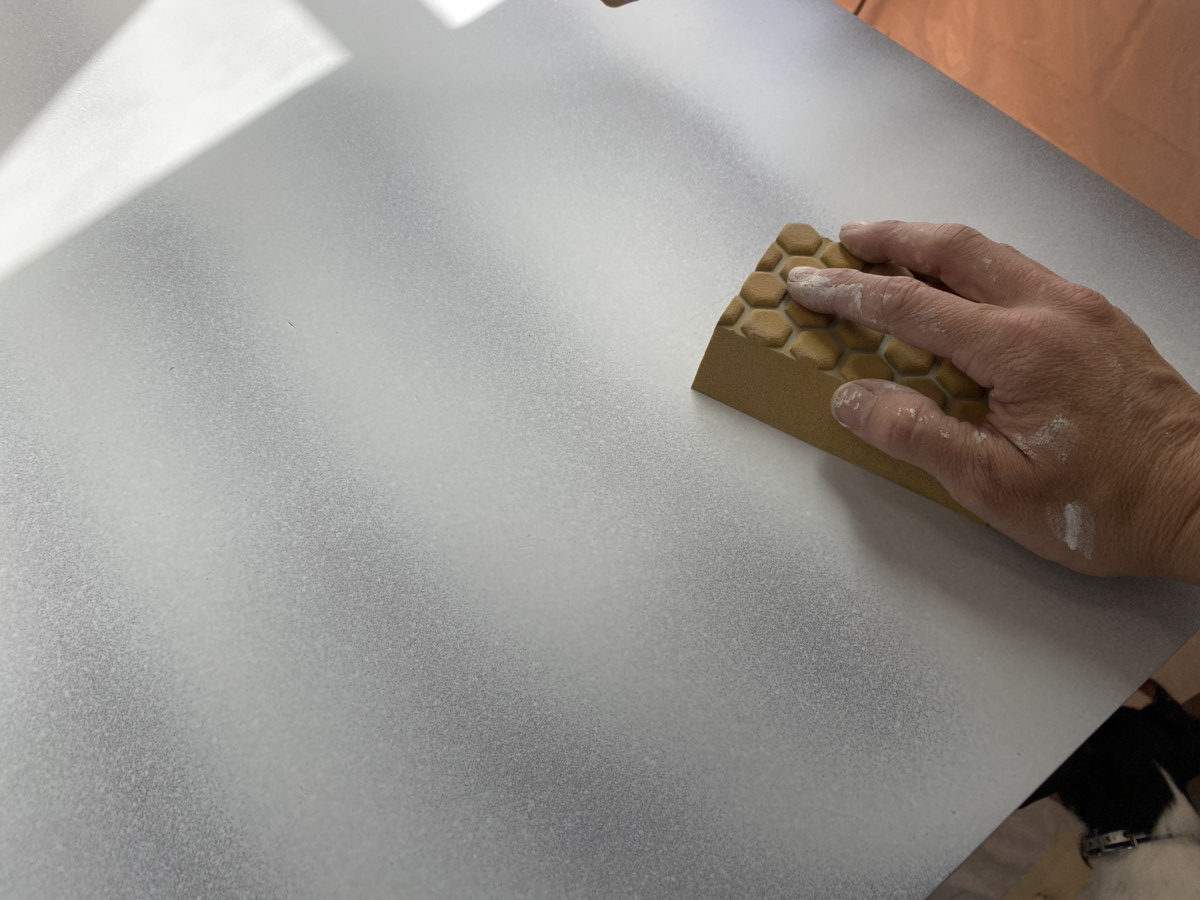
Finish Sand
Before we dive straight into painting, there is a step I HIGHLY recommend. After the primer is dry, I suggest going over all the painted surfaces with a sanding sponge. After sponge sanding, wipe down the entire unit to remove any loose debris. I promise these simple steps helps ensure a smooth finish!
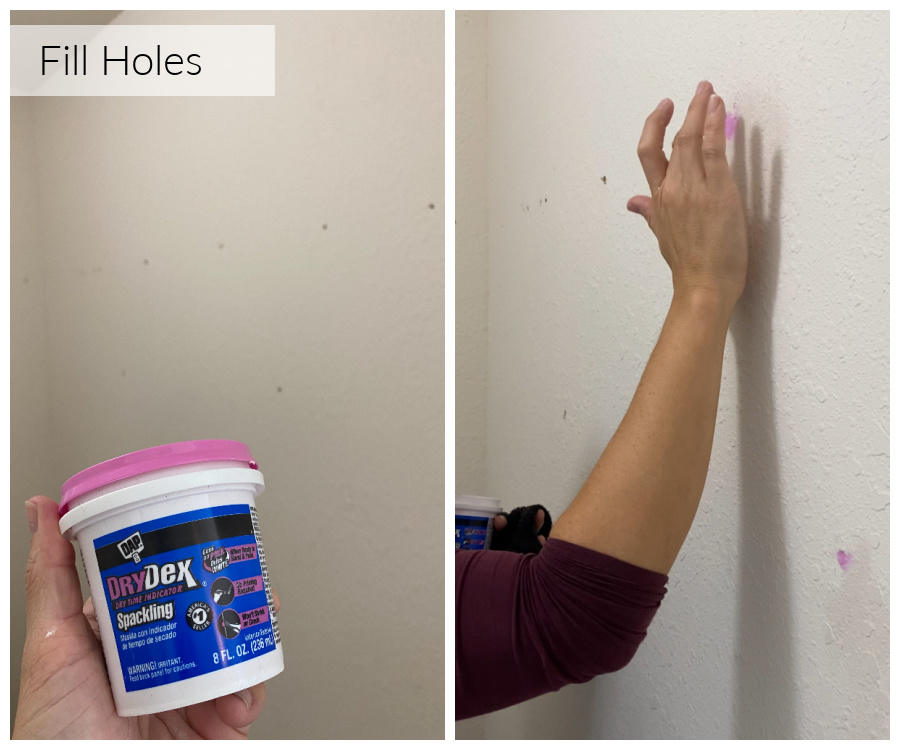
Fix Blemishes
This step is where the magic happens! I have found that when you paint/prime a piece of furniture white ALL of the flaws stand out like a sore thumb. (When a piece of furniture is lighter in color it is easier to see the shadows created by flaws and cracks.) Directly after priming furniture is the BEST time to fix those flaws!
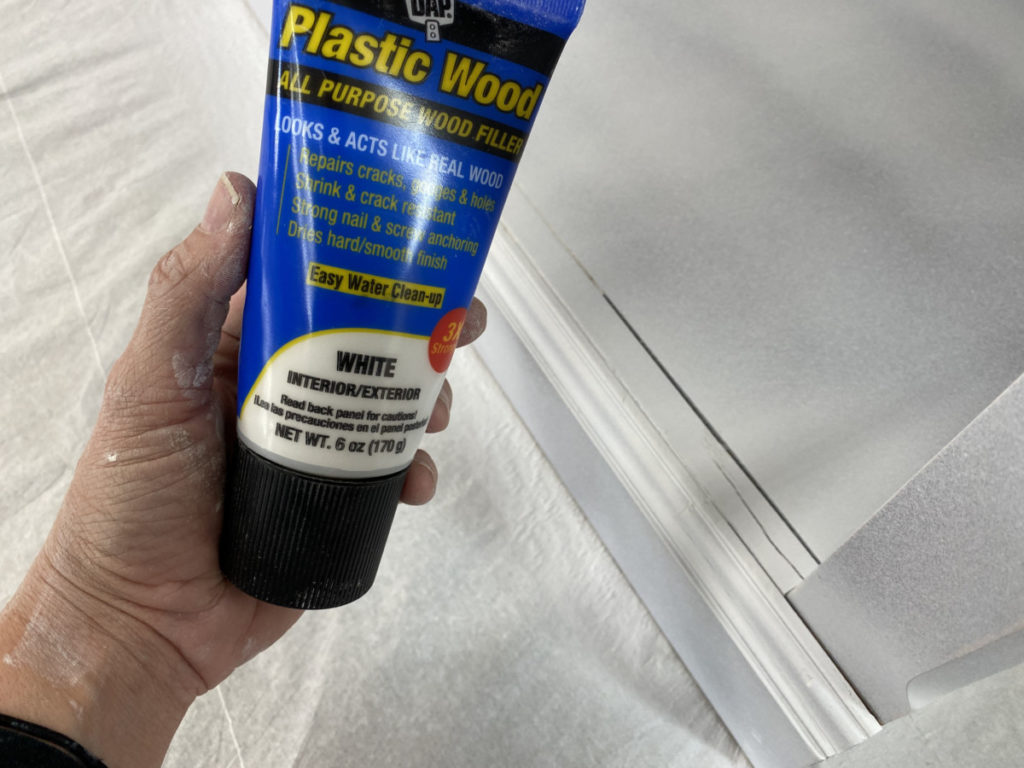
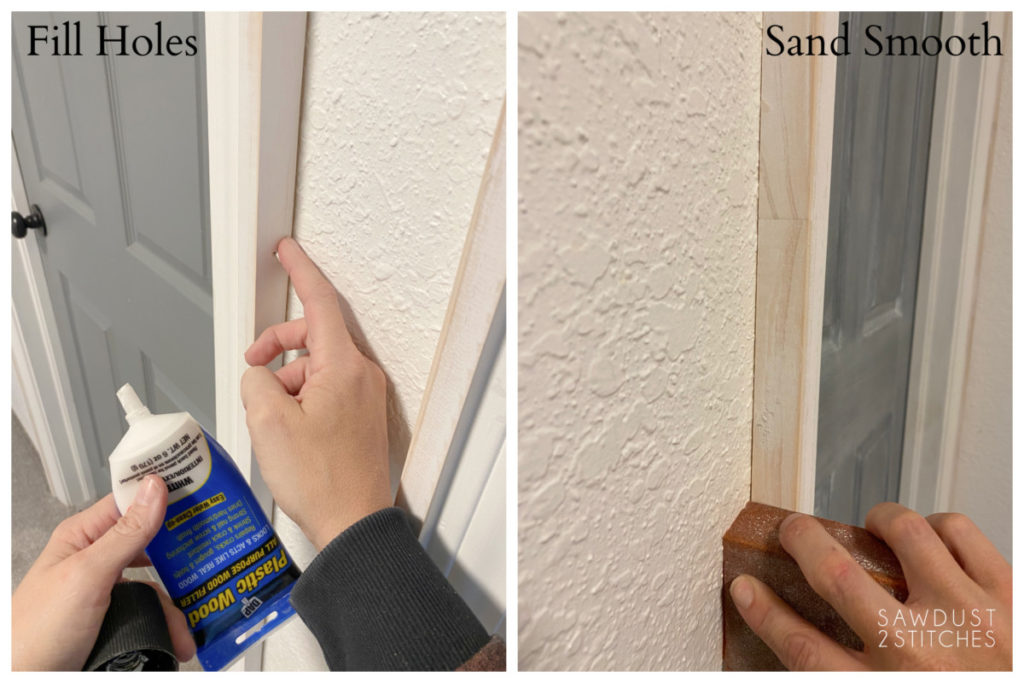
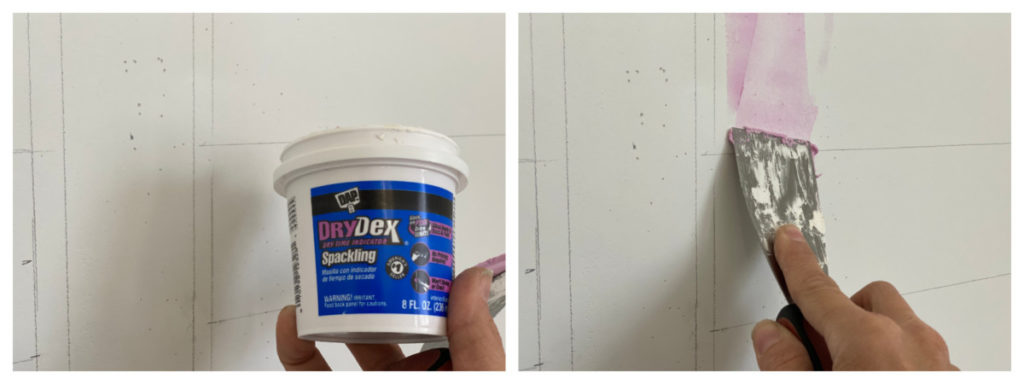
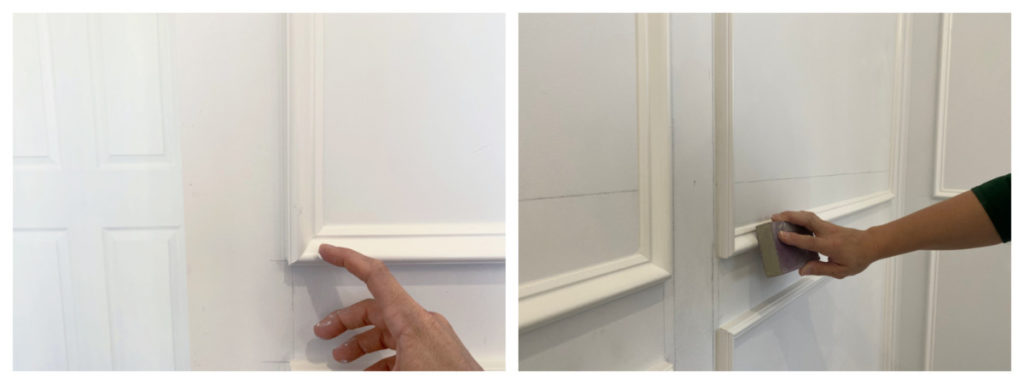
As you can see in the image above there are some gnarly cracks that need to be fixed. When I am working with painted wood with small repairs, I like to use DAP Plastic Wood All Purpose Wood Filler in the squeeze bottle.
The repair process for both large and small projects is similar. (Large projects I like to use the tub/jar with a putty knife. Small projects I like the handy squeeze bottle and can use either my finger or a putty knife to press the filler into the cracks.)
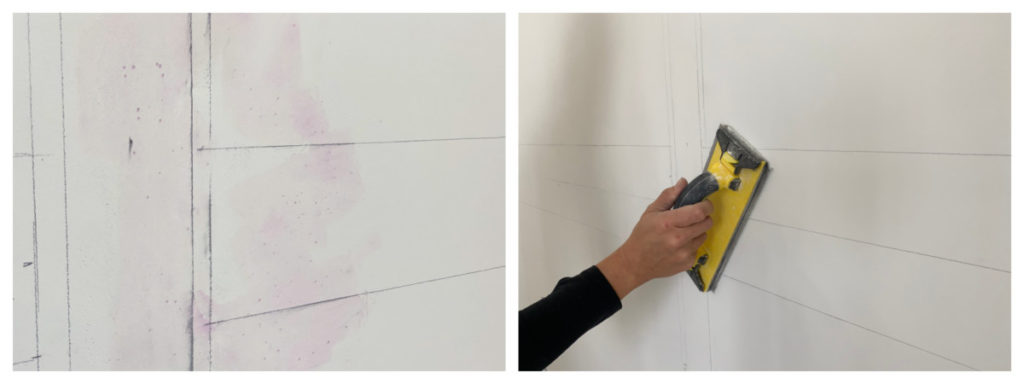
Once the filler is dry, sand smooth. Again, DAP Plastic Wood All Purpose Wood Filler will NOT flash your paint, so no need to prime again. We are ready to topcoat!
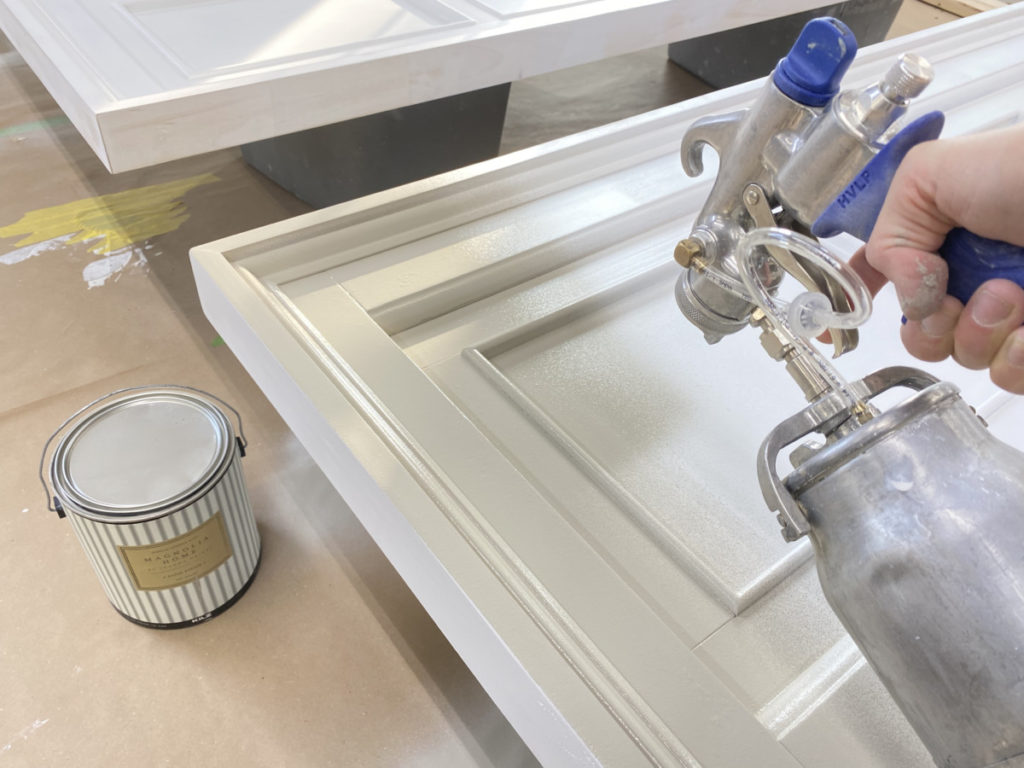
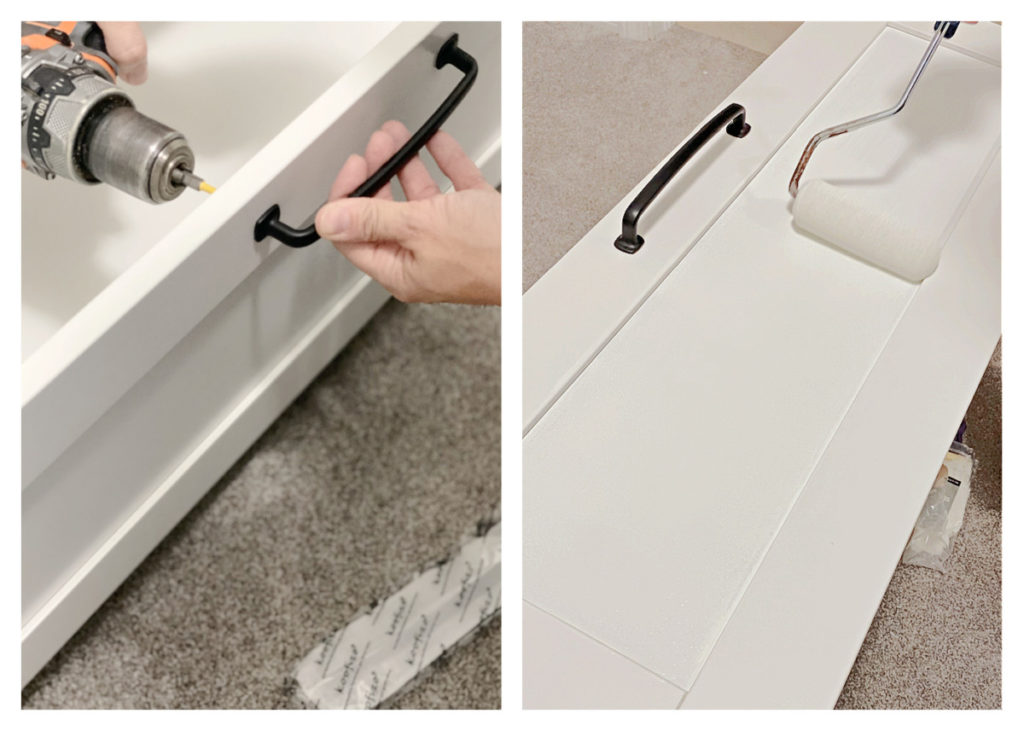
Paint
Following the same steps for priming, I applied my topcoat. I closely followed the back of the can recommendations for applying paint using a sprayer. I have repurposed MANY pieces of furniture and have achieved great results using a good brush and a foam roller. In fact, I painted one of my kitchen cabinets using that method.
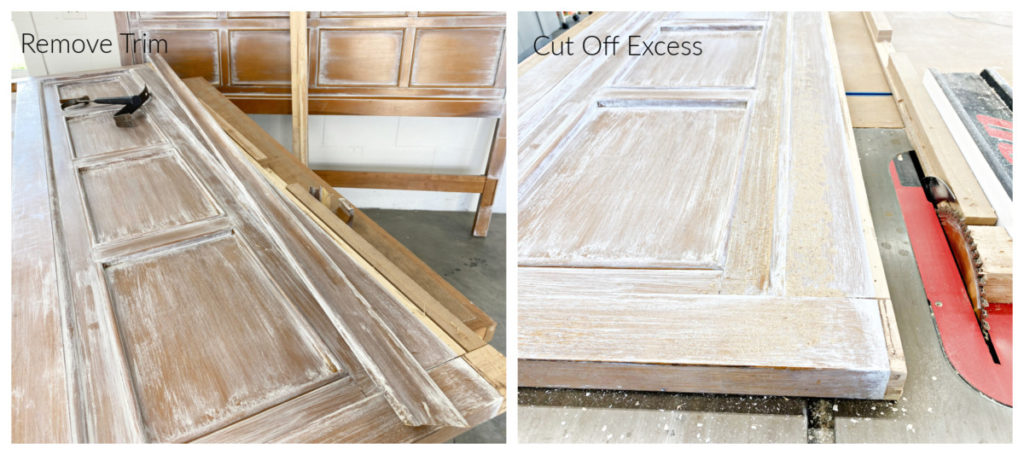
Remove Trim
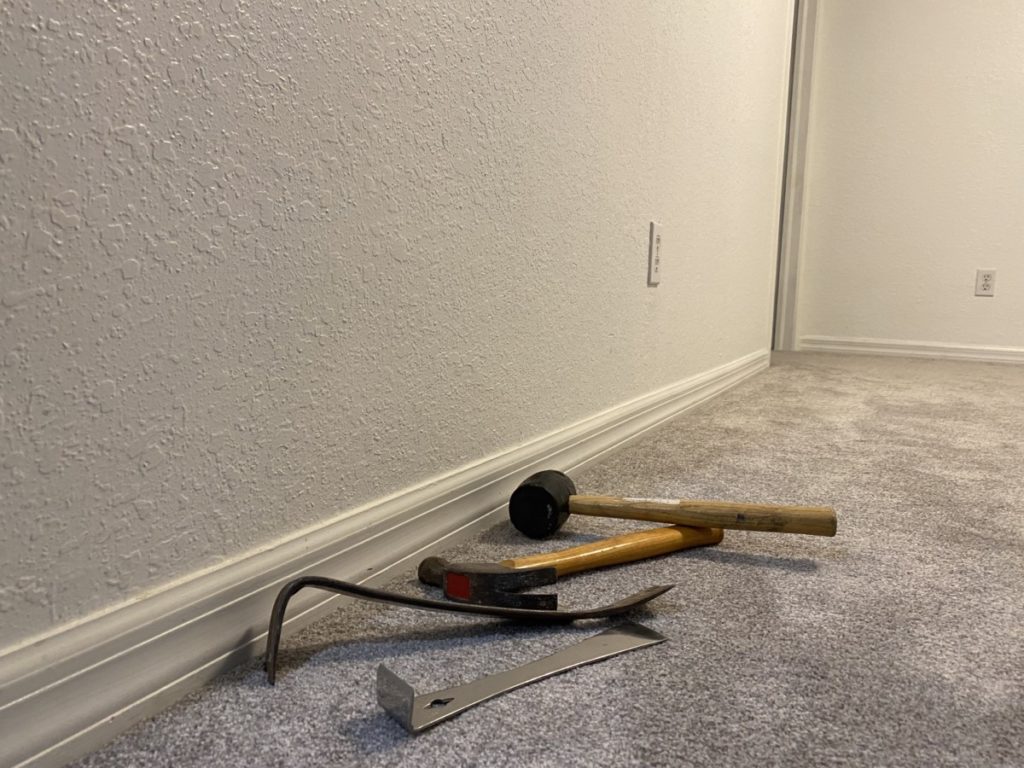
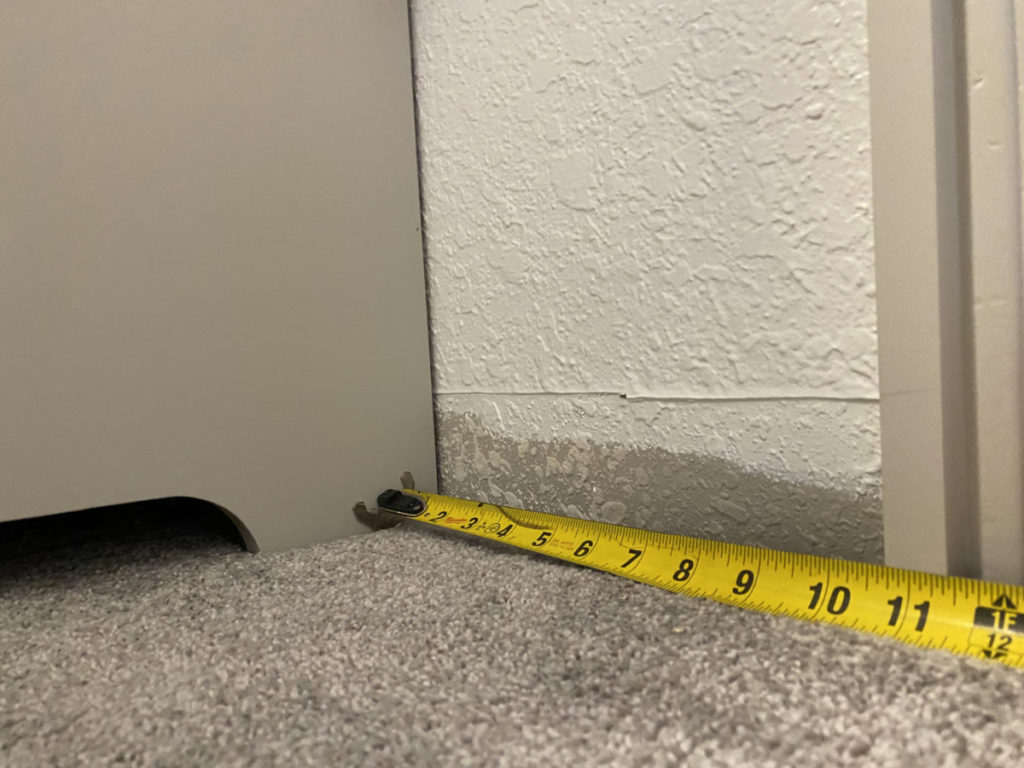
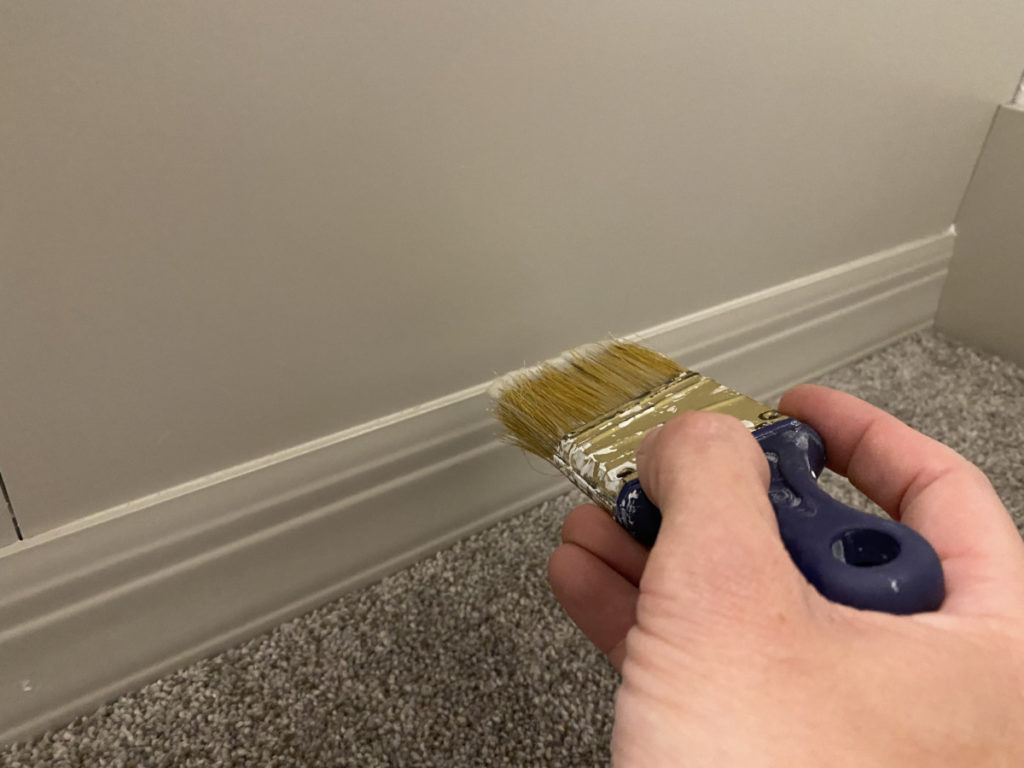
Now that the furniture is painted, we need to prep its new home! If you are trying to achieve a “built-in” feel, then HANDS DOWN you will want to integrate your baseboards into the new pieces of furniture. The first step in this process is removing the existing baseboards. I have a full tutorial on baseboards removal and installation that you can access here.
Consider This:
For your consideration: For this project I was upgrading my baseboards and replacing the builder grade boards with a wider baseboard. If you do not want to do this, it is NOT necessary. Instead of installing new baseboards you can simply cut your existing boards in place using a multi-tool.
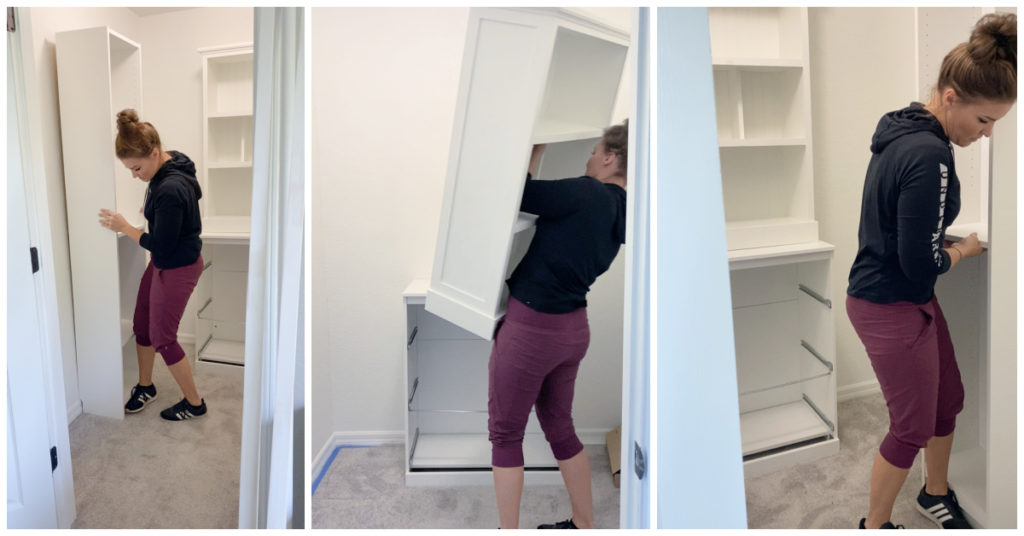
Bring In Furniture for Kids Workspace
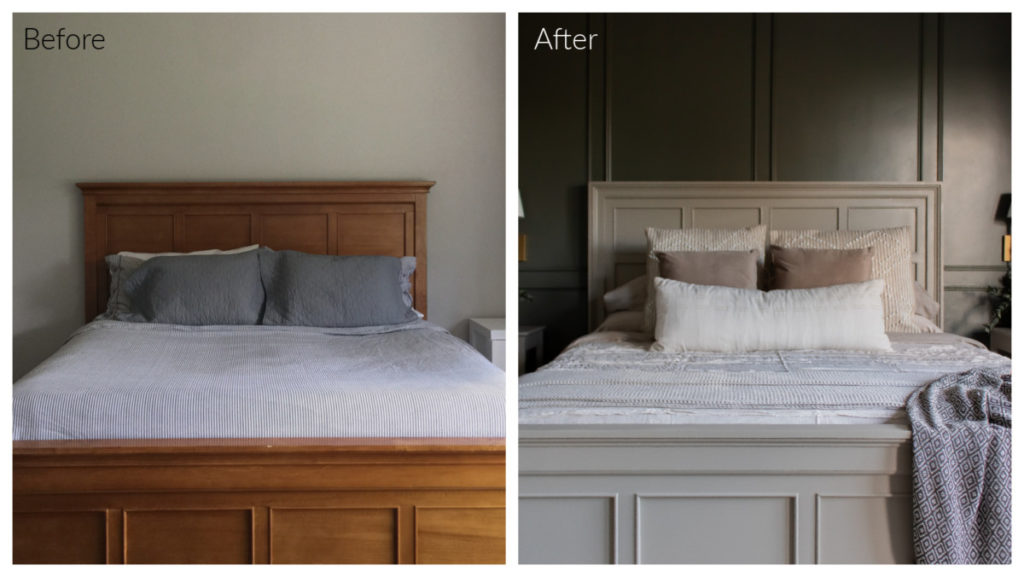
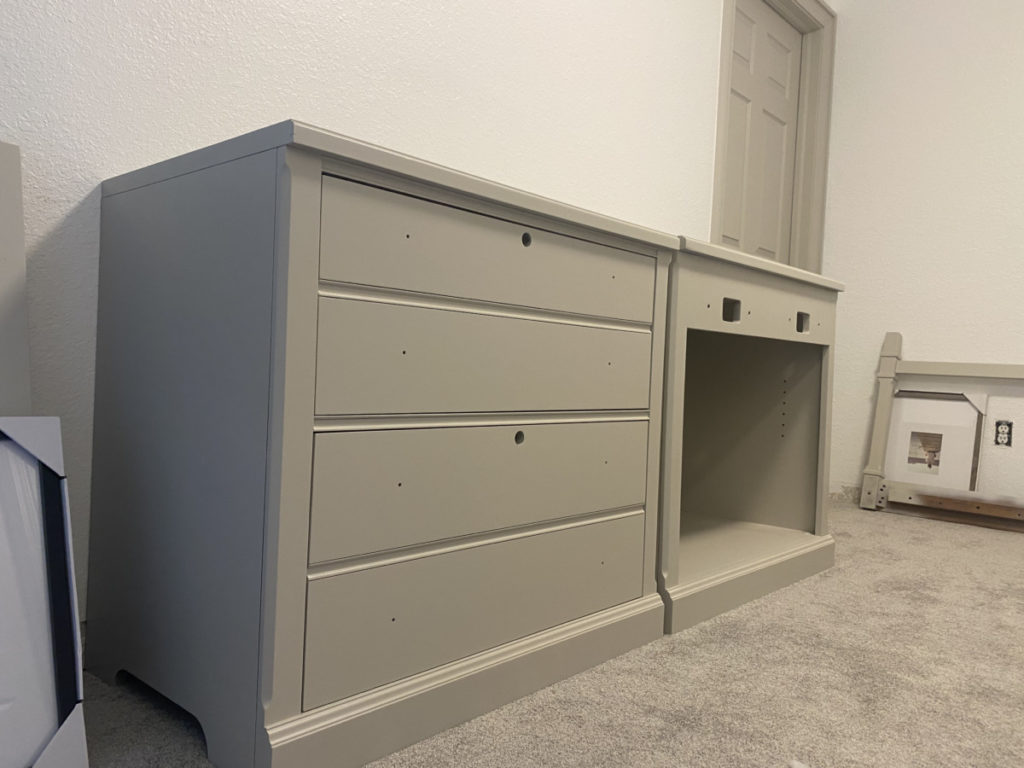
Once everything is painted and dried it’s time to reap the rewards! I could hardly contain my excitement and started bringing in my furniture the second it was no longer tacky. (I don’t recommend doing, that. Giving paint a little extra time to cure is always a good idea.)
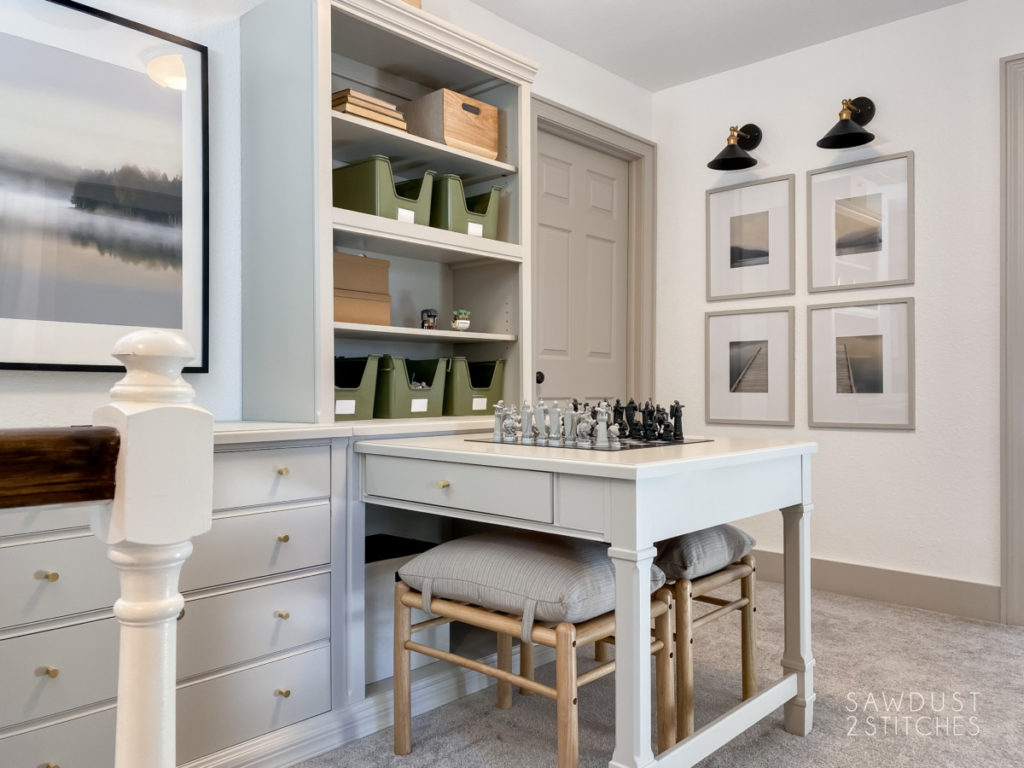
I still cannot believe that this is all the same furniture! The paint changed the entire aesthetic of this old executive desk set.
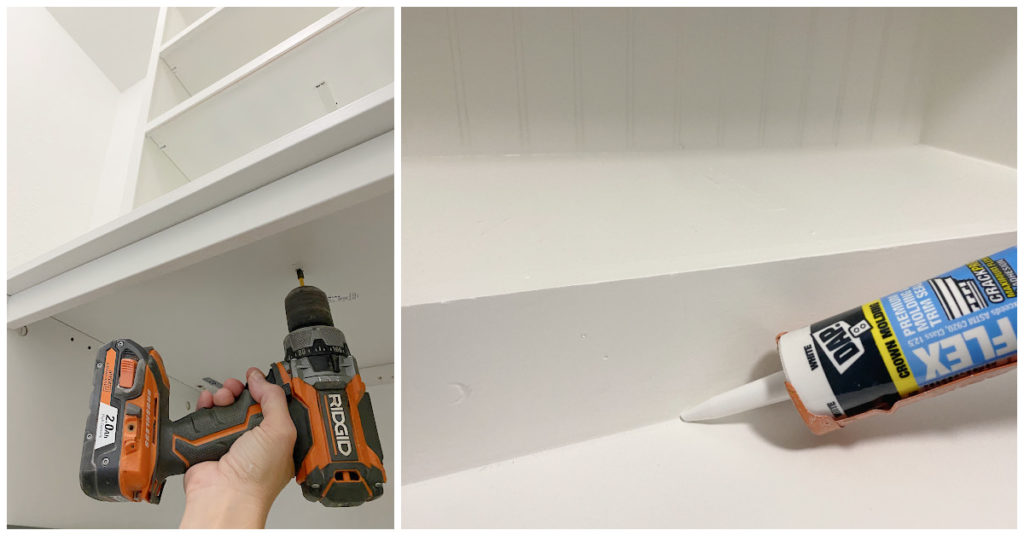
Secure It!
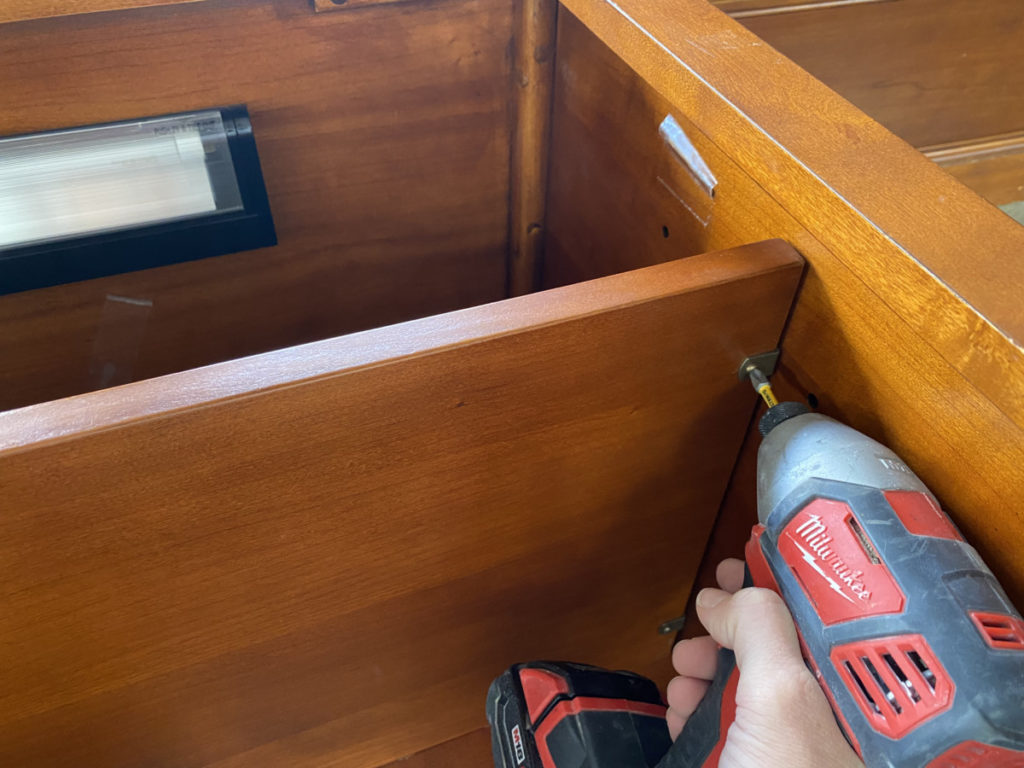
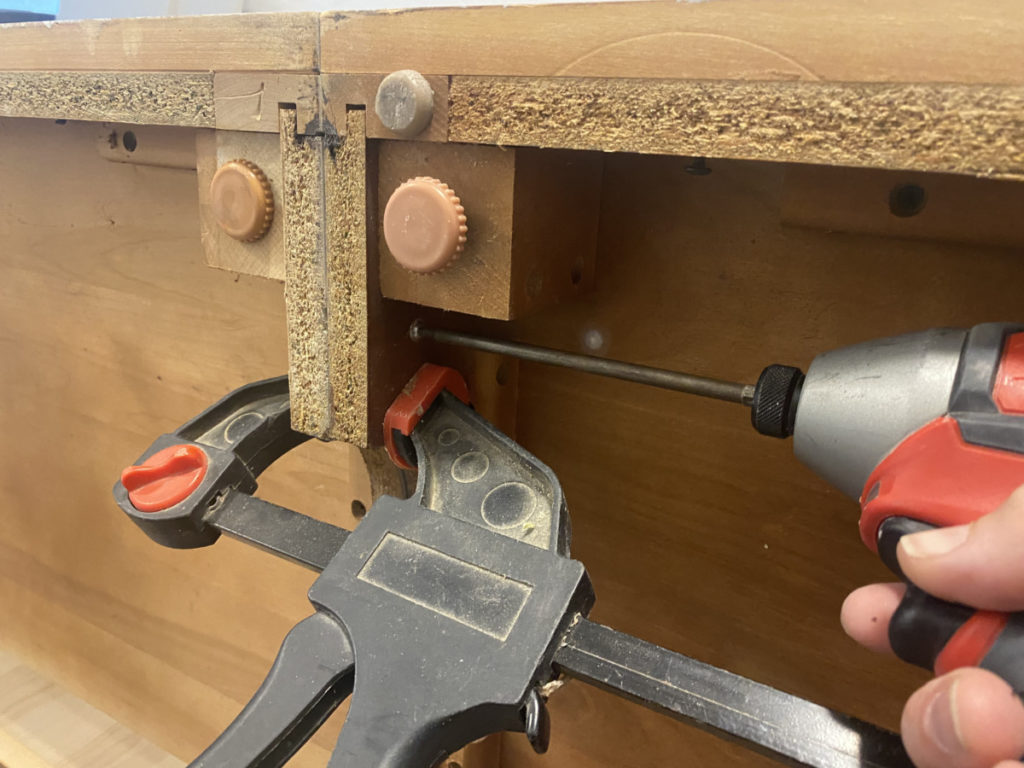
The cabinets will need to be secured together so that they are essentially one unit. In order two align them properly, I used clamps to hold the two cabinets together while fastening them together.

In order to ensure these suckers were not coming apart I fastened them together at 8 different points, using a 1 1/4″ wood screw.
Not only did I secure them along the base, I also made sure to drive several screws through the interior sides of the cabinets as well.
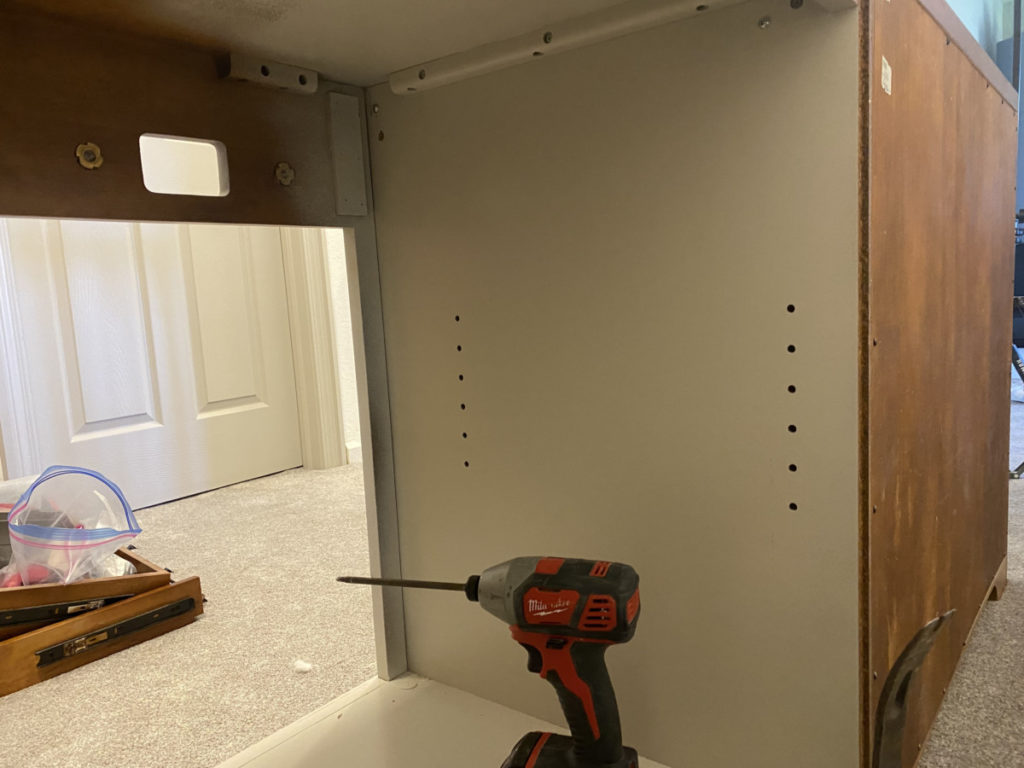
After the two units are essentially one proceeded to secure the unit to the wall.
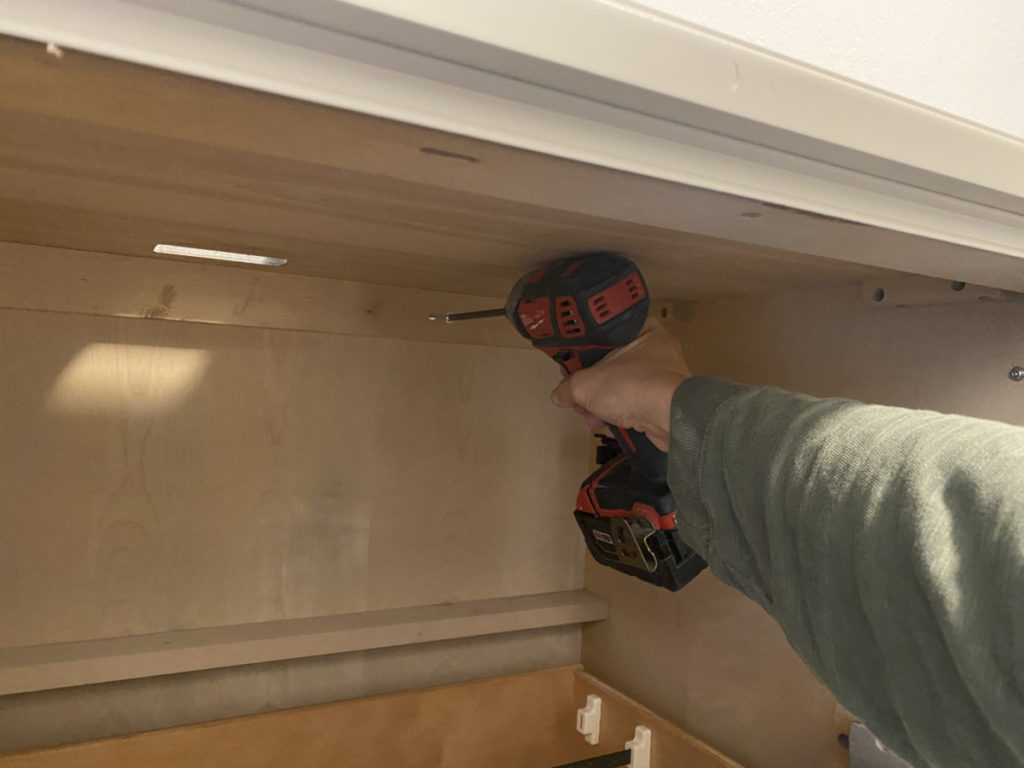
In order to do this I marked stud placement and drive a 3″ screw through the interior back of the cabinet and into the stud behind it. Repeat this step a minimum of 2 times per unit.
Add Trim
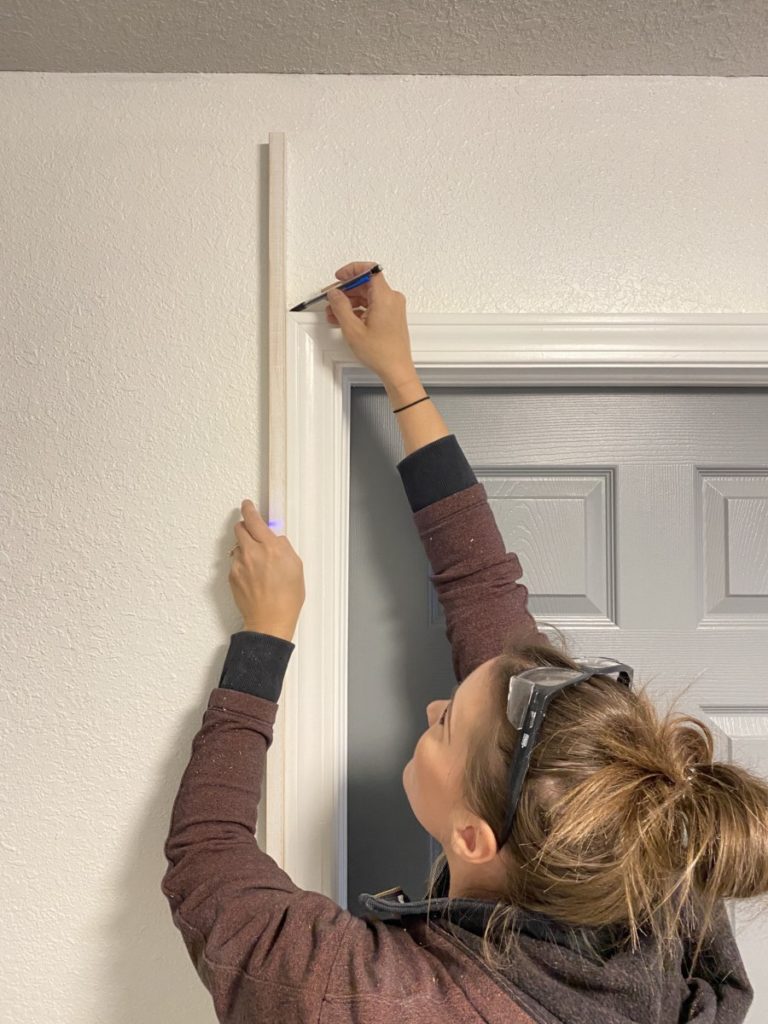
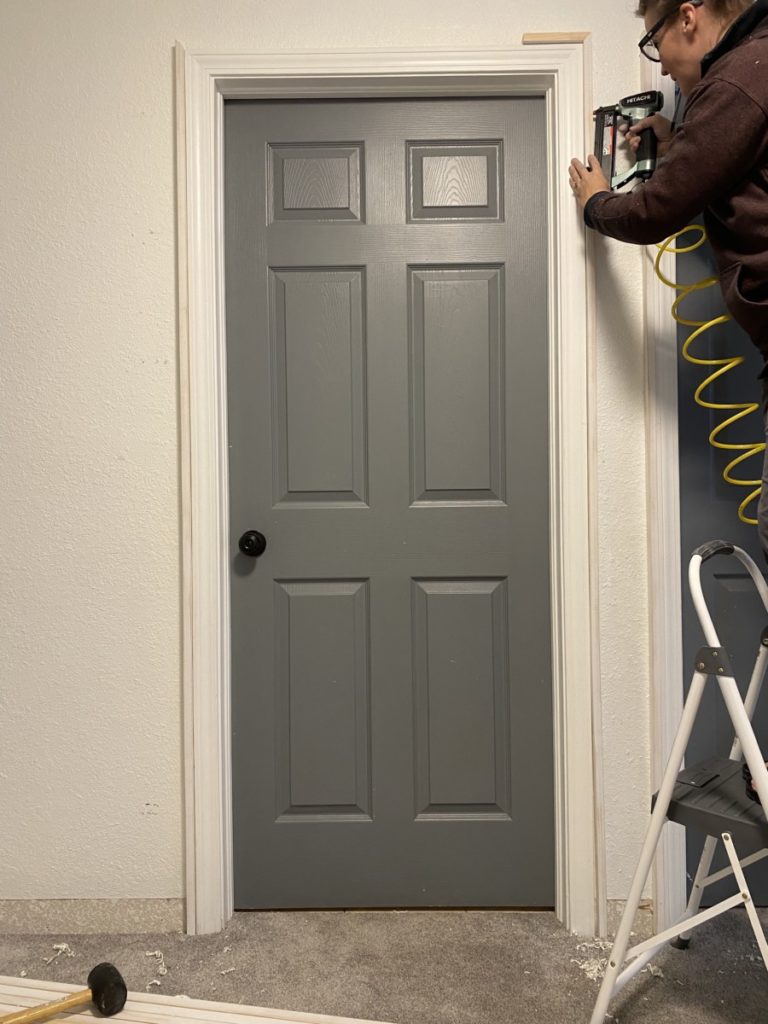
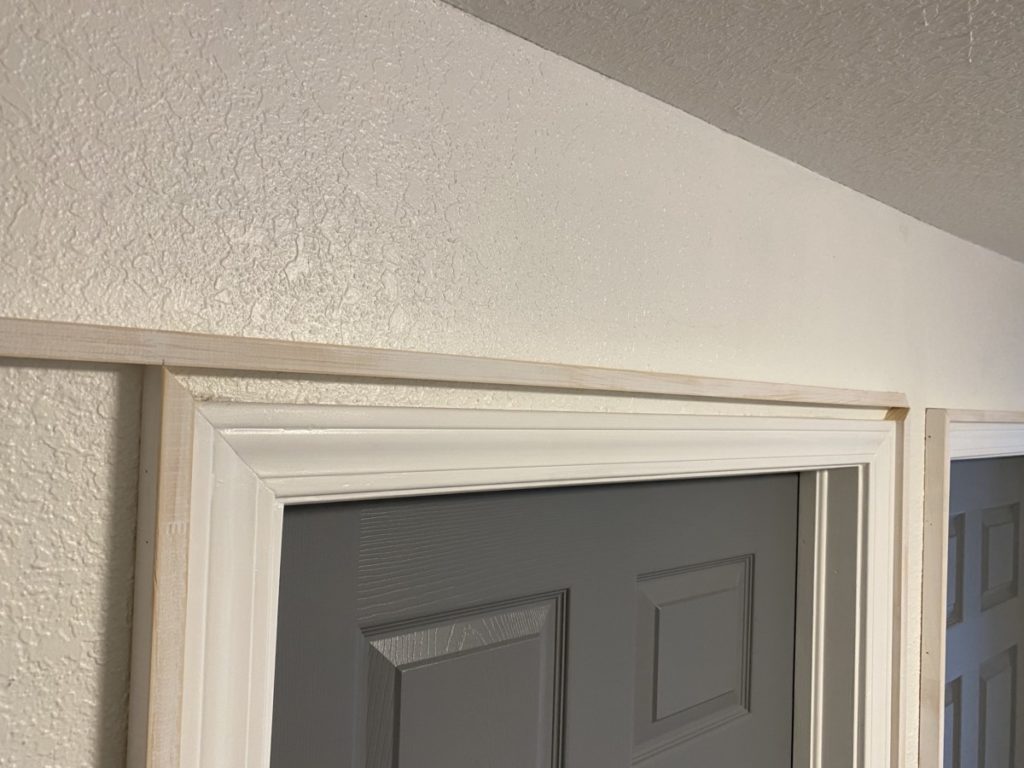
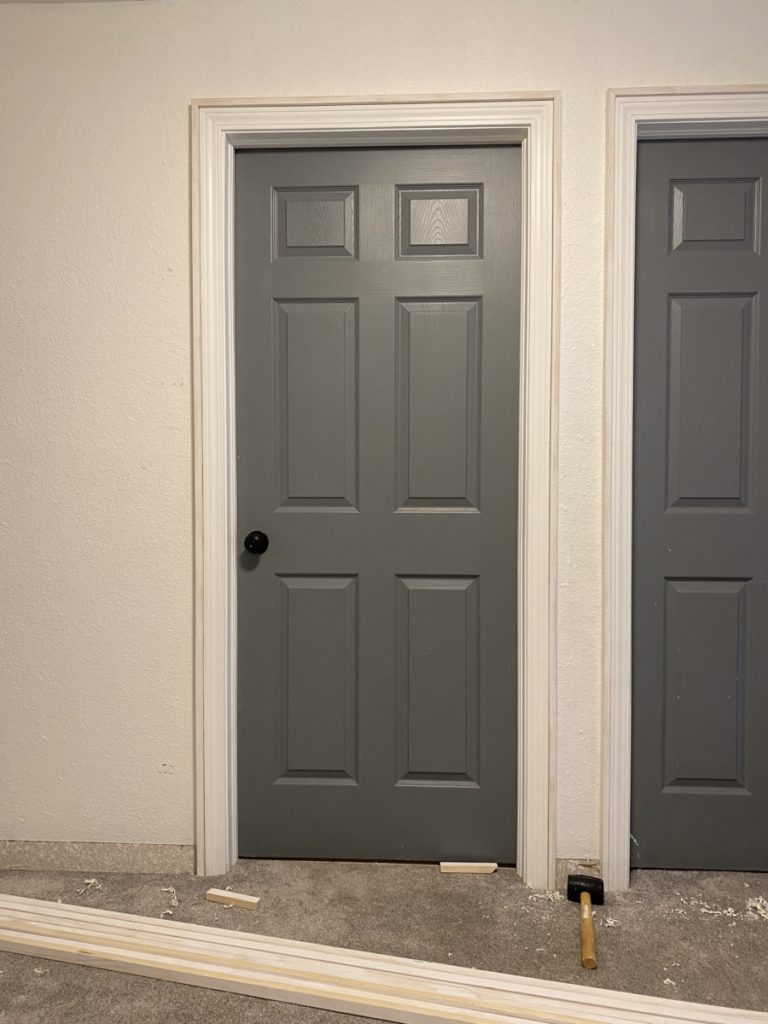
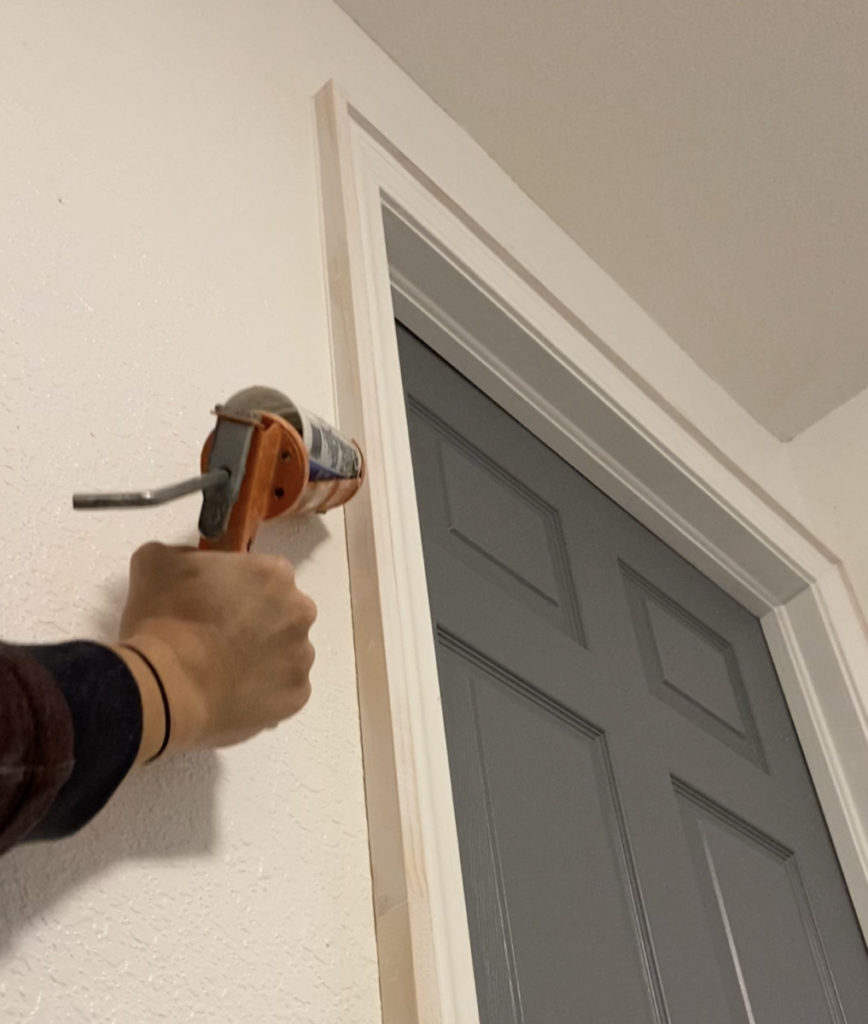
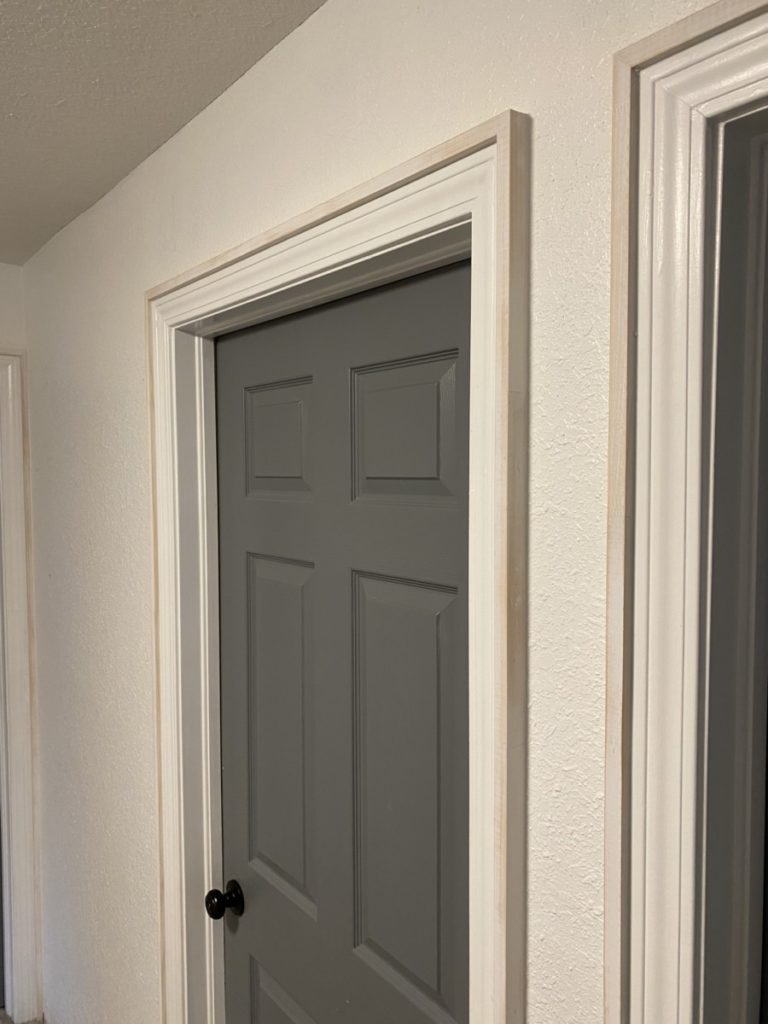
Door Casing *optional*
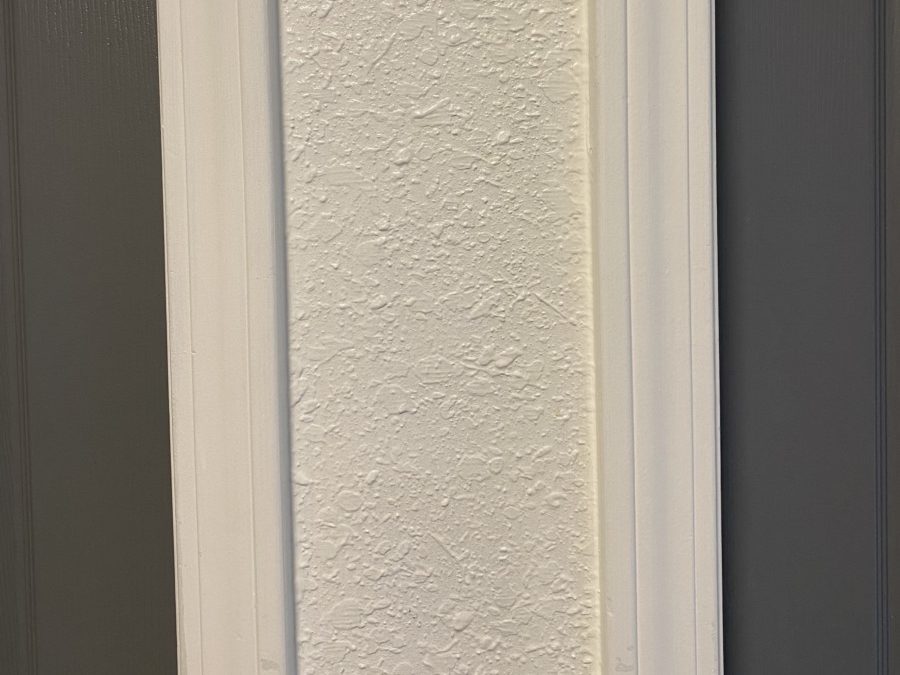
FINE, I admit it, I may have gone a little EXTRA when trimming out this space. While I was removing the baseboards, I got an idea… I decided I wanted to upgrade my door casings. However, I didn’t want to start from scratch, instead I just gave my existing ones a makeover. If you want to upgrade your door casings you can get the full tutorial here.

Baseboards
After the door casings were complete, I was ready to make this unit look like a built-in unit. My absolute favorite way to integrate a built-in is with baseboards/molding.
Not only does additional trim work create a built-in appearance it also gives it a sophisticated feel that I AM HERE FOR! Installing baseboards it’s a straightforward process, however if you want more information, I have a full tutorial here.
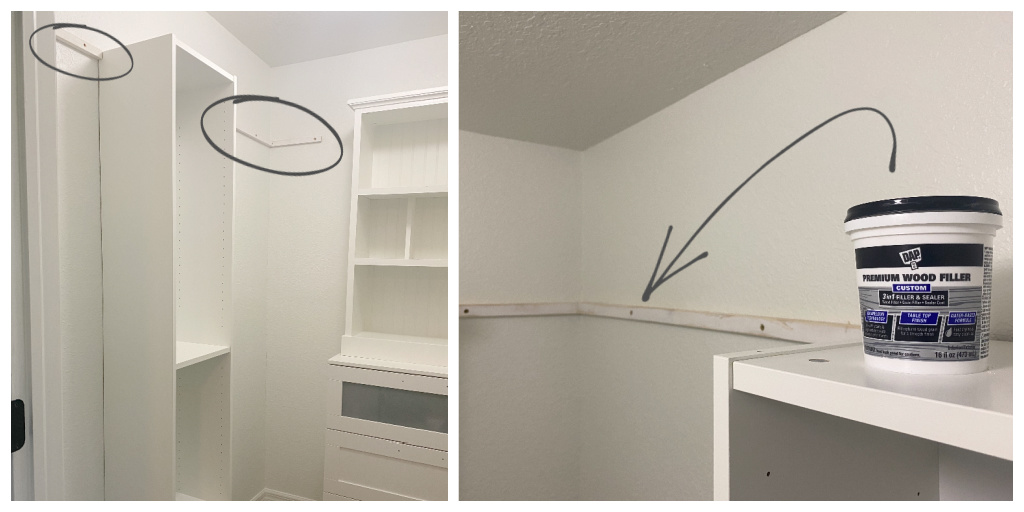
Cabinet Trim *Optional*
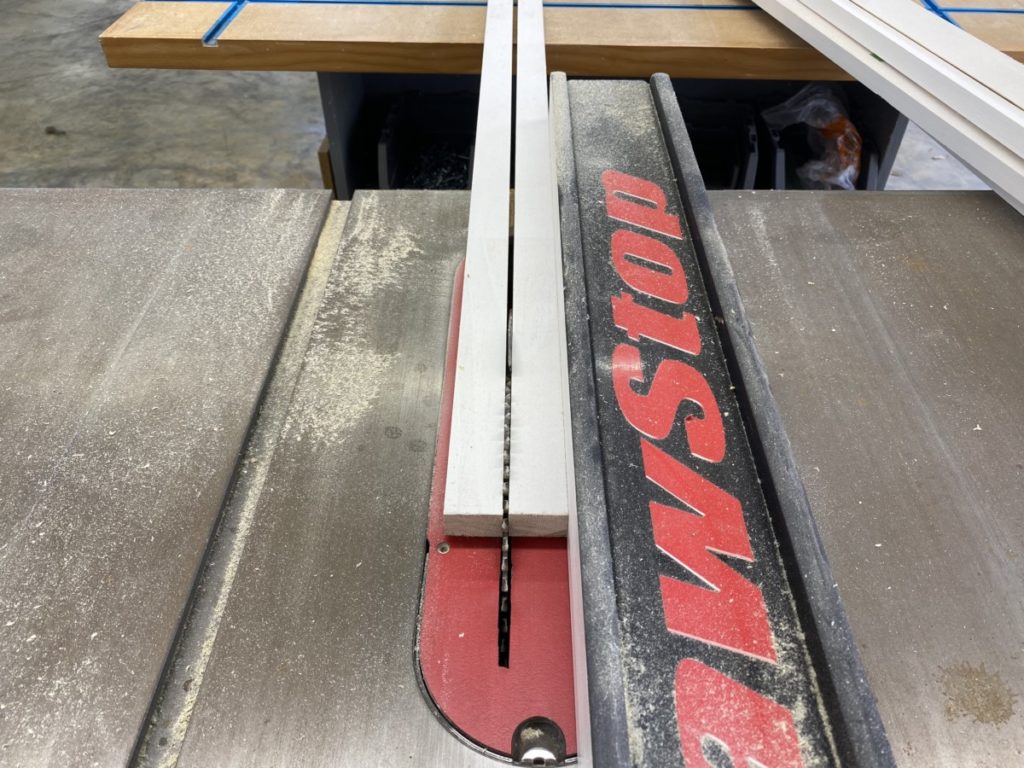
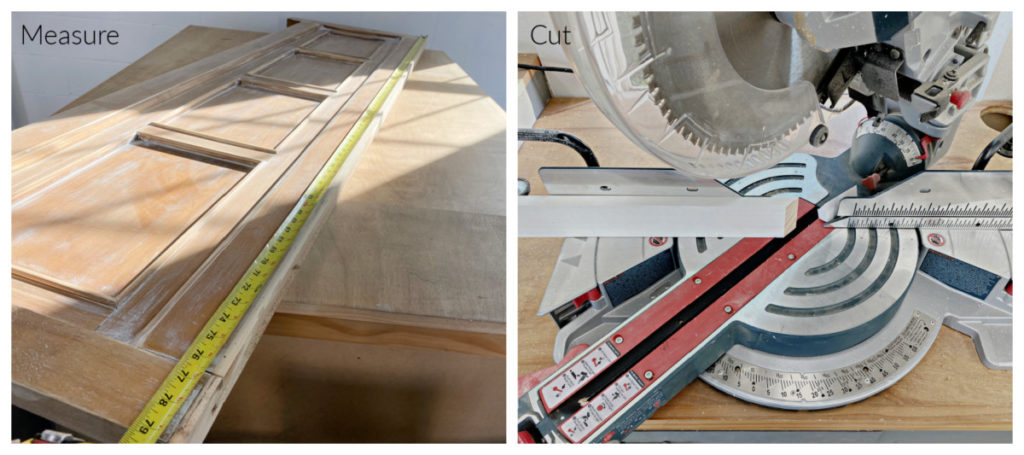
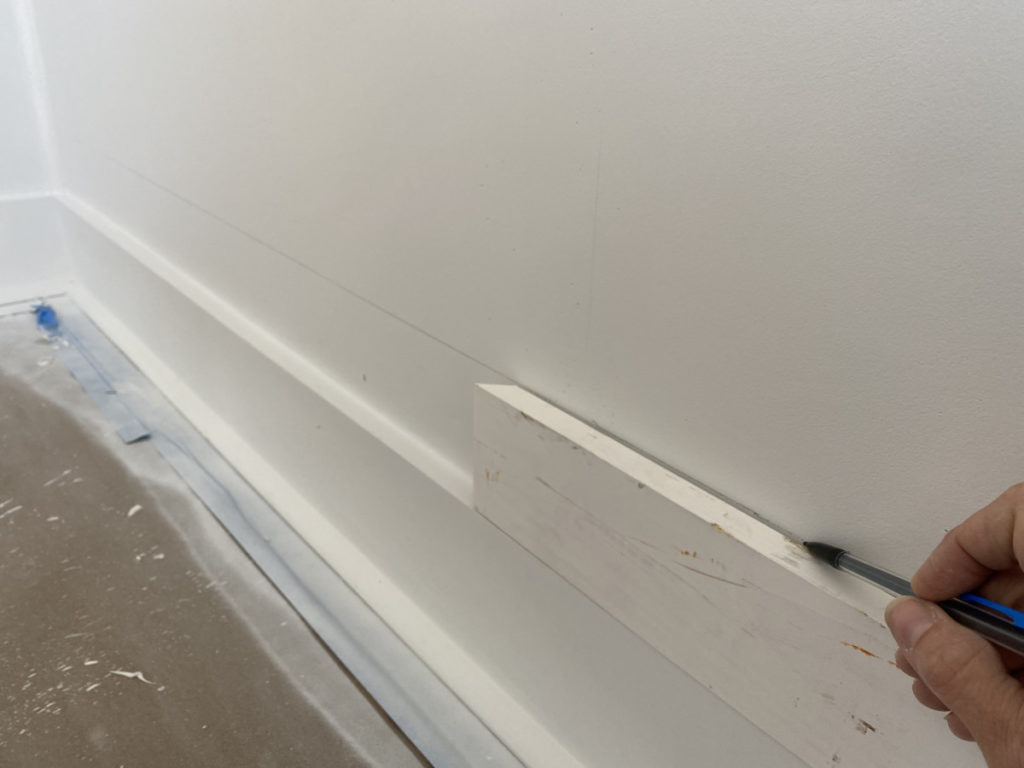
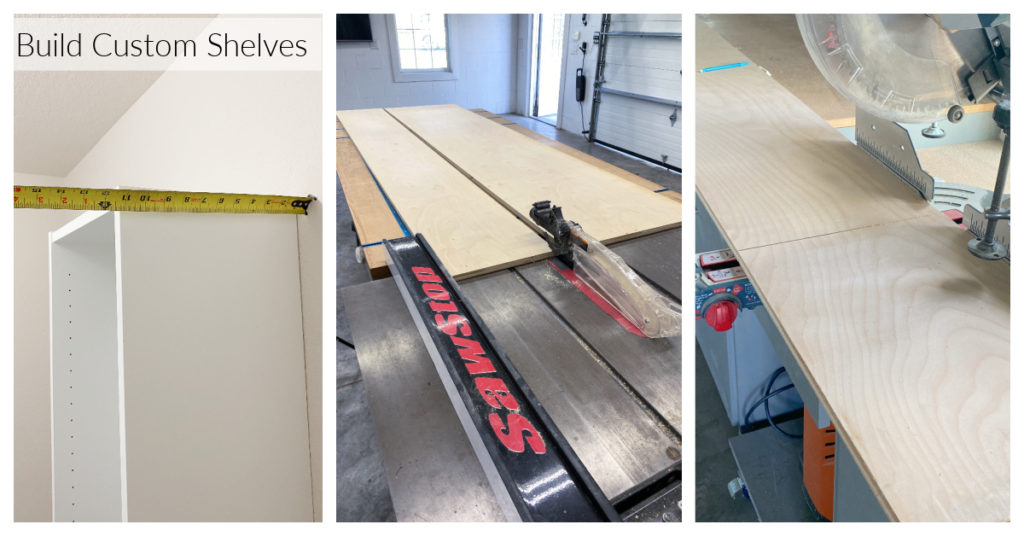
Now that the baseboards are built-in it’s time to really unify these two modular units. In order to do that I wanted to hide the seam where the two units meet, and also hide the cutouts on the side of the unit. The height of the trim would need to be customized. I used my table saw to rip cut a standard baseboard.
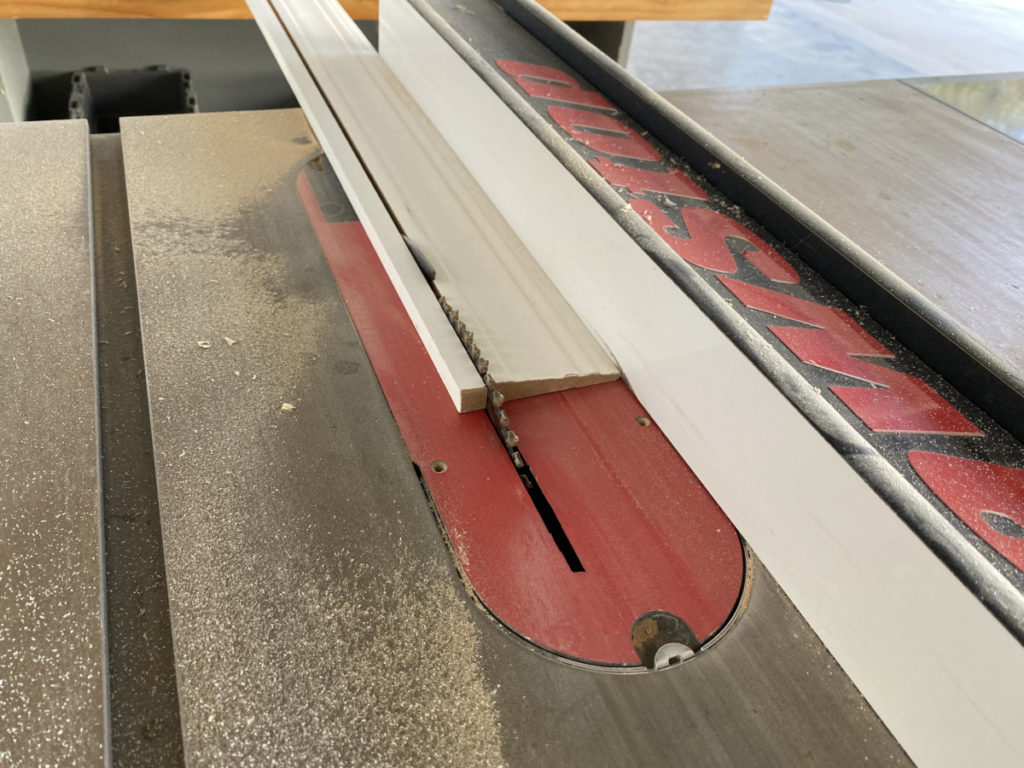
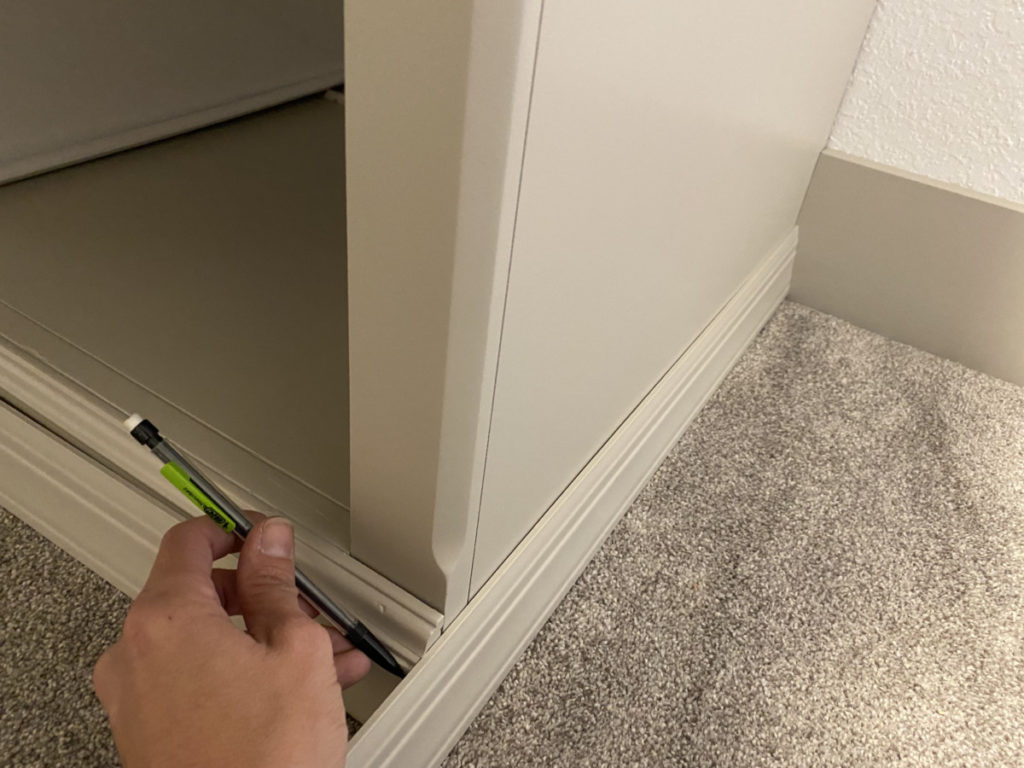
Once the trim was ripped to the correct height, I proceeded to case out the unit similarly to how I add baseboards. I like to mark my baseboards in place using a fine tipped pencil. (I swear by mechanical pencils when marking boards.)
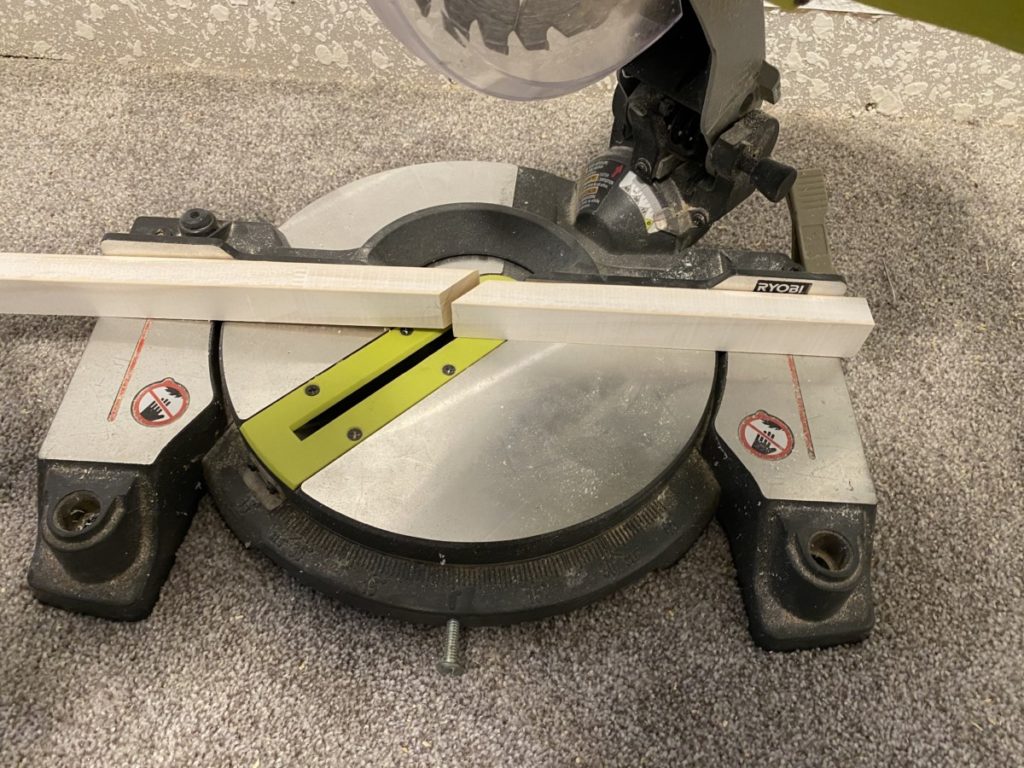
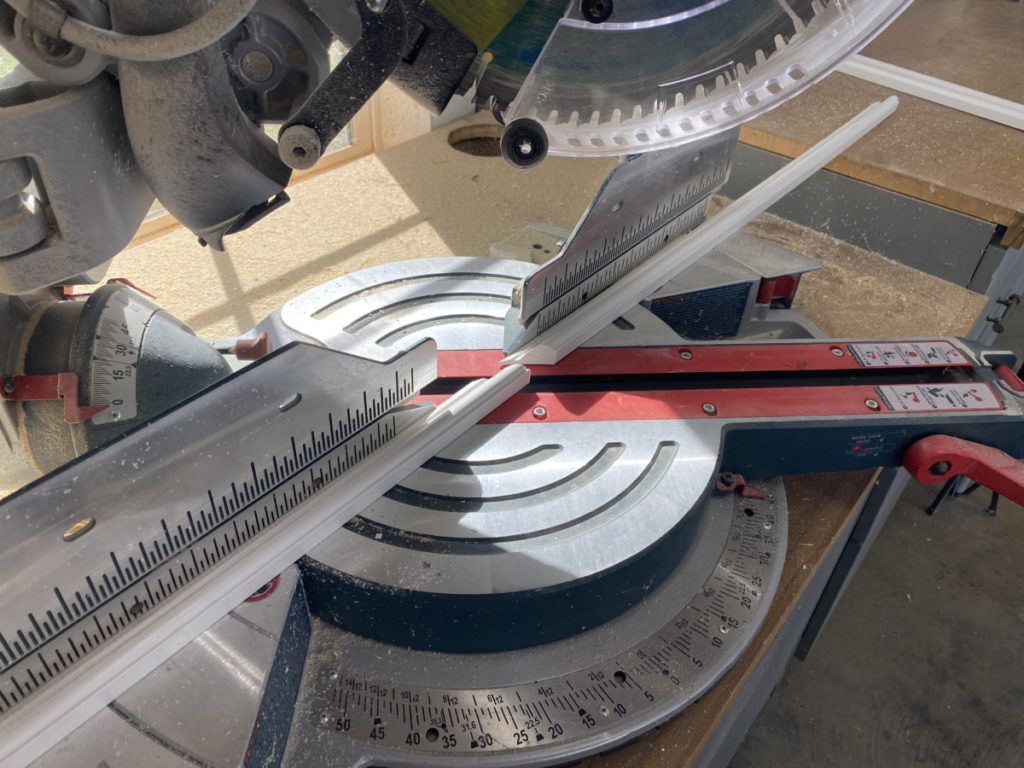
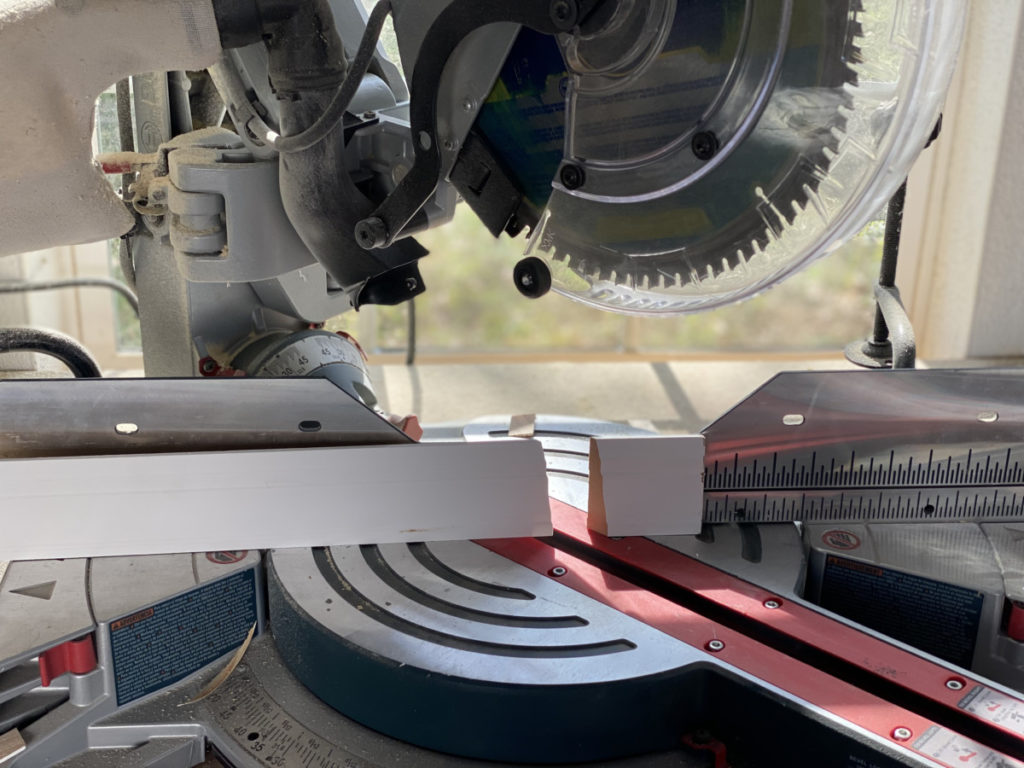
Once marked, I cut my trim pieces using my miter saw set to a 45 degree angle.
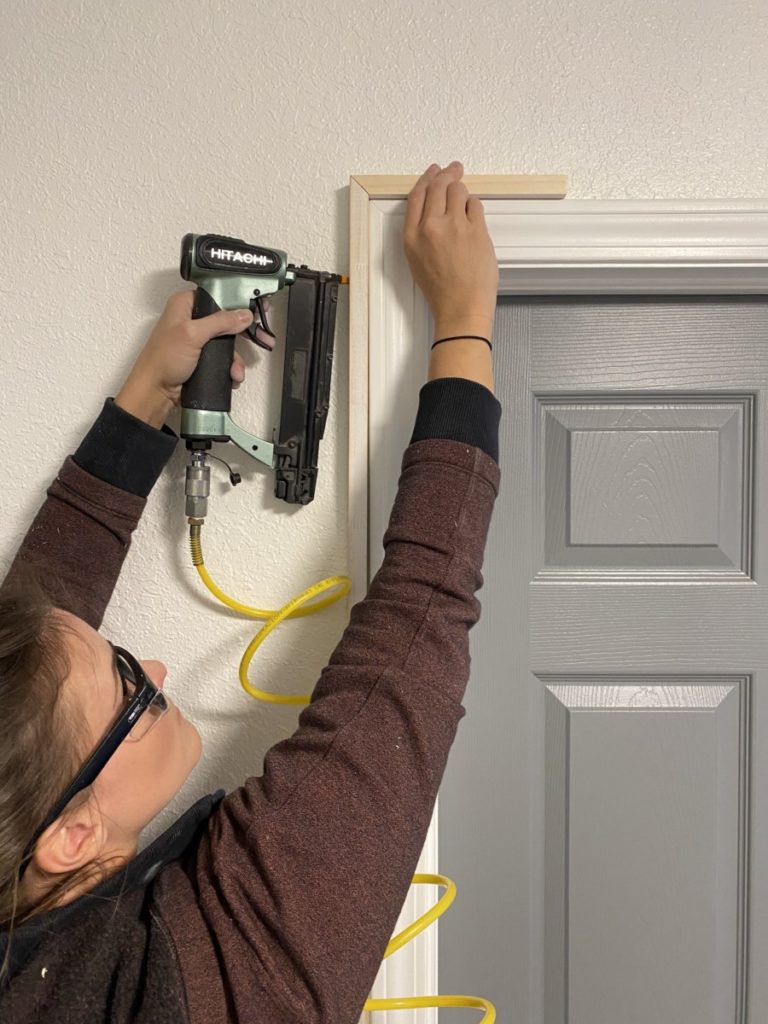
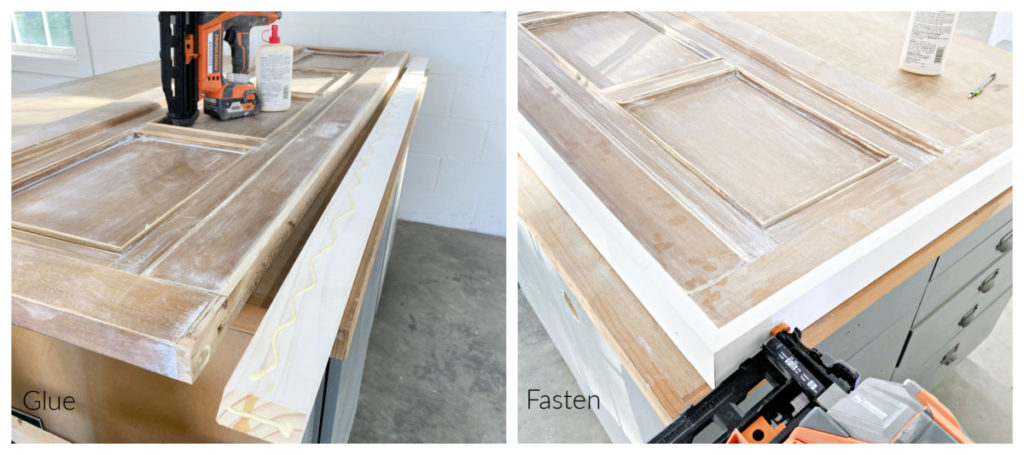
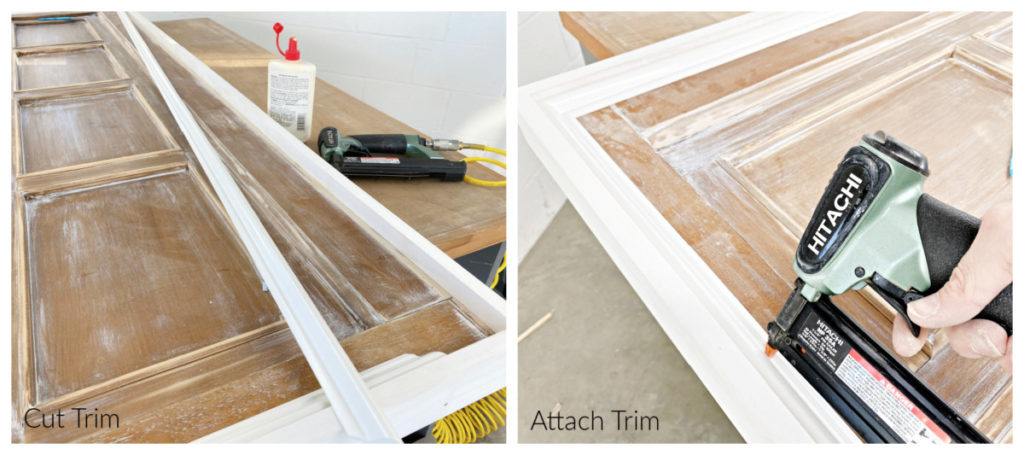
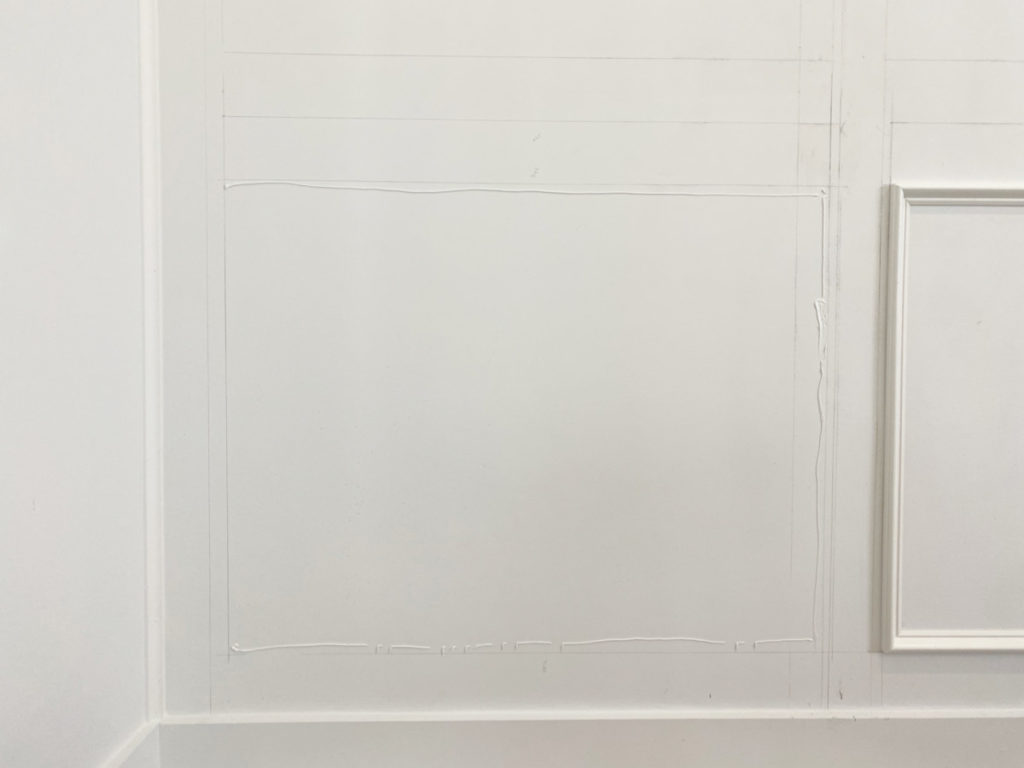
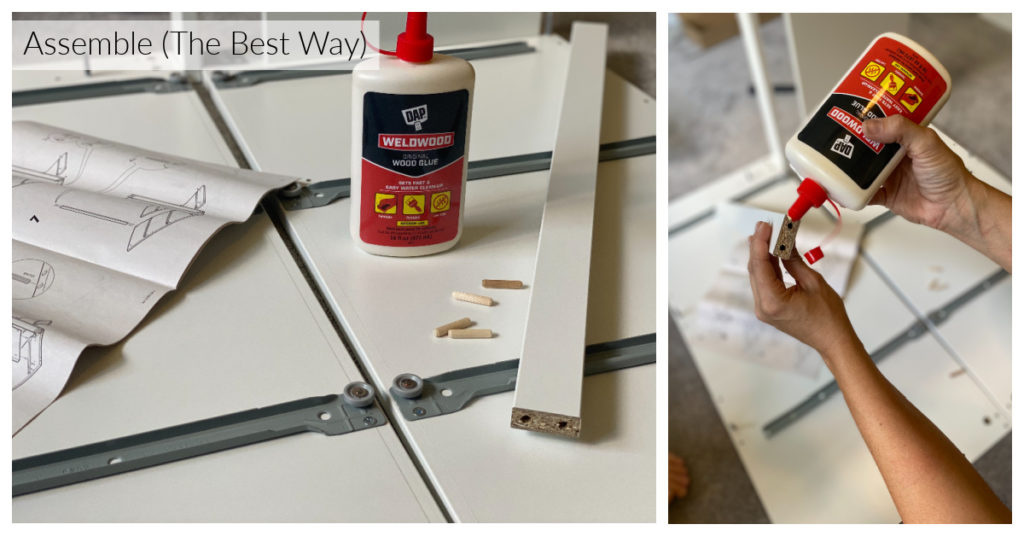
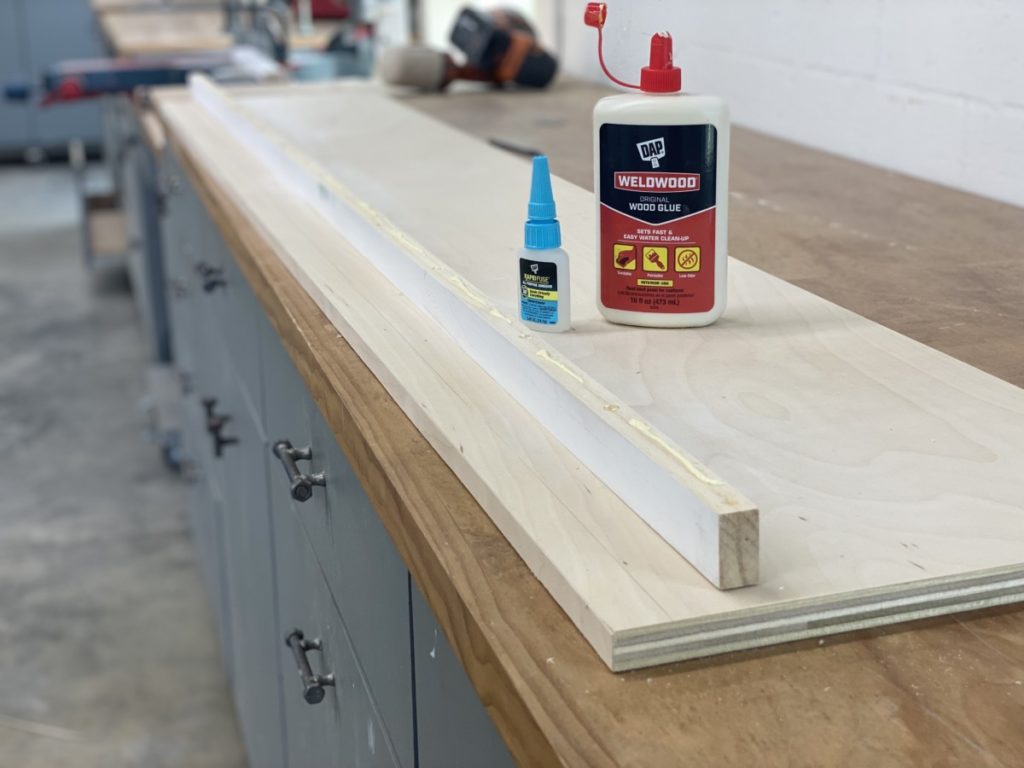
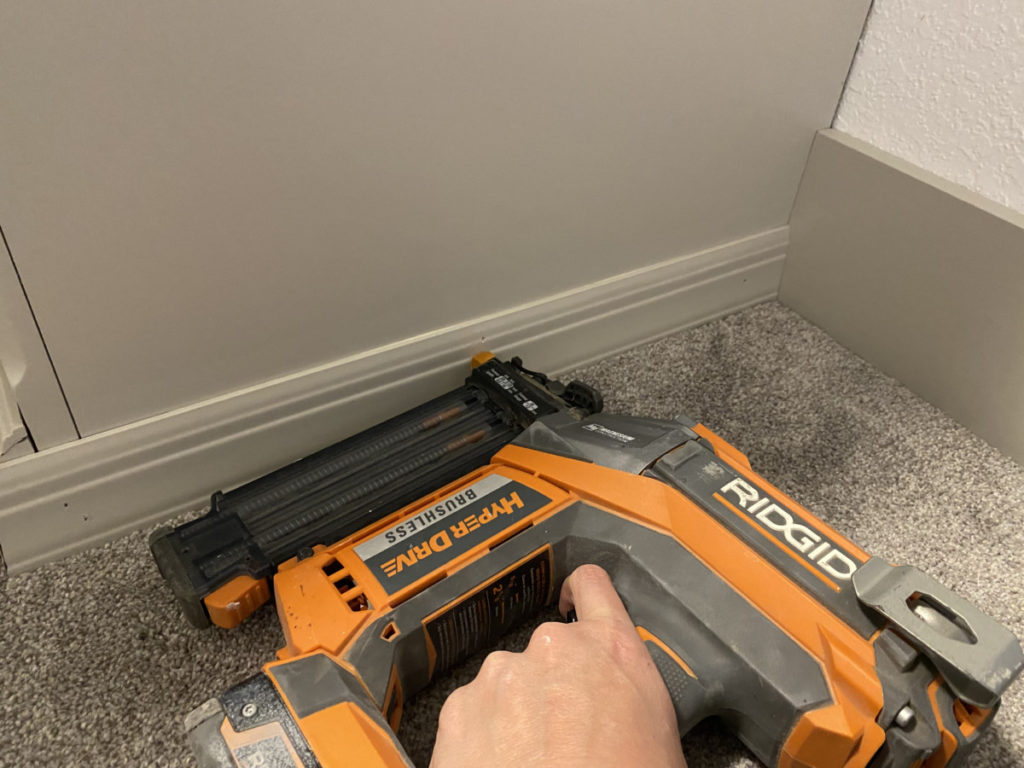
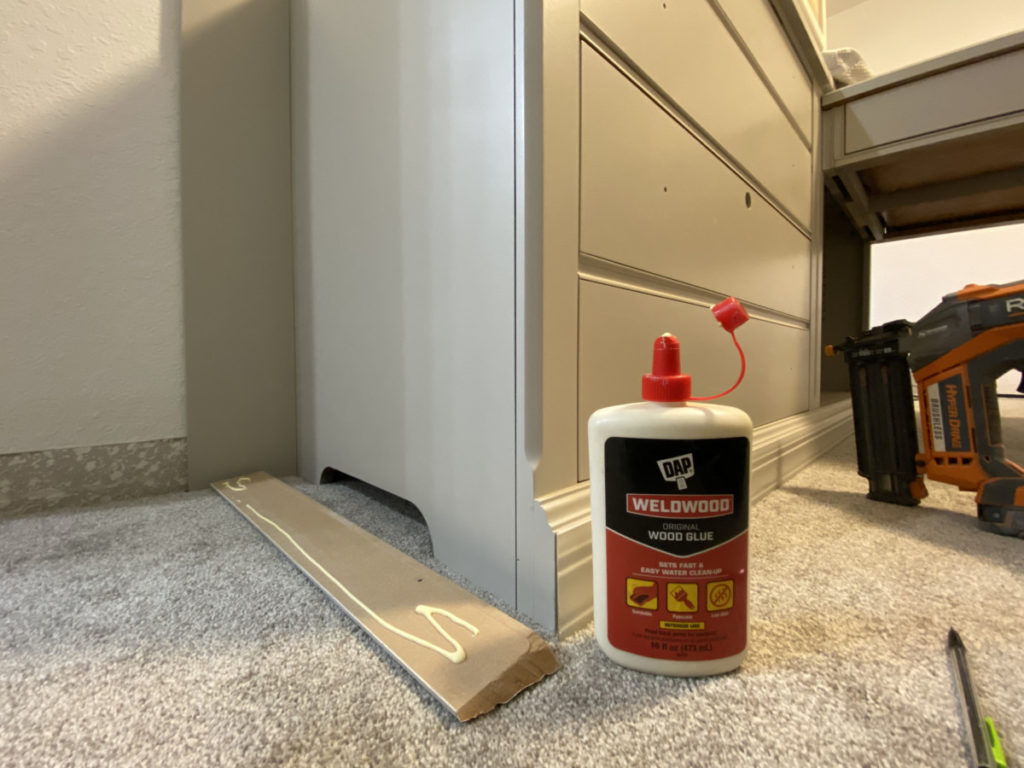
When installing trim on furniture I want a strong permanent hold. In order to achieve this, I can use either WeldWood Wood Glue or DAP DynaGrip Adhesive
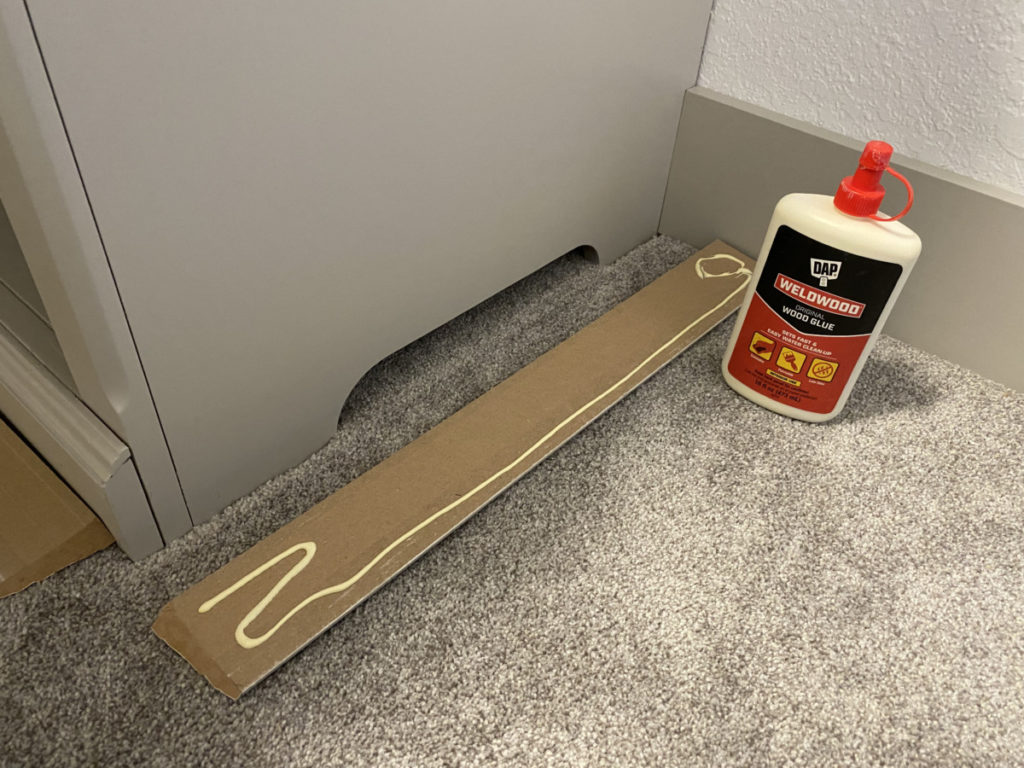
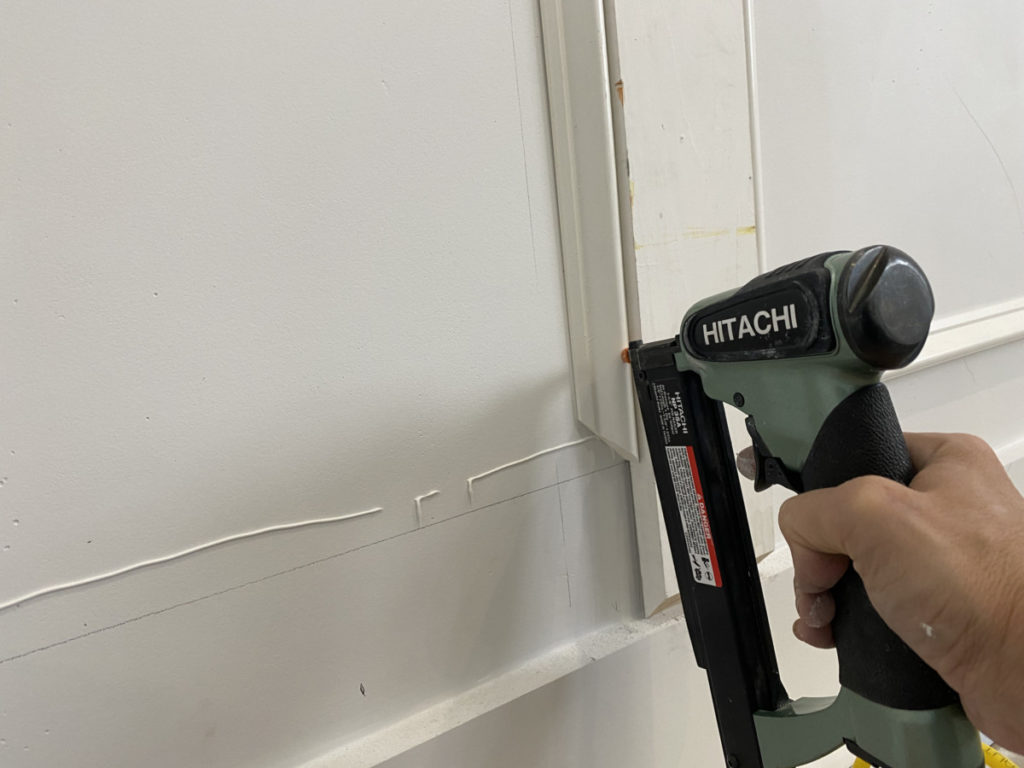
I applied the adhesive to the back of my baseboard then pressed the board into place. I then used 1.5″ 16-gauge nails to hold the trim in place.
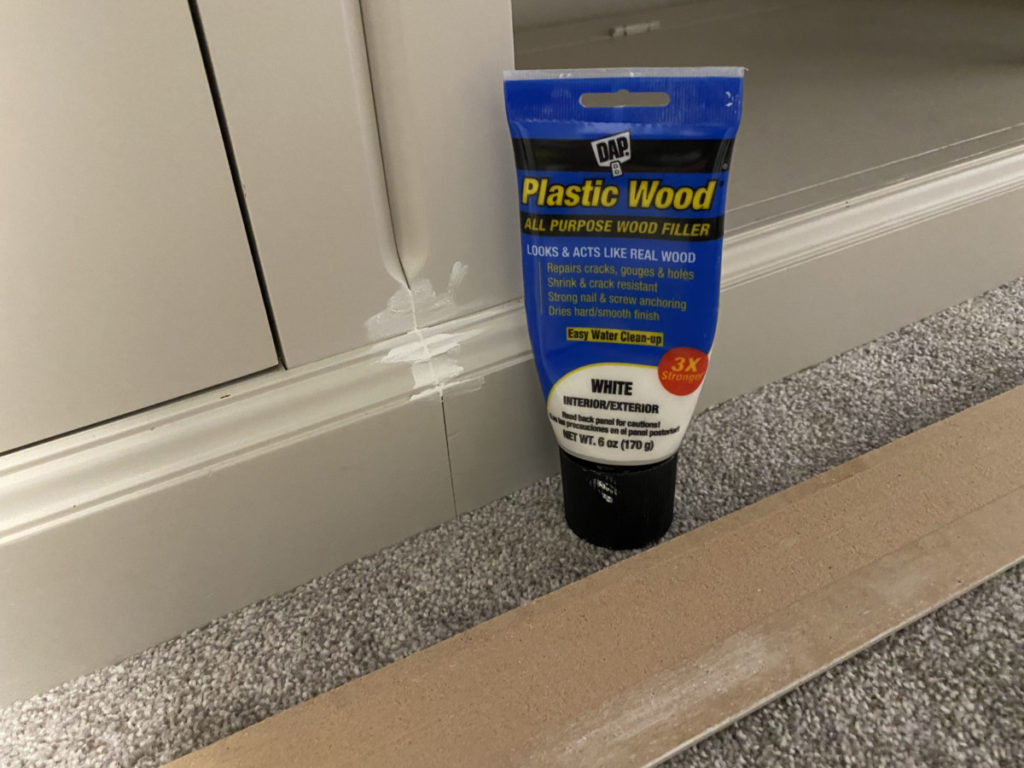
Now that the corner is done, and the odd cutout is covered it is time to bridge the seam/gap where the two units meet. While the custom trim will cover a large portion of the seam it will not cover the entire seam. In order to make this look as seamless as possible I added a small amount of DAP Plastic Wood All Purpose Wood Filler. (Again, once the filler was dry I used a 220 grit sanding block and smoothed out/removed the excess filler.
Once the gap was hidden, I proceeded to add the front trim piece and the side using the previously stated steps.
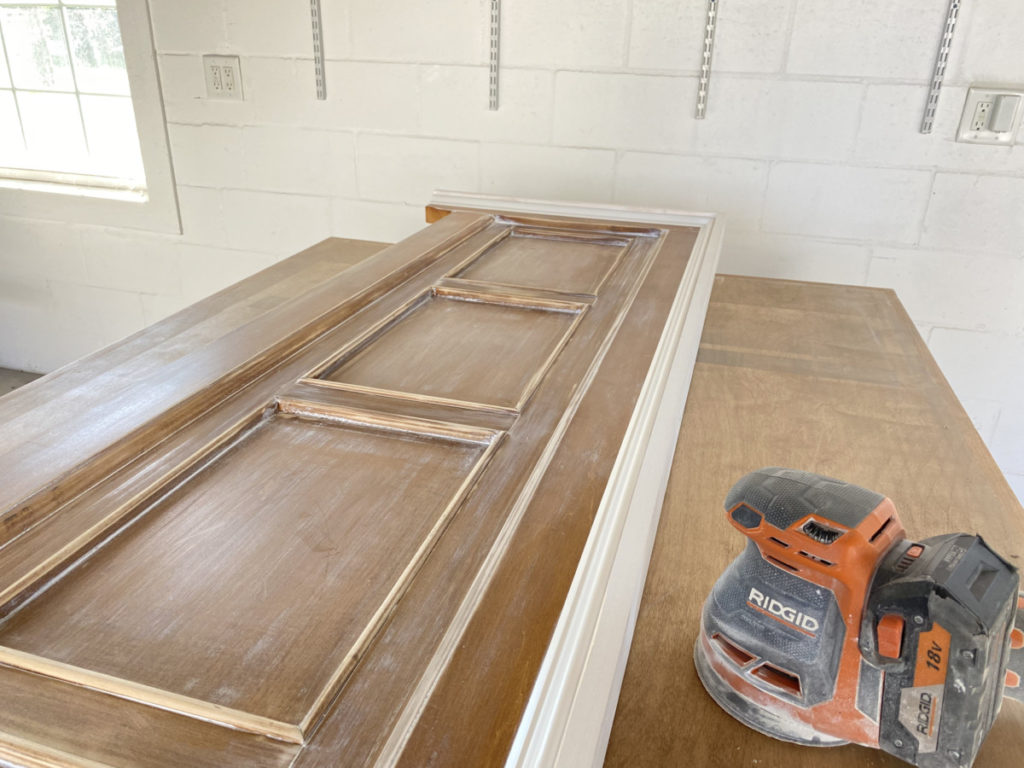
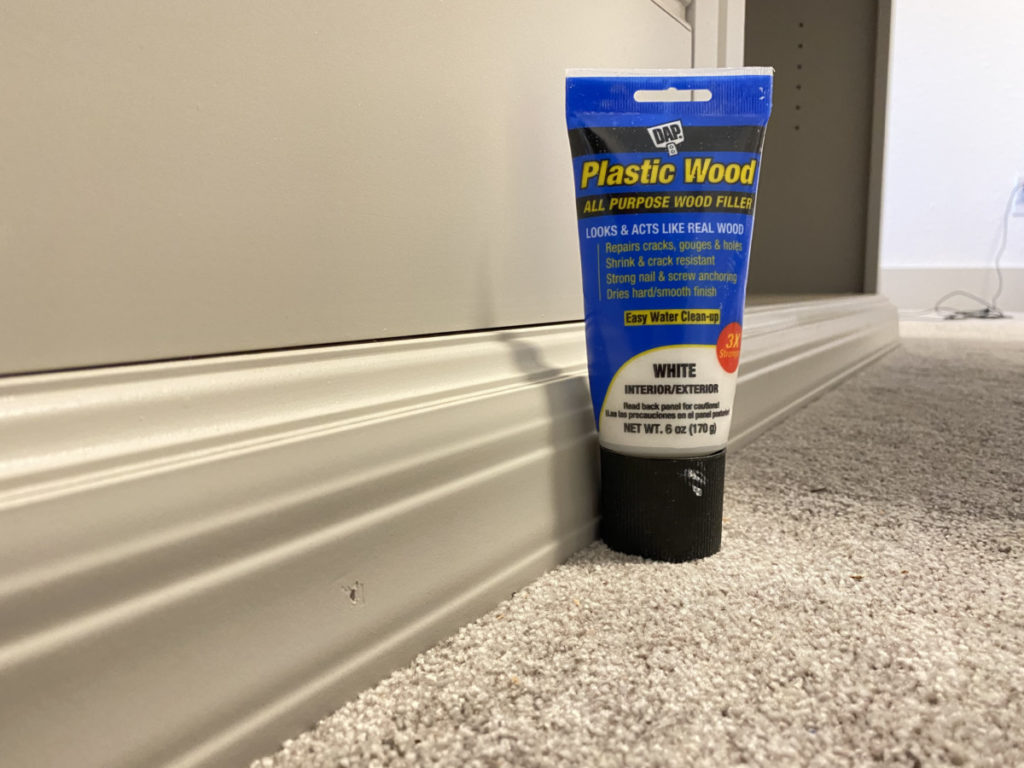
We are getting SOOO close! I highly encourage taking an extra minute to run through and fill all the nail holes to create a flawless look.
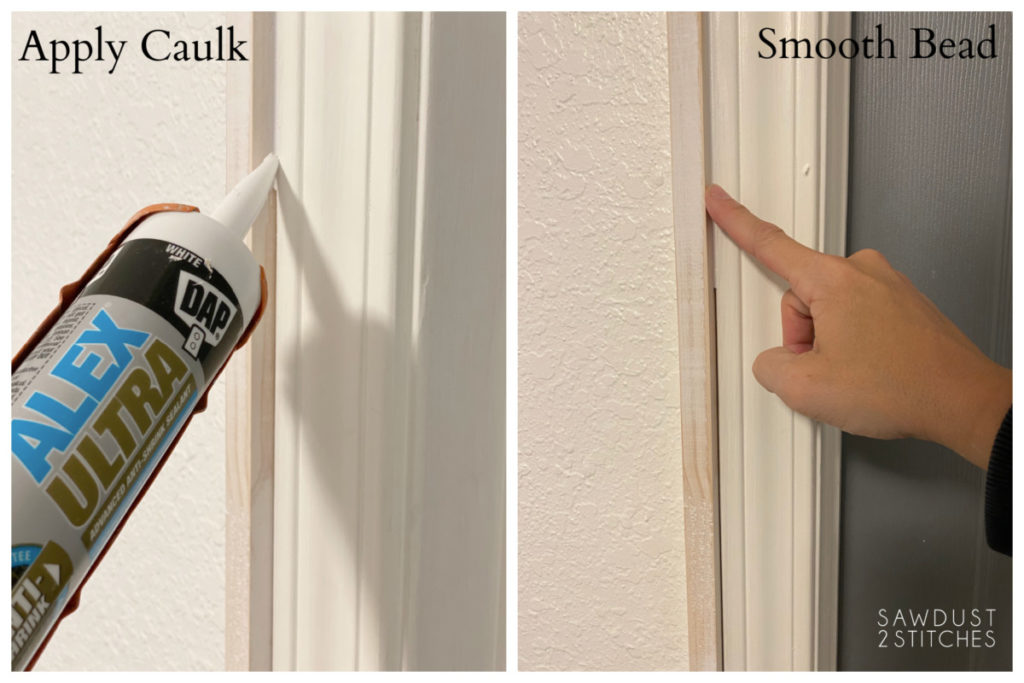
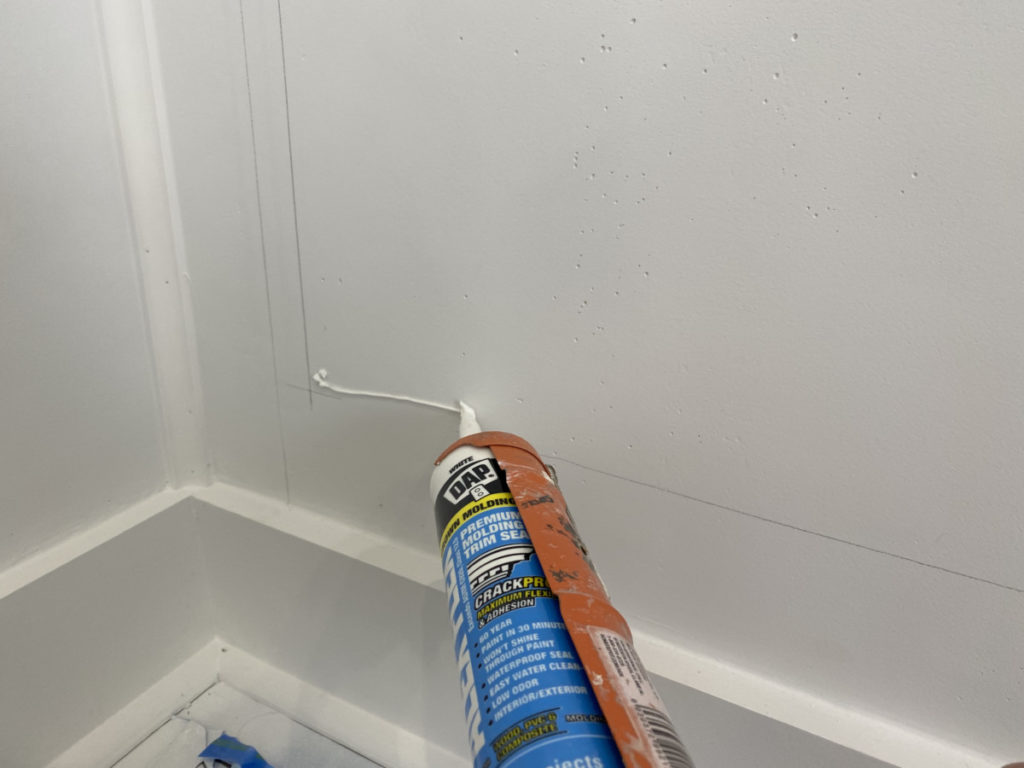
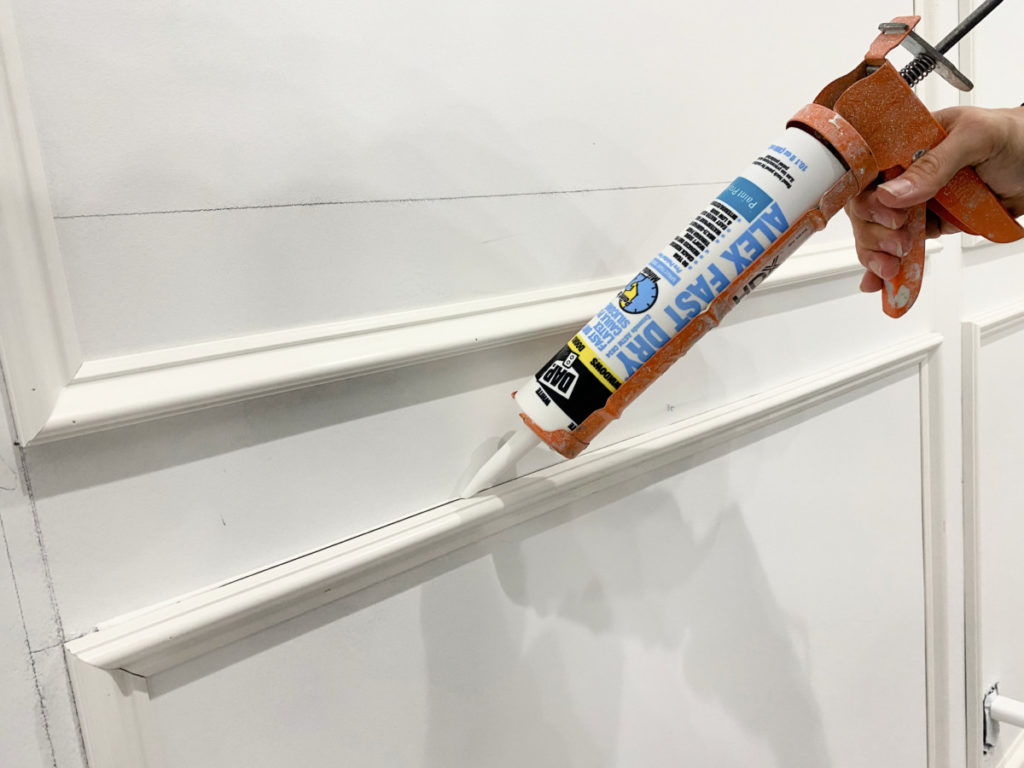
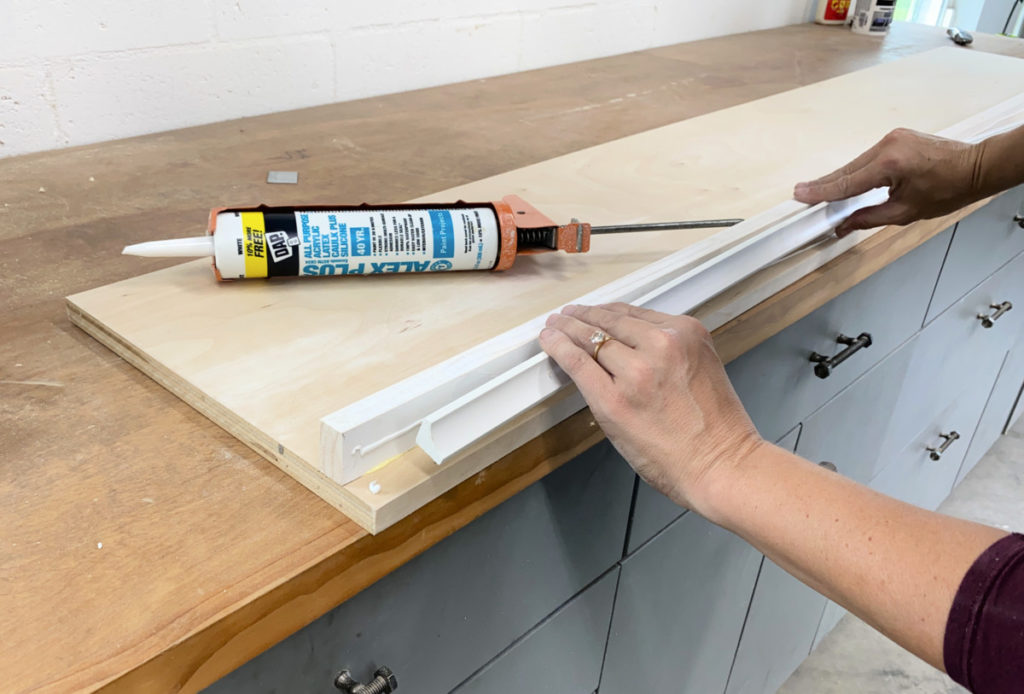
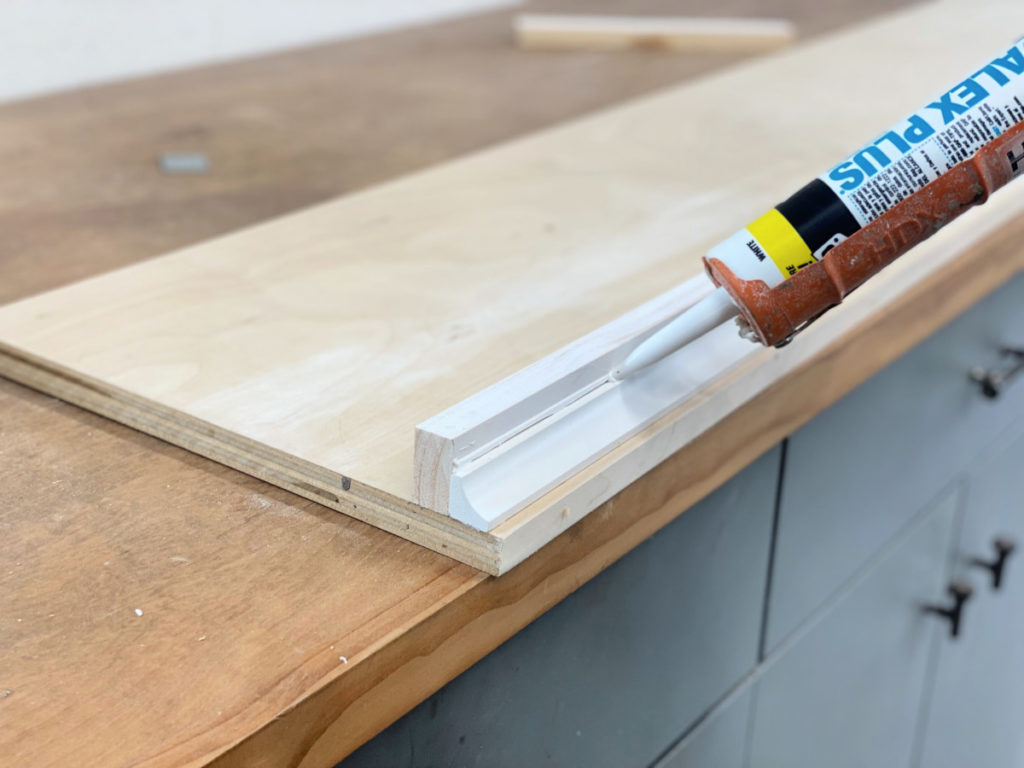
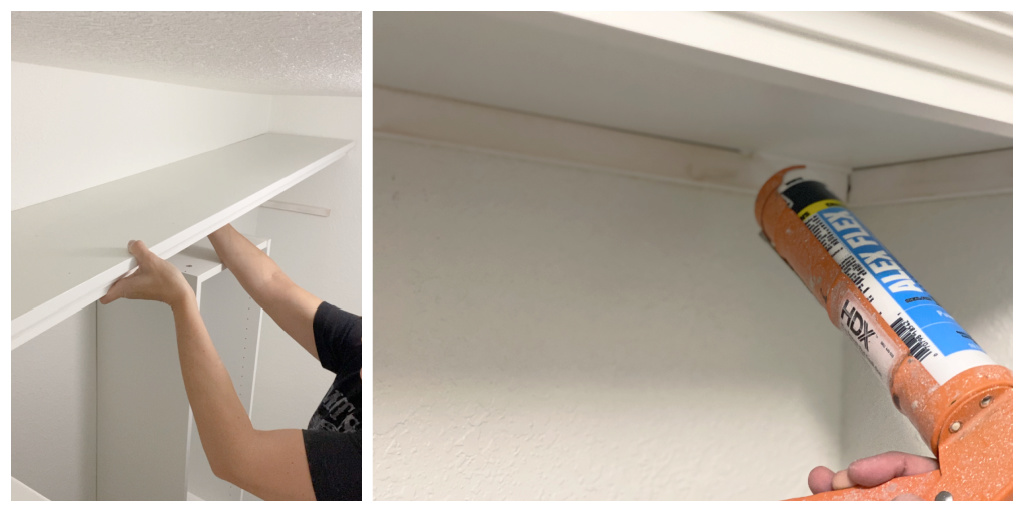
Once all the trim work is finished is the time to bring in the “magic eraser” for trim work, caulk! Even the worst of gaps can melt away when DAP caulk is utilized properly. If you are interested to see more about where and how I used it make sure you check out my Instagram Stories here, OR if you are interested in learning on how to trim out a room and use caulk, use my tutorial here.

I wanted to hide the slight gap/seam that was created when I added my bottom trim piece. In order to make that seam vanish I used DAP Alex Ultra Advanced Latex Sealant. This caulk is great for paint projects and as always it has “anti-shrink” technology and is paint ready in 15 MINUTES! Perfect for the impatient DIYer like myself.
Last step in creating the perfect built-ins is painting caulk and adding touch-up paint to any previously filled holes or seams!
Finishing Touches on Kids Workspace
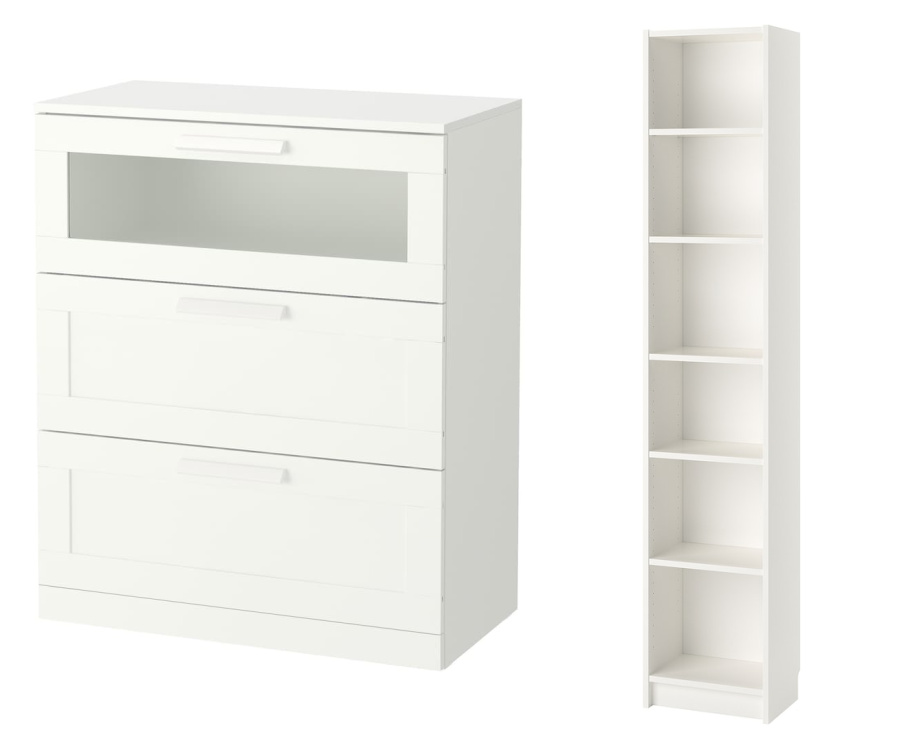
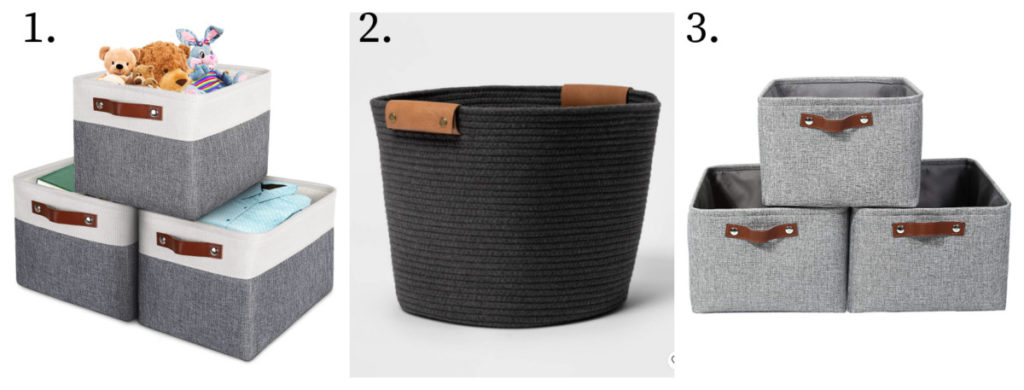
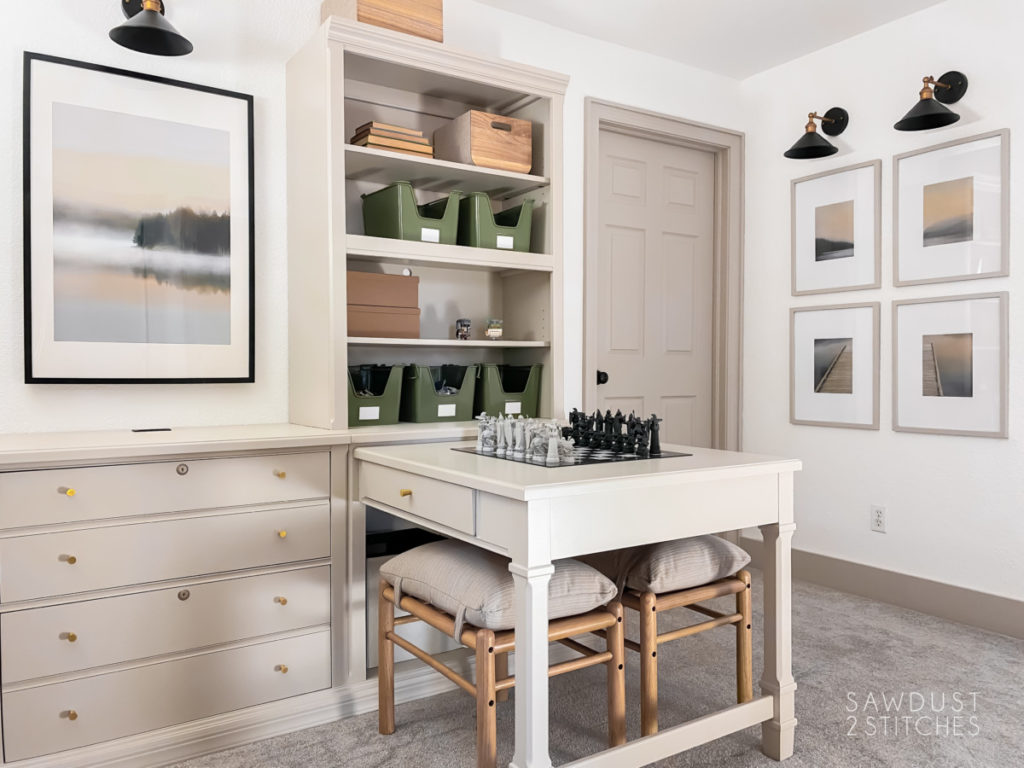
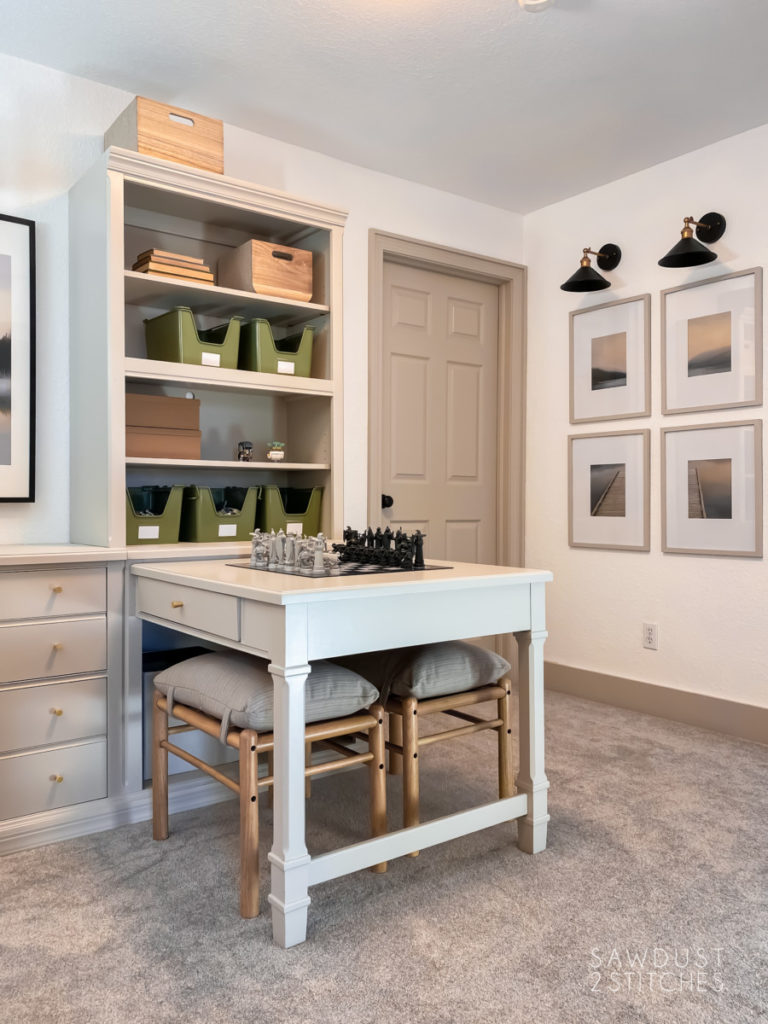
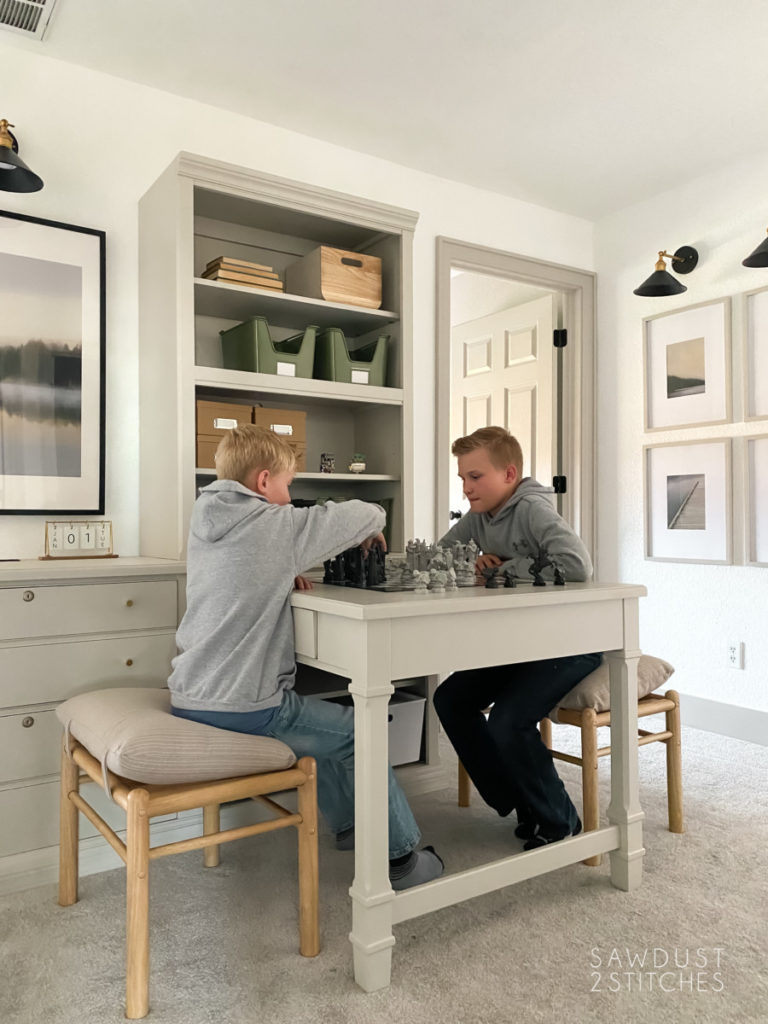
Now that the built-ins are complete, I wanted to add a few finishing pieces to really tie the whole space together. Naturally I needed to add some practical storage. I opted for these cute colorful bins from Target.

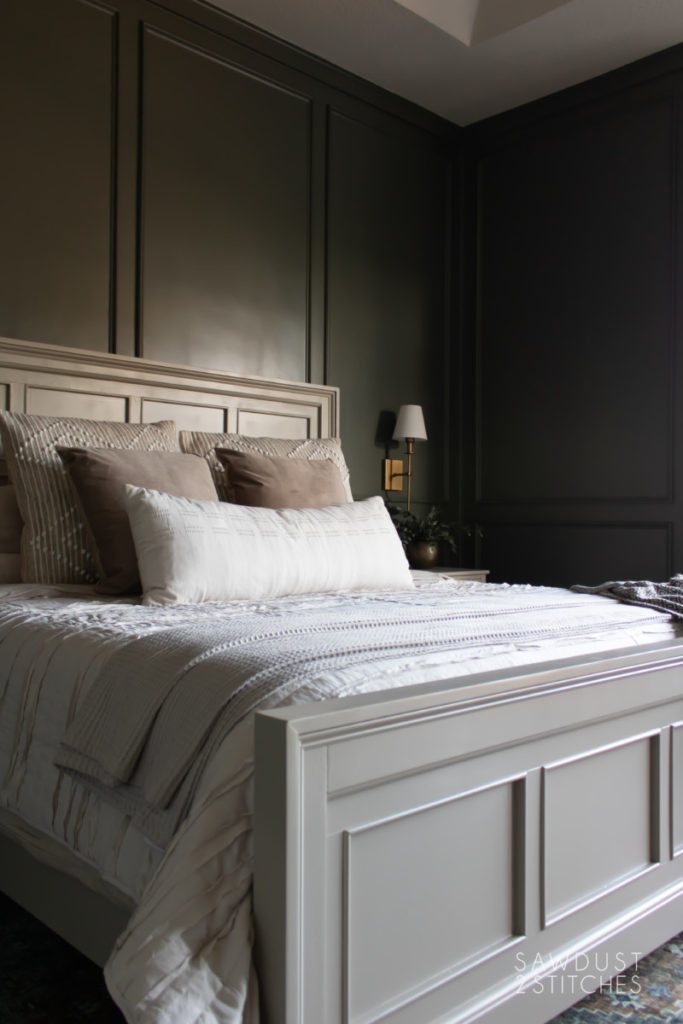
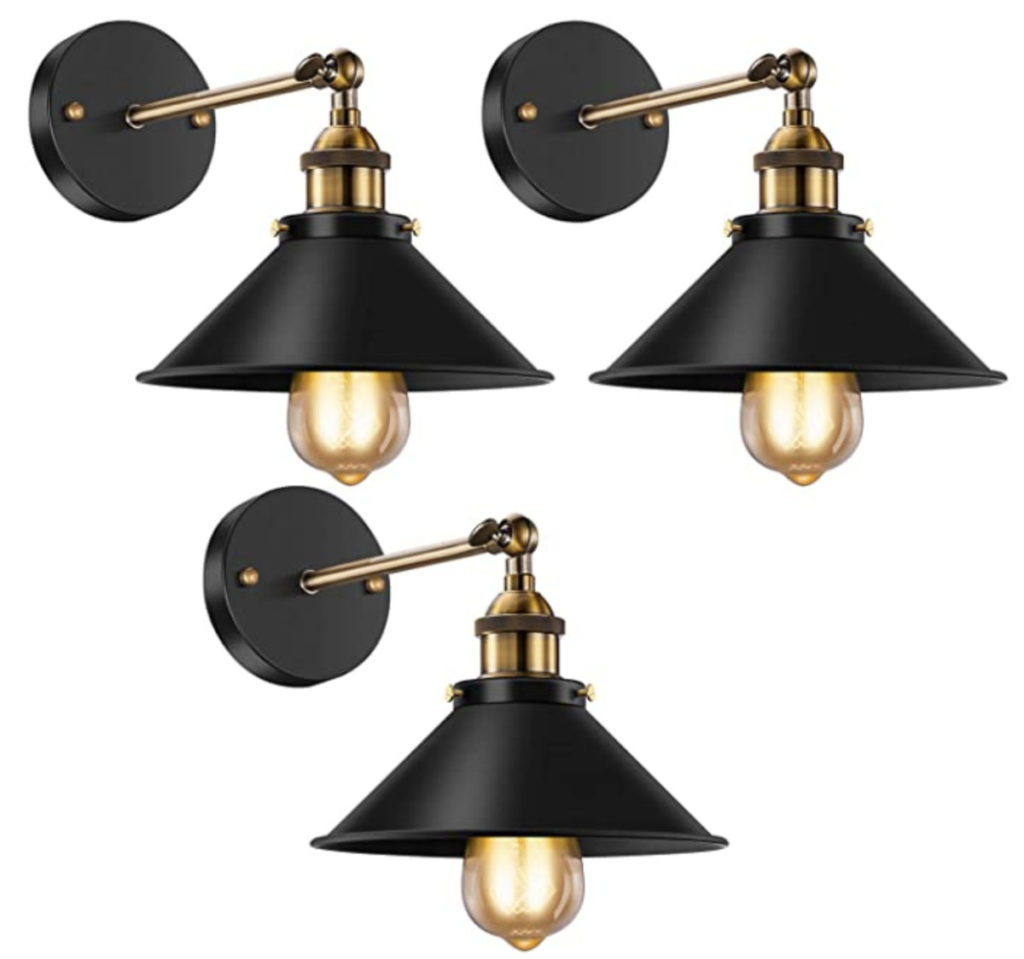
I added a few pieces of framed art from IKEA and really wanted to showcase them and add some pops of sophisticated black to the space. To do that I used these SUPER INEXPENSIVE Light Sconces to give the space ambiance.
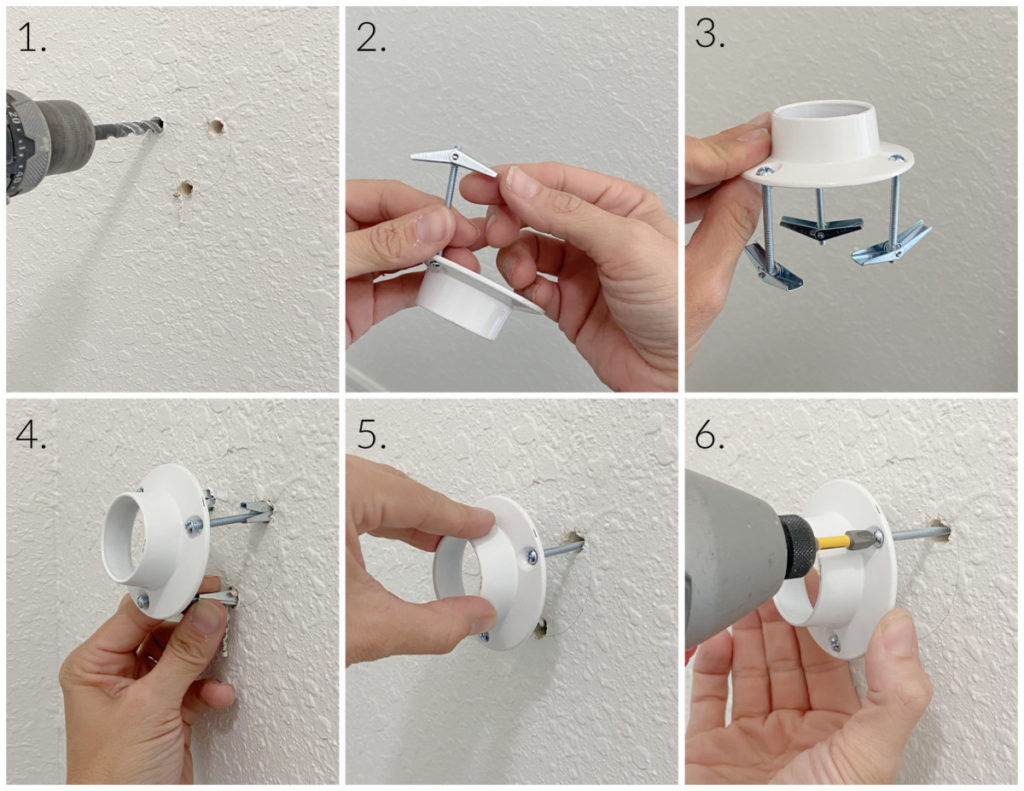
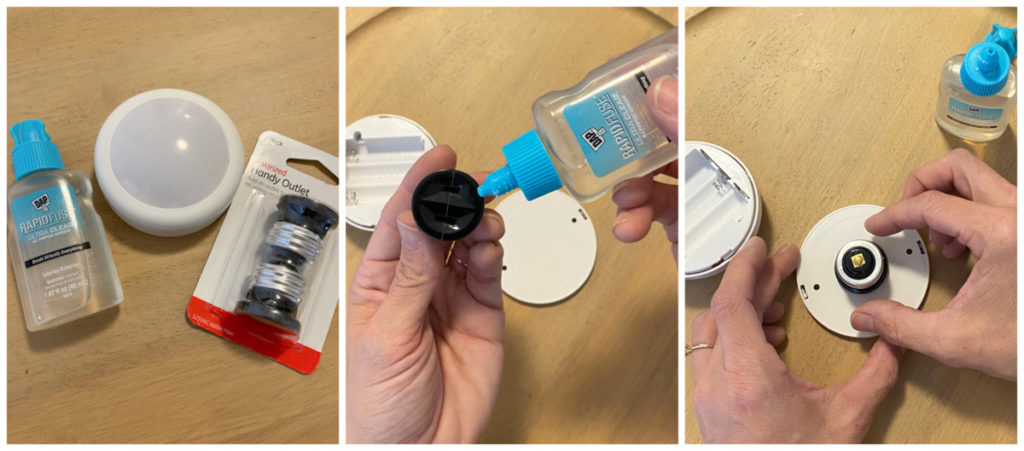
I wanted to add some cute accent lighting, but I did NOT want to put in the work to hard wire the lighting. Instead, I opted for the old “puck light trick”. It is a simple hack using puck lights, and these socket adapters and RapidFuse Ultra Clear Adhesive. Simply adhere the socket adapter to the back of the puck lights, add batteries, screw into the socket and control using a battery operated remote. Boom, done.
Kids Workspace Reveal
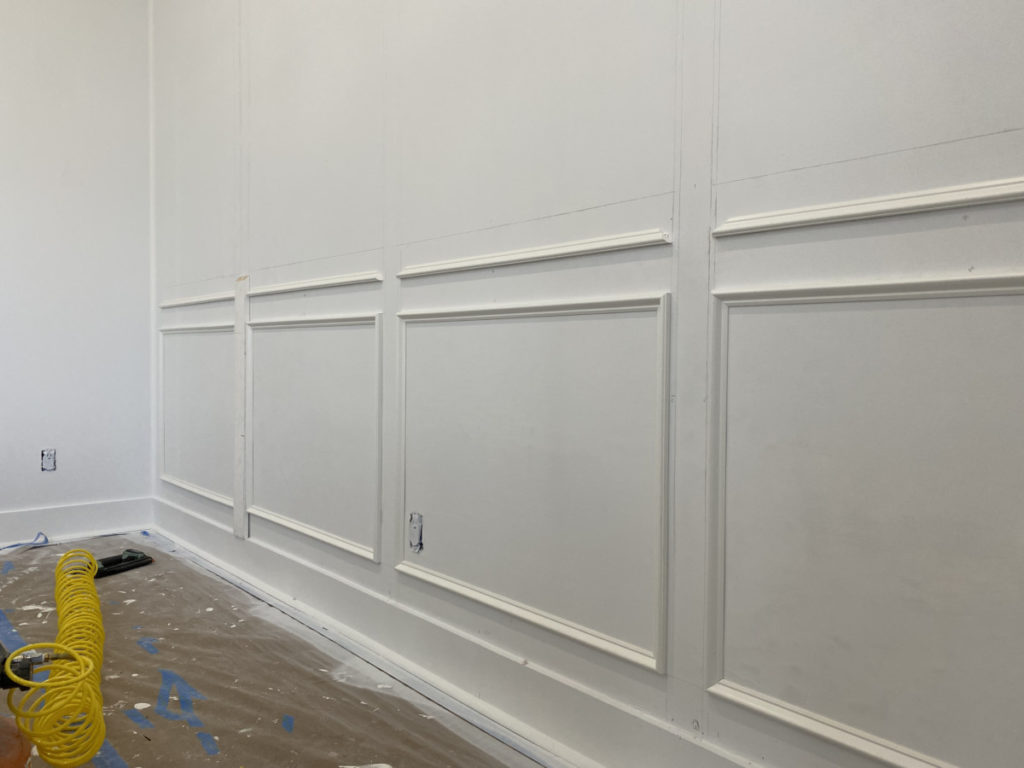
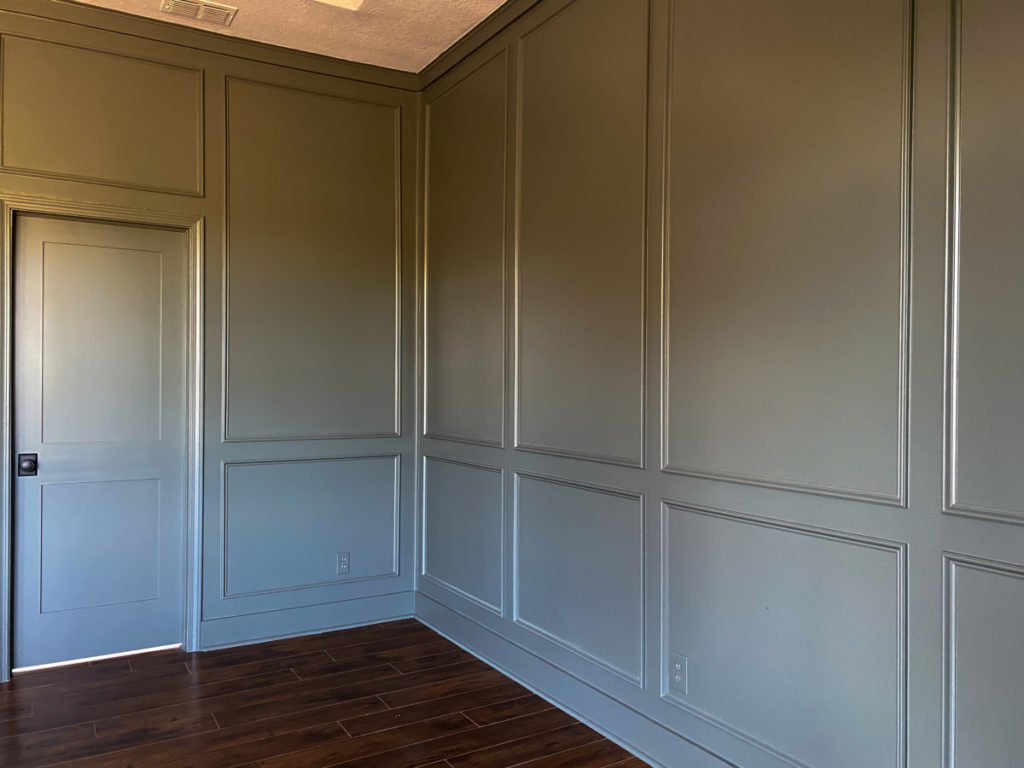
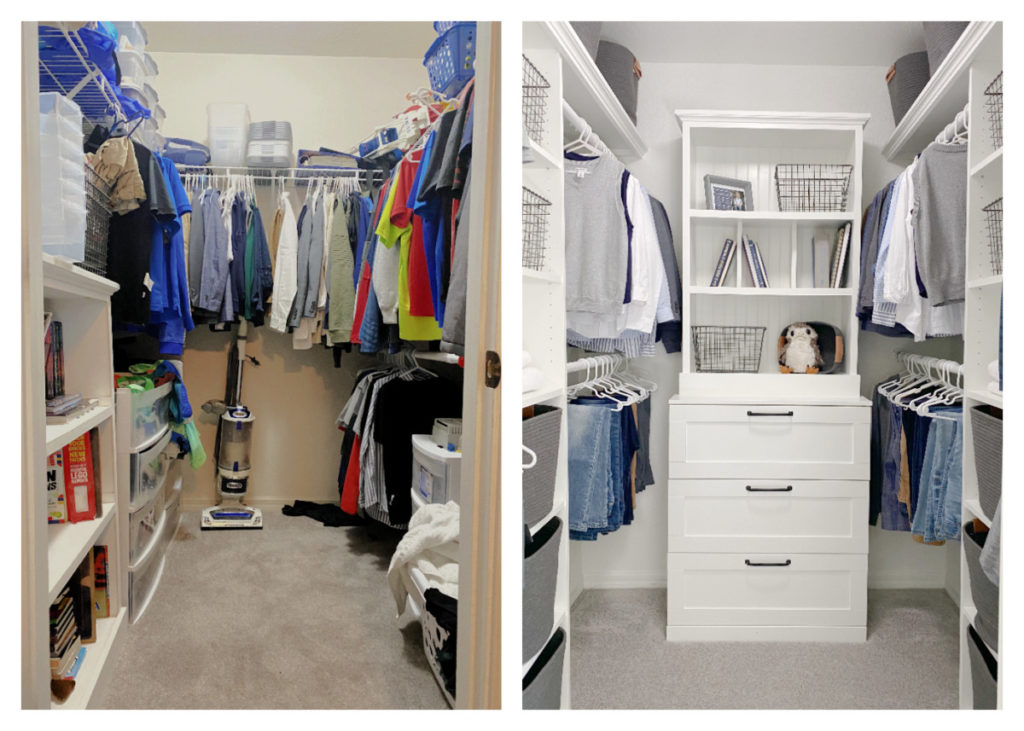
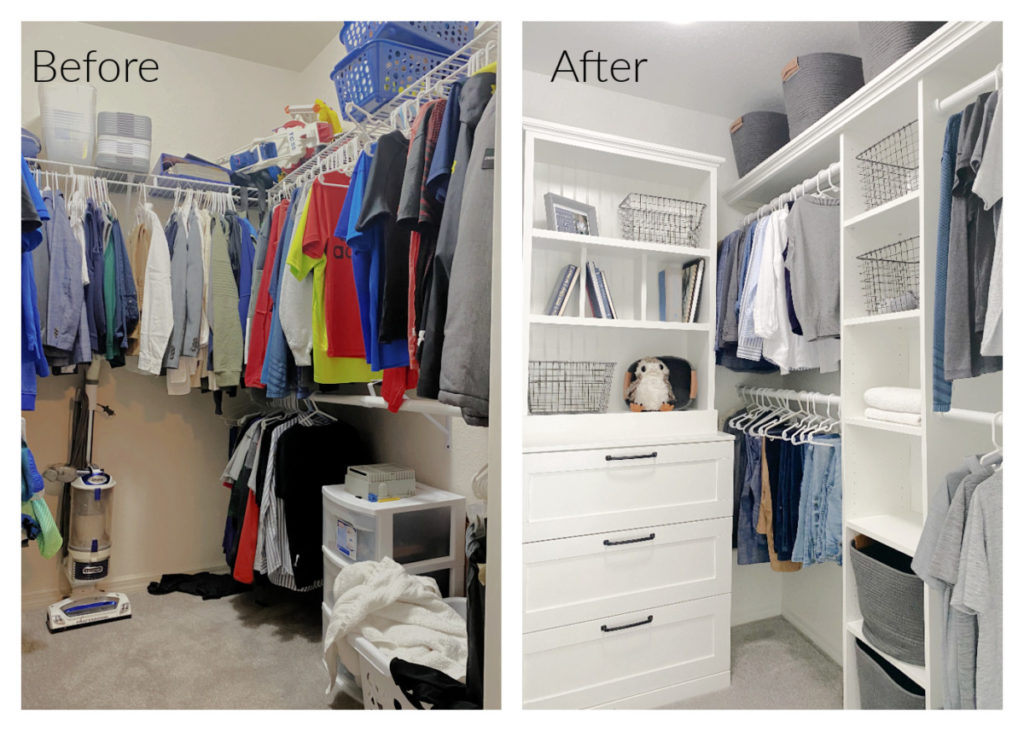
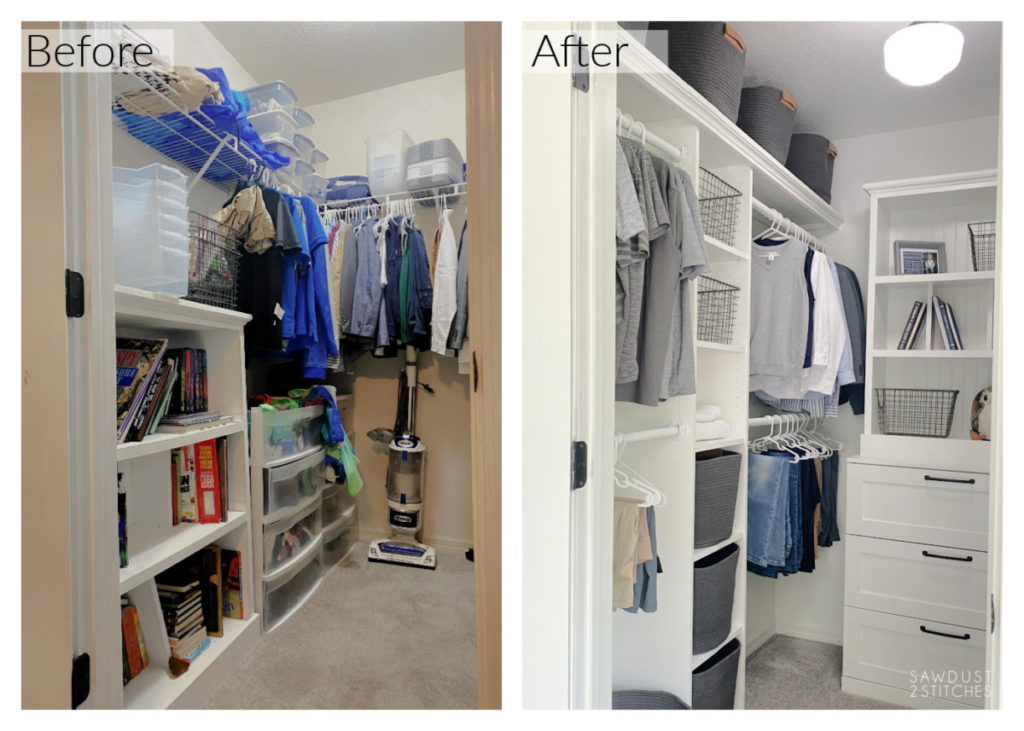
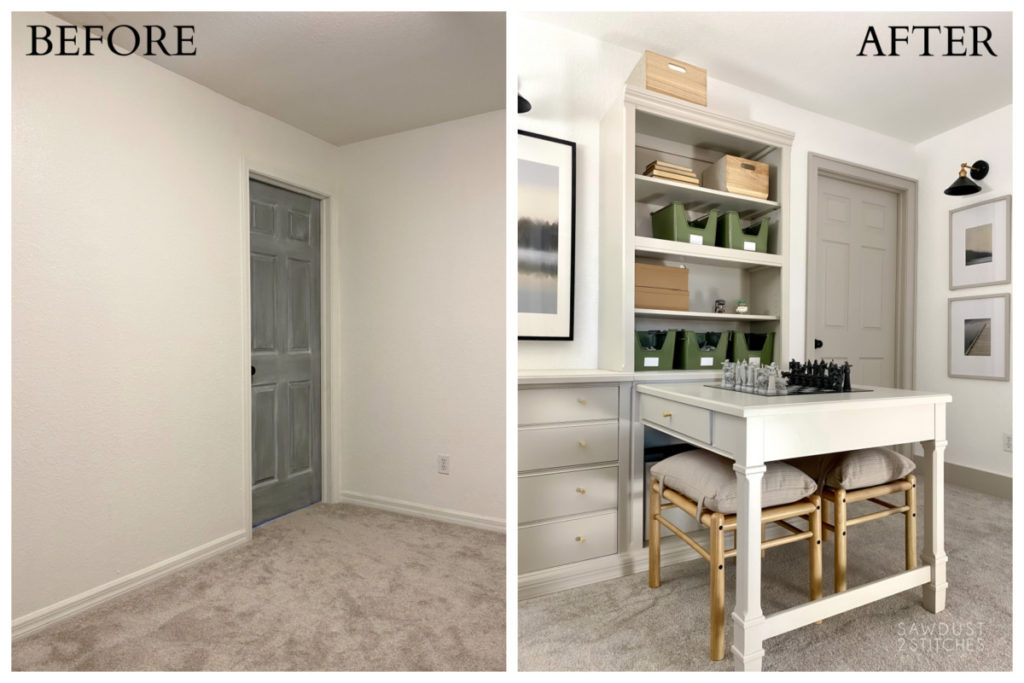
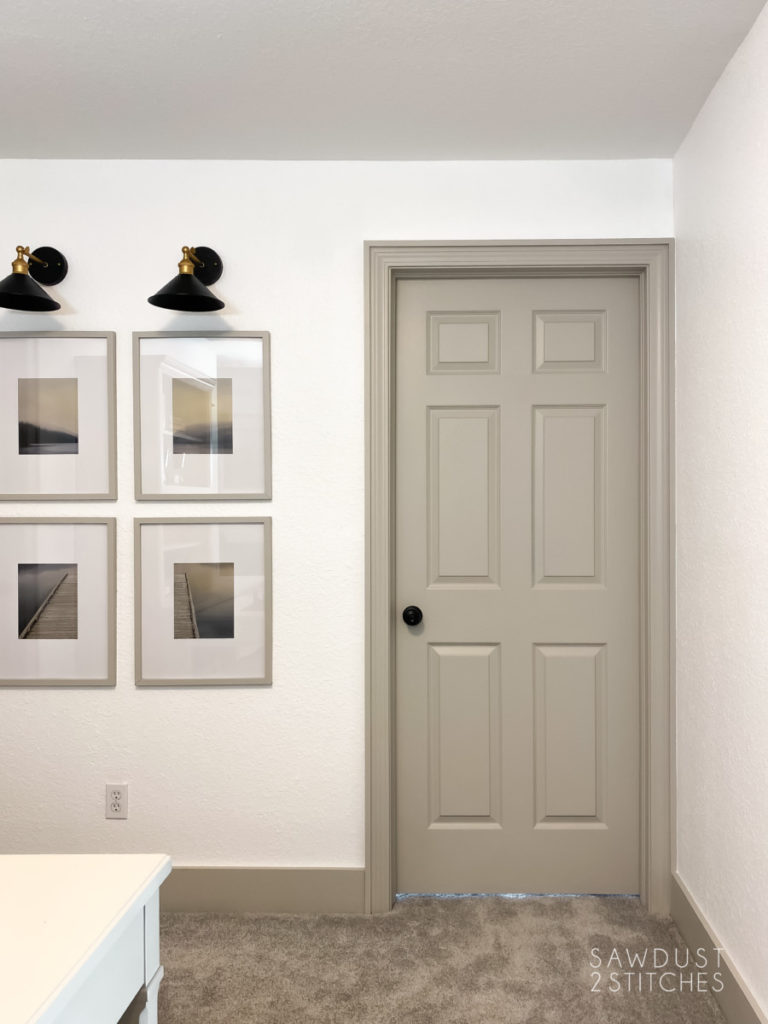
One last reminder what this space looked like BEFORE we maximized the crap out of this upstairs landing/hallway. It was a basic 9×10′ space with nothing but doors in it…. drum-roll please…
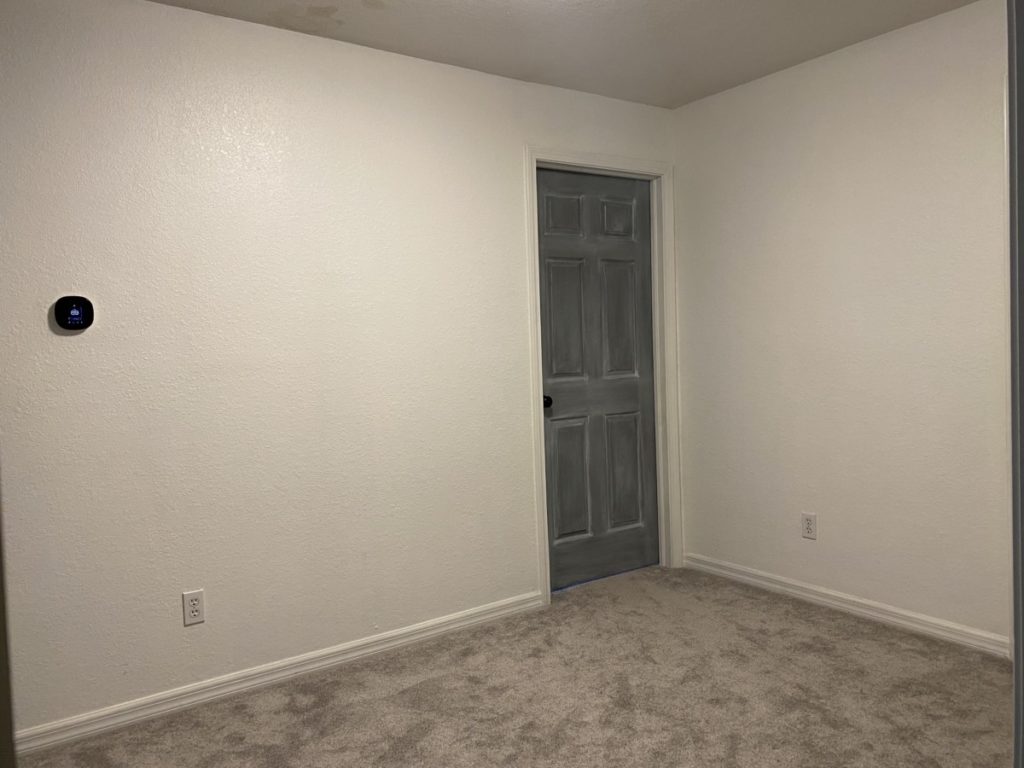
Turns out that the odd hallway just needed some repurposed office furniture and some elbow grease! Seriously though, how much better does this little space look? It is so functional now, and it adds so much character to the second floor.
Now all you need to do is start scoping out your local garage sales, thrift stores, or online market places and turn someone else’s discards into your designer focal pieces!
Thank YOU for reading along!
Take Luck,
Corey
Sources
- Desk Set – Facebook Marketplace
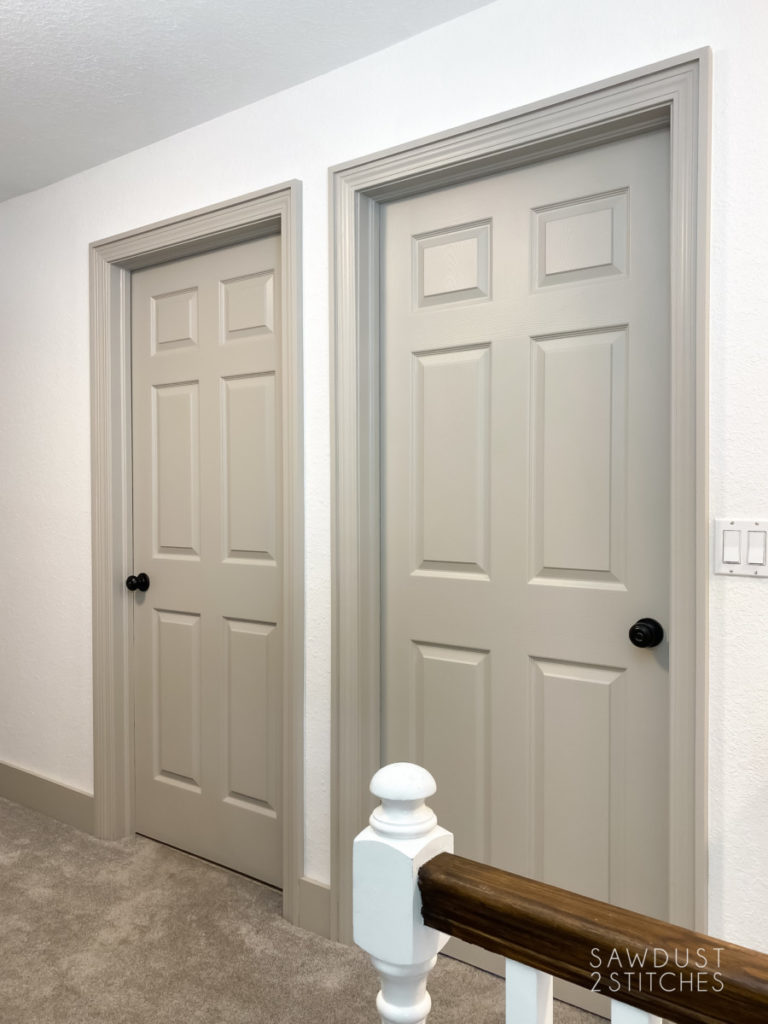
- Wall Paint Color- “Ultra Pure White” Eggshell by Behr
- Desk/Trim/Door Paint Color- “Agreeable Gray” Satin by Sherwin Williams
- Sconces (3 pack)- Amazon
- Puck Lights- Amazon
- Green Storage Bins- Target
- Stools- Target
- Light Socket Adapters- Amazon
- Art – IKEA
- Large Black Frame- IKEA
- Small Frames- T.J.Maxx
- Wizard Chess- Amazon