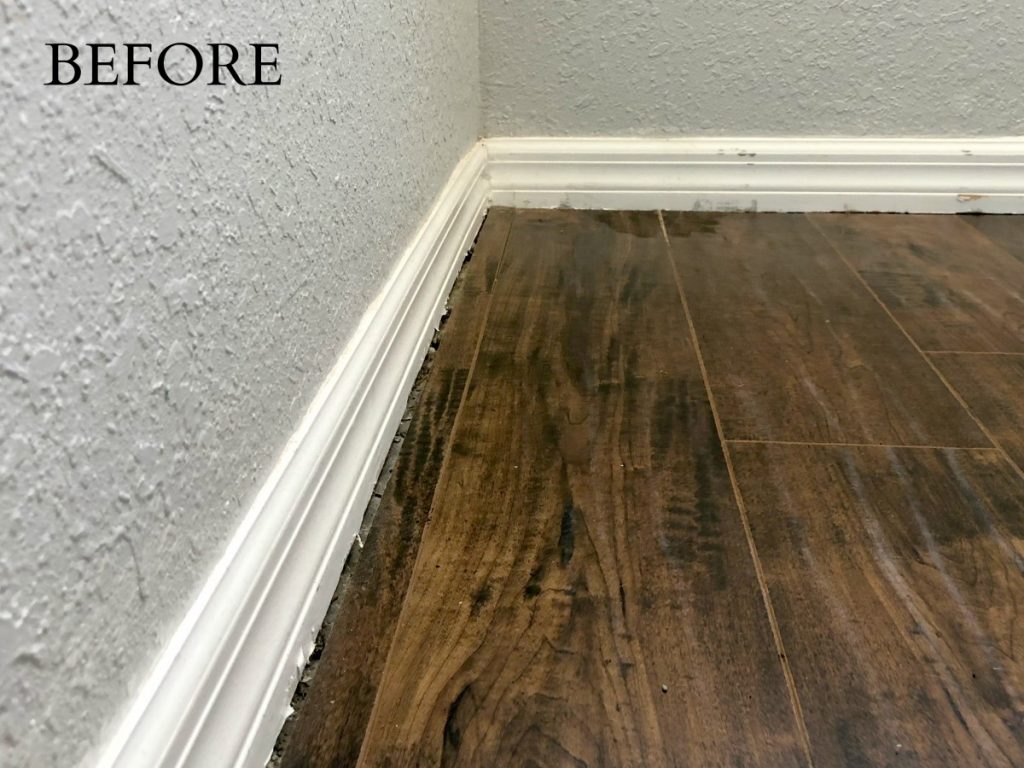
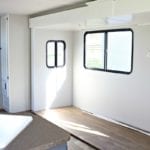
Hey All! Today I am coming at you from my sad, back burner laundry room. This poor area of the house has been neglected since we moved in, and let’s face it for the amount of time I spend in there, it deserved an update! You see, the very first weekend we were in the new house we replaced all the flooring. You can read all about it here. We were literally moving furniture in as the other person was laying flooring. So the washer and dryer were shoved in the little laundry room before I could even fix the huge gap at the baseboards. So the laundry sat like this for 2 years… But now, I am finally tackling the laundry room, and I am working from the ground up! First on the agenda? You guessed it, updated baseboards!
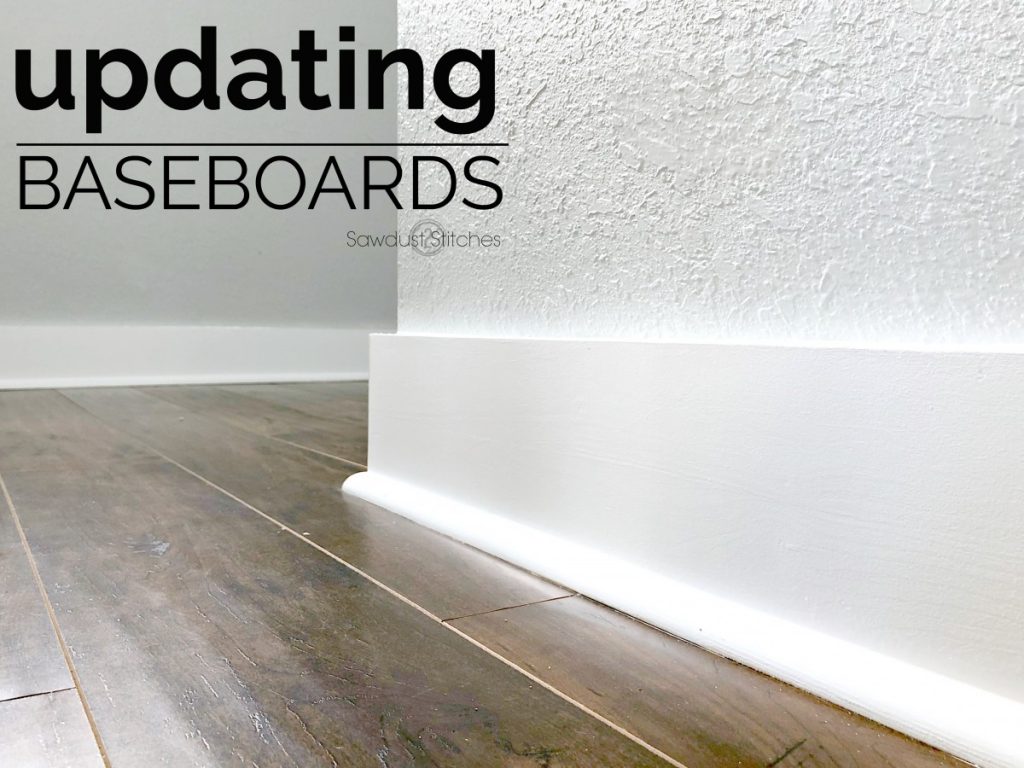
So today I have teamed up with my friends over at DAP to bring you a basic walk through of the process. Beginner to trim work? NO WORRIES! That is where DAP products come into play. It is like an eraser for the little mistakes due either to A.) user error. Or B.) Contractor Error. (In every home I have ever lived in there are always weird discrepancies, and walls that aren’t square. This makes it really tricky to trim out a room. But with miracle workers like caulk, and wood filler you can easily fake it until you make it! 
Tools Suggested:
- Pry Bar
- Rubber Mallet or Hammer
- Pliers
- Miter Saw
- 18 gauge Nailer
- DAP Plastic Wood
- DAP ALEX Plus Molding Caulk
- Paint of Your Choice
Supplies Used:
- 1×6″ Primed Finger Board
- Quarter Round Trim
- 2″ 18 Gauge Nails
- Foam Sanding Block
- Damp Cloth
- Caulk Gun
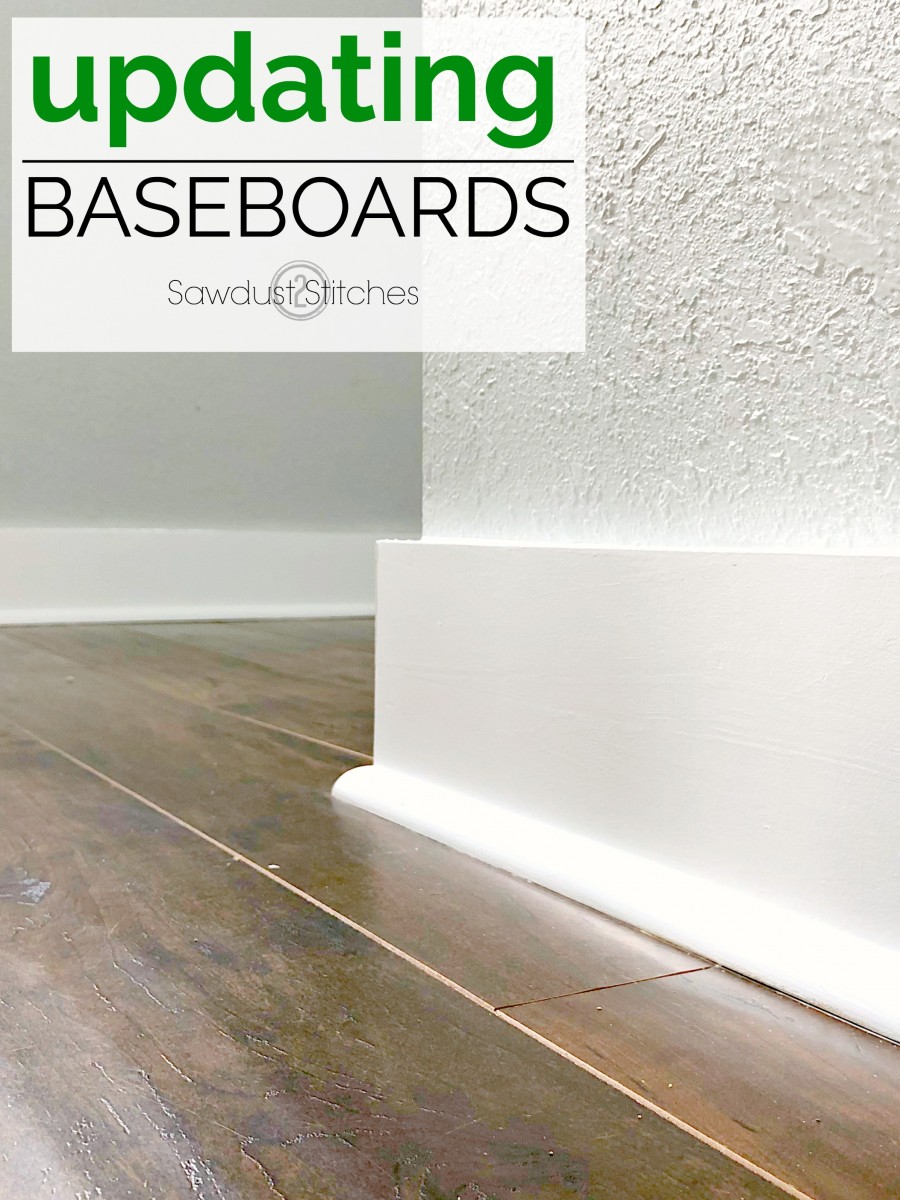
Before you begin: There are a lot of different options when it comes to baseboards. There are different materials, widths and designs to choose from. Me? I like a big, beefy baseboard with a very simple profile. That being said, I couldn’t find anything I truly loved in the “baseboard” section. So I ventured outside of the isle and found this 1×6 primed finger board. They come in 16′ boards from The Home Depot and I love them! They are very sturdy, so they like to hold their shape. They don’t mold to the shape of a wavy wall. WHICH I LIKE! One of my biggest pet peeves when it comes to homes is being able to see a wall wave. I think flimsy molding only emphasizes the problem. When I use a sturdier board, it makes me need to shim a little here and there and correct the problem, not call attention to it. I then resolve any gaps with caulk and paint. It is amazing what a little caulk and paint can do for a seriously crooked wall… Okay, I will crawl down off my soapbox now. But if you were wondering about my choice, that is my reasoning. THAT and if you want to add any wall treatments such as shiplap or board and batten this gives you a baseboard with the width to make that feasible.
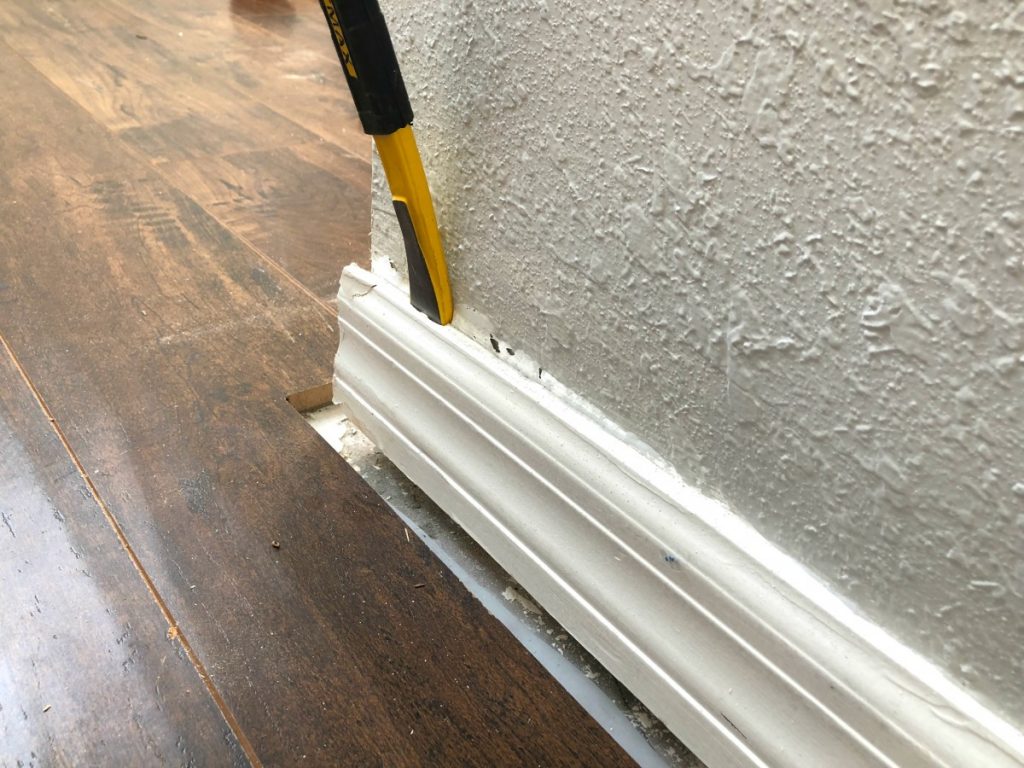
Remove Existing Baseboards
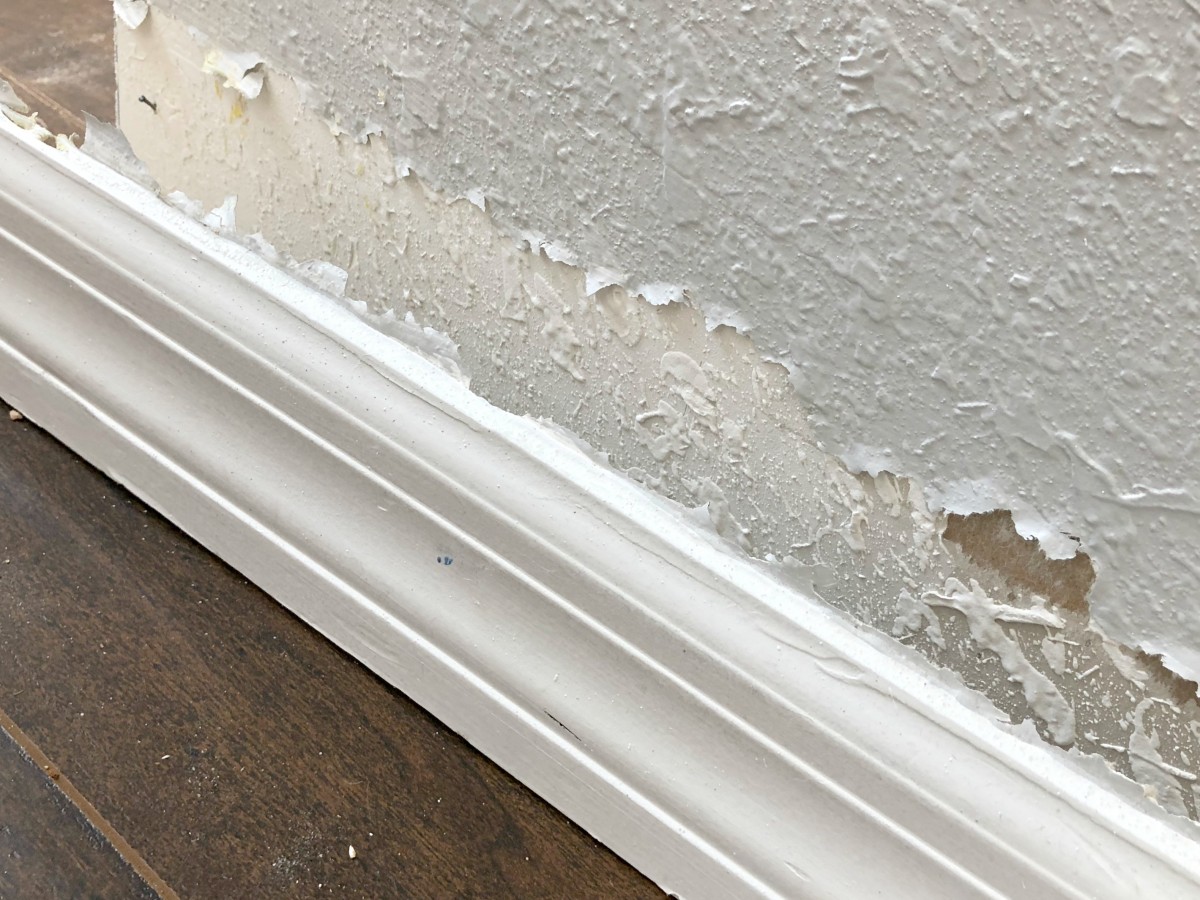
When removing baseboards, I suggest running a utility blade along the top of the board. As you will soon see (in the coming steps) when finishing baseboards you fill the gap between the wall and the baseboard with caulk. If you cut that line you can rest assured that you will have a nice clean break. If you don’t you simply risk pulling some of the paint off the wall. In my case I was replacing my existing baseboards with a much beefier baseboard so I was not too worried about a little pit of paint peel.
Next, get in there and pull them off! Don’t be afraid to be forceful. I like to use a pry bar and hammer. Just wedge the pry bar in-between the wall and the baseboard and give it a good solid hit with a hammer, or rubber mallet. Once you get it started, it normally is fairly easy to pull away from the wall.
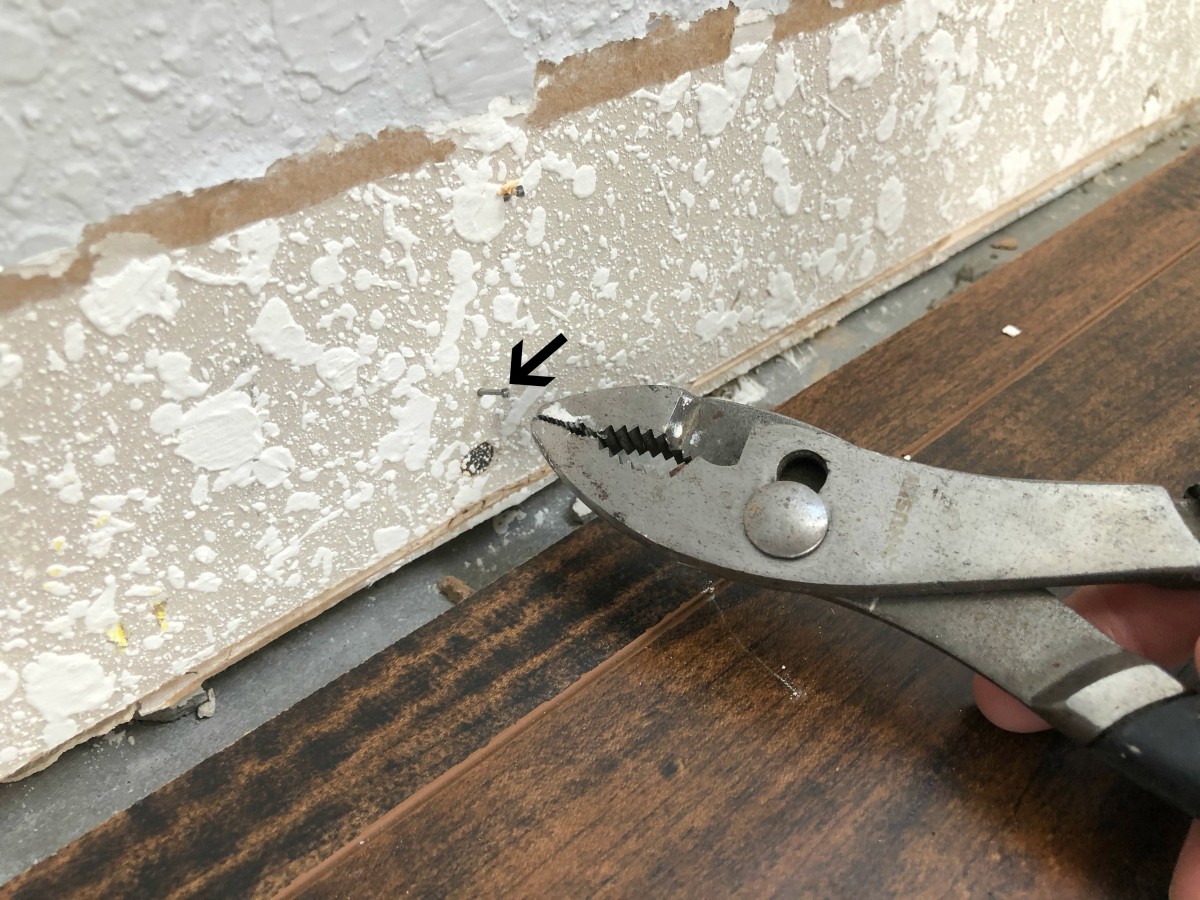
Remove Any Remaining Nails
Often times when you pull the baseboard away it will leave stubborn nails behind. You will need to remove these before installing new baseboards. I just run around with a basic set of pliers and pull them out before moving on.
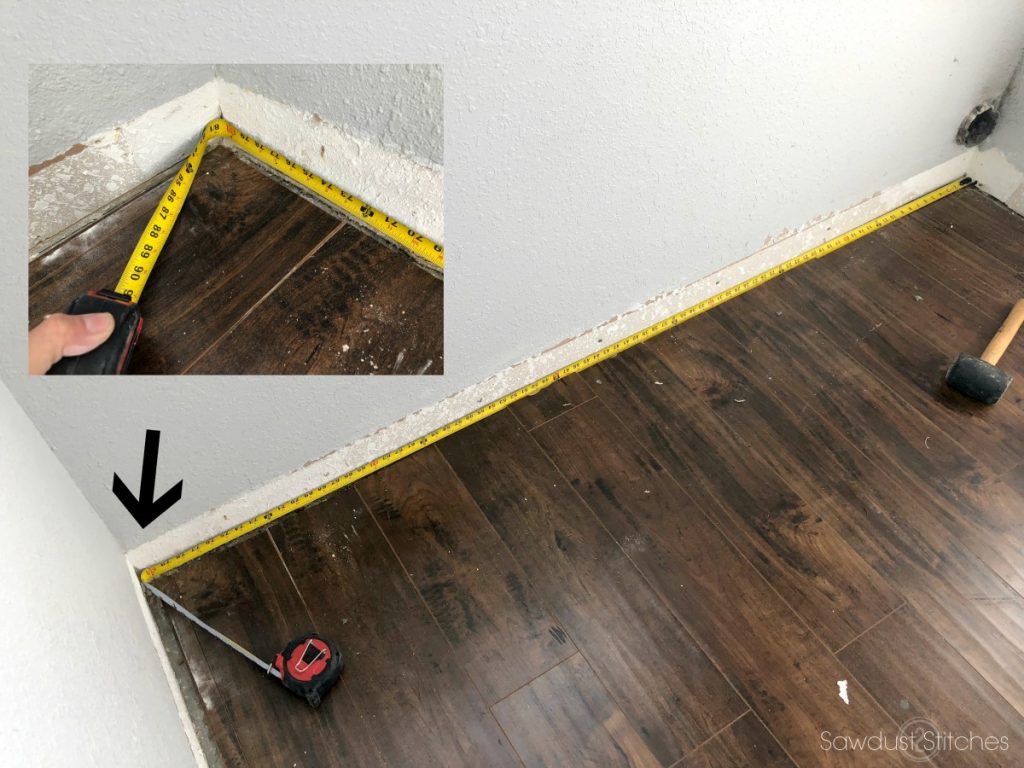
Measure Dimensions
Now, take a deep breath. I feel like this is where people start to get overwhelmed. There are no secret tips, it is just taking your time to make accurate measurements. In most rooms you will only be making 45 degree angle cuts. I always measure from outside corner to outside corner. If you are in doubt always cut it a little too long, over a little too short. As my Dad use to say “It’s a lot easier to make a board shorter than it is longer.”
Mark Measurements
Once you have your measurement transfer it to your board.
Tip: If you are cutting a board that will have a 45 degree angle cuts on both ends, begin by cutting one end at a 45, THEN measure and mark your board. When marking my board I try to always make it so that I when I’m cutting the board I can line the saw blade up with my pencil mark. 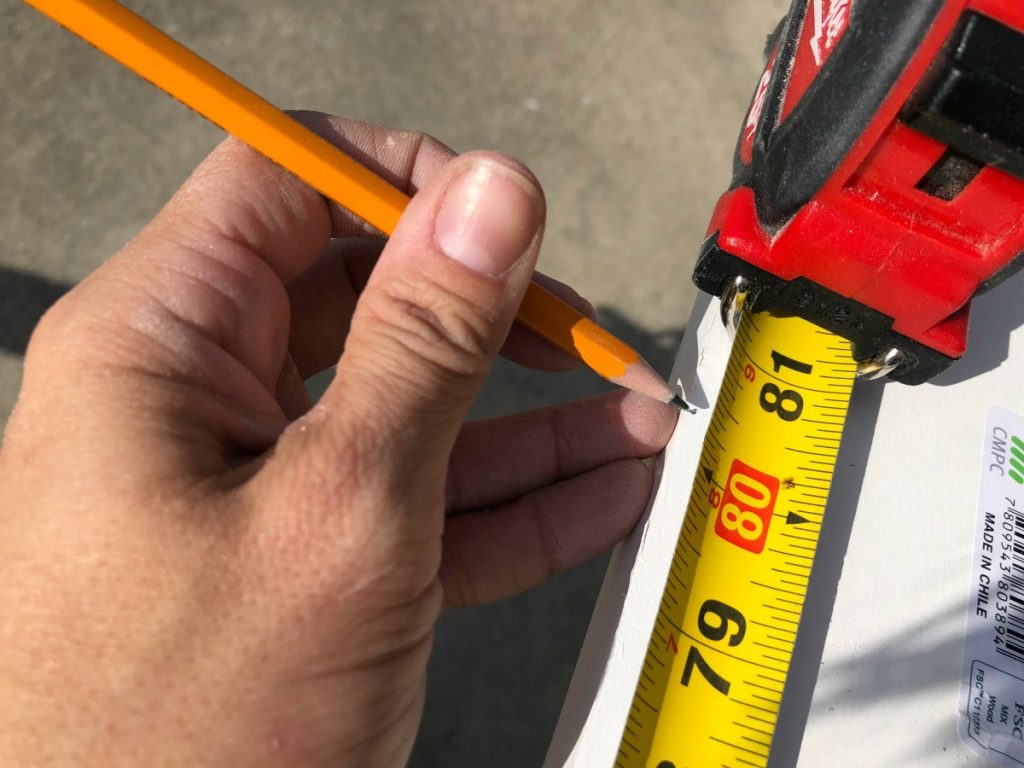
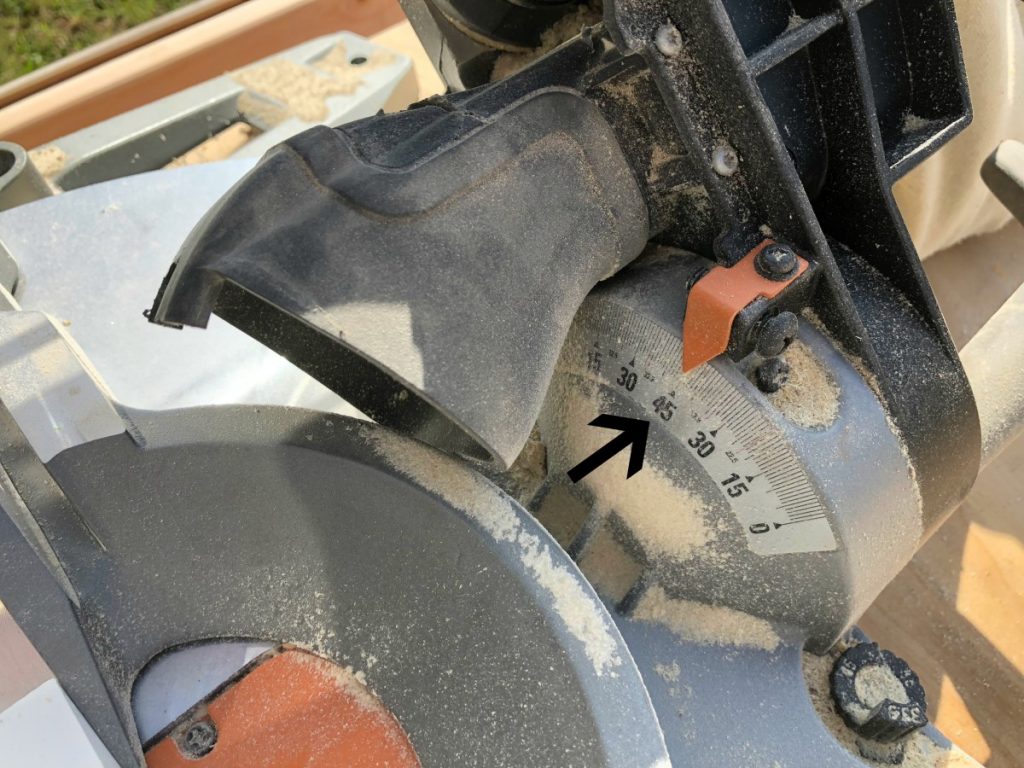
Set Miter to 45 degree angle
If you have never used a miter saw to make 45 degree cuts, this is an easy step that will open the door to a lot of new project potential! Because I am cutting boards that are 5.5″ I needed to cut my board laying flat and use the bevel option on my saw. This simply means that I am pivoting the saw instead of pivoting the platform the saw is on . (Reference image below.)
Like I said, with the width of my baseboards I needed to position my boards to use the bevel option. If you are using a shorter basedoard you can stand them on end. This is a personal choice. 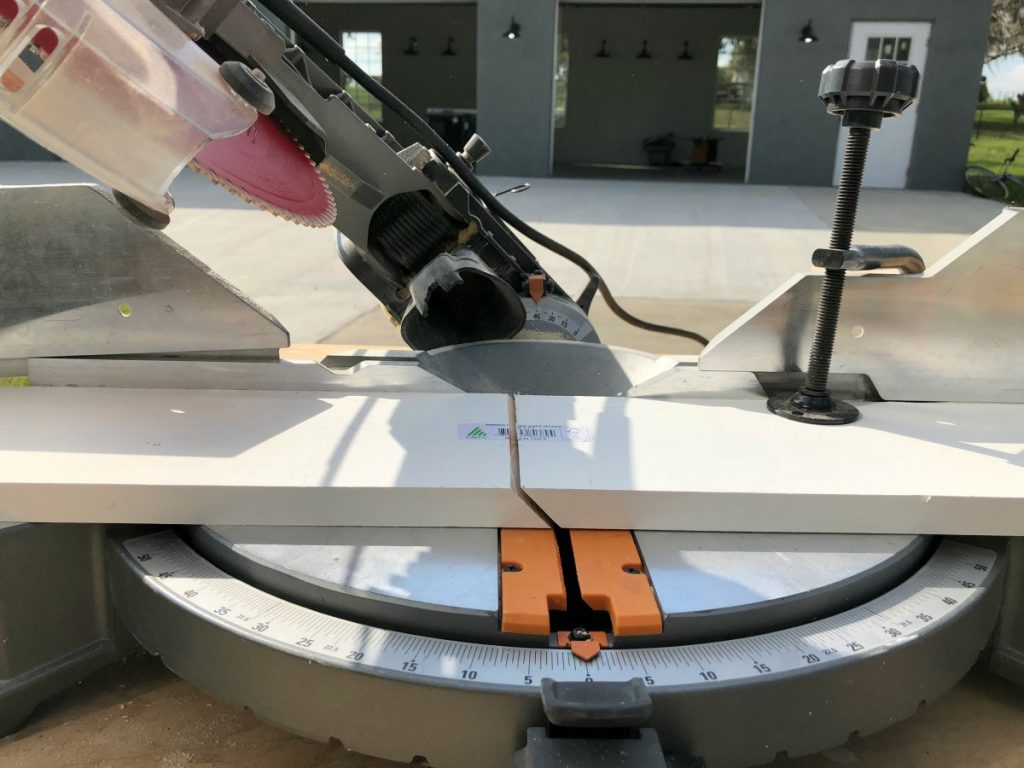 Check Fit/Install/Repeat
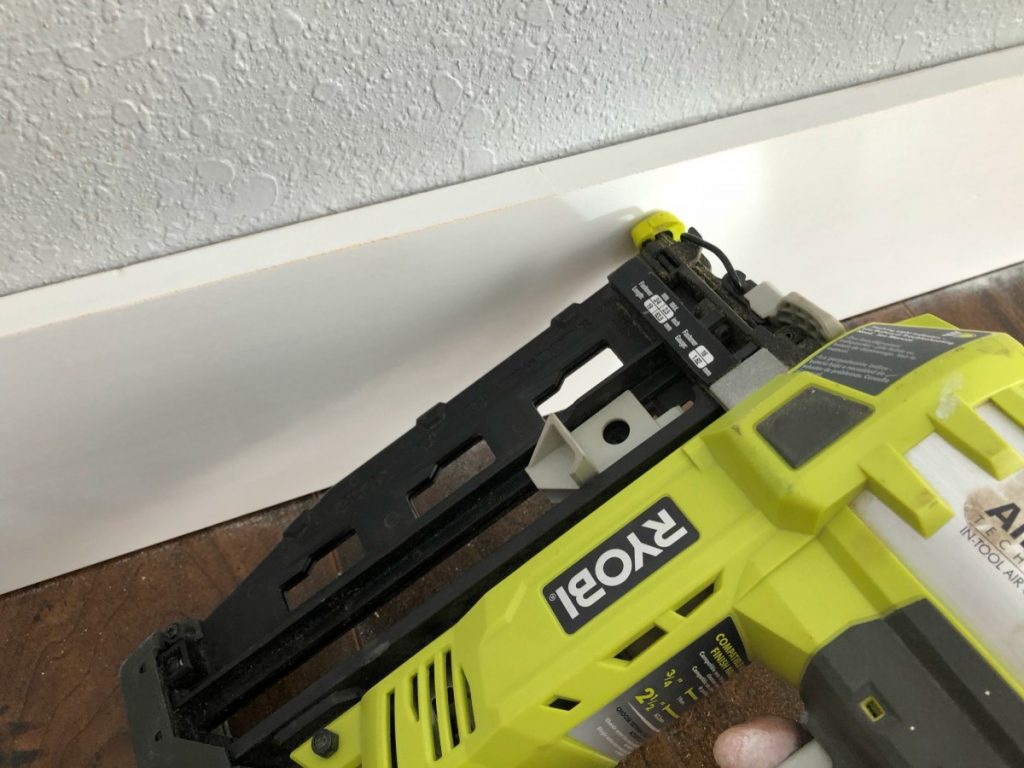
This is the moment of truth! Bring your board in and set your board in place. If it fits nicely “well done!!!”. I like to use a 18 gauge nailer and 2″ nails to set my boards.
Go ahead and move on to the next board. You will repeat this around the entire space. Just take careful measurements and be aware of corners. where corners meet you will need to adjust which direction your 45 degree angle goes.
If your boards aren’t perfect, don’t sweat it! I have been doing this for years, and I still have ill fitting boards. Sometimes this is totally out of your control. Many times the room or wall you are working against is not square and you would have to make really wonky cuts to make it line up properly. So don’t sweat it, we will cover how to fix those discrepancies in a minute.
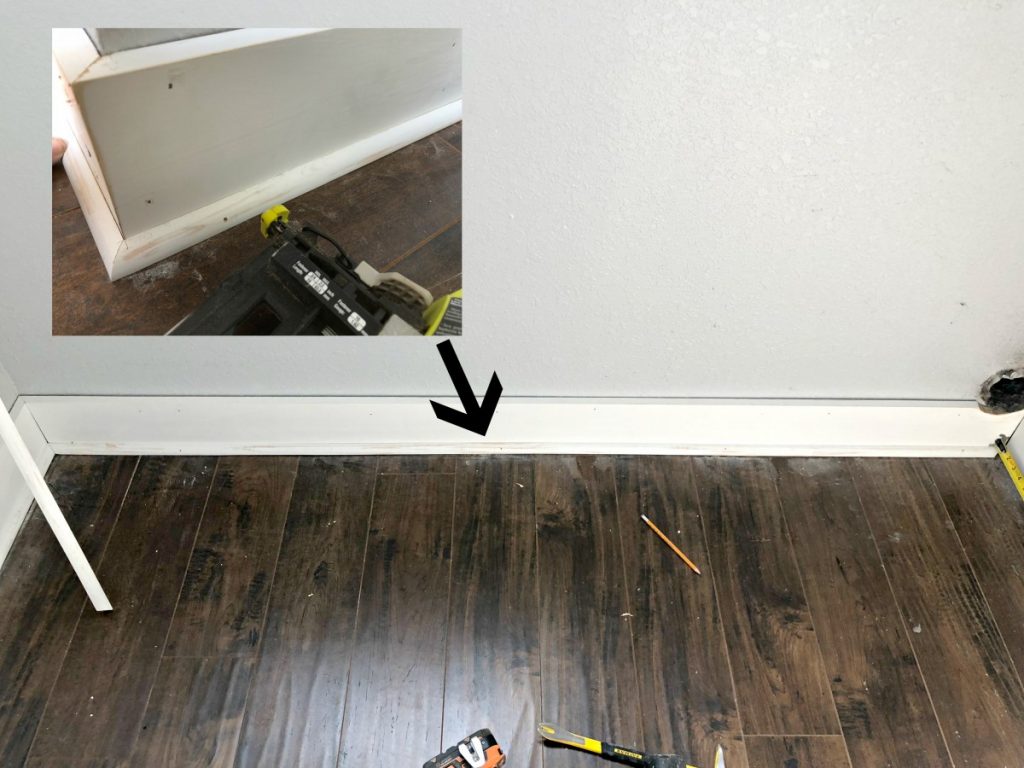
Repeat with Quarter Round
This step may or may not be necessary for you. As stated earlier, I had “recently” *cough cough* replaced the flooring in this room. Because of this I was left with a 1/2″ gap all around the perimeter of my room. This simply would not do! In order to cover that gap I needed to install a piece of “quarter round” trim. However if you are not doing this in conjunction to replacing floors, this step is unnecessary. Lucky you!
Prep For Paint
Alright, now that all the baseboards, (and in some case 1/4 round trim) is installed, we are in the home stretch. Now the FUN part, making it look pretty. I know they may not be much to look at right now, but with some of my favorite products it will look like a pro installed them.
Start by applying a small amount of DAP Plastic Wood to all the nail holes in the trim. This stuff is great, and has been my favorite to use thus far. It dries quick, is sandable and paintable. LOVE IT! 
Sand
Once the filler dries do a once over with a foam sanding block. This will remove any excess filler in the event you got a little too enthusiastic. 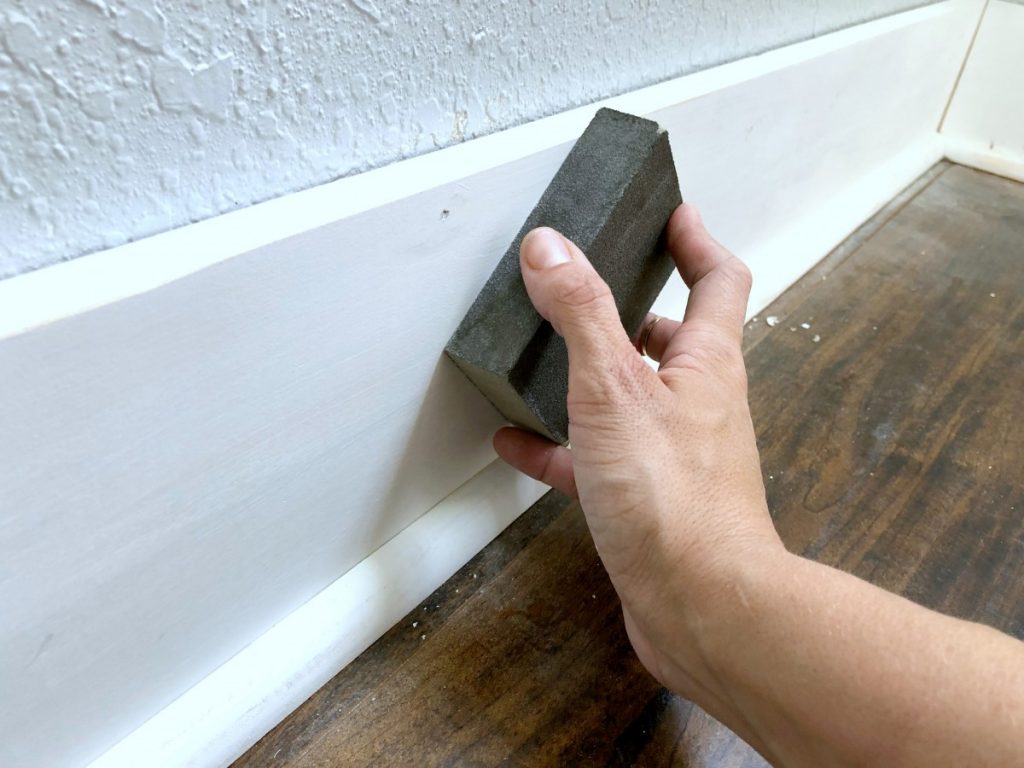
Wipe Down
Once you have gone over the boards with a sanding block, and your board feels smooth you are ready to wipe them down with a damp cloth. 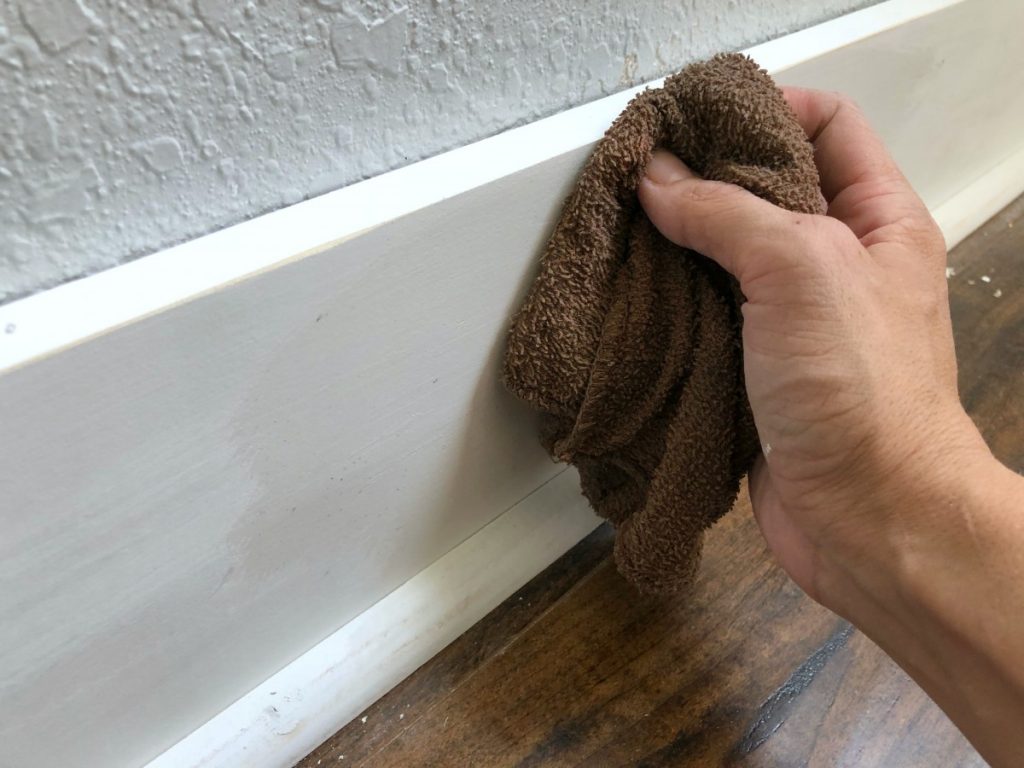
Caulk
NOW we are ready for the magic-maker. If you have never used caulk before you are in for a real treat. This is like a magic eraser for trim work. I always start with a very small cut on the tip. Again, you can always make the cut bigger if you need to .
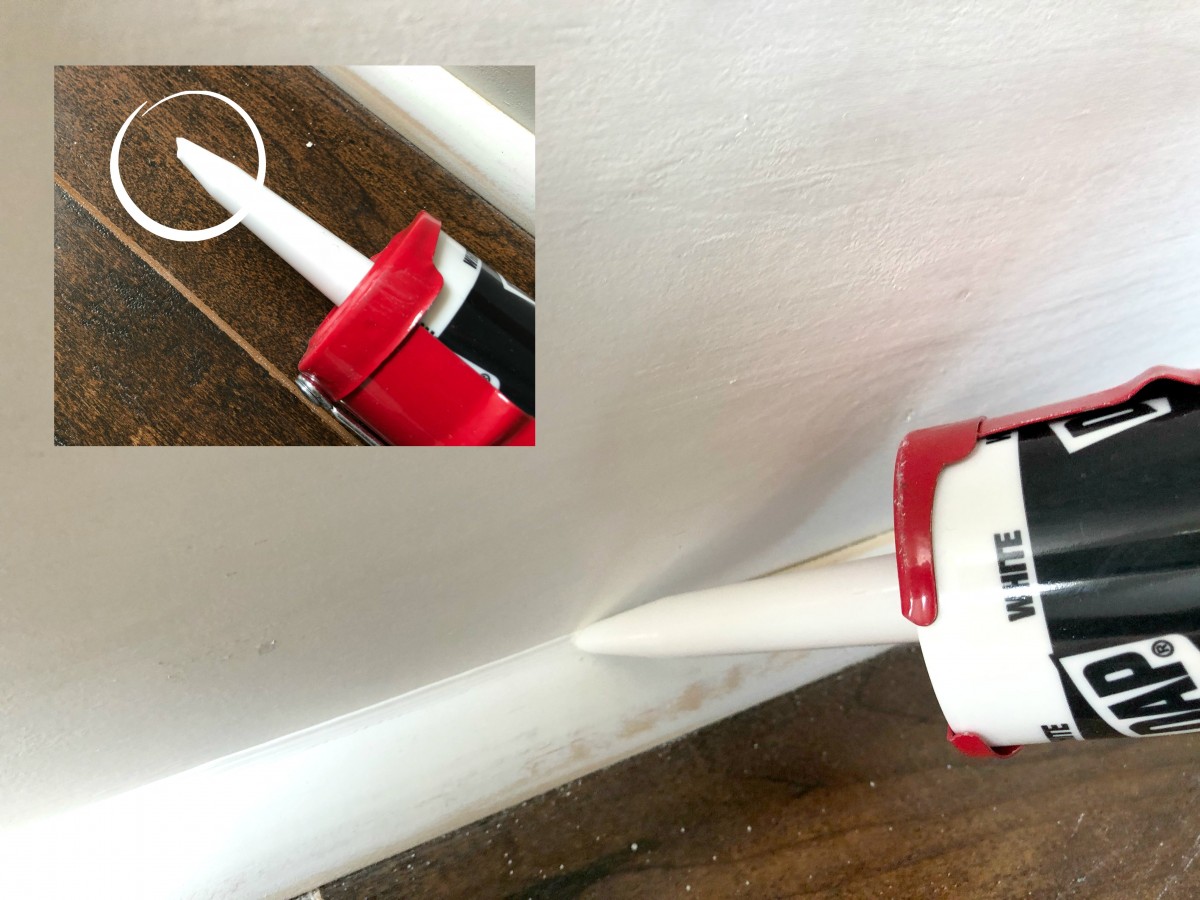
If you have never used caulk before I would suggest doing a couple of practice rounds. I like to set the tip of the tube on the board and glide it along leaving a small consistent bead of caulk along the trim. After a lot of practice I can normally leave it as is. HOWEVER, I have found that dipping my finger in water and gently sliding it along the bead smooths it out nicely! 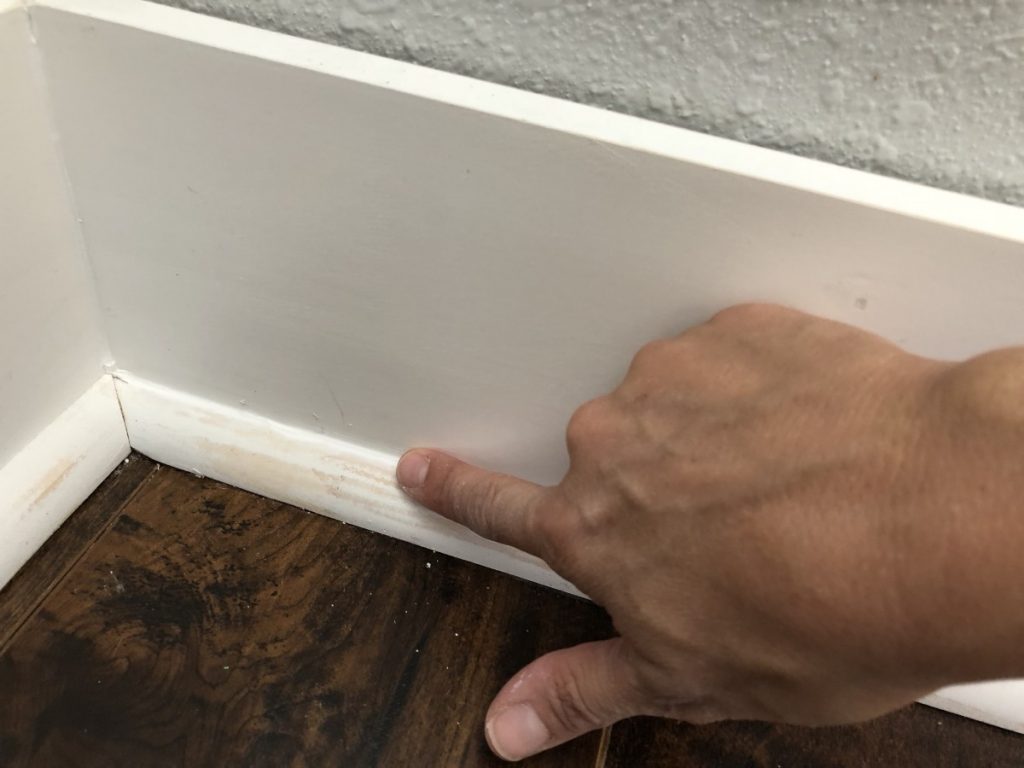 Ok, now take a look at the difference! I am telling you , caulk is a miracle worker. As my friend Jen Woodhouse says “Try your best and then calk the rest.” Truer words my friend!
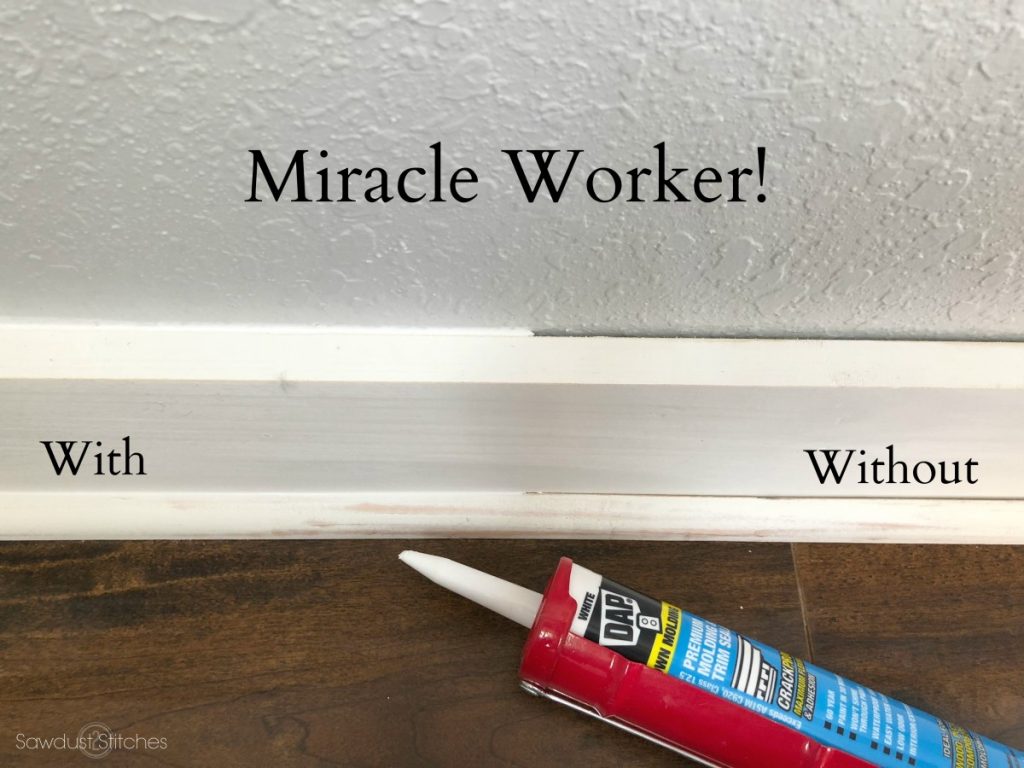
Not sold yet ?! Look at this joint! Seriously, I have been doing this for a little while, and when you don’t have straight walls, perfect joints are nearly impossible. Look at what caulk did for this corner. 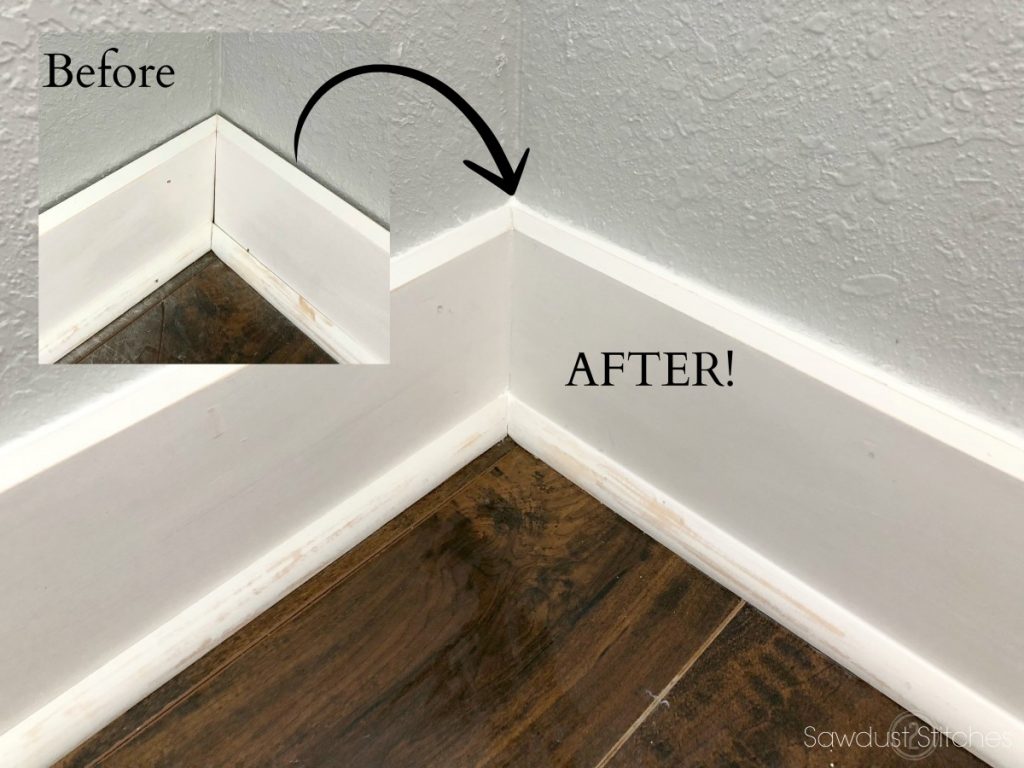
Paint
Another thing I love about DAP Molding Caulk? It dries fast! For an impatient DIYer such as myself this is a huge selling factor! I want to be able to paint and get a project done fast! I don’t want to be sitting around waiting for caulk to dry.

Alright, there you have it! In an afternoon I was able to make this laundry room look 5 x’s better. AND I only touched the baseboards! I am telling you I have a lot in store for this space, so stay tuned because I have teamed up with DAP and The Home Depot to make this space spectacular!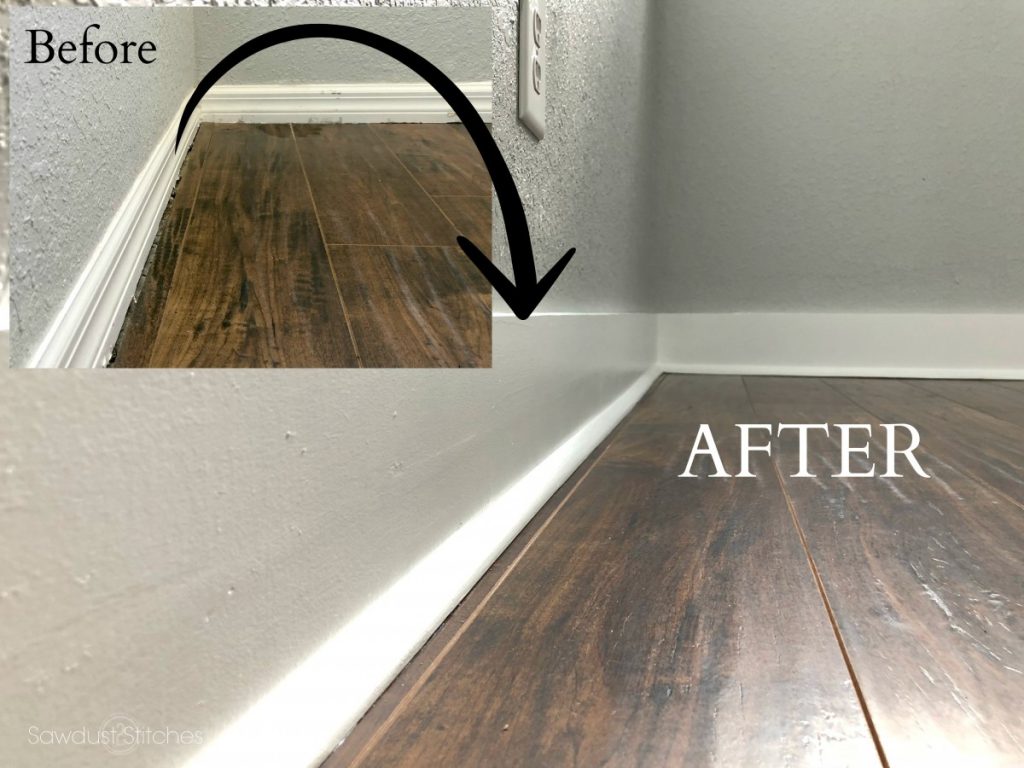
Next up? Let’s do something about that wall of random half painted cabinets. Stay tuned! 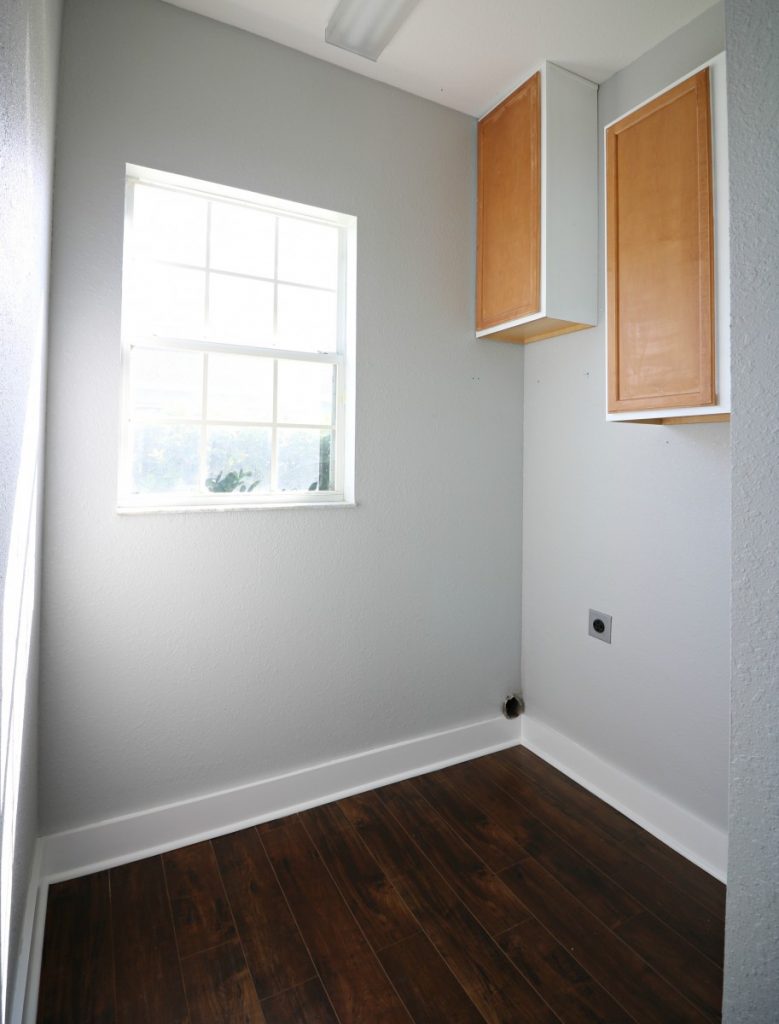 Take Luck,
Corey


Oooo. that looks so clean and fresh! I love caulk! DAP is amazing!