When designing my sons’ Music Studio (that would also double as a guest room) it was absolutely essential we build some snazzy Guitar display cases. So I teamed up with the great folks over at DAP to bring you some build plans to make your own!
Things to Consider: These dimensions were based on an Electric Bass Guitar with the following approximate dimensions 47” tall by 14” wide.
*NOT ACOUSTIC* If desired these plans could easily be widened to accommodate an acoustic guitar. I used the same build plans to display a standard electric guitar, there are just wider margins on the bottom of the display case

| Tools Suggested | Materials Used |
| Eye Protection | 1×4″ Common Boards |
| Hearing Protection | 1×2″ Common Boards |
| Sander/Sand Paper | Optional Base CapTrim |
| Drill | Optional Lath Trim |
| Sponge Sanding Block | Paneling (I used Nickel Gap Paneling) |
| Pin Nailer | Lighting My Option (harder) |
| Miter Saw | Lighting EASY Option |
| Table Saw/ Circular | DAP Weldwood Professional Wood Glue |
| DAP Plastic Wood All Purpose Wood Filler | |
| Alex Ultra Caulk |
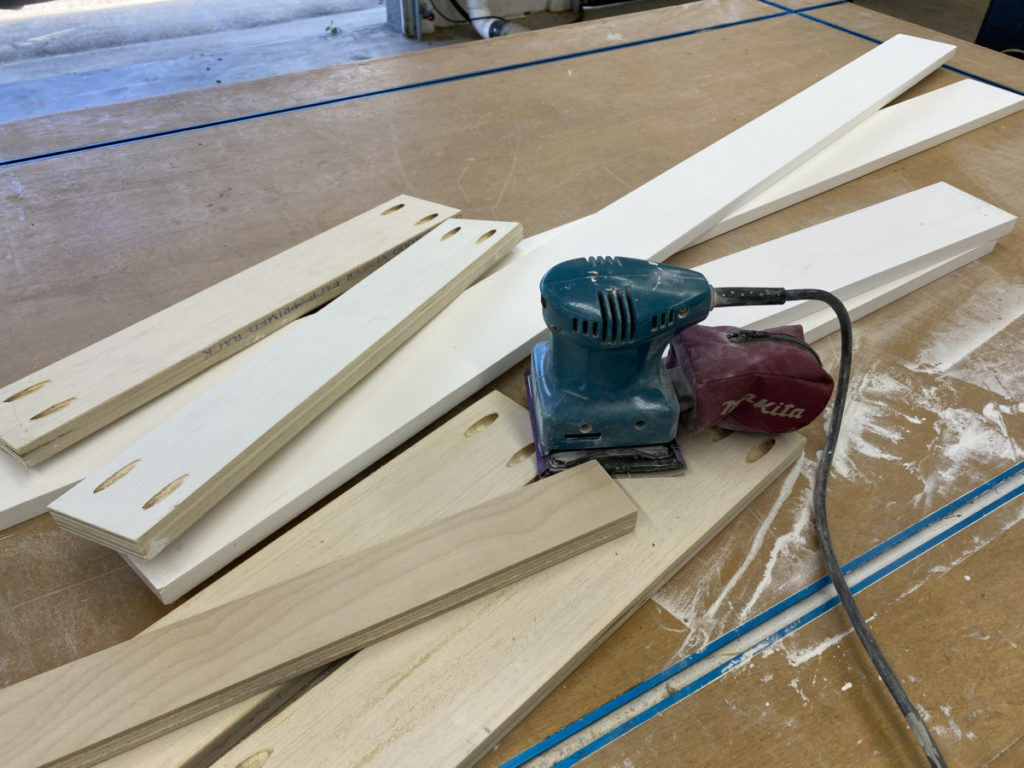
Prep Materials
Using a miter saw or circular saw prepare all your boards. Using a sander, sand your boards to achieve a smooth finish. (Please see “Build Plans” for more detailed dimensions.)
Assemble Box Frame
When assembling the Guitar Display Case make sure you use a GOOD wood glue. I always grab DAP Weldwood Professional Wood Glue.
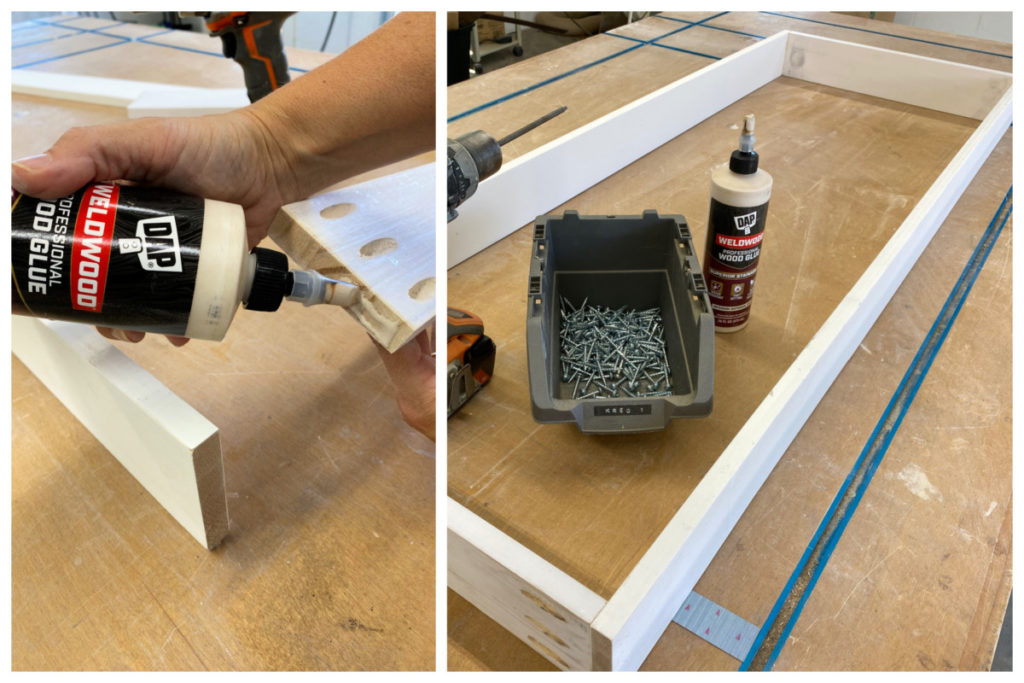
Attach Back Supports
When attaching the back supports ALWAYS use a Weldwood Wood Glue and then reinforce with 1 1/4″ pocket hole screws.
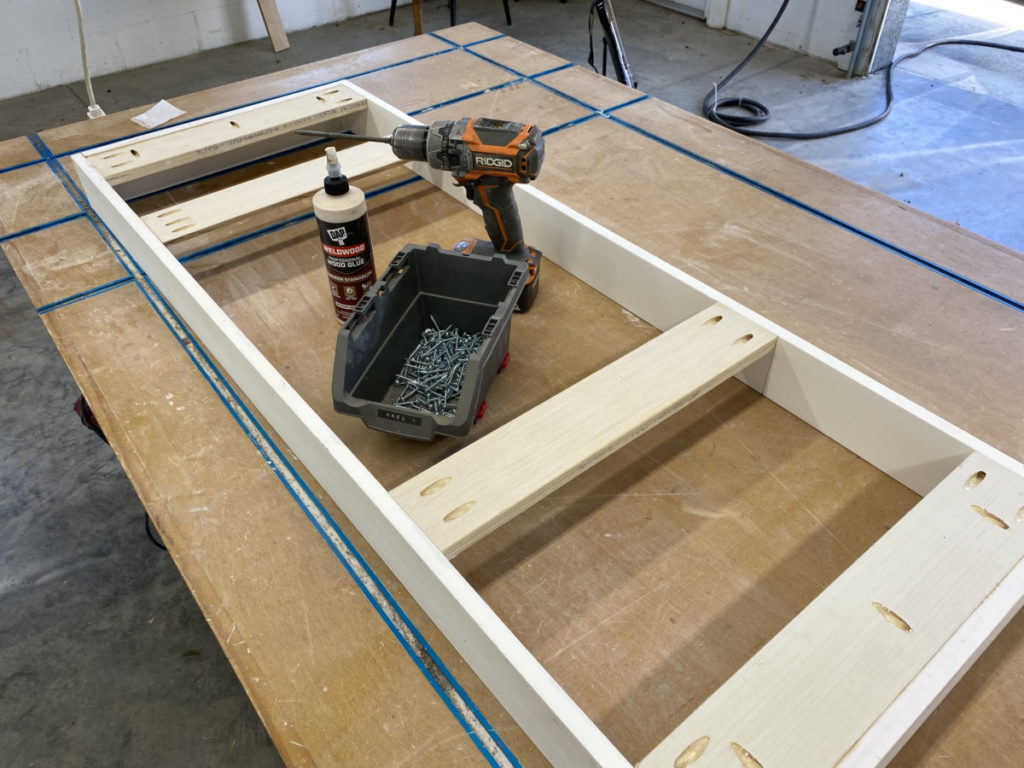
Something to keep in mind: The back support will eventually be the support for the guitar hanger. You can adjust the placement of this cleat/support if you would like to alter the height that the guitar hangs at.
*IF ADDING LIGHTING*
There are several options when adding illumination.
1st- (Easy) Use these Battery Operated Light Guitar Hangers
2nd-(Medium) These bar lights would be a simple addition would not require as much tweaking as mine.
If you are a glutton for punishment and you want to add the same lights I did, now is the time!
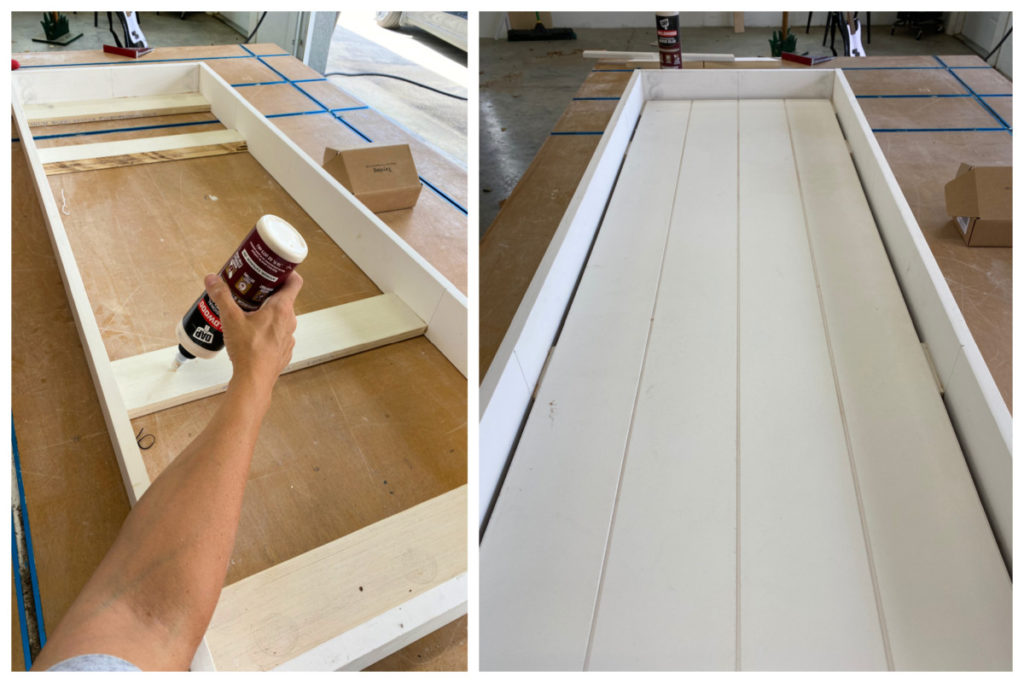
I purposefully made the paneling so that there would be a 1/4″ gap around the perimeter between the paneling and the the frame. ( See image below.) This gap will act as a channel in which you can run any wires necessary for lighting.
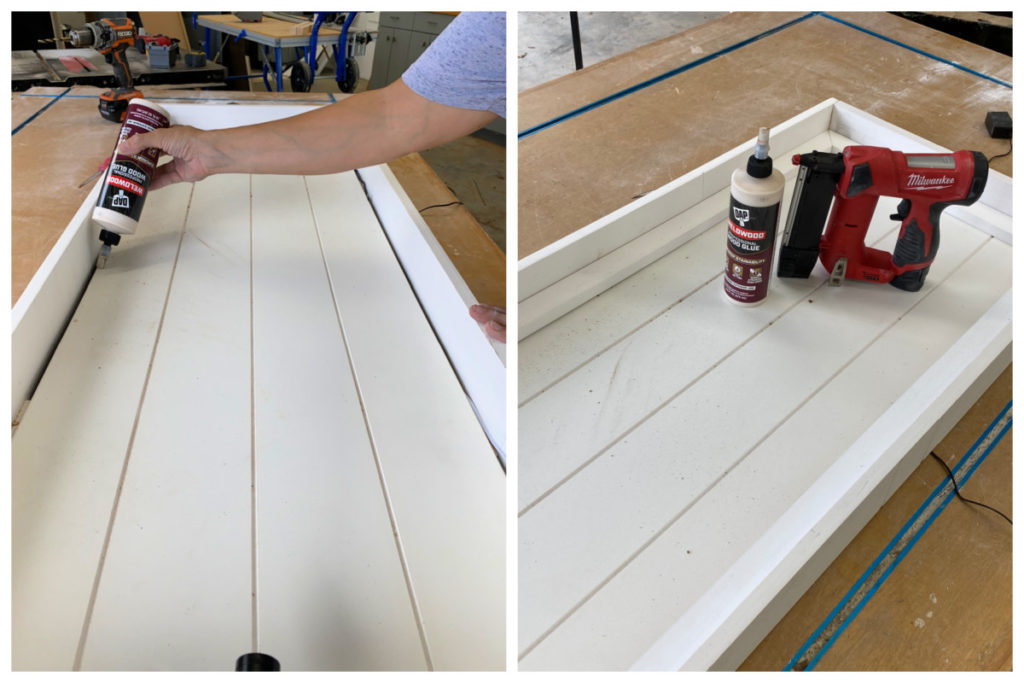
BEFORE securing the paneling board to the back supports (using Weldwood Wood Glue) ensure that you have all the proper wiring in place!
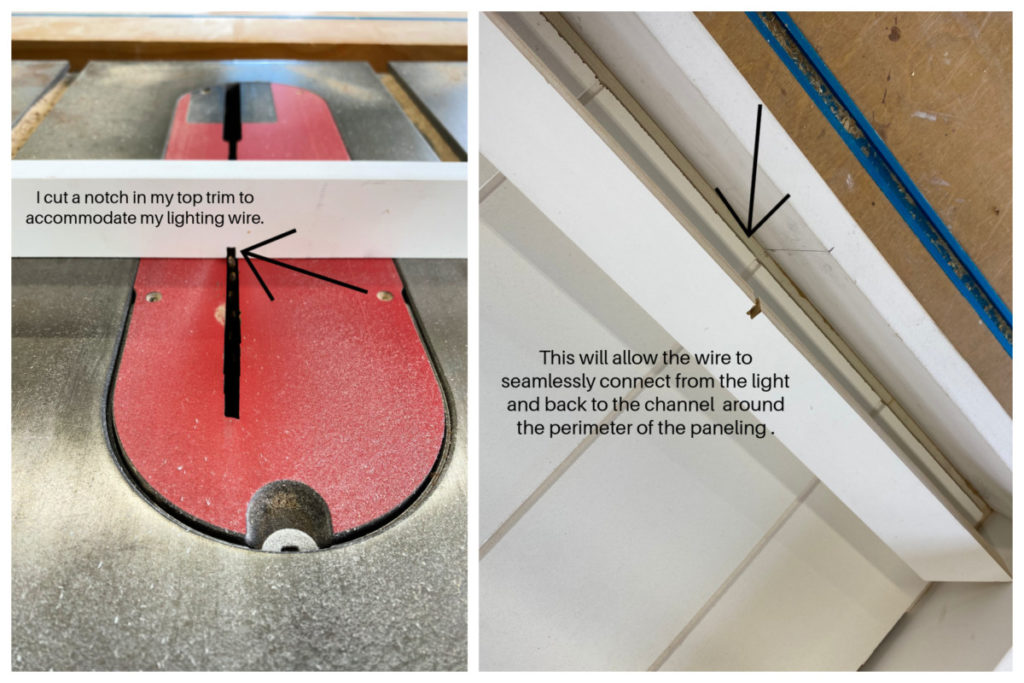
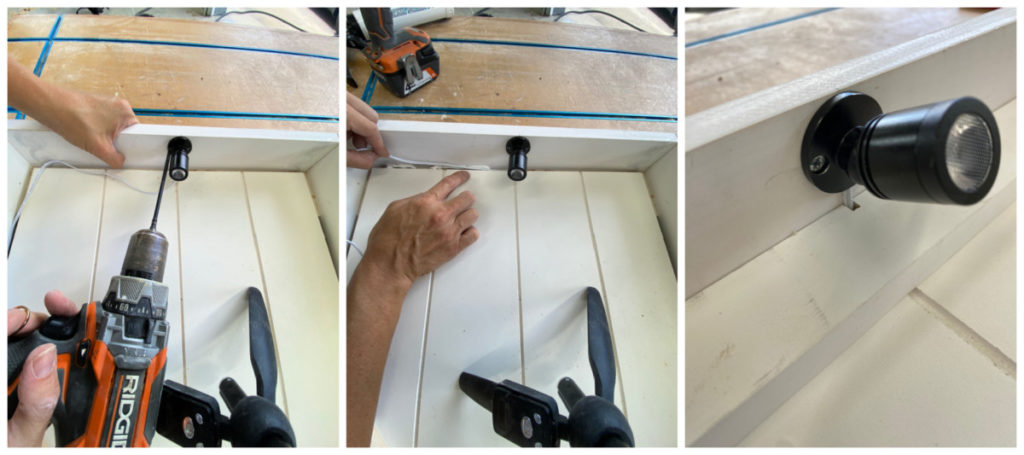
I used a center mount mini spot light, which required a small channel to be cut in my top trip so accommodate the wires. In order to do this I used my table saw to cut a small groove in the top center of my 1×2″ trim board. This will allow the wire to run through and access the channel around the paneling.
I found that using a small dab of caulk was perfect to hold the wire in place.
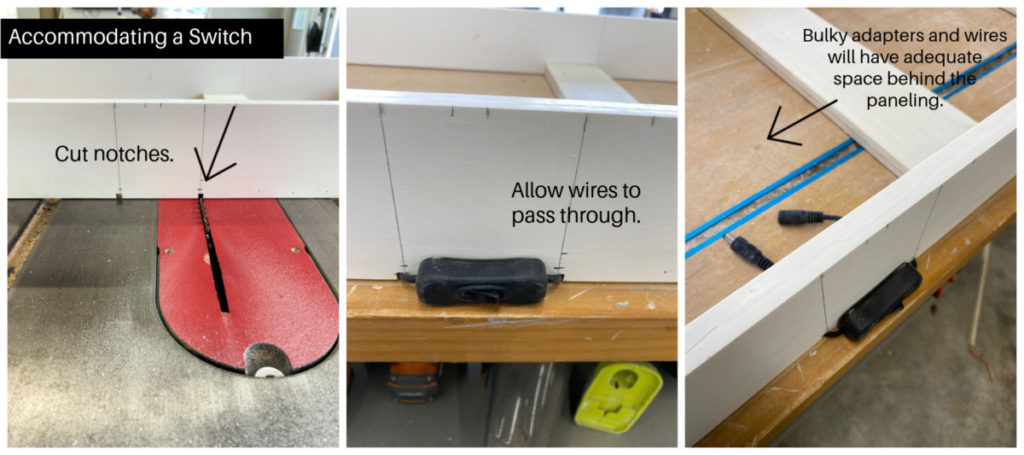
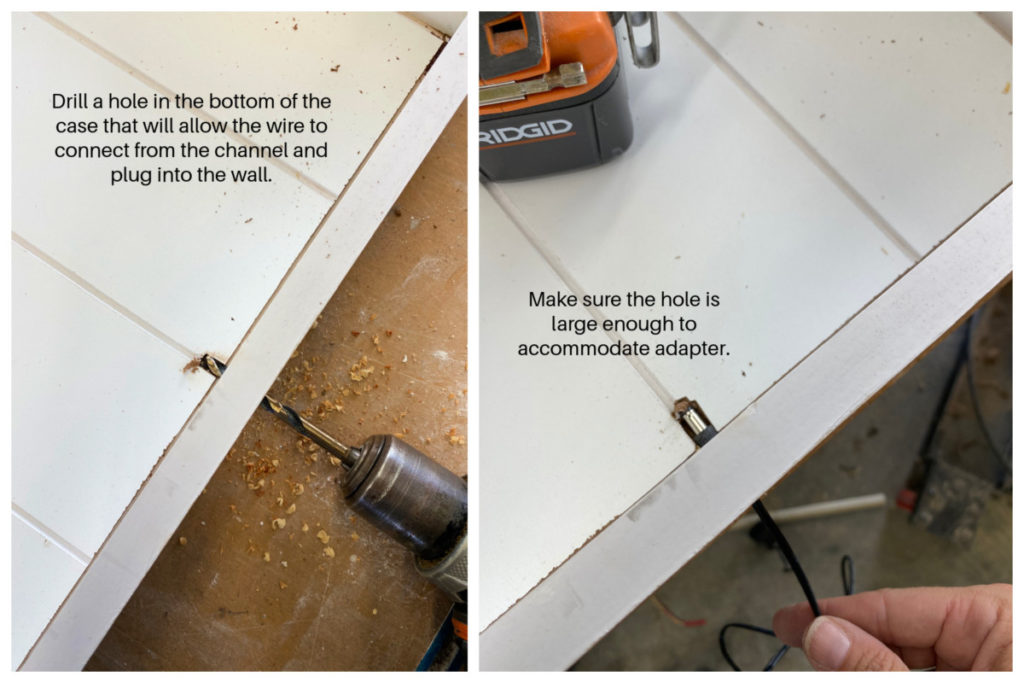
The lighting that I used included a toggle switch. In order to make it accessible I cut two notches on the bottom of my side frame. (There will be a 3/4″ gap between the wall and the case to accommodate any excess wires and adapters.)
Lastly, you will need a point for the power source. I drilled a hole at the bottom center of my case, approximately 1″ from the bottom of the 1×4″ board. This would allow the power cord to access the channel around the perimeter of the paneling.
Add Trim to Guitar Display Case
Again, DO NOT add trim unless you have COMPLETELY run your lighting wires OR you are not including lighting.
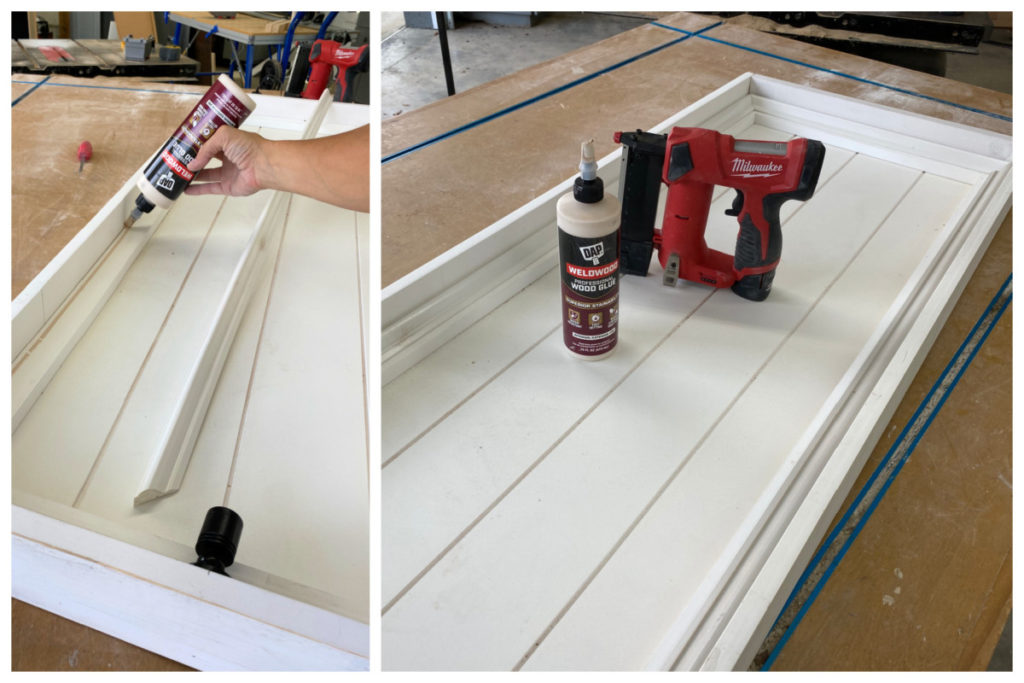
Using Weldwood Wood glue apply the 1×2″ trim pieces.
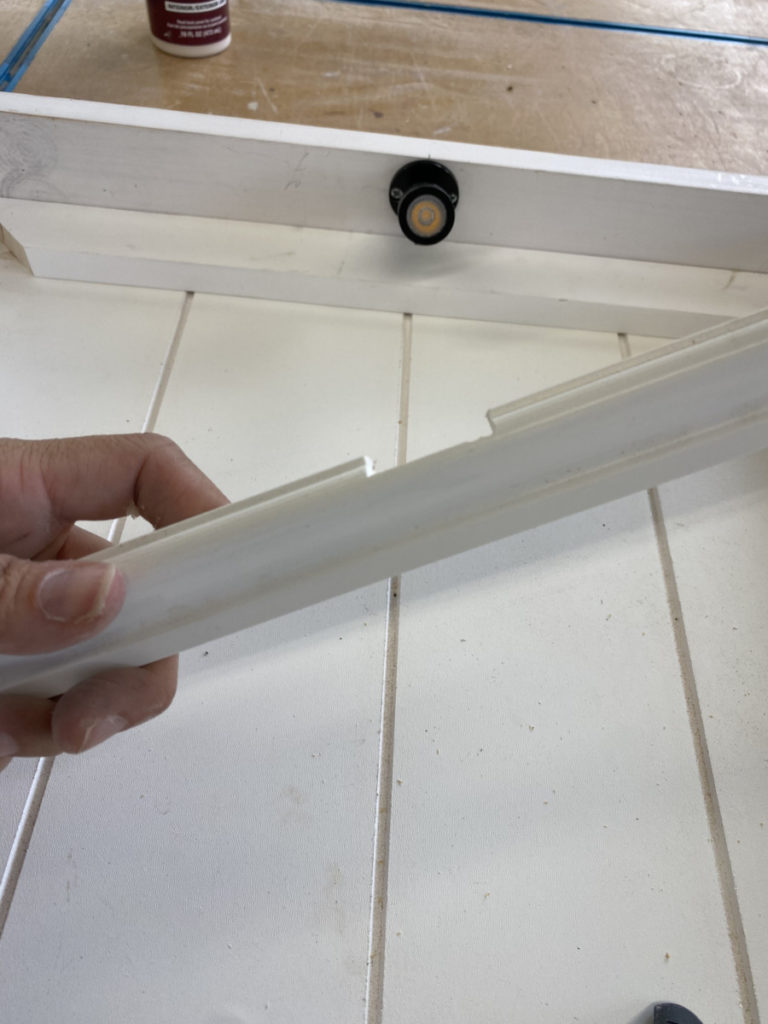
I opted to complicate matters further and added and additional layer of trim work. I used PVC base cap. This in and of itself is not a complicated step… HOWEVER, my dang lighting was in the way. So it required cutting a small notch to accommodate my light.
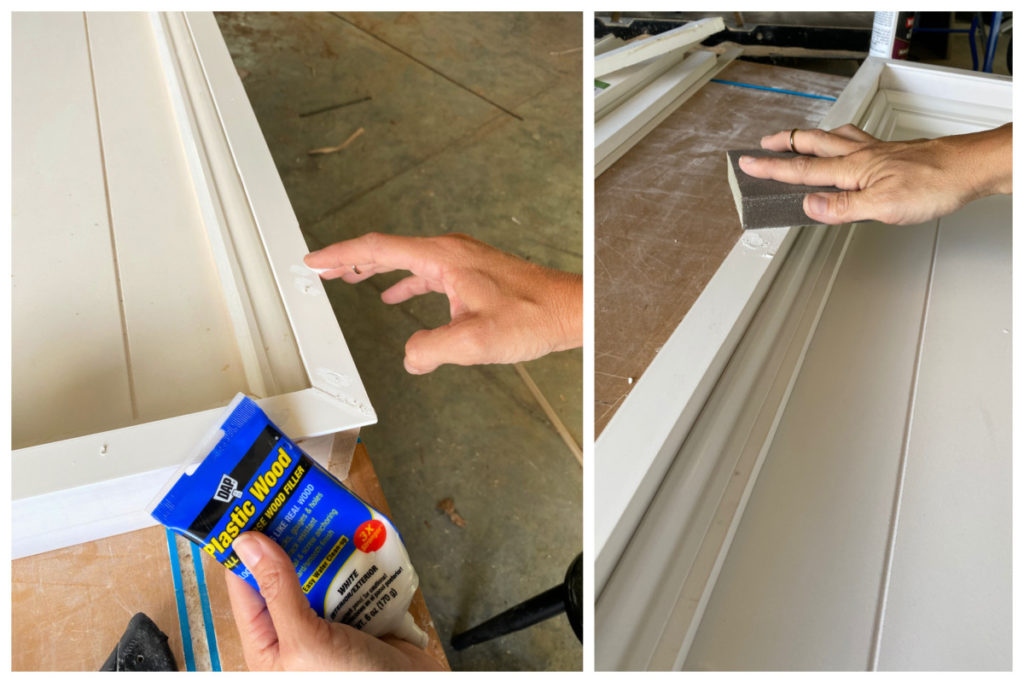
Fill Holes
the secret to a really professional build/ perfect paint finish? Make sure you take the time to fill all the holes, gaps, and seams! I always use Dap Plastic Wood. It doesn’t shrink as it dries, it dries quick and sands smooth every time!
After holes are filled, snd smooth, and then tip down to remove any dust and/or debris.
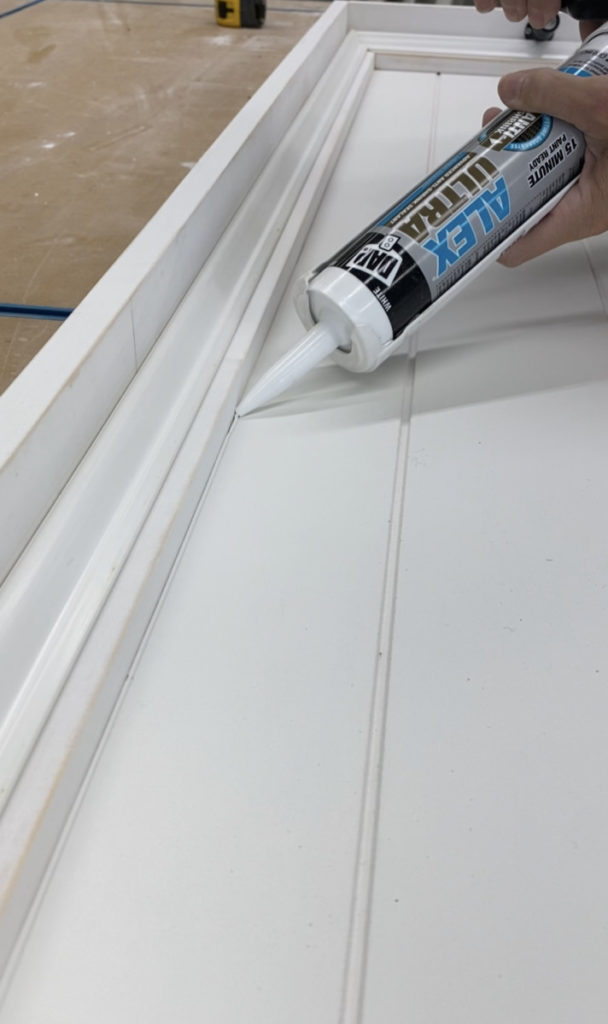
Caulk Seams
Here is where the magic happens. If you are beginner and still learning the ropes, caulk is going to be your best friend! It is the magic eraser of the DIY world. It will make all those unsightly gaps and crevices disappear. I always opt for DAP caulk, their Alex Ultra has flex AND is paint ready in 15 minutes!
Paint Guitar Display Case
Paint in your desired finish, I opted for “Iron Ore” by Sherwin Williams in their “Emerald” line with a Satin finish. I used my Graco TC Pro Sprayer to apply the paint.

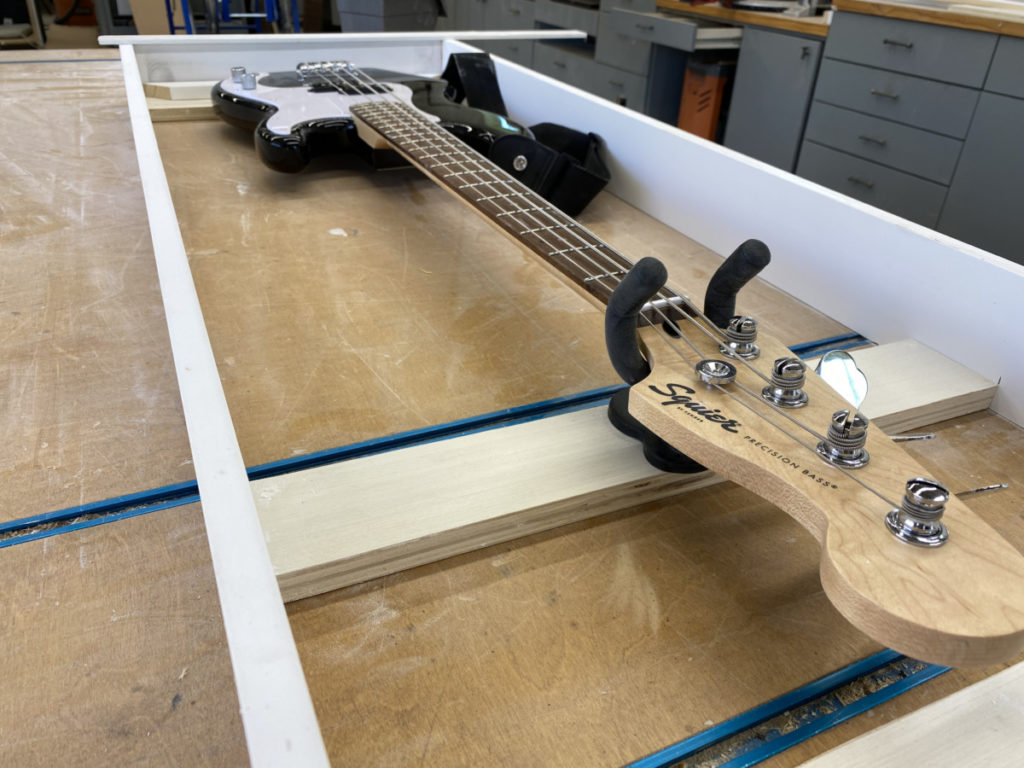
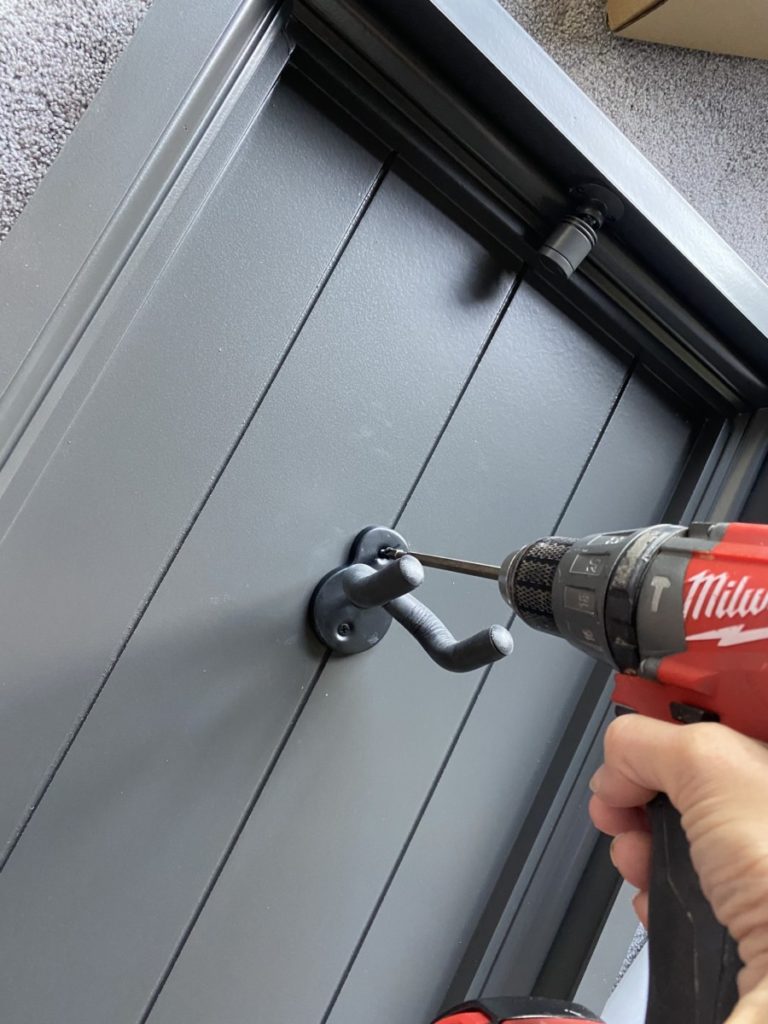
Install Guitar Hanger and Cleat
Last step before wall install is to add the guitar hanger. Use ¾” screws to attach the guitar hanger to the interior of the guitar display case. Note: the hanger should be secured through the back paneling AND into the back support.
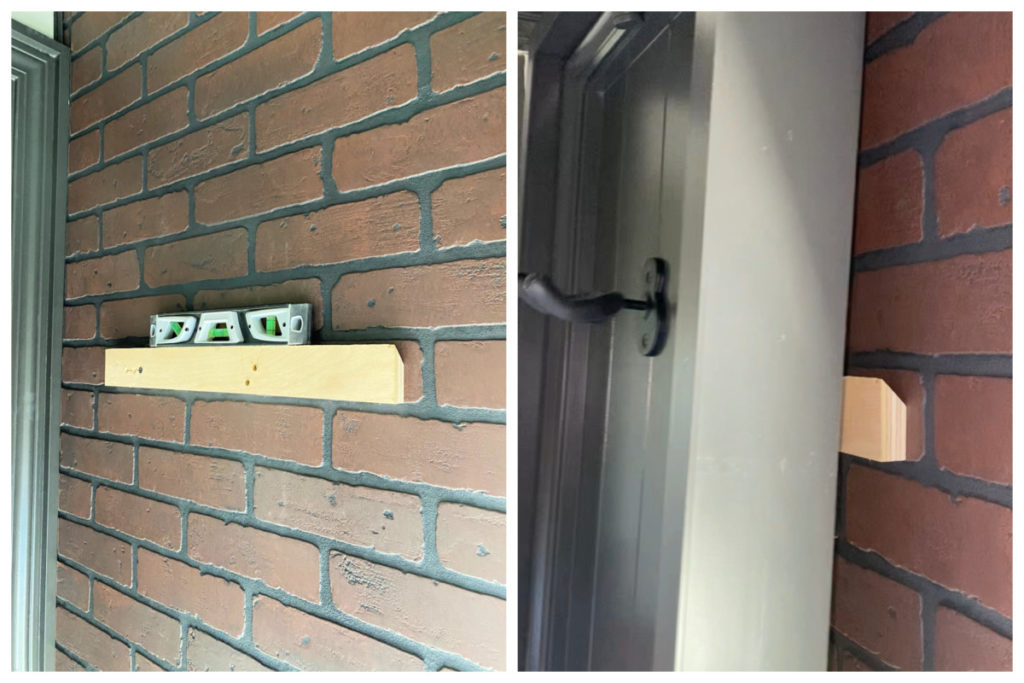
Last step! In order to install the Guitar Display Case we will use the remaining 1×4″ board that was ripped with a 45 degree angle. This will serve as a cleat for the case to hang on. (The opposing cleat is installed on the back of the Guitar Display Case. You can see all the build plan details here.
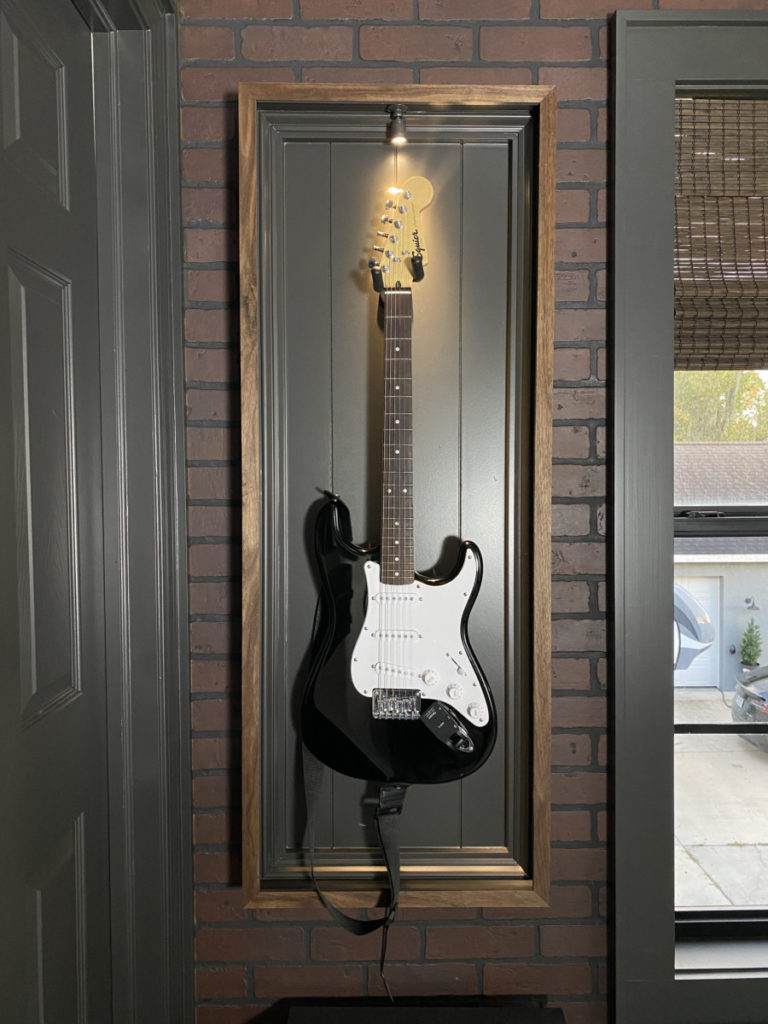
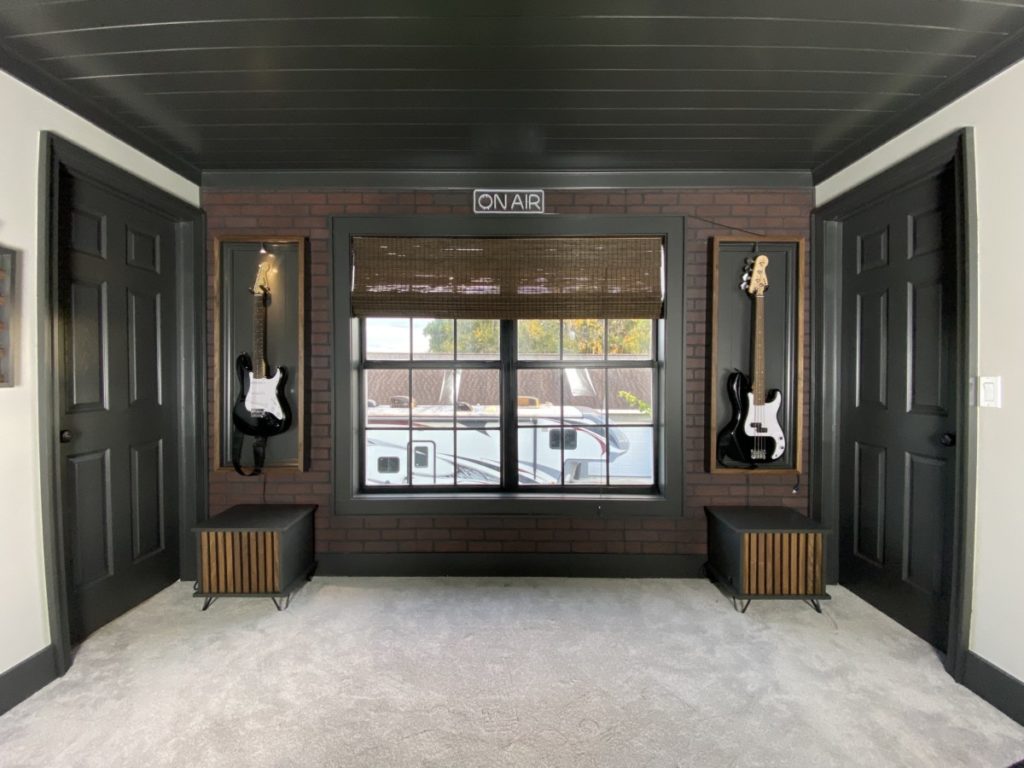
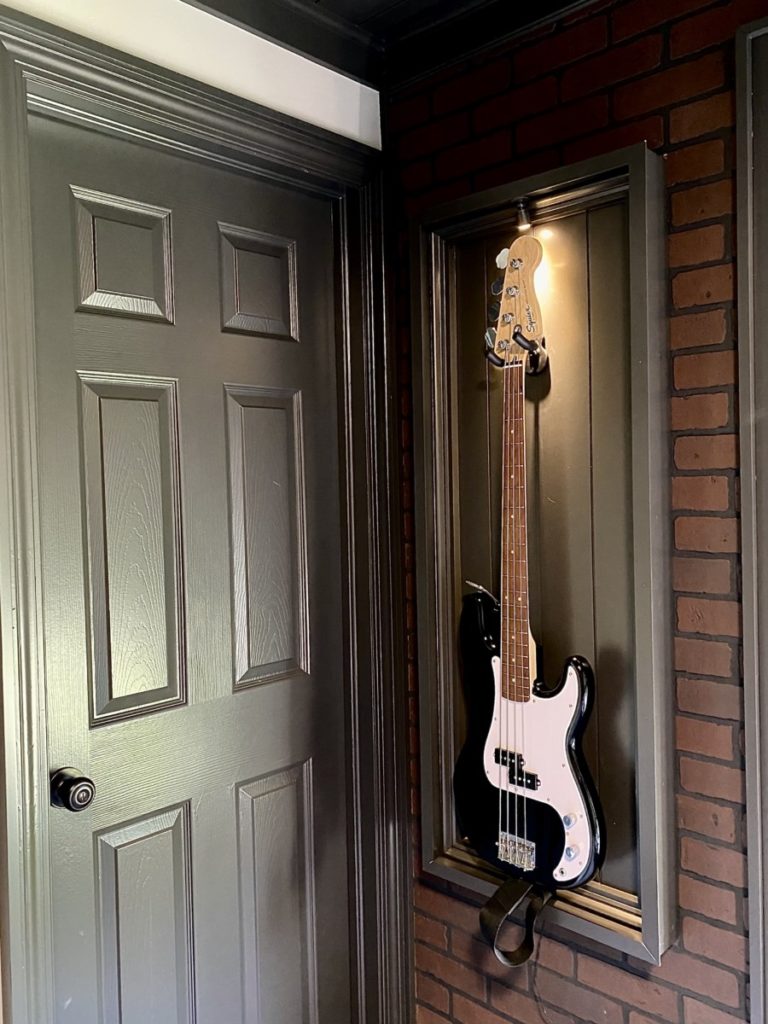
There you have it, a functional piece of art that will elevate the look and feel of any guitar/space. I really feel like this Guitar Display Case gives off the moody vibes that I was trying to achieve in this music studio.
Thanks so much for following along!
Take Luck,
Corey