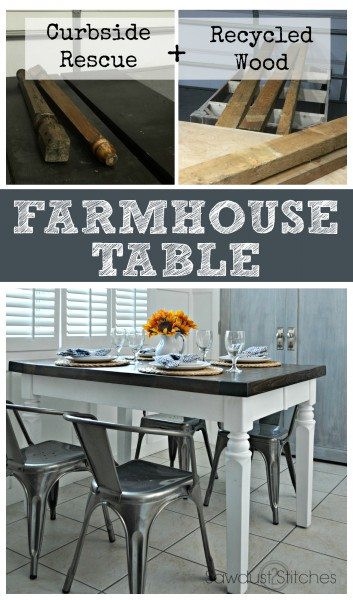
Hey all! I am particularly excited about today’s post. First reason being, it involved all free materials! There is something about the challenge of taking a roadside rescue, and turning it into something beautiful and functional… It just gets me pumped! Second reason? I found a new paint sprayer that I am in LOVE with. It made short order of this project, and what is even better? You have a chance to WIN one of these time saving champs! Make sure you enter at the bottom of the post!
That being said, I am excited to partner up with HomeRight on this sponsored project, it is through great companies like HomeRight and affiliate links that I can continue to provide all these tutorials at zero additional cost to my readers! So a big thank you to them! (More info. available here.)
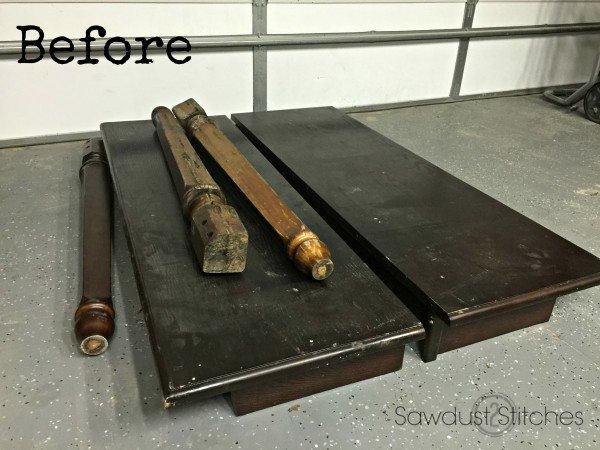
So let’s dive in, shall we? I was out hitting some garage sales a few weeks ago, that’s when I saw “it”. Peaking out behind a car I saw some turned table legs just laying on the ground! I jumped out of the car and sure enough it was a full table, taken apart leaning against a tree. There was a nice gentleman staring at me like I was crazy ( I basically jumped out of the car while it was still in motion) Through brief conversation, he said it was free… haha. If he thought I was crazy before, I left little room to wonder with the level of enthusiasm I showed as I collected the pieces to the table. Honestly, I think I may have embarrassed my friend who was with me.
Moving on. I got it home and assessed the damage. It was definitely in rough shape, but it wasn’t anything some wood filler, tools, and bit of paint couldn’t fix!
The Base:
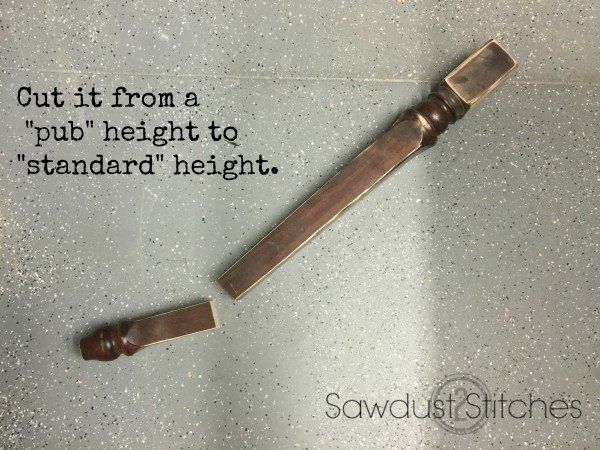
This table was a pub height table, and was capable of expanding, but the leaf was missing). Which was fine, I planned on making my own top. For the legs, I was going to need to shorten them. I cut off the bottom end, so that I would be able to use the existing top hardware. I just cut it off with a miter saw.
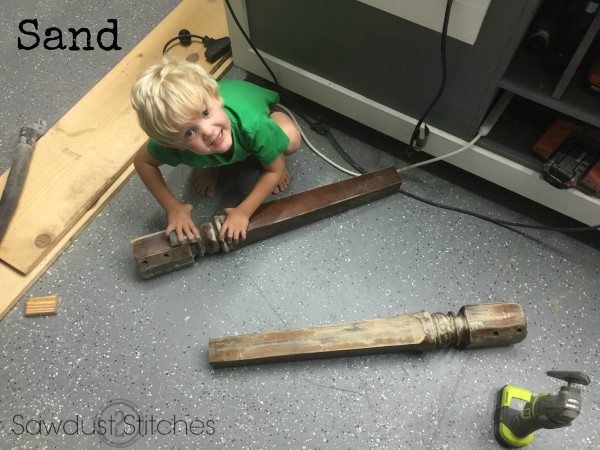
After the legs were cut down, I started the sanding process. (Plus, I had a little help… ) It was at this point that I filled all the cracks (from water damage) with wood filler. Then I sanded them until all evidence of a cracks were gone. I knew I was going to be painting the legs, so I did NOT need to sand until I got to bare wood. I simply needed to scuff up the surface enough that is was smooth and “dull” so that the primer could properly adhere.
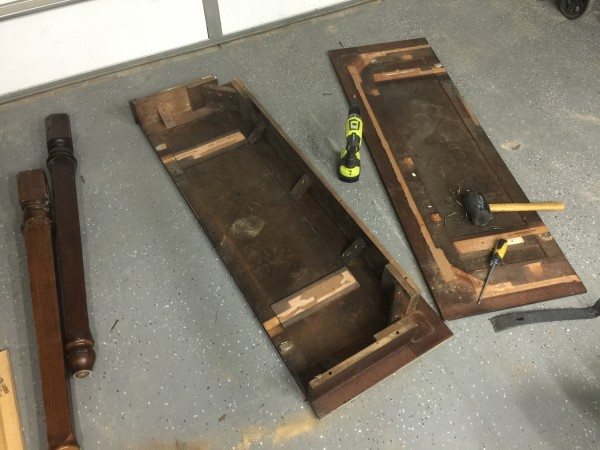
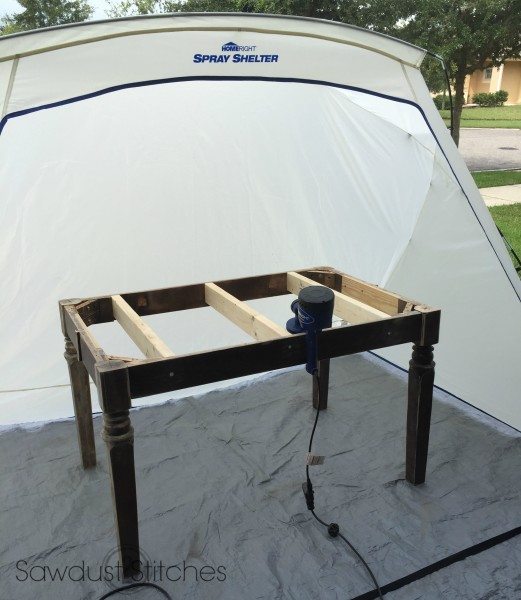
Next I removed all the aprons and hardware from the underside of the tabletop. I wanted to be able to use the aprons and corner supports. Once I had removed them, I reassembled the base of the table, and added a few 2×4’s for support.
Once assembled you are ready to prime! I usually dread priming, it just one of those unsatisfying, necessary steps. Well, this was my first attempt using primer in my HomeRight Finish Max Sprayer and it was a breeze. I just used a standard Primer.
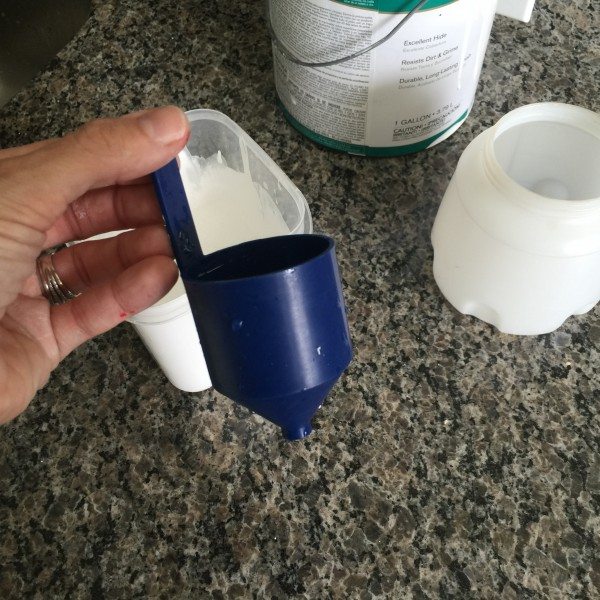
When using a sprayer you just need to make sure your paint is the right consistency. They give you this handy little “viscosity cup” that helps you get your primer to the right consistency by merely adding water.
Do you realize by merely adding water to ANY paint color you can create your very own spray paint ??! =MIND BLOWN
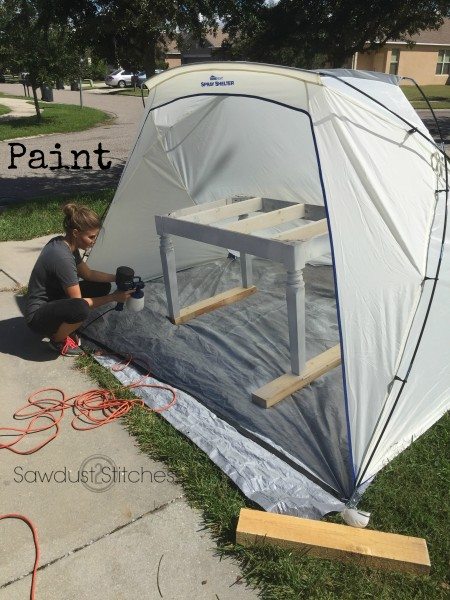
Moving on, once you have loaded up your sprayer, you simply plug in and start spraying! (You heard right, you do NOT need to hook it up to an air compressor, Hallelujah!)
When spraying the primer, do so just as you would spray paint. Light, multiple coats, as opposed to one heavy layer.
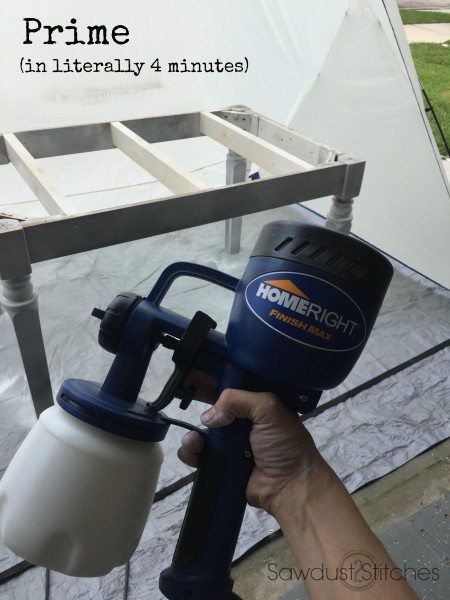
(Again, prep your paint for the sprayer.) The coverage is pretty awesome, and I did one light coat, and was pretty much done.
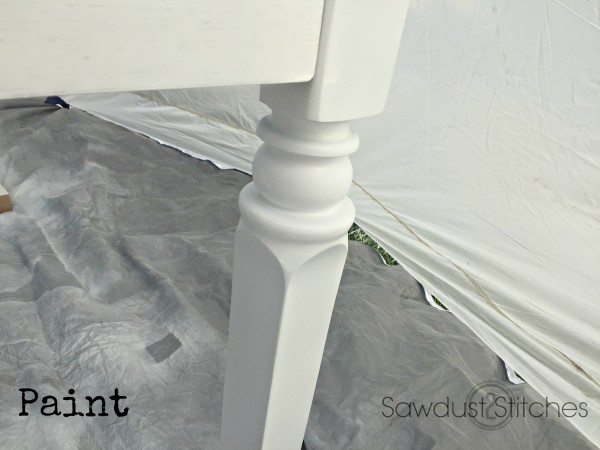
Not a single brushstroke! Love it, and I completed the top coat in about 10 mins. Serious.
That is a wrap on the table legs… on to the table top!
The Table Top:
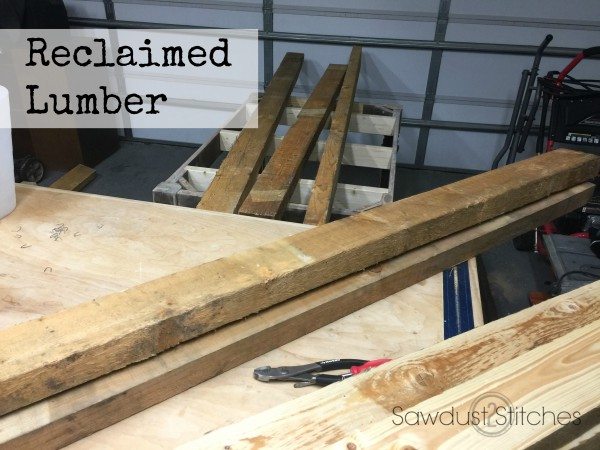
I was digging my recycled base, and wanted to keeping rolling with that idea. Lucky for me my Husband found these super beefy boards that were in really ROUGH condition. They were PERFECT! I ended up turning my garage into a lumber mill for the day, and spent some time running them through the planer, and even made use of a my table saw to get them up to par! However, it was all worth it, they turned out beautiful.
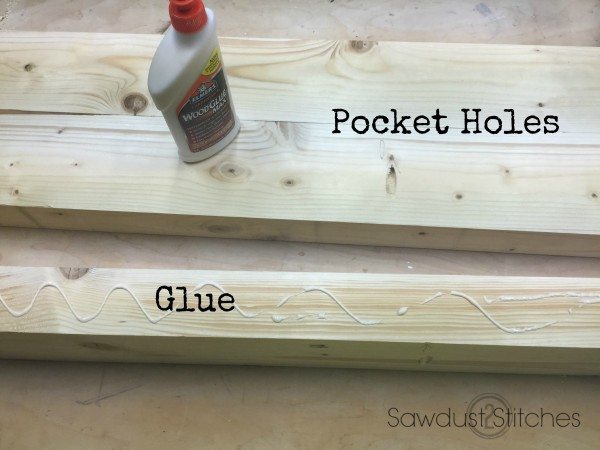
In order to make the top, I drilled pocket holes on the underside of the boards. Pocket holes are a great way to join boards together without having visible holes. Fastening it together is normally enough to hold it, but seeing as this would be a kitchen table, I wanted to seal all the gaps, so I added a little bit of wood glue to the sides before securing with pocket hole screws.
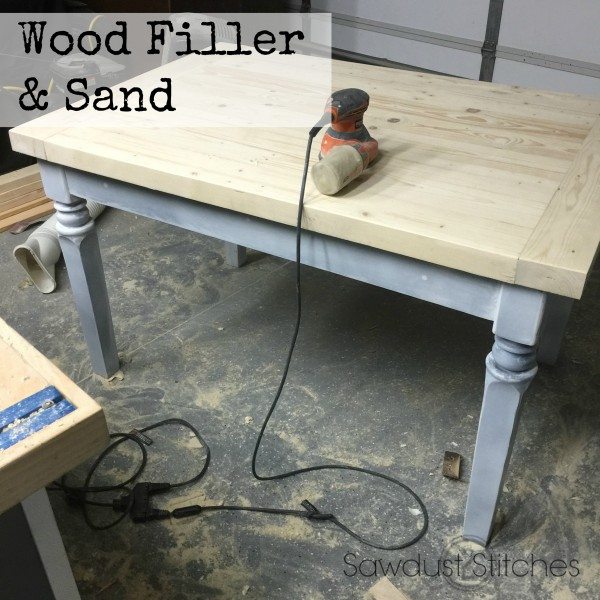
Once I had my slab assembled, I filled any remaining cracks with wood filler and sanded the crap out of it. (FYI make sure if you use an oribtal sander, you follow up with a finish sander or hand sand in the direction of the wood grain. (This will prevent it from looking like a UFO landed on your stained table top.) Once the slab is sanded you are ready for stain and poly!
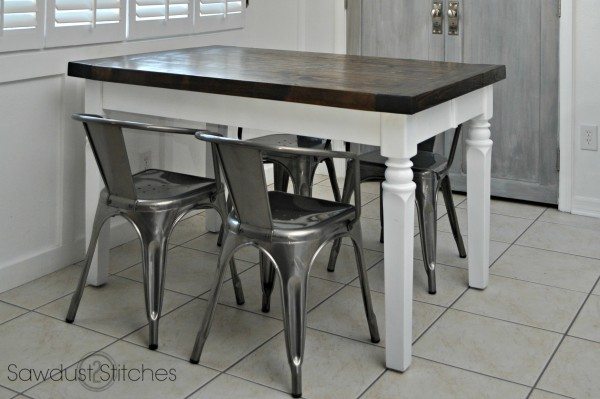
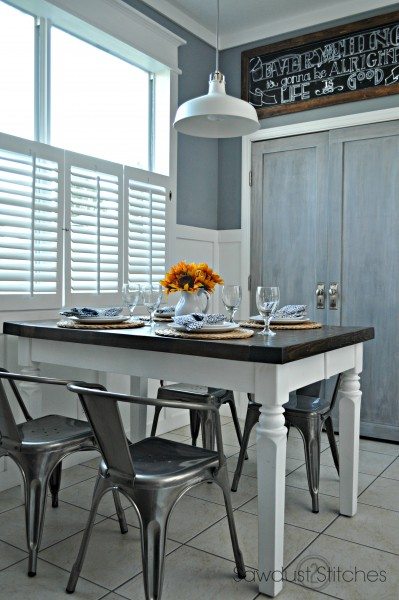
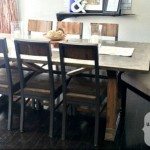
Can I just tell you how much I love this traditional farmhouse table coupled with a more industrial style chair? The best part? The table was FREE all recycled materials and leftover supplies! Score!
Ok, now for the even better part… free stuff for you! Make sure you follow the instructions below to enter into the drawing for the
Enter here for your chance to WIN a HomeRight Finish Max Sprayer!
Take Luck,
Corey
HomeRight Finish Max Sprayer
 Copyright secured by Digiprove © 2015



Would love to have one!!
Good luck, and don’t forget to enter!
🙂
Love your site. Love the cubbies story, garage sale flip but most of all ..love the silver chairs with your fab farmhouse table!
Pam
Thank you so much for taking the time to say so! Some days it makes it all worth it!
You truly amaze me with what you are able to do!
Awesome projects – I have so many pieces of outdoor furniture to paint…this would come in handy!!!
I have a 5-legged antique oak ‘work’ table that can accept extra leaves. I really hate to paint wood but this would be a great project for it, I could make a dark-stained top with my Kreg jig. I love white and wood stain together. Do I paint it?? I love your creation!
I totally get where you are coming from. Sometimes it kills me to paint over wood, but sometimes it needs it, and it just plain ol’ looks better!
I’d love to win this sprayer!
The table looks great! I especially like the fact that it was made from all found materials. I recently found your blog and am looking forward to looking at back posts and also seeing what, in the future, you have up your sleeve. 🙂
I would love win this!
Table looks great! I especially like that you made it out of found materials.
Hahah thanks Denise! I love thee bragging rights of saying it was “free” ! haha