Today is the day, it’s R.V. Makeover Reveal day! This project has been a labor of love, and I am so glad the test of my love is over!
In the event you are just joining us you might want to start at the very beginning of this journey.
R.V. Makeover Painting Process
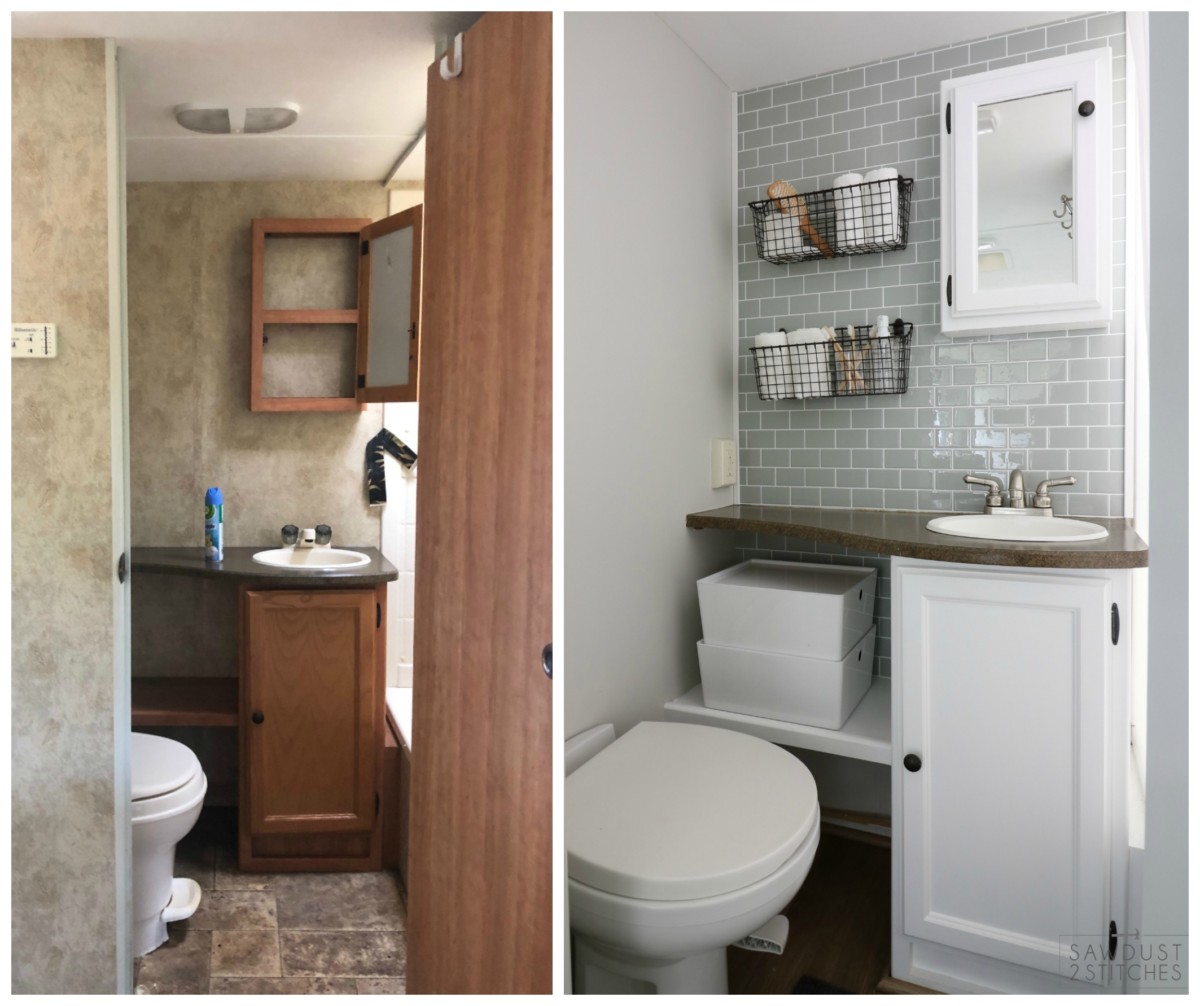
R.V. Bathroom Makeover
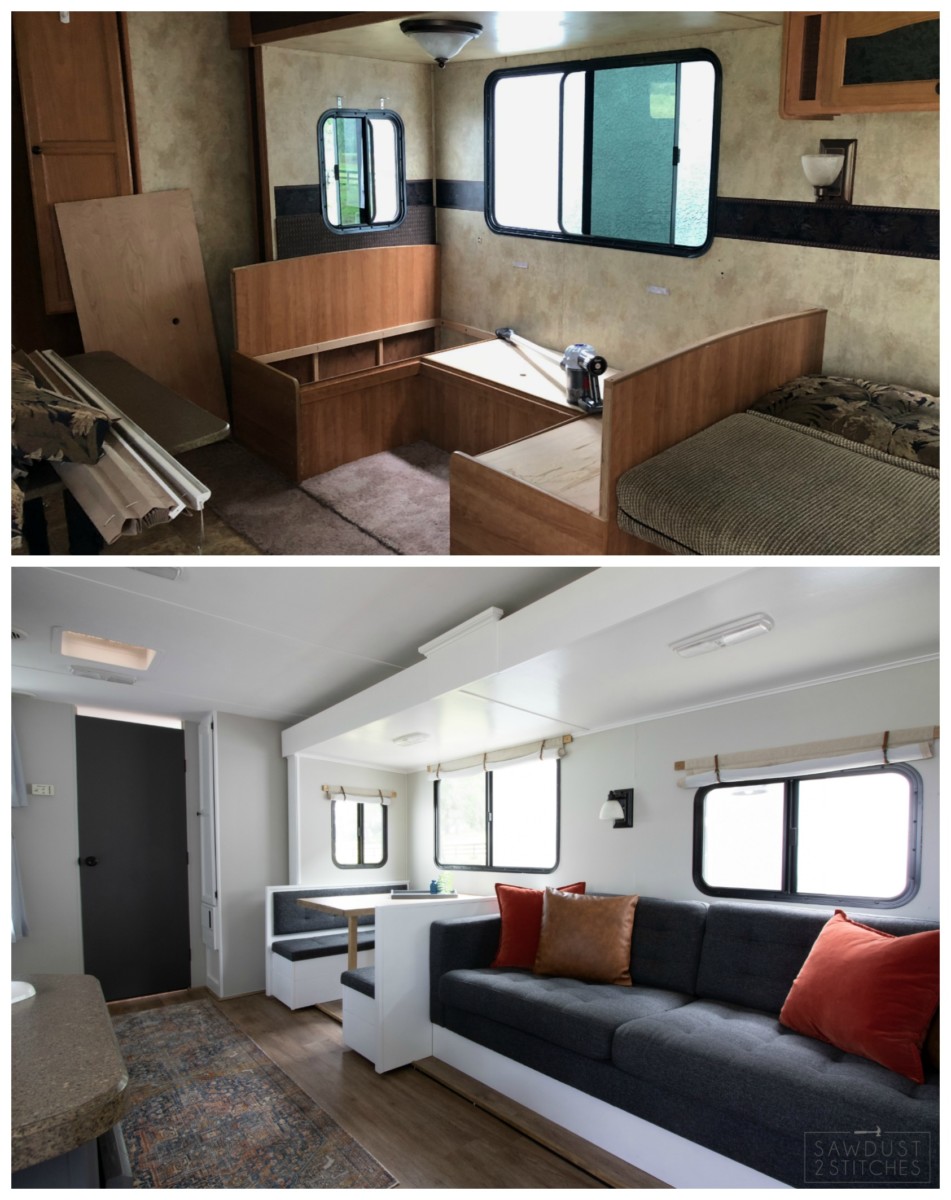
R.V. Dinette and Sofa Makeover
This thing is ready to go, and that’s exactly what I plan to do! Truth be told, as soon as I finish writing this final installment of the Camper Makeover Journey I will be packing to take this little gem out for a camping trip! So, not only am I anxious to dive right in, but I also have things I need to be prepping. So without further ado, I give you the camper makeover reveal!
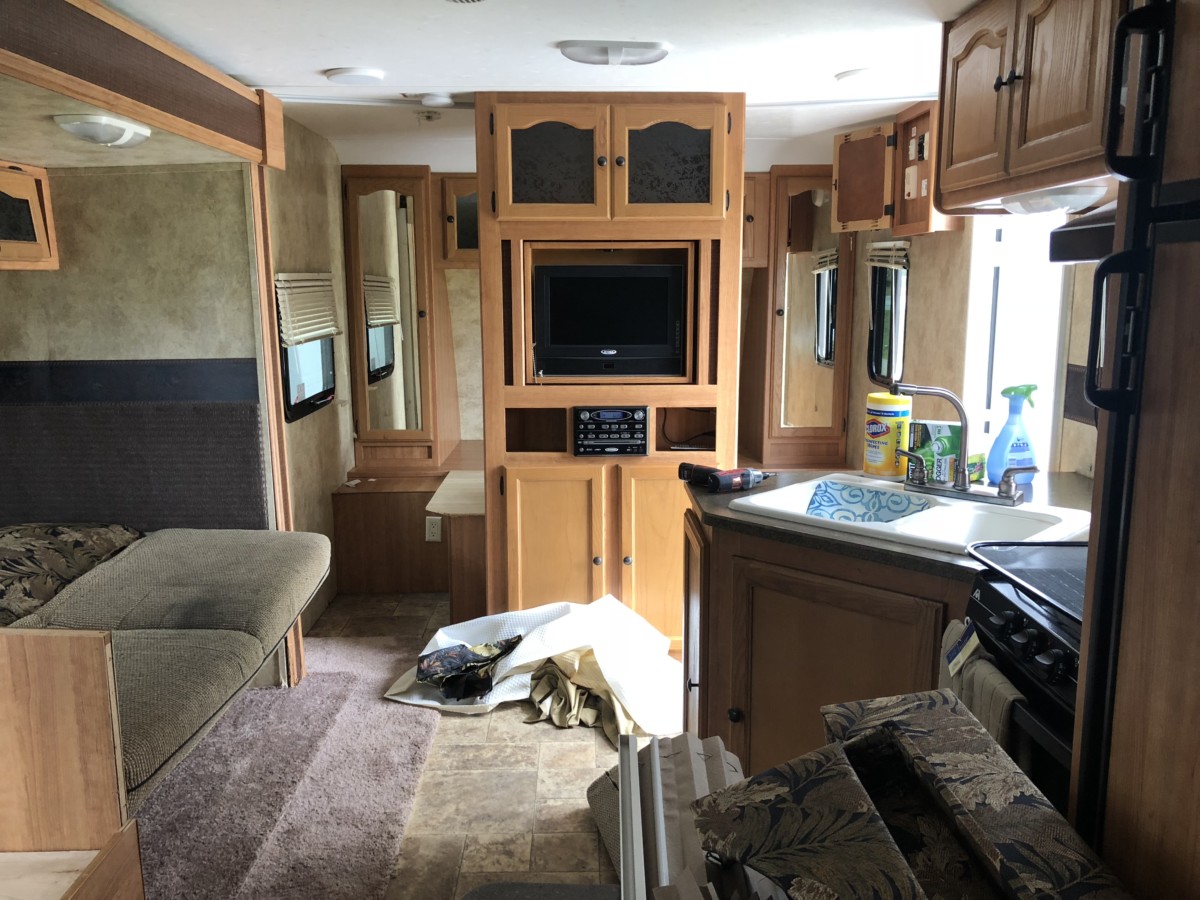
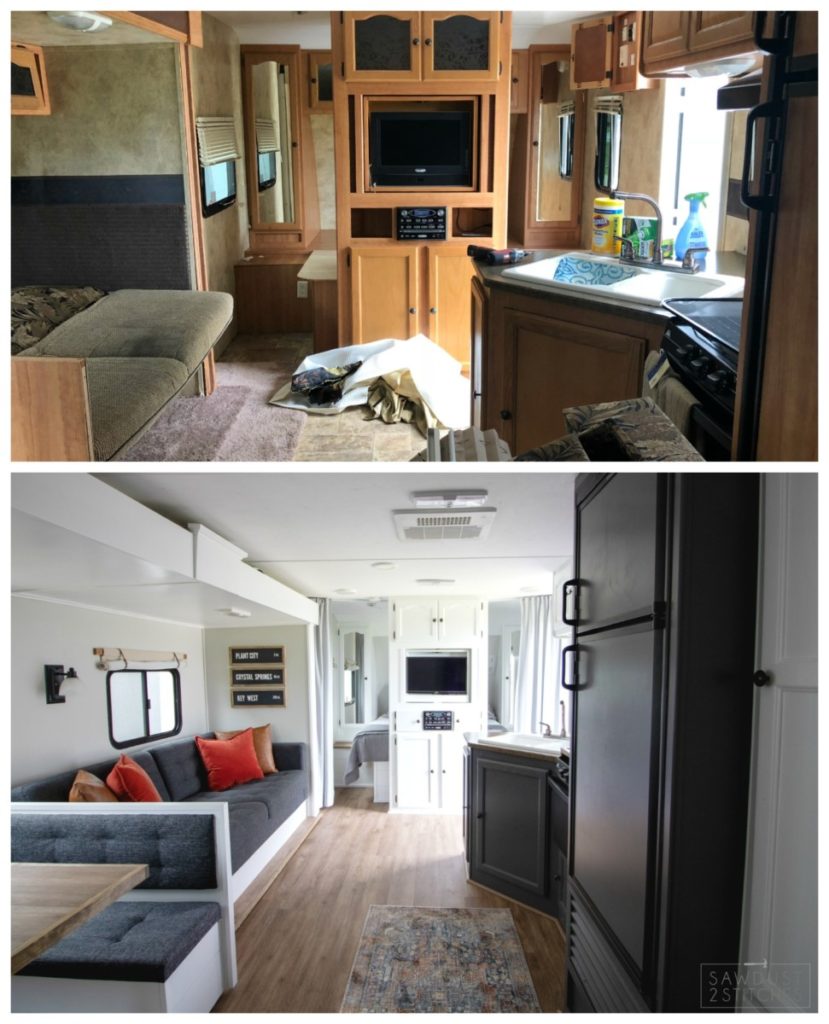
For comparison sake, let’s enjoy how far this camper has really come. 
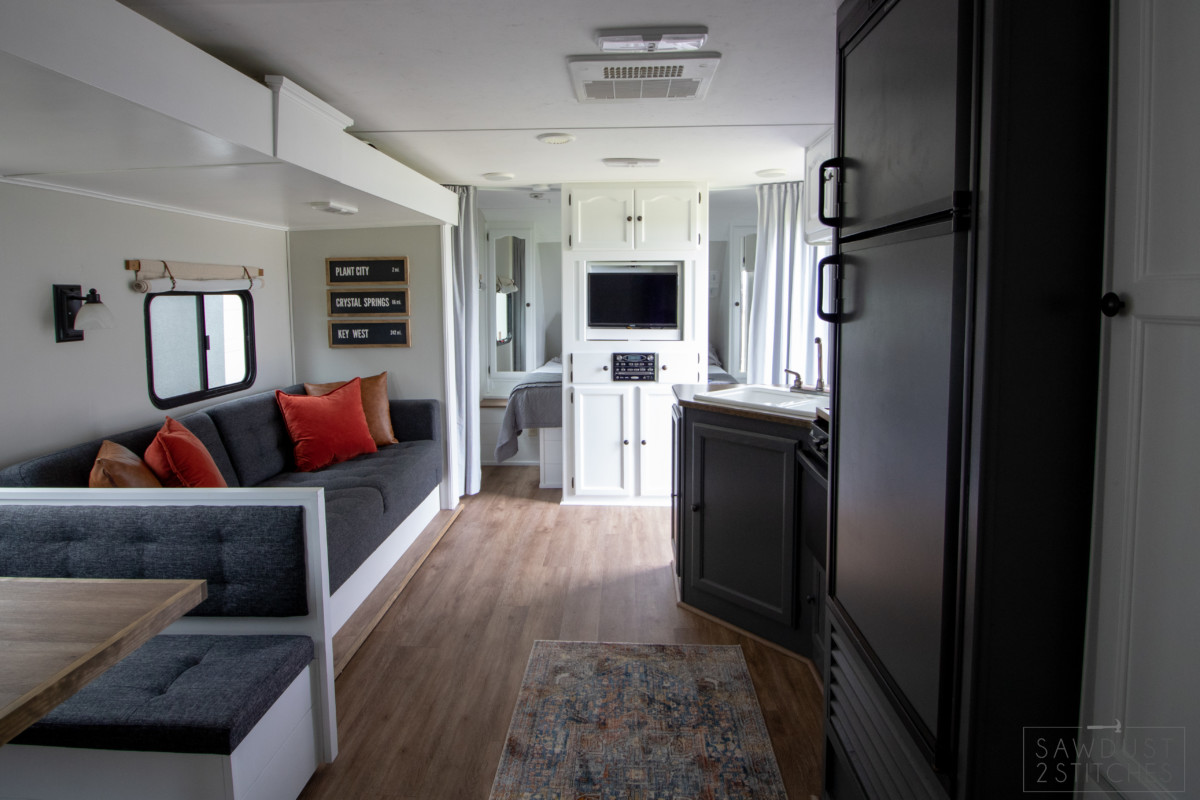
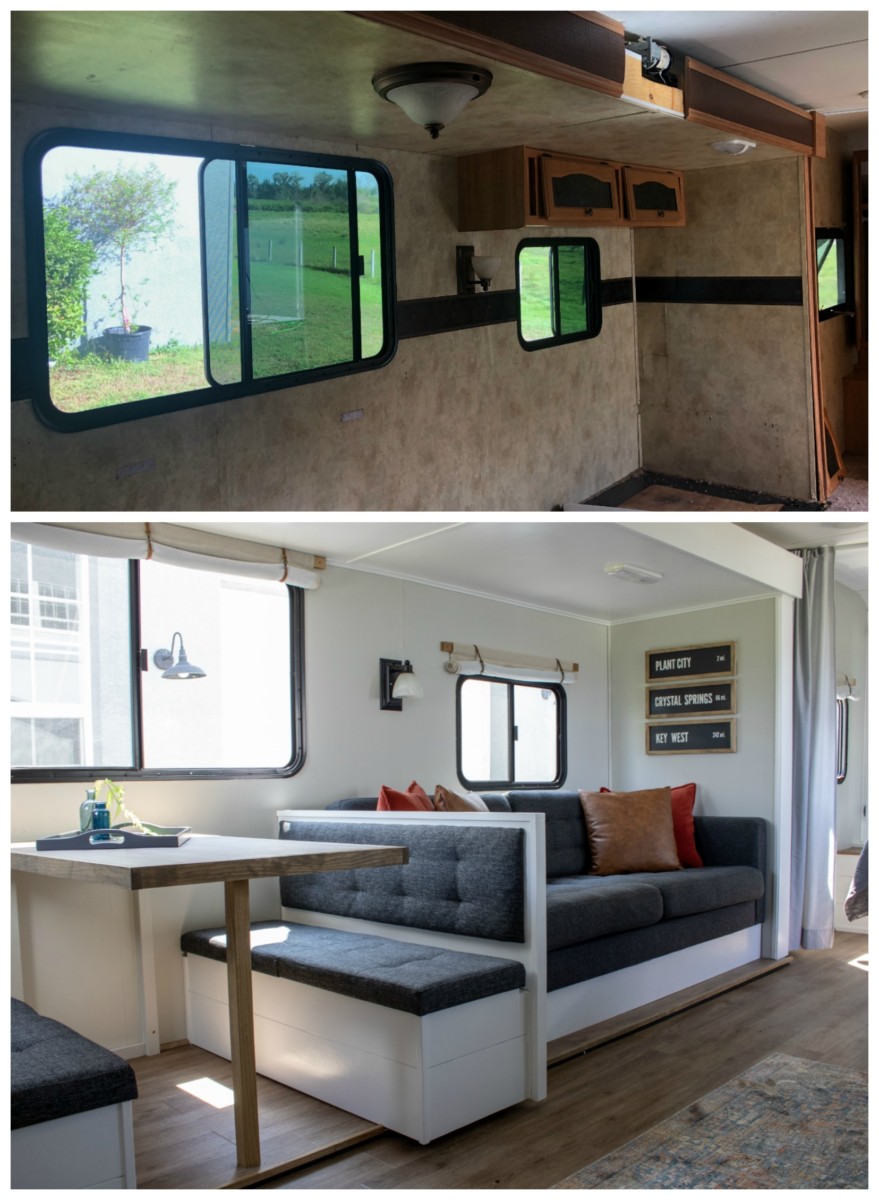
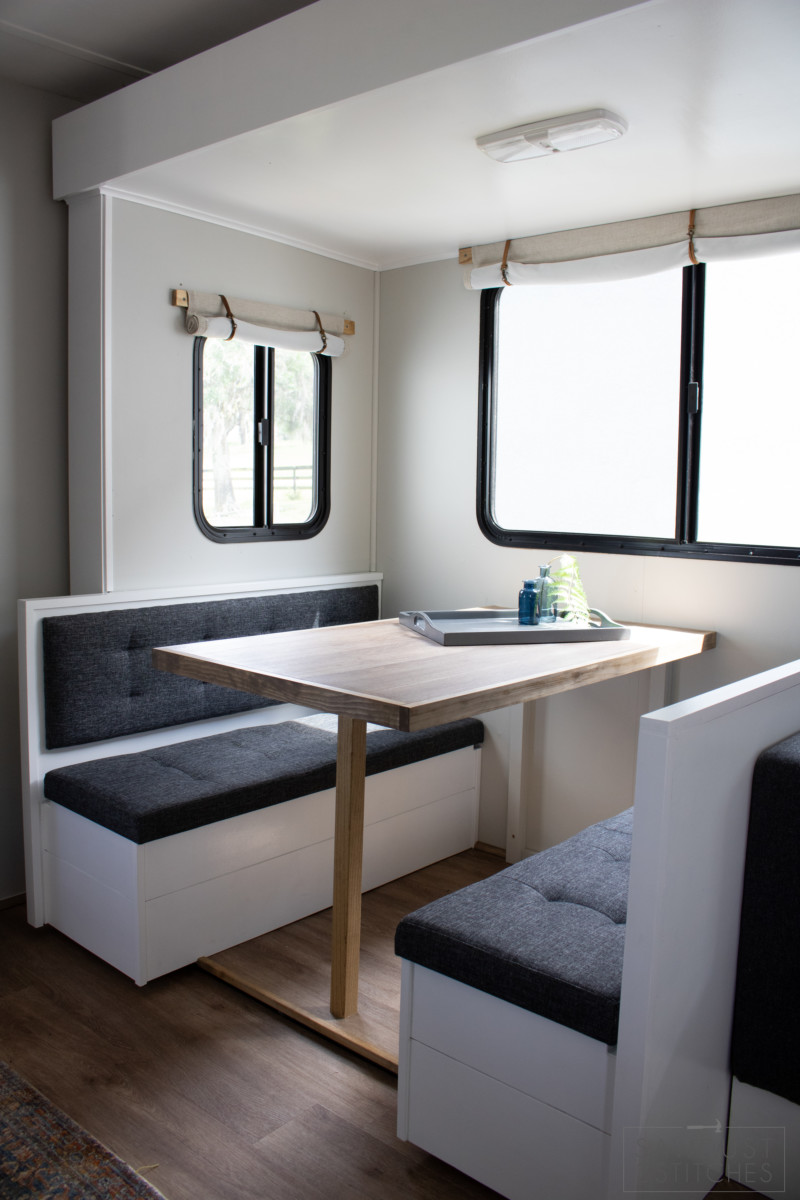
Here is the new and improved sofa and dinette area. If you want to read more about this process you can get more details in regards to the custom furniture! 
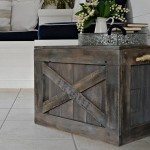
In case you missed it, you might want to check out how I turned two standard ottomans into this awesome dinette set. 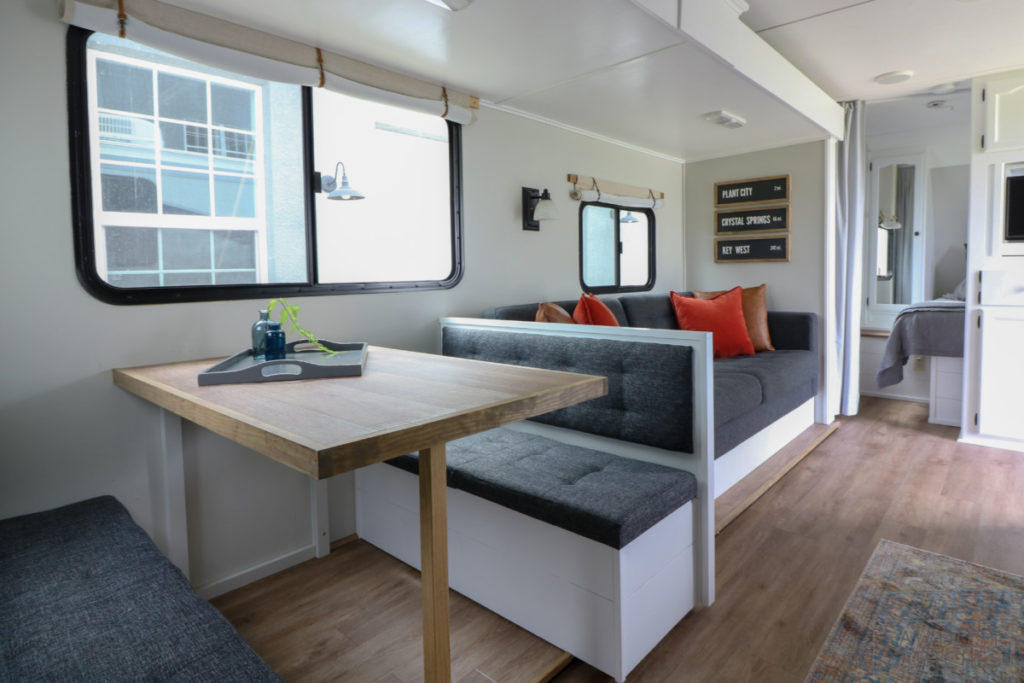
Complete with hidden storage, booyah!

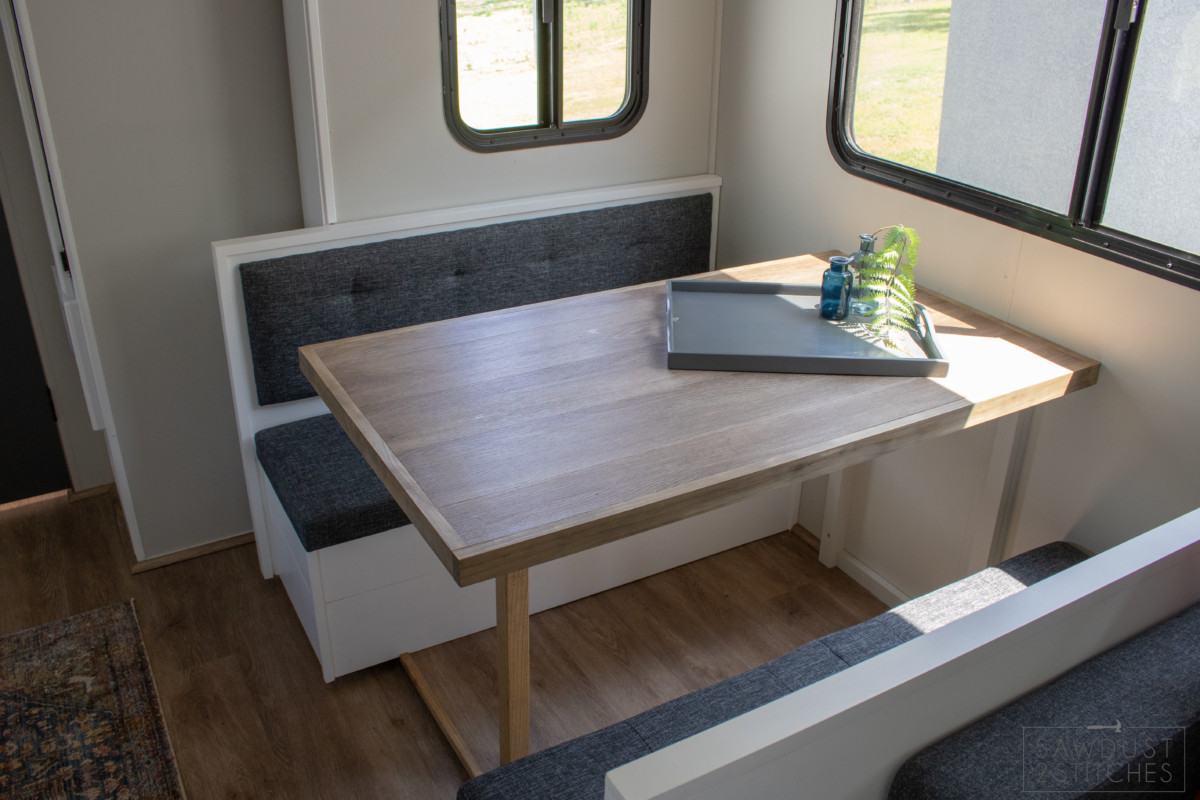
Would you believe this table is made using the leftover flooring? (Read more about that here.) Yup, and it is awesome, and waterproof. Winning!
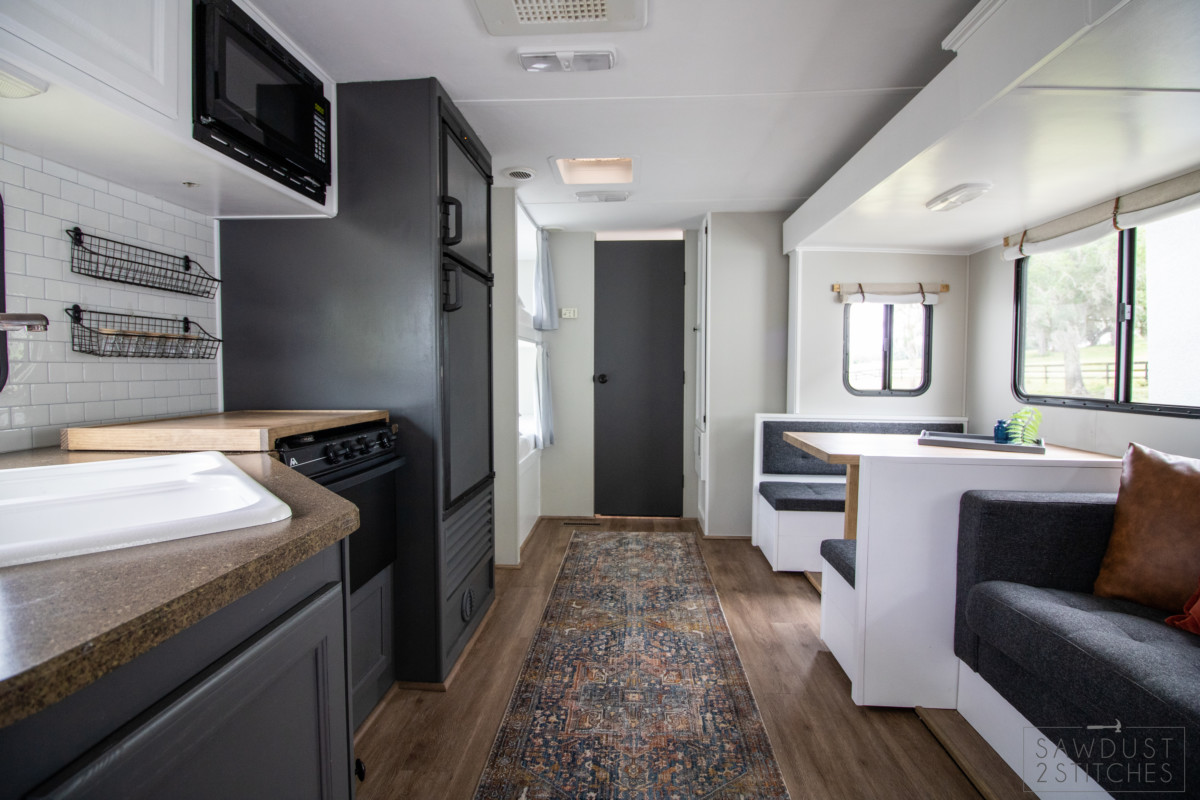
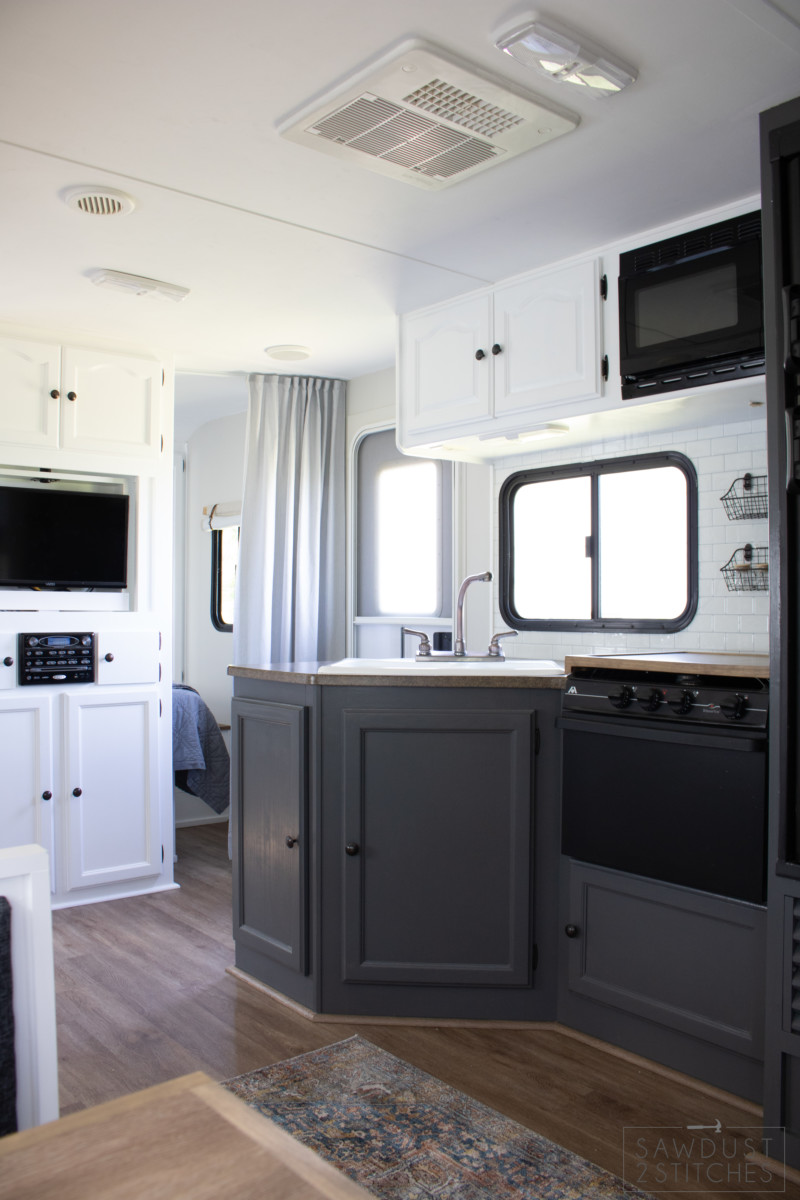
The kitchen I think was the best bang for my buck scenario. With a little bit of paint, a lot of elbow grease and some peel-and-stick tile this kitchenette is unrecognizable! (You can read all about the paint process here.)
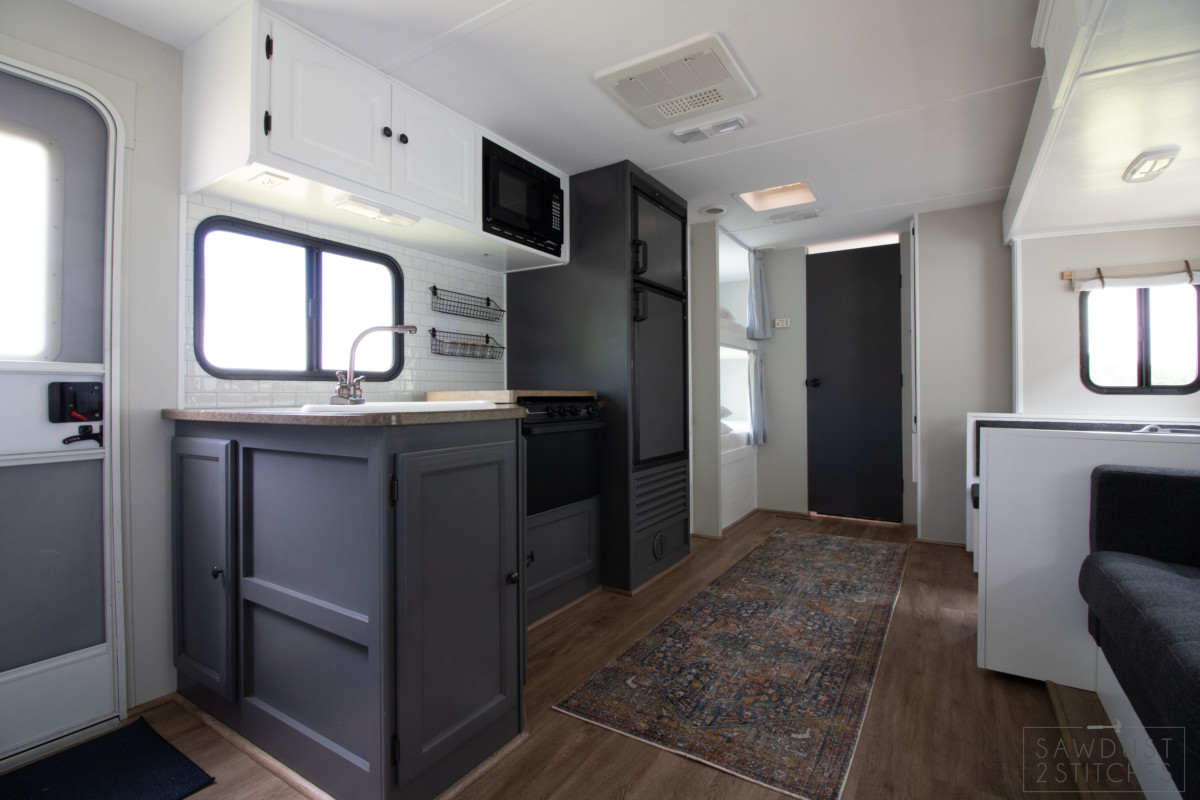
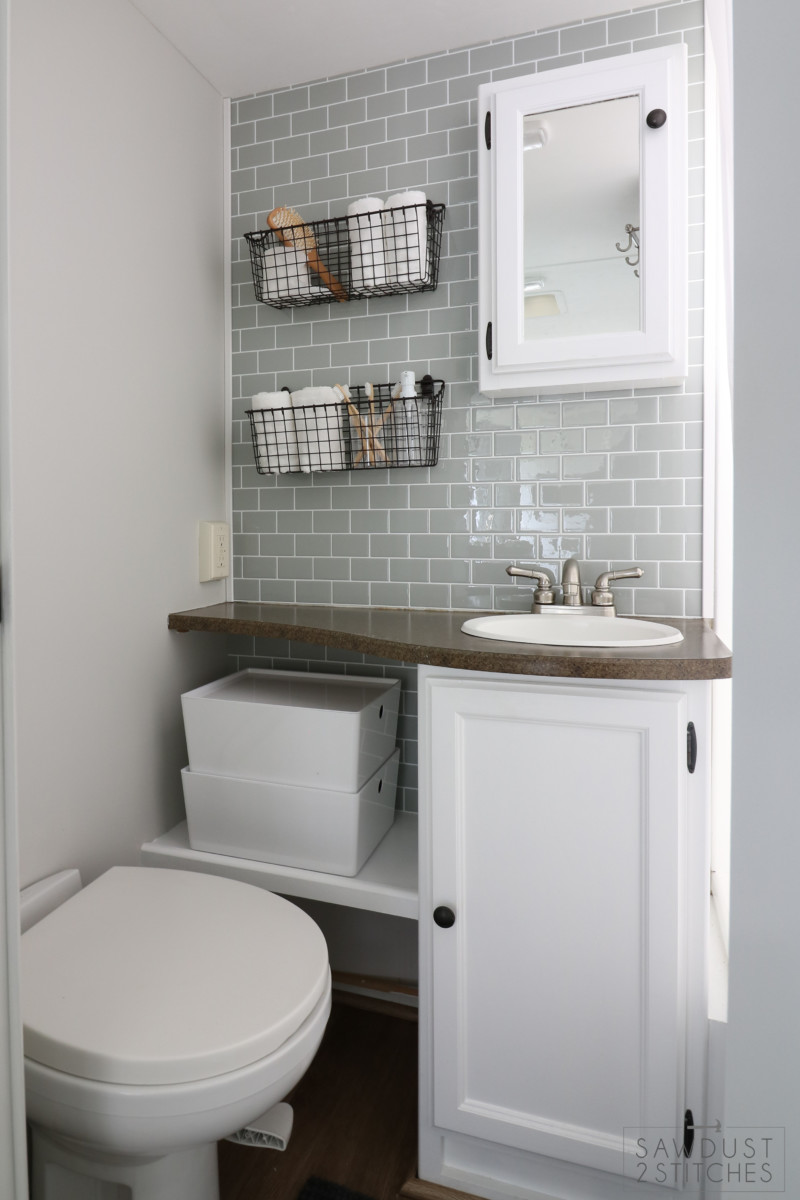
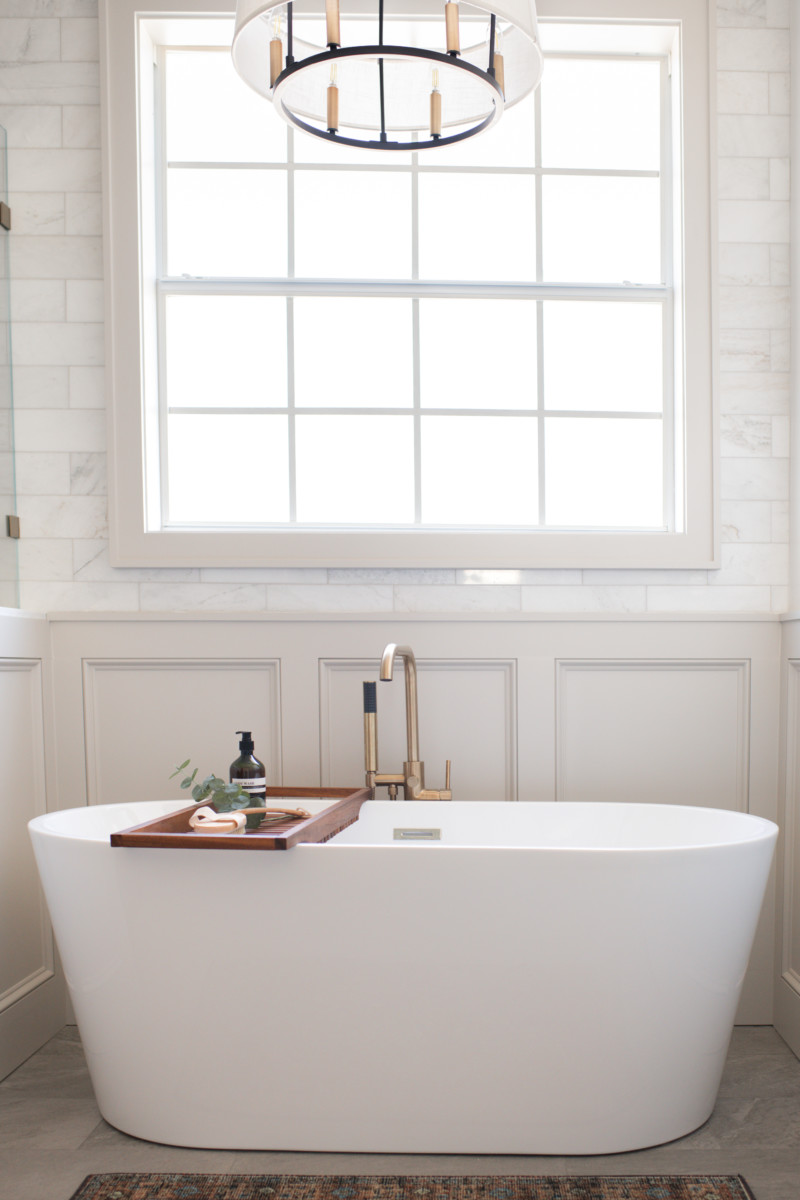
Isn’t it beautiful? Yes. Yes, it is.  Now for the bathroom. This thing was gross, and so I felt it completely necessary to recover every single surface in the entire room, and I did. Did you know you can paint tubs? Well you can and I share all the fun details in regards to this bathroom makeover here.
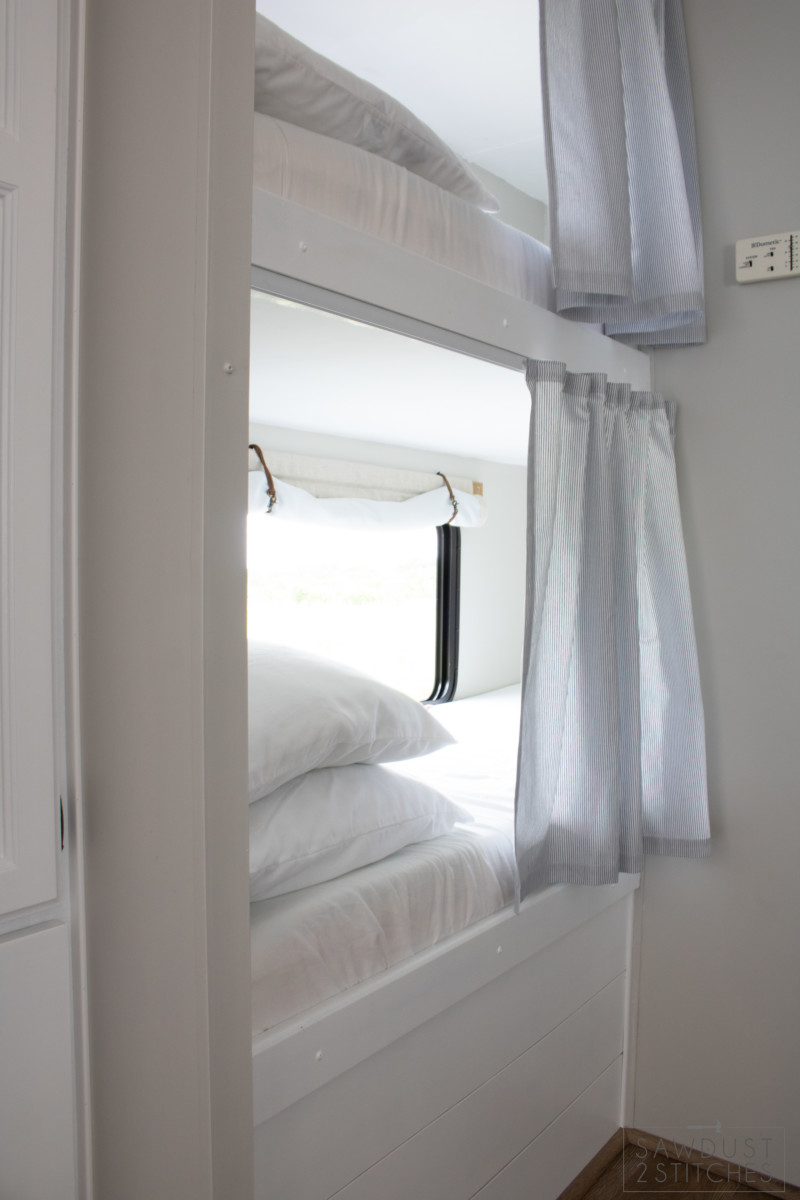
 One of the smaller areas that did not require much work was the kids bunks. I ended up adding shiplap the front panel, and making custom curtains using track systems I purchased on Amazon. I did end up replacing the kids mattresses, because they were disgusting. I ended up purchasing these mattresses and used an electric bread knife to trim them down to size.
 I even added a some wire baskets to keep their books and personal items.
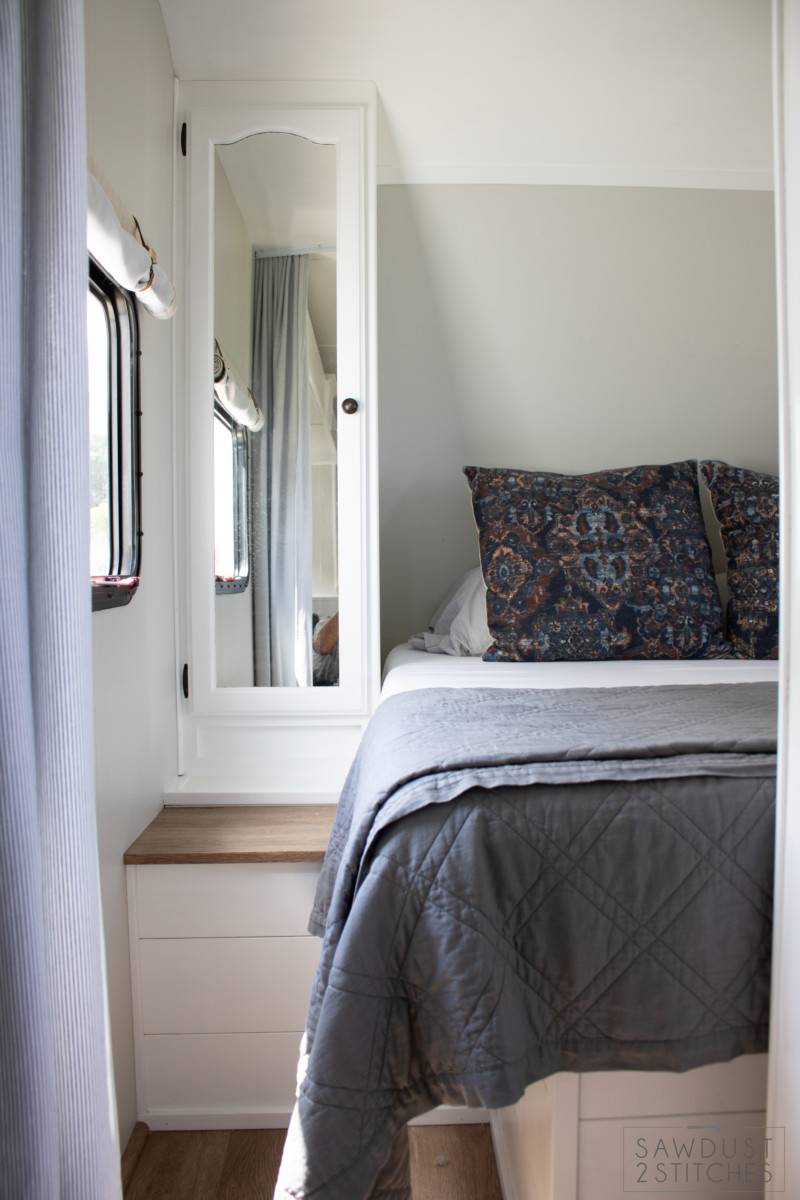
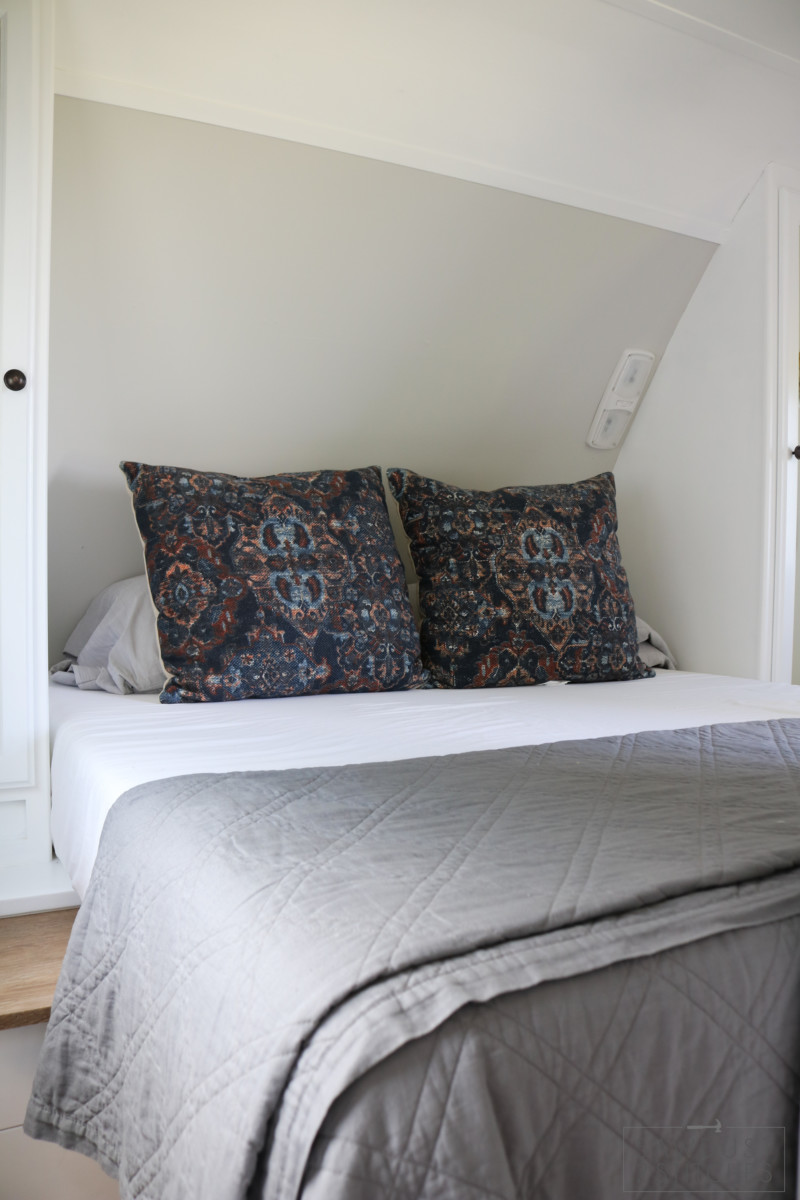
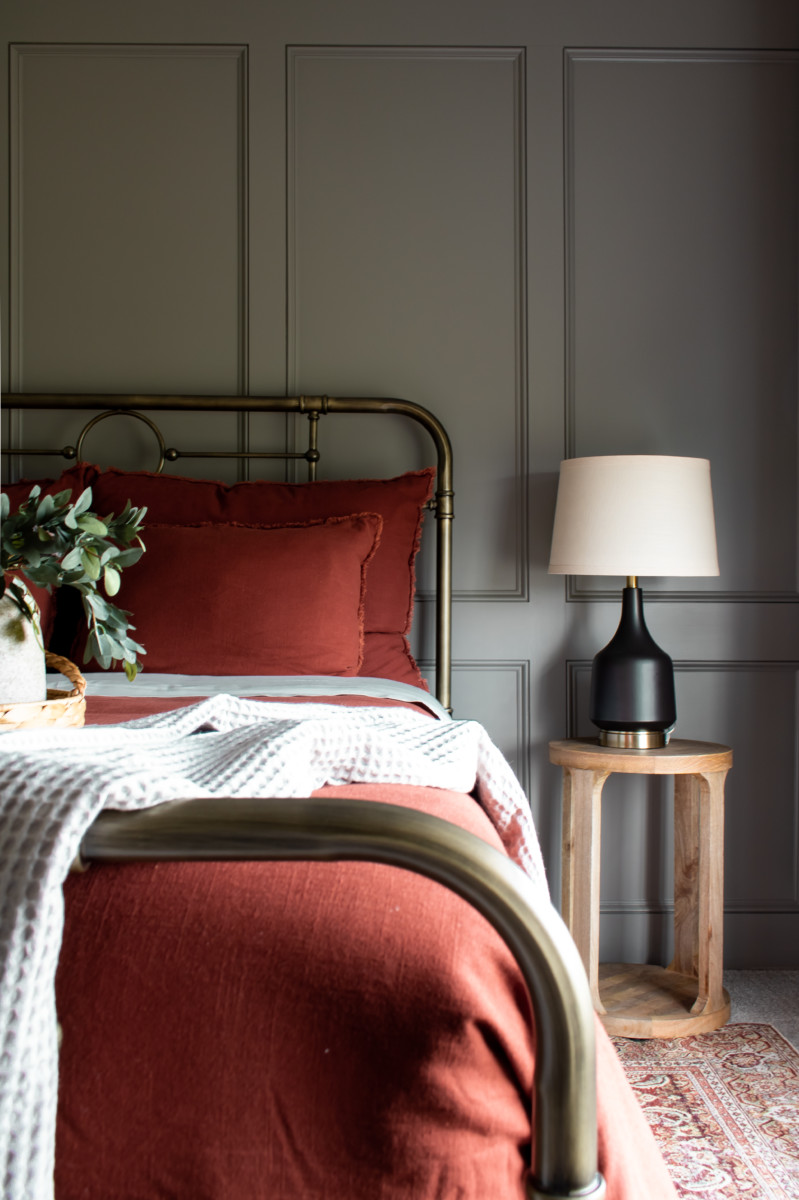
  Last but not least, the “master bedroom”. This space was mostly renovated in the “painting” phase. I added shiplap around the base of the bed, and created small nightstands using the excess flooring as table tops. Of course it also needed a new mattress, because eww… Lastly, I added a few homemade curtains for additional privacy and this area was all set! ( The bedding and pillows were purchased at Target.)
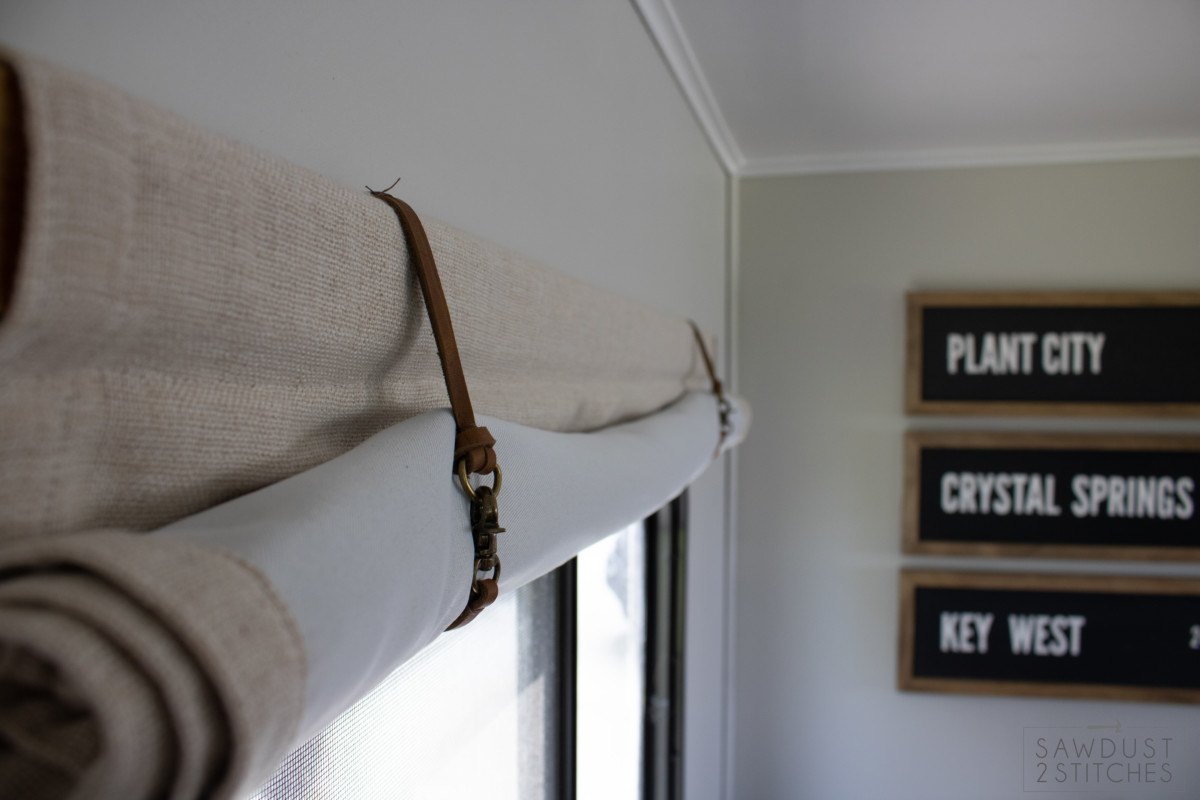
Of course all the finishing touches like the signs and curtains are made by yours truly! If you are interested in seeing more behind the scene details I highly encourage you to check out my Instagram Stories here.
Well folks, that concludes this saga. It was a LOT of hard work and I am sure it will all be worth it. Time to go put this beauty to work.
Thanks for following along and Take Luck!
Corey
Just in case you are really curious, here are some side by side before and afters. Enjoy!


I would love to know how you did the curtains! Currently we use the kids’ swim towels!
What kind of white paint did you use? I so want to do this to our camper it brightens it up so much!!!
Absolutely stunning! My favorite R.V. makeover to date!! I hope I can makeover one soon!!!
Oh my goodness this is amazing! I can’t believe how easy it is to update a space with paint but all of the other changes really elevate it. Love The New Sofa color and that bathroom, gosh so gorgeous! You should be the interior designer for all the RV companies that still produce dark and ugly Interiors.
Amazing!!! I now want to go buy a camper and redo it.
This is awesome! Love the way it turned out, so you have more sepecific details on the curtains, looking to do this for our trailer.
Thanks for sharing, Laura.
Corey this is truly amazing. I can’t believe how great that trailer looks, fantastic job!!!
Fantastic job!
Where did you get the baskets for the kids beds? My kids could use those in our camper! Such a great idea!
Wow is all I can say at first. You’ve done an incredible job with the makeover! Absolutely love the hidden compartments – they’re perfect for storing away any pillows or any extras you’ve brought along the way that you don’t have room for.
Congratulations! Looking forward to seeing what else you get up to.
Best wishes,
Emma at Ironmongery Experts
Your RV is nicer than my house! What a fantastic job!