Hey there! Join us on Instagram and Facebook to keep up with our most recent projects and sneak peeks!

Supplies Used:
- (2) 1″ x 6″ boards (96″)
- (2) 1″ x 2″ boards (96″)
- Stain
- Nail Filler
- 2″ 16 Gauge Nails
- Wood Glue
Tools Suggested:
- Miter Saw
- Nail Gun
- Sander
- Tape Measure
Disclosure: Some of the links provided are affiliate links. By purchasing through these links it supports this site and helps keep content free. You can read more about how we do this with no extra cost to you.
Step 1. Prep Boards
Cut List:
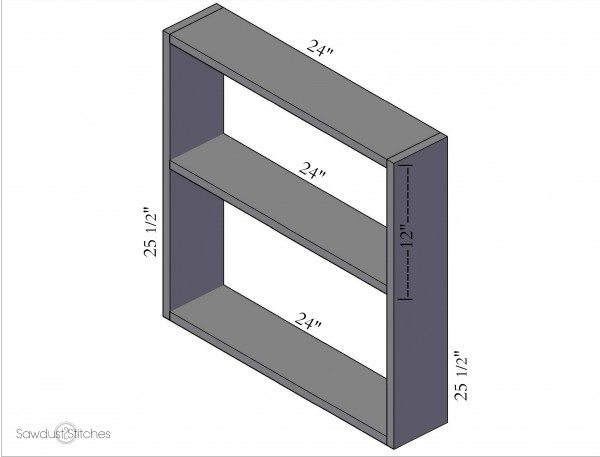
1″ x 6″ Board
- (2) 25 1/2″
- (3) 24
1″ x 2″ Board
- (5) 25 1/2″
- (1) 24″
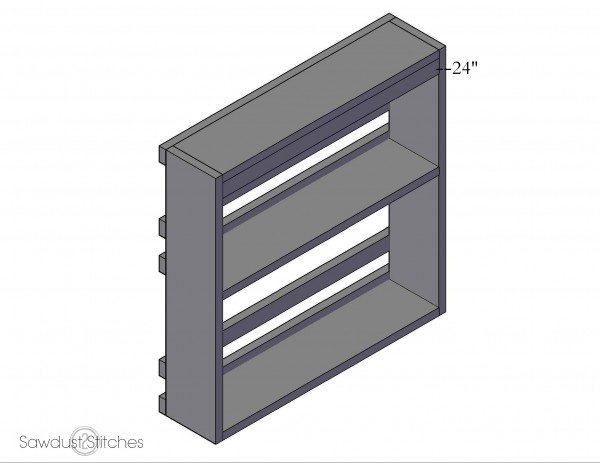
Step 2. Frame
Join both 25 1/2″ and 24″ 1×6″ boards using wood glue and 2 inch, 16 gauge finishing nails. This will form a 25 1/2″ square. Insert remaining 24″ 1×6″ board so that the bottom of the board is 12″ from the top of the unit. Then secure using glue and 2″ 16 gauge finishing nails.
Step 3. Front Rails
Attach the 25 1/2″ 1×2″ board(s) to the face of the unit using wood glue and 2 inch 16 gauge finishing nails.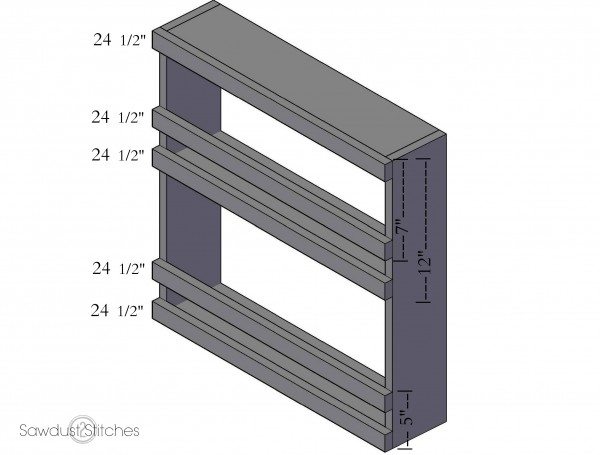
Step 4. Back Support
Attach the remaining 24″ 1×2″board using wood glue and 2 inch 16 gauge finishing nails. This is an ideal place to attach the unit to the wall, or you can attach hanging hardware to the back.
Step 5. Finish
Fill all nail holes with wood filler. Sand smooth, then apply desire stain and/or paint.
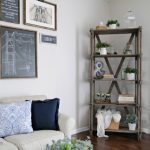
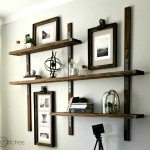
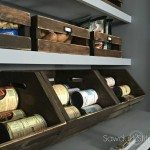
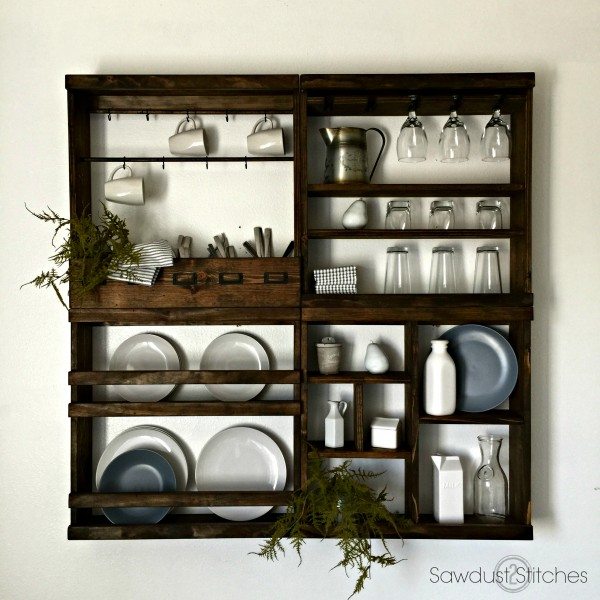
That is all there is to it! You can use it stand alone, or you can combine it with others !
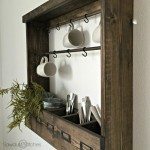
Pottery Barn Inspired Mug Rack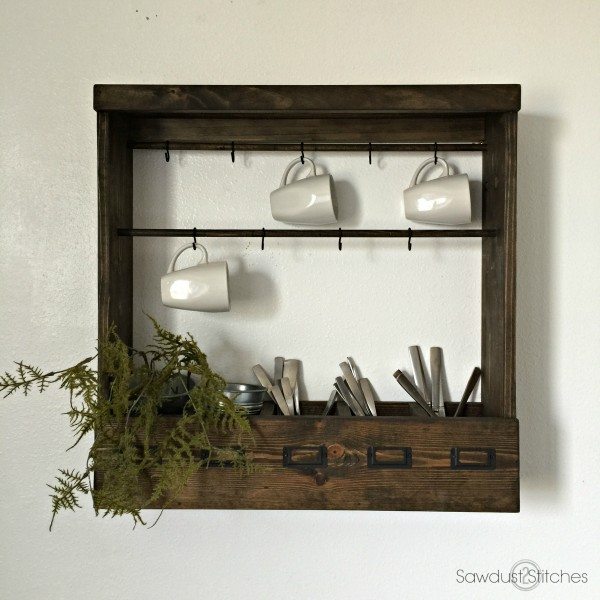
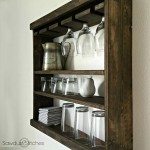
Pottery Barn Inspired Glass Rack 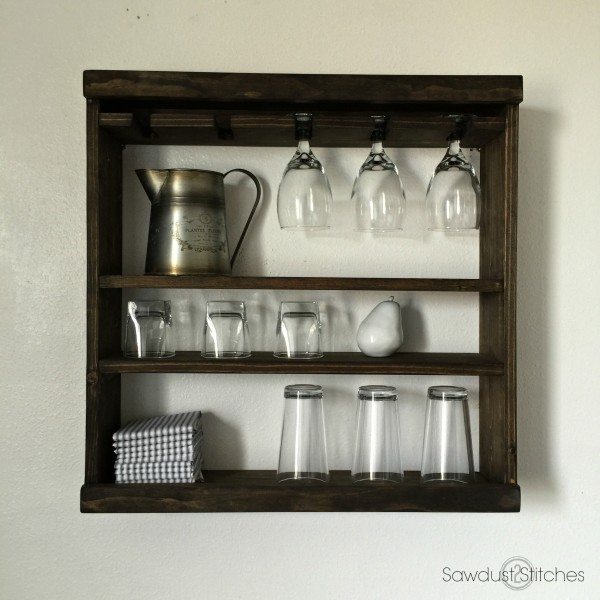
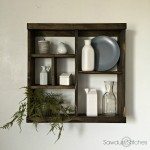
Pottery Barn Inspired Cubby Shelf 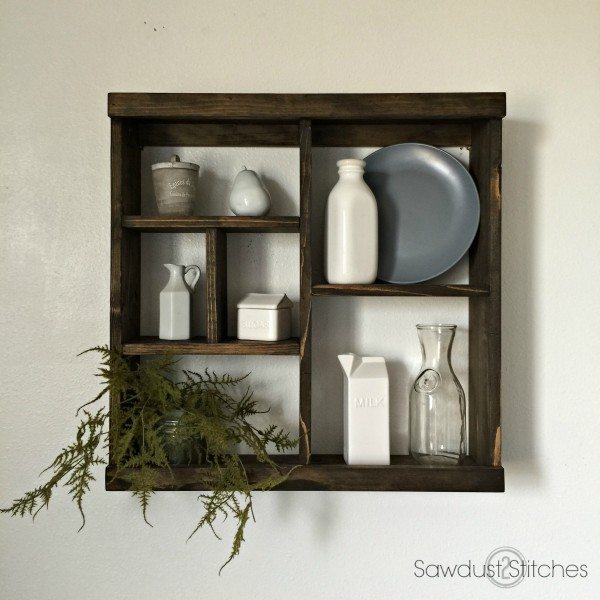
For sneak peeks of my upcoming projects be sure to follow me on Facebook and Instagram. You can also, follow me on Pinterest to get tons of projects plans from all around the web!
 Copyright secured by Digiprove © 2016