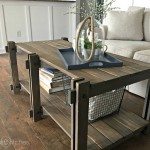
 Hey all! So this post has been a long time in the making, you may remember a while back I made a gorgeous Arhaus inspired Rustic Farmhouse Coffee Table.
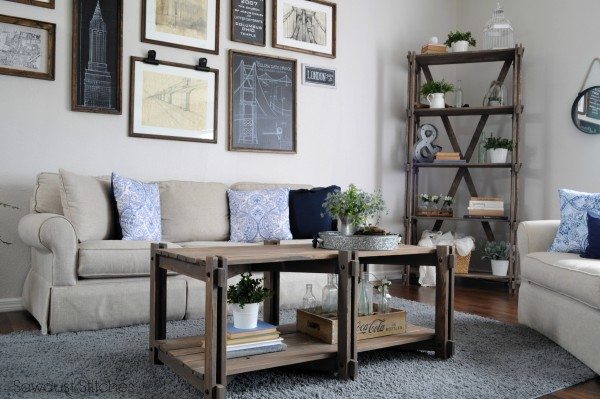
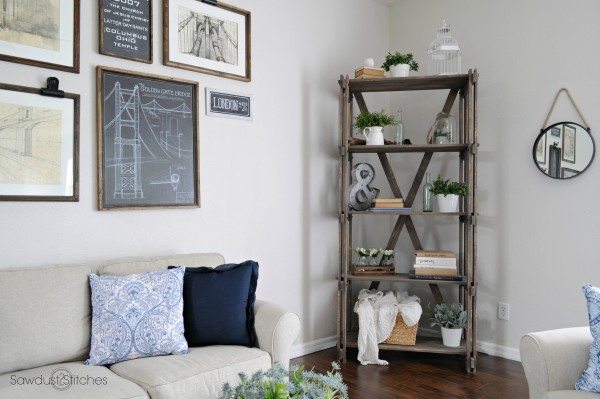
What I hadn’t realized is that my friend Crissie from Sawdust to Sequins had made her own version of this amazing Arhaus table… Great minds think alike, right ?! Well, we decided to put both of our creative brains together and round out the collection! So today I will show you how to make a Book Shelf, and then you can head on over and check out Sawdust to Sequins GORGEOUS rendition of a Media Console! 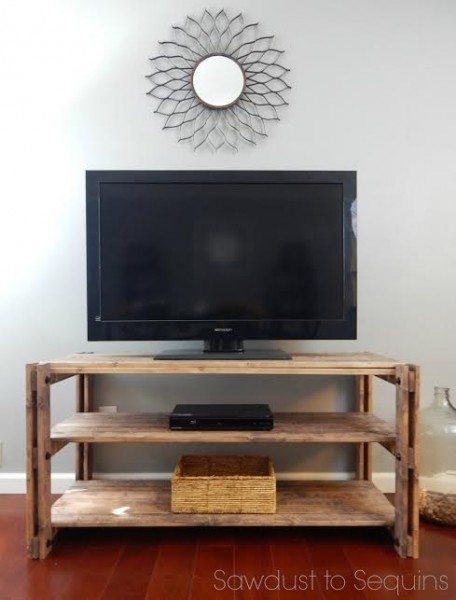
I’m also excited to be teaming up with the great folks over at HomeRight on this project! It is through great companies like HomeRight and affiliate links that I can continue to provide all these tutorials at zero additional cost to my readers! So a big thank you to them! (More info. available here.) Make sure you enter to win your very own paint tent at the end of the post! ![]()
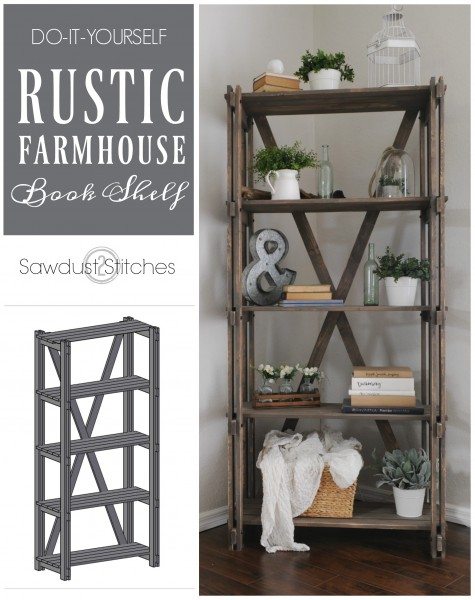
Rustic Farmhouse Book Shelf
Supplies Used:
- (13 ) 1″x 3″ Boards
- (10 ) 1″x 4″ Boards
- (40) 3/4″ x 5/16″Hex Bolts (Optional)
- (40) 5/16″ Washers
- Spray Paint (Optional)
- Stain and/or Paint
- Wood Glue
- 1 1/2″ Finish Nails
- 1 1/4″ Wood Screws
Tools Suggested:
- Drill
- Drill Bit
- Miter Saw
- Nail Gun
- Homeright Small Spray Shelter
- Homeright Spray Shelter

- HomeRight Finish Max Fine Finish Sprayer
Disclosure: Some of the links provided are affiliate links. By purchasing through these links it supports this site and helps keep content free. You can read more about how we do this with no extra cost to you.
Step 1.
Cut List:
1’x 3″ Boards
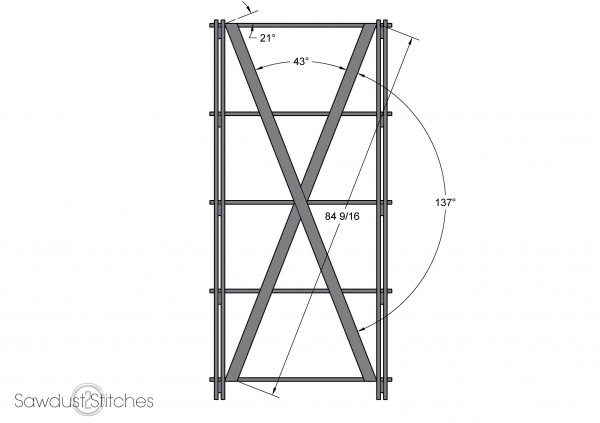
- (2) @ 84 9/16″ (Short to long with 21 degree angles. See Step 4. for details.)
- (8) @ 83 1/2″ (Vertical Legs)
- (10) @ 21″ (Horizontal Supports)
1″x 4″ Boards
- (20) @ 40″
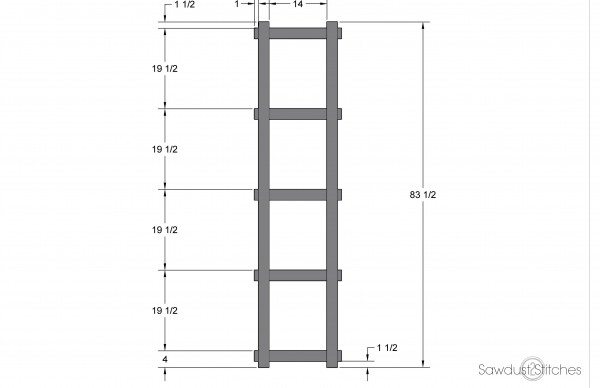
Step 2. Assemble Legs
Sandwich the 21″ horizontal supports in-between the 83 1/2″ legs. Use the diagram below to reference the correct spacing. Use wood glue to secure and reinforce with 1 1/2″ finish nails. Repeat, and repeat. (You will need two of these.)
Step 3. Add Horizontal Planks
This step you are going to want an extra set of hands. The 40″ planks will be spanned across the two vertical “legs”. When securing the boards to the frame, you can either use a touch of wood glue, and reinforce with 1 1/2″ finish nails, or you can pre-drill (or Spax screws which do not require pre-drilling) and use 1 1/2″ wood screws.

Step 4. “X” Support
To make this “X” support I used a “half-lap” joint. (You can see a example in the image below.) This is typically done using either table saw, or a router.

In the event that this is a little too fancy for your tastes, you can use a simpler more “rustic” approach. You can always lay the first support in place and secure the crap out of the support directly on the back of the shelf and then attach the remaining support to the center of the first (already attached) support. Then “toe-nail” (nail it at an angle” and attach the tops corners of the support to the vertical slats.
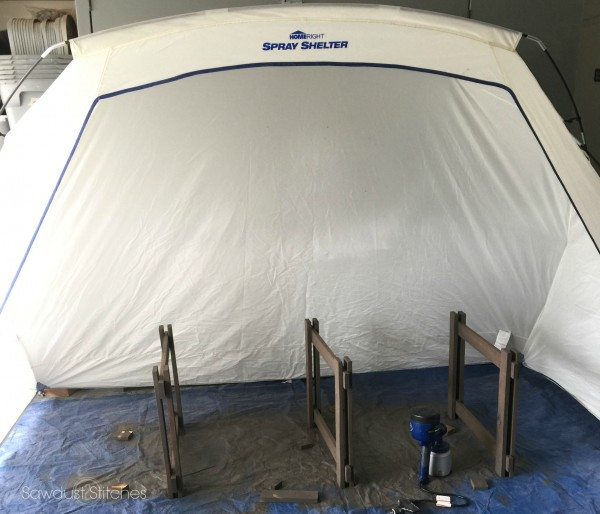
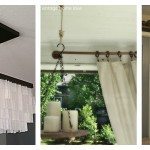
Step 5. Spray Stain
Time to add the finish. For this project I knew I wanted it to be stained, but really did not feel like getting in the all nooks and crannies of this build… and let’s face it, I am a touch impatient. So I pulled out my trusty sprayer, and went to town. (Yes, you can use stain in a sprayer!) I just popped up my HomeRight Spray Shelter and was good to go. Honestly, if you are at all a do-it-yourselfer this spray tent is ideal. It is big enough to fit large projects but small enough to fit in a garage!

You can read all the details on how I made and stained my coordinating Rustic Farmhouse Coffee Table Here.
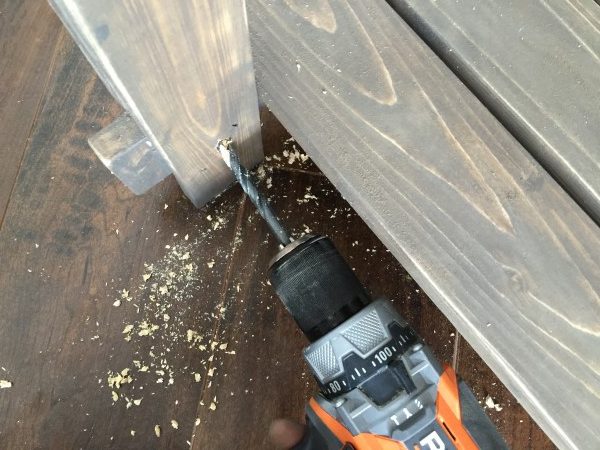
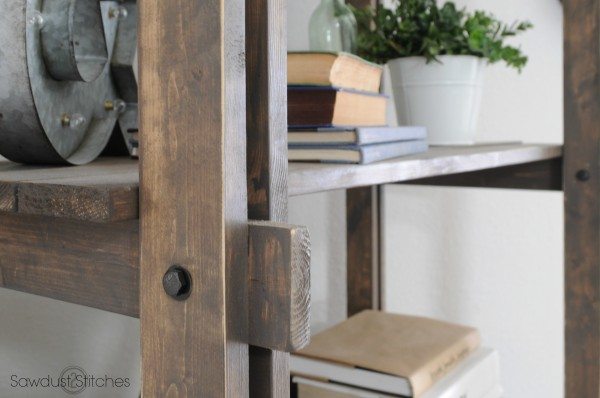
Step 7. Add Hardware (optional)
If you would like to add a little more character to this table, then try adding some hardware! I used 3/4″ hex bolts, and added washers to bulk up their appearance. I simply drilled 5/16″ holes through the center of the posts.
Before adding the bolts I decided to use spray paint to customize the color.(Pictured: Rust-oleum Soft Iron)
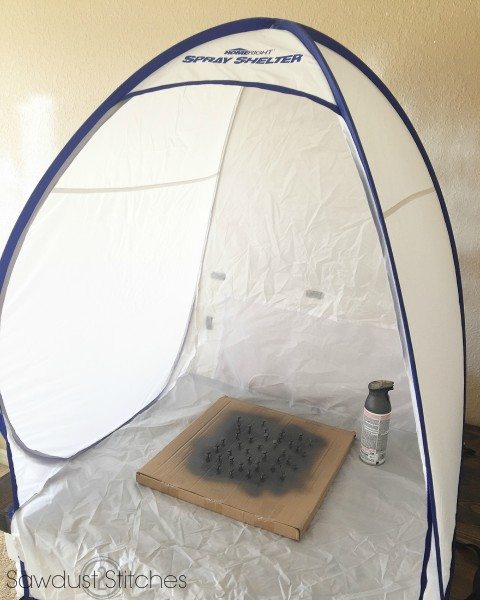
When inserting the bolts, I added a small dab of glue to the inside of the drilled hole. ( I wanted to make sure that the bolts didn’t mysteriously go missing.)
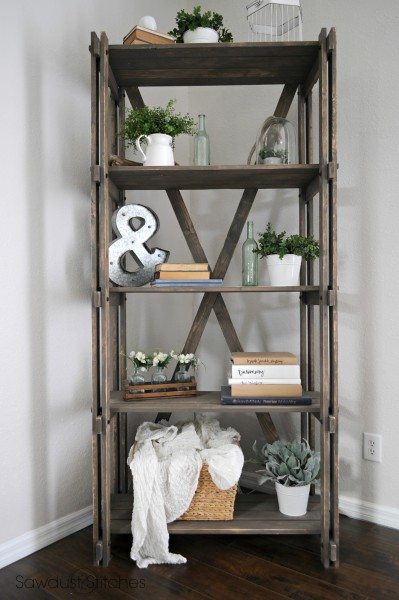
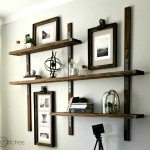
There you have it ! It makes a beautiful addition to the Coffee Table, OR…
…it looks great all by itself!
Looking for more inspiration, make sure you check out Sawdust to Sequins take on a Media Console!
Take Luck, and make sure you enter the HomeRight Giveaway!
Corey
ENTER TO WIN !!
 Copyright secured by Digiprove © 2016

I fell in love with this immediately and set off on building it. A disclaimer that this is seriously difficult is needed 😉 having a real hard time making sure everything is square (because even the “good” furring strips aren’t great). Any suggestions for me because I’d like to building another matching one.
You probably won’t like the answer, in order to avoid those problems you typically have to buy the more expensive wood… It definitely increases the overall price, but takes out a lot of the discrepancies.
Entered to win. Thank you. Love your creations.
Entered!
Entered the contest. Thanks!
Entered to win. Live your work 🙂
How did you create the stain color?
It is simply “Briarsmoke” by Varathane. 🙂