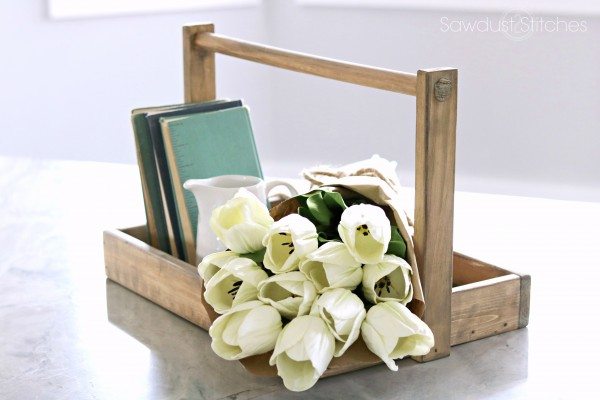
Hey Friends, does anyone else feel like Spring is in the air ? (Granted it is only February but I live in Florida, so I get a pass.) Anyways, as I was saying… Spring. I was pulling out my decor and was looking at my poor misshapen metal tray that typically sits on my coffee table. For the past few seasons I have told myself that it just adds “character” to it… and what I really mean by that is my two little characters happened to it. That poor tray has been used an “umbrella” in a rain storm, a “shield” in nerf wars, dragon wars, lego wars… let’s just say it has seen a lot of battles. And let’s not forget the time they attempted to use it as a “sled” on the stairs. (That was a little terrifying.) So, I have decided to retire the old tray and it will now exist in whatever make believe capacity my kids can create in their toy room. It will no longer be the central focus of the room. RIP old boy. But it’s not all sad news, it means that I got to create a new central focus for my table. So I submit to you my new DIY Farmhouse Tray. Ta-DA!
So let’s do this shall we ?
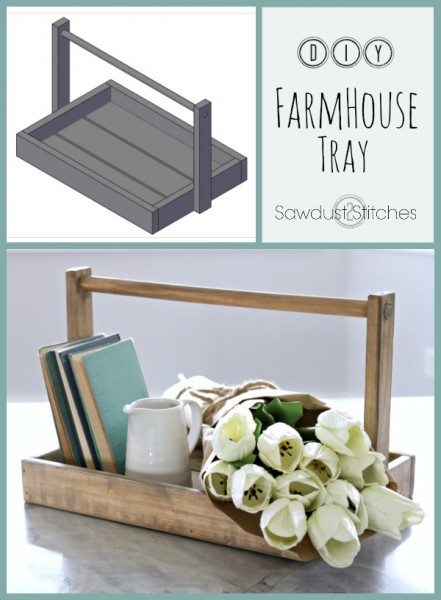
DIY Farmhouse Tray
SUPPLY LIST:
- 1″x 4″ Standard Board
- 1″x 3″ Standard Board
- 1″x 2″ Standard Board
- 5/8″ Dowel Rod
- Sand Paper
- Stain and/or Paint
TOOLS RECOMMENDED:
- Miter Saw
- Finish Nailer & 1 1/2″ nails
- 5/8″ Forstner Bit

CUT LIST:
Cut from 1″x 3″ Board
- (x2) @ 18″
- (x2) @ 11 “
Cut from 1″ x 4″ Board
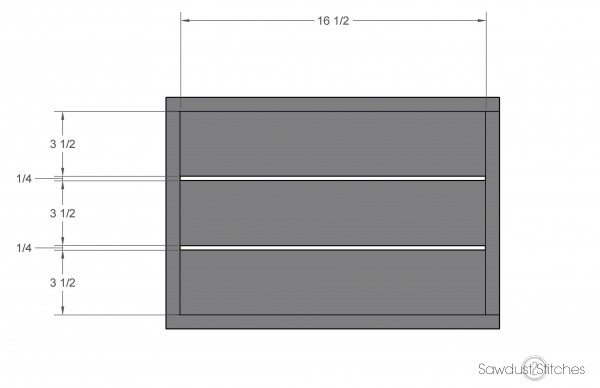
- (x3) @ 16 1/2″
Cut from 1″ x 2″ Board
- (x2) @ 12″
Dowel Rod @ 19 1/2″
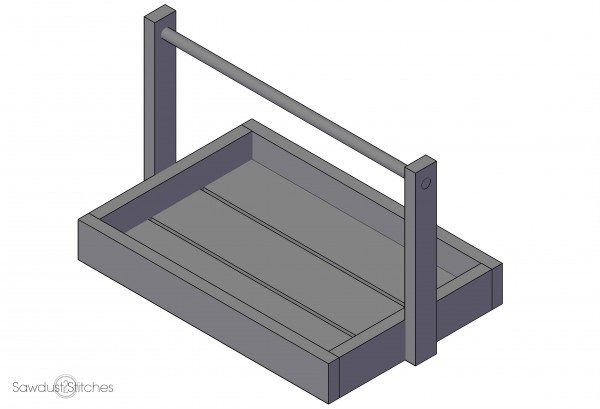
STEP 1: DIY Farmhouse Tray Frame
First construct the frame. I add a small amount of wood glue to the joints, and then reinforce with a 1 1/2″ 18 gauge nails.

STEP 2: Slats
Next add the center slats. Again, add a dab of glue or hell if you are a risk taker go ahead and skip this step… (But seeing as already divulged the gauntlet my kids put the last tray through I would strongly suggest it.) After you have glued, or not glued, whatevs, I would reinforce with nails.
STEP 3: Handle
Next up the handle. On the side handles ( 1″x 2″ boards) you will need to drill a hole to accommodate your dowel rod handle. I used a 5/8′ forstner bit to drill mine. I place the hole approximately 1-1/2″ down from the top of the handle and centered it. Once the holes are drilled finesse the dowel rod into both of the side handles on each end. (Again I would suggest a dab of wood glue.) Once the handle is assembled attached it centered on the previously assembled tray.
Then you know the drill, glue, and reinforce.

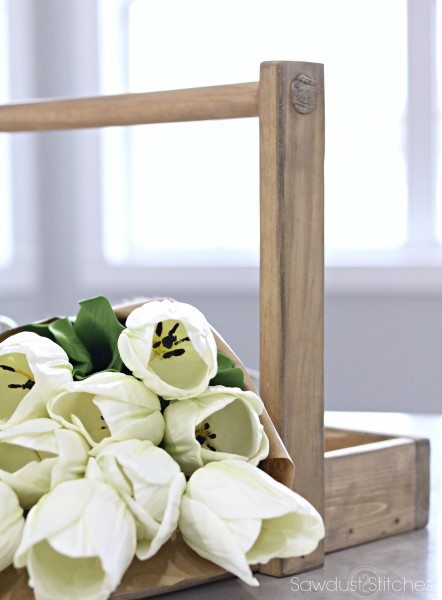
STEP 4: Finish
The finish featured on my tray is 2 coats of Weather Oak by Minwax. After I lightly distressed and then dry brushed on Miss Mustard Seed’s White Wax. It gave it a used, but not dingy feel, and I love it !
There you have it folks a quick and easy build that is seriously stunning, and so fun to style!

Take Luck,
Corey
P.S. Don’t forget to “Pin It” for later!
 Copyright secured by Digiprove © 2017


LOVE this! Thanks for your (always) detailed instructions and photos. They make attempting your projects so much easier.
Thank you SO much for this perfectly detailed and amazingly illustrated tutorial. This is just what I need to cut my teeth (and hopefully no body parts) in woodworking. I’m sure those illustrations (with MEASUREMENTS…yes!) take some time for you to make, but they are PERFECT for us beginners and visual learners. For me personally, they are even better than photos.
I absolutely LOVE your “big builds” like furniture and storage pieces, and hope to someday tackle some. In the meantime, I am thrilled that you also provide small, not-scary projects for the total beginner. Blessings to you!
Judy, Oh good I am so glad! Sometimes I feel like I am being lazy when I do small builds. This is a great reminder that small builds a necessary to get to the more advanced stuff. Best of luck to you!
Sorry for the silly question, but how long is a ‘standard’ board? Not sure if things are different here in Australia!