*Plans for this Hot Tool Storage Organization Drawer are brought to in partnership with DAP. This post does contain affiliate links. *

If you have been around for a little while you are aware of my recent Master Bathroom Renovation. I love everything about the new bathroom setup, but admittedly I do miss my seated vanity area. As ugly as the layout use to be, I still missed sitting to do my hair and makeup. Well I had a crazy idea that would convert a cabinet into a seated vanity area. I already converted the drawer into extra make up storage . ( You can get all the details here.)
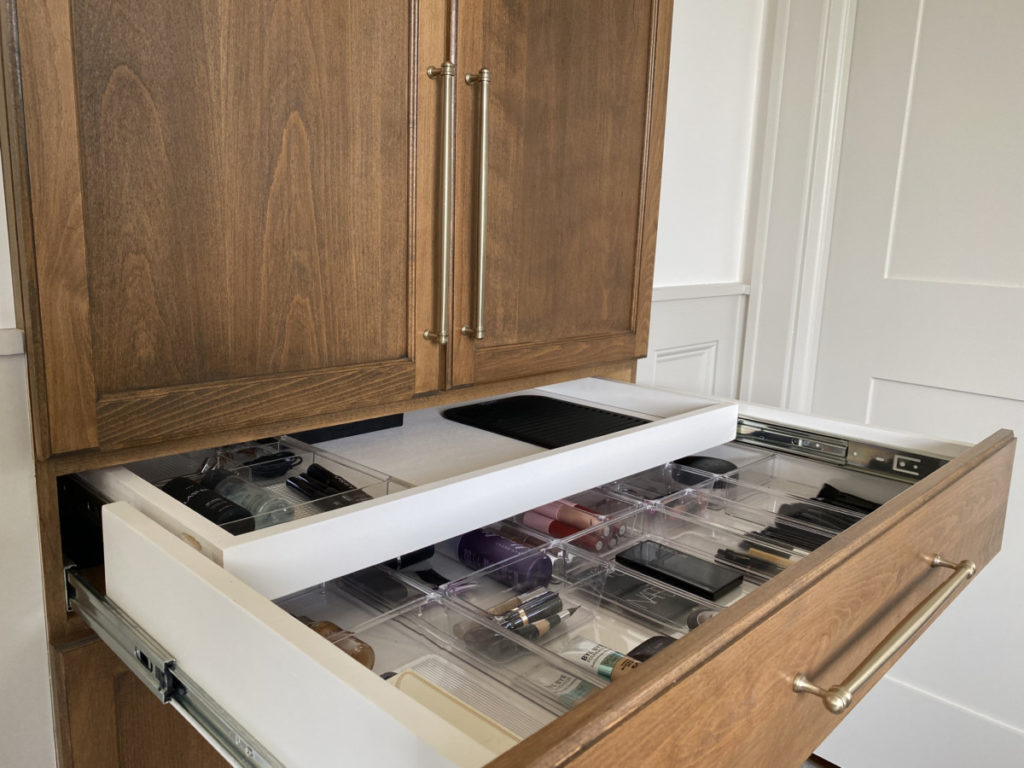
Next thing I needed to was to figure out my hot tool storage. I am lucky enough to have DAP as a great sponsor that allows me to create and share awesome content like these build plans for Hot Tool Storage!
| Tools Suggested | Materials Used |
| -Safety Glasses | -DAP Weldwood Wood Glue |
| – Hearing Protection | – DAP Rapid Fuse |
| -Drill | –DAP Premium Wood Filler |
| -Tape Measure | -1¼” Pocket Hole Screws |
| -Miter Saw | – ¾” Plywood (Common Boards) |
| -Tablesaw | – Metal Utensil Holders |
| -Pocket Hole Jig | –Electrical inset Outlet (Optional) |
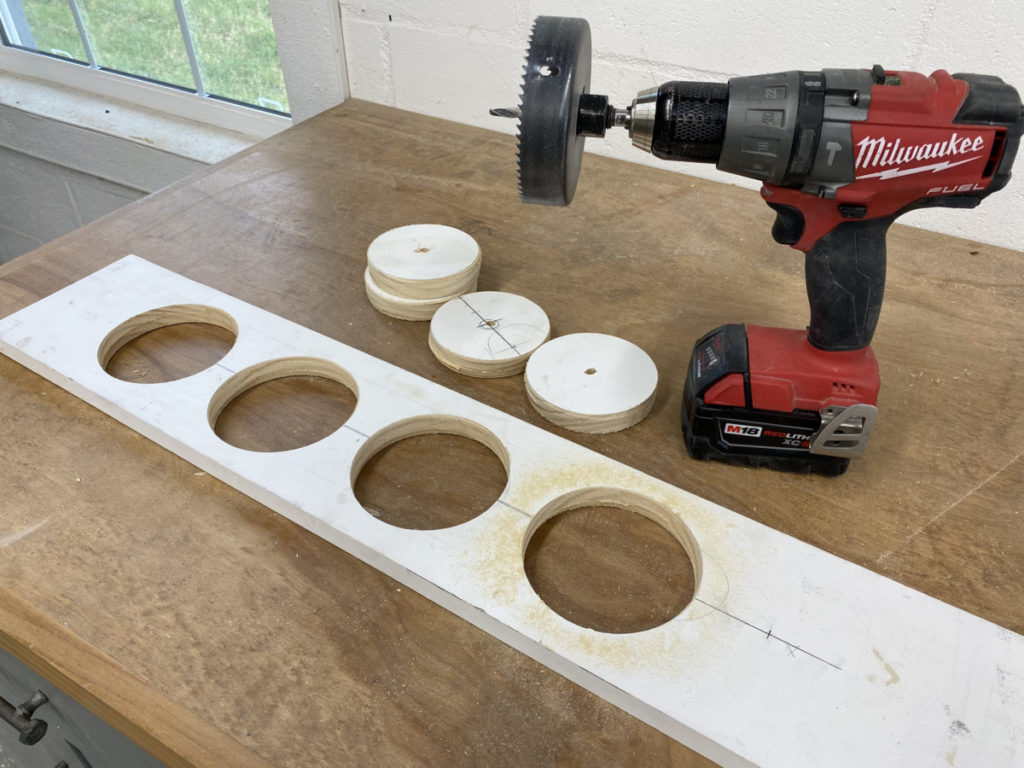
| –2″Hole Saw *optional | –22” Ball Bearing Drawer Slide |
| – 4″ Hole saw |

Prepping Materials
When using build plans I like to begin by preparing all my boards according to the provided cut list. (If you would like full build plans they are available here.)
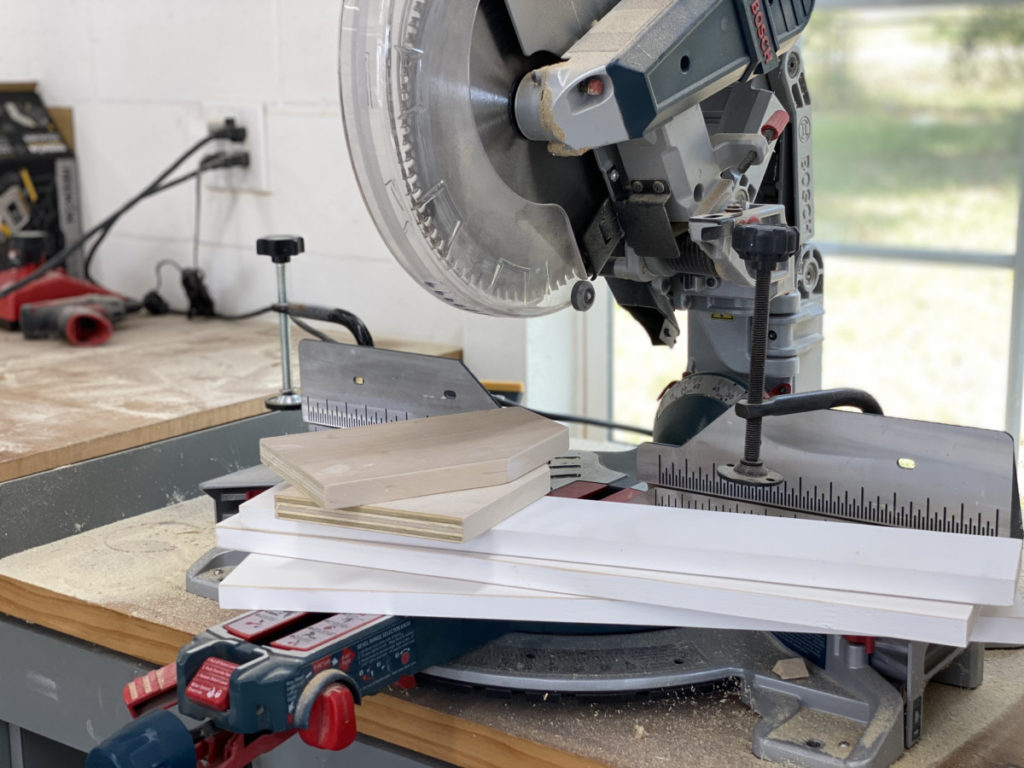
I find that reading through the plans completely is always a huge help, especially when the project includes small pieces and specialty cuts.
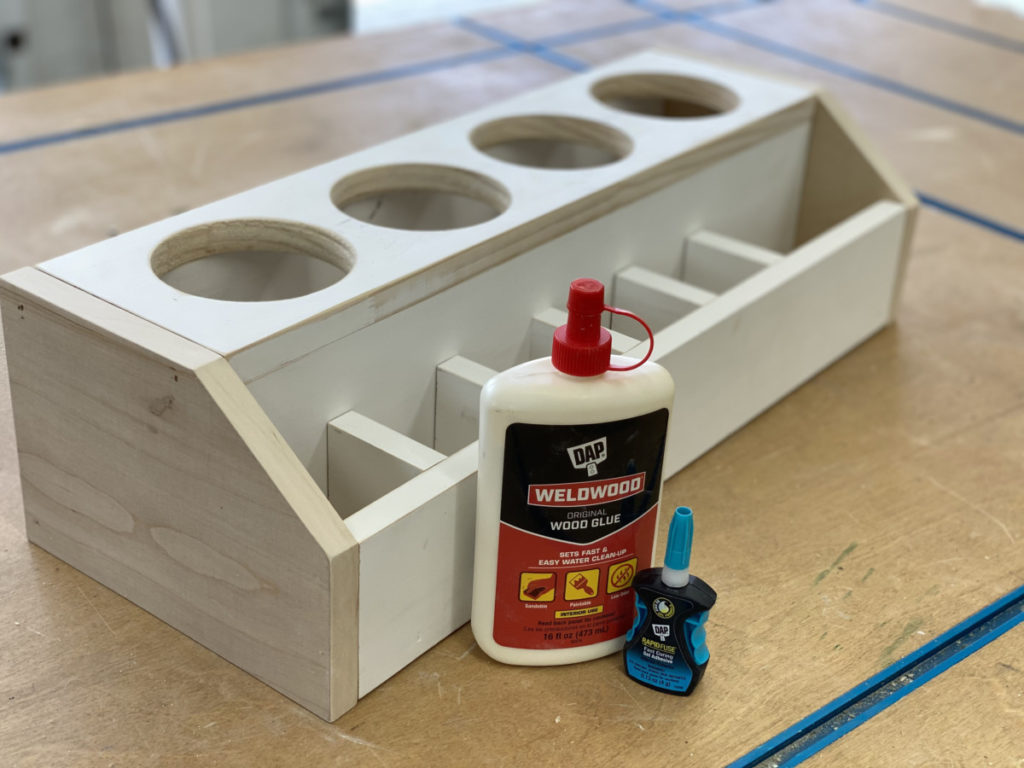
Hot Tool Storage Assembly
When designing the Hot Tool Storage Drawer I found the actual assembly process to be very tricky! With small pieces and close quarters it makes using a drill and nail gun extremely difficult! That’s where my favorite DAP adhesives come into play!
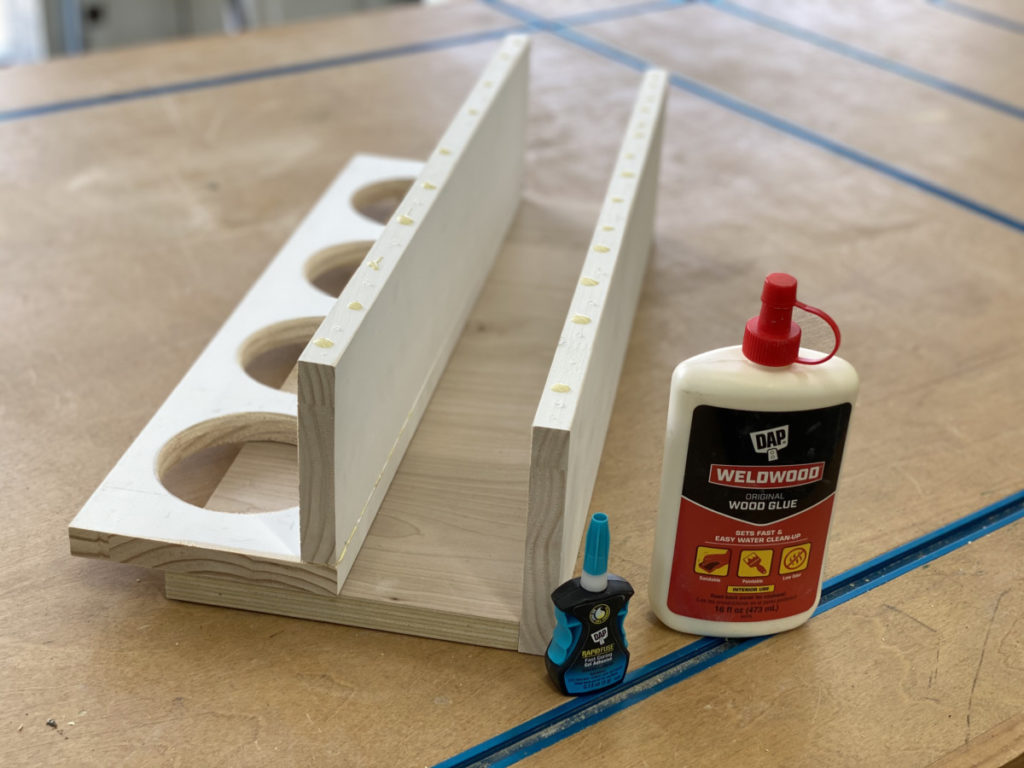
Instead of trying to use a nail gun or use a drill and need to hide unsightly pocket holes DAP RapidFuse saved the day. It creates a super stron hold without using traditional metal fasteners. When using Rapid Fuse only a few dots! Rapid Fuse is very strong and forms an instant bond. I like to alternate dabs of it with DAP Weldwood.
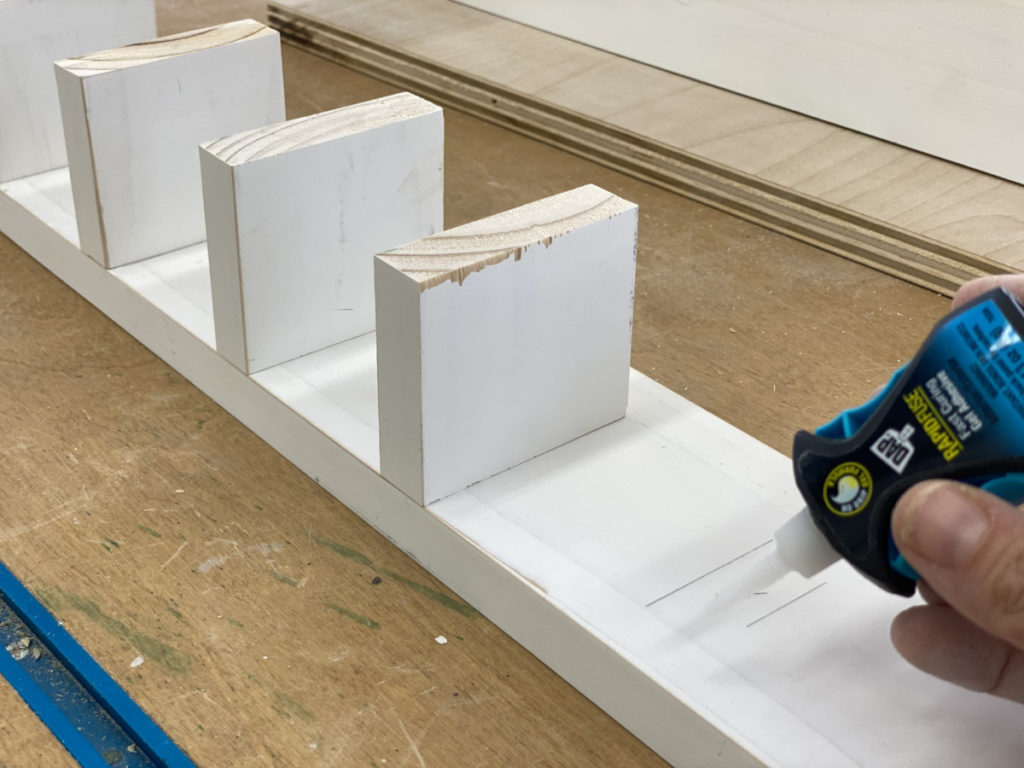
The combination is remarkable. The RapidFuse holds instantly (within 30 SECONDS!) and the Welwood Wood Glue will cure and create a permanent continuous point of contact.
Can we say Dynamic Duo?!
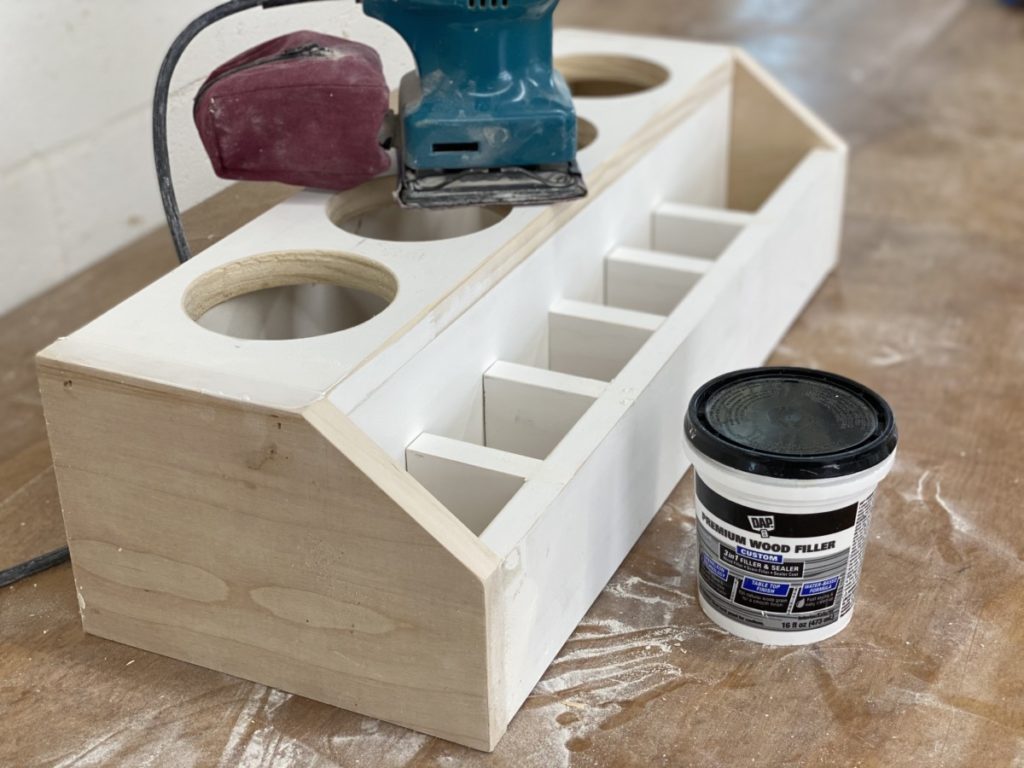
Prep for Finish on Hot Tool Storage Drawer
Once the unit and base are assembled it’s time to make it pretty! I planned on painting this unit, and one thing I have noticed is this, paint makes most blemishes more noticeable. So, before I paint I use DAP Premium Wood Filler to fill any gaps, cracks or holes. It dries quickly and sands nicely that helps procure a perfect finish once painted.
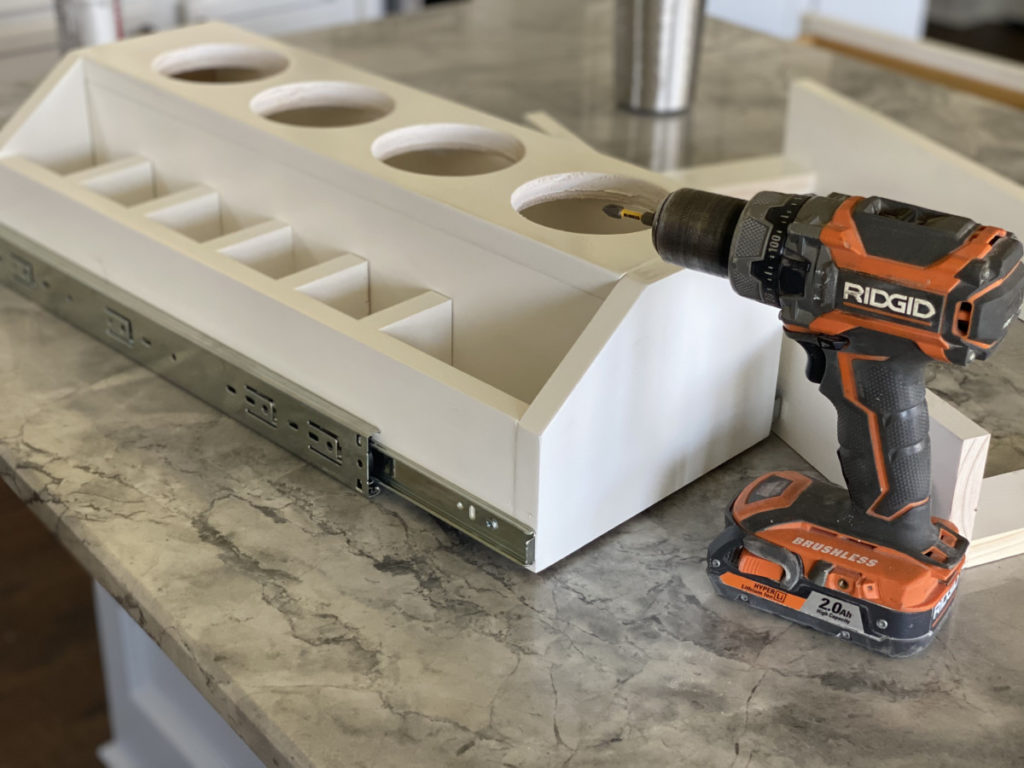
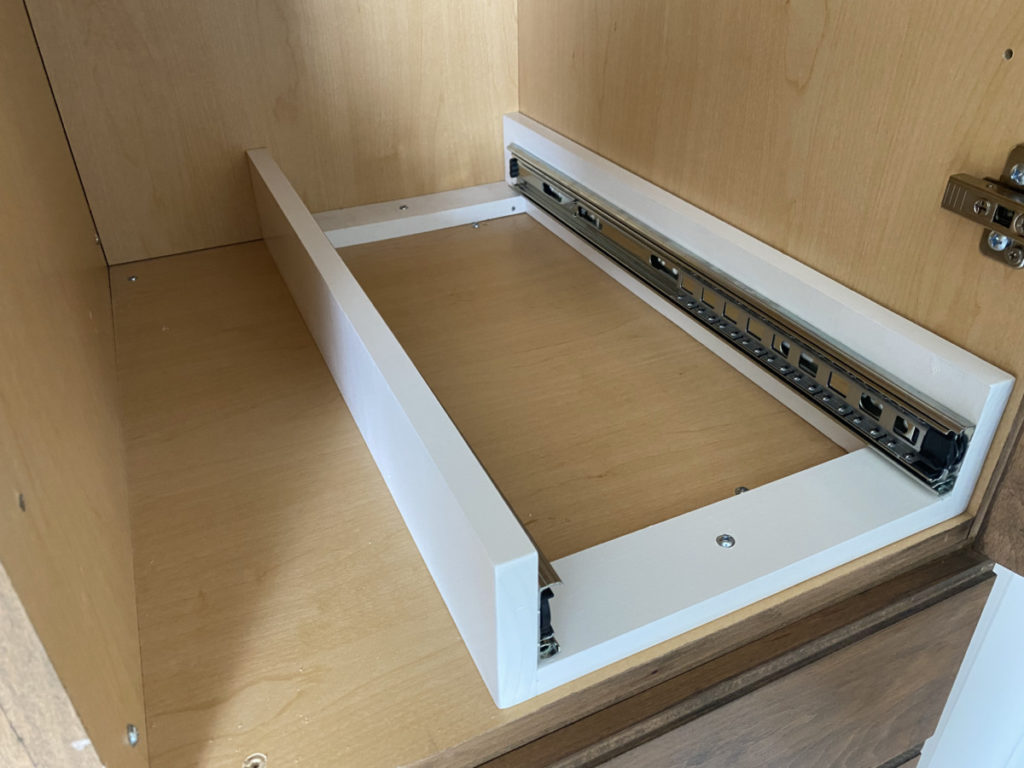
Install Hot Tool Storage Drawer
This unit was designed to accommodate a 24″ deep cabinet, and I use every square inch of it! These plans utilize a 22″ full extension ball bearing drawer slide.
If you are new to installing drawer slides no worries! You can read more about my preferred method to install drawer slides in this project post.
The last thing necessary to install the unit is mounting the base in the cabinet. I try to make sure that there are at a minimum two fasteners with a strong hold to keep the unit from tipping out when the drawer slides are completely extended and the drawer is fully loaded.
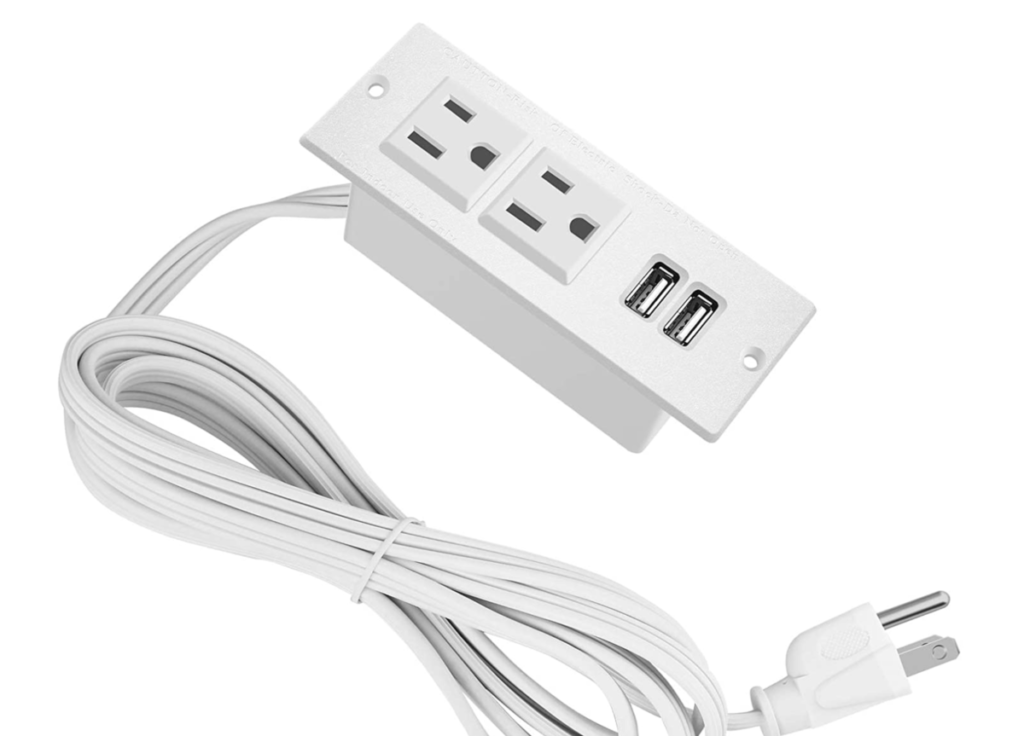
*Extra*
I am ALL about the “Extra”. It says it right there in my tagline “I can’t leave well enough alone.” Its true. In true Sawdust 2 Stitches fashion I went over the top and added an outlet to the end cap of my unit. If you are interested in finding out more about how I included this is my build you can get more details in the Build Plans.
Well, there you have it, a functional, and dare I say BEAUTIFUL way to organize you hair accoutrements? A big shout out to my sponsors that help make this possible!
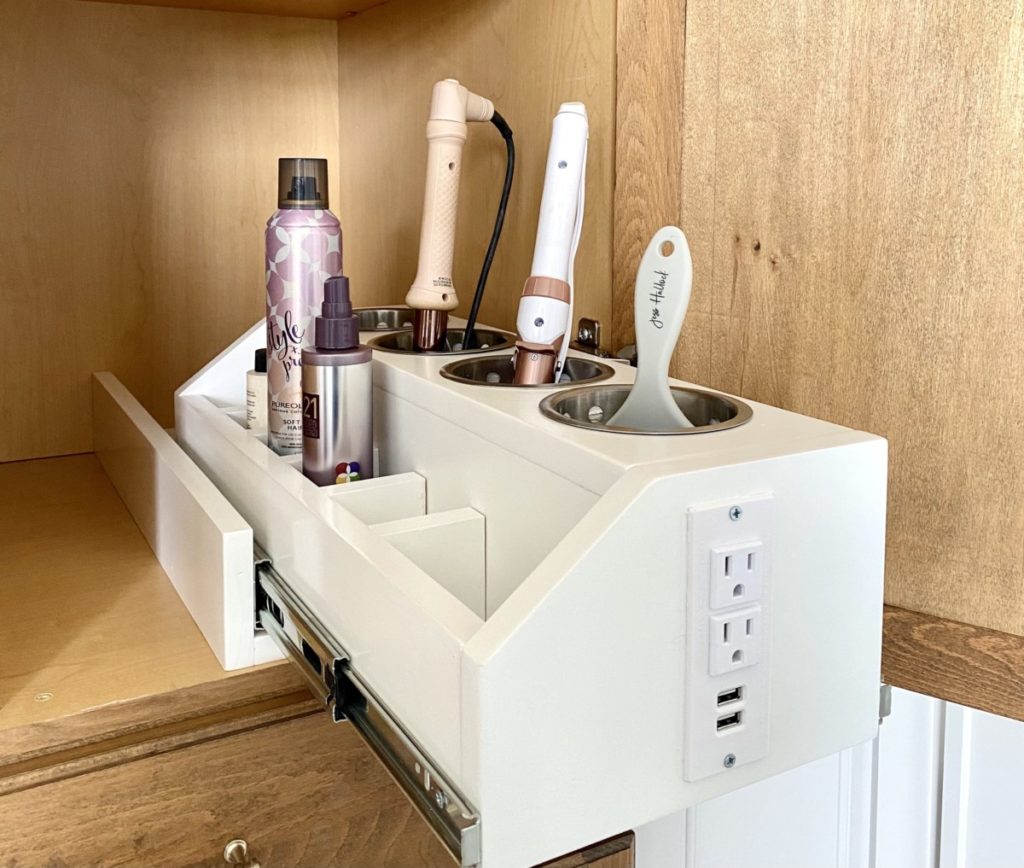


Where did you get the metal hot tool cups for your curling irons?