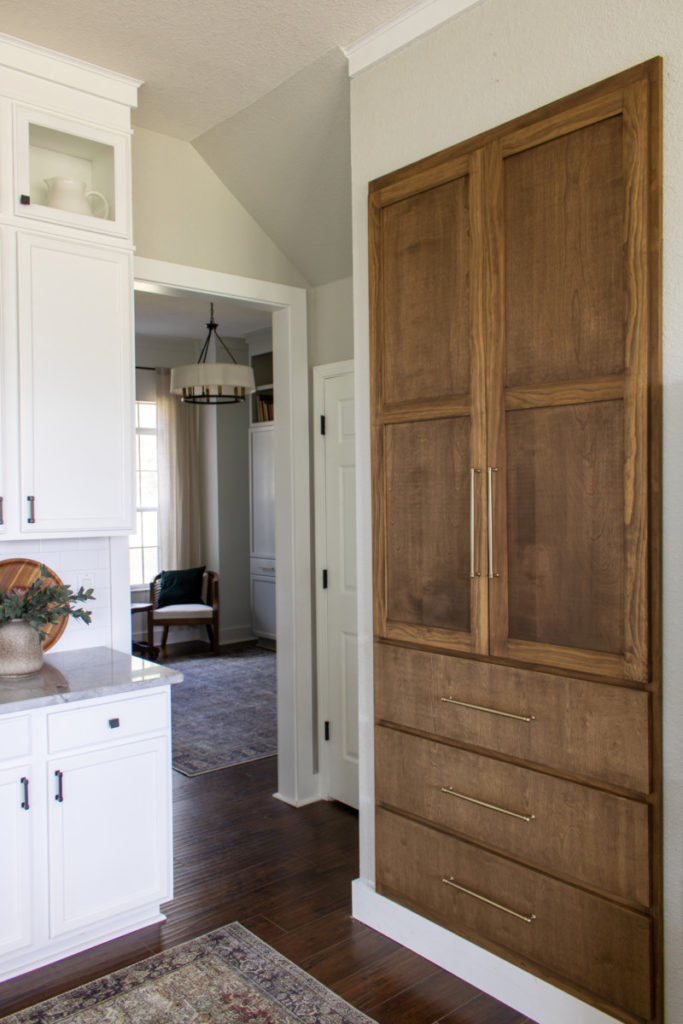
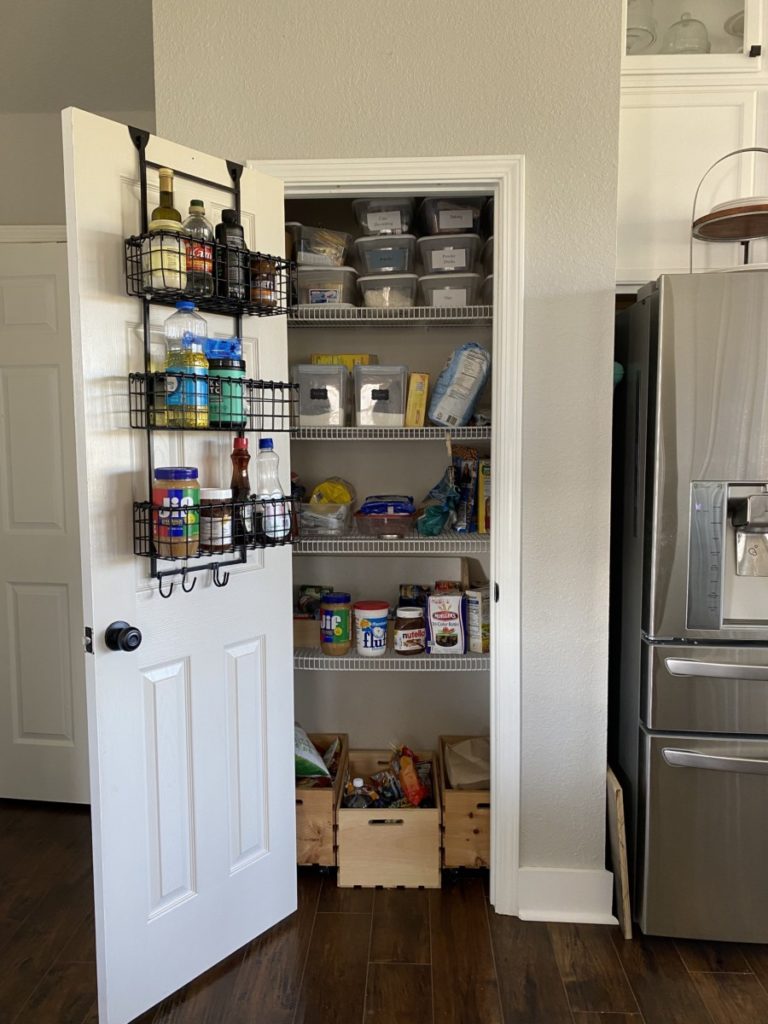
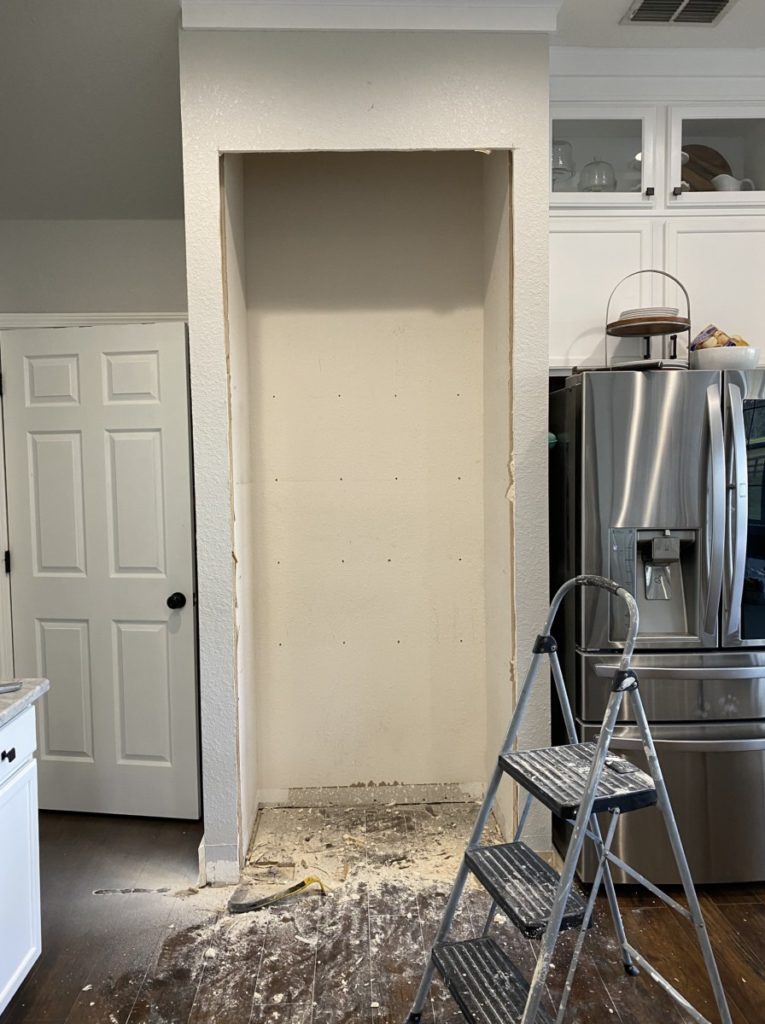
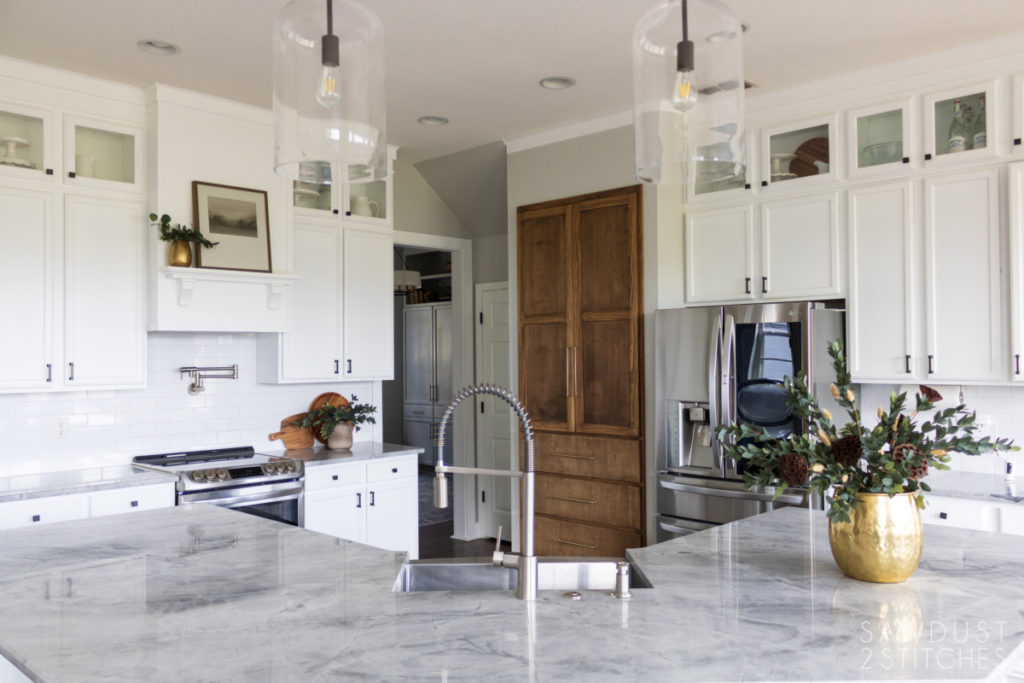
Who needs more organization and storage in their life? While all my cupboards (for the most part) are organized, the original design plan of my home sometimes baffles me. For instance, I have this teeny tiny closet in my kitchen that has so much untapped potential, there is plenty of dead space that could be utilized! What’s a girl to do? Optimize it! Today I am teaming up with The Home Depot to show you how I replaced my builder grade pantry closet with the custom built-in pantry of my dreams!

Tools Suggested
- Safety Glasses
- Hearing Protection
- Tape Measure
- Miter Saw/Circular Saw
- Finish Sander
- Drill/Driver
- Pocket Hole Jig
- Table Saw or Router
- Wood Glue
- Clamps
- Pry Bar
- Hammer
- Oscillating Tool
Materials Used
- Stain, or paint of choice.
- 1 ¼” Pocket Hole Screws
- (x11) 1x3x8 Board(s)
- (x5) ¾” Plywood
- (x1) ¼” Paneling/Plywood
- (x4) 1x2x8 Boards
- (x1) ¼” Back Panel
- (x5) Drawer Pulls
- (x6) ½” overlay Concealed Hinges
- (x8) 22” Ball-bearing Drawer Slides
- Edge Banding
- 2×4
- Baseboard
Purchase Materials
While it is not a HARD project it is a LARGE one. I have painstakingly drafted build plans and written detailed instructions to help you through the building part, and The Home Depot can help you with all the heavy lifting!
Before we can even delve into the project, we need to first tackle our first hurdle… getting all the materials home. In the past I would wait until “date night” when my husband and I would take a trip to The Home Depot to help me load full sheets of ¾” plywood… while Andy and I still frequent The Home Depot, I no longer HAVE to wait for Friday night to start a project! Did you know that The Home Depot offers curbside pickup? Yes, they will pull your order and have it ready to go and will help you load up. It’s like projects to go! You can place your order online or in their mobile app. I prefer using their app.
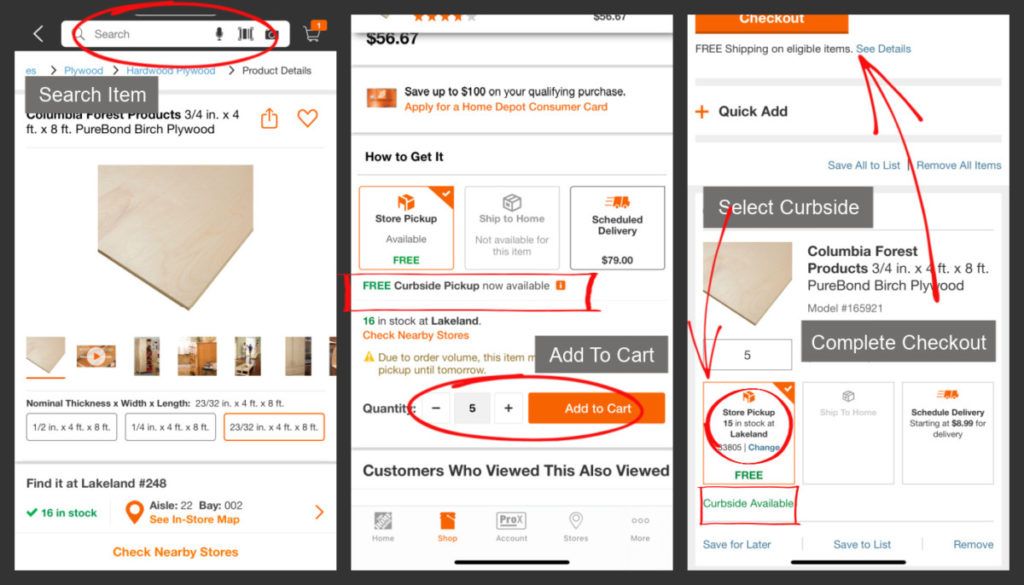
Just place your order and look for an email letting you know when and where you can pick up your order. It is that simple!
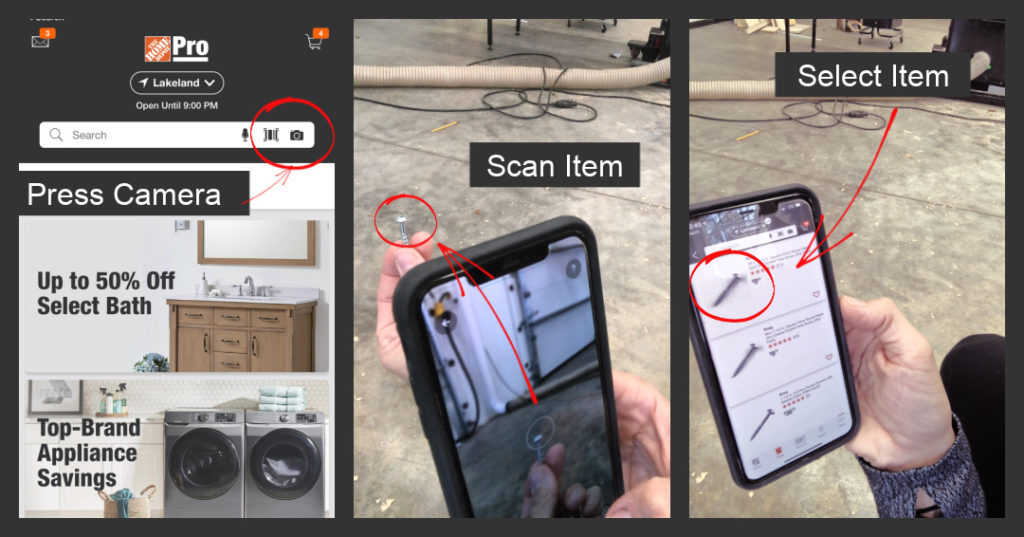
While I definitely NEEDED curbside help with my large orders, The Home Depot also helps with the small things too. Let’s say for instance you are in the middle of a project and run out of … screws, The Home Depot is here to help! Did you know that many Home Depot stores offer same-day pickup? I put in an order for screws using my app and was alerted (normally in two hours or less) that my order was ready and waiting for me at The Home Depot Lockers!
Yup, many of The Home Depot stores offer contactless pickup! It is so simple. First locate the item you need using their app or online. If you are using their app I LOVE the image product locator. Yes that’s right! Do you ever find your self in need of a part, but are not entirely positive you know what it is called? The Home Depot can help with that too!
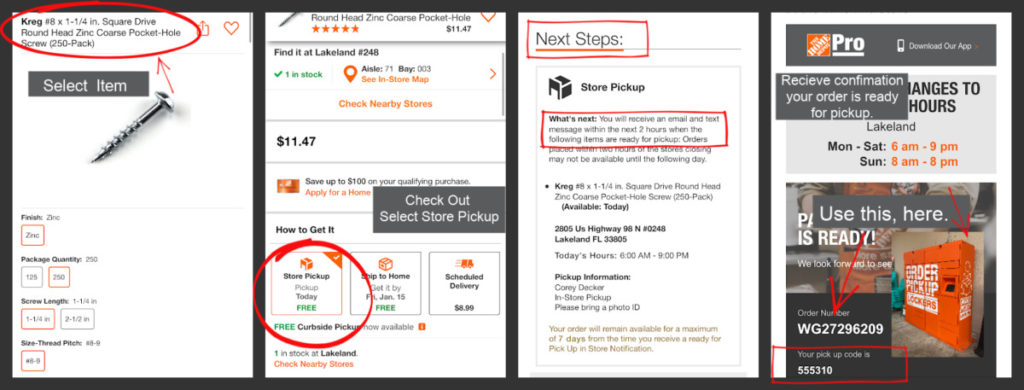
I can safely say my locker pickup was my fastest Home Depot trip ever. I was out of my truck for about 1.5 minutes and then I was back on the road. Just another reason to love The Home Depot.
Now that you are better equipped and ready to take on any project, big or small, let’s get started!
If you would like complete build plans for this cabinet, they are available here:

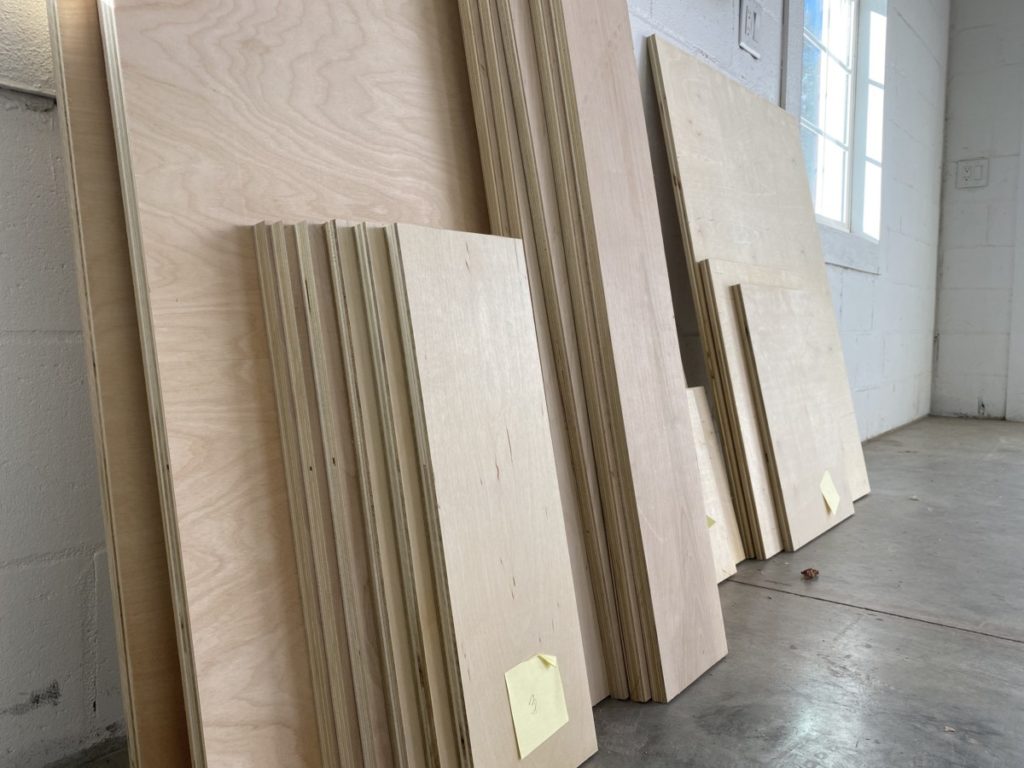
Prep Materials-
When working on a large project I prefer to cut and sand all of my boards before assembling. (it makes life a little easier when applying paint/stain.)
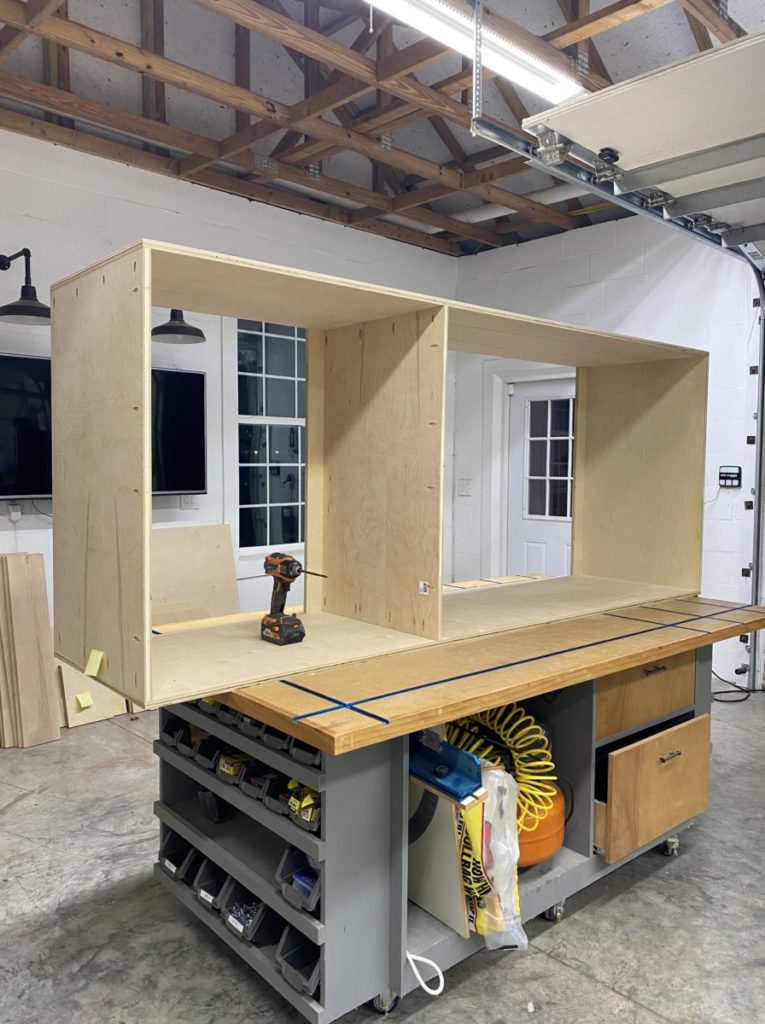
Assemble Base Unit-
Regardless if you are using my build plans, or creating your own cabinet begin by assembling the cabinet “carcass” (a term used by builders in reference to the body of a cabinet).
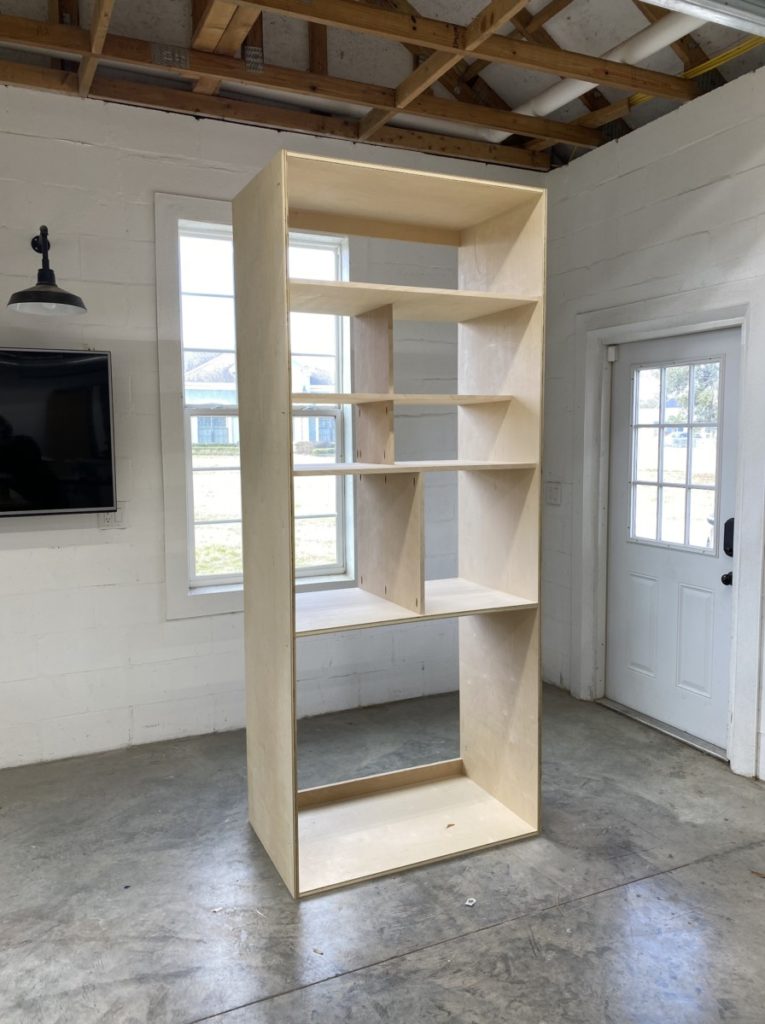
Add Desired Shelves-
When designing my pantry I knew that I wanted plenty of drawer storage, along with pull out shelves. One thing to keep in mind when adding the shelves, the ply on the end of the boards will be exposed unless you either, support the ledge with a 1×2” or use edge banding on the exposed edge. I prefer the latter option.
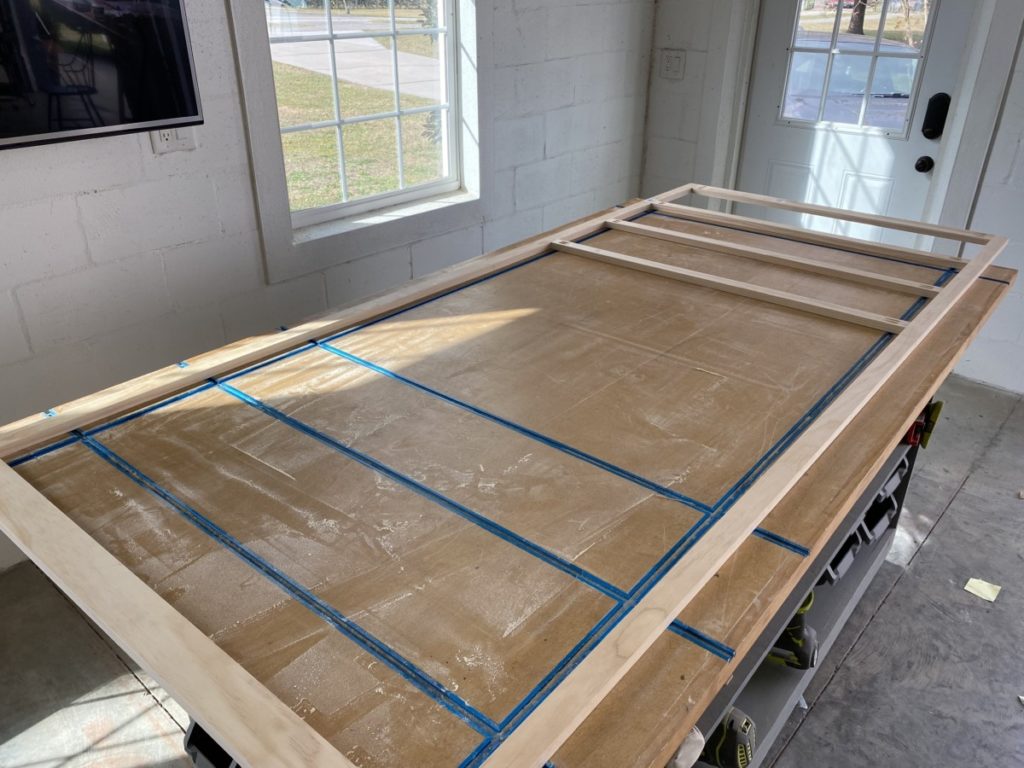
Build Face Frame-
A face frame is not always necessary for cabinets, in fact many cabinets are frameless. However due to the nature of this project I needed to use a face frame. In most cases the face frame is flush with the outside of the cabinet, in this case the face frame was made to sit flush with the interior of the cabinet. The reason? With the face frame hanging out over the side of the cabinet it will allow a little wiggle room when installing this in the wall. This project will require me to cut into my drywall and this face frame will cover the cut drywall and create a flawless look.
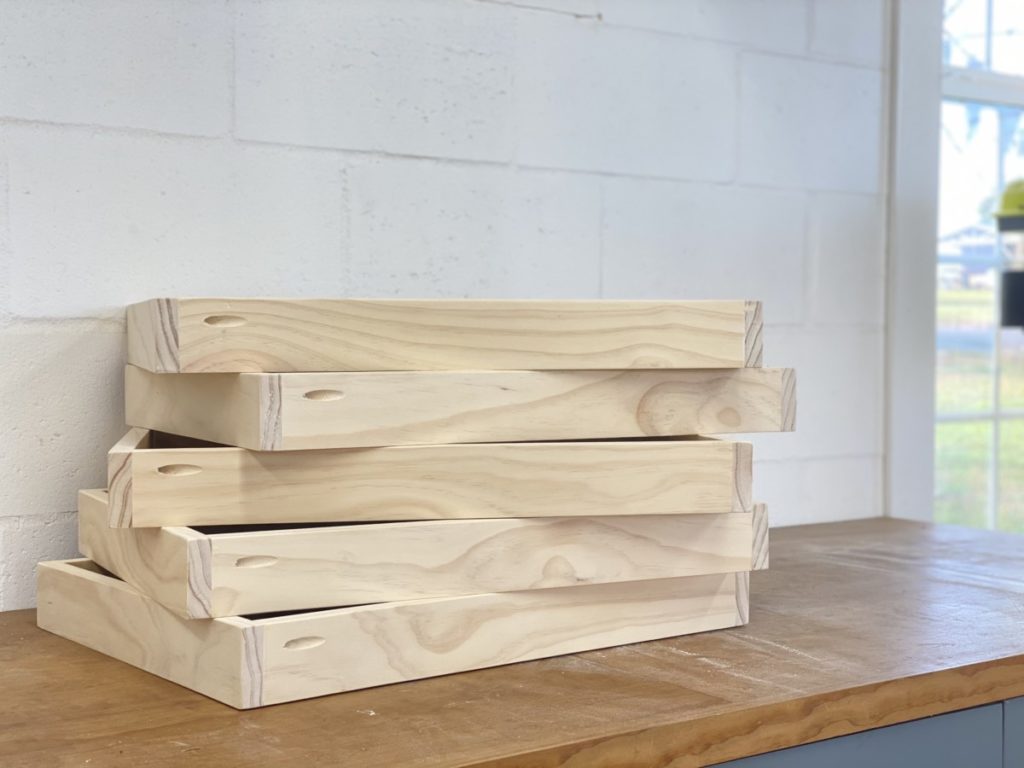
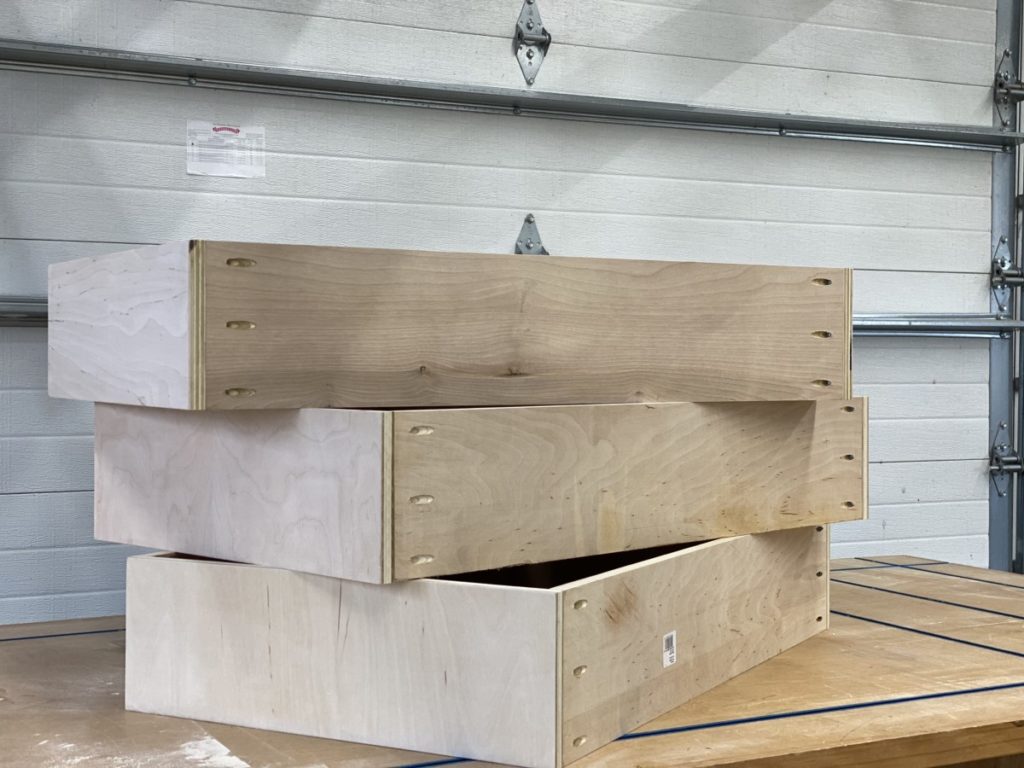
Assemble/Install Boxes
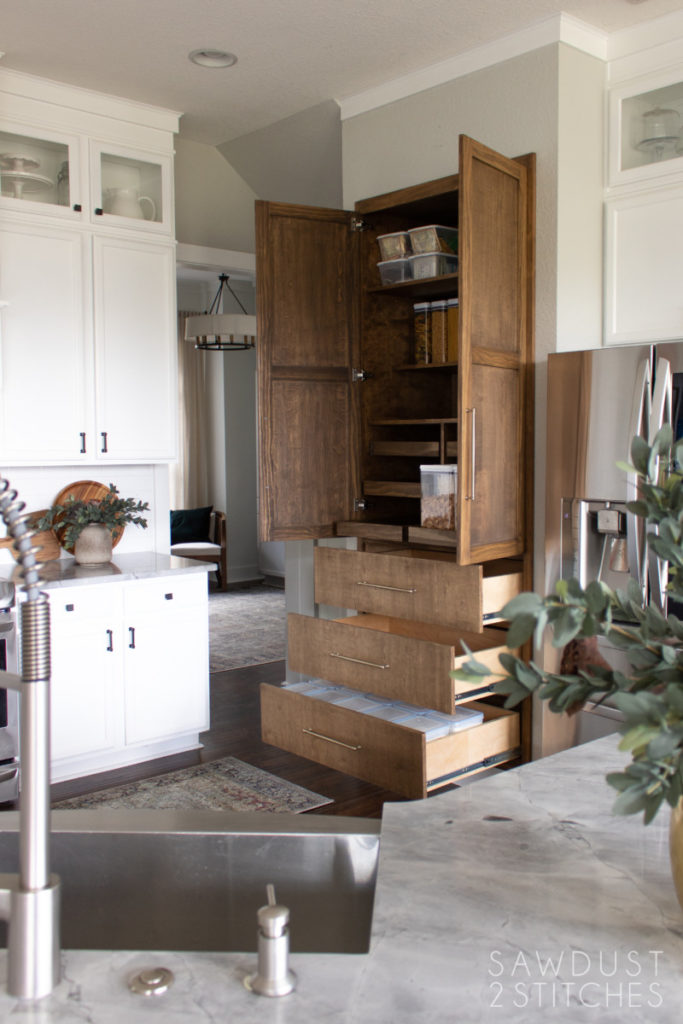
The best part of replacing a closet with a pantry is the endless drawer possibilities! With the limited entry space of a closet there was no way I could efficiently use drawers. I LOVE drawers and I added a ton of them. However, if drawers don’t speak to you, you can always opt for easy shelving instead.
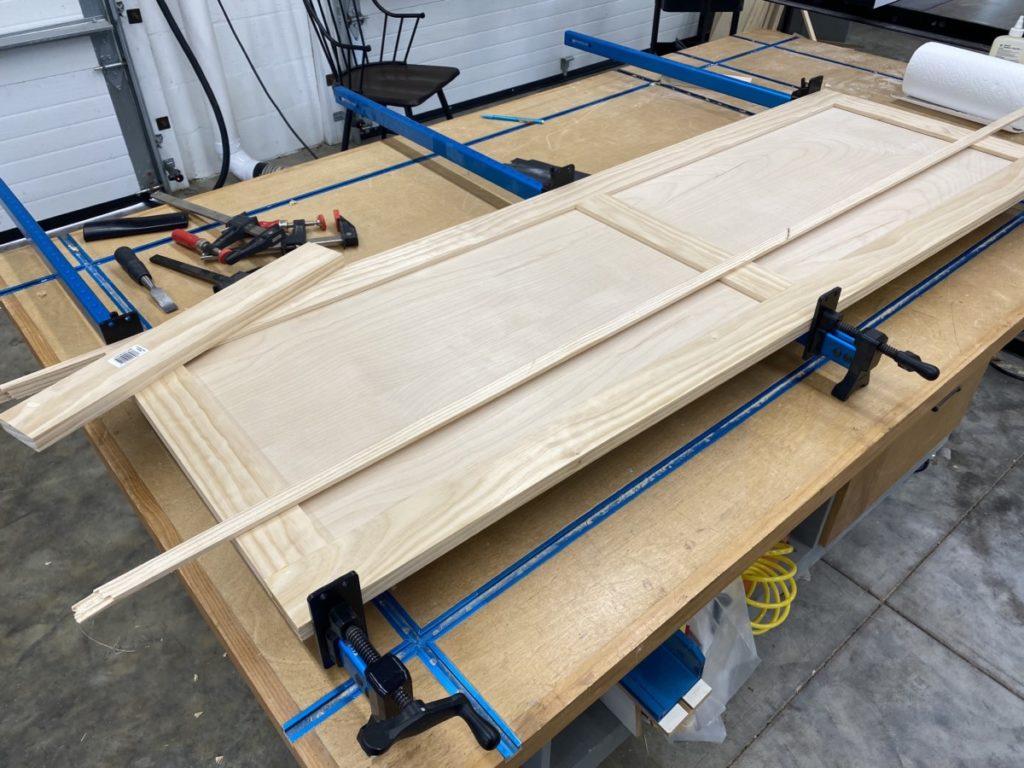
Build/Install Doors and Drawer Fronts
Again, if you are looking for specific dimensions, I have full build plans available here. If you love my style you can follow my build plans. However, the doors and drawers are a great way to really add your own personality to the build. I was heavily considering swapping out my wood panels in my doors for glass, or even making map style drawer fronts. The sky is the limit and this build can be completely catered to you and your unique style.
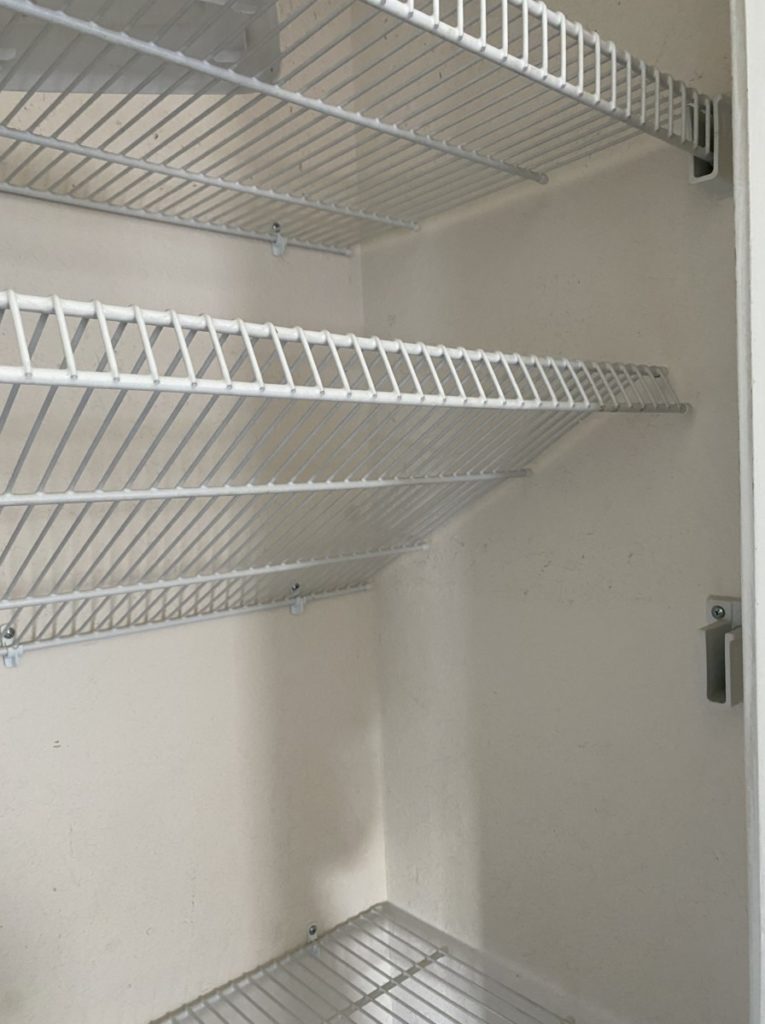
Clear Out Existing Closet
Before I can bring in the new, I had to take out the old.
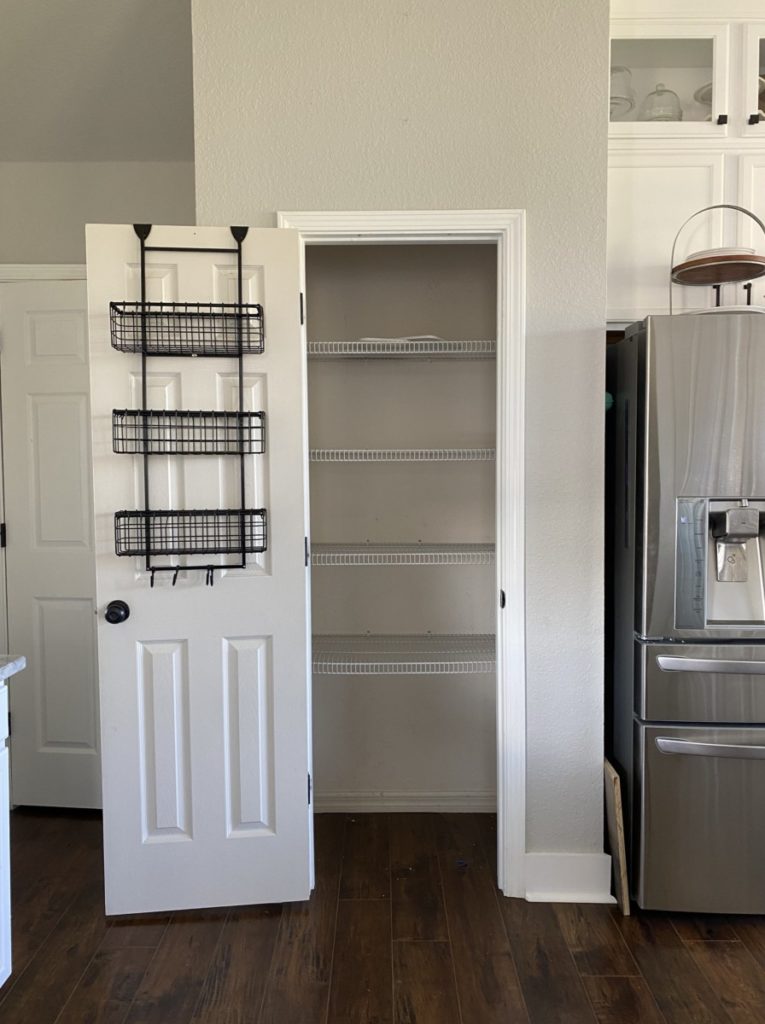
I removed all of the wire shelving and hardware.
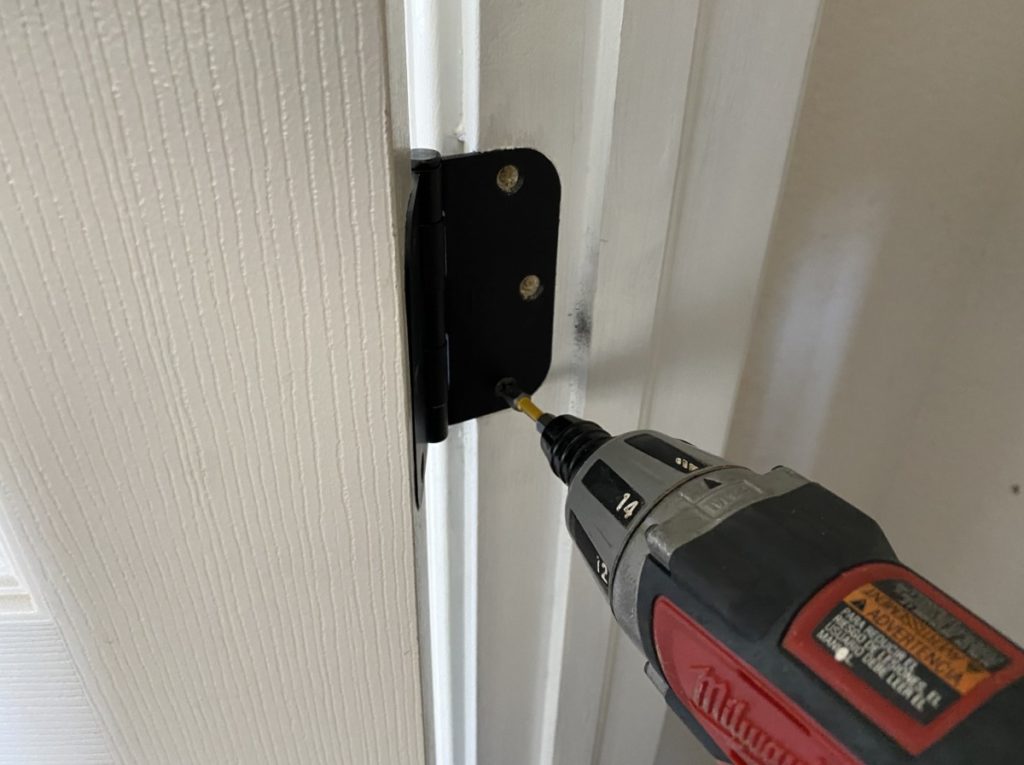
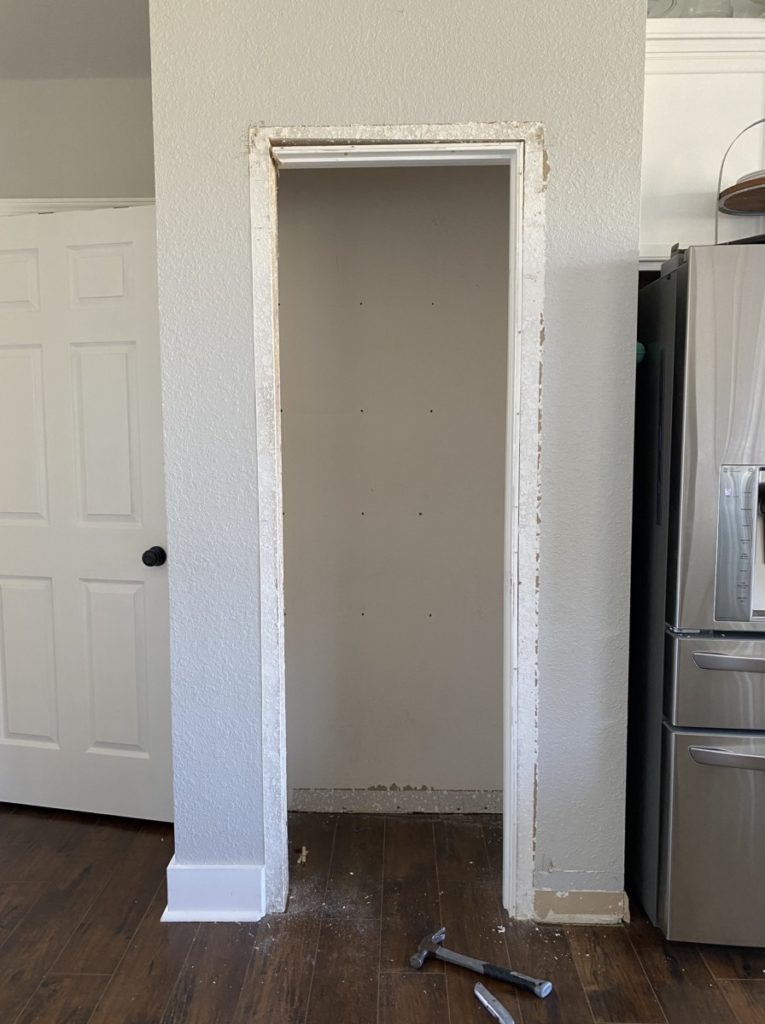
Remove Door Frame-
In order to make space for the new cabinet I needed to completely remove the door, the door frame and even part of the wall. Buckle up, this is where is gets fun!
I started by removing the door and the hinges that are secured to the door jamb.
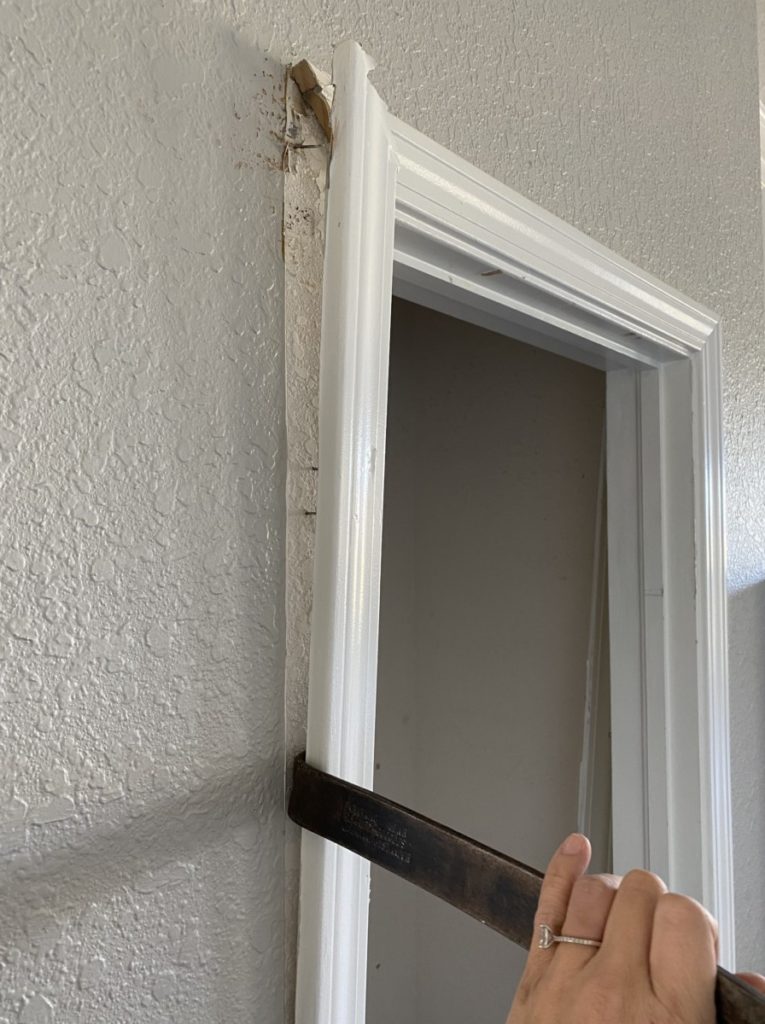
Once the door is removed it is time to move on to the door frame and jamb. Odds are there will be a substantial amount of caulk around the perimeter of your door. First cut the caulk line with a utility knife, this will make the removal process much easier.
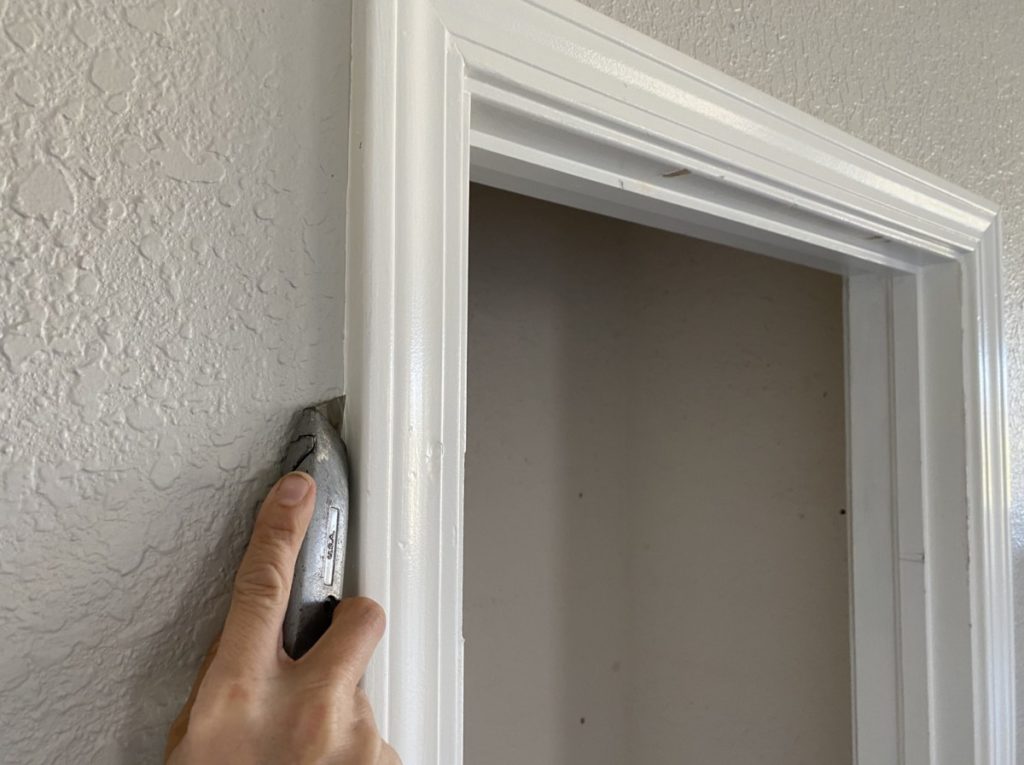
Using a prybar and a hammer remove the door casing and jamb.
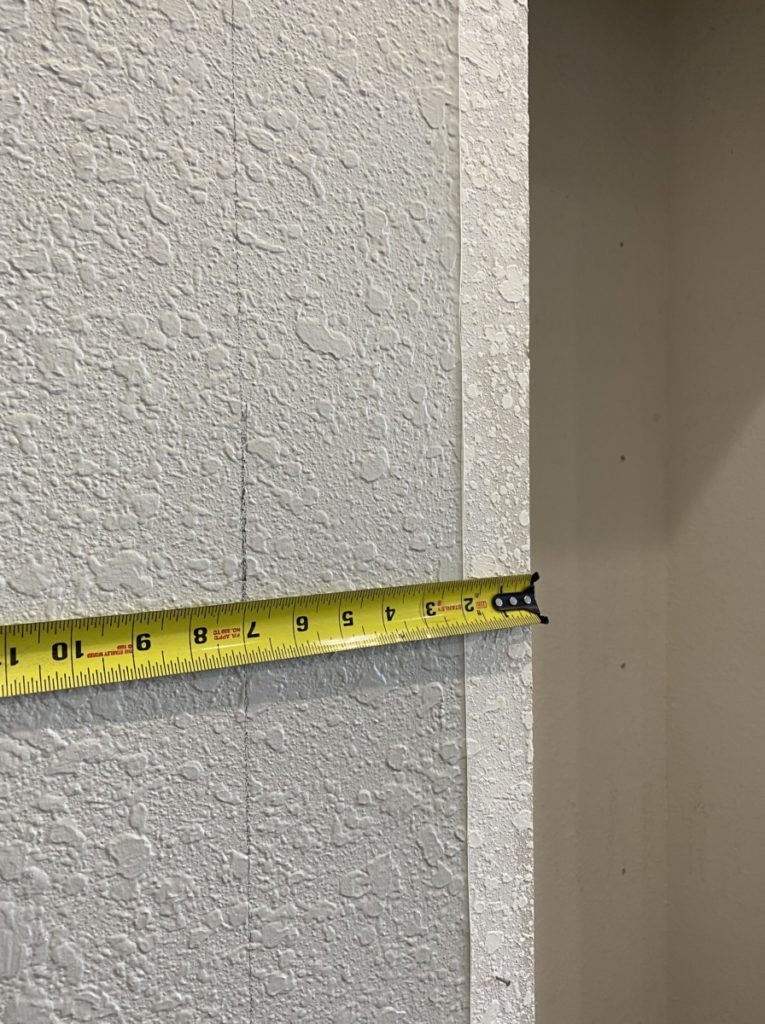
Cut Hole
Before I started busting out walls, I needed to take careful measurements. I obviously designed my custom pantry to fit in my allocated space, but I still needed to make sure I transferred my dimensions exactly to ensure my pantry would fit.
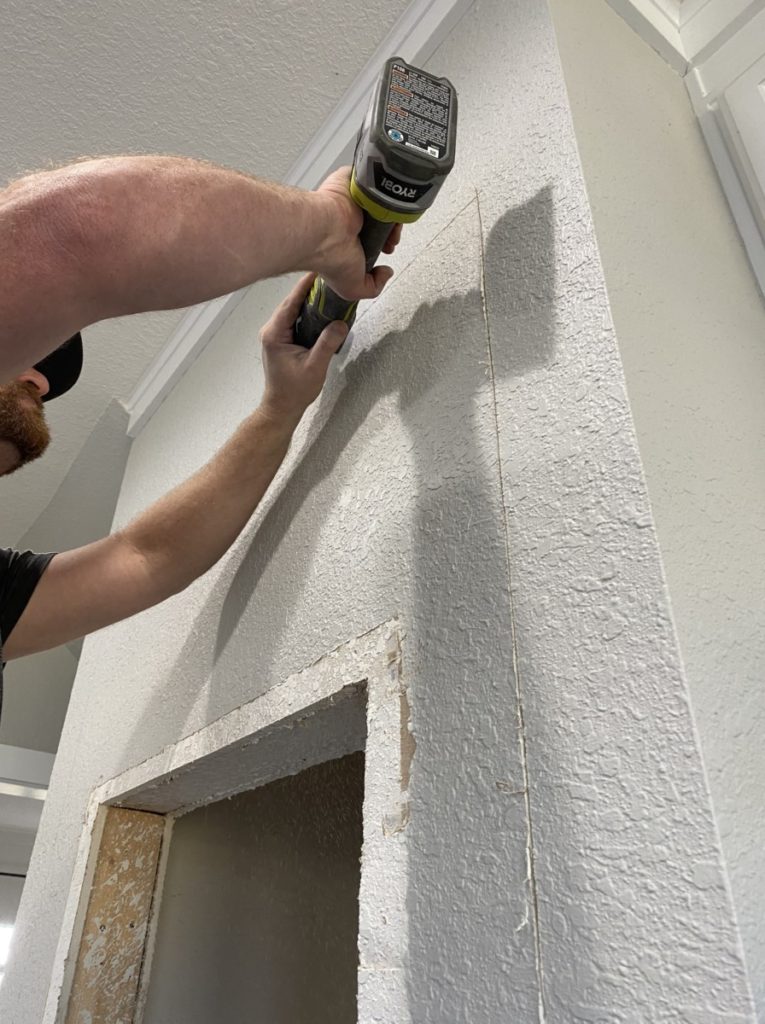
After double and triple checking my dimensions, we started cutting drywall. When cutting drywall, I prefer to use a oscillating tool. (Or in this case I let my husband handle the tools instead of the camera… this time.)
Remove Studs
If you are ever uncertain if a stud is loadbearing or not, do not guess. Get a professional’s opinion before ripping apart your home! In this case the 2×4’s pictured are just framing in the door and can safely be removed.

When it comes to removing studs, a good solid hammer and a few forceful hits will usually do the trick.
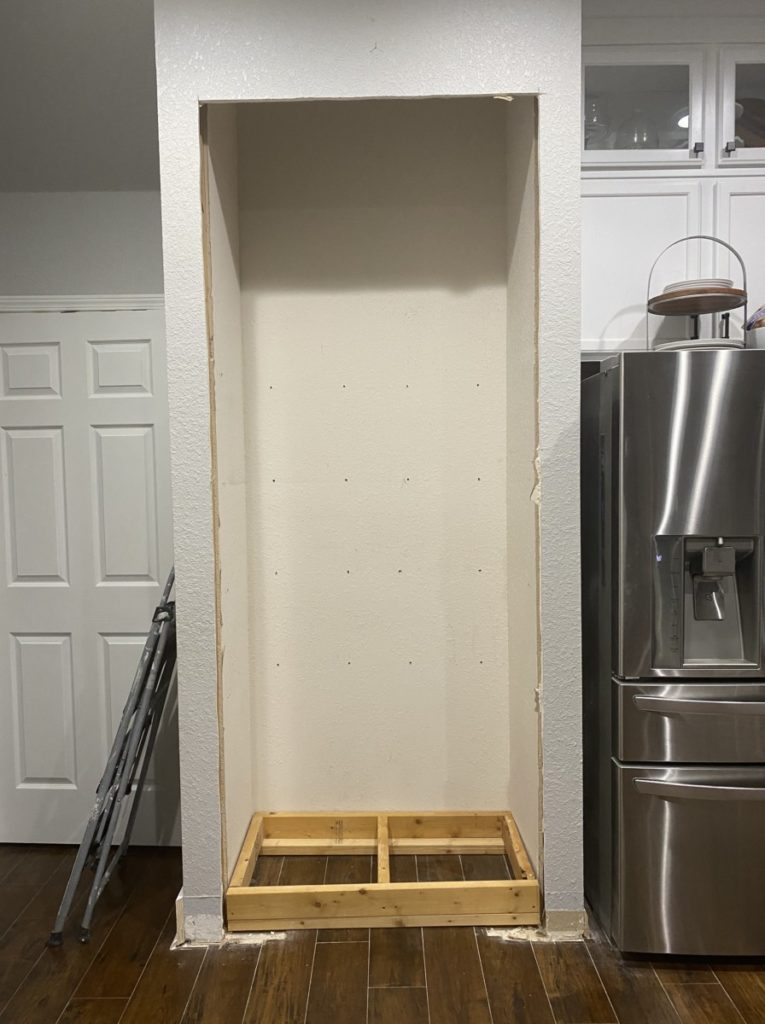
Build a Platform
After much consideration I decided that I wanted to run my baseboard under my new cabinet. I had considered running the cabinet all the way to the floor and create more of an armoire appearance, but I ultimately decided that I wanted it to look like it was completely built in to the wall. In order to run the baseboard under the cabinet I needed to build a small platform using 2×4” boards.
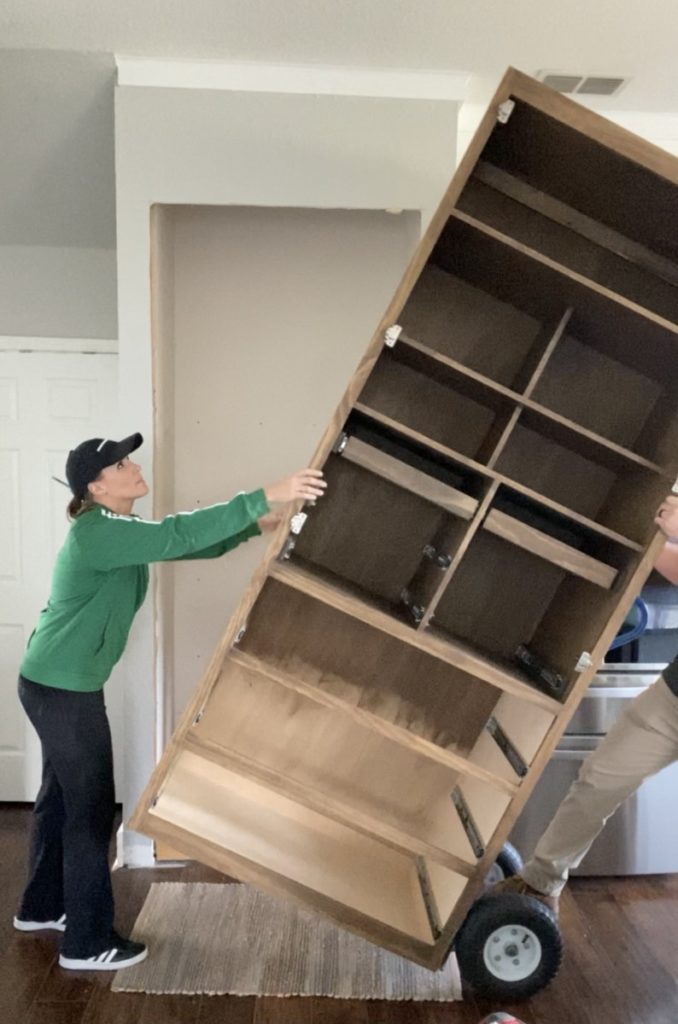
Insert Pantry
It is now the moment of truth. I would be lying if I said I wasn’t nervous as my husband and I brought this beast of a cabinet inside. I had already double, and triple checked my measurements, but I still held my breath as we pushed it into place.
I cannot even begin to tell you how perfectly this thing fit. LIKE A GLOVE. Gratefully everything went according to plan and the new custom pantry fit snuggly into its new home.
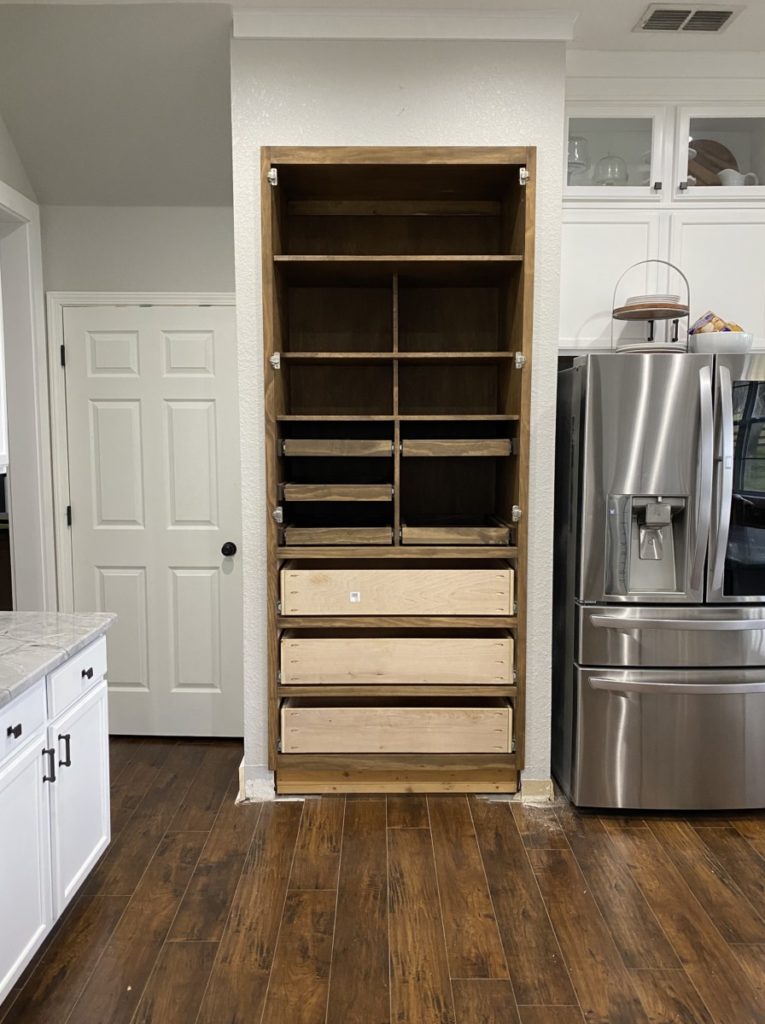
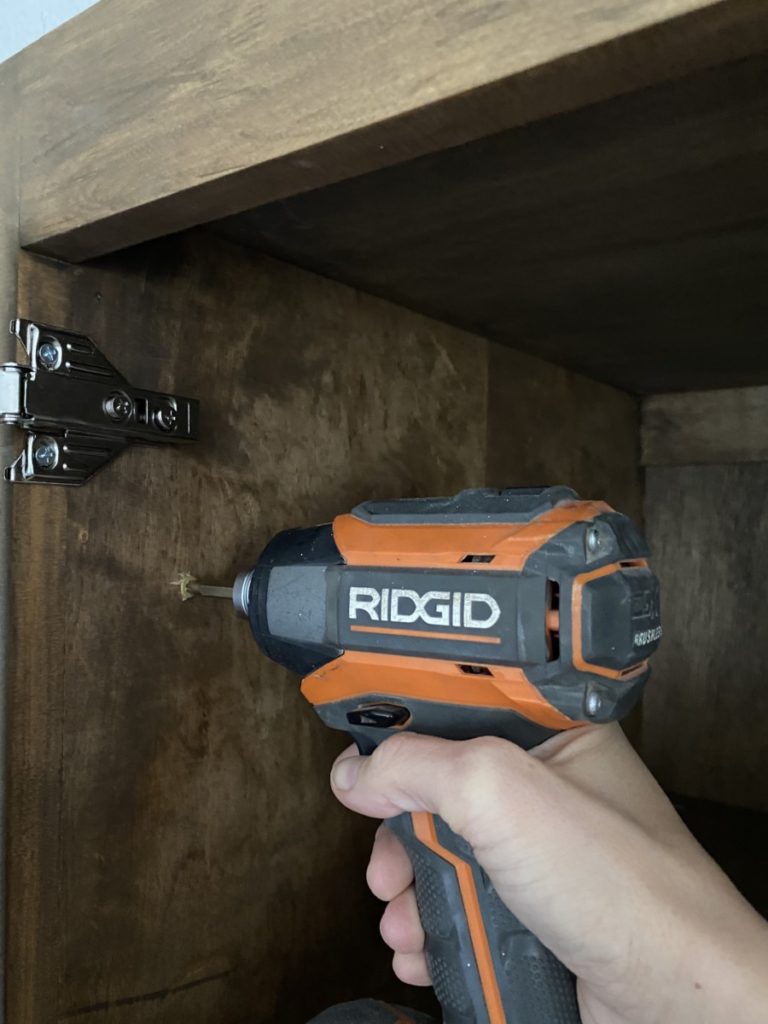
Before I started loading up the new pantry, I first ensured that it was secured in place. Using 3½” screws I drilled through the interior of the unit and into the stud that was directly behind it. I repeated this step at several different anchor points.
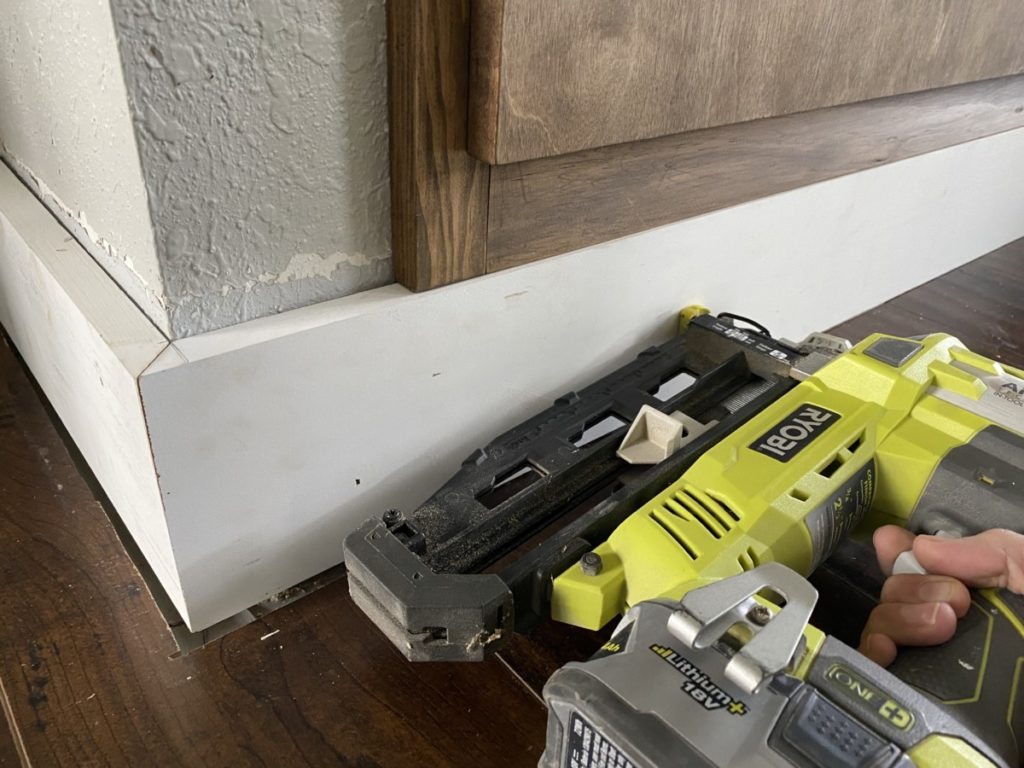
Install Baseboard-
The last thing this built-in needed was a baseboard. As mentioned earlier, I put the pantry up on a platform so that I could run a baseboard under the cabinet. I simply cut a new piece of baseboard and installed in under the pantry. Eventually I will add shoe molding, caulk and paint it, but that will have to wait because I simply cannot wait to share the final reveal…
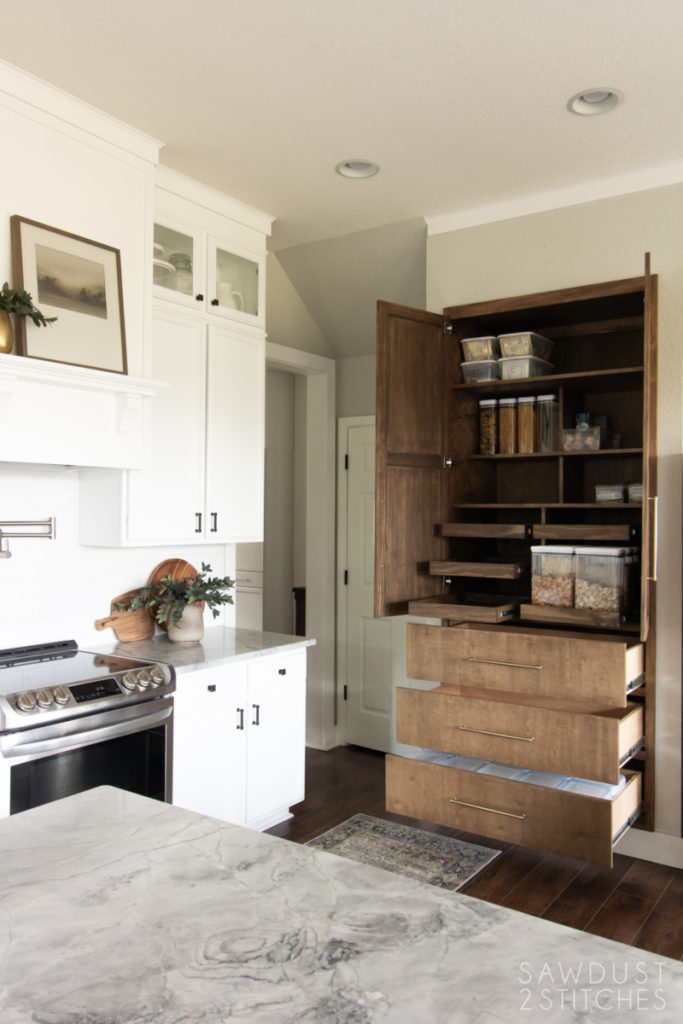
Can you even believe that is the same kitchen? Obviously, it added a ton of storage, but oh my goodness, it transformed the entire kitchen! Don’t you just love it when form meets function, that’s when you know it is truly a good design.


Ready to tackle your own project? You can do this! There are so many other great bloggers and awesome resources like The Home Depot at your disposal. So, pick a space that could use a little more functionality and dive in!
Thanks so much for following along.
Take Luck,
Corey


I have planned to do this in our bathrooms to replace the linen closets. Thanks for sharing this!
Holy cow, that’s a heck of a transformation!!
I love everything about this. It does scare me a bit, but hopefully soon I will try this. For budgeting purposes, do you have an estimate of how much it cost you?
You did a fantastic job. I am so very impressed.
That turned out awesome. It’s just stunning! Nice job, and great tutorial!
That is amazing, but I do have one question. Why didn’t you paint it white to match the other cabinets in the kitchen? I am guessing it is just a matter of taste and I am a “matchy, matchy” person.
OMGosh this is so beautiful and perfect!! I love what you’ve done. I’ve been looking through Pantry Cabinets and wondering if I could build one myself for what I need. This is what I needed. Thanks for sharing. Can you share what stain you used? Thanks!
I read a lot of blog posts!! This is great content work.
Beautiful! Can I ask what stain you used? I have a hard time picking out stain. I always end up to dark or to light.
Thanks!
Charity
It looks amazing! You did such a beautiful job!
Beautiful Pantry. Wish I had the space to do this too.