*This post is sponsored by Dap and contains affiliate links. *
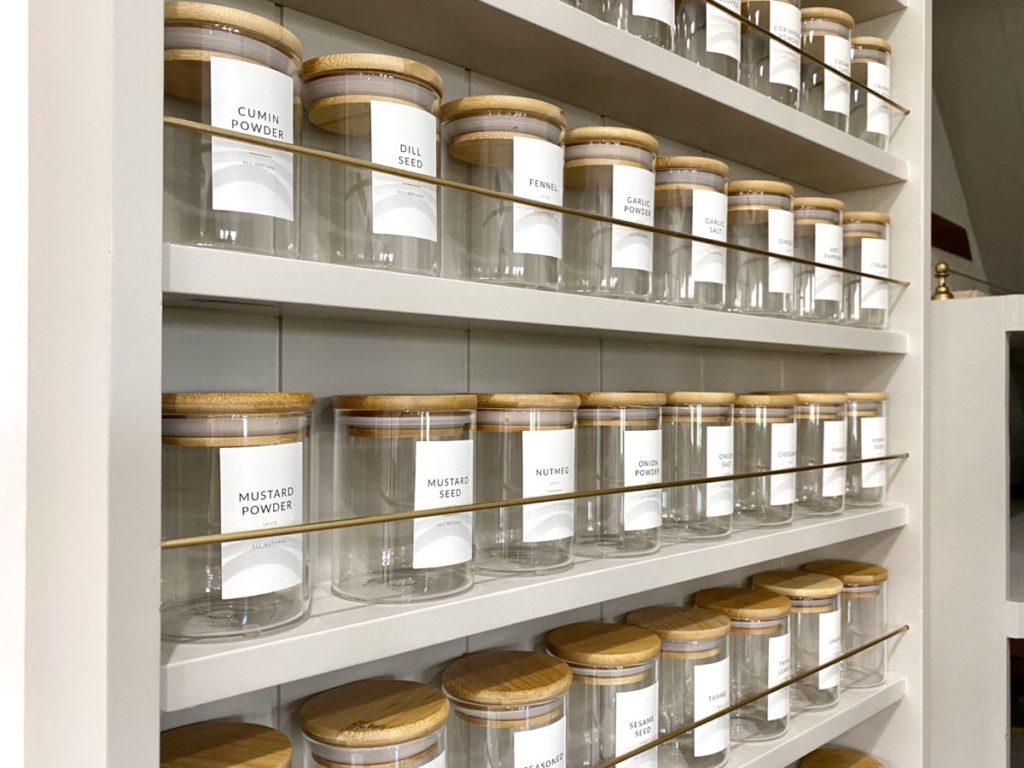
The back of our pantry door was empty, and I needed a spice rack. This DIY back of the door spice rack was just the ticket.
| Tools Suggested | Materials Used |
| Eye Protection | 1×4″ & 1×3″ Primed Boards |
| Hearing Protection | Nickel Gap Paneling |
| Sander 180-220 grit | RapidFuse All Purpose Adhesive |
| Drill | WeldWood Wood Glue |
| Sponge Sanding Block | Alex Plus All Purpose Caulk |
| Pin Nailer (Optional) | DAP Plastic Wood All Purpose Wood Filler |
| Pocket Hole Jig | Paint |
| Tablesaw | Spray Paint (I used Rustoleum Metallic Gold) |
| Miter Saw | |

Prep Materials
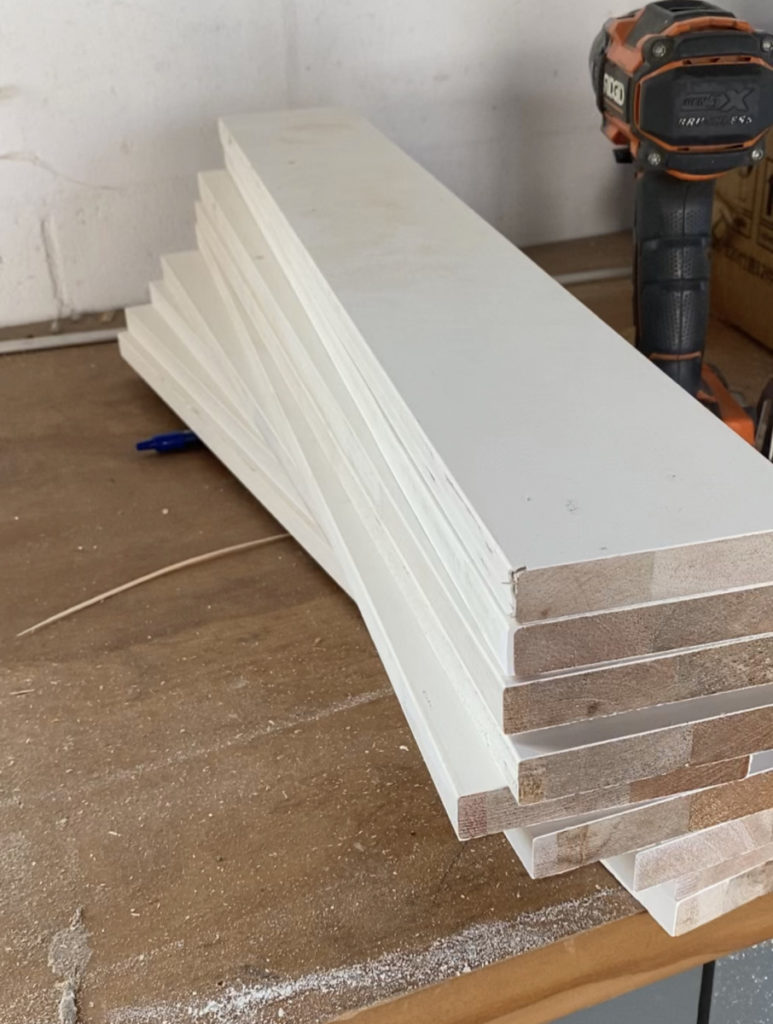
Mark, measure and cut all materials to specified measurements.
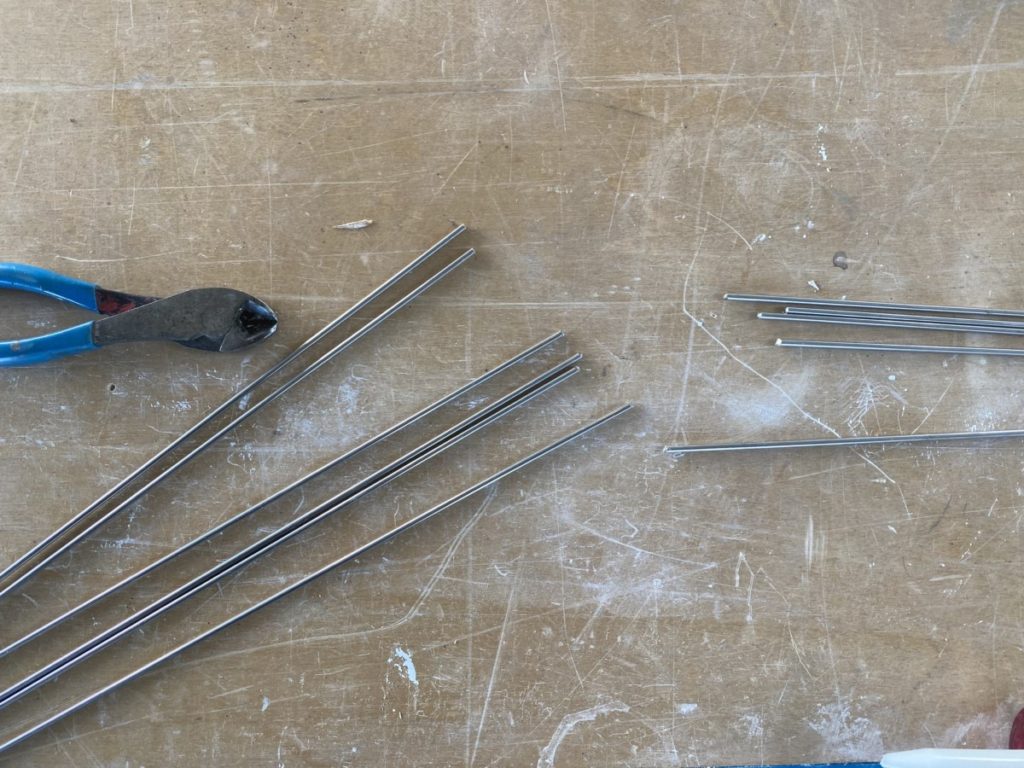
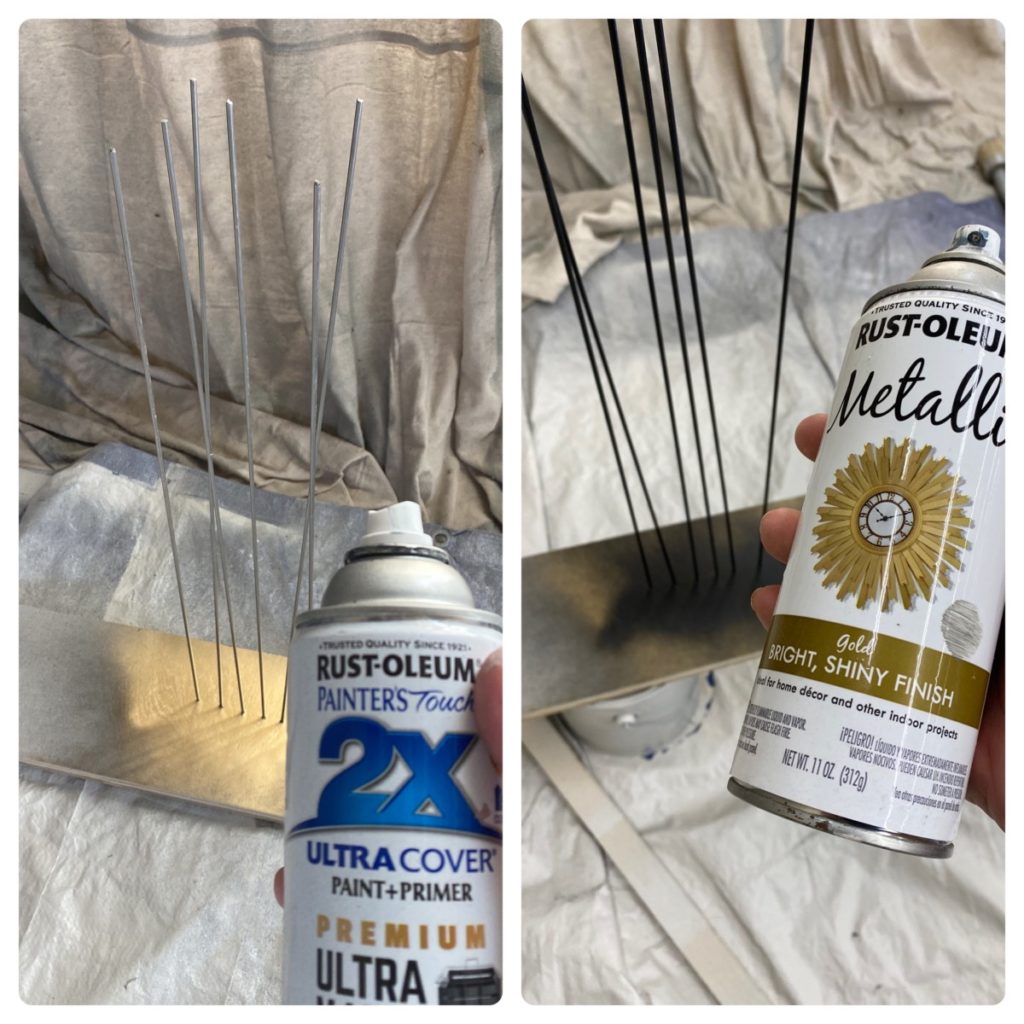
This spice rack includes 1/8″ steel rods. These will serve as holders to keep the spices from falling off the rack. While this rack does require something to hold the cards in place, it does NOT need to be rods. A simple 1×2 primed board would work beautifully too.
Drill Holes
If you are planning to use steel rods, mark and drill holes prior to assembly. Gauge of rod is based on desired aesthetics. I used 1/8″ rod and it made for easy assembly because it had a little bit of flexibility. If you desire a thicker look I would recommend installing rod before assembly.

Assemble Back of Door Spice Rack
When assembling I always use DAP Weldwood Wood Glue. This rack will be holding a decent amount of weight and I want to ensure it has Weldwood Wood Glue to give it the strength it needs.
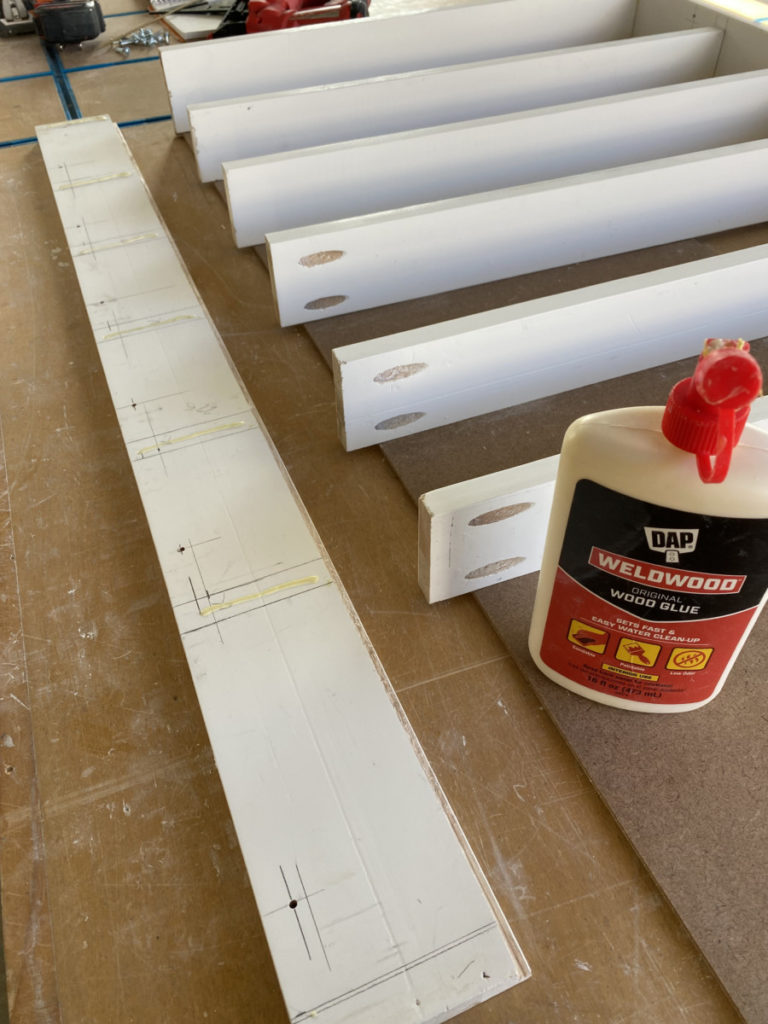
My secret weapon when assembling is Weldwood Wood Glue and a pin nailer. (Even if I am using other forms of fasteners.) I first apply WeldWood Wood Glue and then use a pin nailer to tack in place. The pin acts as a clamp while the wood glue cures , giving me a perfect joint every time.
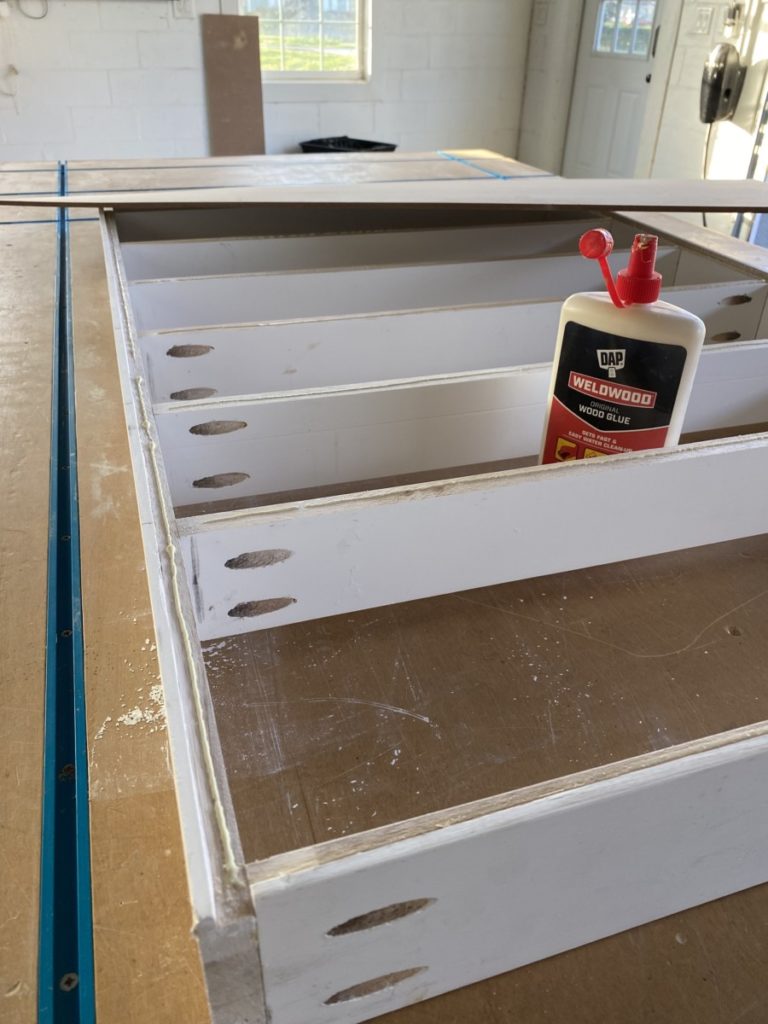
I use the same method when applying the panel backing. I apply a small bead of Weldwood Wood Glue on the back slats and frame, then drop the paneling in place and tack with a pin nailer.
( I routed out the back of my spice rack so that the paneling would not be visible from the side. This is not necessary for functionality of spice rack.)
Prep for Paint
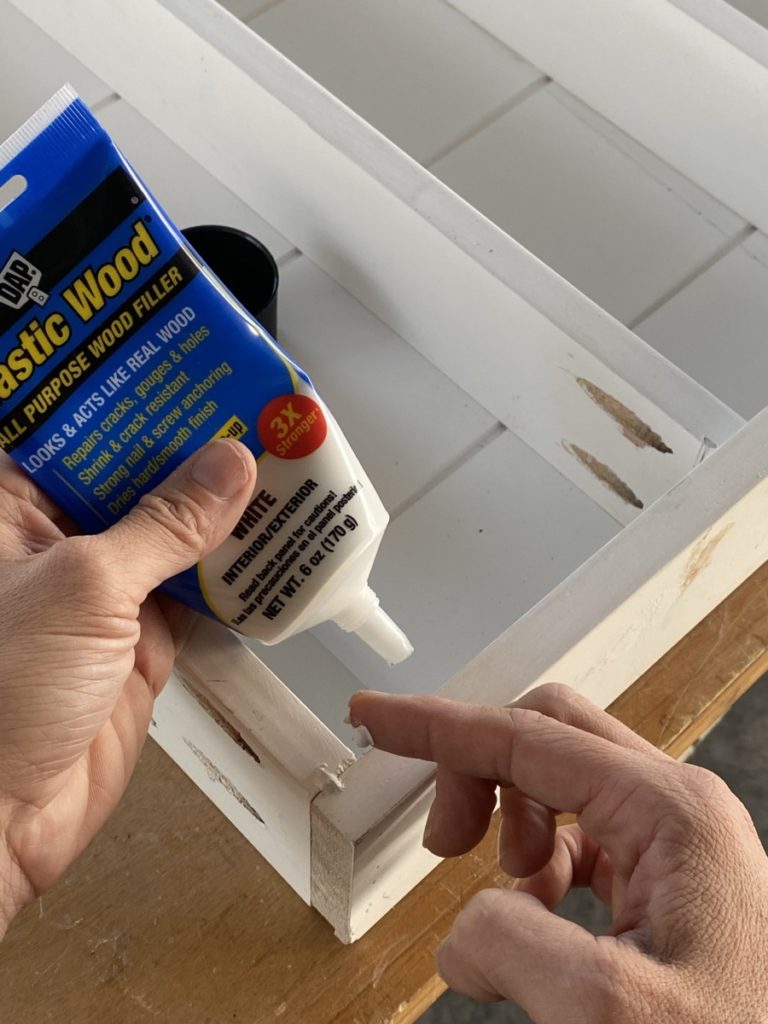
Before painting I want to make sure this spice rack is flawless in order to do this, I use Dap Plastic Wood All Purpose Wood Filler . I will fill all pin holes, joints and if desired pocket holes. Once it is completely dried, sand smooth with a high grit sand paper.
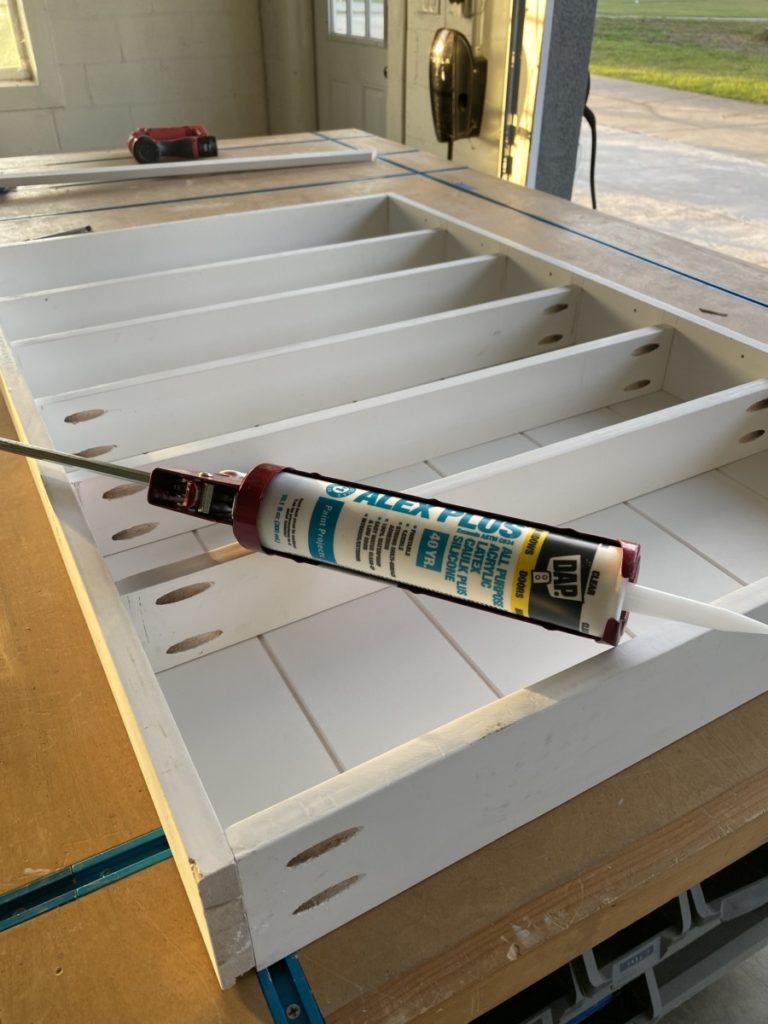
After sanding smooth the entire spice rack it’s time to perfect this build. The best way to make seams completely disappear is using a good caulk. I always opt for DAP caulk, for this project I used Alex Plus All Purpose Caulk. Simply apply a small bead to all seams, smooth, and allow to dry.
Paint Back of Door Spice Rack
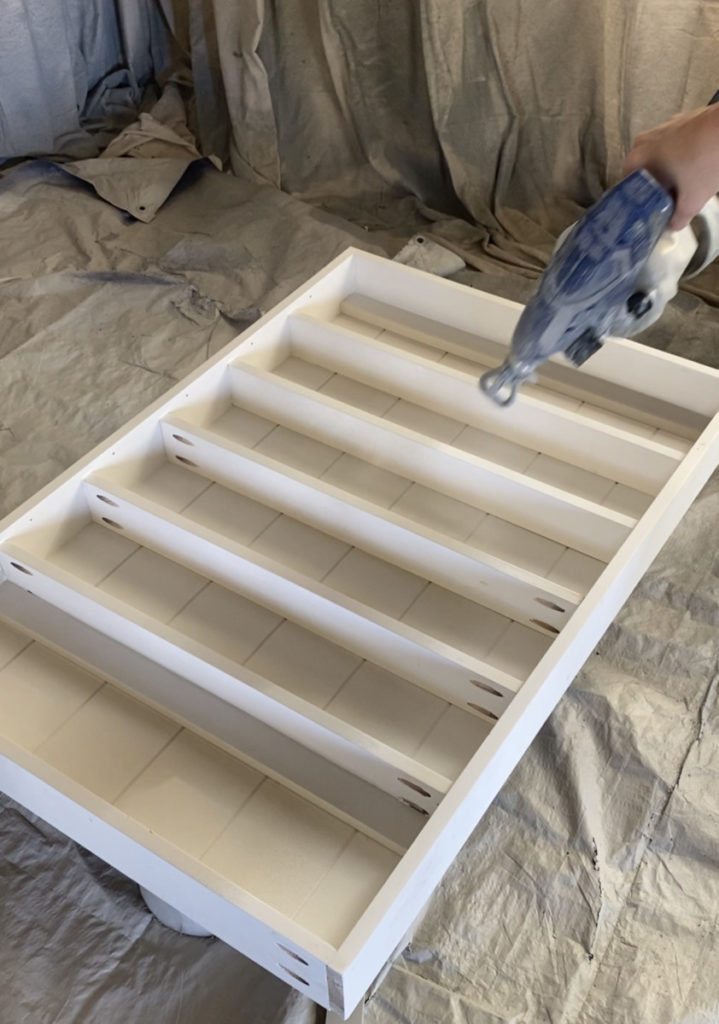
Time to make this spice rack uniquely your own; time to paint! I painted the base of my spice rack “Agreeable Gray” by Sherwin Williams. I prefer to use my Graco TC Sprayer when painting detailed pieces.
I wanted to “spice up” the rods as well. I first primed them using a spray primer and then applied multiple light coats of Rustleoum Metallic Gold Spray paint.
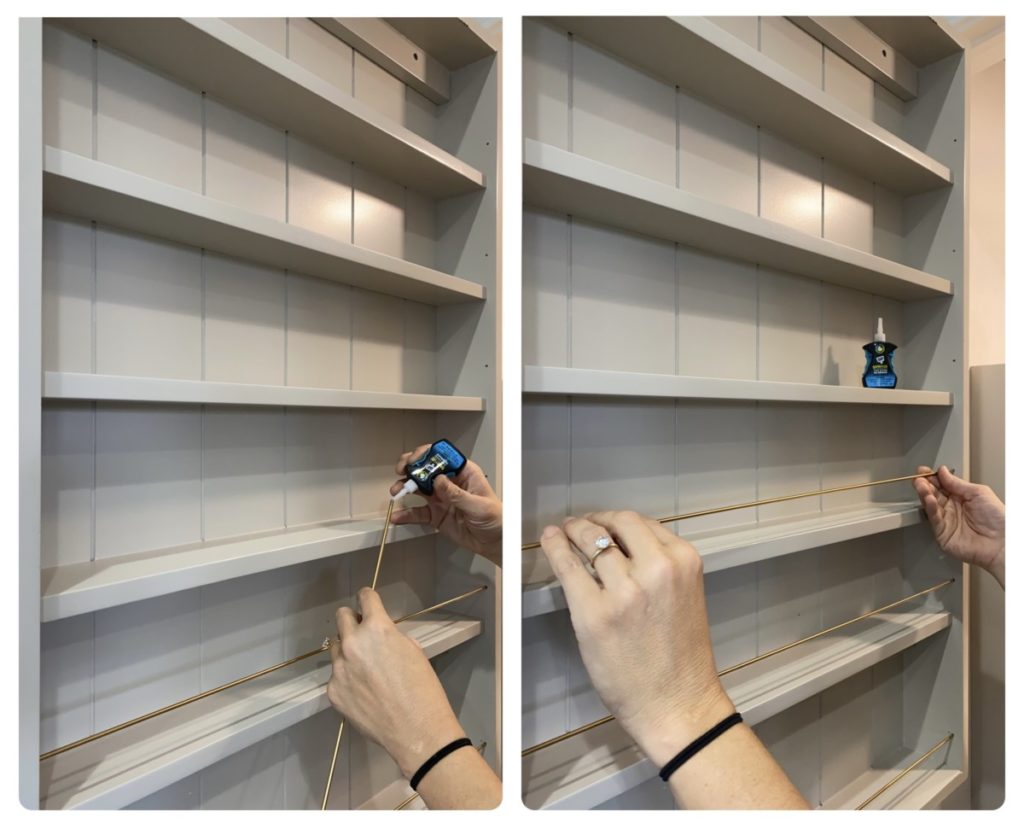
Once bars are completely dry before adding to the body of the spice rack. First I applied a small amount of RapidFuse All Purpose Adhesive, then gently flex and pop the rods into place.
Prep Door
The biggest concern when creating this spice rack was making sure that my door would be able to handle the weight. I love my door, but it’s drop panel design is not ideal for this spice rack. So I made a few modifications!

I used Weldwood Wood Glue to attach two 1/2″ boards in the inset space. By beefing up this area and using a GOOD wood glue it would create the perfect support for my spice rack! (Make sure you allow the glue to fully cure before securing spice rack.
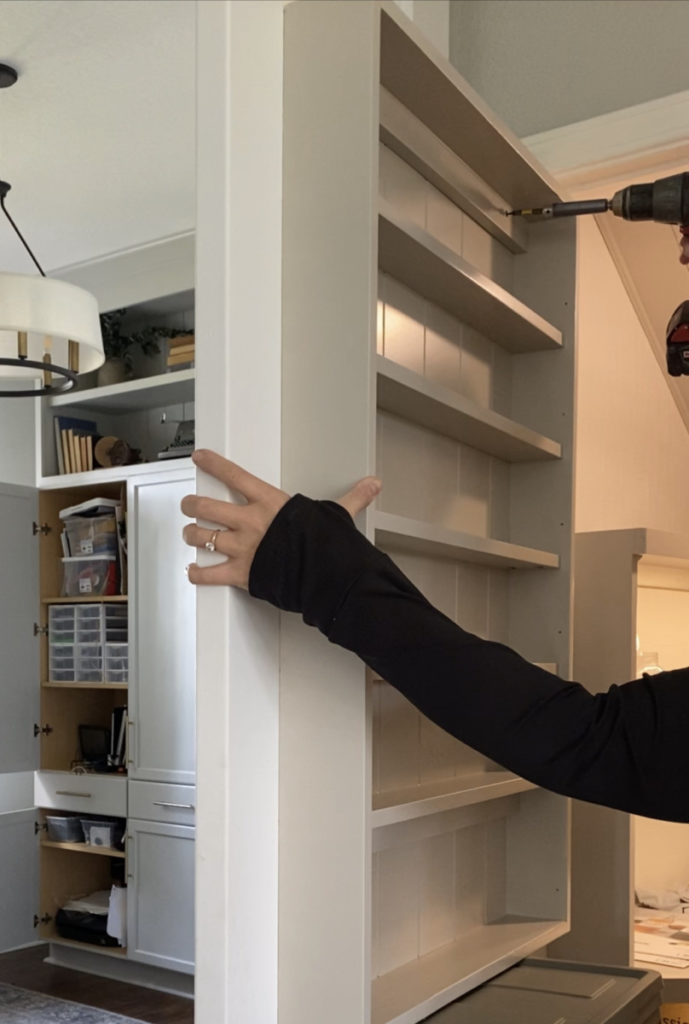
Install Back of Door Spice Rack
In order to secure the spice rack to the door I used 1 1/4″ screws along the top and bottom support rails.
the last thing this spice rack needed was a rail to hold the jars in place. In order to place the welding rods in place, I added a small dab of RapidFuse All Purpose Adhesive to the both ends of the rod. Then place one end into the allocated drilled hole, slightly bend the rod so that the other end of the rod can go into the opposing pre-drilled hole. Gently finesse into place. The RapidFuse All Purpose Adhesive will hold the rods snug.
To finish off this custom shelf I added very simple style jars and labels.

Source List:
- Paint Color- “Agreeable Gray” Sherwin Williams
- Spray Paint- “Metallic Gold” Rustoleum
- Welding Rods- Amazon
- Spice Jar Labels- Amazon
- Spice Jars- Amazon
- Rubber Bumpers for Jars- Amazon