This DIY Drawer Dividers post is sponsored by Kreg and does contain affiliate links *
| Materials Used: | Tools Suggested: |
| -1/2″ Plywood | -Tape Measure |
| -“1 Kreg Pocket Hole Screws | -Miter Saw |
| –Kreg Pocket Hole 720Pro | |
| -Drill | |
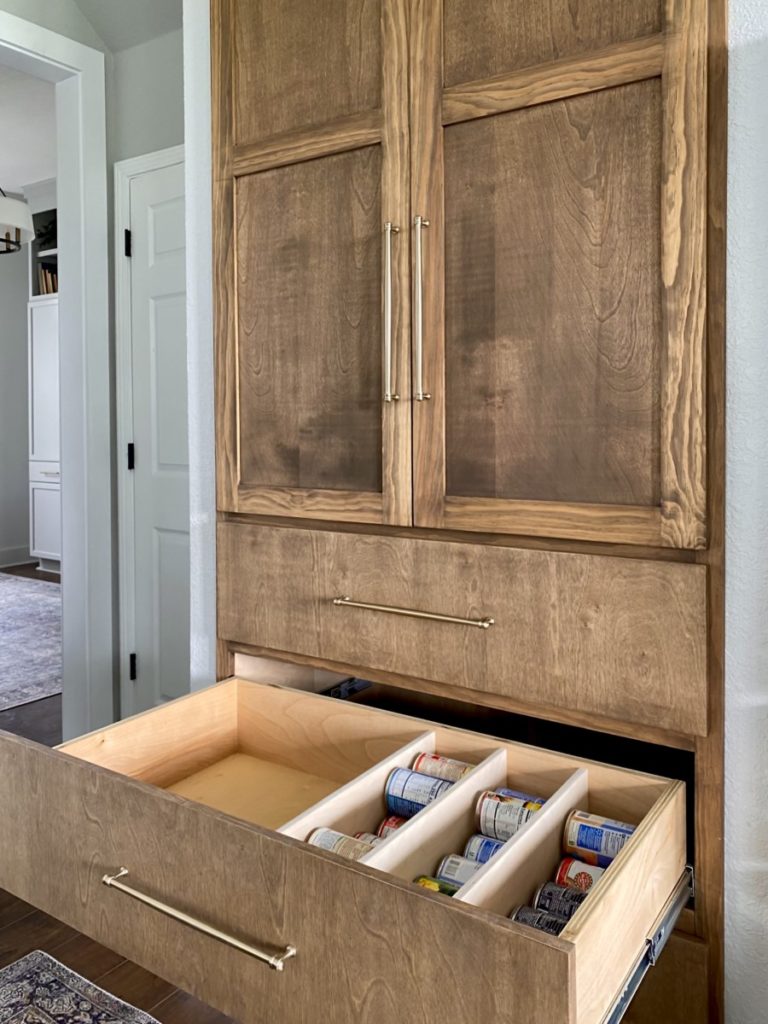
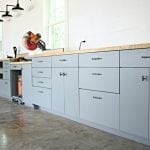
Clear Out Drawer
We all have those drawers… you know, the drawers that get neglected. I am convinced that if I let these spaces go untamed long enough they would contain everything my family would need to survive an apocalypse. Bottom line, they can get out of control. This drawer in particular had so much potential, but yet the idea of giving it effort sounds rough. Well, let’s make some quick DIY drawer dividers that can help you reclaim and customize your drawers in less than 15 minutes!

First thing we need to do is, clear out the drawer!
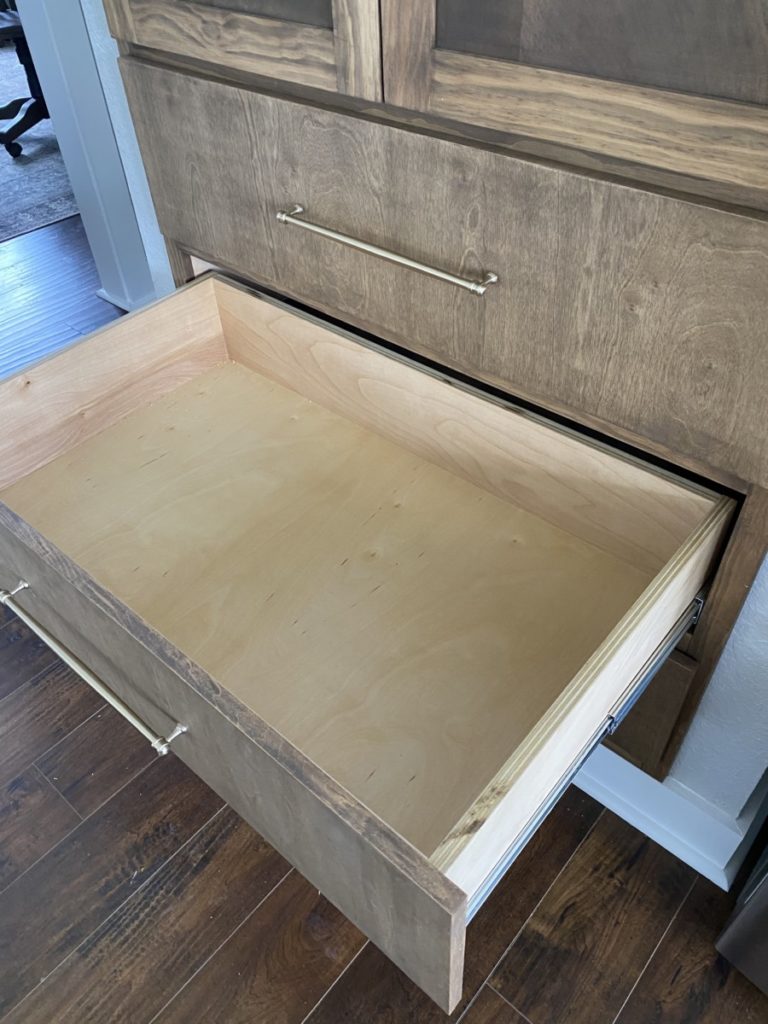
Measure Drawer
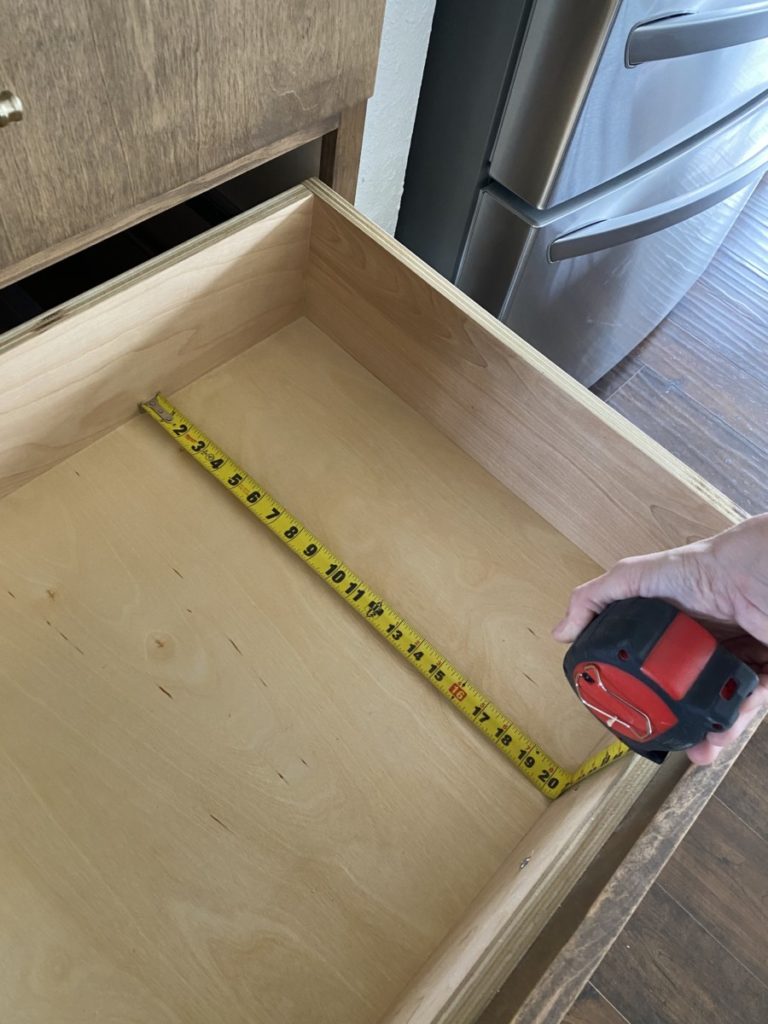
To best utilize this drawer I wanted to created long divided cubbies that would serve as rotating can storage. To begin I took my interior dimension of the drawer. (Also take into consideration the height of your drawer box. They do not need to be the exact height of your existing drawer, they do however need to be the same height or shorter. (Otherwise your drawer may not close properly.)
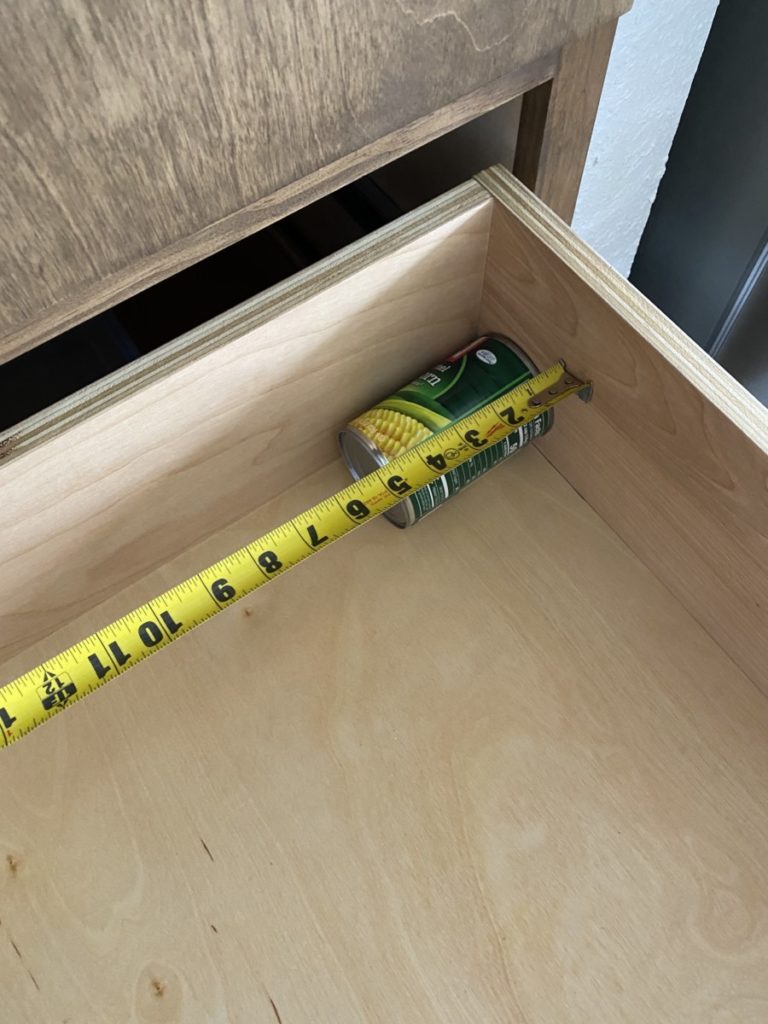
Seeing as I am creating storage for canned food items, I used a can to determine the width of these dividers.
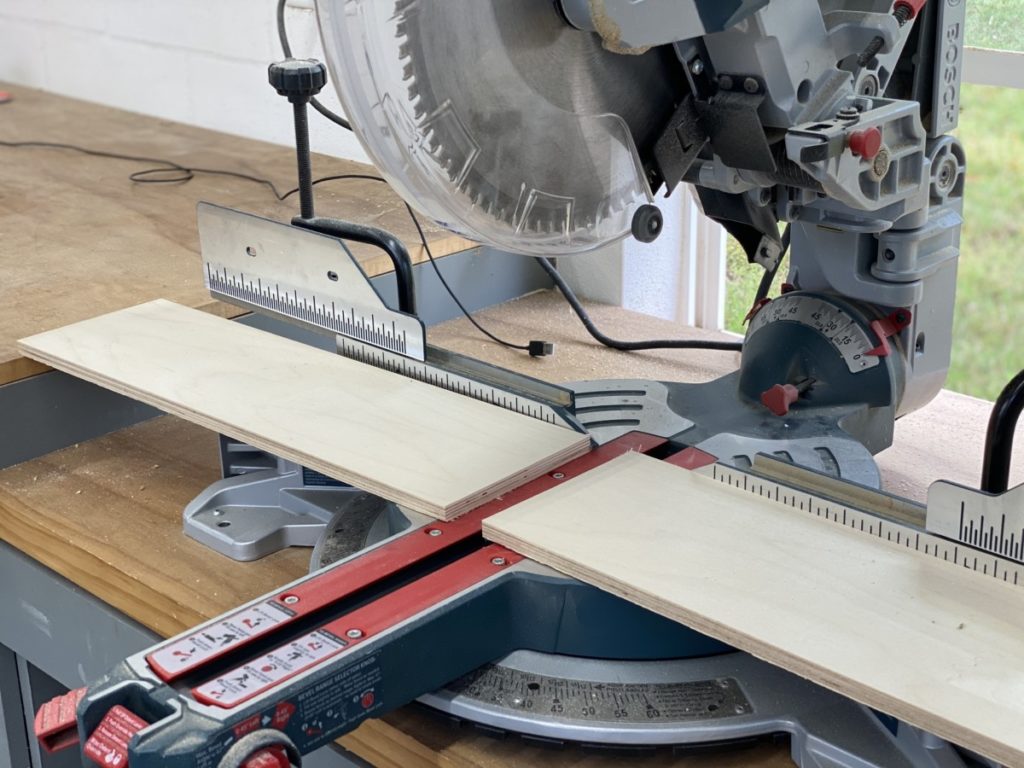
Cut Dividers
Using a miter saw I cut my divider boards to the same measurements of the interior of my drawer box. (I am using a piece of scrap 1/2″ plywood. You can use plywood or 1″ standard boards to make these dividers. )
Drill Pocket Holes
Once the board is cut to the desired dimension, drilled pocket holes on both of the short ends of the divider board. Depending on the construction of your drawer box, you can also choose to add an additional pocket hole along the bottom edge of the drawer divider as well. (If you have a thin paneling I would pass on this step.)
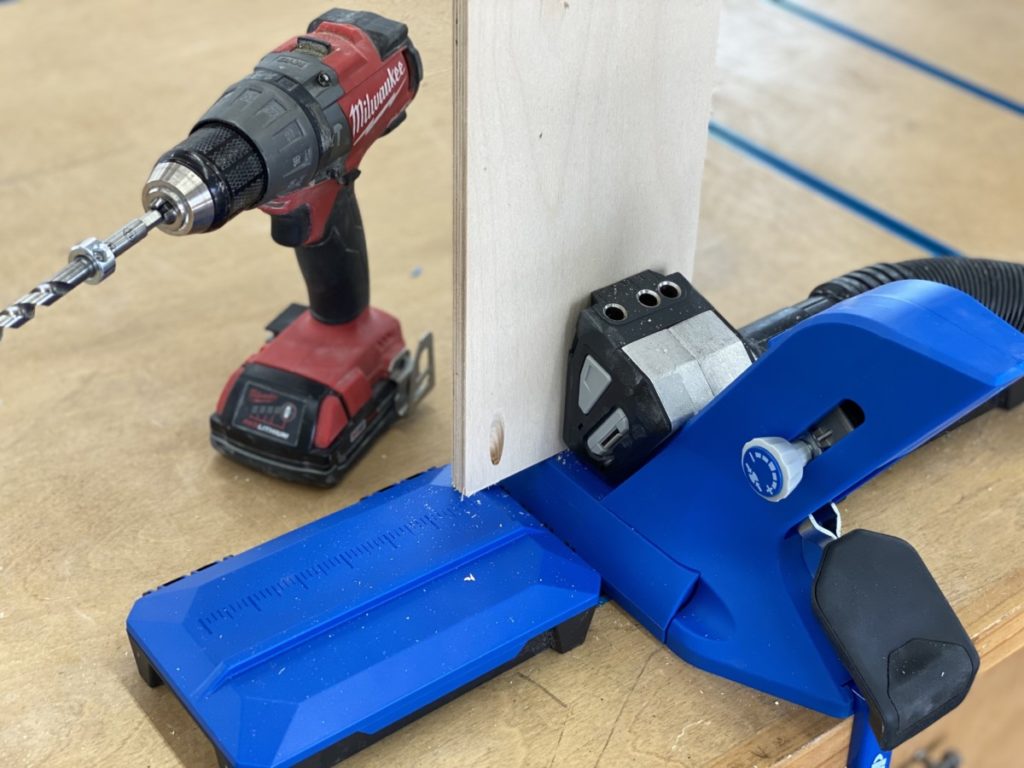
Something I LOVE about the new Kreg 720 Pro is AutoMaxx adjust feature. I can easily switch material thickness, and it auto adjust to my material. Drilling pocket holes for projects has never been easier. If you didn’t already see my Instagram stories make sure you follow along to see more of the 720 PRO features.
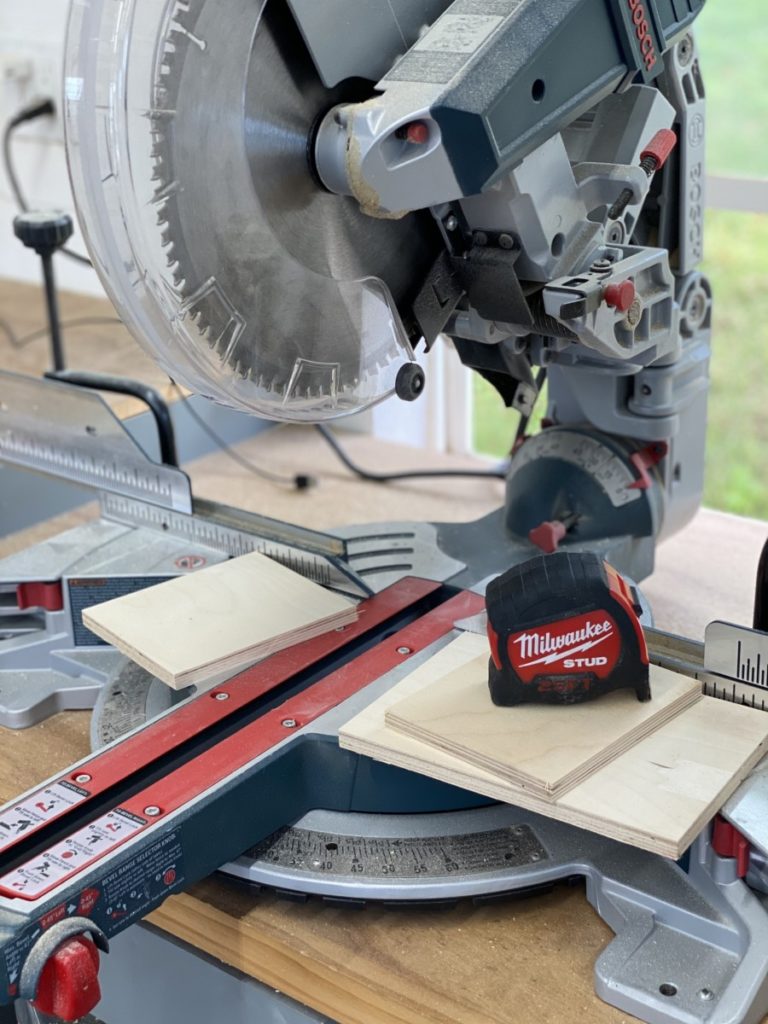
Cut Spacers for DIY Dividers
Before beginning the install process I suggest cutting spacer blocks. using scrap material. Remember the can dimension I took earlier ? I am using that dimension to cut a spacer block.
Install Dividers
Once all the dividers, spacers are cut and the pocket holes are drilled we are ready to proceed.
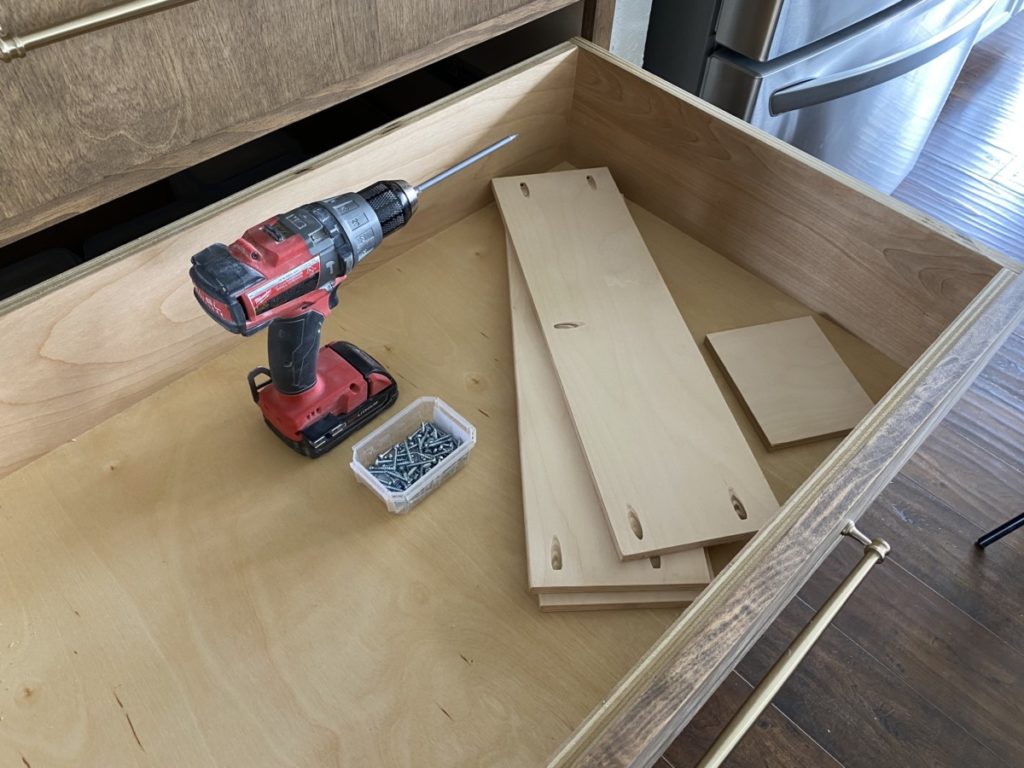
Use the spacer block to not only create perfect spacing, but to also give you a solid surface to press against when driving in your pocket hole screws.
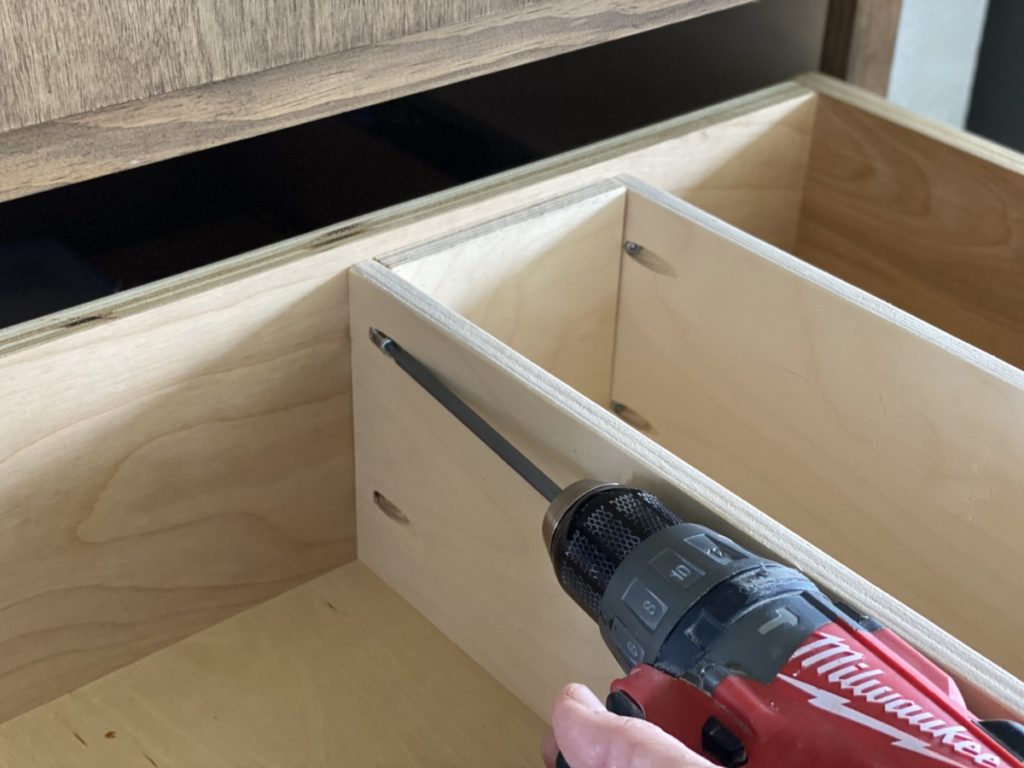
When securing your boards using pocket hole screws always ensure you are using the correct length screw. (Or you will have a screw tip protruding from your project.)
Organizer Using DIY Drawer Dividers
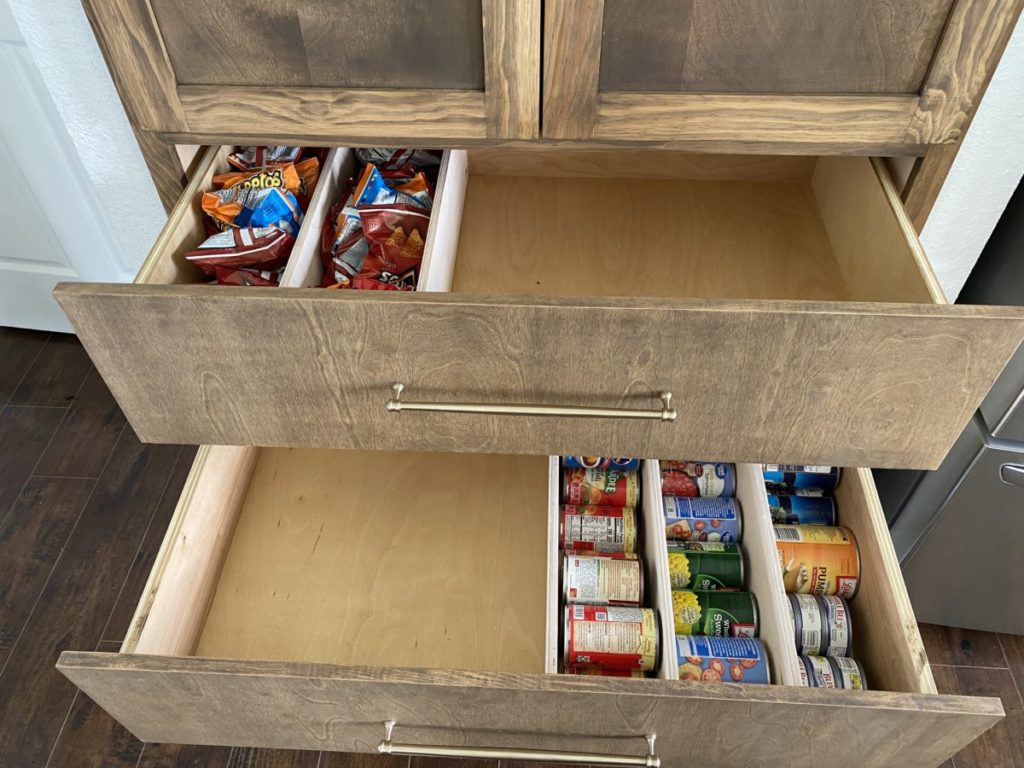
Now that you have the basic premise of this project, can you see it’s potential to transform your drawers ? You can add as many as you would like in a variety of orientations. This is truly a custom drawer organizer.
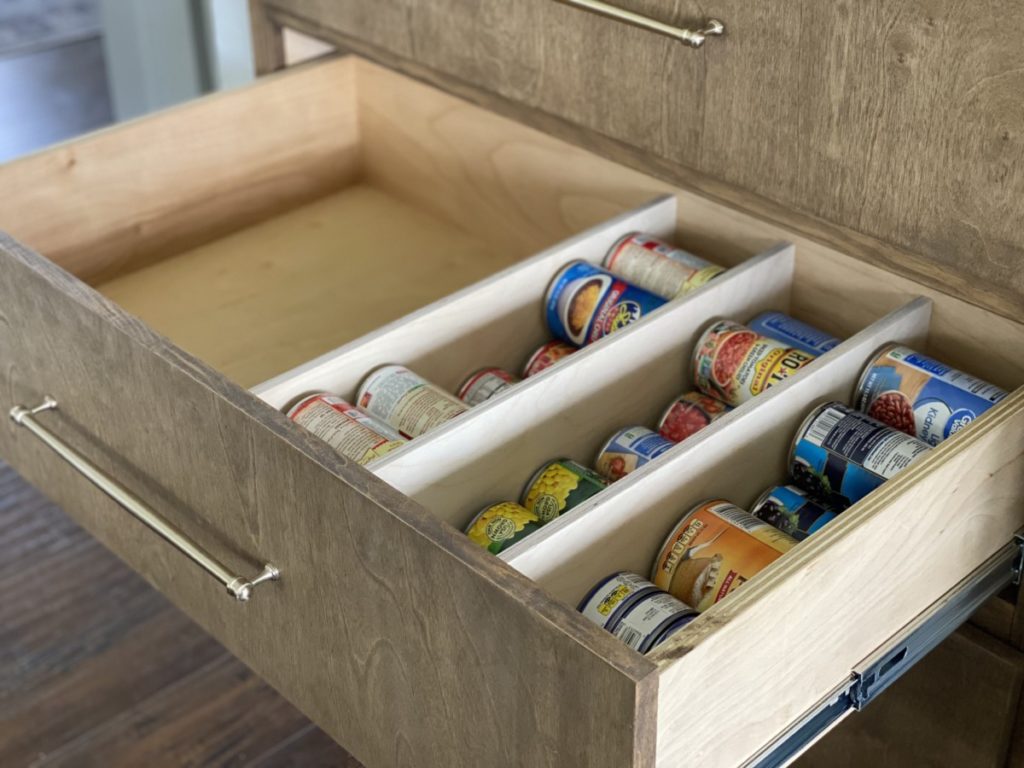
I added several long dividers to use as rotating can storage. I even added a few to my chips drawer to keep some semblance of order. Not too shabby for a 15 minute project using scrap wood. Am I right !?
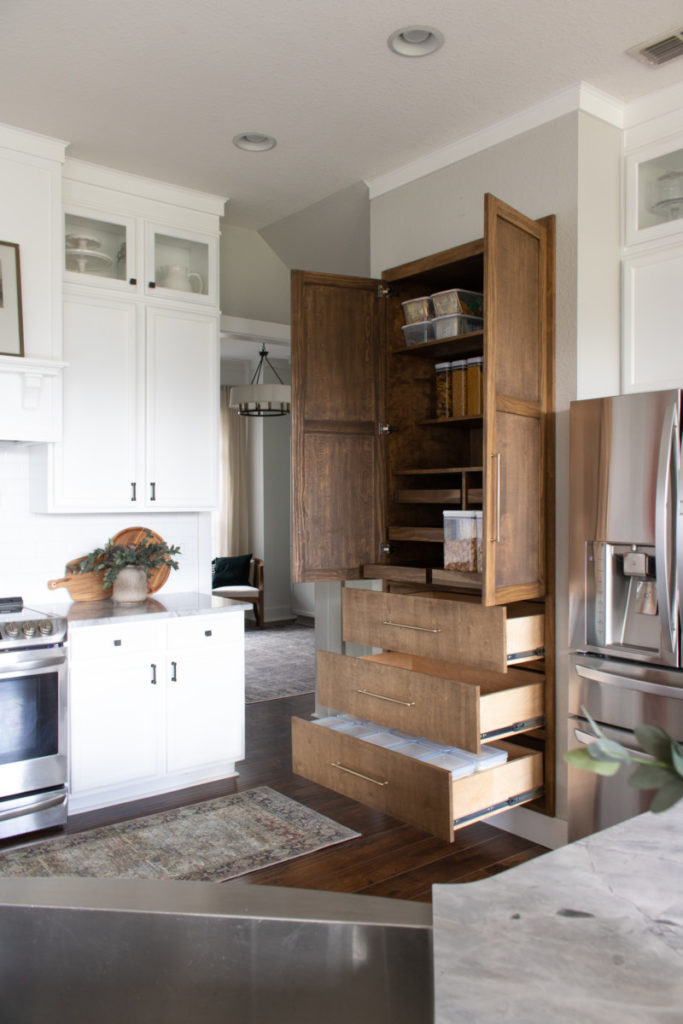
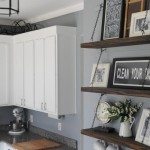
If you are looking for more kitchen organization, make sure you check out my built-in pantry I made to replace my contractor grade closet.


[…] Once the drawer base is secured reinsert the drawer box and load er’ up because you are good to go! If you are looking for another easy kitchen organization project check out these 15 min. drawer dividers! […]