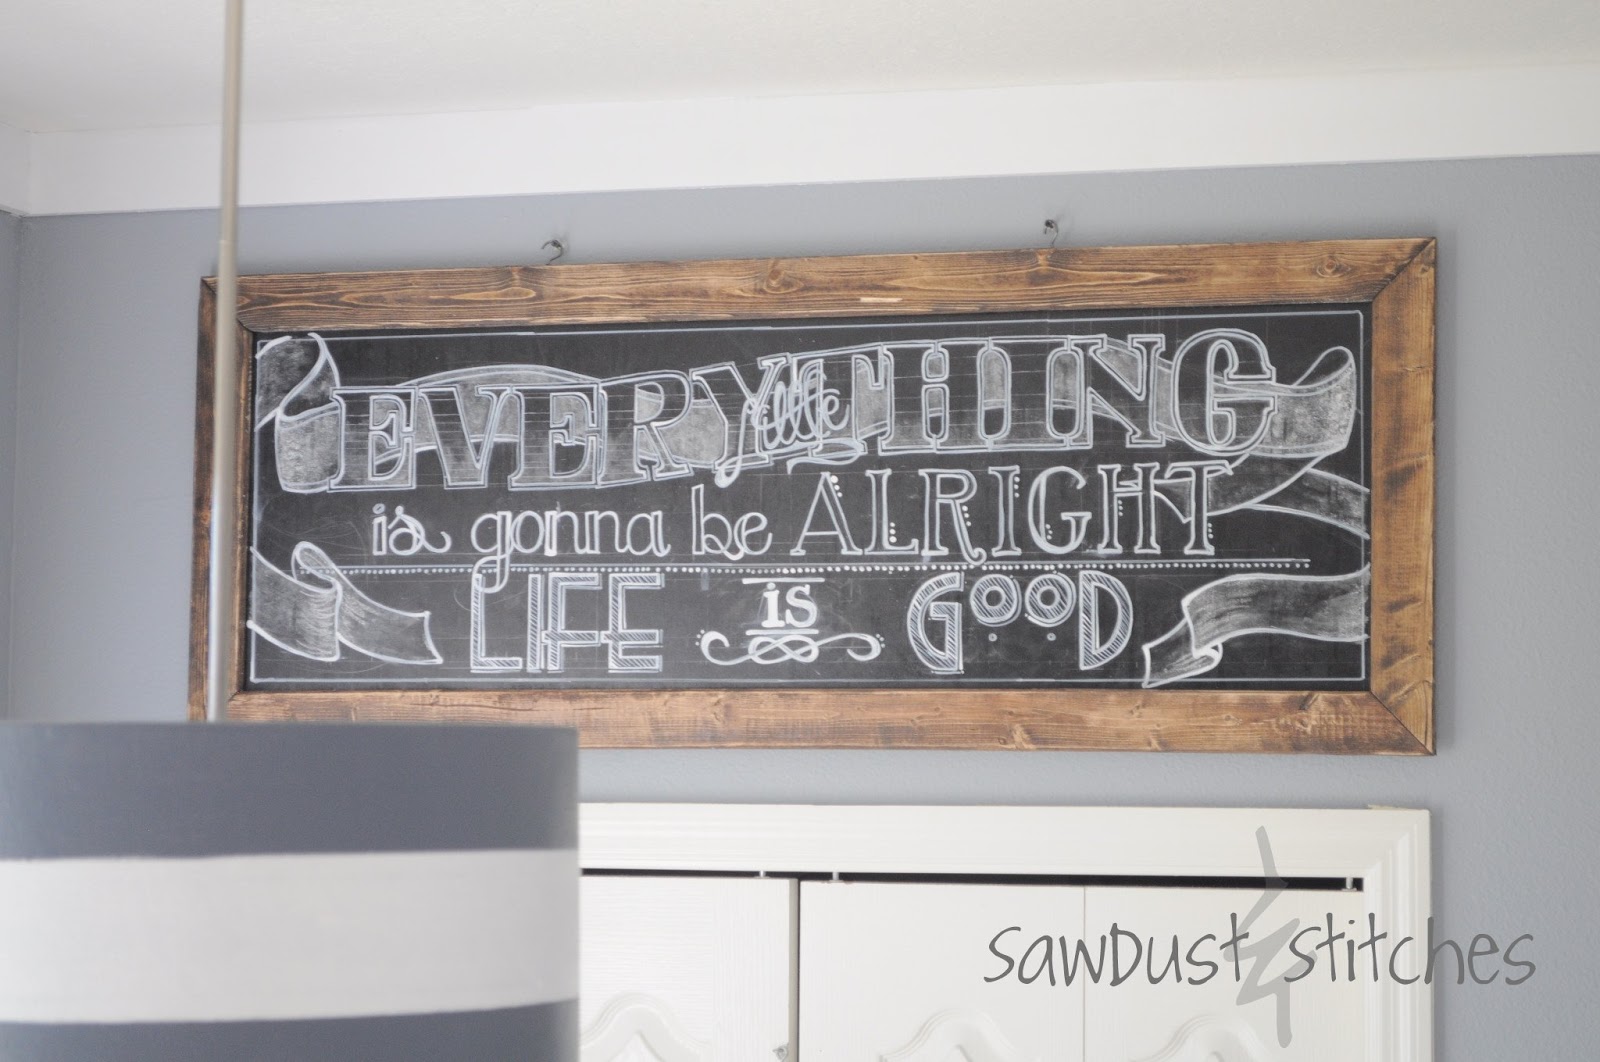
So I know that chalkboard paint is all the rage and there are plenty of tutorials on how to make your own. This is not one. I just wanted a sign that LOOKED like a chalkboard. After putting in a lot of effort on lettering I was not about to erase it. It was going to be permanent.
Here is what I did.
Supplies needed:
- 1×3 (2) = $4
Paneling = $5
Black Paint = $1
Liquid Nails = $2
1st step:
Paneling- You can find this at Home Depot, ask an associate where their “Handy Panels” are. (Handy panels are typically identified by their size. They are either 2’x2′ or 2’x4′ pieces. You will have a lot of wood choices, just pick the cheapest with a smooth finish. OR if you want to save some time and possibly money (depending on if you have paint on hand). They have chalkboard handy panels available at Home Depot.
Cut down your panel to desired size , I cut mine to 20″x48″.
2nd step:
If you bought a chalkboard panel, skip this step. If not paint your panel black with a flat/matte paint, you just don’t want it glossy!
3rd Step: Get creative! There are many places you can find vintage fonts, here are a few. This is where you come up with any saying or quotation you would like and use your favorite fonts, or simply duplicate mine!
After you brainstorm your message and favorite fonts, you can either free hand or trace your letters!
You can simply print your letters off then use tracing/transfer paper to transfer it.
Once you have your message on the board use either white paint or these…

I love these markers, but I have not found them in stores, but you can order them online. Elmers does have version that is available in most office/craft stores.
Simply go over your traced letters with this marker and it will then be PERMANENT. So make sure you like it.
Your board should look something like this.

4th Step:
Get out your 1×3’s
- Cut 2 @ 45″ short end to short end with 45 degree angles
- Cut 2 @ 17″ short end to short end with 45 degree angles
Sand them all down and then stain or paint.
5th Step:
Once 1×3’s are dry you will use your liquid nails and apply the 1×3’s directly yo the top of your chalkboard, creating a frame. There should be about 1.5″ of 1×3 board that will sit on top of the chalk board.


I actually did this from all leftover supplies, so I have a nice large custom art piece for free!


Great project! I need to master the chalkboard writing, maybe this pen will do the trick!
I love using these markers, they sure are easier than a small paint brush. Good luck!