 Almost exactly a year ago, we were getting ready to celebrate both of my sons birthdays. (There birthdays are one day apart.) I got a little over-zealous and threw a carnival themed birthday party. You can see all the awesome details here.
While making the decorations, I some how got it in my head that Marquee letters were an absolute must. NATURALLY? I mentally justified it, deciding it would also make a great addition to the kids room after the party.
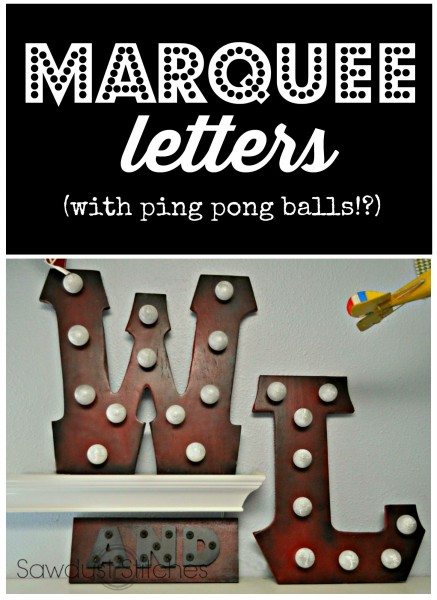
So today I am going to show you how I went about making mine!
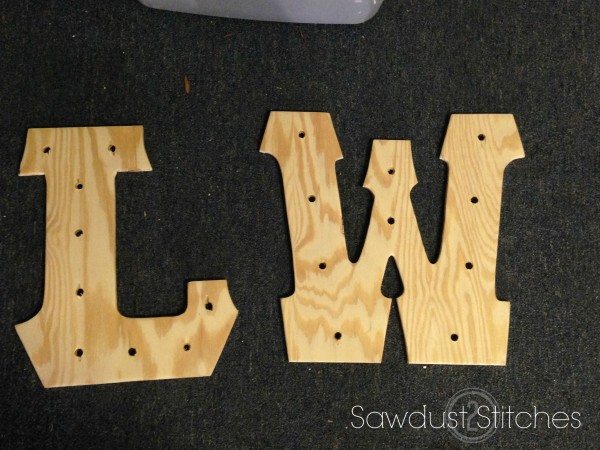
I began by cutting out my letters using a jigsaw and then using a 1/2″ bit I drilled holes that the lights will b fed through. After everything was cut, and drilled, I sanded down the whole piece.
Tools Suggsted:
- Jigsaw
- Drill and 1/2″ bit
- Sander
- x-acto knife
- Hot Glue Gun
- Router (if desired)
Supplies Used:
- Plywood
- Primer
- Paint
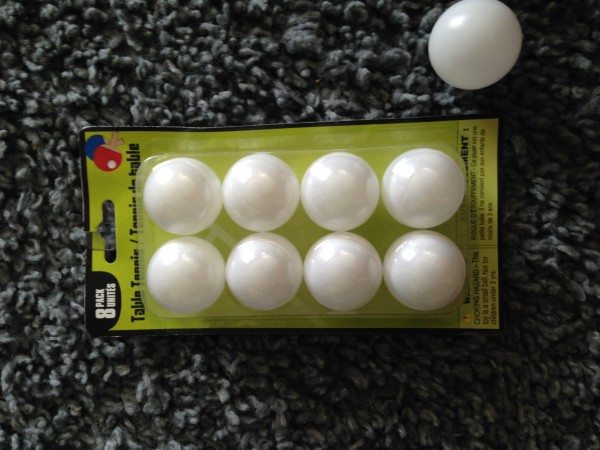
- Ping Pong Balls
- String Lights
- Hot Glue Sticks
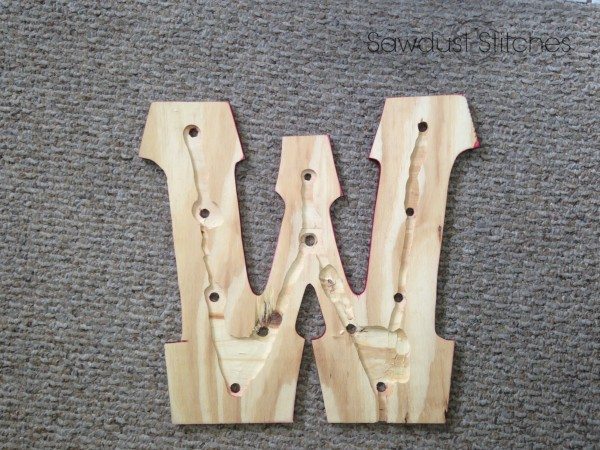
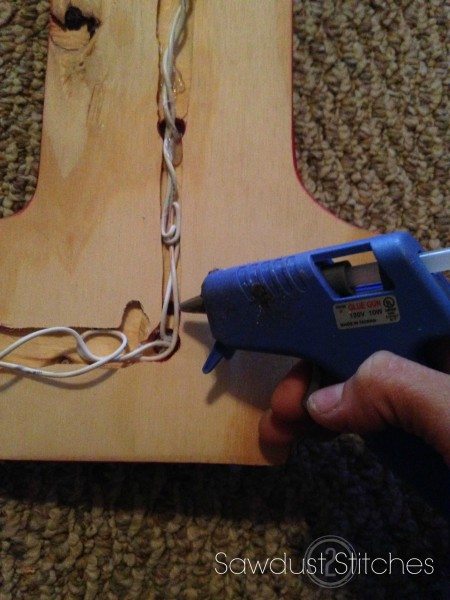
Next I routed out the a groove on the back of the letter connected all the holes on the back. This will allow a place for the cord to sit, should you wish to mount it flat on a wall. If you are resting it on a ledge, this step is not completely necessary.
Next I primed the letters. After the primer dried, I gave it a quick once over with a fine grit sandpaper.  Next I spray painted the letters. When using spray paint always remember to use MULTIPLE LIGHT COATS! It makes all the difference in the world!
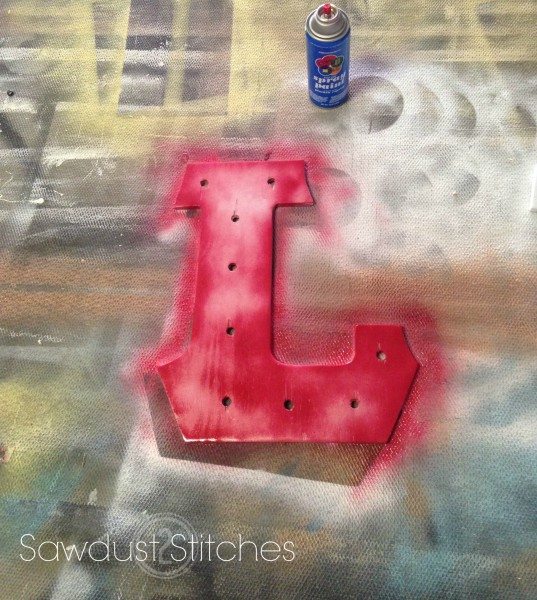
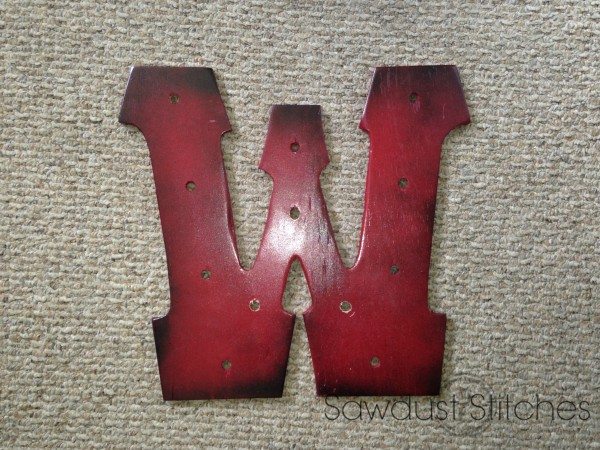
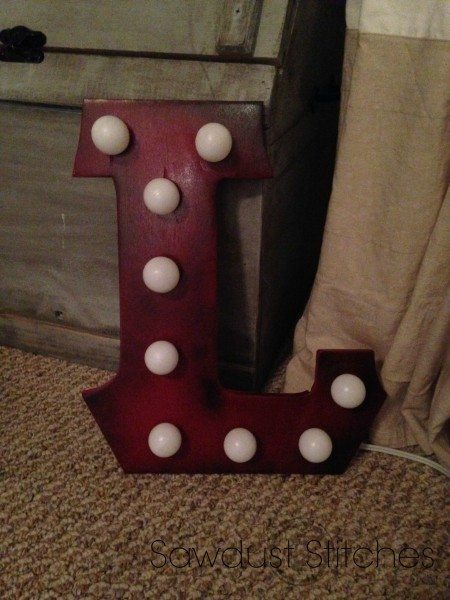
Once it is evenly coated with the base red, I used a small amount of black spray paint and dusted the edges. (I was feeling impatient that day.)
Now we are ready for the lights! Feed the lights through the holes. (In some cases my holes were too far spaced, and I simply ad to leave a light in the back.)
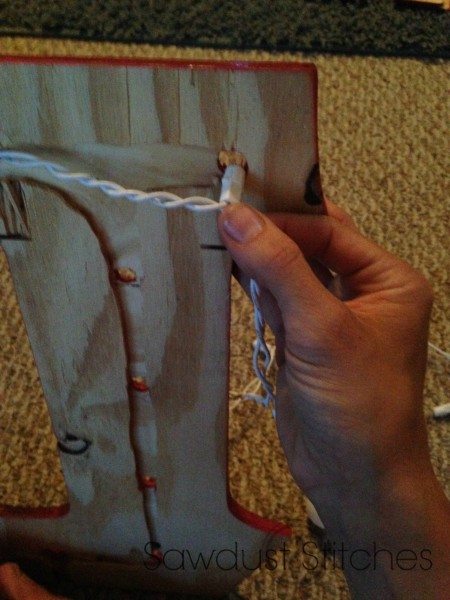
I used a hot glue gun to secure the light cord to the back of the letter.
To give the appearance of large bulbs I utilized basic ping pong balls!
I simply cut small “x’s” in each one using an x-acto knife.
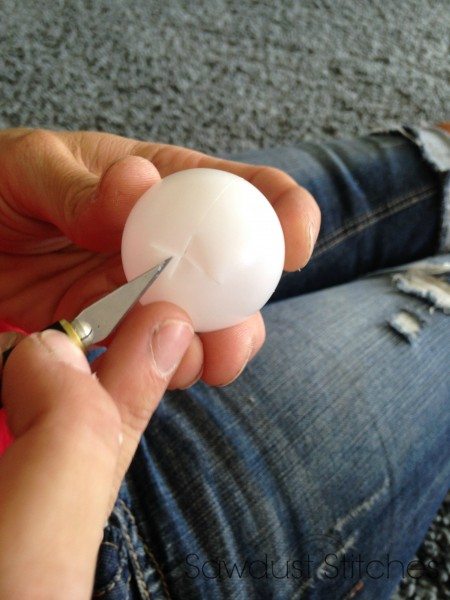
Then just pop the light into the “x”. For good measure I added a small dab of hot glue on the base of the ping pong ball and pressed it into place!
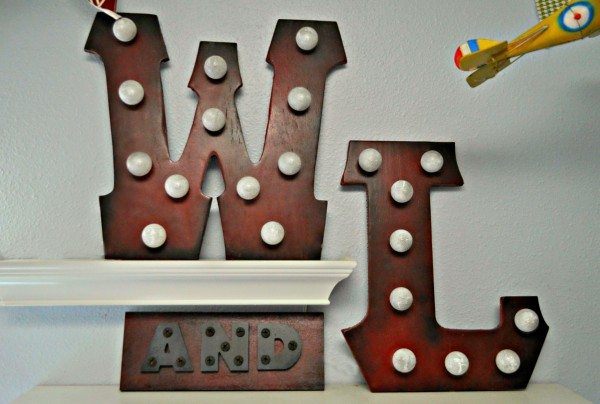
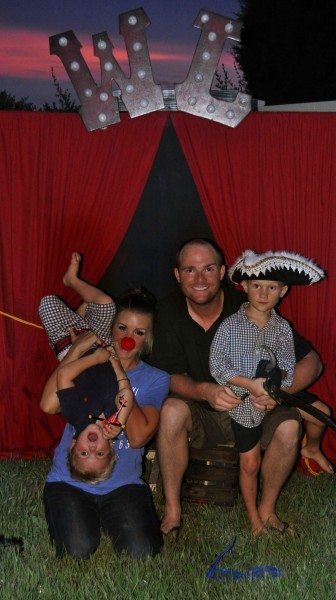
Look! Here they are in all of their photo backdrop glory.
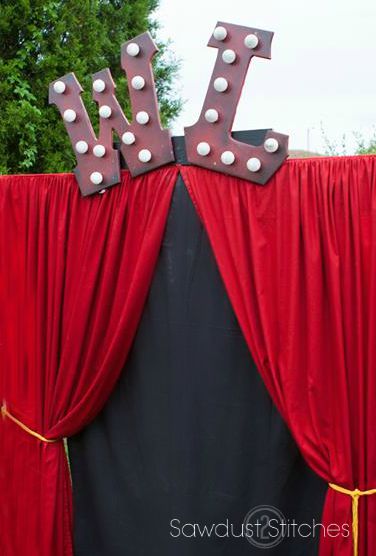
Can you tell they were worn out by the end of the party ?
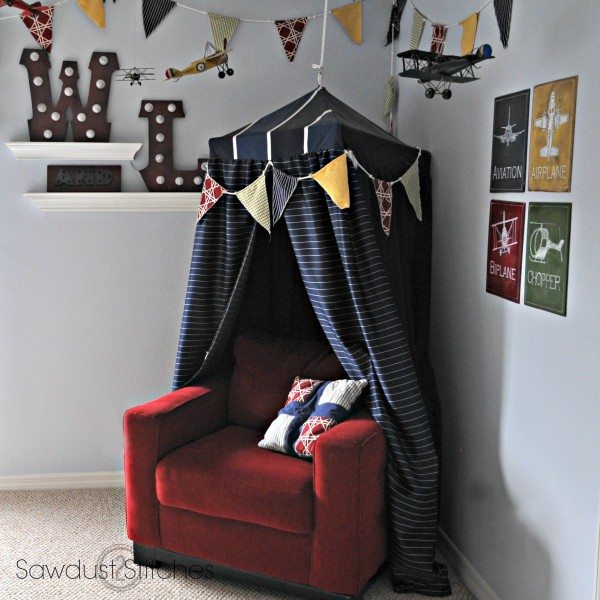
They found their long term home up in the kids rooms.
 Copyright secured by Digiprove © 2015


I love these Corey, the ping pong balls were a genius idea!