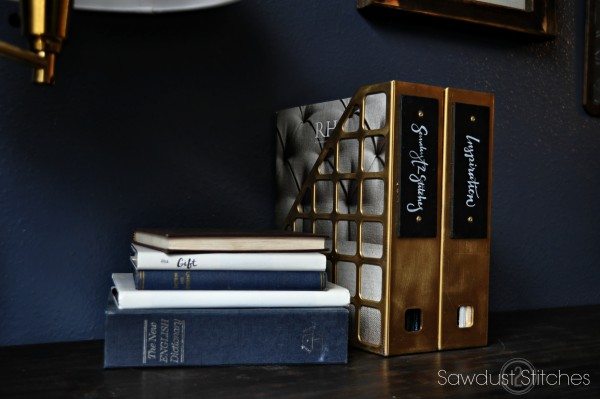
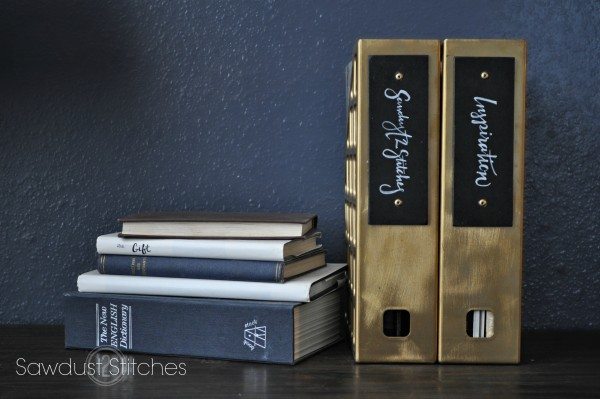
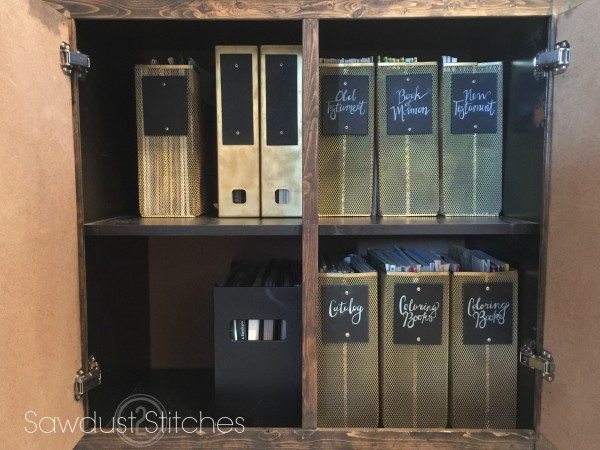
I don’t know about you, but I find it much easier to WANT to keep things organized , IF I know it will look pretty when I put in the effort For me, just a little bit of spray paint gave these ordinary organizers a little face lift, and gave me a motivation to USE THEM!
So let’s dive in, shall we ? To start you will need a few folder organizers. I happened to have a whole bunch random ones that I had slowly accumulated over the years. They were all different colors and materials… This is where the spray paint comes in! You can easily create a cohesive look with a cheap can of spray paint. BAM!
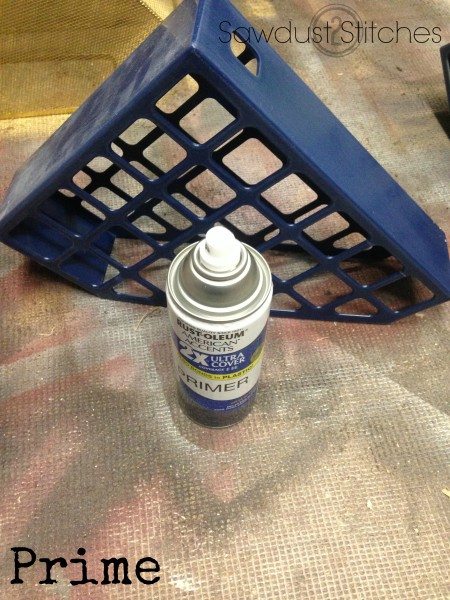
Start by scuffing them up with sandpaper. You don’t need to go crazy with it, just scuff them up enough that all the sheen is gone. Then wipe down with a damp cloth. Once dry you are ready to prime! I used a spray primer. Use spray primer the same way you do spray paint. Multiple LIGHT coats.
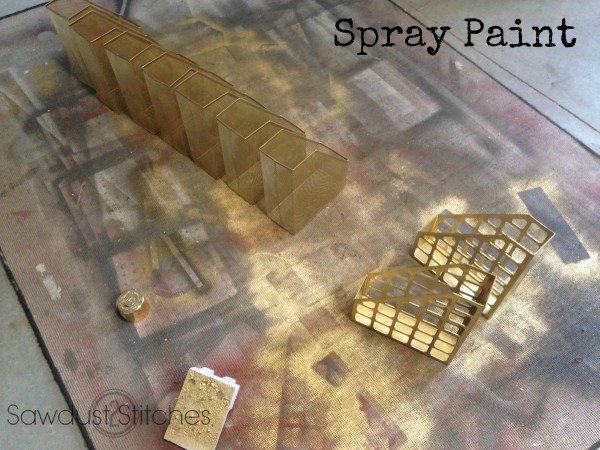
 Once the primer has dried, you are free to spray paint. I used a metallic gold, and I loved the way it turned out.
Then next thing I wanted, was clear labels! I used a thin piece of paneling and cut it into small 2.5″x 3.5″ rectangles. I then drilled centered holes on either end. Then sanded. 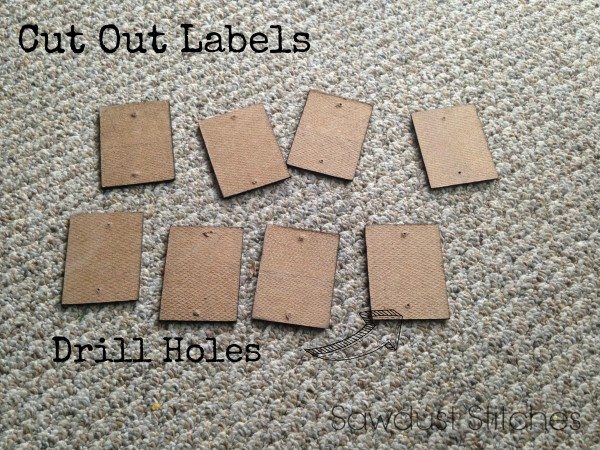 I then painted them a flat black. I wanted these to have the look of chalkboard, but because I was writing the labels on there permanently, it didn’t matter if I use the fancy “Chalk Board Spray Paint”.
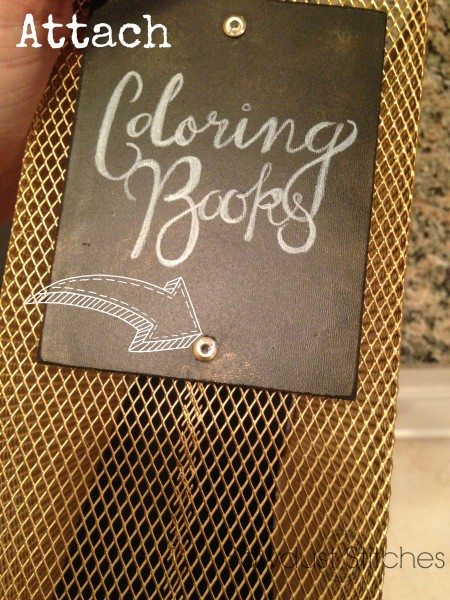
 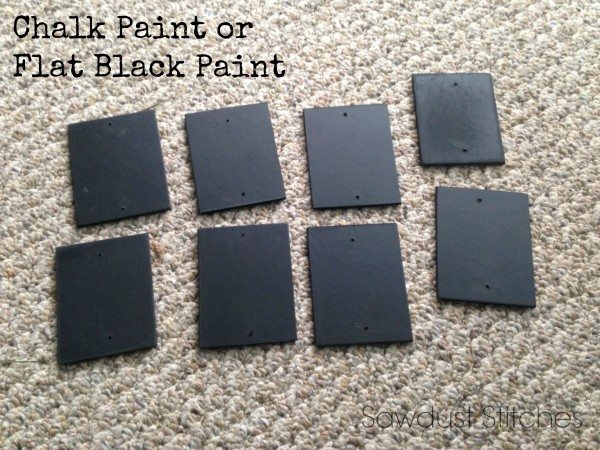 I then used a white Prisma Color pencil to write on the label. The pencil stays put pretty well, but if you want to make sure it really stays put, spritz a little bit of hairspray on them. It works as a great fixative!
  To attach the labels, I used a rivet gun. They are fairly inexpensive little tools that are pretty cool. However, if you don’t have one, and would prefer not purchase one, I would suggest using fastening brads. Remember those things we used in elementary school to make our book reports ? Yeah those are the ones!
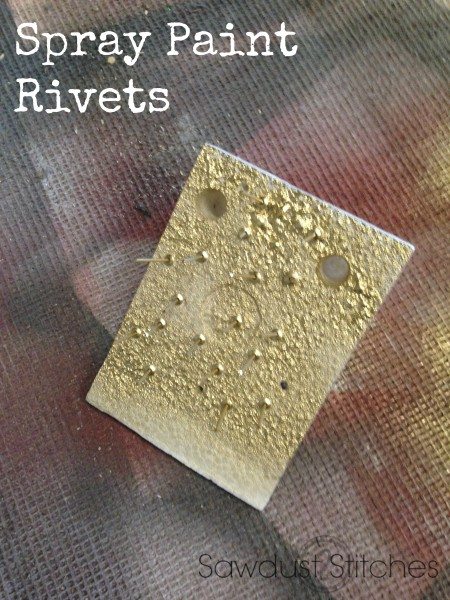
I wanted my rivets to match, so I gave them a once over with my spray paint. Once the rivets are dry, simply use your rivet gun and attach the label to the folder. If you are using a metal mesh one like below you will not need to pre-drill a hole run the rivet through. IF you are using a plastic file holder, you will simply need to drill a hole through the plastic to be able to run the rivet OR the brad fastener through.
(If you are using a brad fastener, once you run the brad through the label hole and the file holder hole, then open the wings on the brad, and then use a small amount of hot glue to ensure it doesn’t go anywhere!)
That’s about all there is to it! 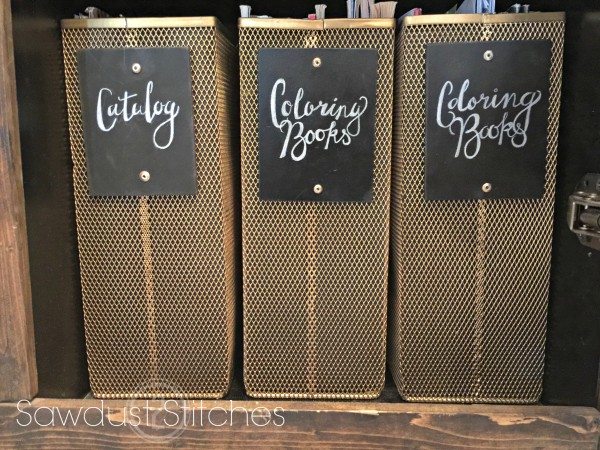
Happy organizing!
Take Luck,
Corey
 Copyright secured by Digiprove © 2015


Oh Corey, this is a stunning re-do! Thank you for the tutorial!!
I love it, this is a great upcycle. May have to copy you…Again!
Haha I am sure I can’t be the first person to ever think of it. That and imitation is the most sincere form of flattery!