This DIY Pull-Out Drawer Storage project is sponsored by Kreg Tool*
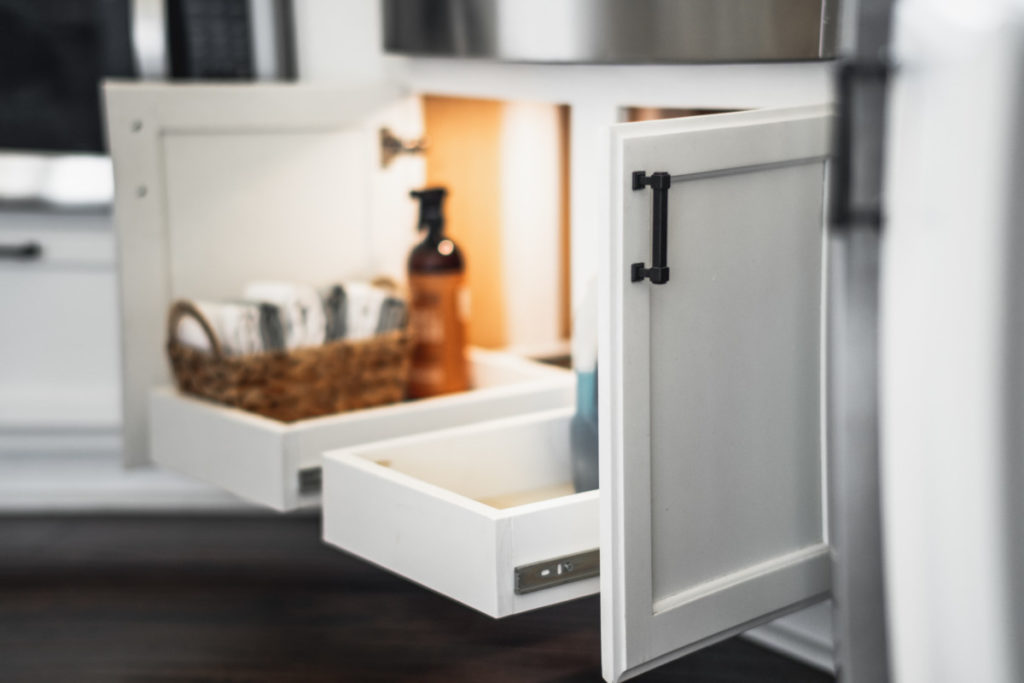
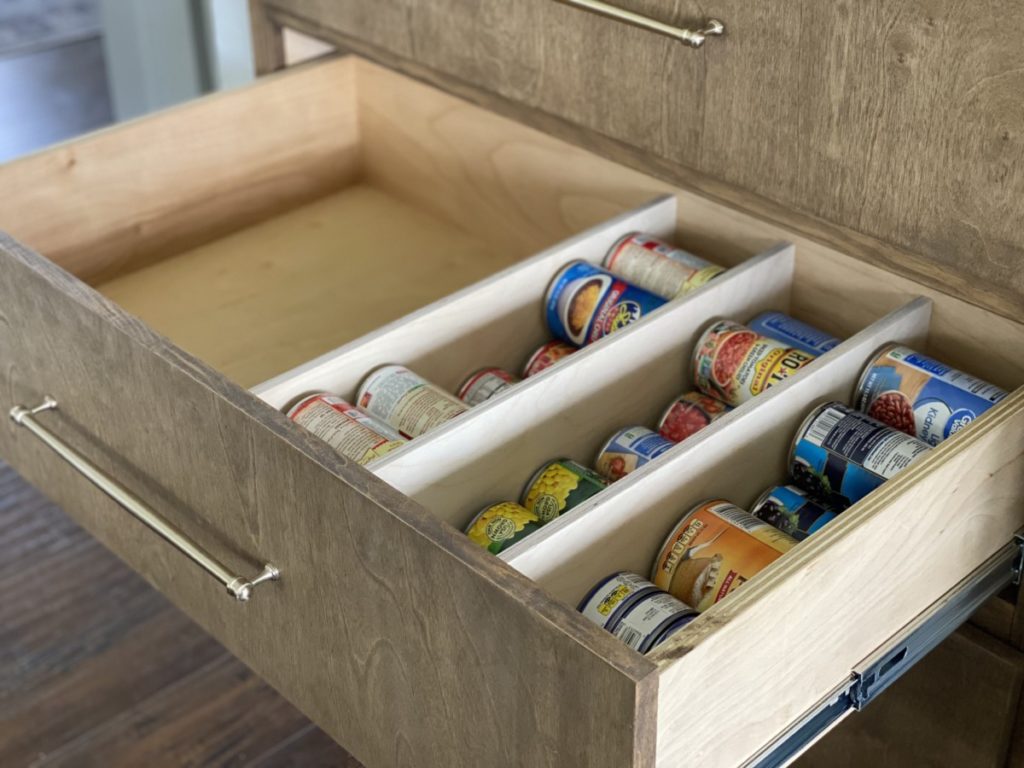
Who needs more space in their kitchen? Well if you said yes I have the perfect project for you, DIY pull-out drawer storage is a must! While a huge kitchen remodel is a dream of many, this small project. can help you maximize your already existing space.

Tools Suggested:
Materials Used:
- Kreg Jig 720 Pro
- Tape Measure
- Miter Saw
- Drill
- Table Saw/ Circular Saw w/ Kreg Rip Cut
- 1×4″ Primed Pine
- 1×2″ Primed Pine Board
- 1/2″ Plywood
- 1″ Kreg Screws
- 1 1/4″ Kreg Screws
In retrospect I should have selected a simpler cabinet to use as an example… however all the same principles apply. I just really, really wanted to organize under my sink. So do me a grand favor and ignore the plumbing and sink supports. :). That is the great thing about this method for DIY Pull Out Drawers, they can fit anywhere so long as you take proper measurements.
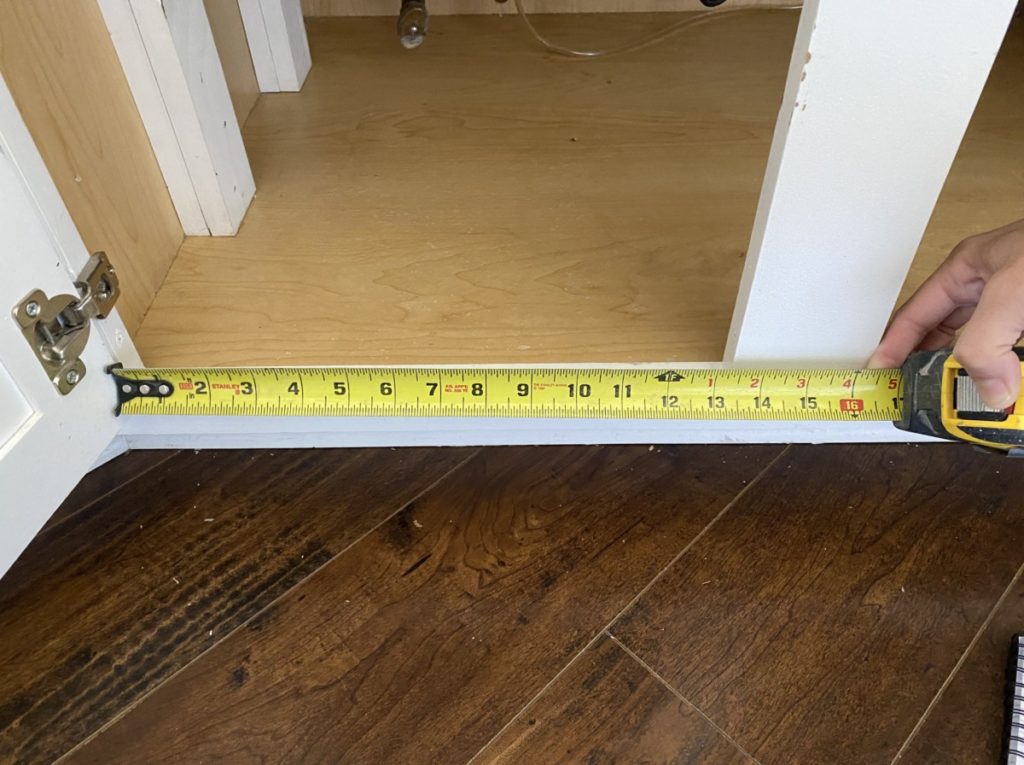
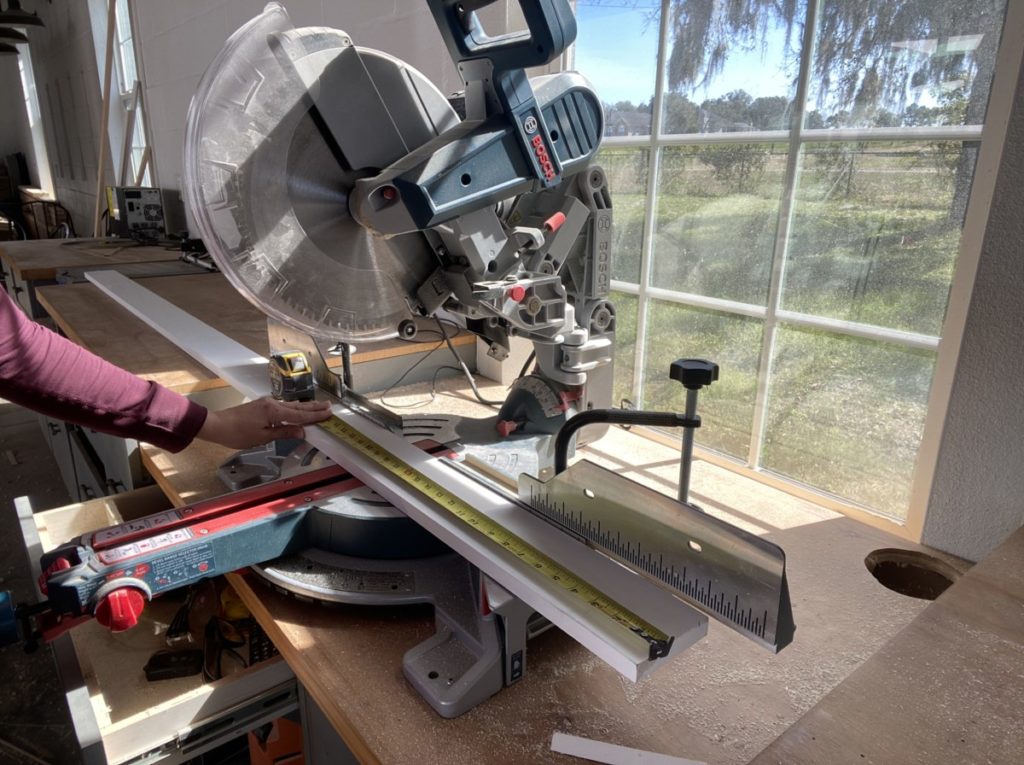
Measure Space
We will first need to take the measurements of the space for the intended drawer. To do this measure the interior dimensions of the face frame. For clarity we will use my dimensions as an example. My interior face frame dimension is 13 1/2″.
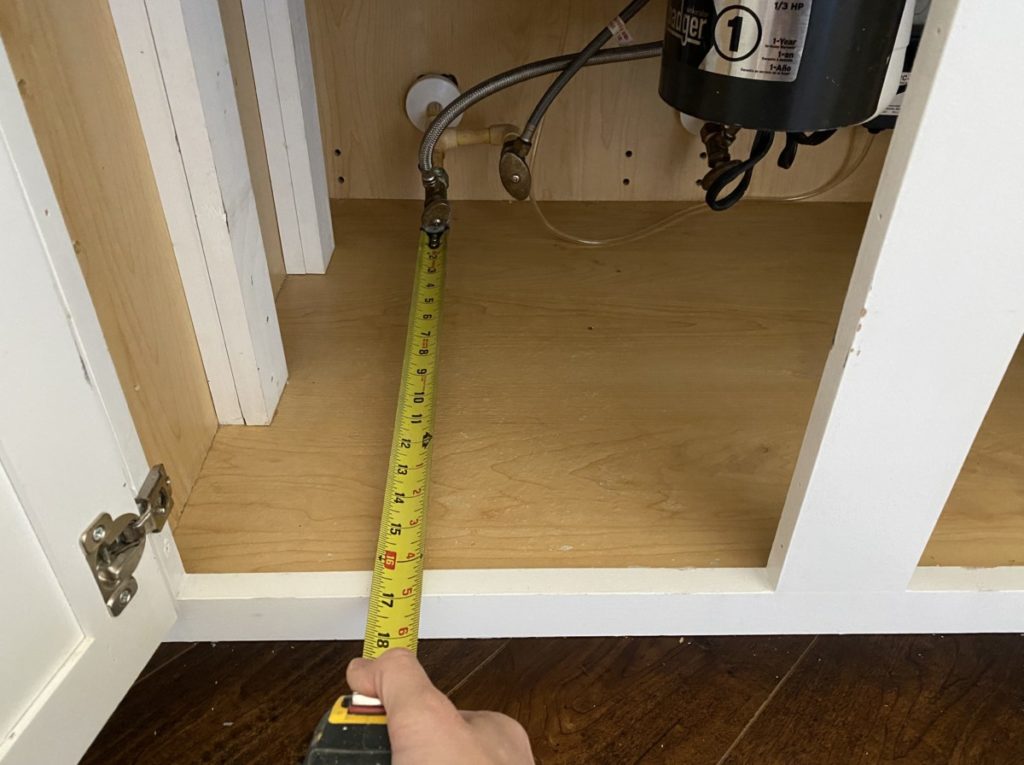
After take the width measurement, we will need to take the depth measurement. Again, I am accommodating my garbage disposal under the sink. In any other case I would maximize storage and build the drawer to nearly hit the back of the cabinet. However for the sake of this tutorial my overall shelf depth is 16″.
Build Drawer Box Support
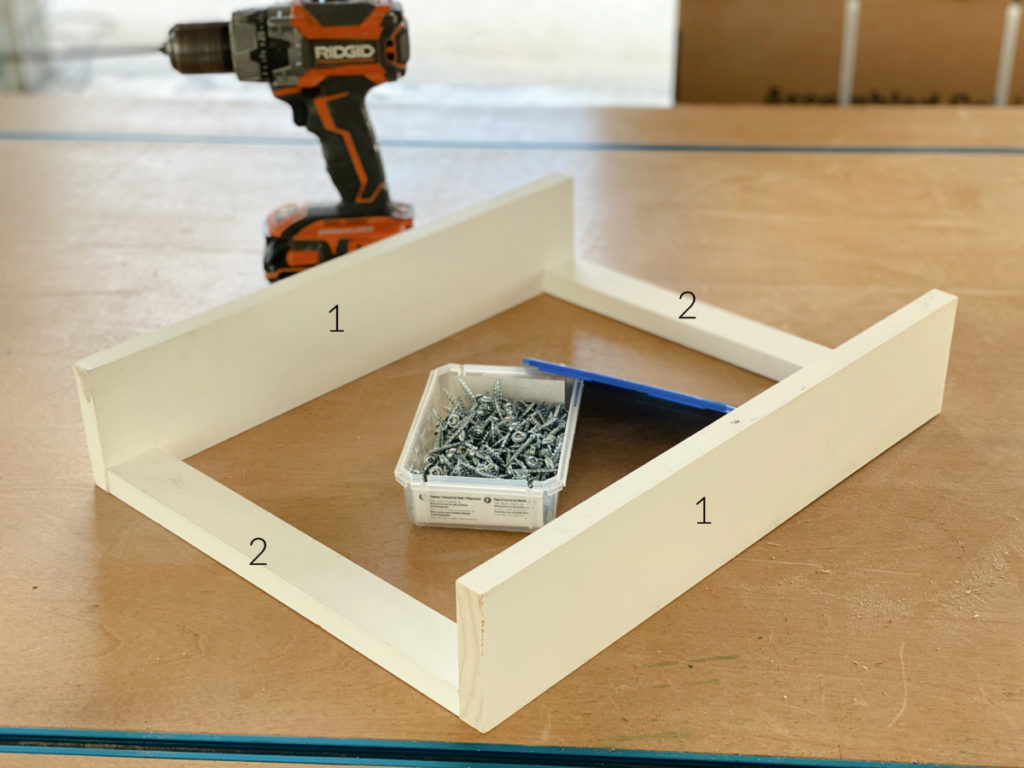
Drawer Support Sides
We will begin by building our side drawer box support according to the previously taken dimensions. To create the sides of this supports (#1 on the image above) I am cutting x2, 1×4″ boards based on my depth dimension. (Mine was 16″.)
Drawer Support Bottom
Next I need to cut the 1×2 boards that will span between my side supports. (Boards labeled #2 in Drawer Support Diagram. In order to find this dimension a little bit of basic math is necessary. Take your interior measurements and subtract 3/4″.
For example: My interior face frame dimension was 13 1/2″, I cut my 1×2″ bottom support board at 12 3/4″.
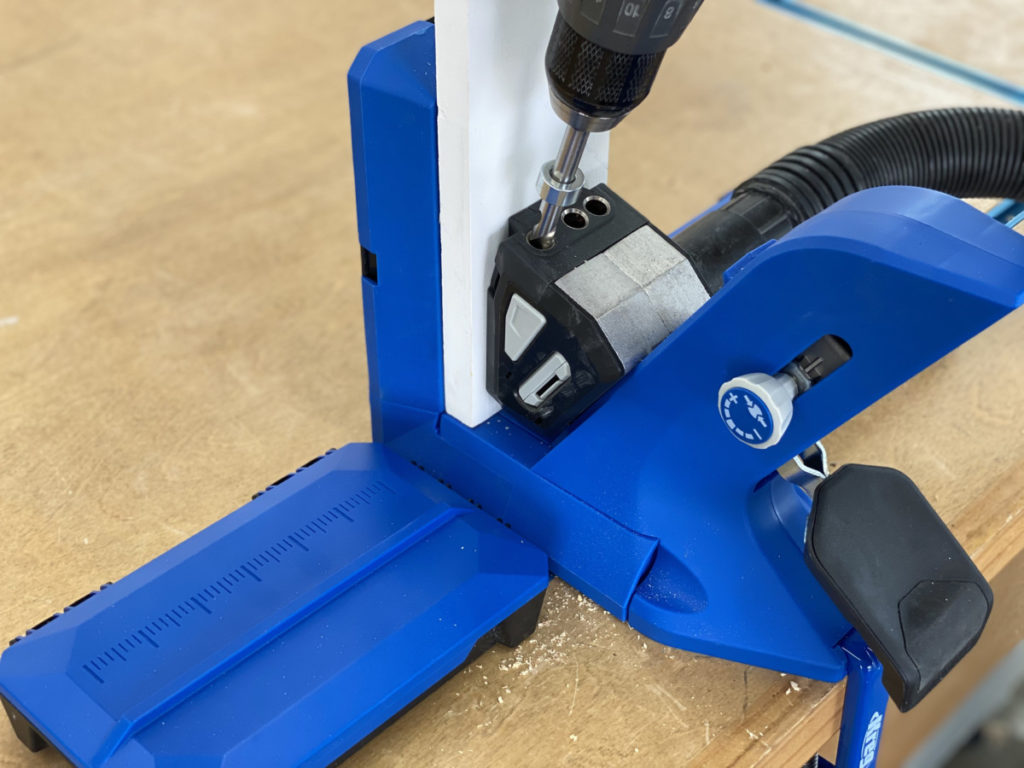
Once the bottom support is cut drill pocket holes on both short ends of BOTH bottom supports. (#2 in the Drawer Support Diagram image above.)
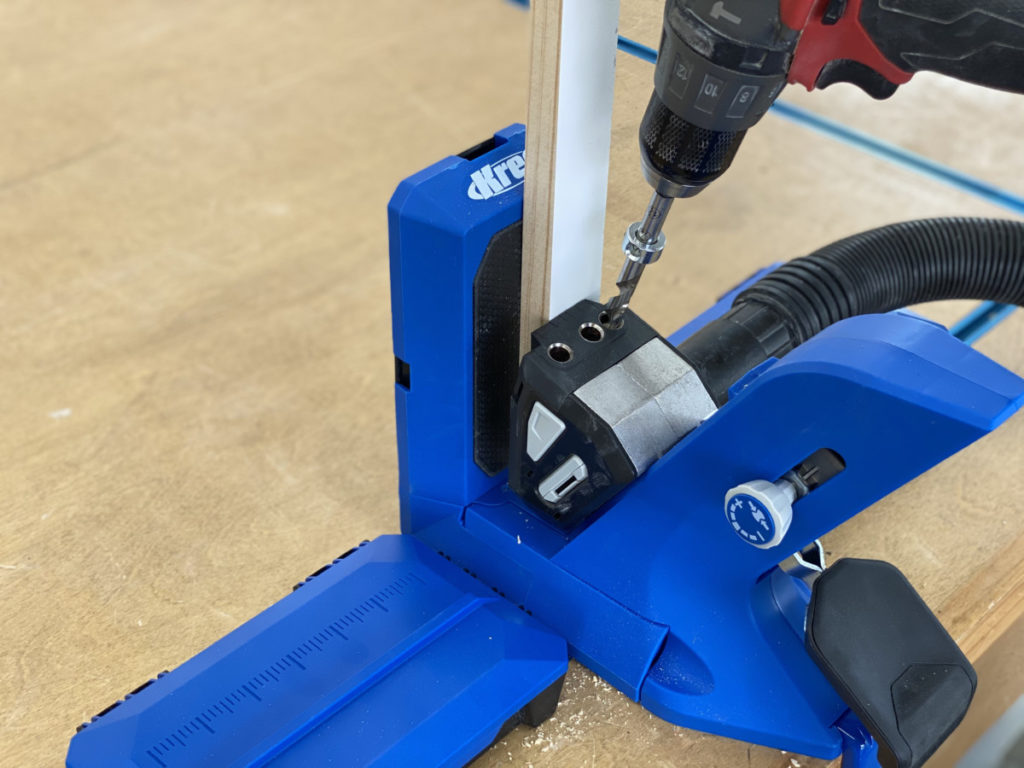
If you are new to pocket holes, then take a minute to look at the new Kreg 720 PRO. I think I have used everyone that they have rolled off the assembly line, and this one is so user friendly and intuitive! I have more details about it on my Instagram Stories, make sure you check them out here.
Once pocket holes are drilled proceed in screwing the bottom support boards to the side supports, as seen in the image below.

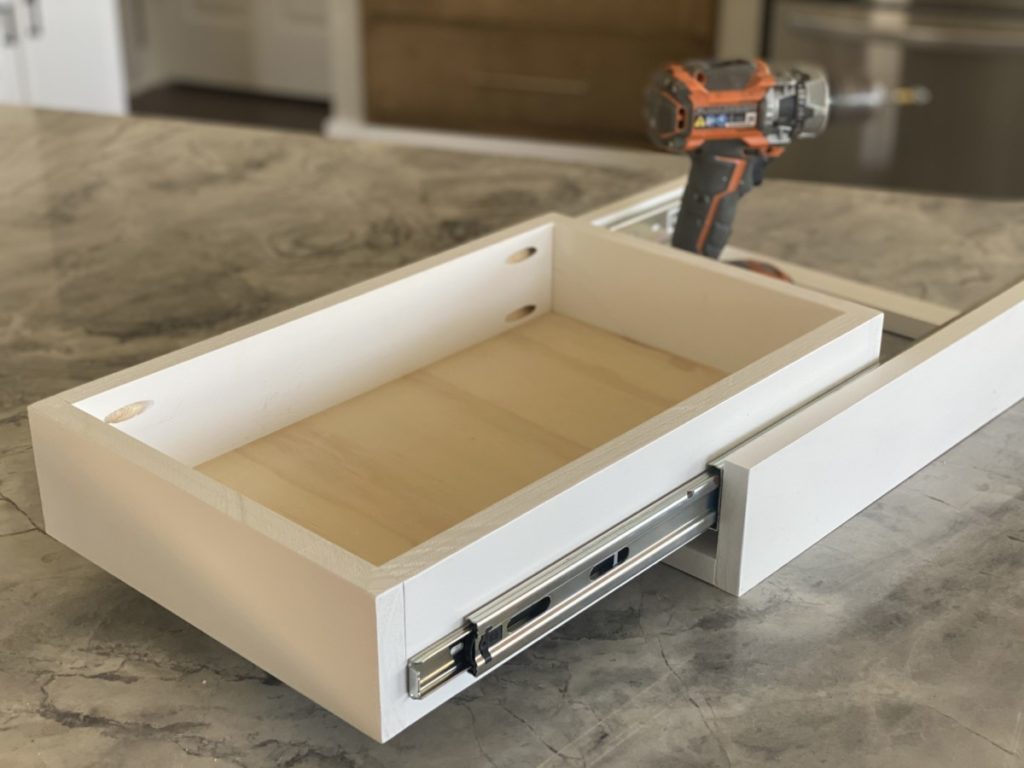
Build Drawer Box
Now that the box support is building we can proceed in making the drawer box.
Drawer Box Sides
We will begin by cutting the drawer sides. In order to calculate this measurement, take the length of the “Side Support” ( Board #1 in the Drawer Support Diagram image) and subtract 1 1/2″.
For example: My Drawer Support length is 16″ – 1 1/2″= 14 1/2″
After the drawer sides are cut to your required dimension drill pocket holes on the short ends of both 1×4″ boards.
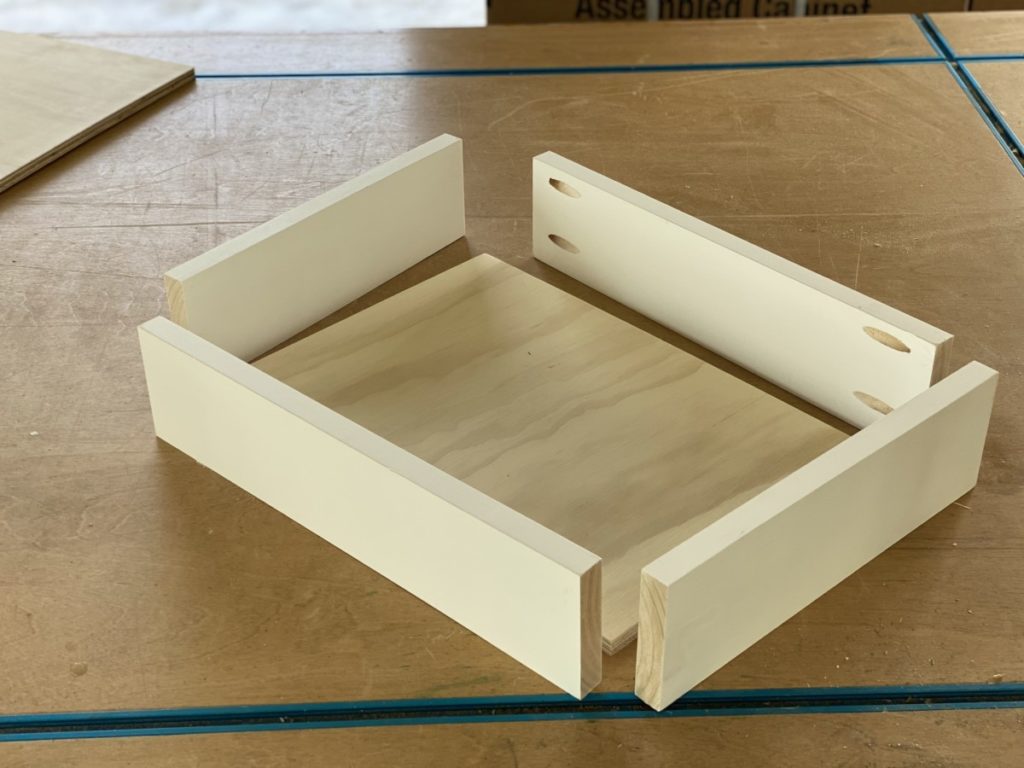
Drawer Box Front and Back

Next we will cut the front and the back of the drawer box. ( These are labeled #4 in the Drawer Box Diagram.) In order to calculate this dimension subtract 1″ from the length of your bottom drawer support. (# 2 in the Drawer Support Diagram).
For example: My bottom drawer support is 12 3/4″- 1″(allowing for side mount drawer glides) = 11 3/4″
Drawer Box Bottom Panel
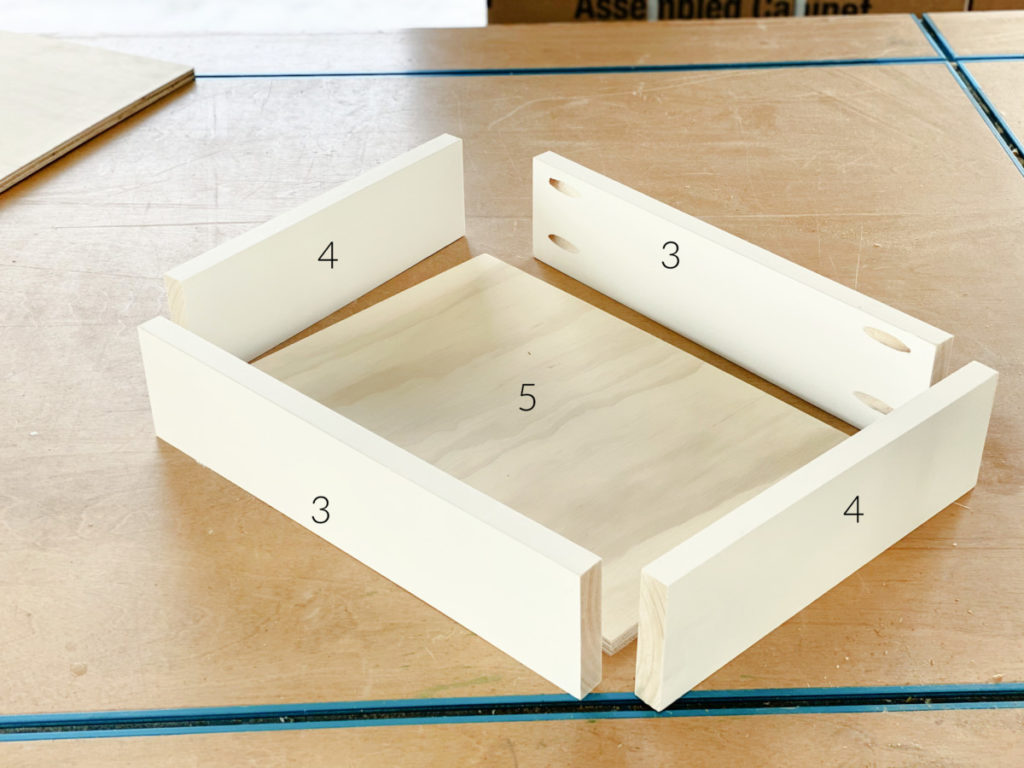
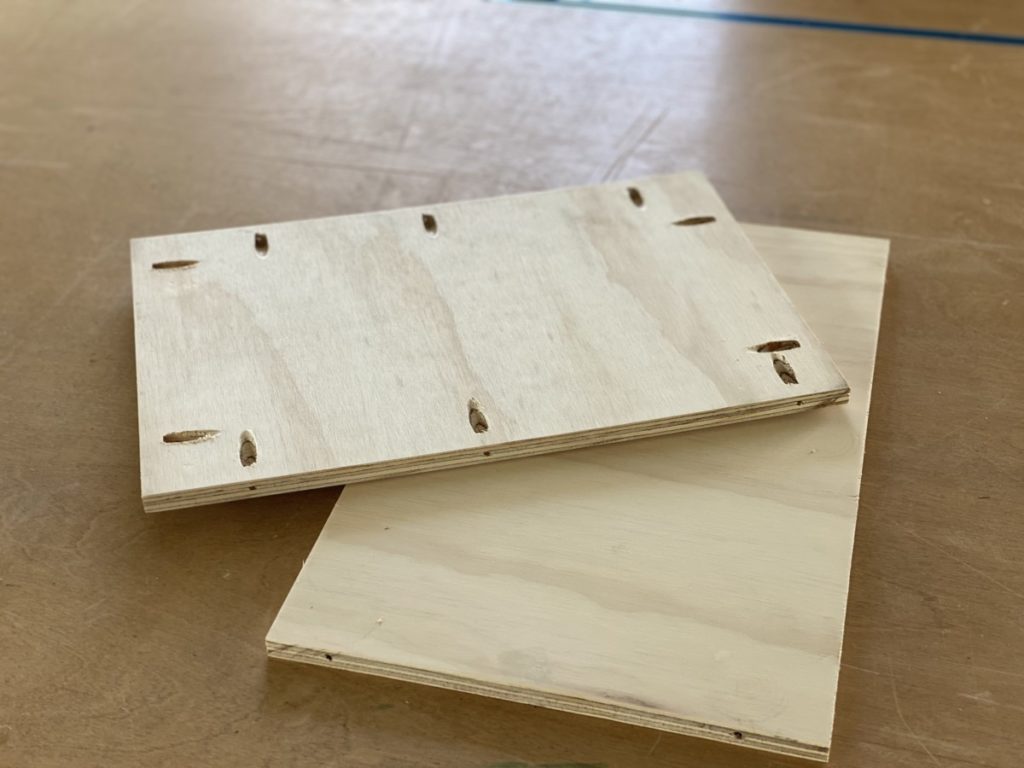
The last this we need for the drawer box is a bottom! For this tutorial I am using 1/2″ plywood. The formula for getting your necessary. plywood dimensions is simple. It is the length of the box side (#3) by the front/back of the box (#4) – 1 1/2″.

For example: My drawer box sides (#3) are 16″, and my drawer front/sides(#4) are 11 3/4″. My formula would look like this:
Length: 16″
Width: 11 3/4″- 1 1/2″= Drawer Bottom Width
For a 1/2″ piece of plywood cut 10 1/2″ x 16″.
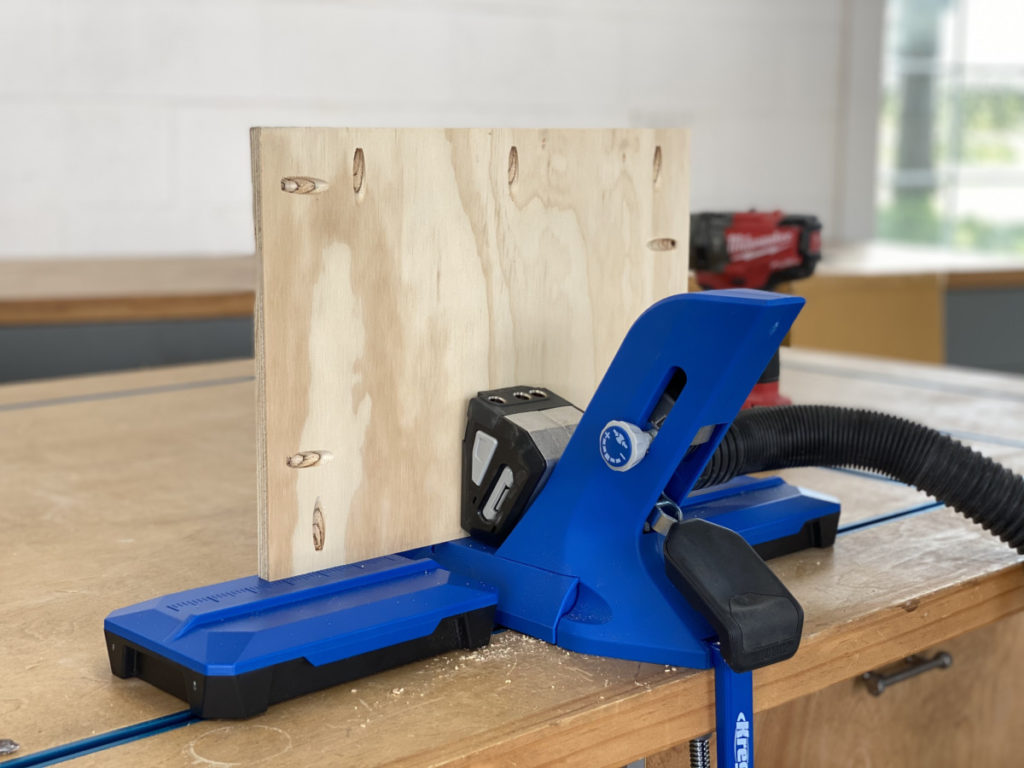
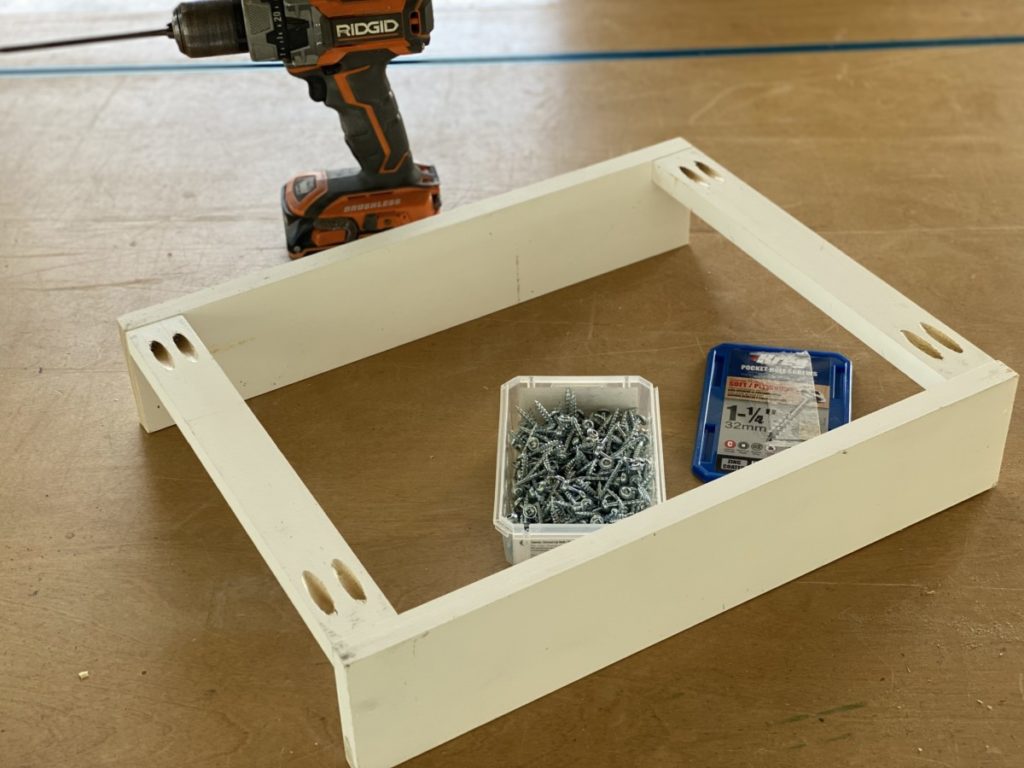
After cutting the 1/2″ plywood to required dimension drill pocket holes (on the bottom side of the board) around the perimeter using a Kreg Pocket Hole jig.
Using 1″ pocket hole screws secure the bottom panel(#5) to the drawer sides/ front/back. Then using 1 1/4″ Kreg screws secure the box sides(#3) to the box front and back boards(#4).
Install Drawer Slides
Once the box is assembled install ball-bearing side mount drawer slides. Select the length you need fro your project based on the length of your drawer box.
For example: My drawer box is 16″ long, and I selected 16″ drawer slides.
If you want to see my favorite way to install drawer glides check out my “Office 2 ” highlight in Instagram stories.
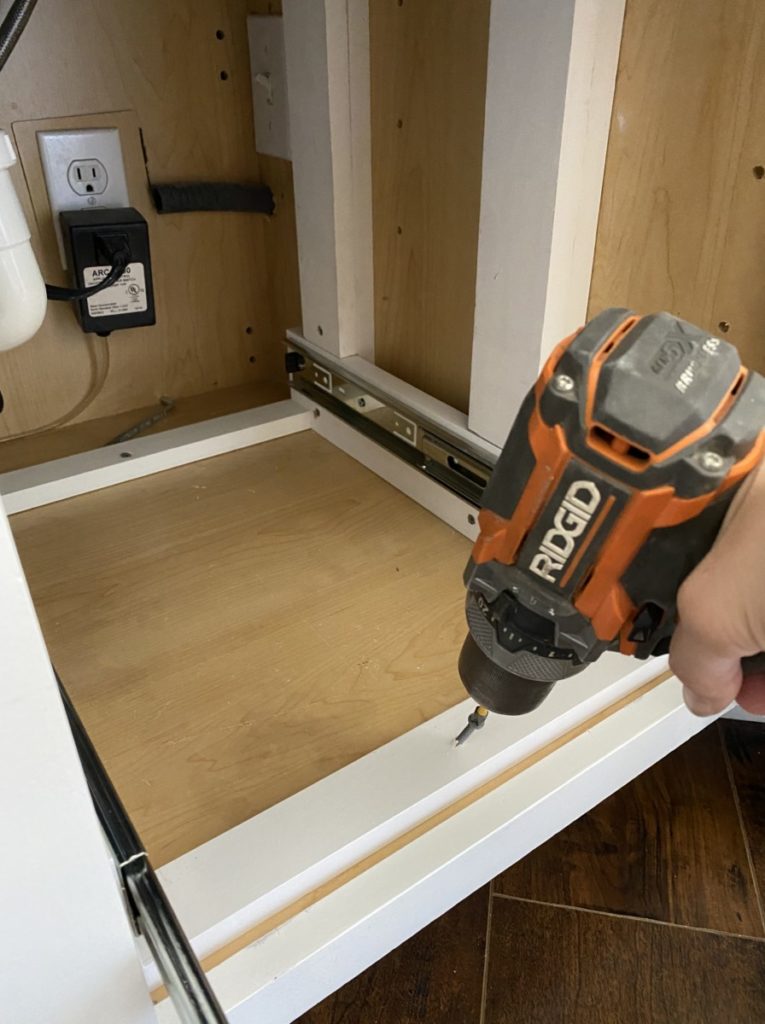
Secure Drawer Base
After the drawer slides have been properly installed, remove the drawer from the base. Position the base in desired location. If you don’t want your drawer tipping forward when you load it up it will need to be secured to the cabinet. Using a 1 1/4″ screw secure it to either the base of the cabinet or the sides of the cabinet.

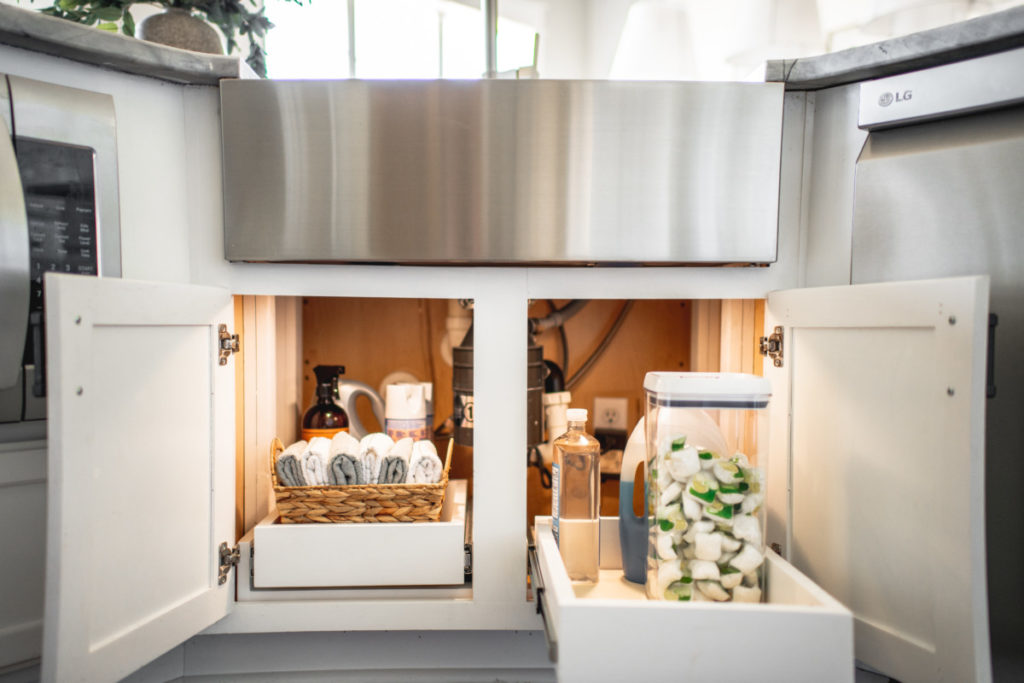
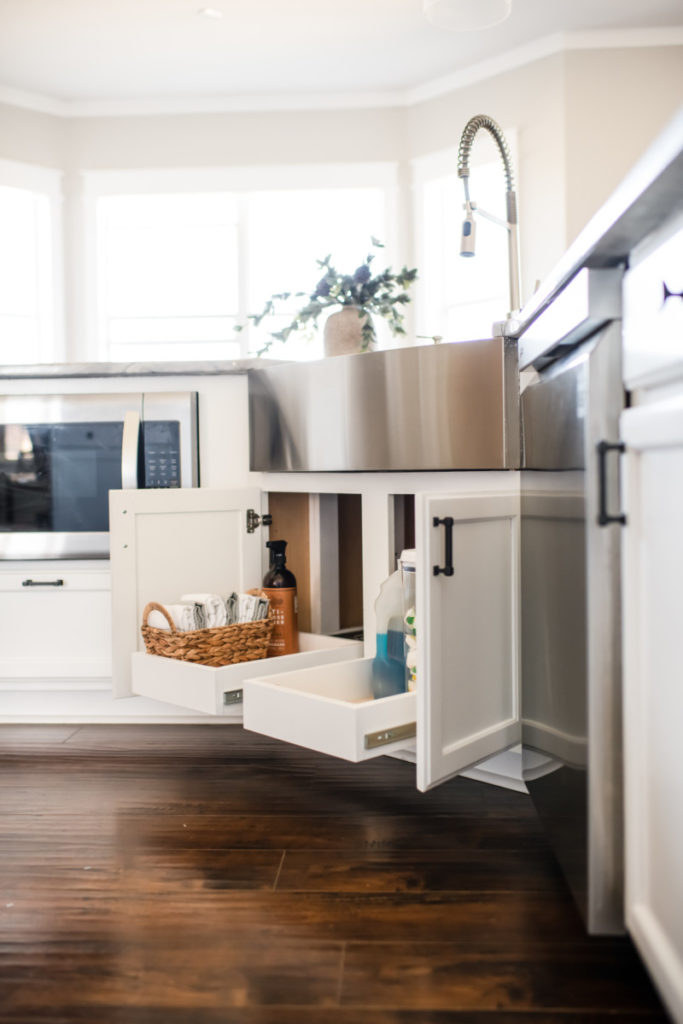
Once the drawer base is secured reinsert the drawer box and load er’ up because you are good to go! If you are looking for another easy kitchen organization project check out these 15 min. drawer dividers!


Continue your great work!! You are an inspiration
This is fantastic! Thank you so much!
Great Job. My wife really likes it. Another feather in my cap. lol