*This post is paid for in part by FROGTAPE and contains affiliate links.*
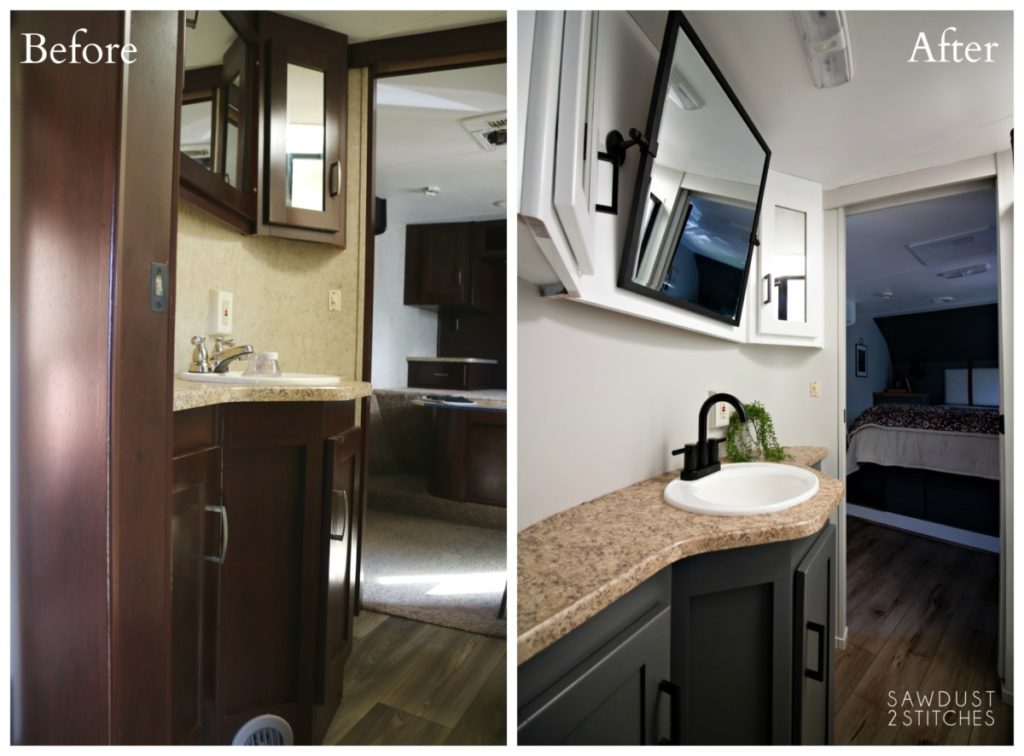
Today I get to reveal the Toy Hauler Bathroom Makeover! If you have been following along with the process you know that everything was a very dark cherry color. Not in physically bad condition, but it was very dark and claustrophobic feeling, AND I’m a sucker for a project. 🙂
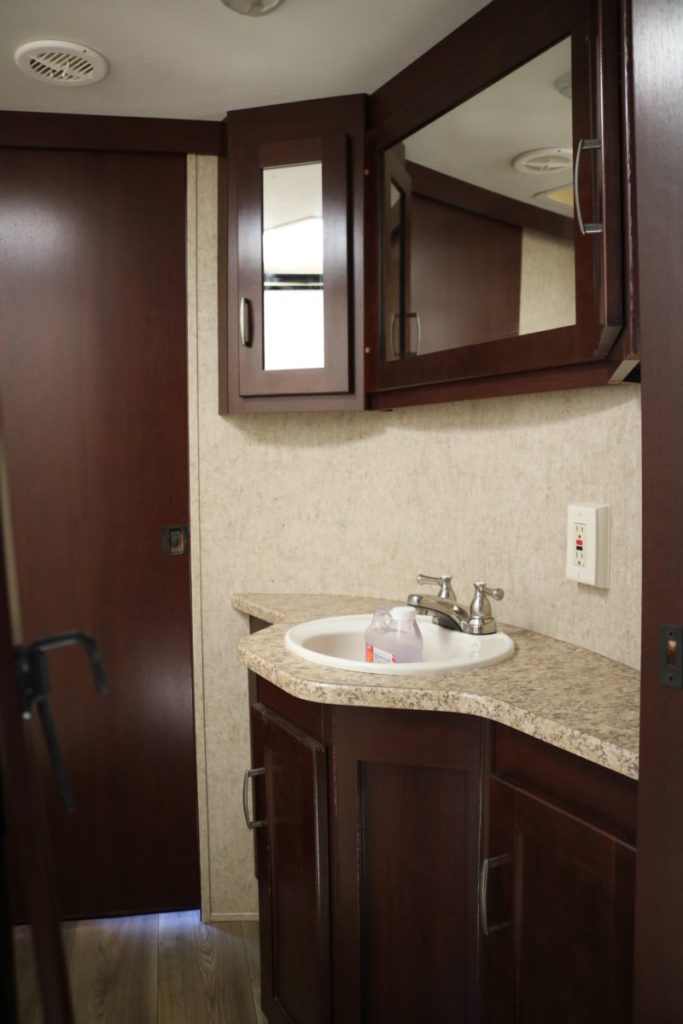
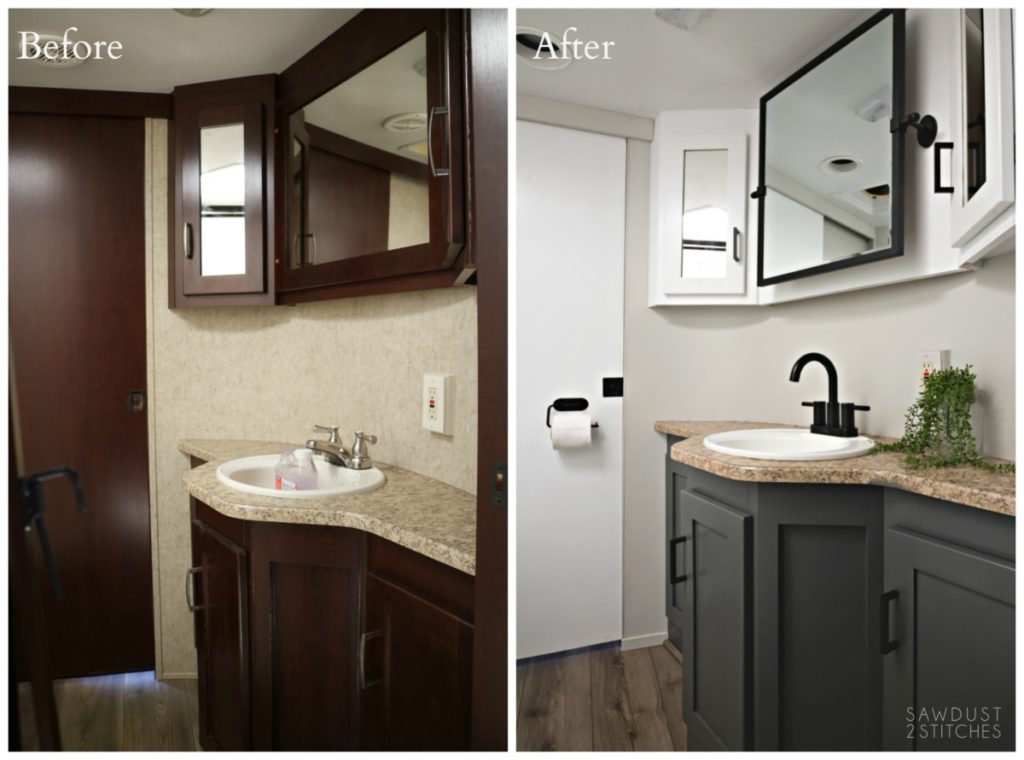
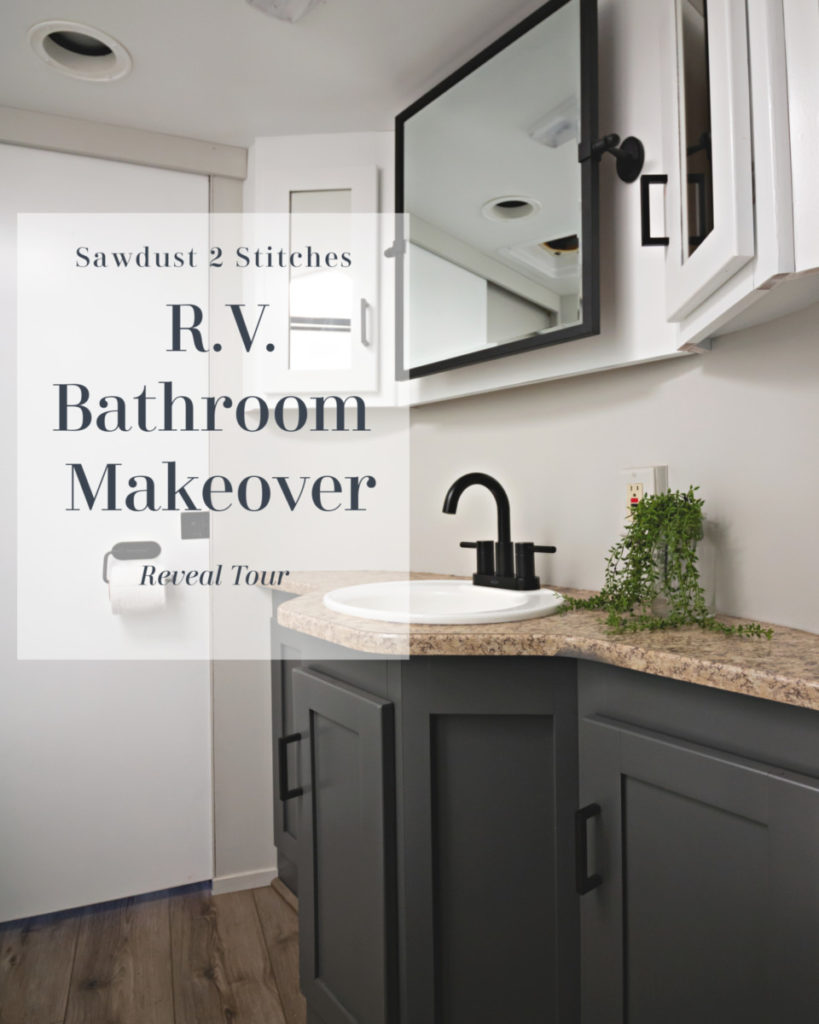
While about 90% of this makeover is simple paint updates, I did add a few additions that transform this space! For instance the mirror. It was a very basic standard mirror. Nothing wrong with it, but I wanted something …something different.
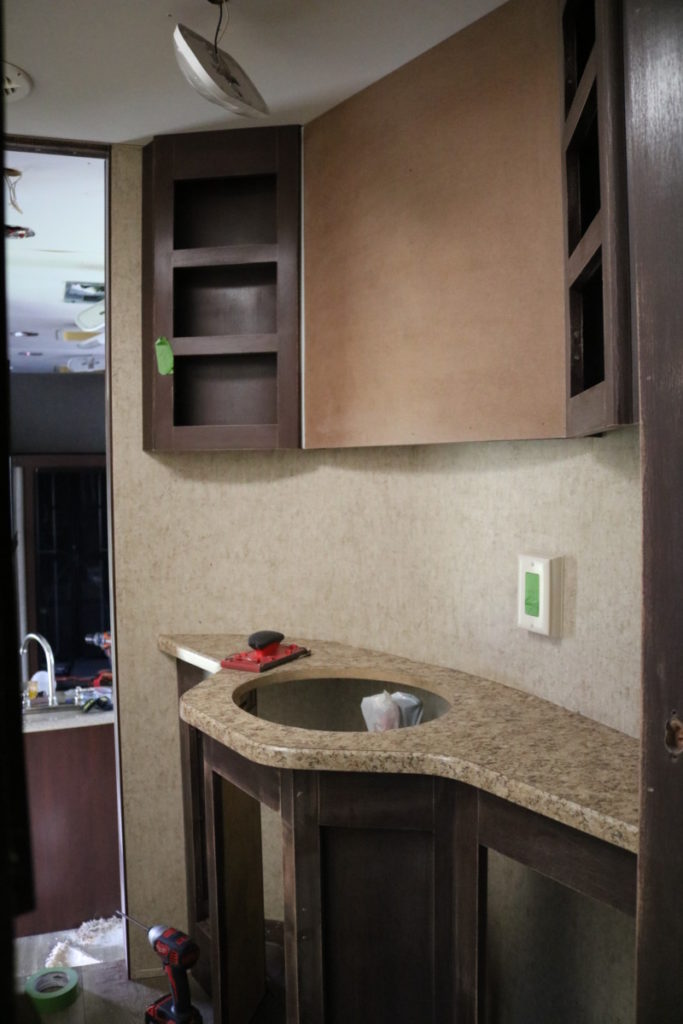
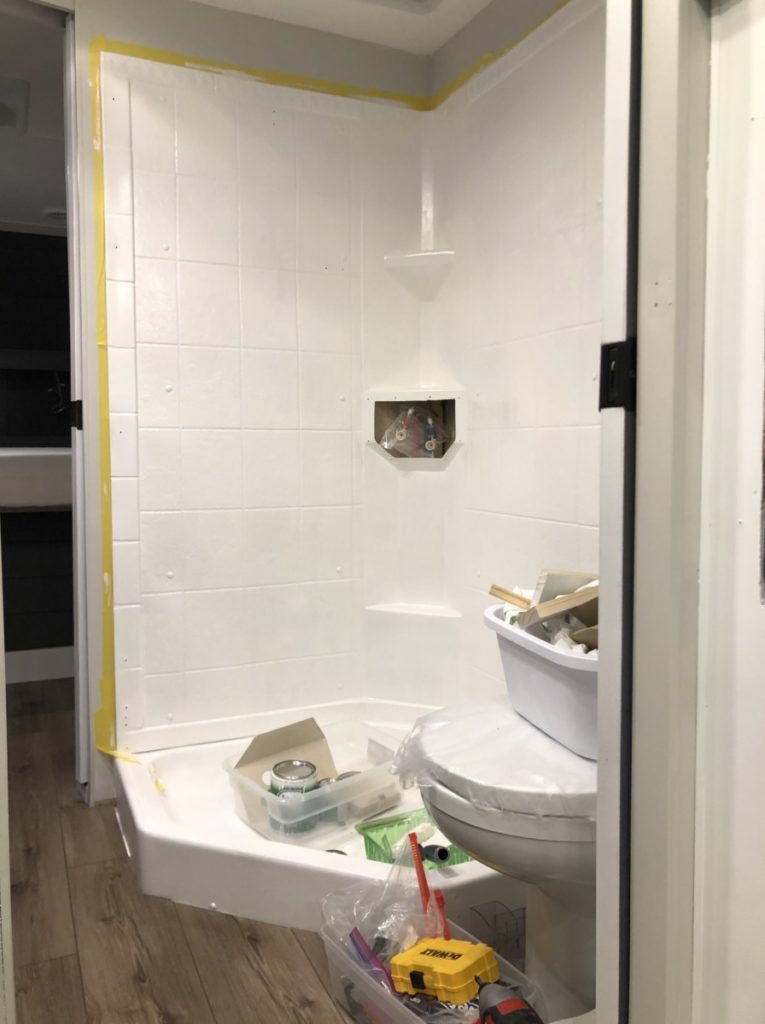
I removed the existing mirror, and covered up the existing space with a clean slate of MDF… but before I could start adding any new fixtures I needed to paint.
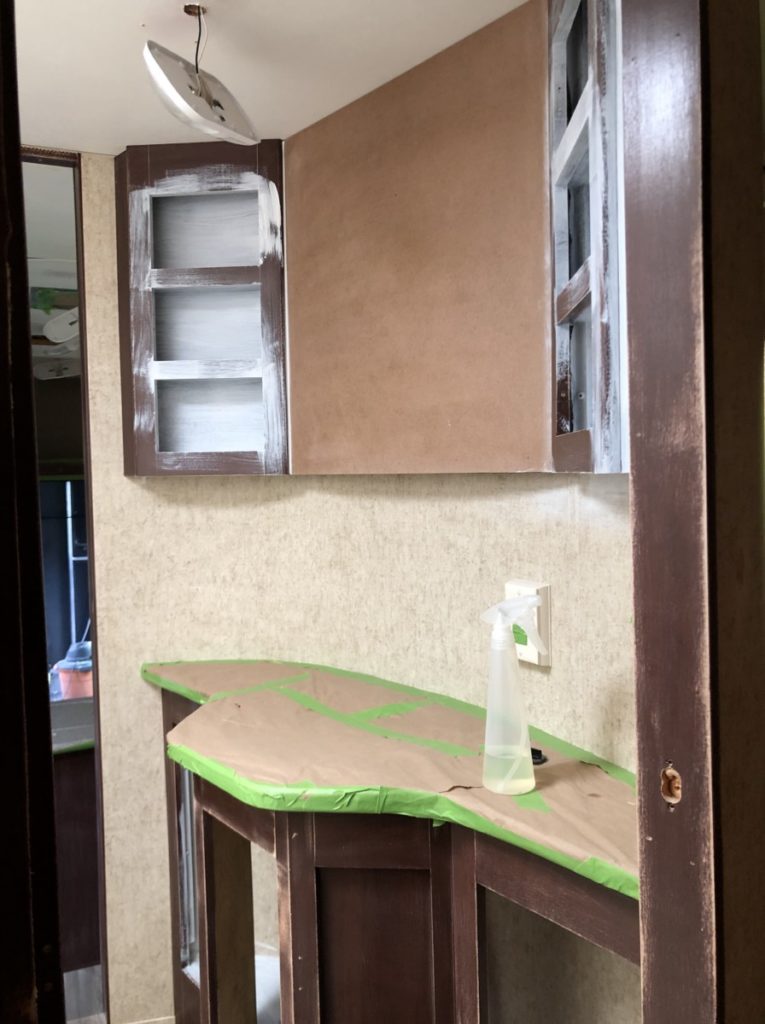
Before I even picked up a paint brush I removed everything that would not get painted! If it could not be removed it was taped off to protect it. I ALWAYS use Frog Tape when working on projects. I don’t want to put in all that hard work to only have it turn out mediocre! No thank you.
(If you would like to read more about my painting process you can read all about it here.)
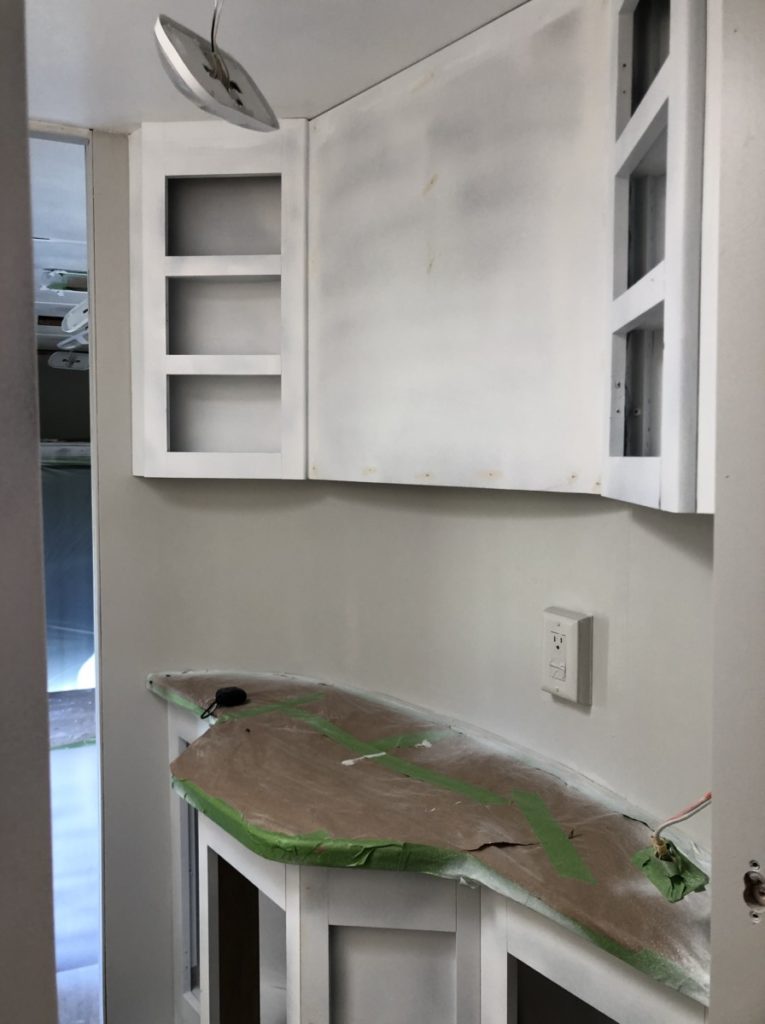
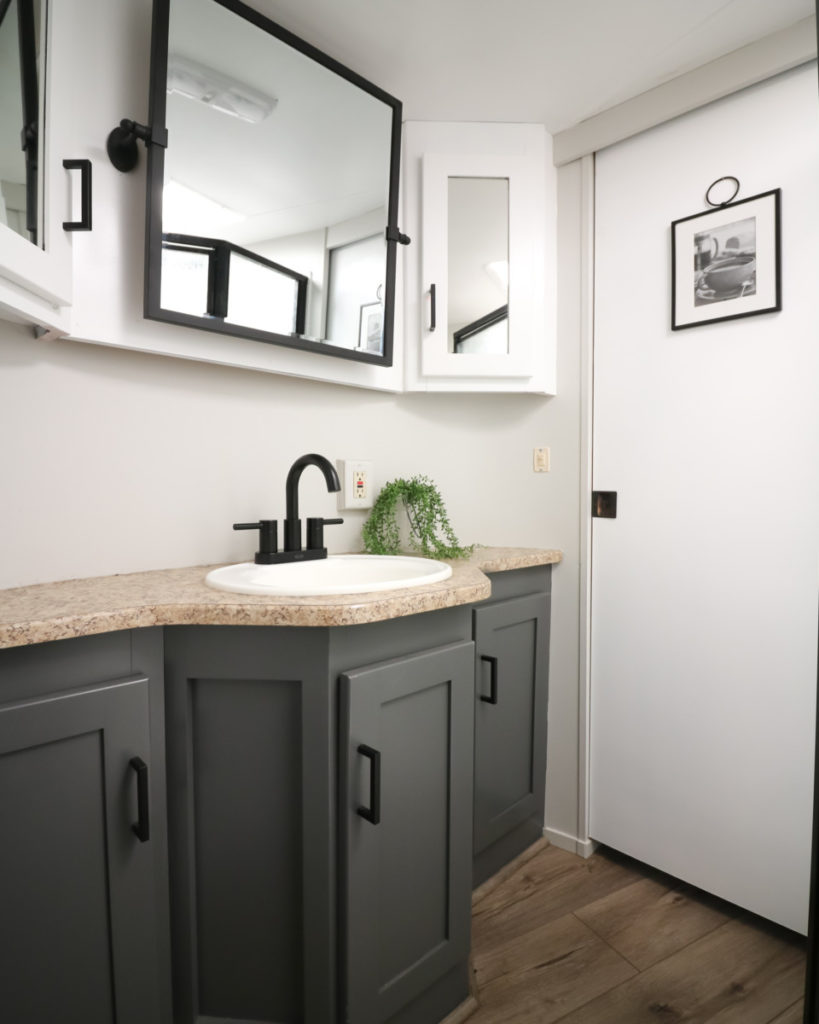
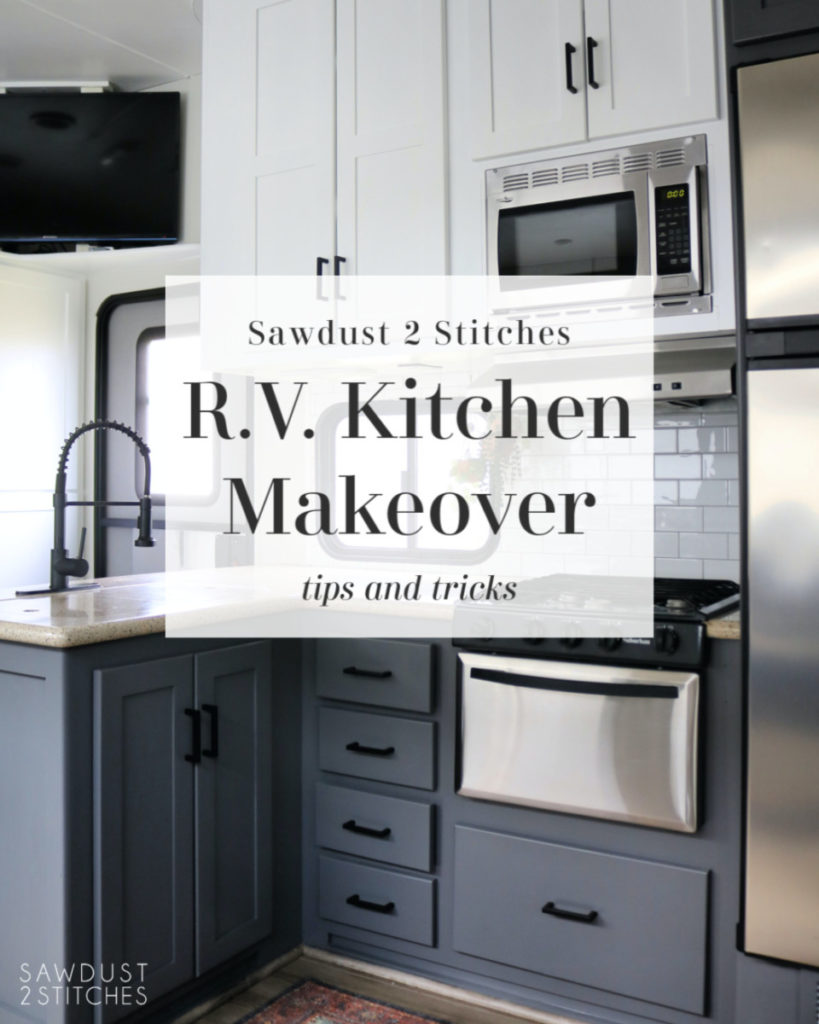
All of the walls were painted “Repose Gray” (lightened 50%) by Sherwin Williams. The upper cabinets are “Ultra Pure White” by Behr , and the lower cabinets are “Peppercorn” by Sherwin Williams.
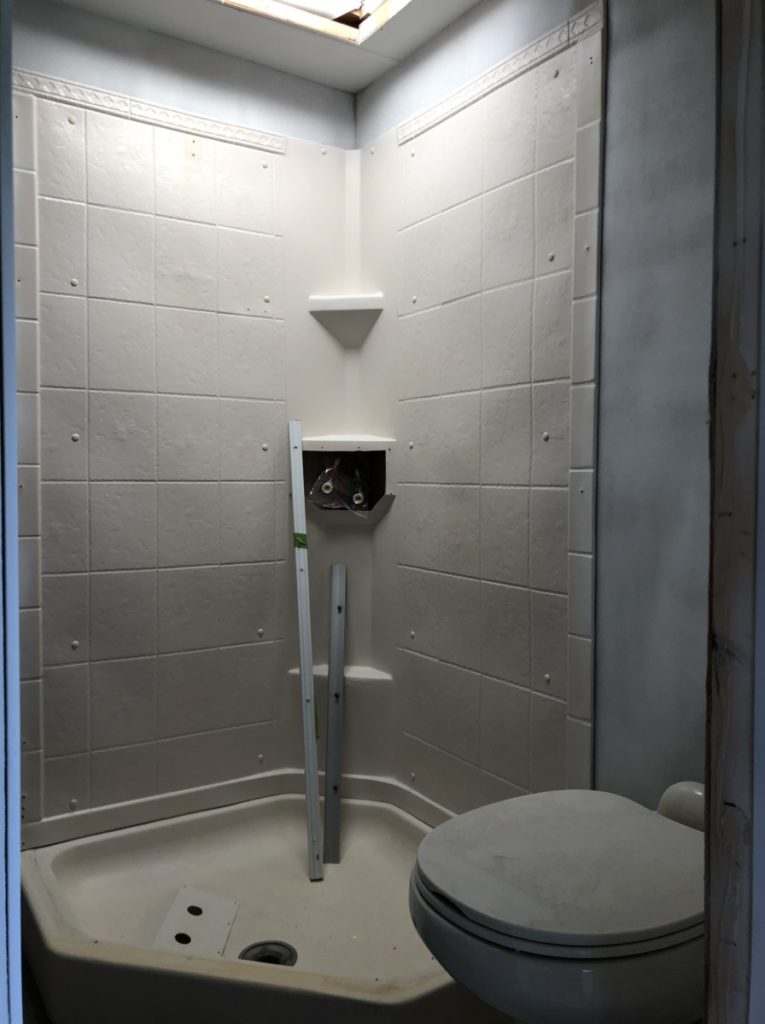
I was finished painting all the walls, cabinets, and doors, but I didn’t stop there! The shower and the sink were looking pretty yellow in comparison to the fresh white paint. So what is a girl to do? Paint it naturally.
I used Rust-Oleum’s Tub & Tile to bring this shower and the bathroom sink back to life! If you recall I actually used this on our first R.V. makeover and it worked like a charm.
It goes on fairly easily, and from my experience has held up great! (If you want to see more details check out my Instagram Story Highlights.)
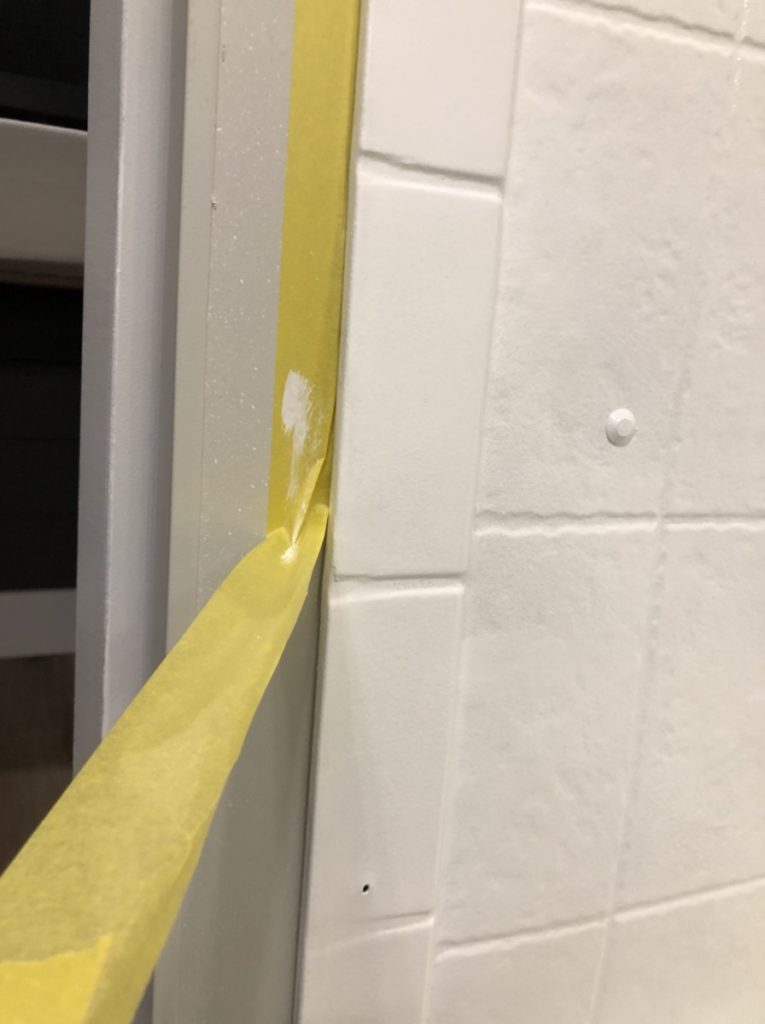
A word to the wise, if you are working on an expedited project and you want to move on to the next layer of paint sooner rather than later, then make sure you try Frog Tape’s “Yellow” tape. It is made for delicate surfaces like newly painted walls. 🙂
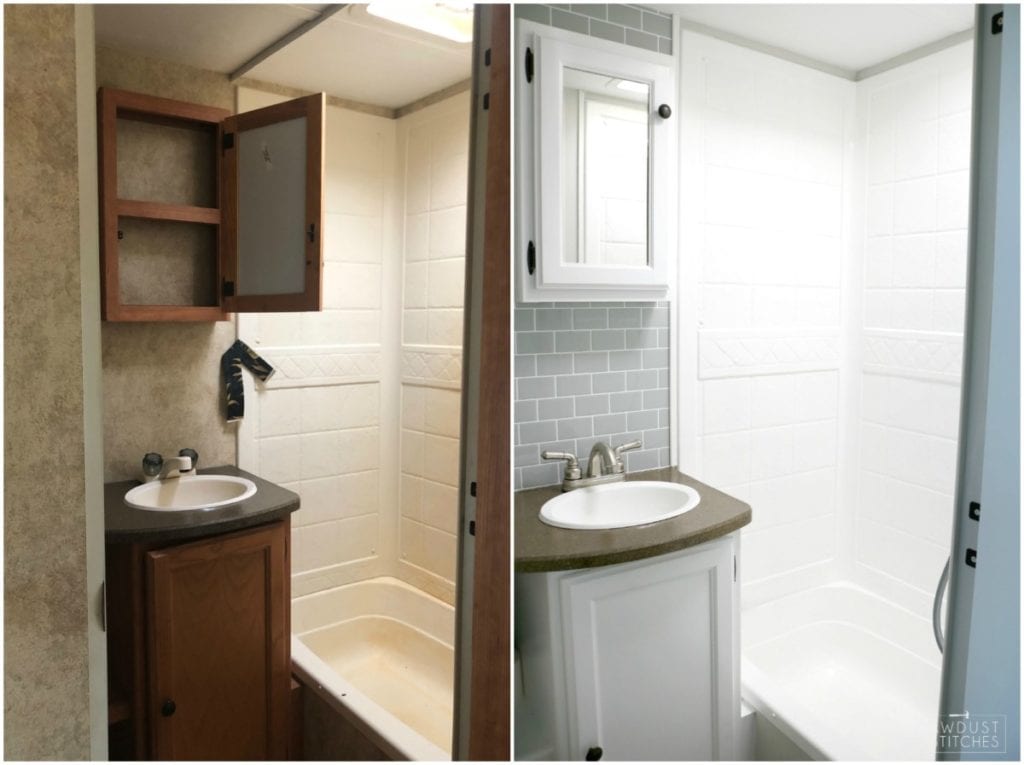
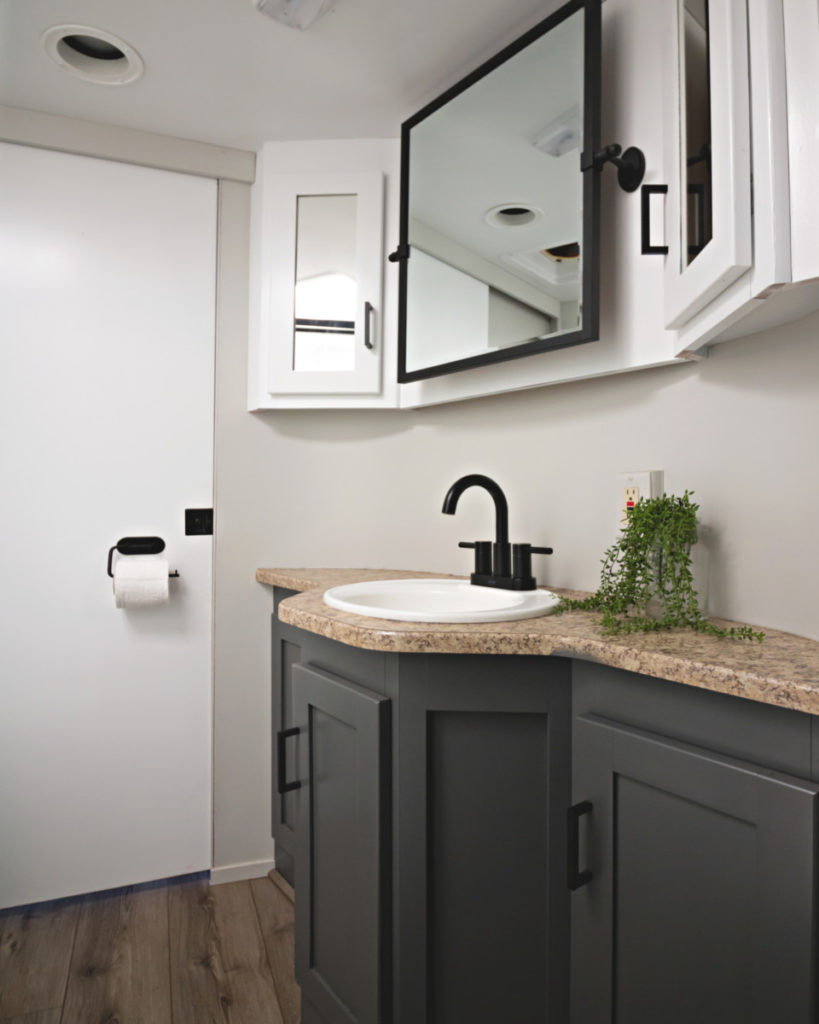
Once EVERYTHING, and I do mean everything was painted I started to install some new pieces, like this mirror… ( They sold out of this exact one, but here is a link for something very similar.) I re-installed the freshly painted sink, added a new updated faucet and added door pulls to add some pizzaz, but that is about it!
Isn’t it amazing what a paint and a some elbow grease can do! ?
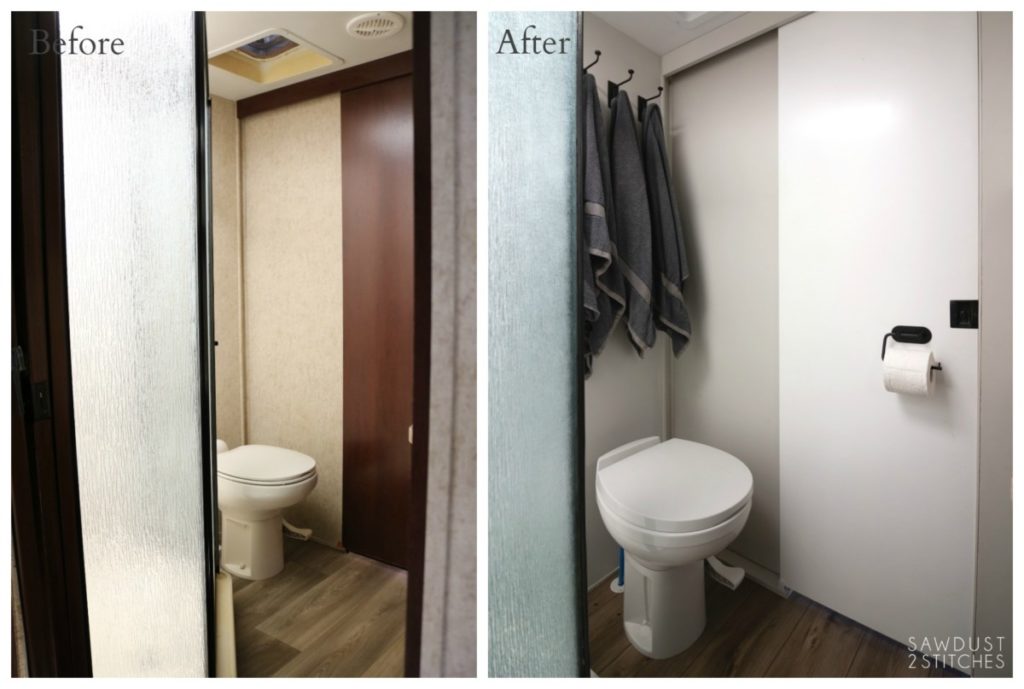
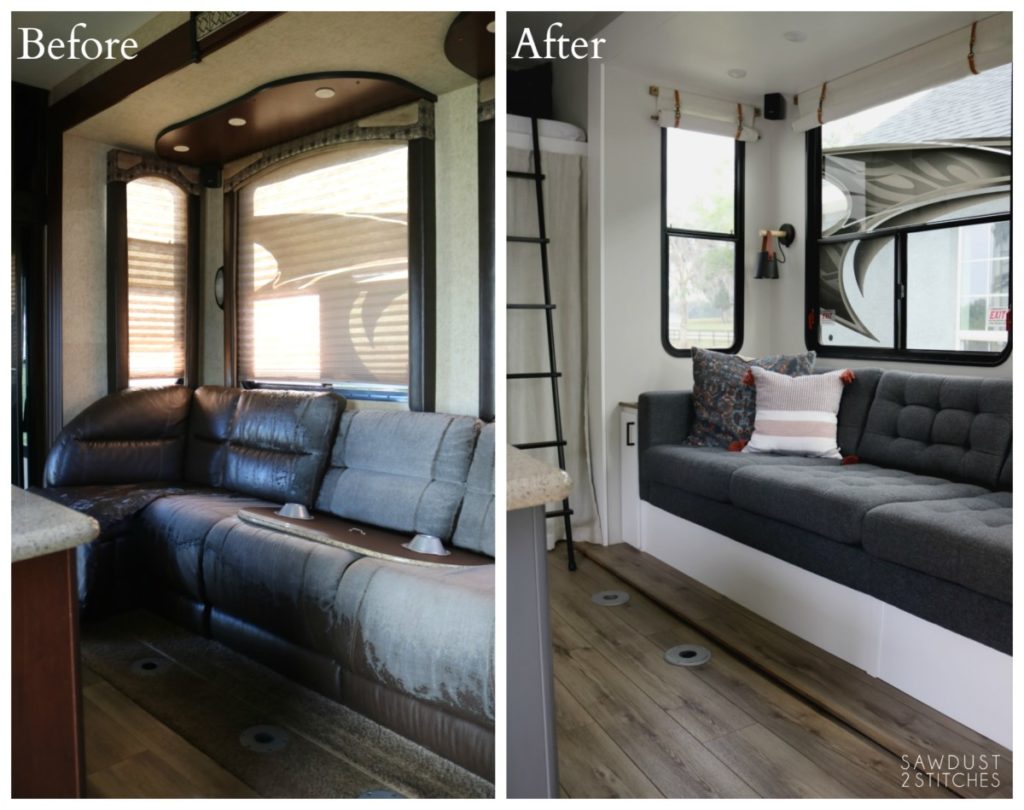
Just look at this before and after ?!
While the paint was absolutely necessary to achieve this update, I honestly think the mirror steals the show! (In case you are wondering, we have taken the R.V. out several times and have had ZERO issues having a pivot mirror. 🙂
Alright one more “before and after”. While it might not be the show stopper, we did replace the toilet, and by “we” I mean my husband. I can do some plumbing, but the reason we replaced the toilet is because it made me gag. What can I say, I am a wimp when it comes to handling a previously owned toilet. 🙂 The new toilet, fresh paint, towel hooks, and a toilet paper holder was a vast improvement for this space.
Well folks, that about wraps this project up! I am happy to report, that in the process of the makeover we have taken our family on several small outings and I can easily say the Toy Hauler is the BEST investment we could have made in our family. 🙂 It is our thing. Our escape from the world, it’s time we get with just our family uninterrupted and we LOVE it!
Source List
- Sink Faucet – Amazon
- Picture Frame- Target
- Towel Hooks- Hobby Lobby
- Vanity Mirror – Amazon
- Toilet Paper Holder– Amazon (Currently sold out of the black)
- Lower Cabinet Paint Color- Sherwin Williams “Peppercorn”
- Wall Color- Sherwin Williams “Repose Gray” (Lightened 50% percent)
- Sink and Shower Paint Kit– Amazon
Thanks so much for joining me on this makeover process. In case you missed it you can see all the other spaces in the links below!


I’d love to know how you were able to secure the hooks. Our Cougar trailer walls seem to be made pretty thin. Any advice would be much appreciated!!!