This post does contain affiliate links and is paid for in part by DAP and Frogtape partners.
I feel like it was only yesterday that I said that I never, ever, ever wanted to makeover over another camper ever again. EVER.

It was almost a year ago that I completed our first camper makeover and yet here I am, working on another. Truth be told, we LOVED our first camper and I may have cried when we sold it. However, after having our first camper for a year we realized we may have rushed into the first one and we really wanted a few other features.

You see, we are a motorsport loving family and we really wanted to combine our two loves of camping and four-wheeling. So we sold our first camper and invested in a toy hauler.
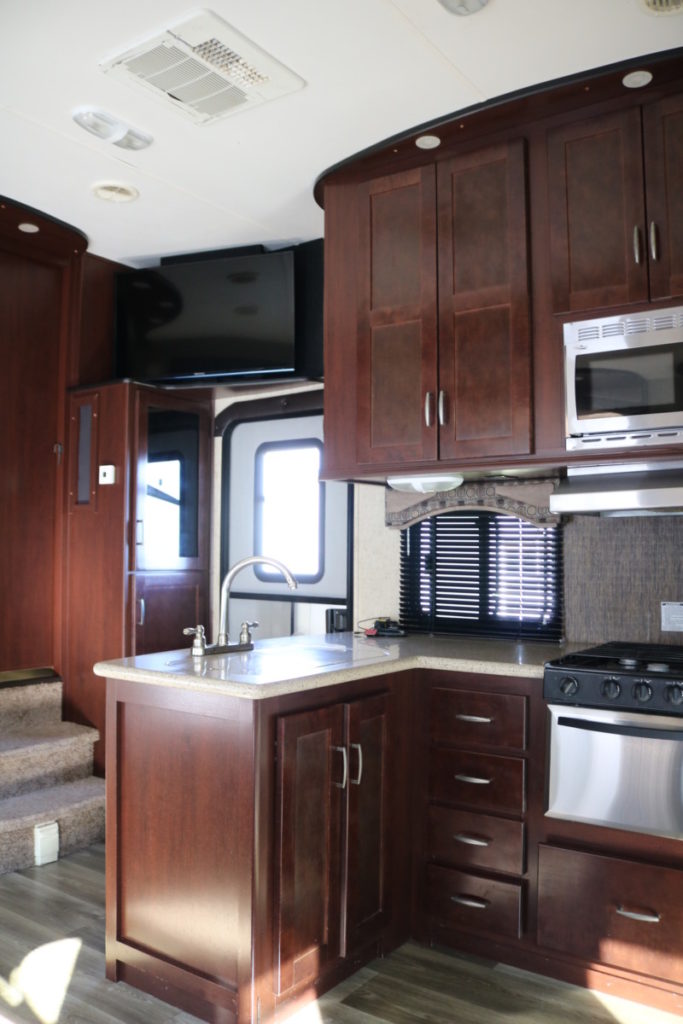
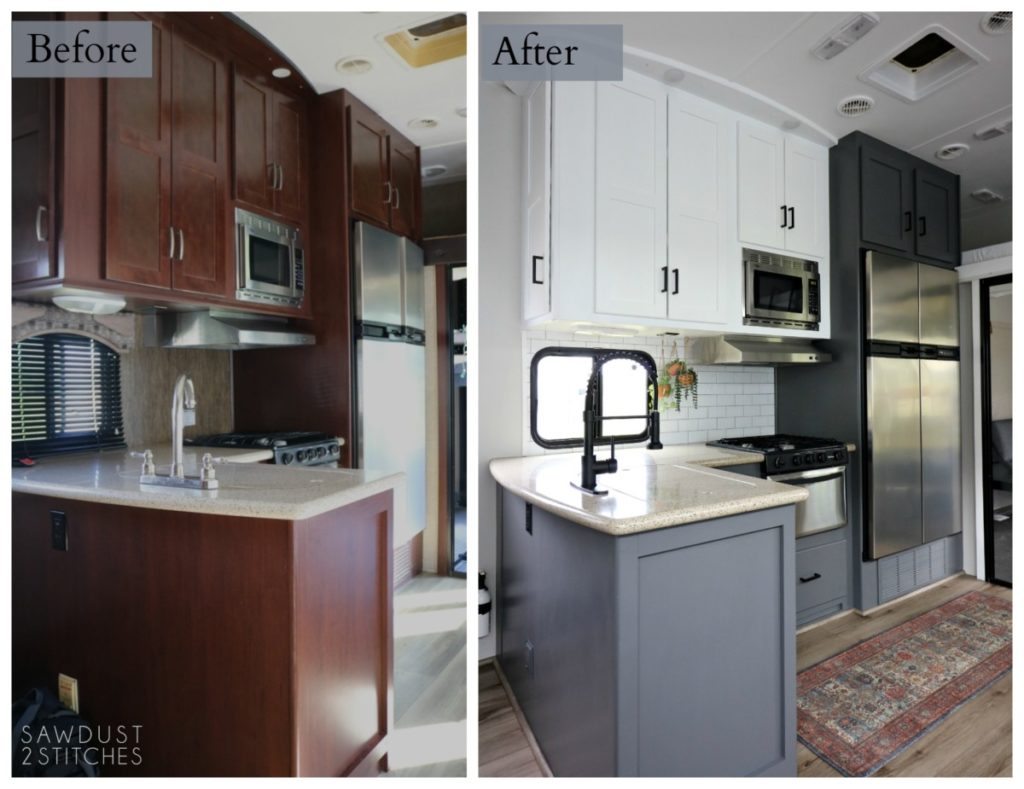
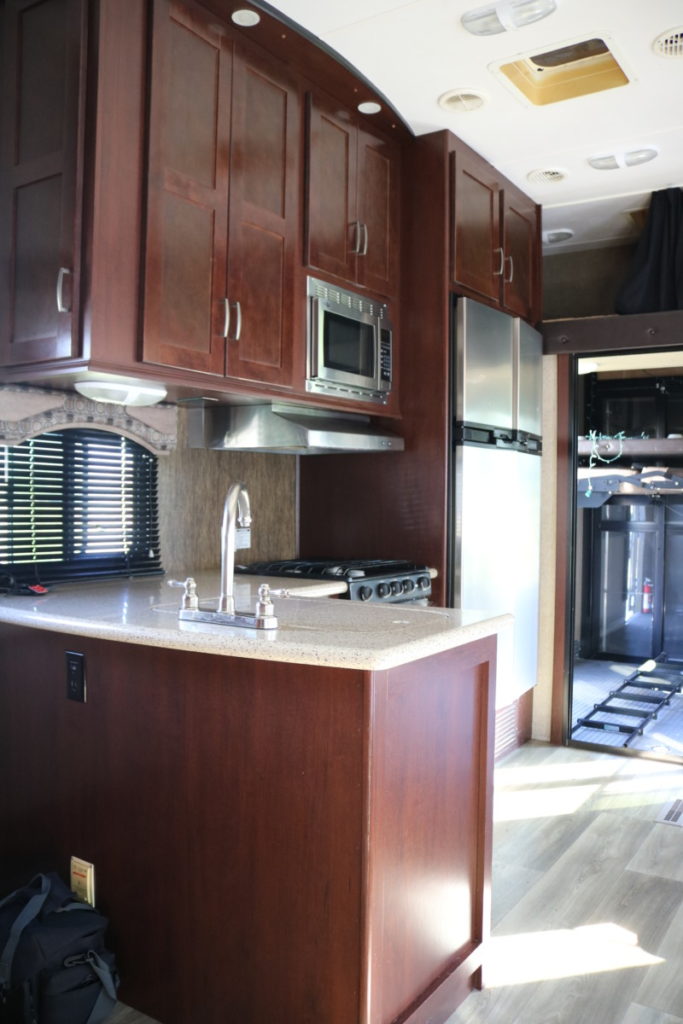
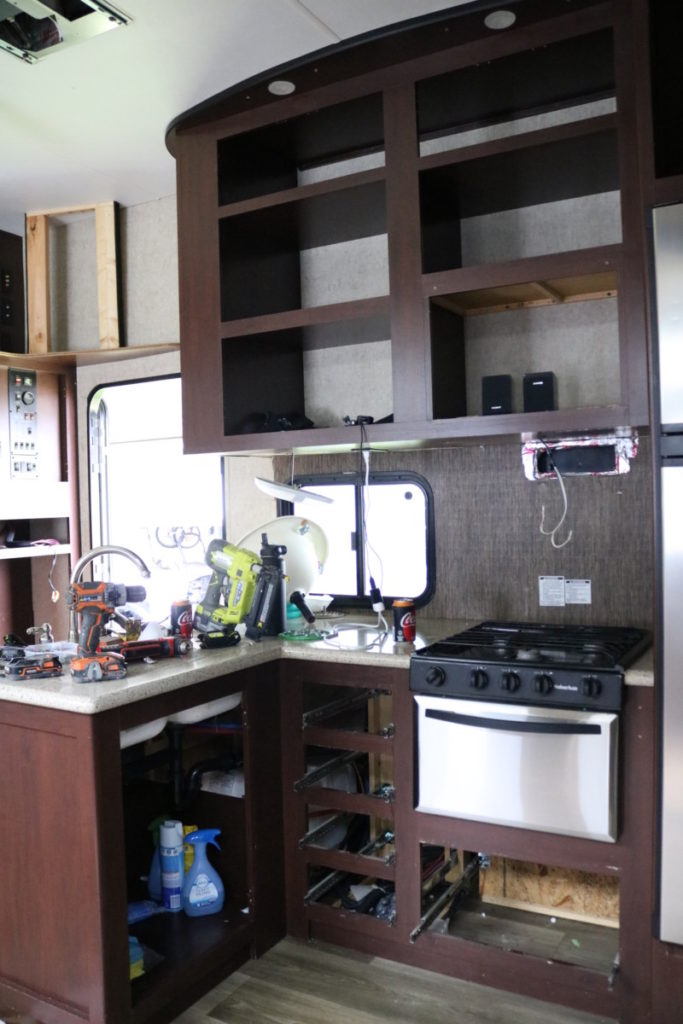
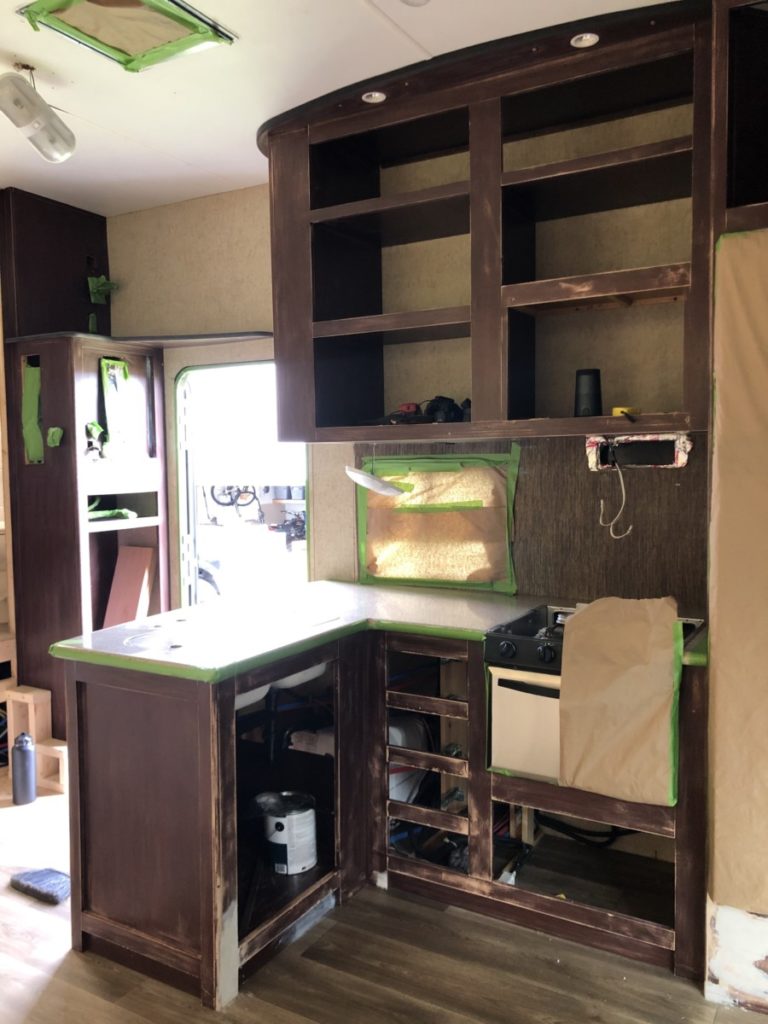
So let me show you the kitchen in the new toy hauler! This toy hauler was a great deal, but it did have quite a few issues, and the images definitely make it look better than it actually was. ( I really wish there was a way to do a “before” and “after” smell, but let me tell you , it was rough and completely gutting this thing was entirely necessary.)
To begin, I removed all the doors, hinges and light fixtures that I did not want covered in paint. ( With this R.V. makeover I decided to use a paint sprayer instead of rolling it.)
Cleaning Surfaces
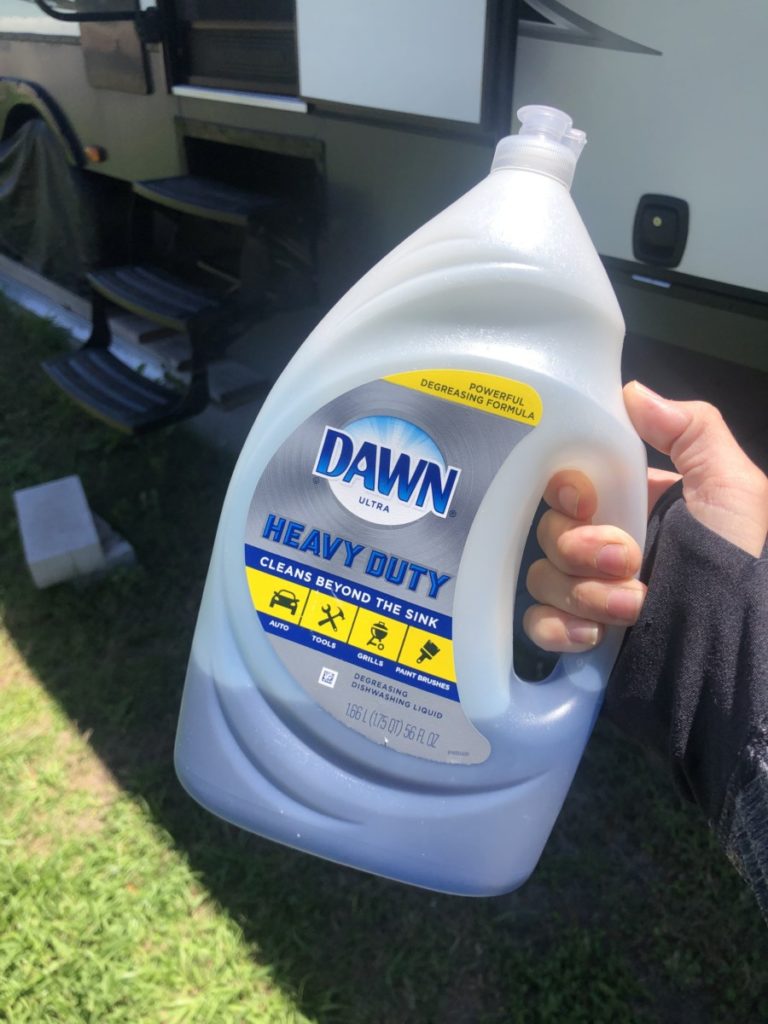
Before you even think about picking up a paint brush there are several necessary steps that must be made in order to achieve a positive painting experience. Once all the doors and hardware are removed it is time to clean every paintable square inch of this sucker! I used Dawn Heavy Duty soap and warm water. I made sure I was extremely thorough with this step. I used abrasive sponges, and once I was positive there was zero oils or grime remaining I went over it with a clean damp rag. It is all about the prep work people!
After everything was throughly wiped down I prepped for sanding. I realize there maybe differing opinions when it comes to the order of washing vs. sanding. Here is my take, I want to wipe off as much of the stains and grease as possible. Reason being, the more I can get off with soap the less aggressive I need to be about sanding, ALSO you can actually grind and set stains further into a surface when sanding. So I opt to clean throughly first, then sand, then a light wipe down.
Sanding
When sanding you do not need to be overly aggressive. The goal is to simply rough it up enough to remove the glossy sheen. By scuffing up the shiny surface we are preparing the surface to be receptive to our primer. Just be meticulous and scuff up every surface!
When sanding you can use either an electric sander or a hand sander. I prefer using an electric sander on the large flat surfaces and hand sponge sander for any small crevices or curved surfaces. Again, the goal is to simply get rid of the glossy sheen.
Final Wipe Down
Once all the surfaces are completely scrubbed and sanded it is ready for a final wipe down. I typically go through with my shop vac using a bristle attachment and throughly vacuum every surface. Once I have vacuumed up all the dust I go over all the surfaces with a damp cloth. Yes, this is kind of meticulous work, but it will be worth it in the end, I promise.
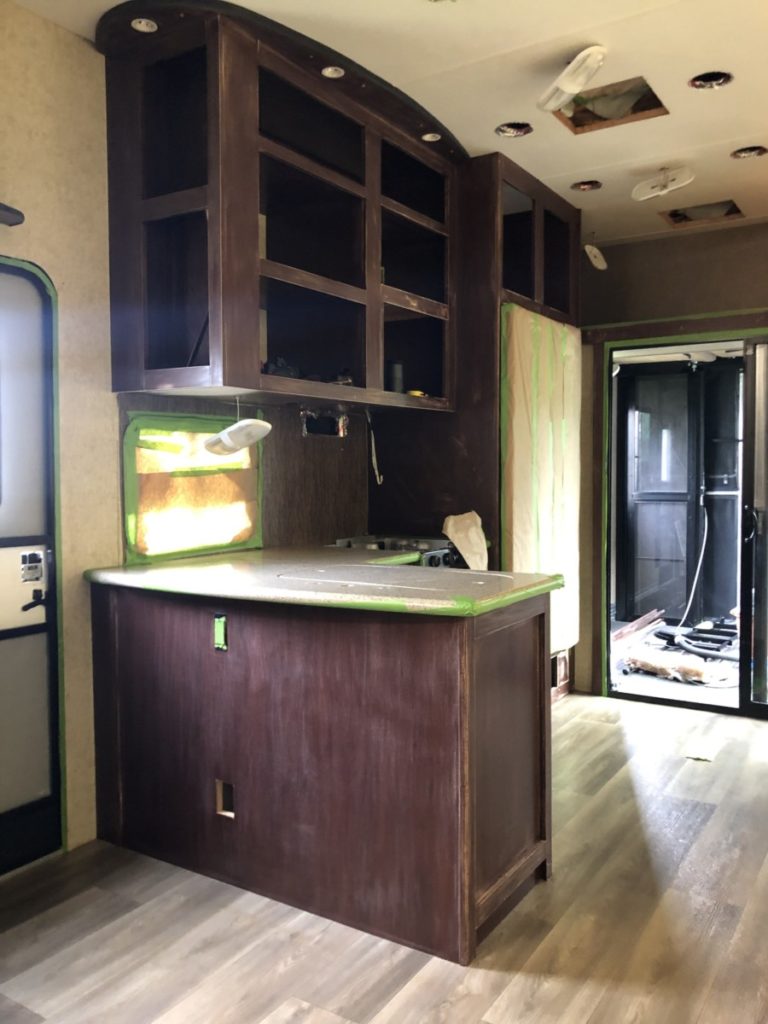
Taping
As I stated earlier, I will be using a sprayer . Because I will be using a sprayer I needed to take a little bit of extra time to tape off any surface that I did not want to get painted, ie: countertops, windows, fridge, etc.
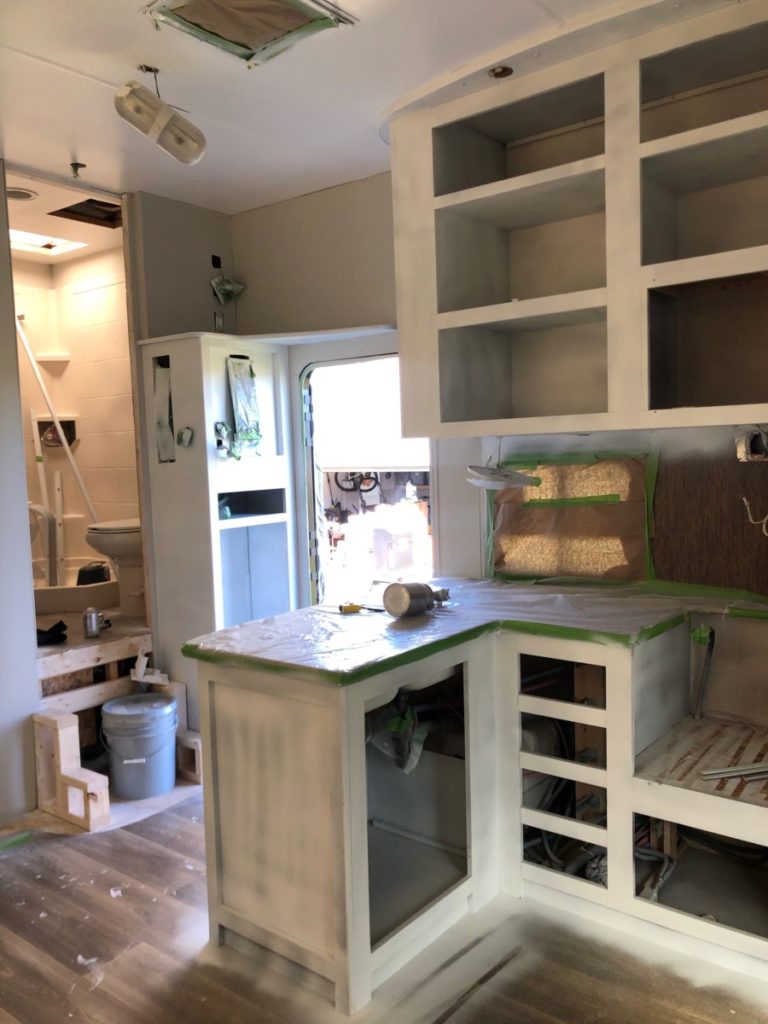
Priming
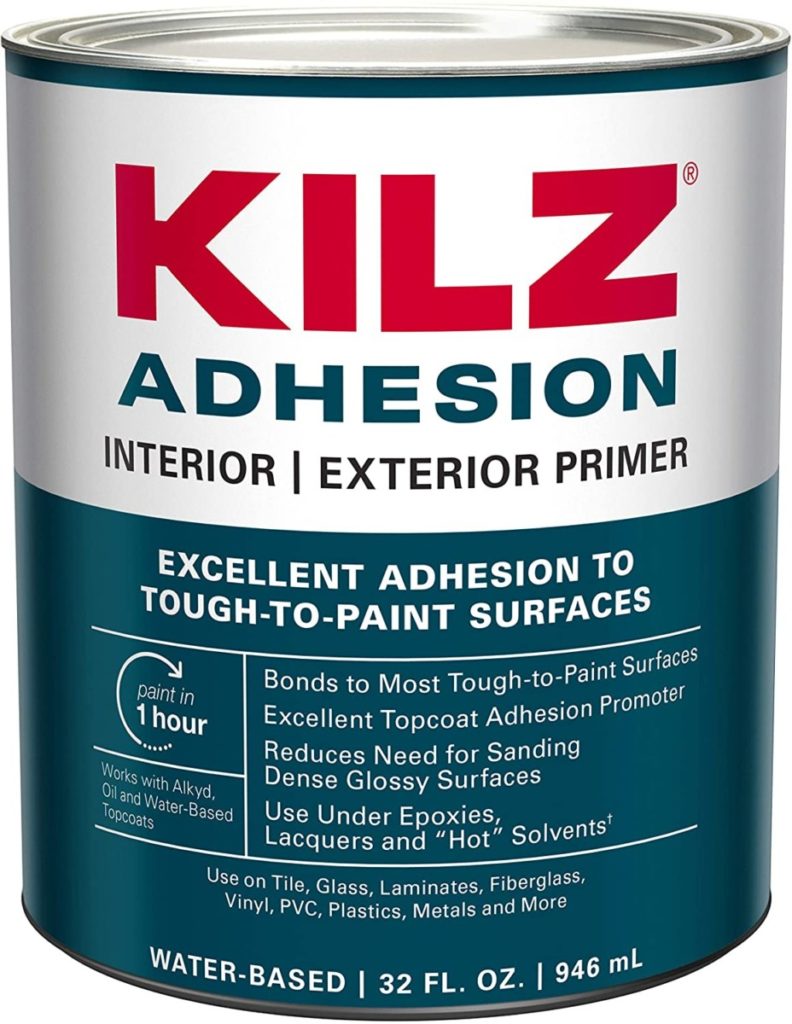
I found a primer that I am in LOVE with. It is a little pricey but worth its weight in gold. It is Kilz Adhesion primer. I checked all of my local big box store and was unable to locate it. After reading raving reviews online I had to give it a try. I ordered mine online and I DO NOT REGRET IT, I highly recommend it.
Using my Fuji “Semi-Pro” I sprayed nearly every exposed surface of the R.V. including the ceiling! On this R.V. makeover I decided to paint the interior of the cabinets. I did not do it on my last R.V. Makeover and I always regretted it. It definitely takes some extra time, but it is totally worth it.
After priming a surface I typically will go over the dried primer with a “fine” sanding sponge to remove any rough patches of primer. (If you are spraying with a decent sprayer you can normally skip this step.) However, if you are painting by hand I would highly recommend you do a once over with a sponge sander followed by a damp cloth. This small additional step can make a HUGE difference in your final product.
Painting Ceiling and Walls
Once my primer was completely dry (see your primer for specific guidelines) I was able to move on to the painting portion of this endeavor. The purpose of this tutorial is more pointed towards painting the kitchen cabinets, but here is a quick re-cap of what I did to the walls and ceiling. BEFORE painting my cabinets.
Ceiling: I prepped the ceiling the same way I did the walls and the cabinets. It was thoroughly cleaned, sanded, wiped down, and primed. There really isn’t any special way to paint the ceiling, you can use a roller or a sprayer. I used the a sprayer and had it done in no time. On the ceilings I used “Ultra Pure White” by Behr.
Walls: Again, the walls were prepped the same way as the cabinets. They were thoroughly cleaned, sanded, wiped down and primed. I also used my sprayer to apply the paint to the walls. The only surface I needed to protect from paint at this point was the ceiling. This can easily be done with painters tape and painters paper. I sprayed all the walls with “Repose Gray” (lightened 50%) by Sherwin Williams.
Painting Cabinets
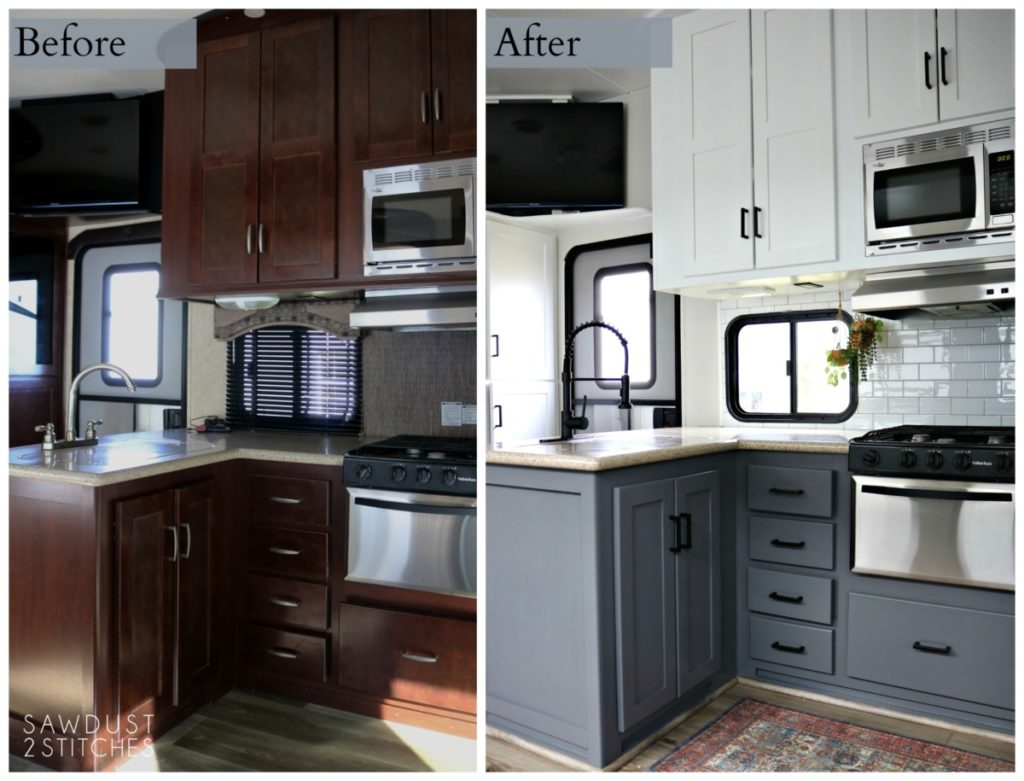
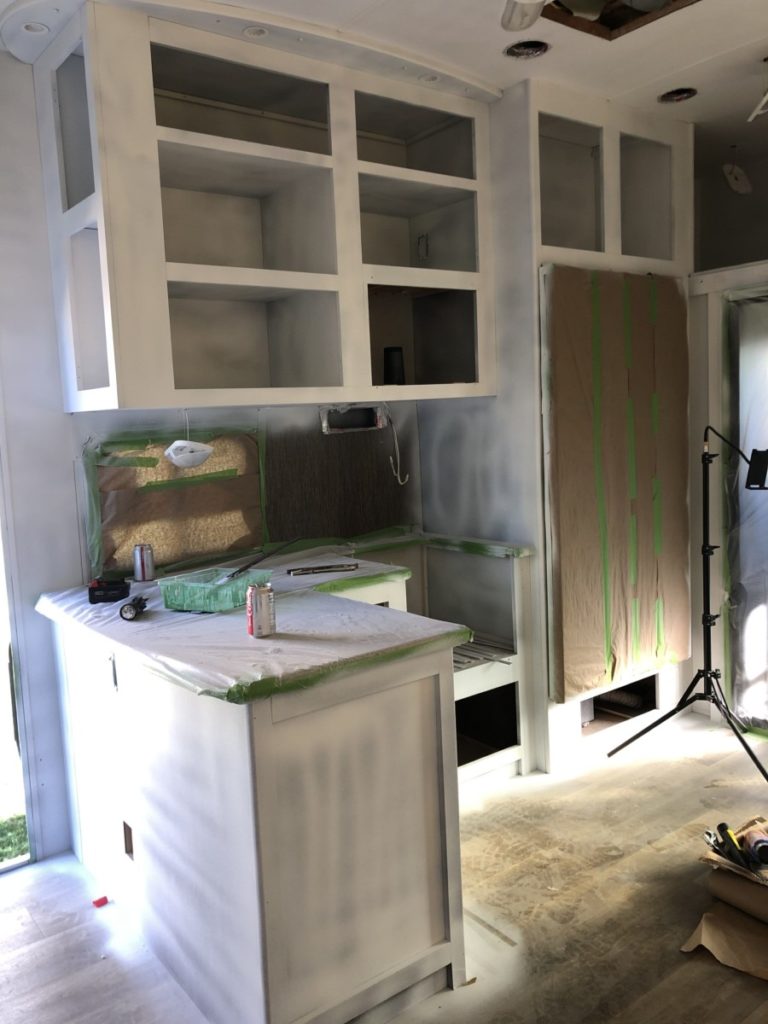
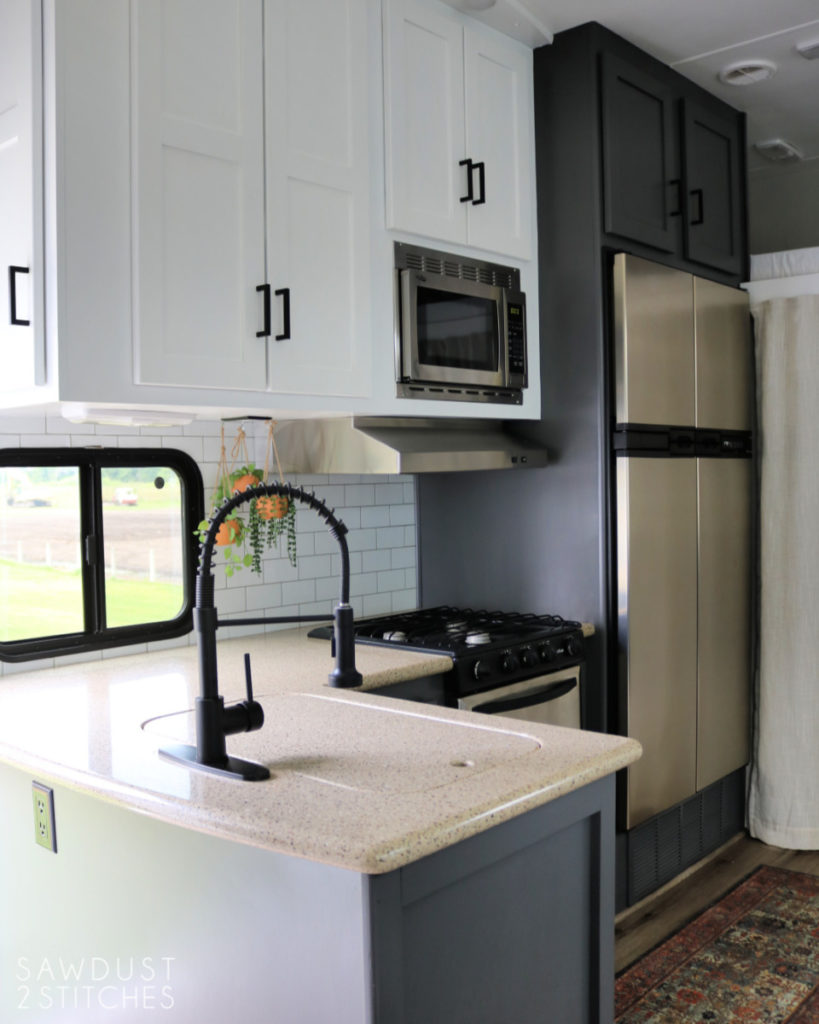
The plan for the cabinets was to create a two tone look, using a darker color on the base units and white on the uppers. Seeing as I was using a sprayer and the overspray dust will settle I decided to start with the upper cabinets.
The upper cabinets are painted “Ultra Pure White” by Behr. (Yes, I definitely planned for the ceiling to be the same shade of white. It is easy for any future touch-ups AND I didn’t need to worry about cutting in, or taping off my cabinets where they meet the ceiling.
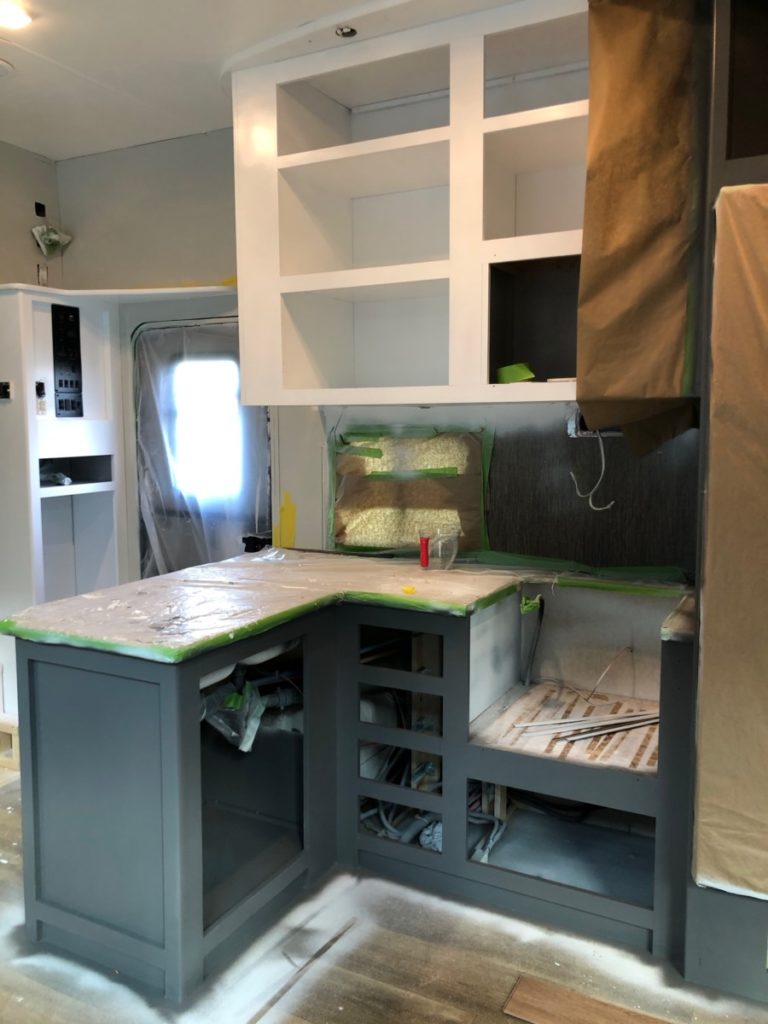
Honestly, the actual painting portion of refinishing cabinets is the easy part. The prep work is what seems to take forever. I ended up spraying two coats of Ultra Pure White on my uppers. Once they were dry I was able to tape them off using yellow Frogtape. ( It is a painters tape intended to freshly painted surfaces!)
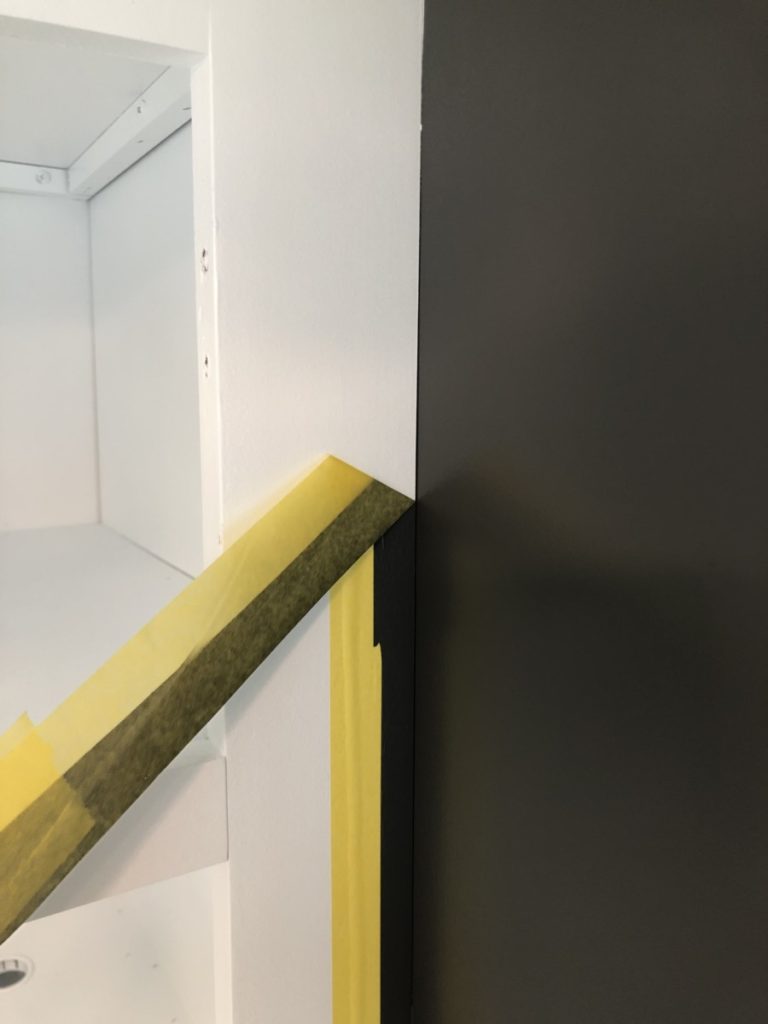
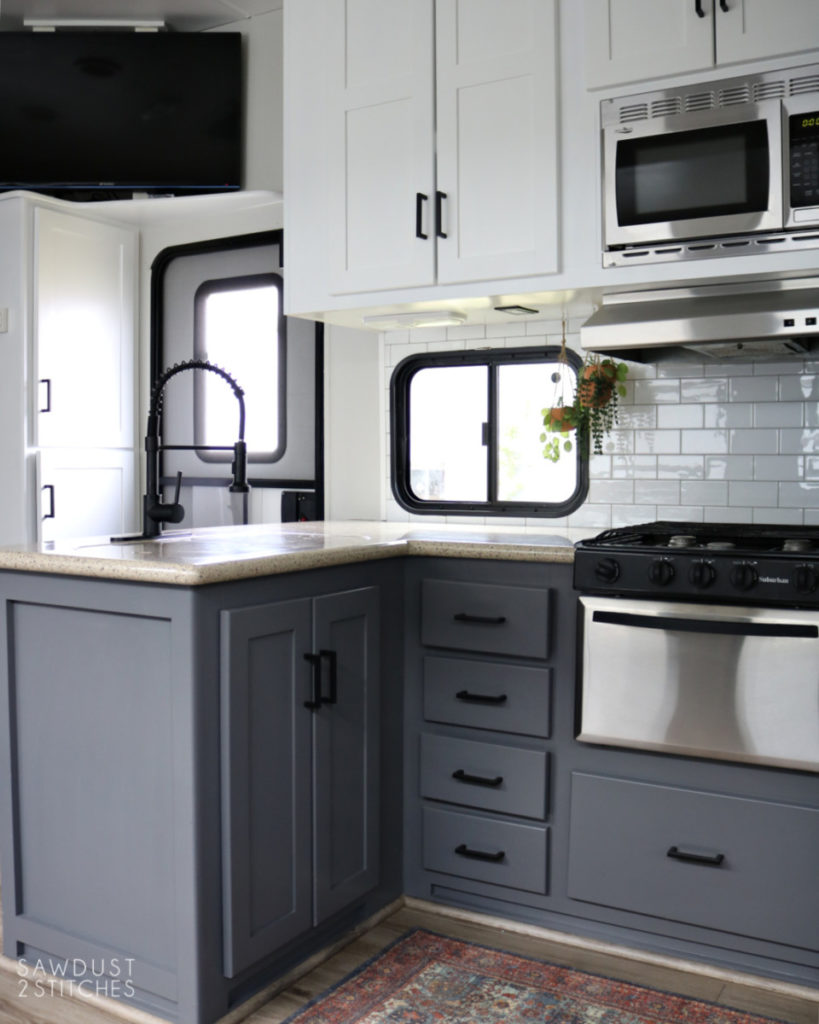
Once the freshly painted upper cabinets were protected with yellow Frogtape and painters paper I proceeded to spray the lower cabinets. On the base cabinets I used “Peppercorn” by Sherwin Williams. Again, I used my Fuji “Semi-Pro” sprayer and was able to get a perfect finish with just two coats.
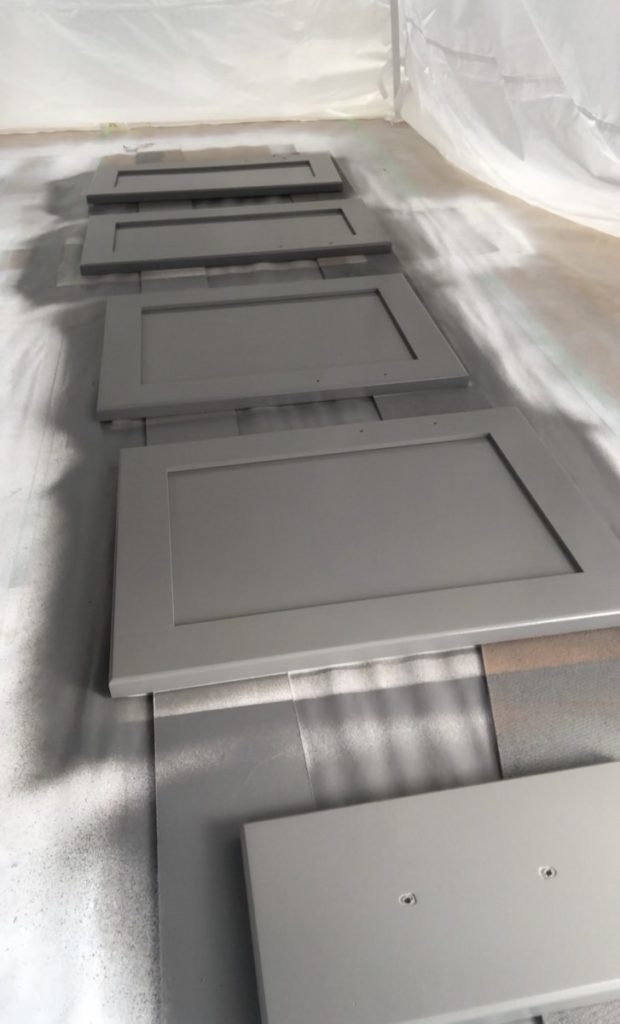
Cabinet Doors
All the above steps also applies to the cabinet doors. Wash with strong cleaner, rinse well, sand/scuff, wipe down. If at all possible I like to set up my cabinet doors to be painted in separate room. I set up a small spray shelter in my garage so that I could continue to use a sprayer to apply the primer and the paint.
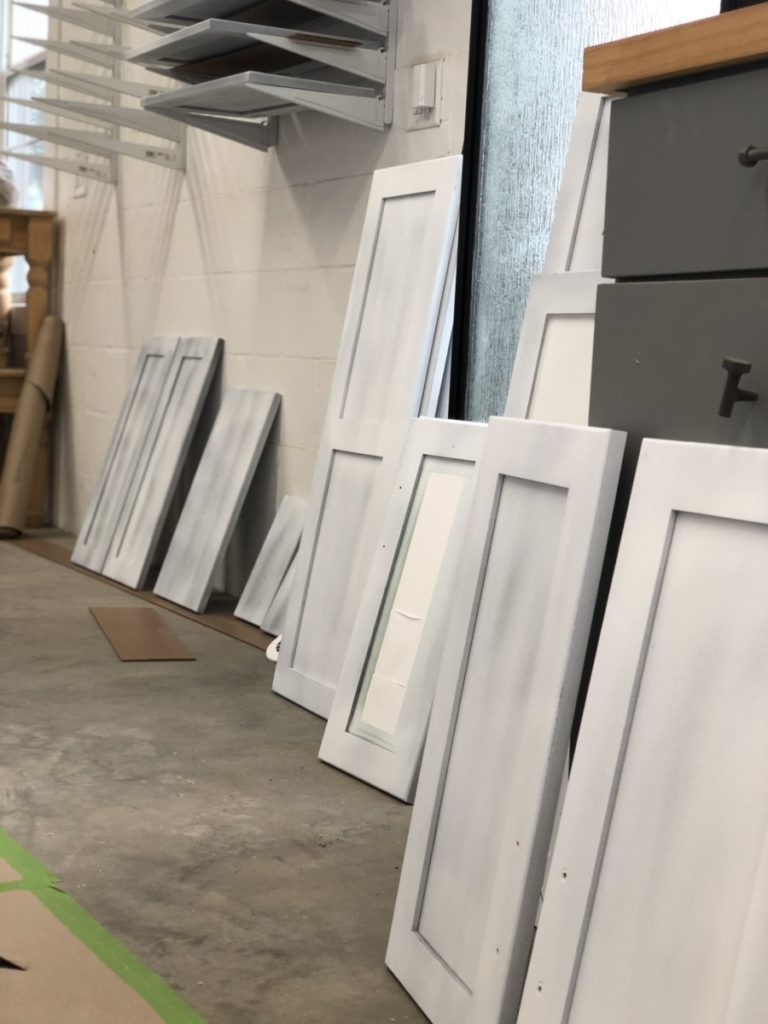
Again, I did two coats of primer on both sides of the doors, followed by two coats of paint on both sides of the doors.
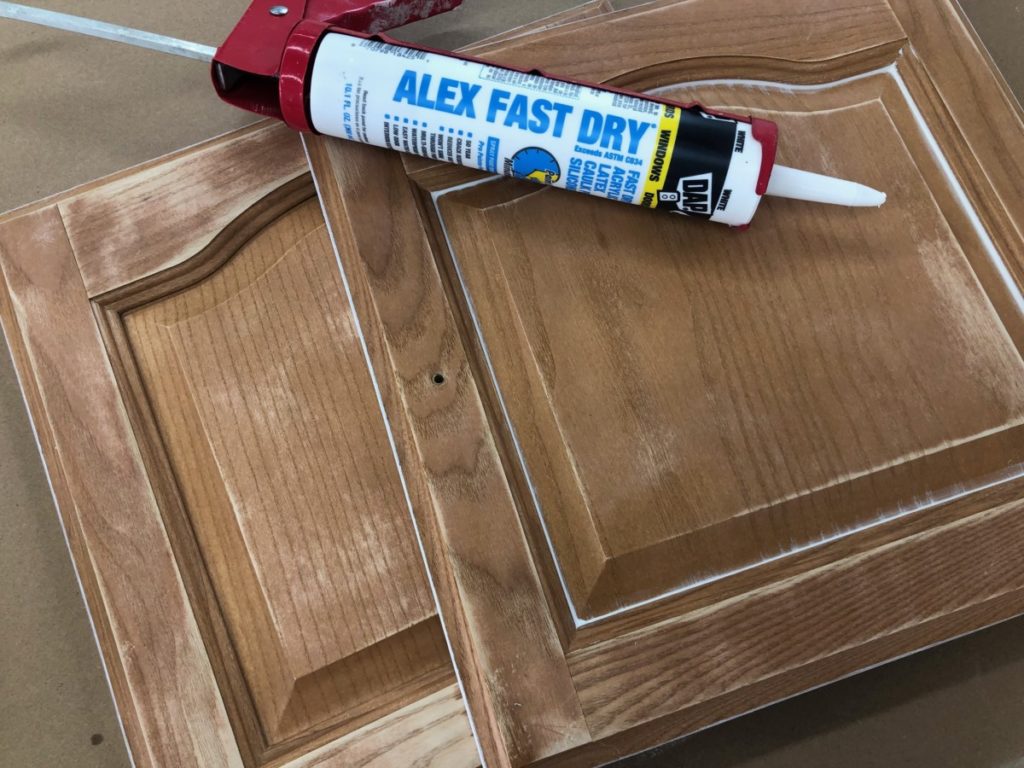
If you have cabinets that are in less than stellar condition I might suggest caulking the paneling. You can get all the details on how I did this in my last camper renovation here.
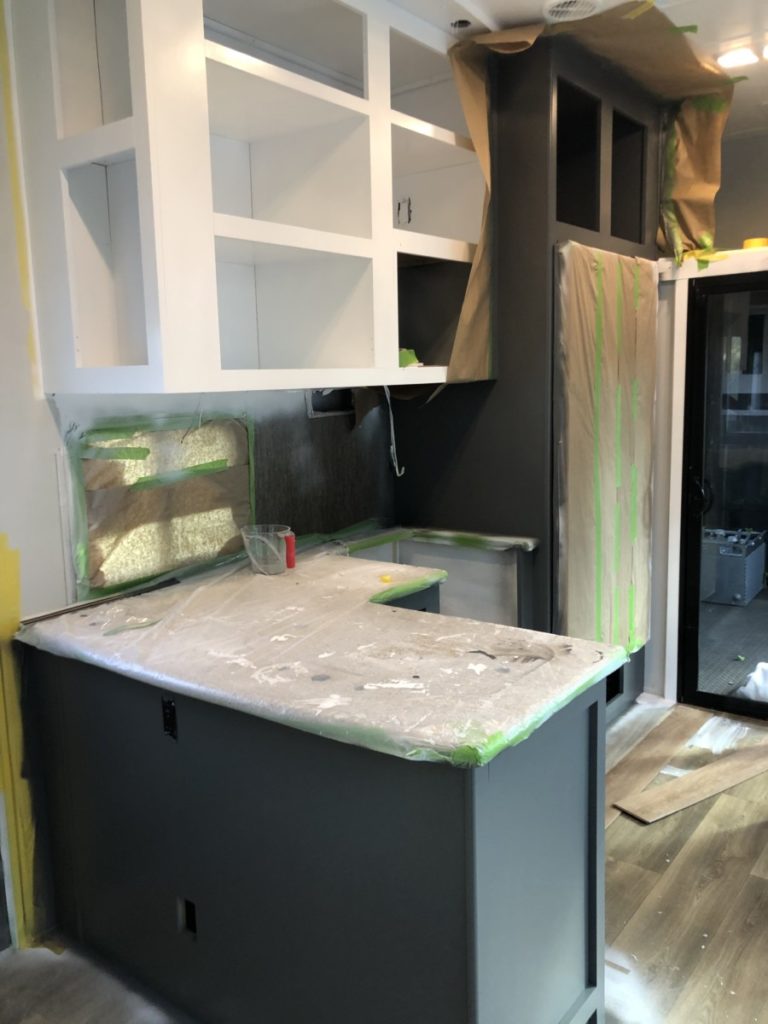
Backsplash
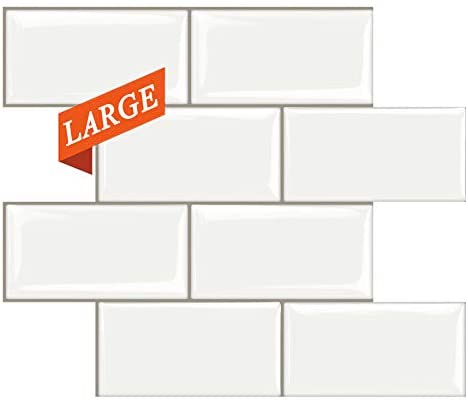
If you hadn’t noticed, I purposefully did NOT paint the backsplash. There is a reason for that, I planned on applying a peel and stick backsplash. I did something similar in my last R.V. makeover and had great success. However, I did make one change this time around, I opted for a larger subway tile. After a few trial and error purchases I found this “Peel and Stick Subway Tile” and I love it!
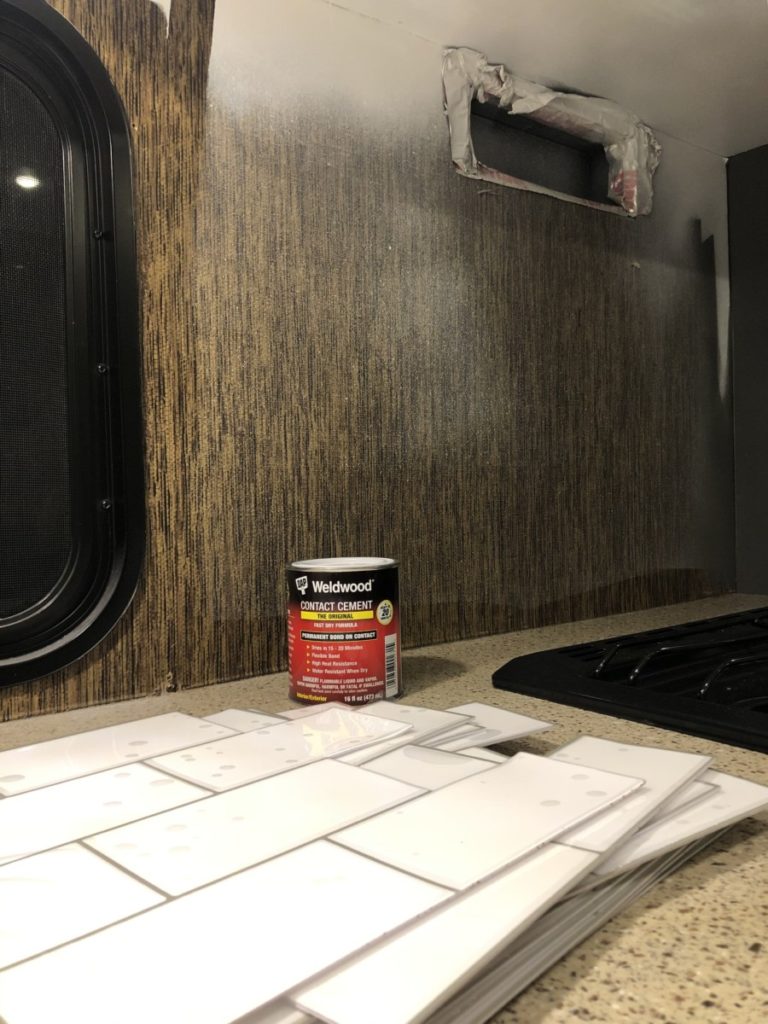
While the adhesive on the back of most peel and stick tiles it pretty good, I have yet to find one that can withstand the constant movement that an R.V. wall experiences when driving down the road. The peel and stick just needed a little bit of reinforcements, I used Weldwood Contact Cement and I have had ZERO problems. You can see how I did it on my last camper here.
Finishing Touches
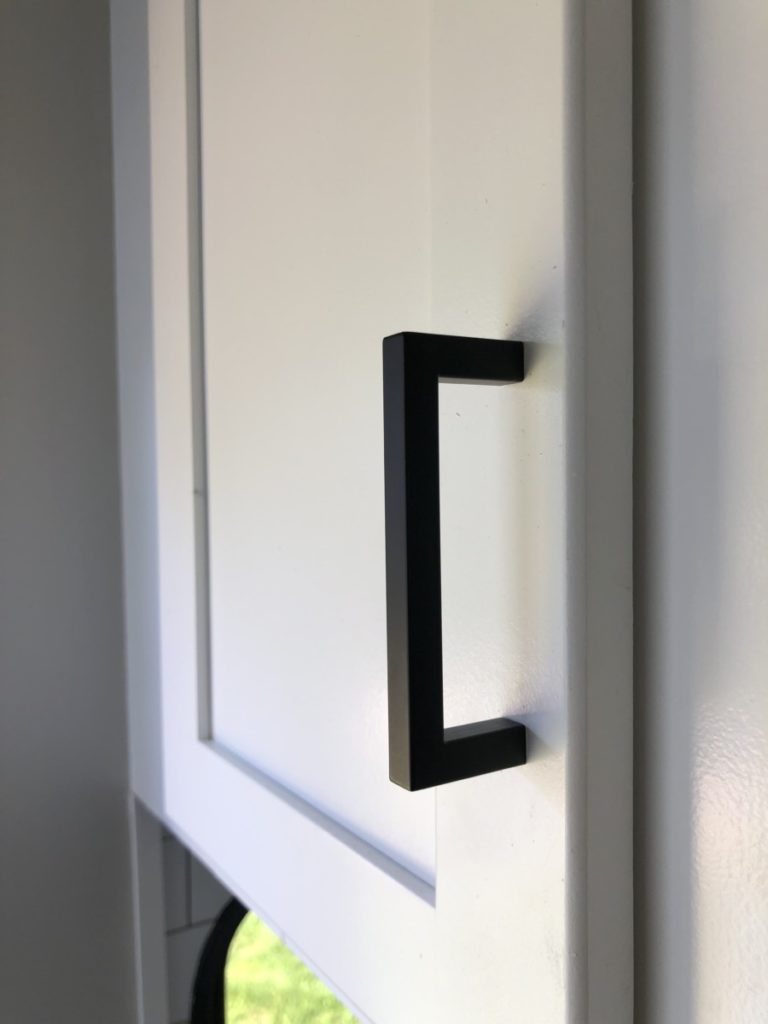
Once all the cabinet doors, and units were completely dry I was able to re-install all the doors using their original hinges. The original pulls were in decent condition, but I firmly believe that sometimes small changes can make huge impacts. That was the case with the kitchen hardware. I found these great Square Matte Black Drawer pulls online that give this kitchen an updated look.
The last investment I made in the kitchen was swapping out the existing faucet with this gorgeous Matte Black Pull-down Faucet. This small upgrade unifies the entire space. Honestly, does it even look like an R.V. kitchen? I submit that it does not!

Alright folks, there you have it another successful R.V. Kitchen Makeover! There is still plenty to be done and I cannot wait to share the rest of this makeover soon. So check back soon because I promise, it is going to be good!
Sources-
- Painters Tape- Green Frogtape
- Delicate Painters Tape- Yellow Frogtape
- Paint Sprayer- Fuji “Semi-Pro” HVLP Sprayer
- Primer- Kilz Adhesion
- Base Cabinet Paint- Sherwin Williams “Peppercorn”
- Upper Cabinet Paint Color- Behr “Ultra Pure White”
- Backsplash Adhesive – Weldwood Contact Cement
- Subway Backsplash- Peel and Stick Subway Tile
- Door Pulls- Square Matte Black Drawer pulls
- Sink Faucet- Matte Black Pull-down Faucet
- Rug Runner- T.J. Maxx
- Hanging Plants- Target Dollar Spot
- Flooring- NuCore “Morel”