Ok, so after 3 years of being frustrated with my shop set up, I finally decided to do something about it ! One thing that I really wanted to have an assembly table. I was always sitting on the garage floor trying to assemble furniture. My joints were always wonky, and the fact that it had carpeting did not help. Well the carpet is long gone.
The reason I had never built an assembly table before was due to space issues, but then I had an epiphany, if I could make it multipurpose, so that it actually created more space in then it would be totally worth it! I decided that my table saw, air compressor, and the air hose/reel were bulky and hard to work with (space wise). The other requirement, I had to do it CHEAP! So those were my requirements… and I met and surpassed them!
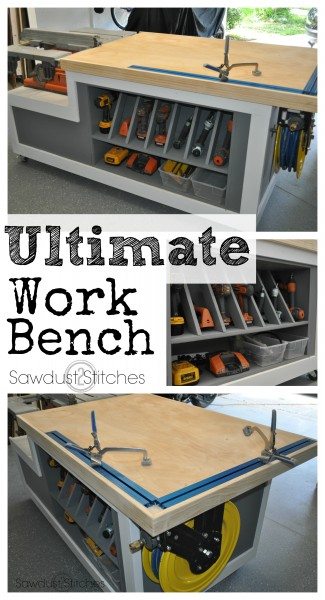
I am so excited about how it turned out!
WARNING: This is a BRAG POST, not a tutorial. I am featuring the assembly table that I made, in hopes that it will spur some ideas !
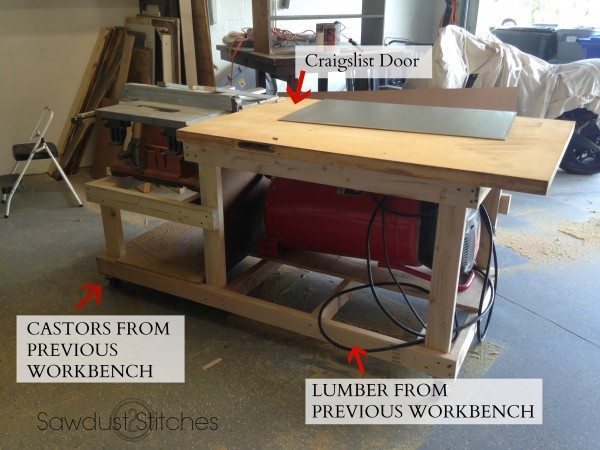 So far I had spent $6.00 on (2) 2×4’s, to supplement the lumber I had from disassembling my old work bench. (You can see my old shop here) The castors were from my old table as well, and the door was a FREE find on Craigslist! (Yes, it is solid.)
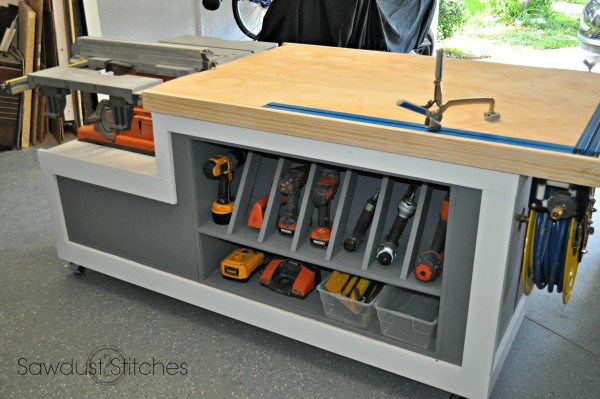
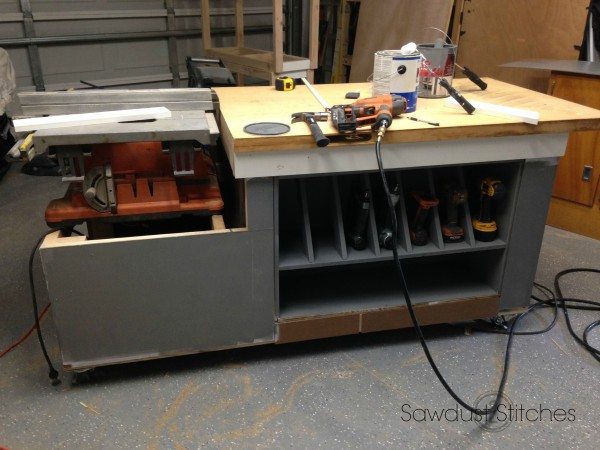
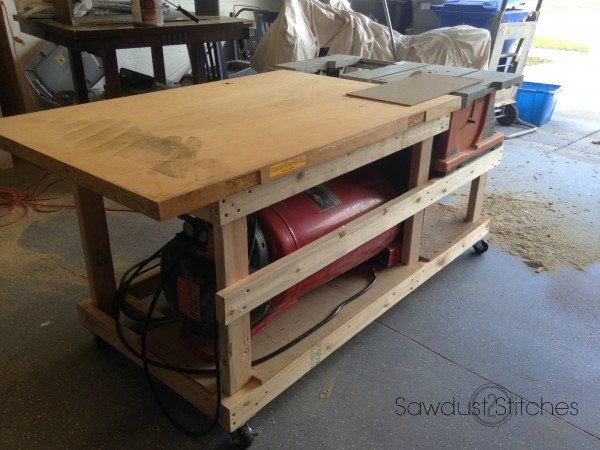 At this point I had incorporated my air compressor and my table saw, 2 of my bulkiest items in the shop! ( I did research about laying this compressor down, and it was “ok” as long as it was elevated on one end allowing it to drain). Then obviously the table saw is on the end. Next where to put my hose reel… and what to do with all the space on the far side of the compressor! I just can’t let that space go to waste! Well, I have my compressor, and air hose reel, it only makes sense to add my pneumatics! Here is what I did! I basically made a box (out of wood from yet another Free Craigslist find!)
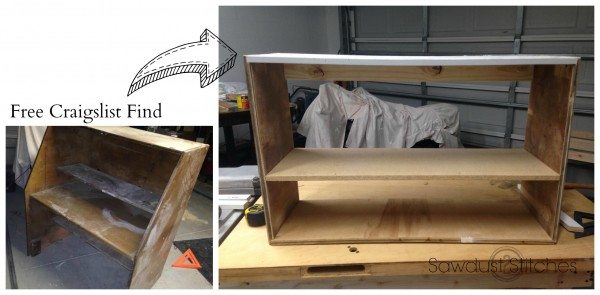 Then added a shelf and dividers, as you can see from the picture this was a lot of scrap wood pieces, all unified by paint! I just used leftover paint from the garage floor!
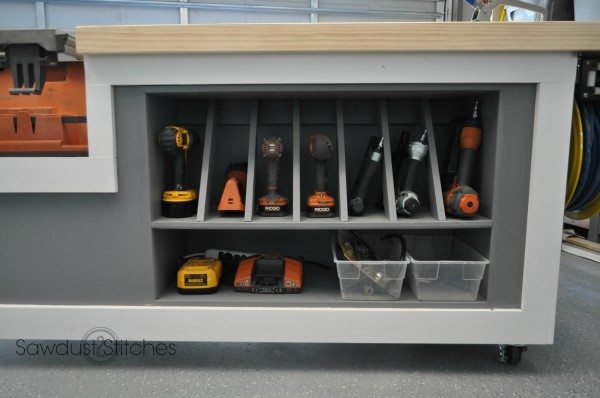
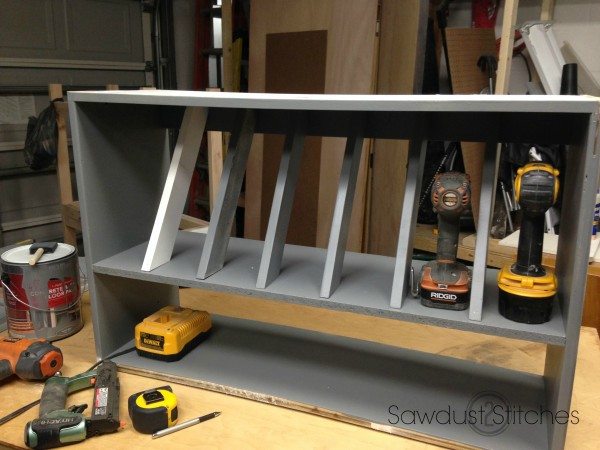
The last thing it needed was a backing, I just recycled the back of my Free Craigslist “thing?”. So ZERO money spent on my nailers and drills.
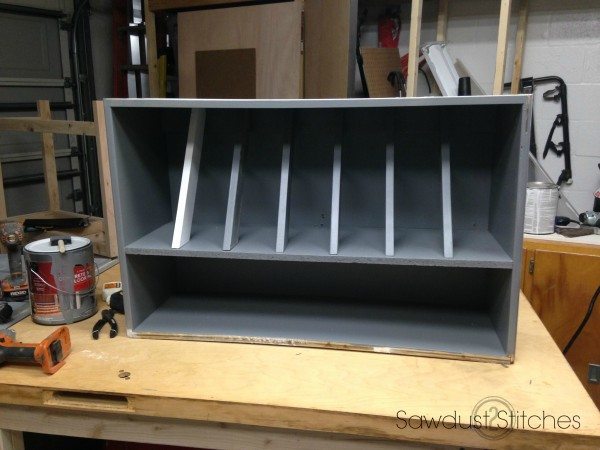
I made it to fit perfectly in the empty space in my assembly table. Just slid it into place.
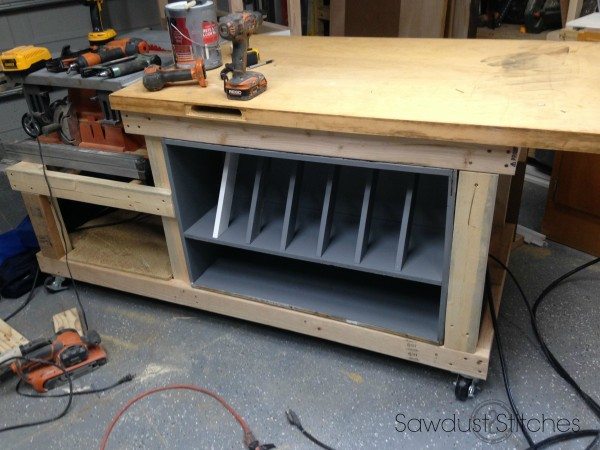
Then I used cheap paneling to box it all in. I ended up using a full 4×8′ sheet as well as as some scrap pieces. So that was another $14.00.
I then trimmed out all the edges to give it a nice finished look. I spent about $25.00 on primed 1×4″ finger board. 
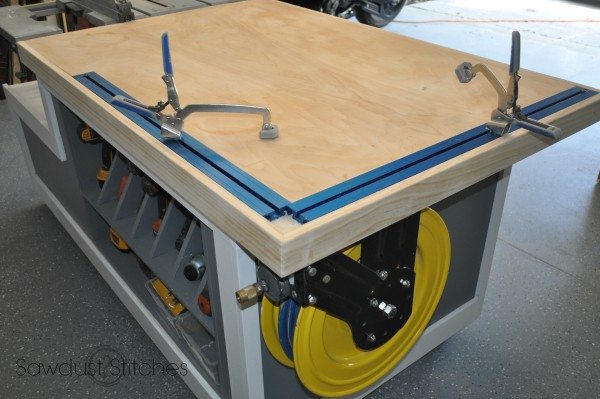
The last thing I needed to finish up was my table top, I routed out a strip for my Kreg Clamp Tracks (ie My extra set of hands)
and then trimmed out with premium cut 1×3’s.
Look at how pretty that is! Everything has a place, and everything in it’s place. Ah… My happy place.
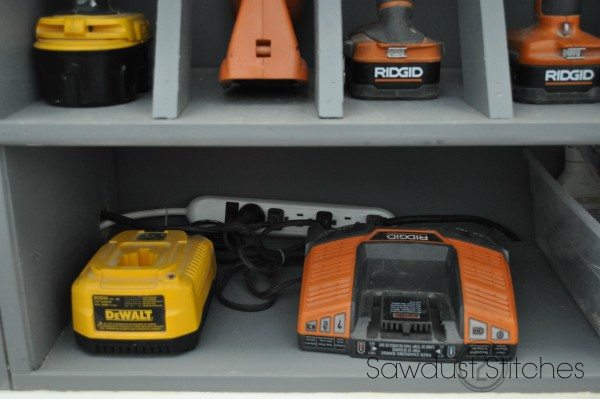
 It wouldn’t be complete without a charging station. I was able to incorporate a power strip that allowed me to plug in the chargers, the compressor and the table saw. Eliminating all the annoying cords!
I was able to mount my air hose reel on the underside of my table top . I made sure that it was located close to the air compressor and easily accessible. 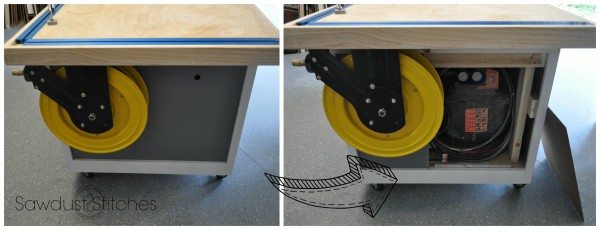
I love that the saw is mounted at the end, and creates support when cutting long pieces. Another thing I LOVE is that it collects all the sawdust! Just flip down the front, pull out the drawer, empty, replace, repeat. 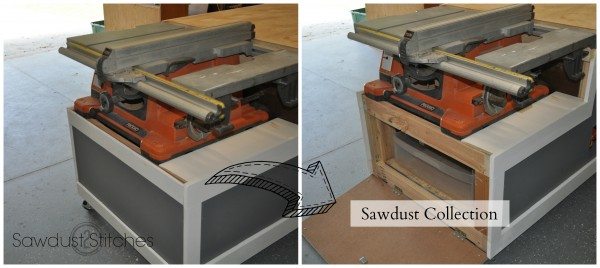
I was able to include all of my requirements, and I LOVE it. I don’t know how I ever functioned without an assembly table. It definitely makes like easier. 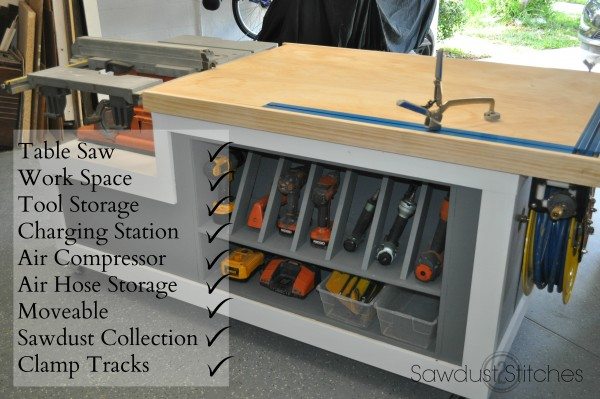
It is not only practical, but look at HOW PRETTY !? 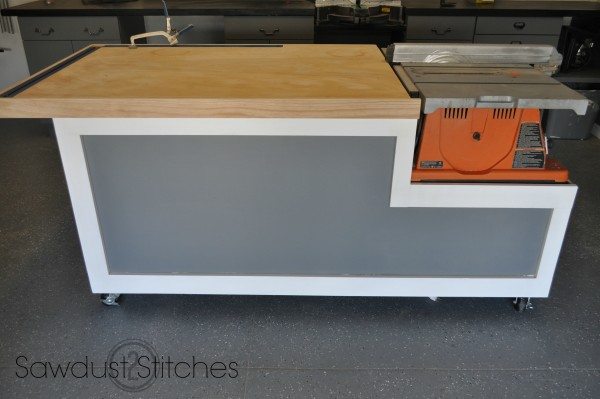
What I Spent :
2×4’s – $6.00
Paneling 4×8′ – $14.00
Trim – $25.00
1×3″ s (3) – $15.00
What I spent * – $ 60.00
Like I said, this is what I made it for, the total amount reflects the money I had to spend to complete this project*. It used a lot of recycled materials from previous projects.
So, how much space are you WASTING, NOT having an assembly table !?
Thanks for reading,
Corey
At times I will discover a product I LOVE and want to share these new products, brands, and services with you. All reviews are true opinions and not altered by endorsements. In some cases I may be compensated for my efforts. Posts may contain affiliate links or sponsored content.
 Copyright secured by Digiprove © 2015


You just made my day! Thank you for posting this!
I am so glad I could help! Thanks for reading.
Thanks April, I don’t know how I went so long with out an assembly table! Thanks for reading!
Wowl. Wow. Wow! I love this. I want this! You did a super job!
WOW! just WOW!
I am workshop jealous! I have the lumber and casters and even the old doors and have been mulling around a table for my shop…this just may be it!! You did fantastic, Corey. 🙂
Seriously the old door made this project totally feasible!
Thanks for posting Corey. I have been searching for this build for a while now. I can’t afford a cast iron table saw but I have a 8″ portable saw for this build. I also have been needing an assembly table. Looked at many plans but I like this one the best. Thanks for the inspiration. Great job!
My gosh you’re good. I think that every time I visit, but really – this thing is amazing! I definitely have some ideas churning from this post, thanks for the inspiration! I’ve never seen the Kreg clamp tracks, I’m excited to look for those!
Awe, Thanks Cassie! I hope you share whatever you come up with !
Very nice worktable! Simple, elegant, and cost effective!
Thanks! I am certainly a huge fan! Thanks for reading!
What an excellent piece of work. Not only is it damned good, neat and professional looking, it’s also pragmatic.
Do you have a lip and the end of the table that might prohibit your out feed from the saw or is it just an optical?
It must just be the way it looks in the photo, it is a very smooth transition. Thanks for reading!
Awesome! Does having the compressor there make it harder to nail?
I envision the compressor turning on just as you start a tricky bit of nailing.
I haven’t had any problems so far. I thought I would have issues too. Before building I did a little research and was told so long as it had a slight angle it should be fine. Knock on wood.
What is underneath the table saw that allows the dust to fall through into the bin? That’s brilliant!
I installed the table saw on top of platform I built of 2×4’s. So there is merely platform a foot or o below it, that has a box that sits there, and I can easily remove it. The dust just falls as it usually would below it.