I know that the concept of a conduit curtain rod is not exactly an original idea. But, I may be able to shed a little light on how to add the finishing touches to said curtain rod.

In case you are new to this electrical conduit phenomena, I will do a quick little re-cap.
Basically, you can have a 10′ curtain rod for just a few dollars!
Conduit Curtain Rod WITH End Caps
Supplies Used:
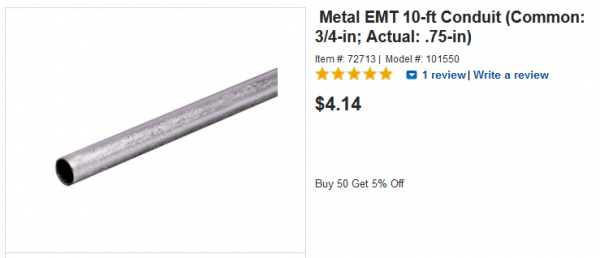
- 3/4″ Electrical Conduit (10′)
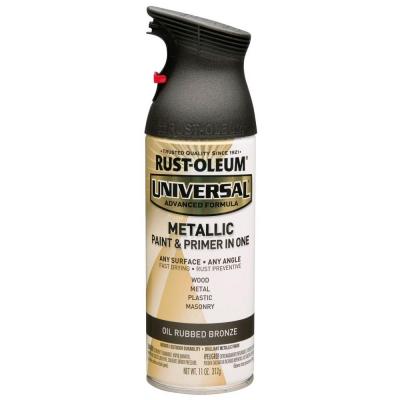
- Metallic Spray Paint ( I used “Oil Rubbed Bronze”)
- 3/4″ dowel rod
- Liquid Nails
- Screw-on Curtain End Caps
Tools Suggested:
- Drill
- 1/4″ drill bit
- Fine Sandpaper/ Steel Wool
- Saw
To make the conduit curtain rod:
First we will need to prepare the metal conduit for painting. I used a piece of steel wool, and lightly scuffed up the surface of the electrical conduit.
After that, I wiped down the rod with a wet rag in order to remove all the dust.
Once dry, I then appllied the spray paint. I propped mine up so that as I rolled it, it would not damage the painted side.
As with any spray painting project, I did multiple LIGHT coats (as opposed to one heavy coat). It always turns out better, and cures faster ! Promise.
Attaching End Caps:
While that is drying you can prep your end caps. YES, this tutorial will show you how to make it look like a real curtain rod, not just a spray painted rod!
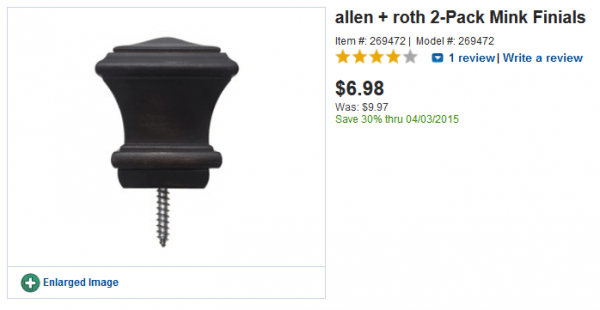
You can find screw on end-caps in the curtain rod section of most home improvement stores. I picked mine up for $6.98 at Lowes. One thing to remember when picking out your caps. They DO NOT need to match the rod! Remember spray paint is your friend! You will want to paint these to match your rod regardless.
That being said, scuff up your end caps with steal wool or sandpaper. Again, wipe down with a wet rag to remove excess dust. Once dry, you can then proceed to paint.
While that is drying you can move on to the next part of our project. Attaching the end caps! To do this I used (2) 6″ sections of 3/4″ dowel rod.
 I drilled into one end of each dowel rod, using a 1/4″ drill bit.
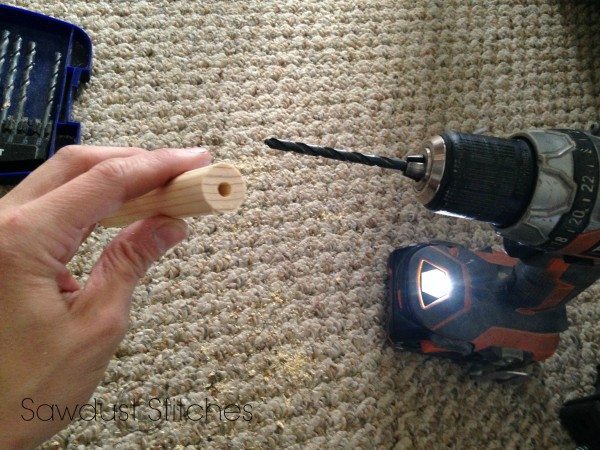
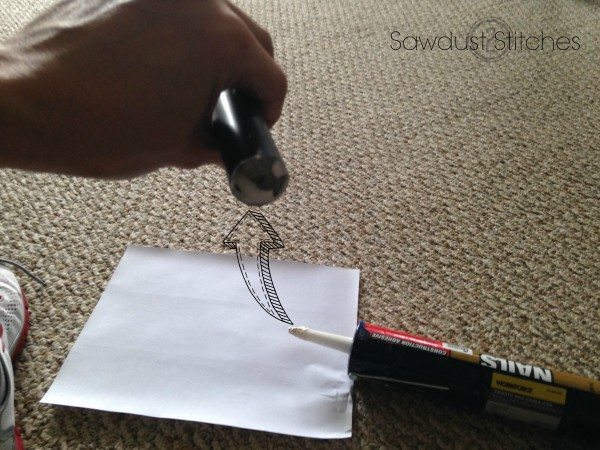
To secure the dowel rod, I used Liquid Nails, worked like a charm! I just put a VERY liberal mount inside the conduit.
 After I applied the glue, I simply slid the section of dowel rod, into the conduit curtain rod. I wiped off any excess glue and then allow it to dry overnight.
 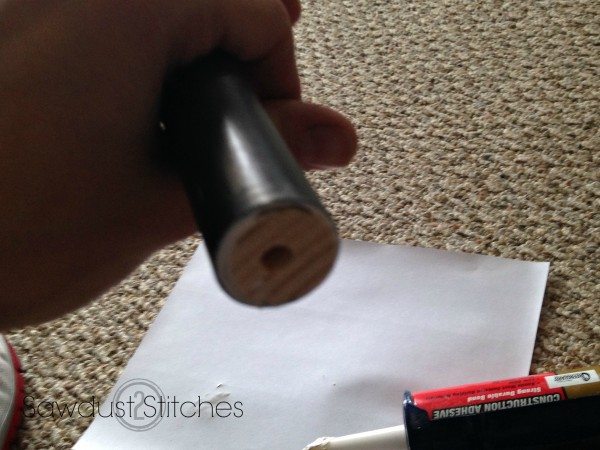 After the glue had dried completely, I then twisted the end caps in place! Like a REAL curtain rod. It will allow you to remove and add curtains as needed!
 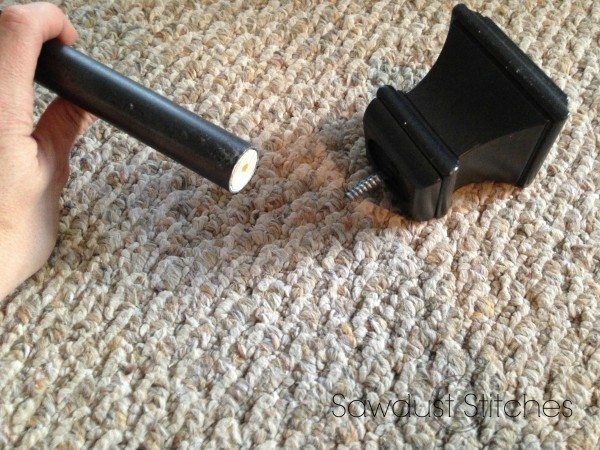 So, there you have it! A 10-foot long curtain rod, that is sturdy, and decorative for under $15! Something comparable in stores can range from $ 50+! Seriously, in just a half hour of labor, you can save your self some serious money!
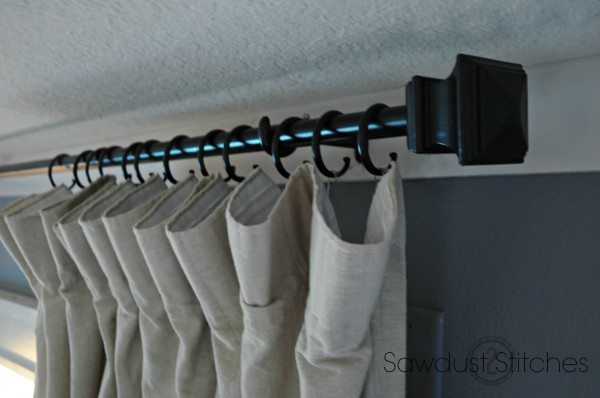
So, take a look around, are you in need of curtain rods, or simply need to update, or replace bowing/short rods? This conduit curtain rod is the best bang for your buck, and it comes in countless finishes 🙂
Take Luck,
Corey