

Love these ? Me too. Here is my semi-successful attempt.
Let me premise by saying I would love to learn to weld. Until then, I will have to stick to a faux metal finish.
I began by drawing my desired shape on a piece of OSB (Only because I happened to have it on hand. In retrospect I would had DEFINITELY used a smooth surface board ie: plywood, or paneling).
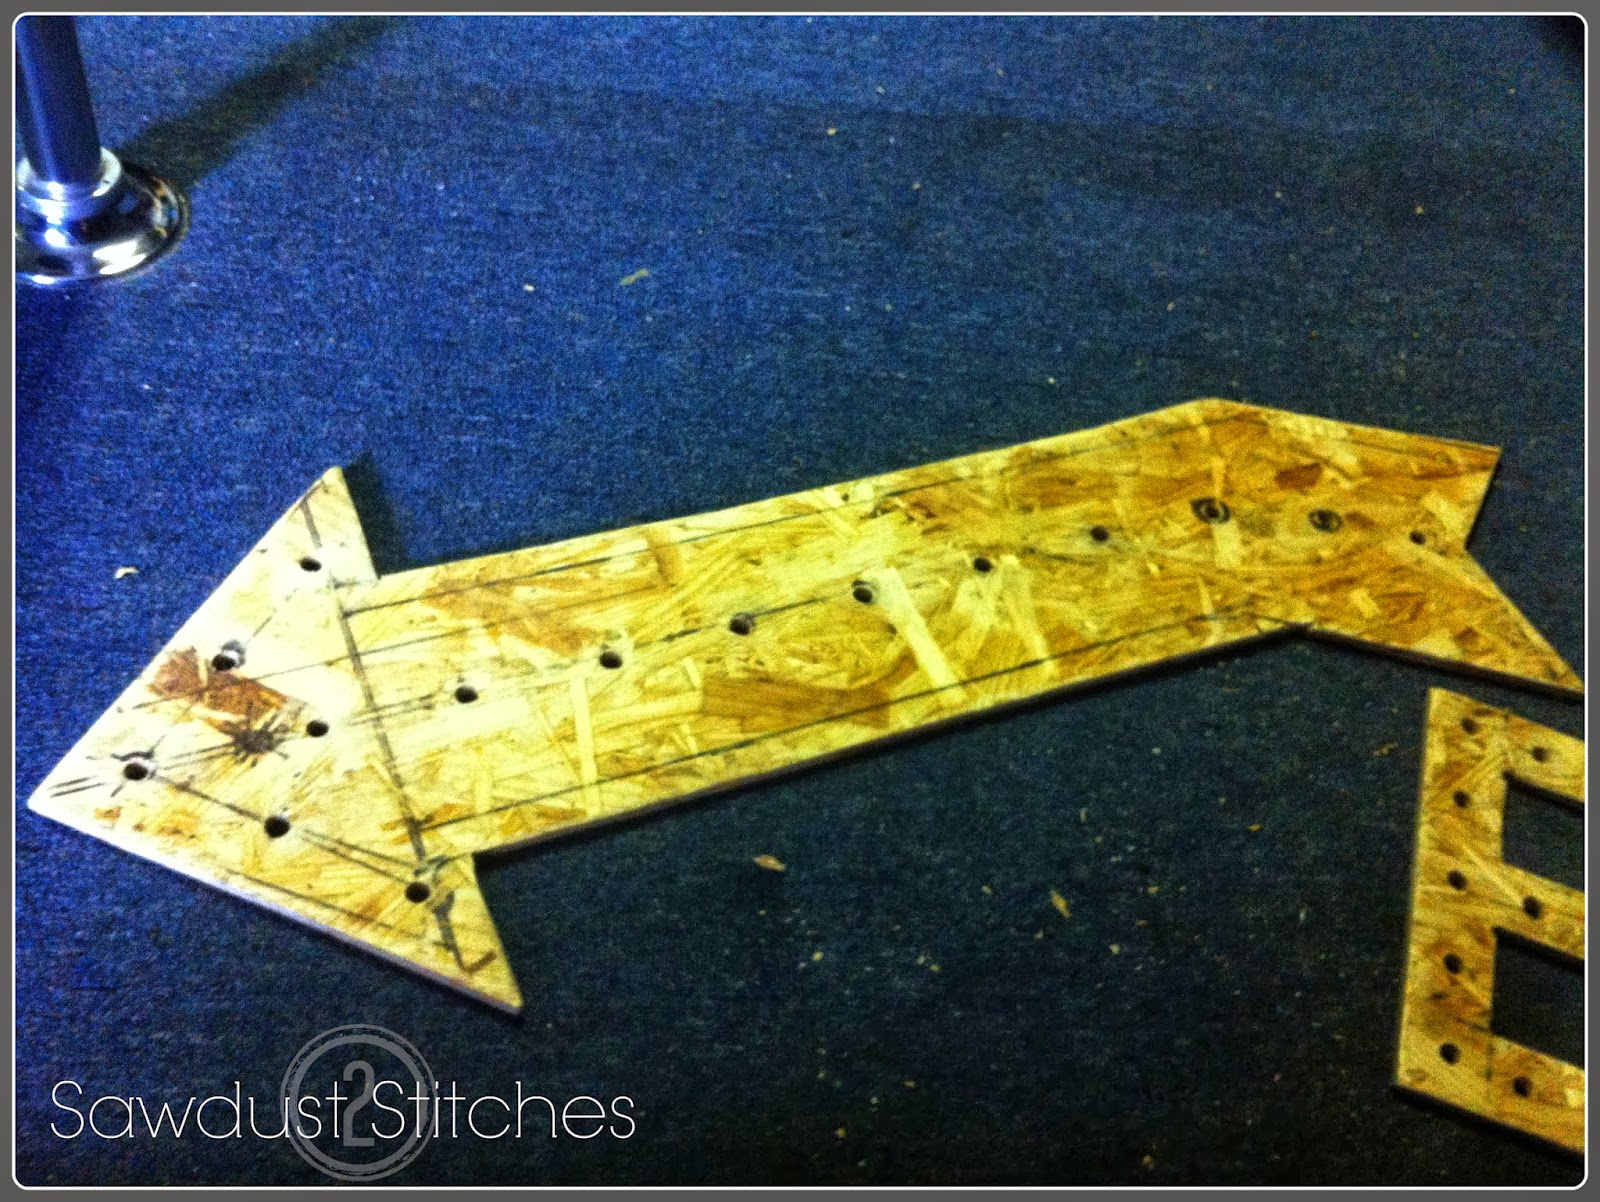
Using a jigsaw and a circular saw I cut out my shapes (Arrow and the letters E.A.T.) I also wanted mine to have a raised edge, so I cut out 1.5″ wide strips that would go around the perimeter of my signs.
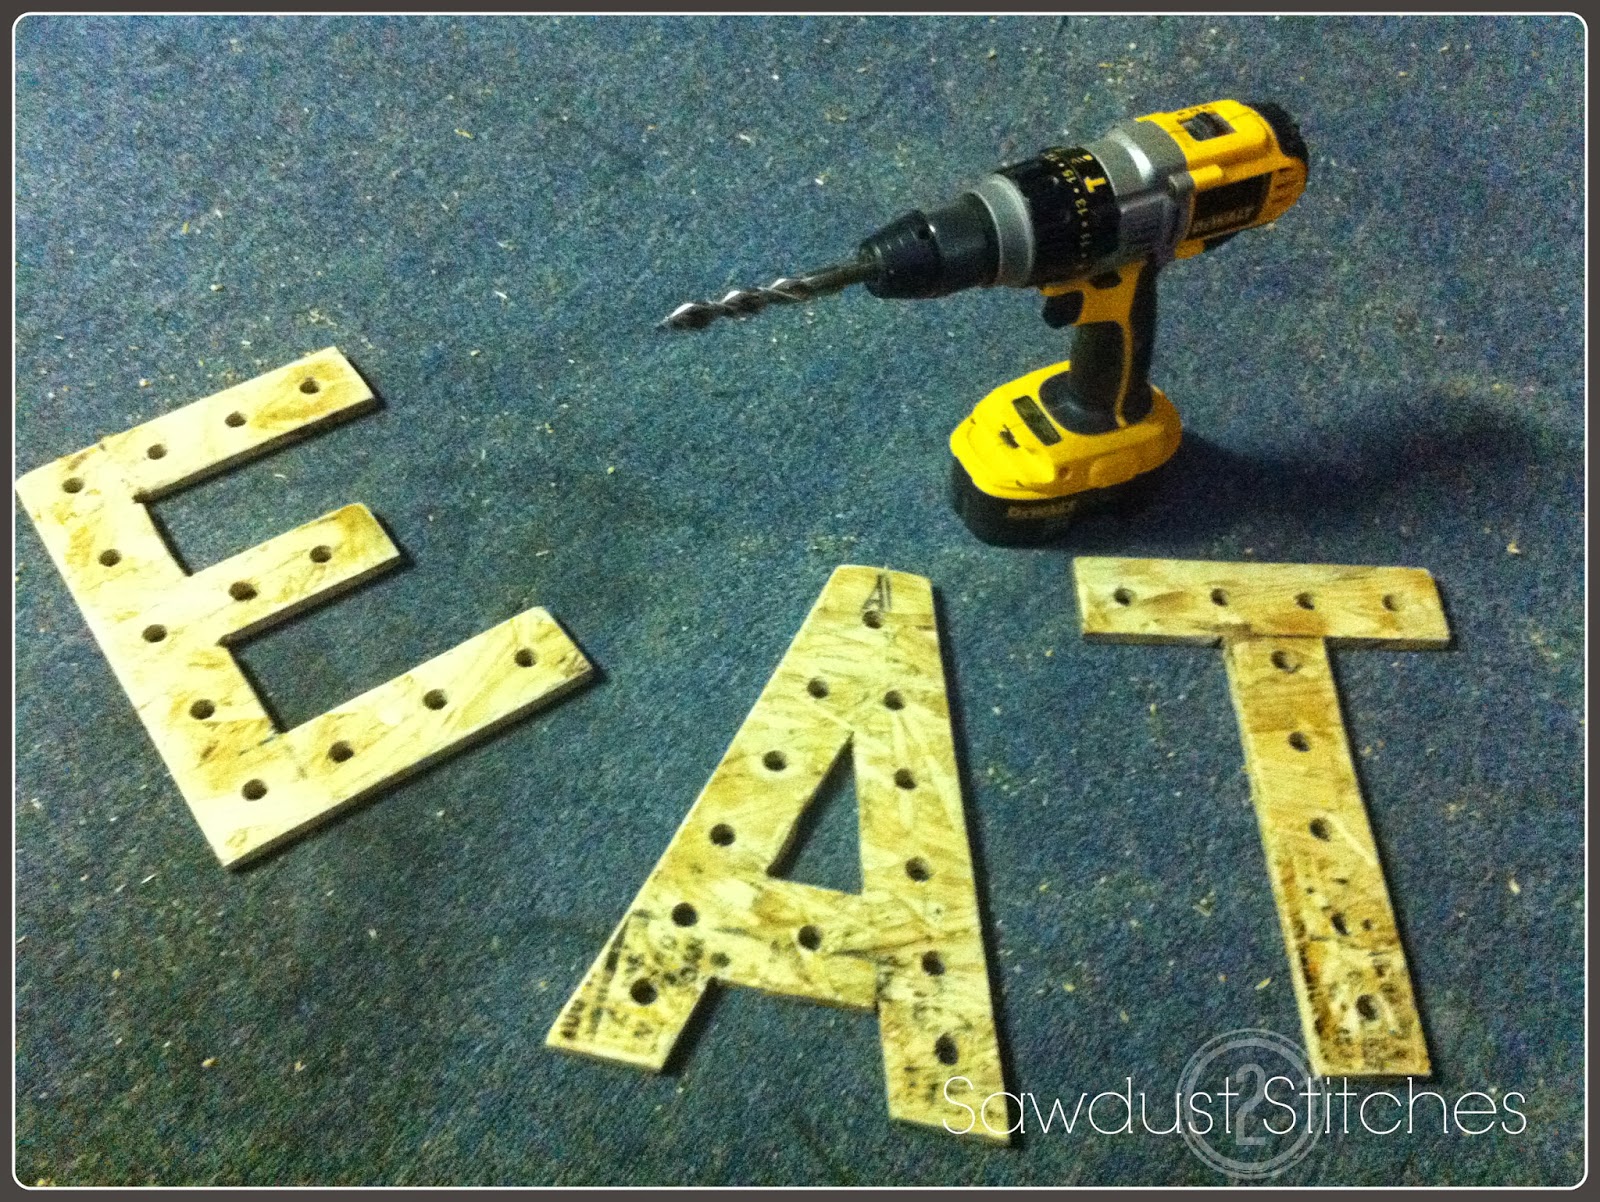
Next, I drilled holes in my cutouts so that I could insert short carriage bolts. I thought giving it rivots would make look more realistic. (I also think it would be really awesome to insert lights instead!)
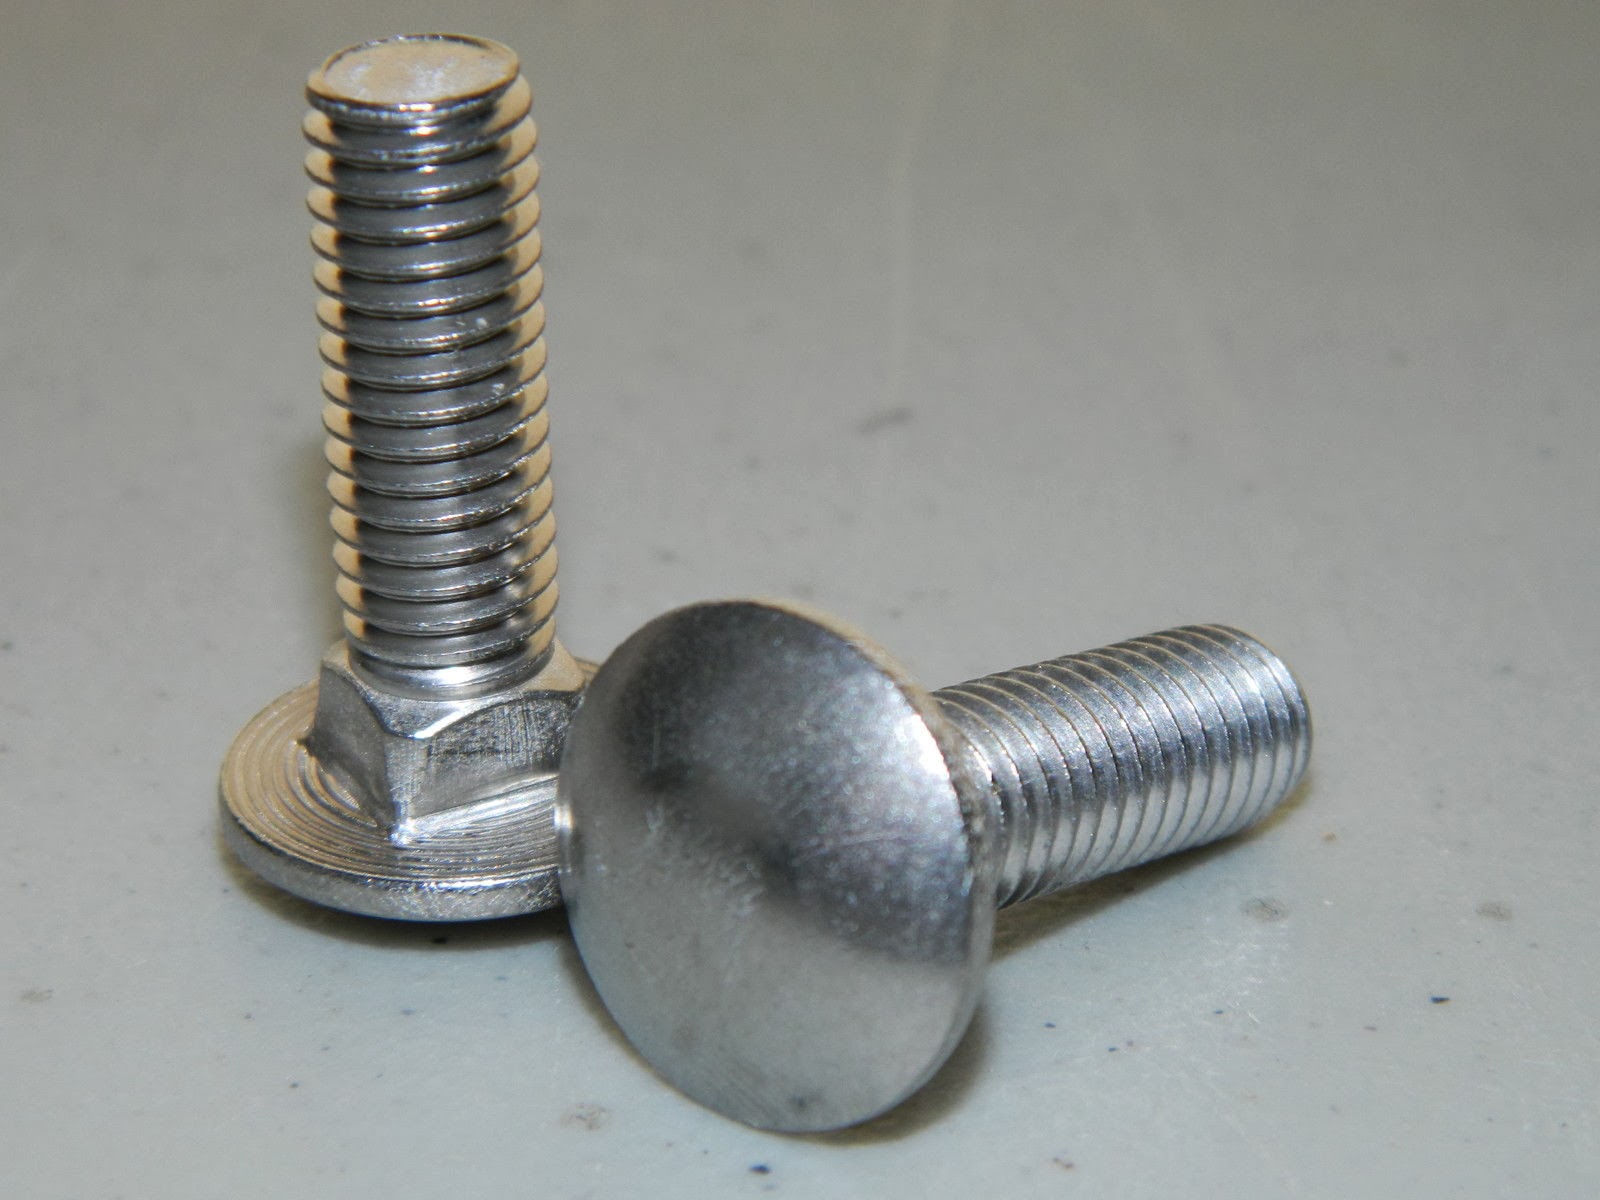
In retrospect I would have added the carriage bolts at this point so that they would get painted at the same time. ( I added just a dab of hot glue on each one to ensure they stayed put.)
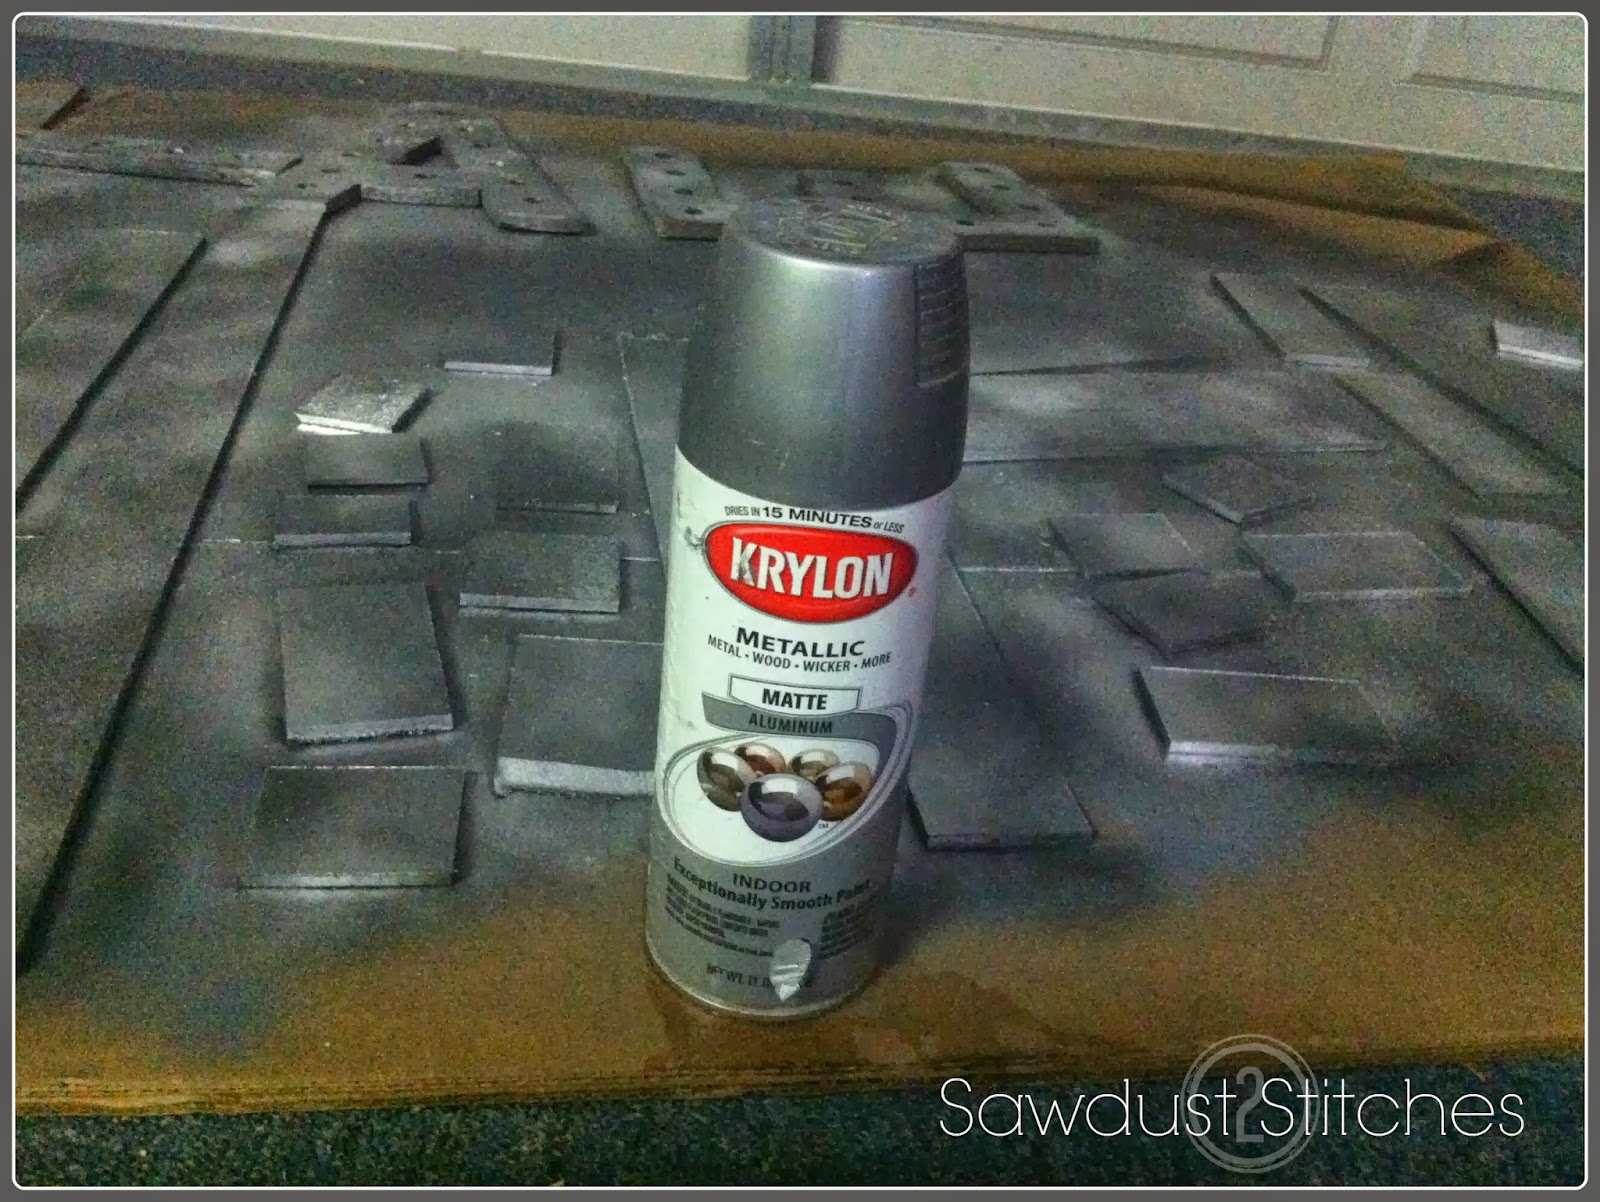
This next part was a little bit of trial and error, I started by giving the wood a base coat of “Metallic Aluminum” spray paint.
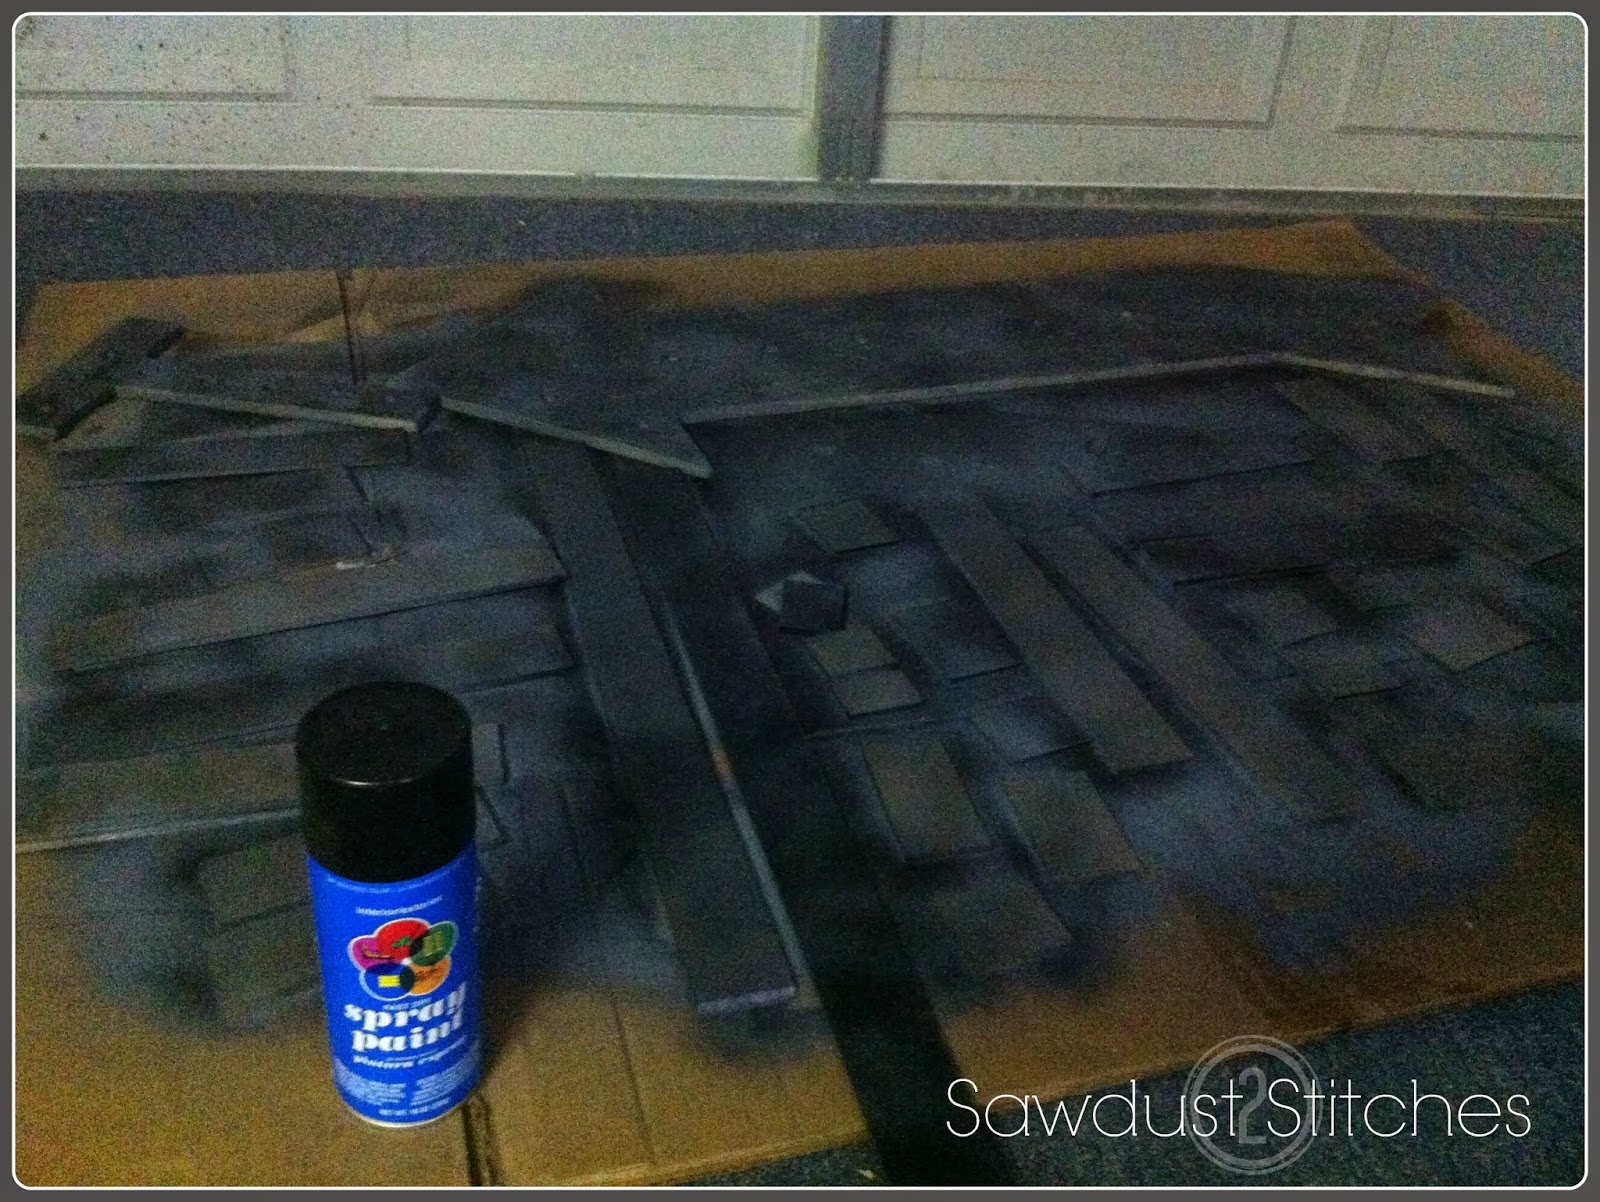
Once the silver layer was dry I used a matte black and did some eratic dusting all over the signs (edging strips included) in order to give it some dimension.

I then repeated the same process with Metallic Oil Rubbed Bronze. ( I pretty much repeated the erratic dusting method with any metallic spray paint I had in my arsenal),
* Like I said earlier, in retrospect I would have added the bolts (rivets) before the painting process.*
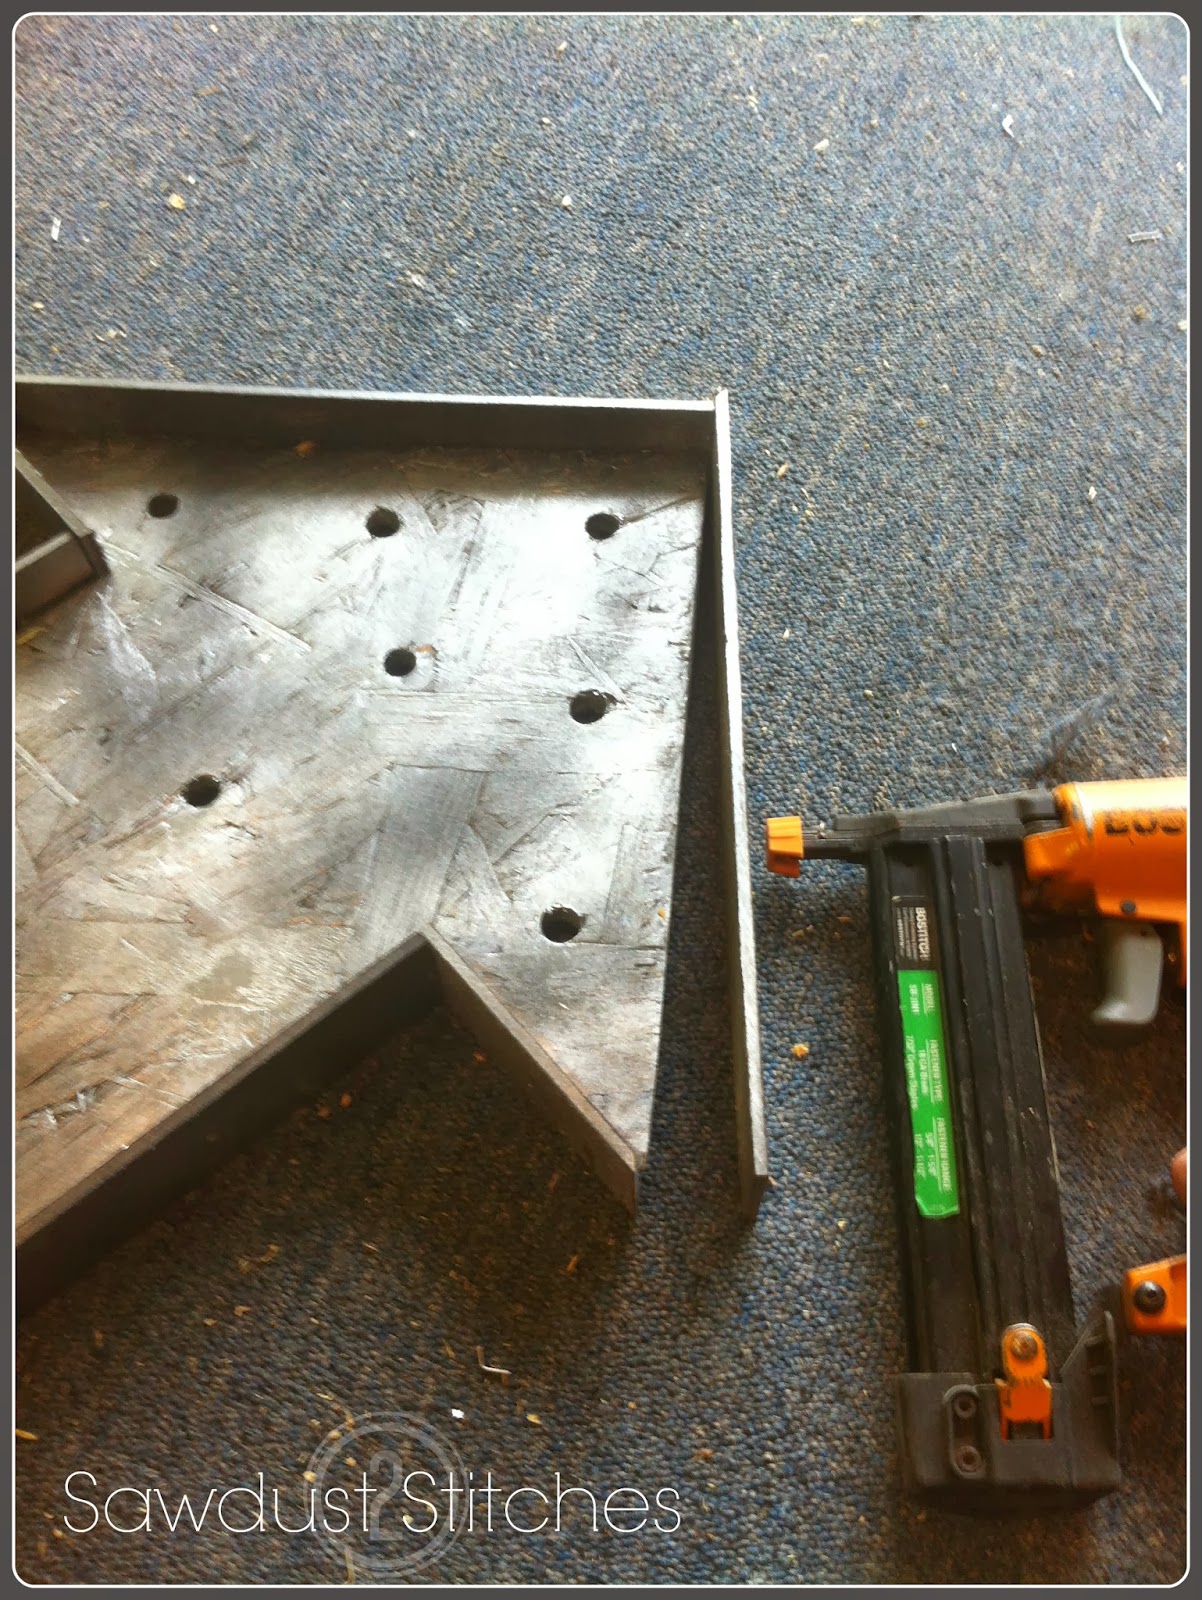
Using a finish nailer I fastened the 1.5″ wide slats of wood and tacked it to the cutout. I just liked that it gave it dimension and created the look of a vintage metal sign.
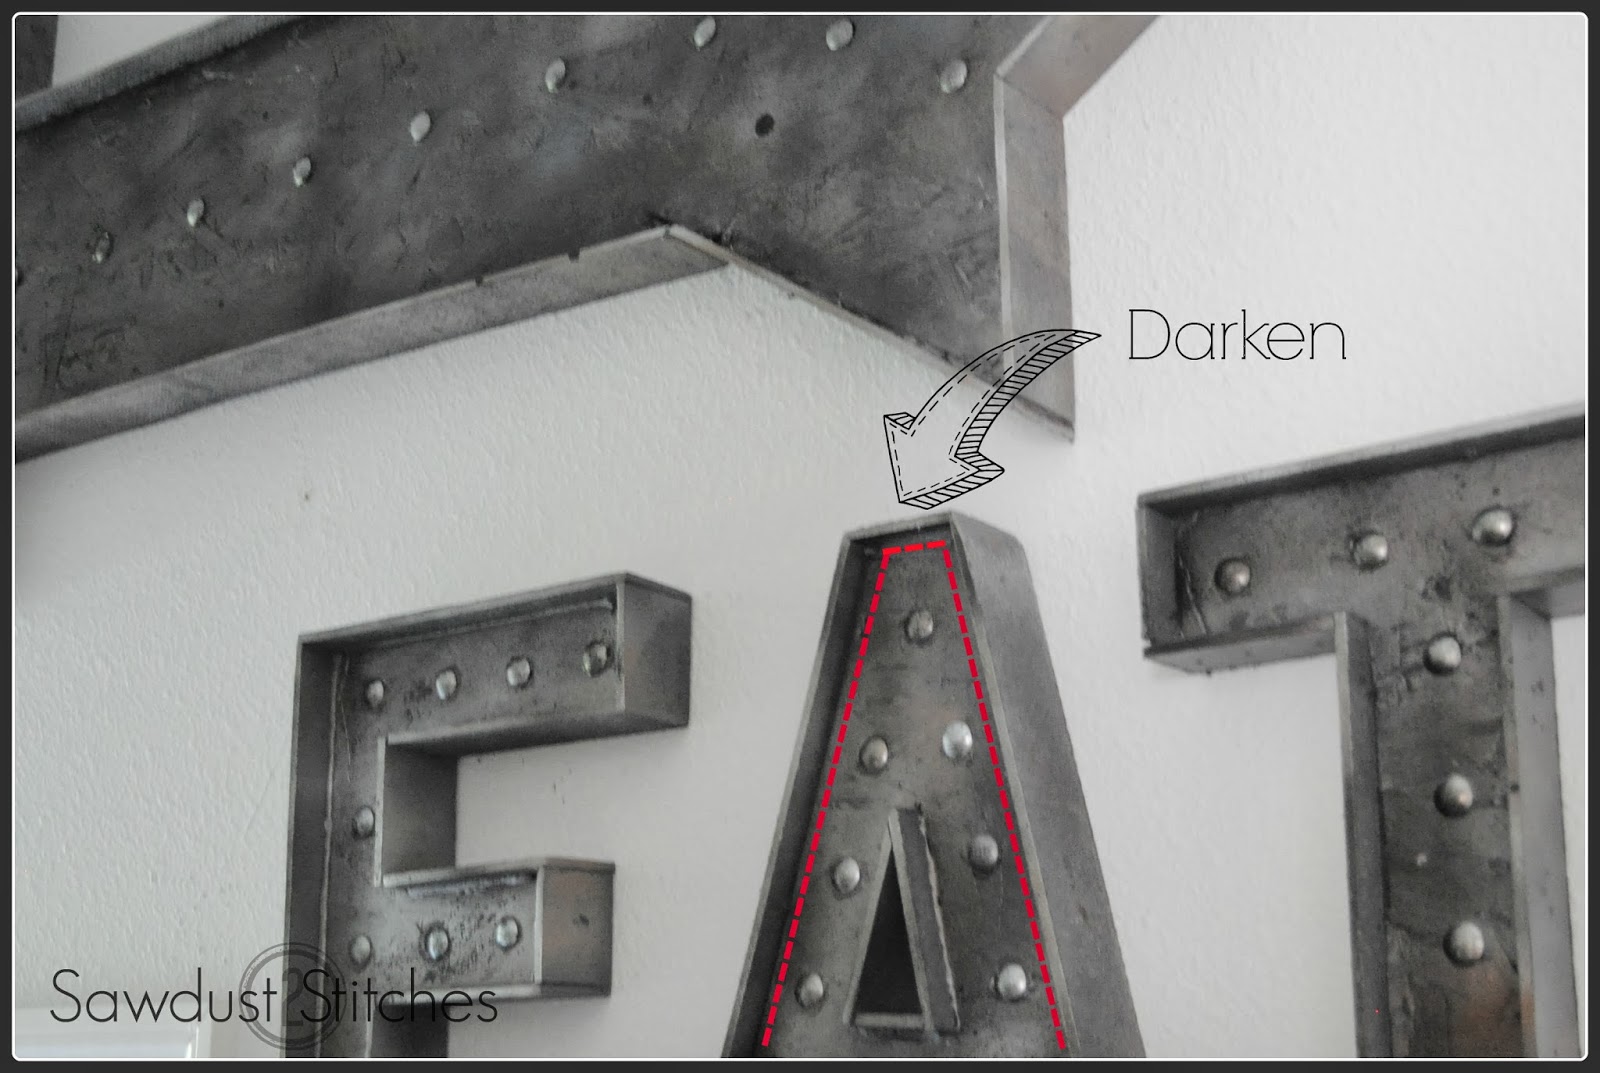
Once everything was secured I took a rag with a little bit of stain and added it to the creases to give it more depth.
Overall… I don’t think it is half bad for $4.00 in materials.
( Like I stated earlier, if I were to do it over I would have used a smooth board.)


Wow!!!!! I just found your Blog You are amazing! Why can't I follow you my E-Mail? Have a Blessed Raster
Thanks Tina, I just went and added a “follow me through email” just for you! If you follow me on Facebook you will be able to see more photos than what I add on the blog as well! Thanks!
Wow, this turned out so awesome! Pinned 🙂 I’d love it if you shared this over at The Makers link party going on at my blog, UpcycledTreasures.com
Thanks Katie, I will be sure to check it out! Thanks for reading!
Incredible and inspiring!
Thanks so much Pam!
Love your stuff.
You could go an extra step and put in string lights (you can get anywhere or patio lights) instead of carriage bolts and have an authentic looking old fashioned light.
Awesome stuff.
I like how you think, I ended up doing another project a few weeks later, and I did just that! Great minds think alike. Thanks for reading~!
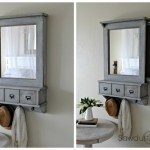
Do you have a tute for the numbered organizer below the EAT?
Kim, Thanks for reading! I don’t have one for this exact storage bin, but I did get my inspiration from here : http://www.remodelaholic.com/2012/02/diy-rustic-wall-storage-bins/. Hopefully that helps. Thanks for reading!
Wow! I love this. And for $4? I have OSB lying around too…
You know you are a DIYer when: You have OSB lying around.
haha
Thanks for reading!
I LOVE it!!!! It looks better than semi good, it looks awesome!
Thanks so much Mindi! I was pleasantly surprised when it actually turned out. Haha.
Love this project! I can’t tell exactly what you outlined the letters in – are those shims? Lath? The name of your blog is perfect btw 🙂
I would recommend using lath. When I made this, the kids were napping so I just cut strips of paneling, instead of waiting for a trip to the store. Haha.
You are just amazing and I’m becoming addicted to your blog ! I love all your projects but this time I’m trying to do the Pottery Barn Lamp Spotlight and came to this post to get more details on the finish you used and I have a question, what kind of stain did you use ? Would you use the same for the Spotlight giving that here you were working with wood and there is a different surface ? Thank you !
Hildy, Sorry that was a little vague wasn’t it !? You are right, you don’t need to use stain seeing as the metal will not absorb it the way porous wood, would. I would just use the technique of layering/misting different spray paints to achieve that worn and weathered look! Good question, I will make sure to go back and clear that up! Thanks so much for following and “addicting” is totally what I am going for! Thanks so much!
Hiya. I’m just wondering did you use any kind of primer before the spray paint? Cheers 🙂
Primer always helps! I would use a gray primer, it will be easier to cover, and if you miss a spot in the “misting” process no biggie.