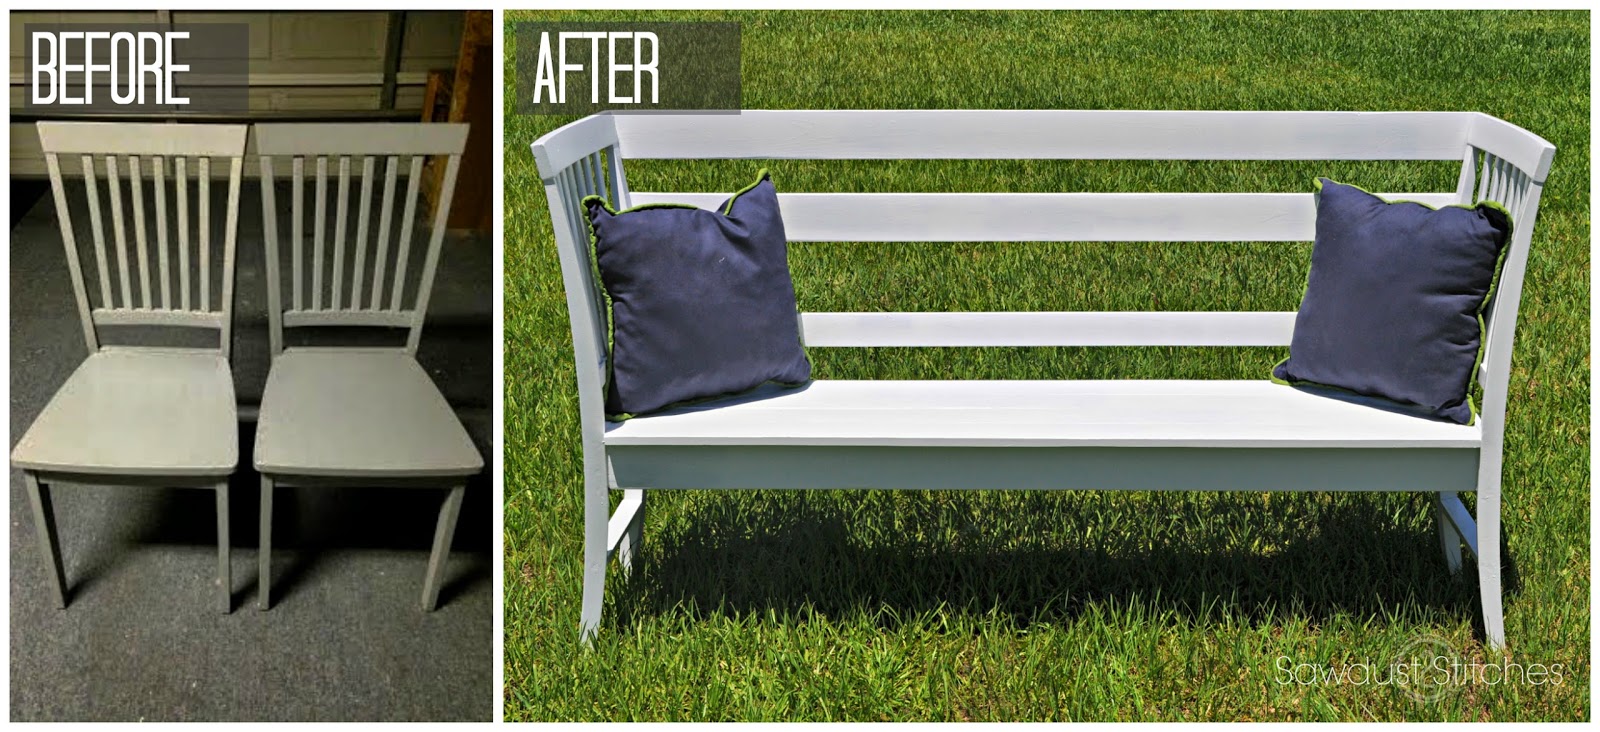

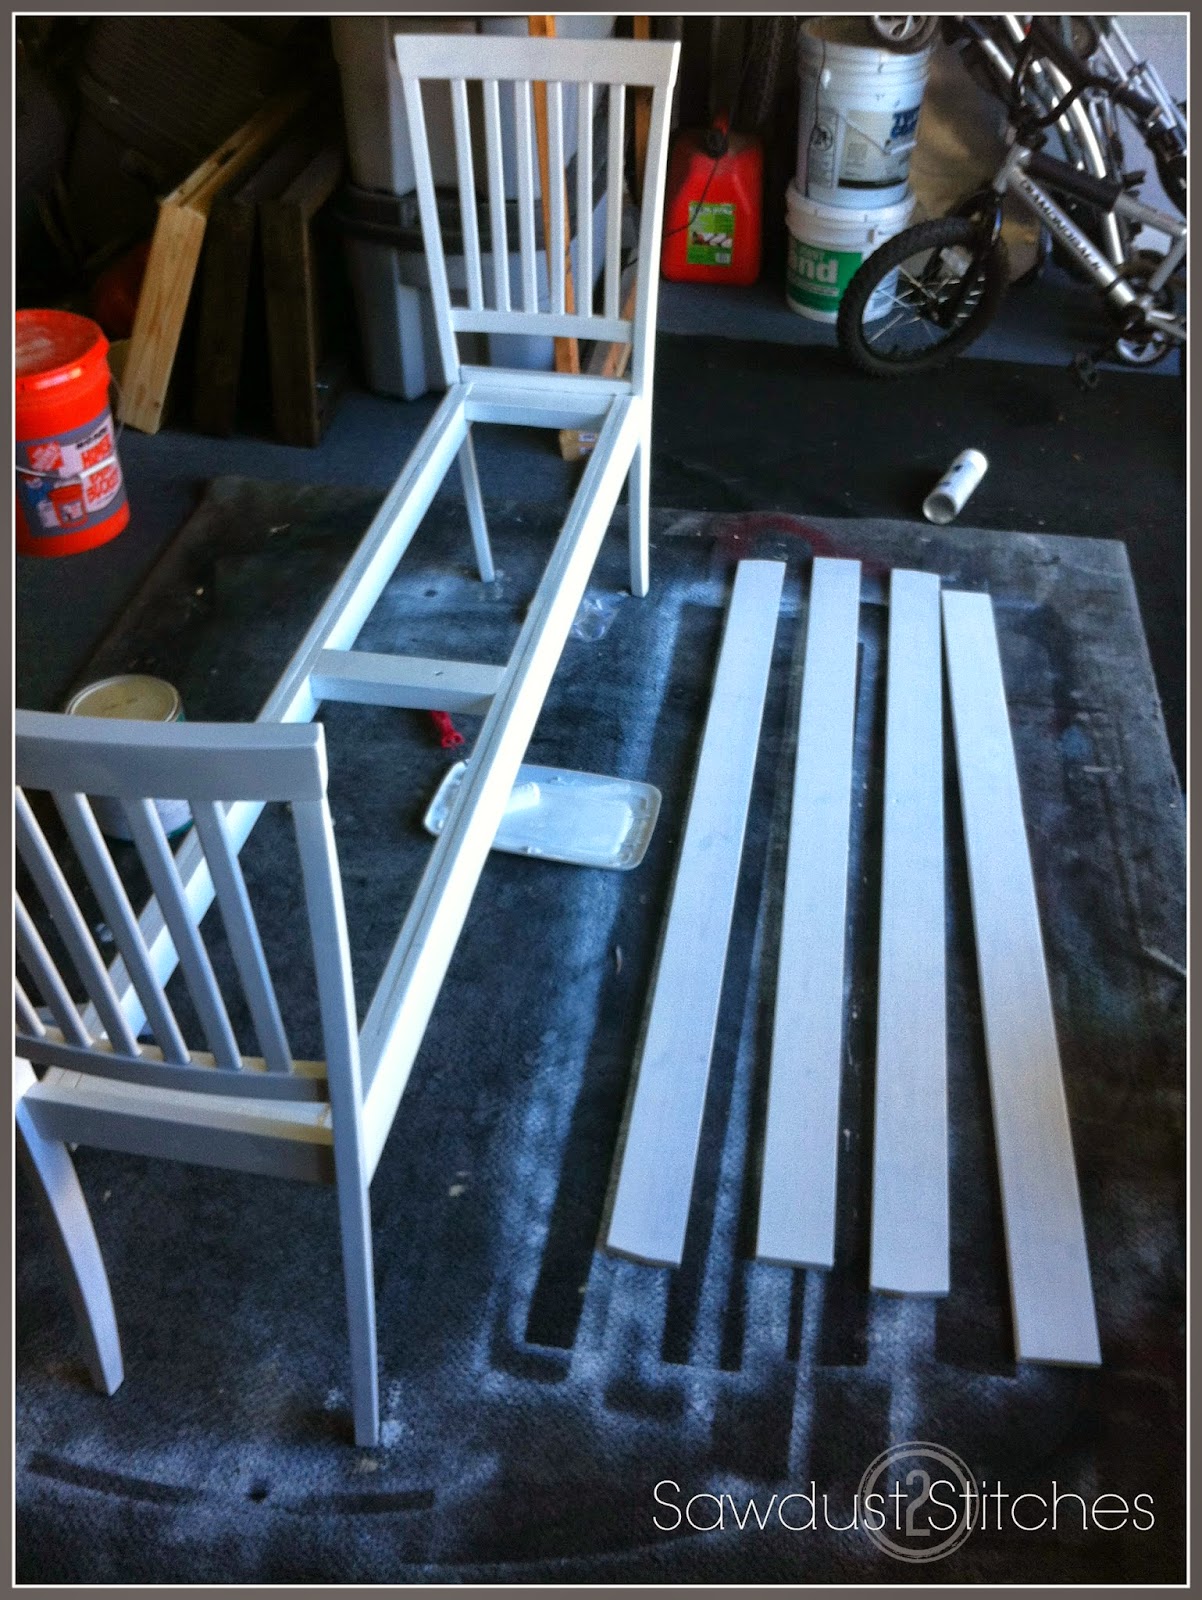
I started the process by dismantling the chairs. I only needed the “back” of two chairs.
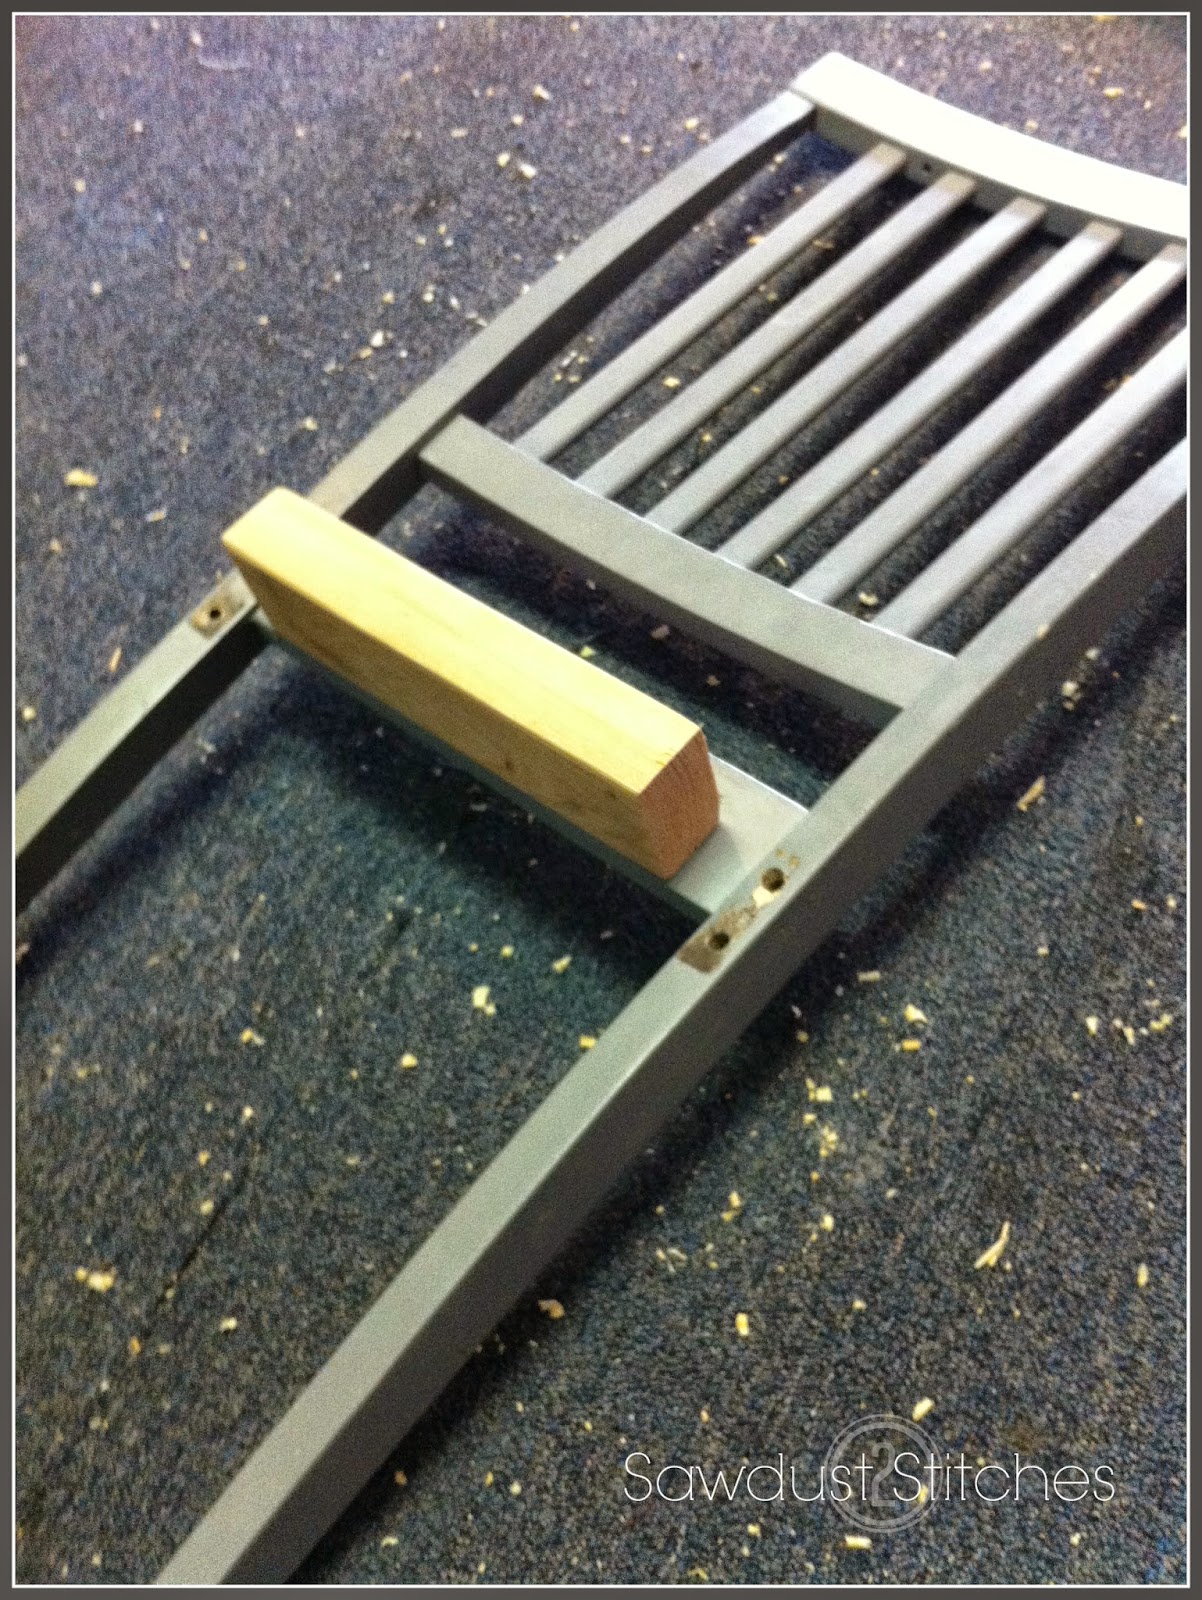
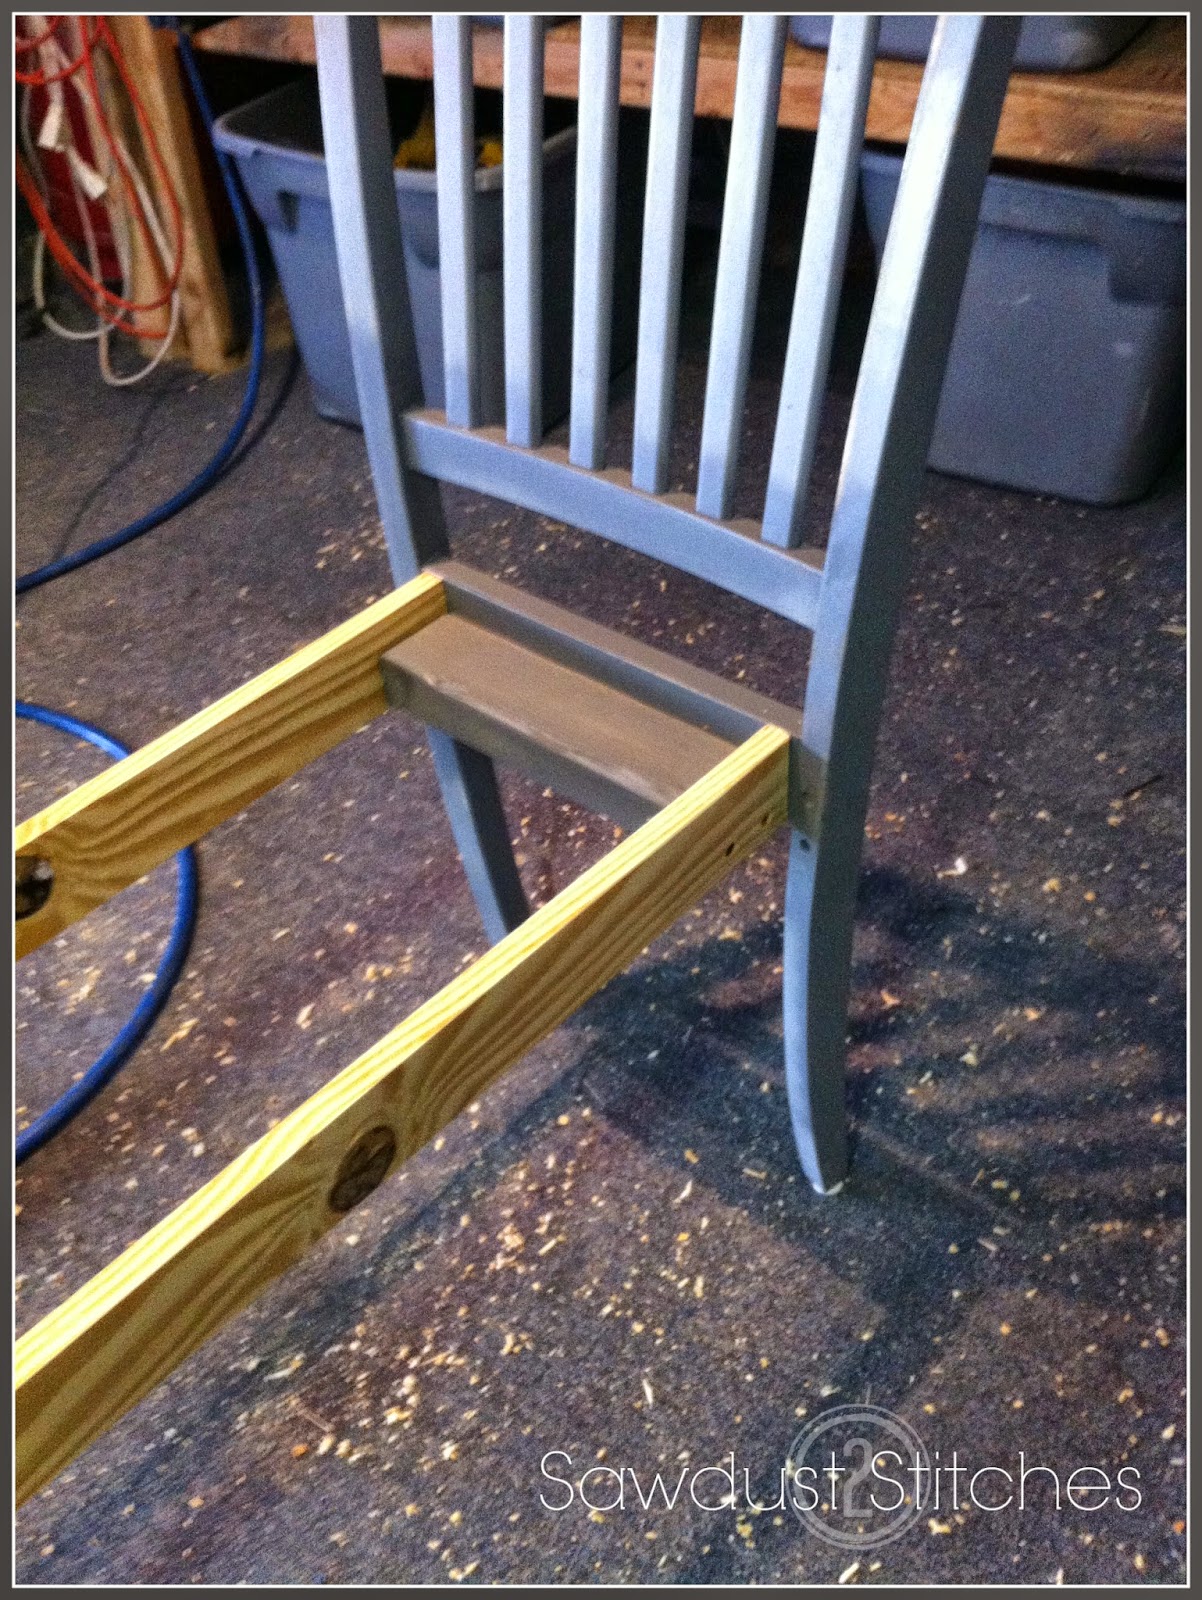
I secured a 2×3 to the front of the chair so that I could fasten supports to the chair and create more stability.
I used 1×3’s to span from one chair to the other. These can vary in length depending on your own tastes/needs. ( My bench is about 5′ wide.)
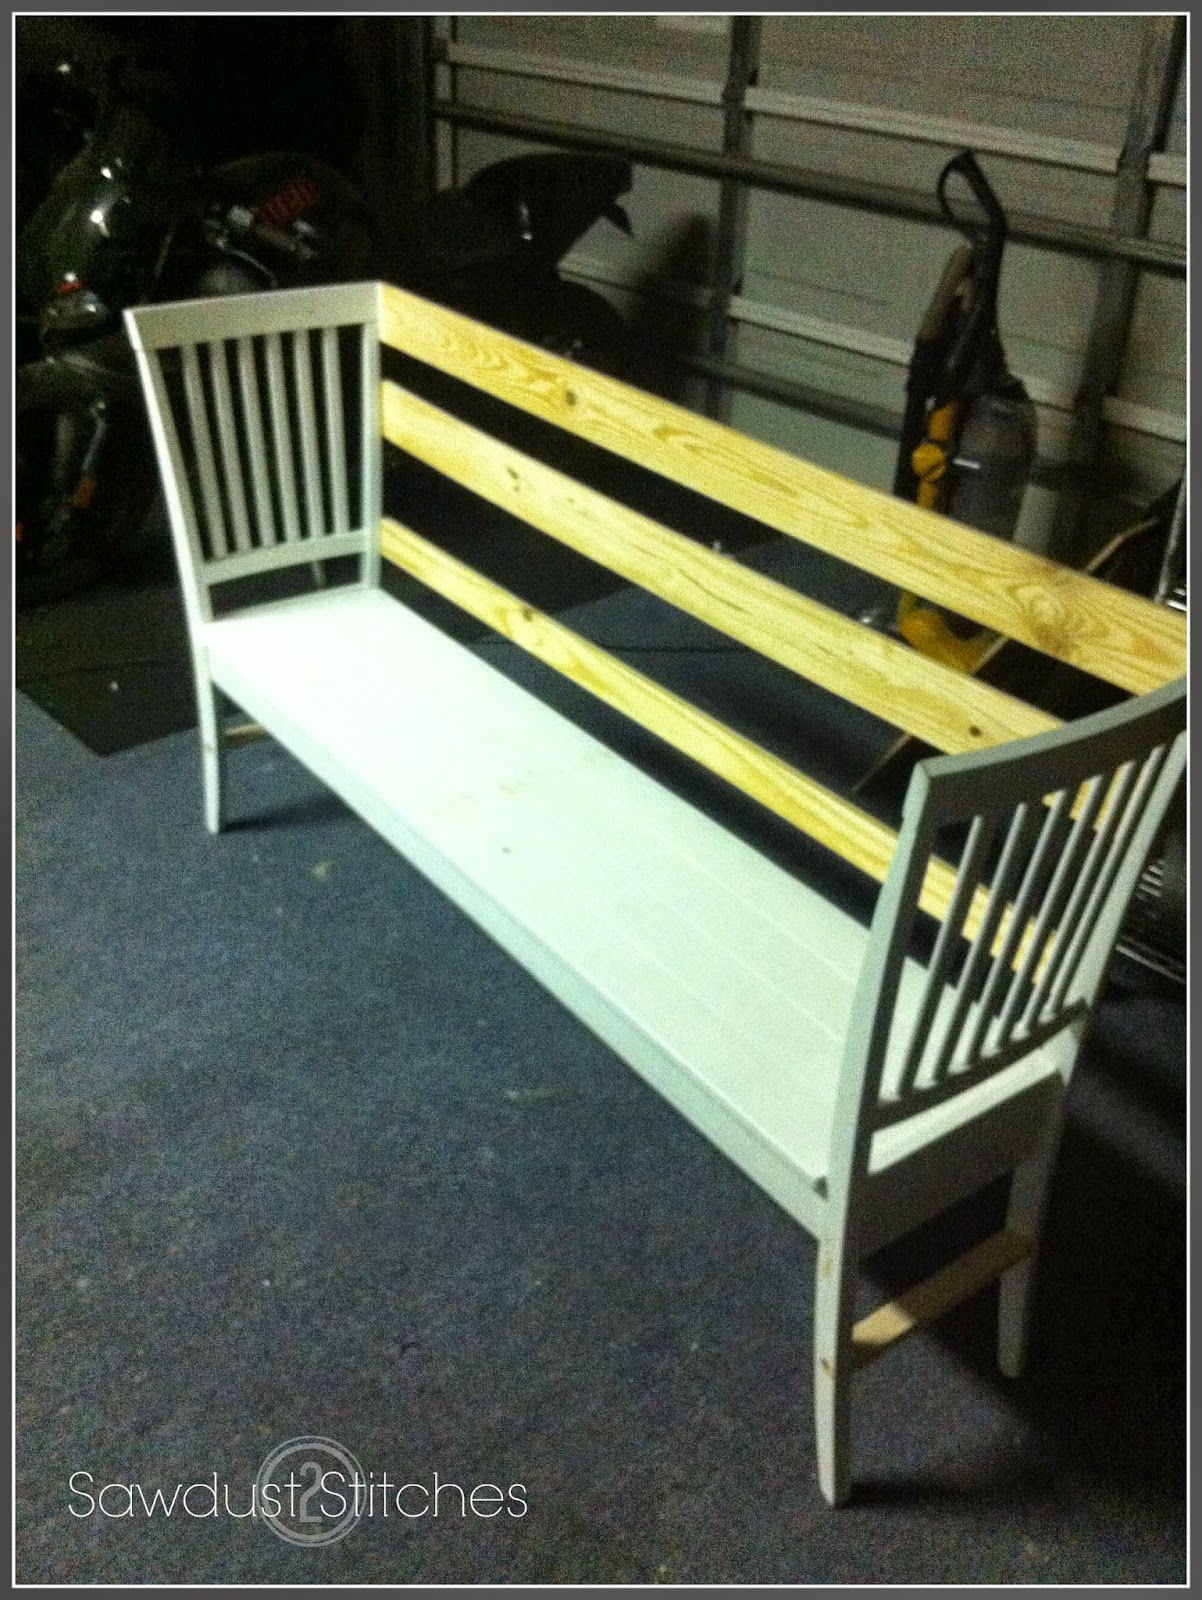
Keep in mind the longer the bench, the more supports you will need. ( See the center support in above picture.) Once the initial supports are in place, I reinforced the 1×3’s with 1×4’s. After, the 1×4’s were in place I used a nail gun to secure them to the 1×3 and 2×3 supports.
+ss.jpg)
I was not entirely sure if I wanted the bench to have a back rest. In the end I decided I liked the look and it was a little more practical for my needs. It also added to the stability to the bench as well.
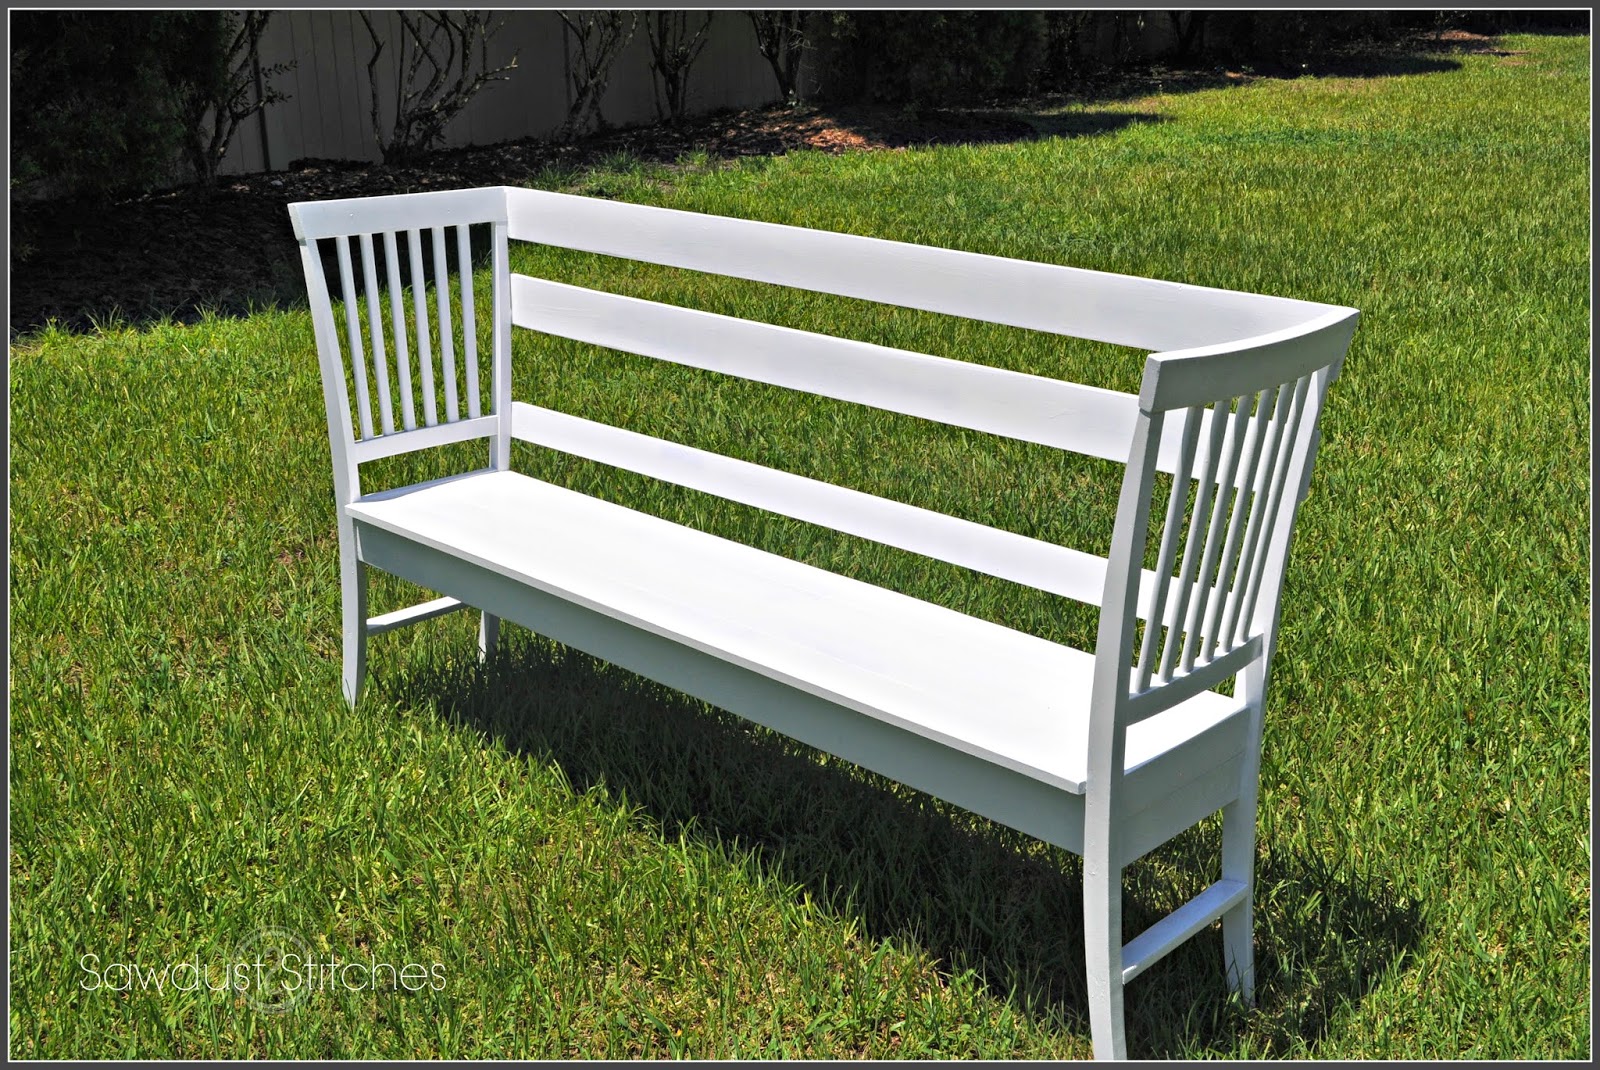
All it needs now is a paint job! Don’t forget the basics, sand, prime, paint and then repeat if necessary.

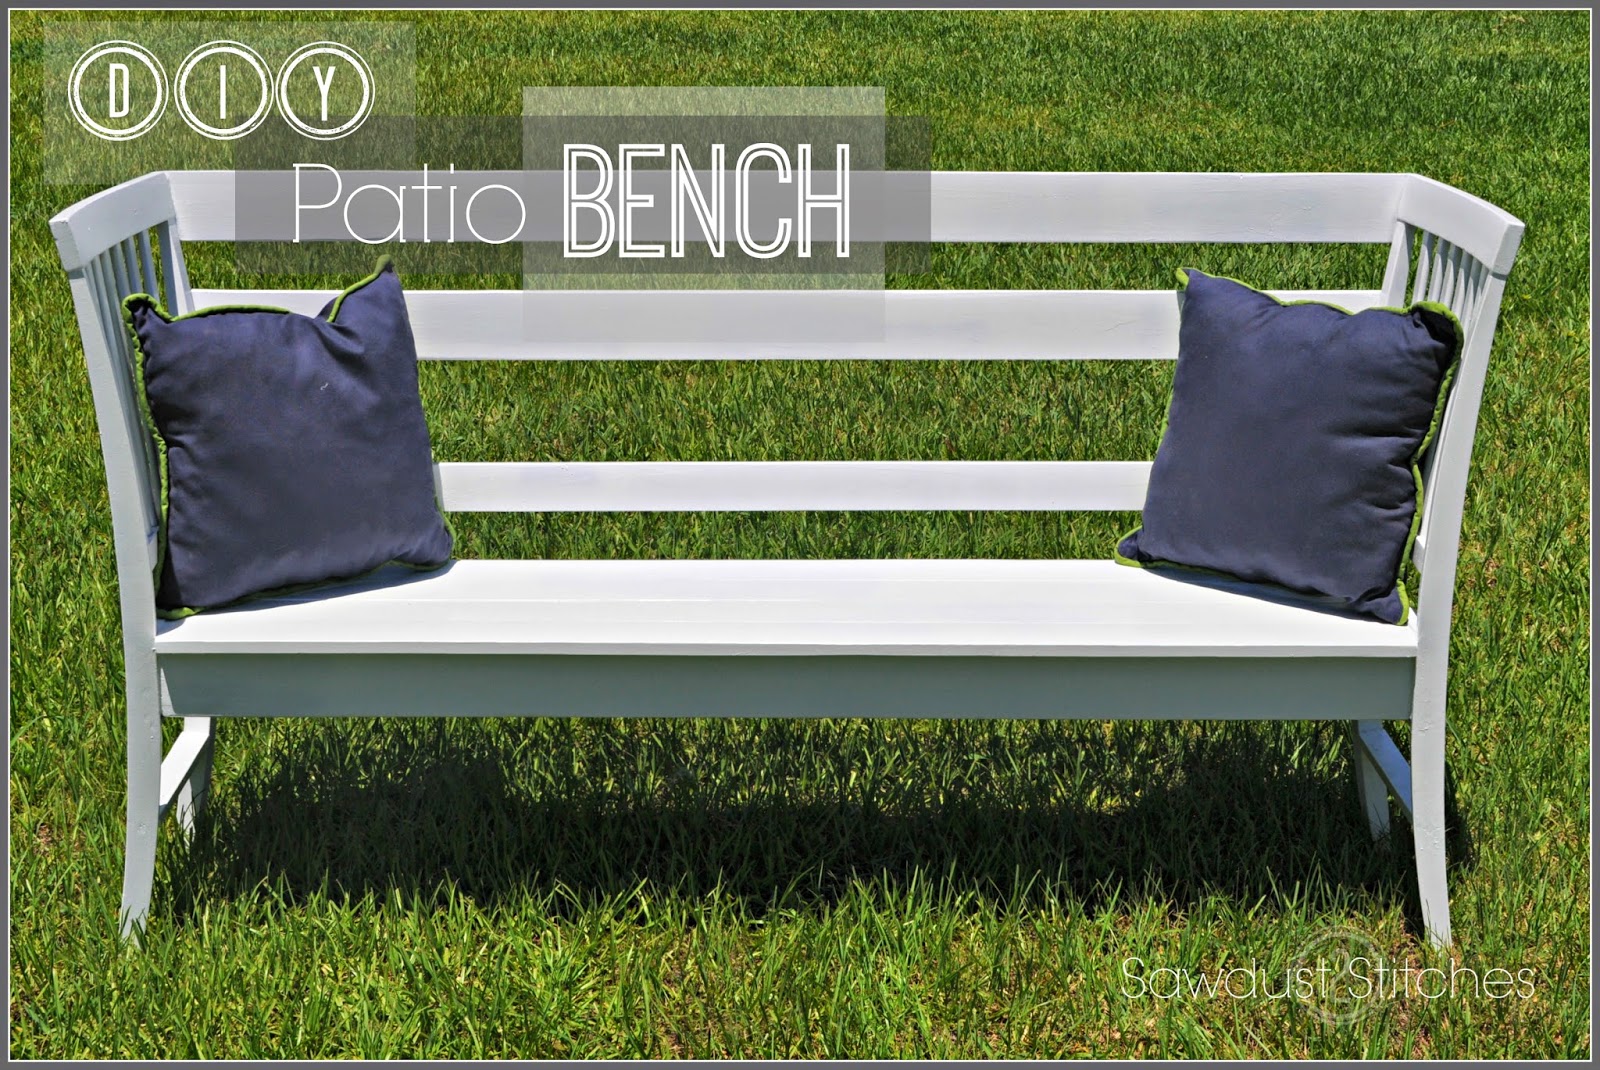
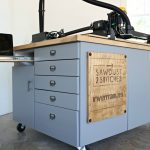
Look how pretty! Who would have ever thought these were two old chairs destined for the dump.

After adding a few homey touches I called it done! In a few weeks, you will get to see where this guy ended up. Stay tuned, it’s gonna be good!
Take luck ,
Corey


In shock! This is so beautiful and clever! Now I have to go find some chairs to go do this. Thanks! So wonderful…!
Thanks! Best of luck and I would love to see it if you end up making one!