Hey all, today I am pleased to announce a fun new partnership! I am working with the amazing team at Inventables. What is Inventables? They are a company that creates machines that are taking “makers” to the next level! I personally will be working with their “X-Carve” machine. The best way I can think to explain it is, it’s a a dremel/jigsaw/router/computer! Basically, anything you can think up or design, this machine can help you bring to fruition in a fraction of the time! I have been ITCHING to get into my shop and see what this baby can really do, but I needed to slow my roll and take baby steps.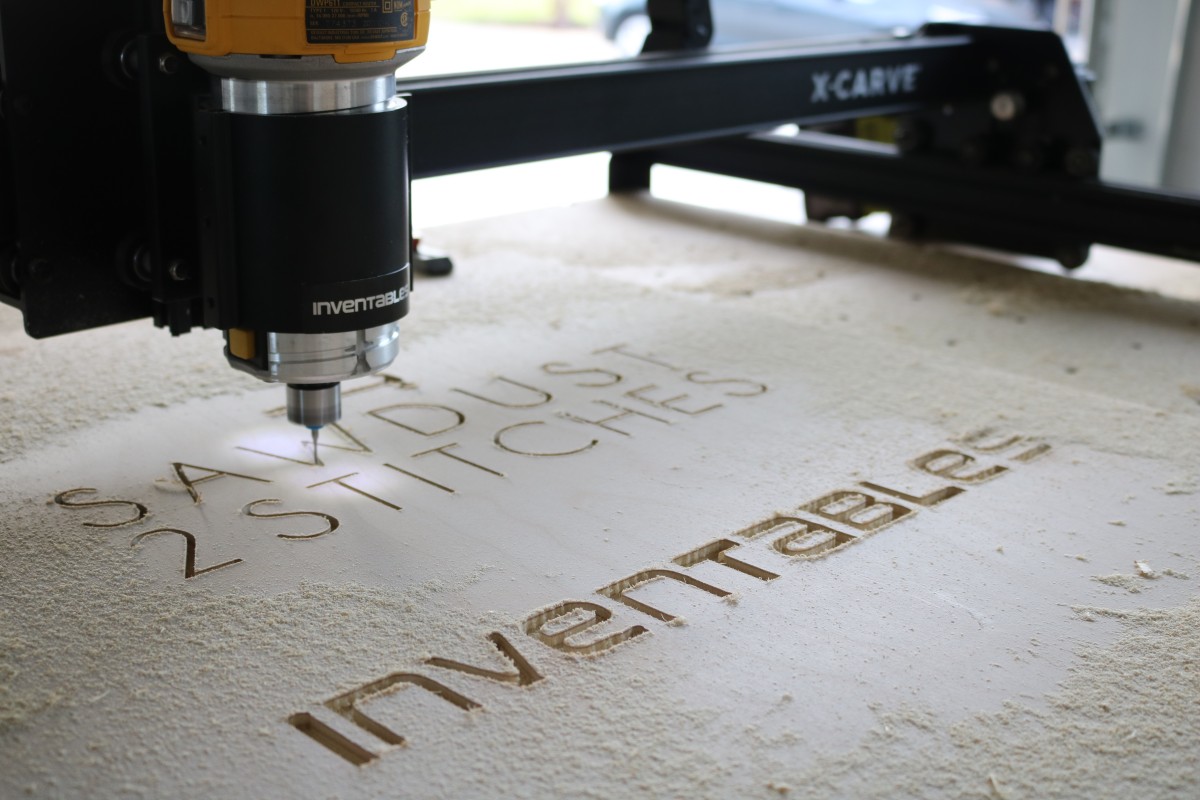
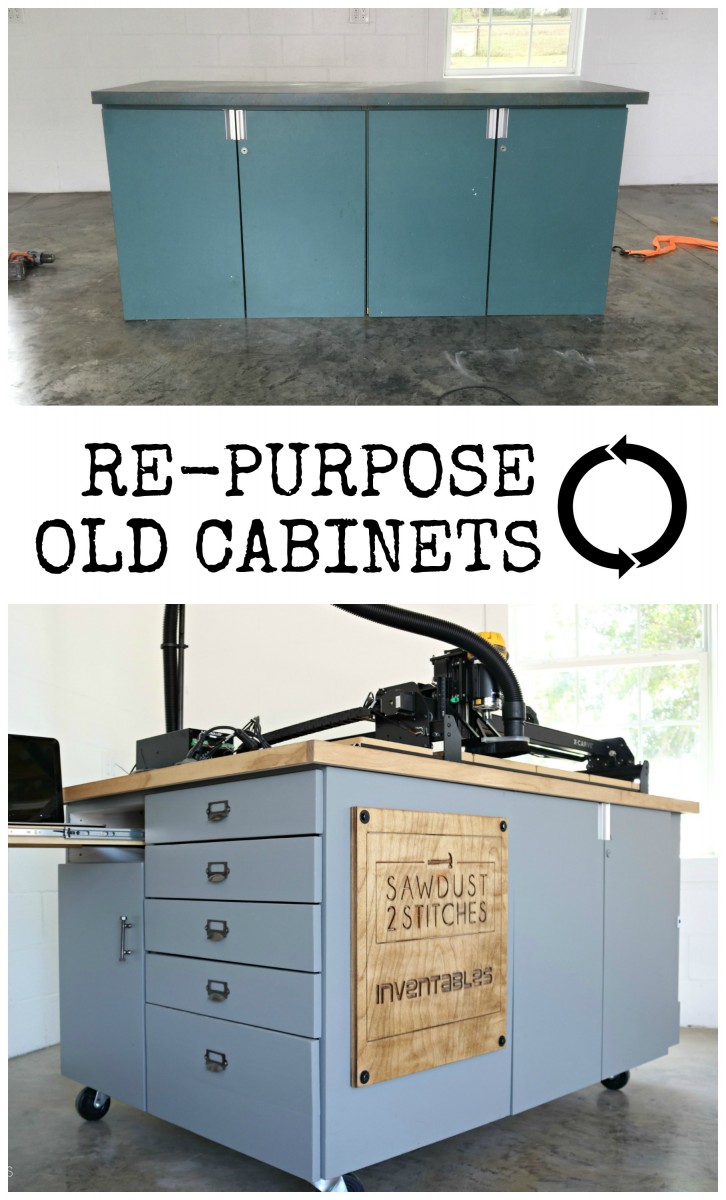
First things first, I needed a workspace that would not only accommodate my new “x-carve”, but I also wanted to start to get acquainted with my new tool. What better way to do that then to build it a kick *ss shrine that would hold all of it’s gadgets, and let me start learning how to use it!? So today, I am showing you how I pulled together a awesome Inventables workstation out of OLD CABINETS!!!
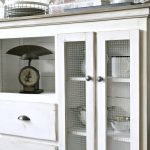
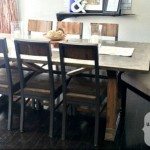
Let’s dive in, shall we? I started with these two old cabinets I inherited from a old school renovation.
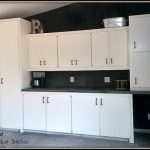
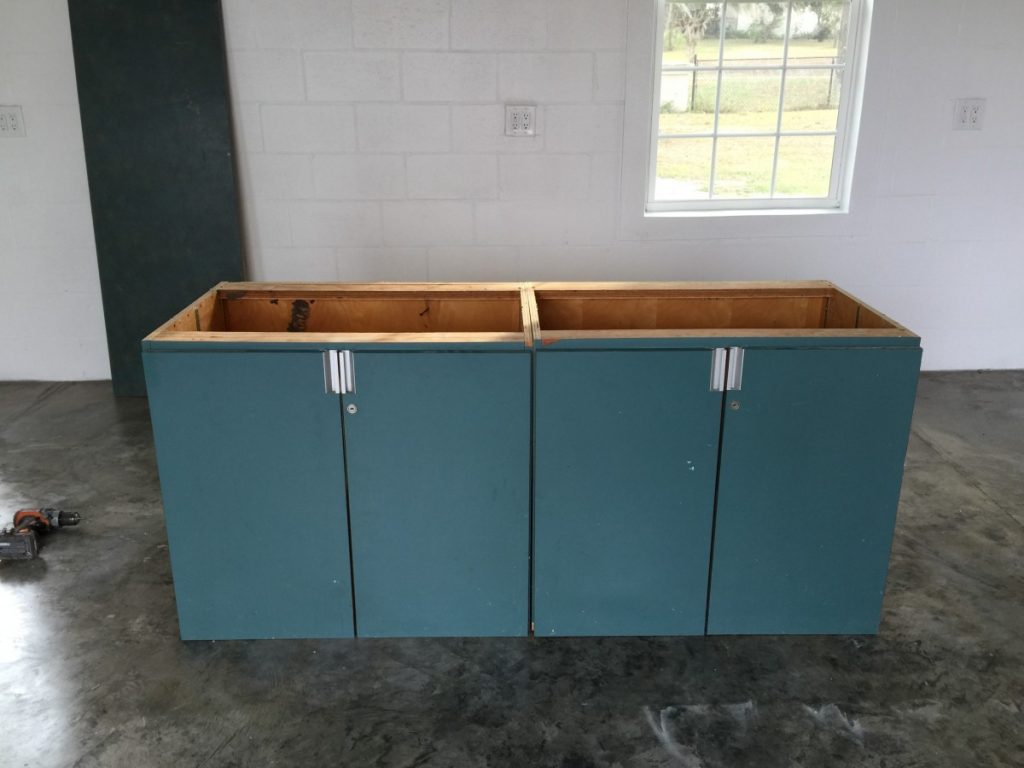 I needed to create enough space so that the X-Carve would have plenty of space, so I put the two cabinets back to back.
 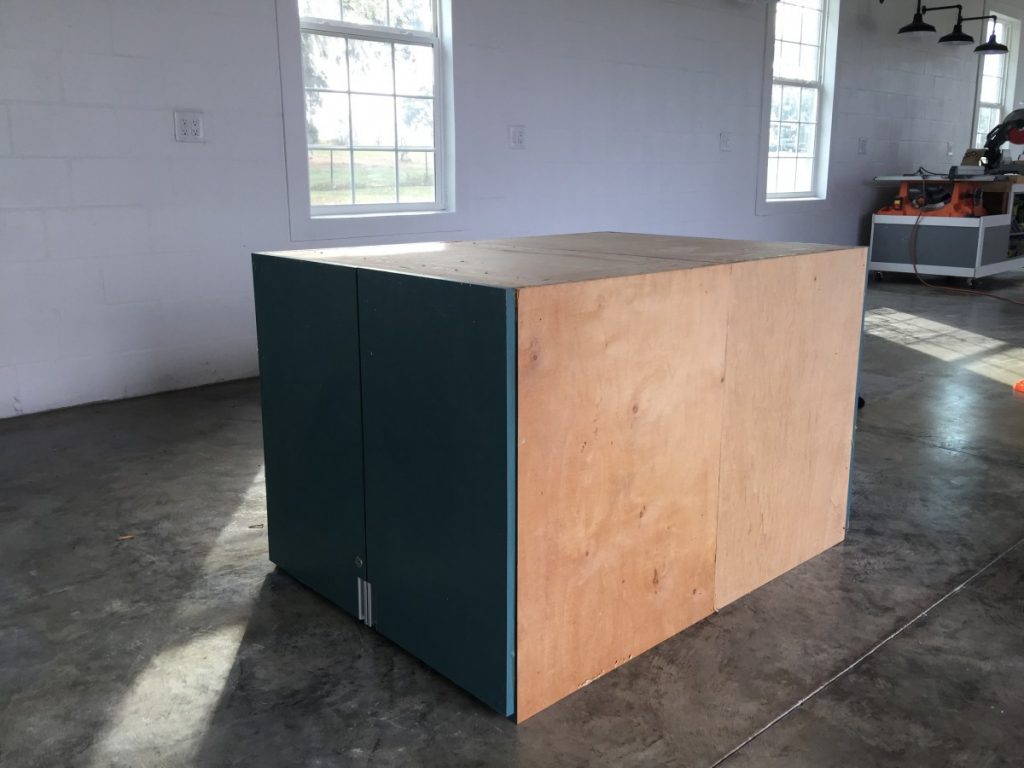 That created enough width, but I still needed length… so I went into my OLD garage and pulled out a cabinet I had made for my previous shop. It would be perfect for the end cap of the “cart” I was making, plus it had plenty of storage for all the accessories you can purchase for your X-Carve!
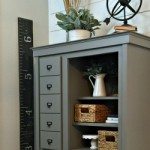
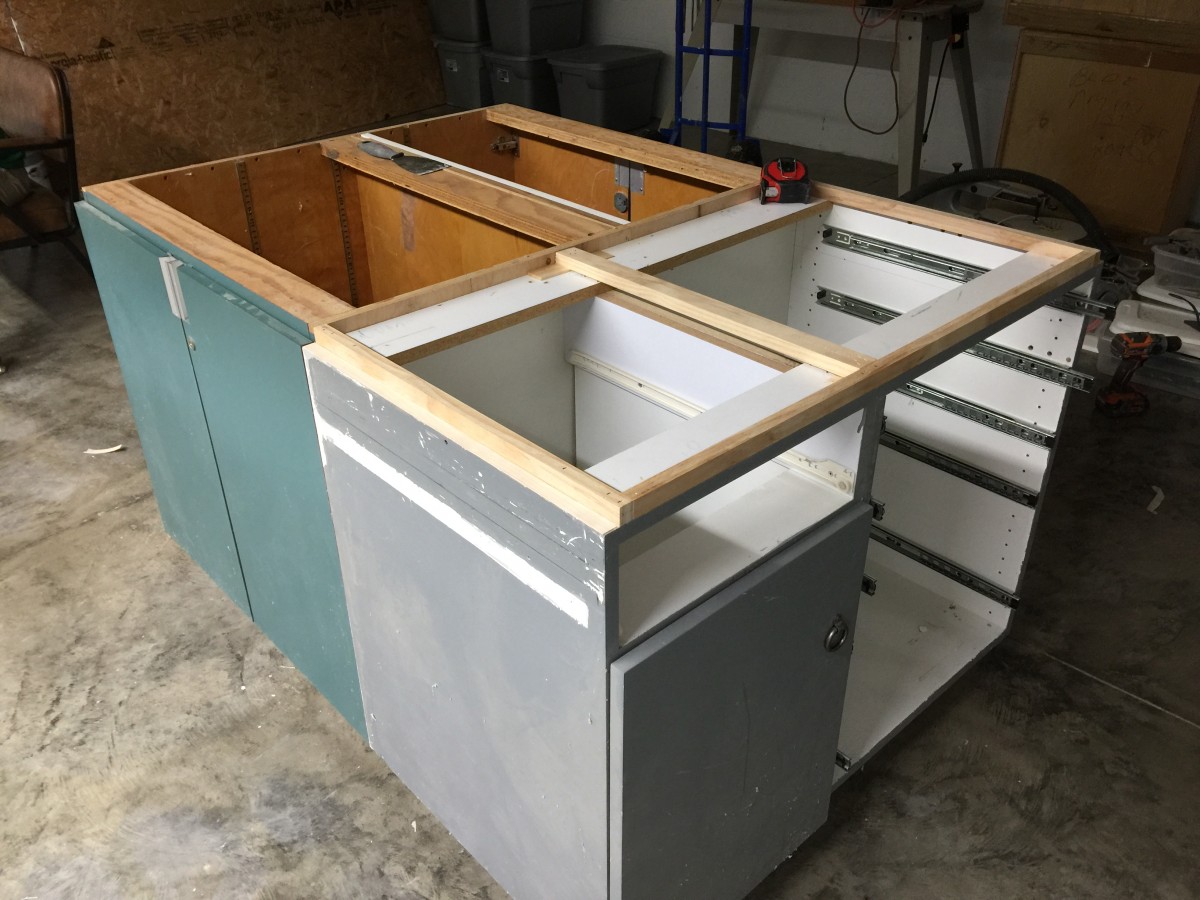
(In case you were wondering, yes, I did need to modify the depth of one of the cabinets in order for the two teal color cabinets to meet the same width as the end cap cabinet. See image below.) 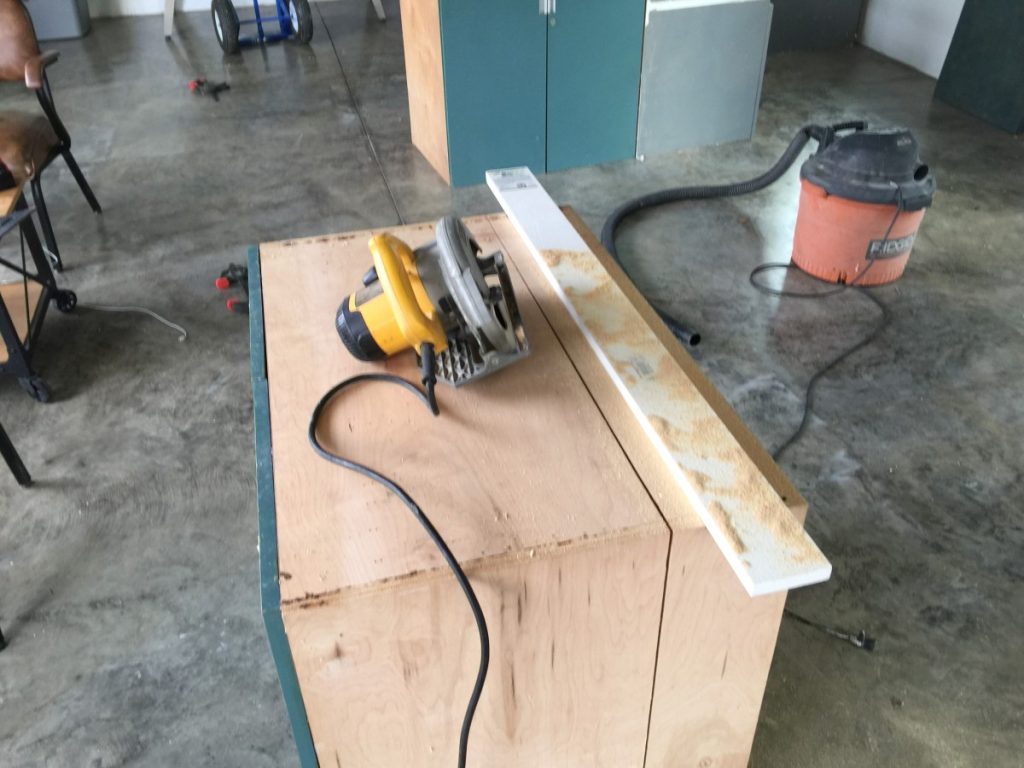
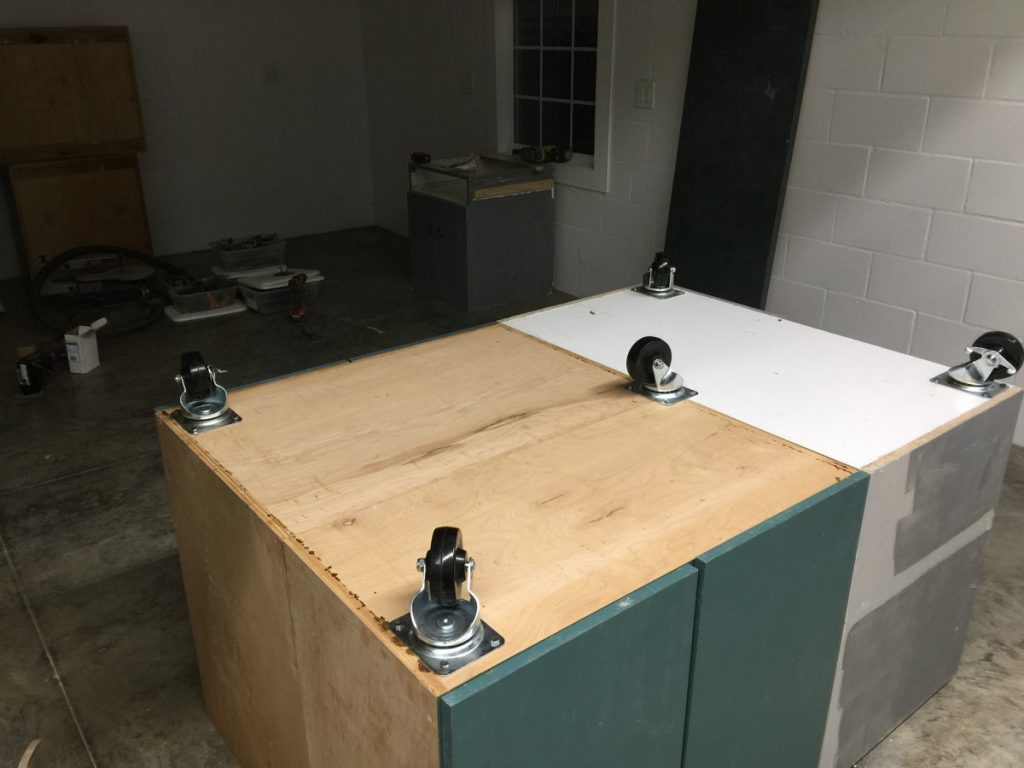
Next, I wanted this X-Carve workstation to be mobile. So with some help I flipped this thing over and added some beefy castors.
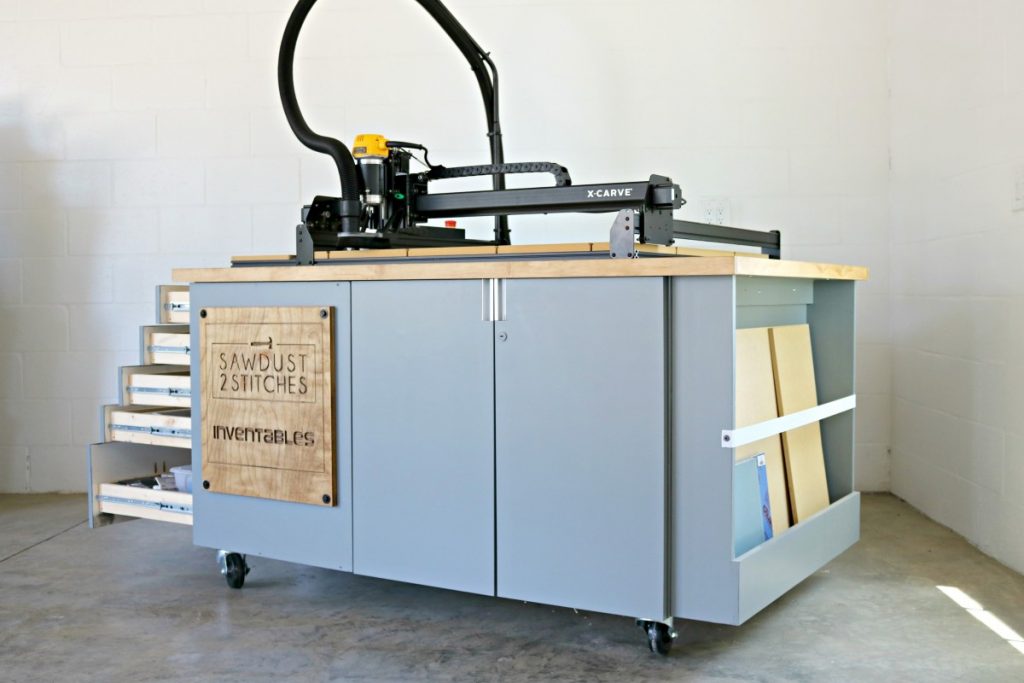
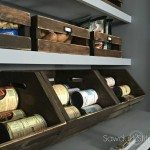
Next up counter top! If you are interested in how I make my counter tops I go into more detail on that here. 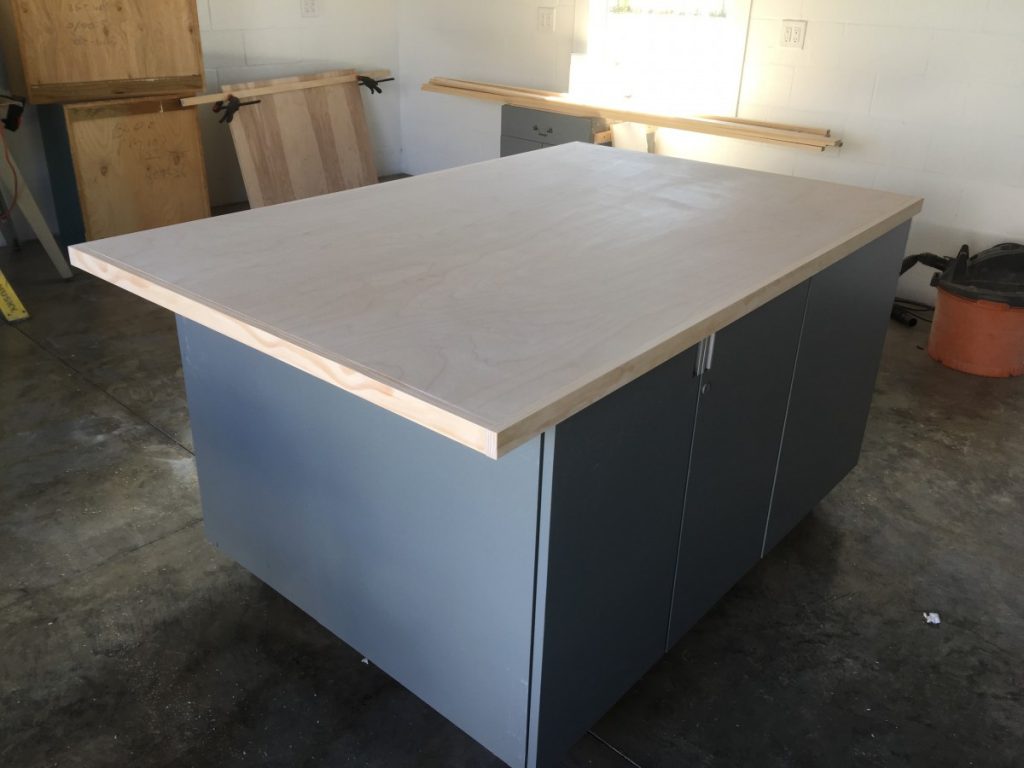 Now is the fun part! Really tricking it out with features specific for the X-Carve. With the X-Carve you can cut into sheets of plywood, MDF. acrylic, metal, plastic, corian… you get the picture. (Want to see what else it can cut? Click here!) It can cut a TON of different materials, so I decided to build a shelf that would house all my specialty materials!
 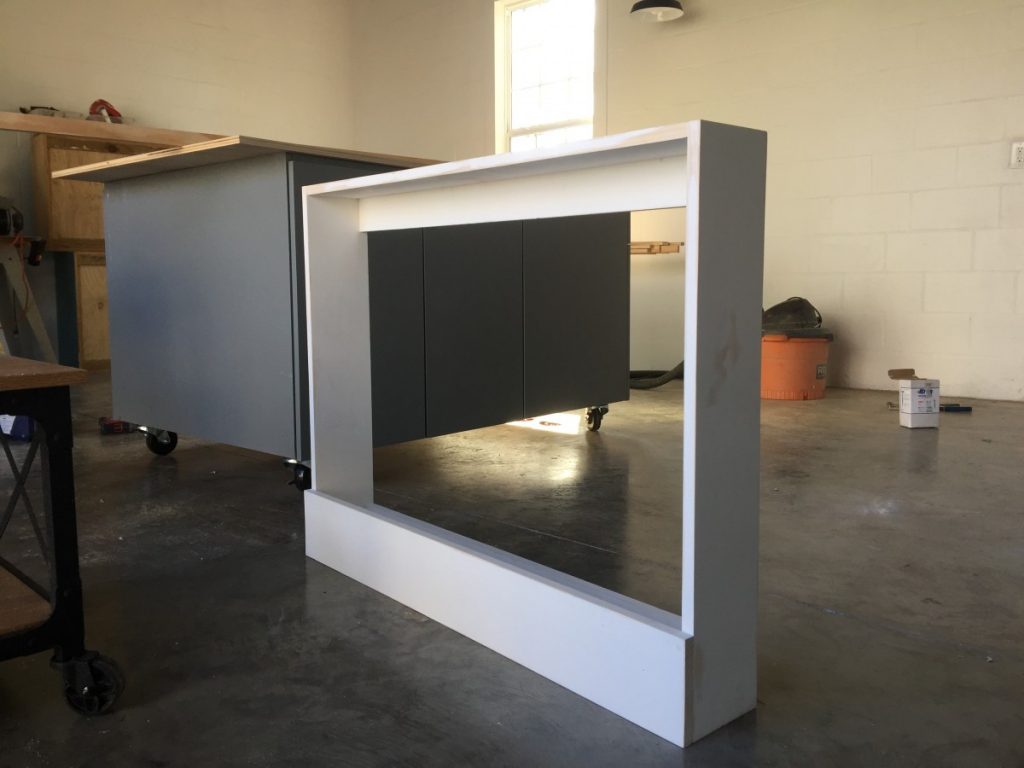 I just made sure to build my counter top was large enough that is would over hang on one side giving me enough space to mount my materials shelf.
 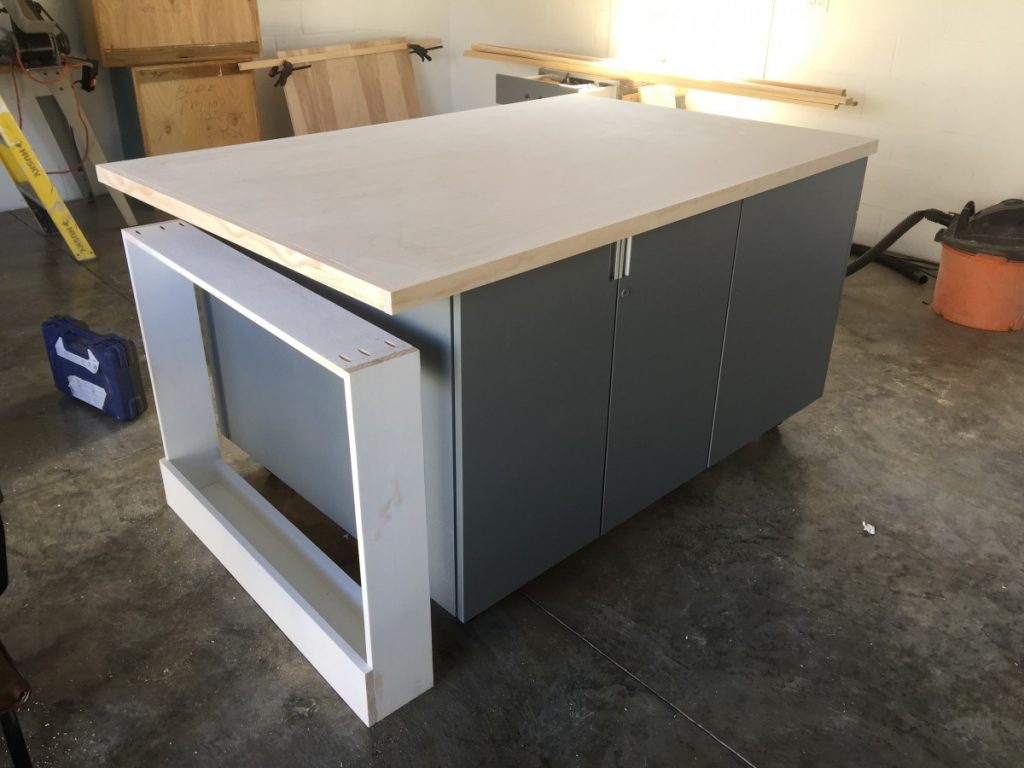 Next up? The X-Carve is controlled by computer, so NATURALLY my X-Carve table NEEDED a place that would house my computer… So I took out one of the drawers…
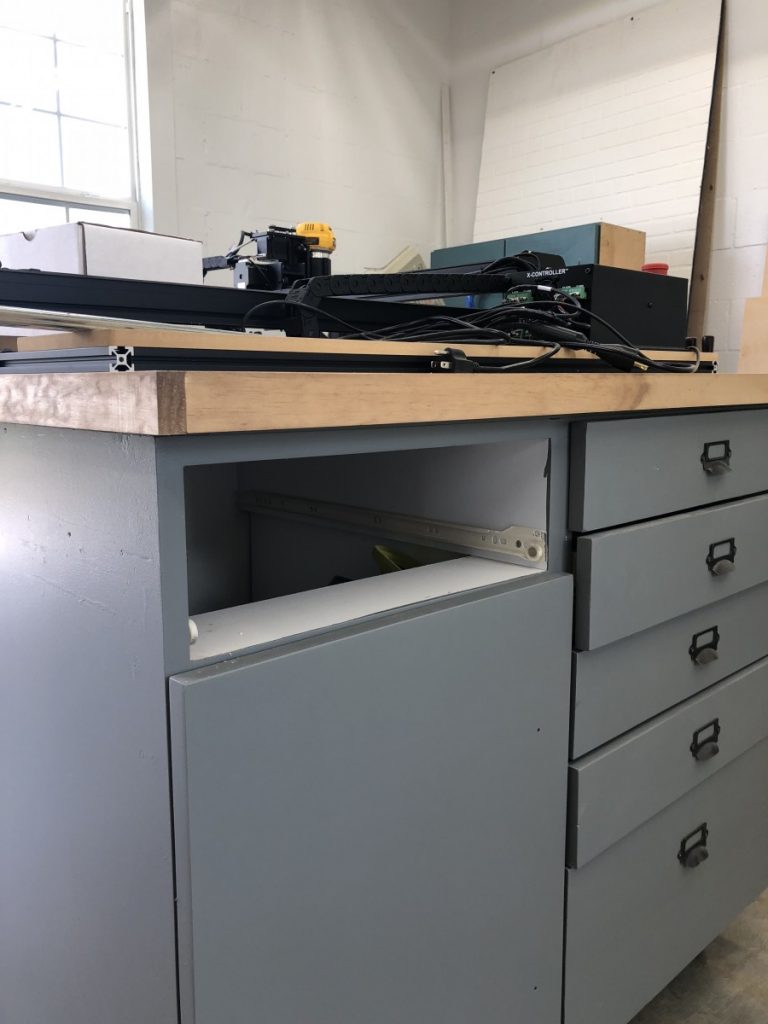 …AND modified it to fit my computer! I just gave it a flat surface that I could easily access, and beefed up it’s drawer glides.

Another feature the X-Carve has is a dust collection arm! You just hook it up to a shop vac and you are good to go! So NATURALLY I wanted to have my shop vac built into my table… naturally. So I took out some shelving, drilled some holes for access and airflow and this puppy was ready! 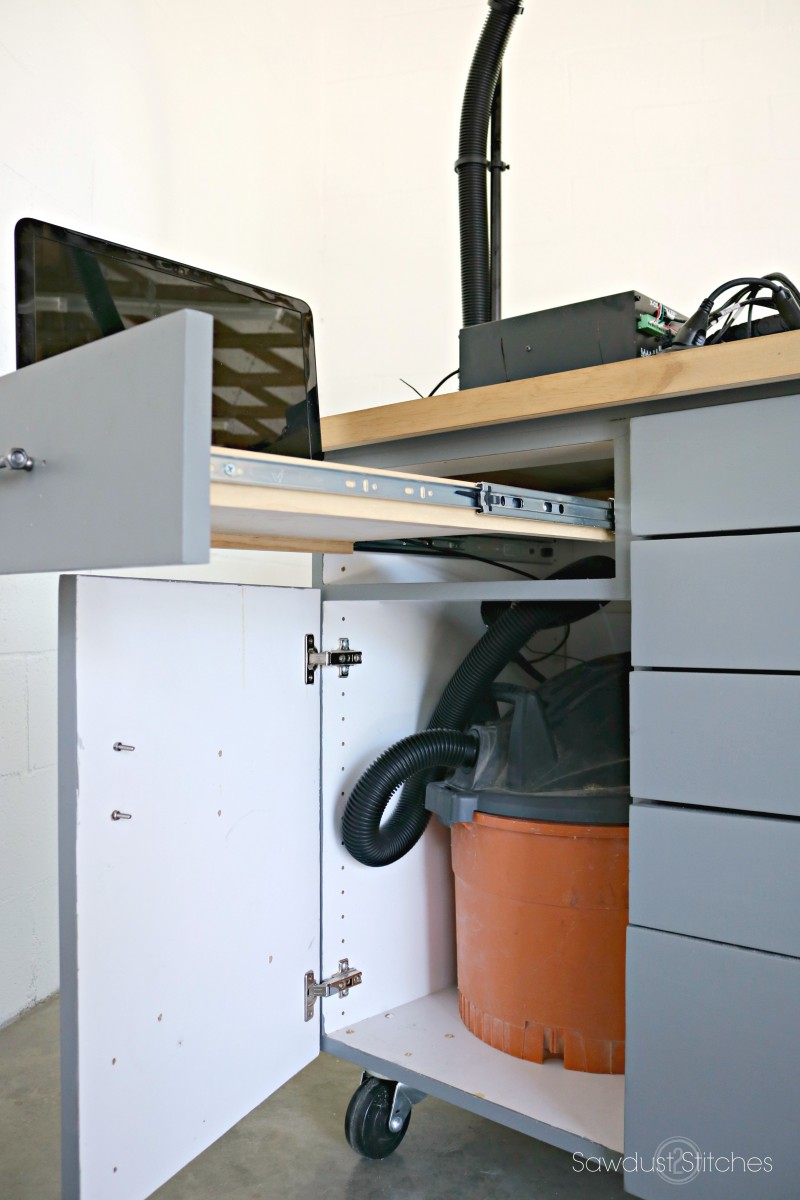
That just about does it for the logistics… now for the fun part! Like I said, this was my first attempt at using the X-Carve, I wanted to start simple, because lets face it, I had no clue what I was doing! So I hopped on EASEL. Easel is a FREE program you can use to easily design just about anything you can imagine! Seriously, head on over and see what you can design in just a few minutes of playing around. For my first project I appropriately decided to finish up my Inventables X-Carve table with something straight up pretty!
For the finishing touch I added this beauty! It was amazing how simple it was to design and I was blown away at the precision and detail this machine can produce! I was able to create the crowning jewel of this table in a little over an hour… of the machine doing the work for me! NICE.
So without any further ado, I give you the beginning of a beautiful relationship between my X-Carve and I!!!
My “Inventables” workshop table. 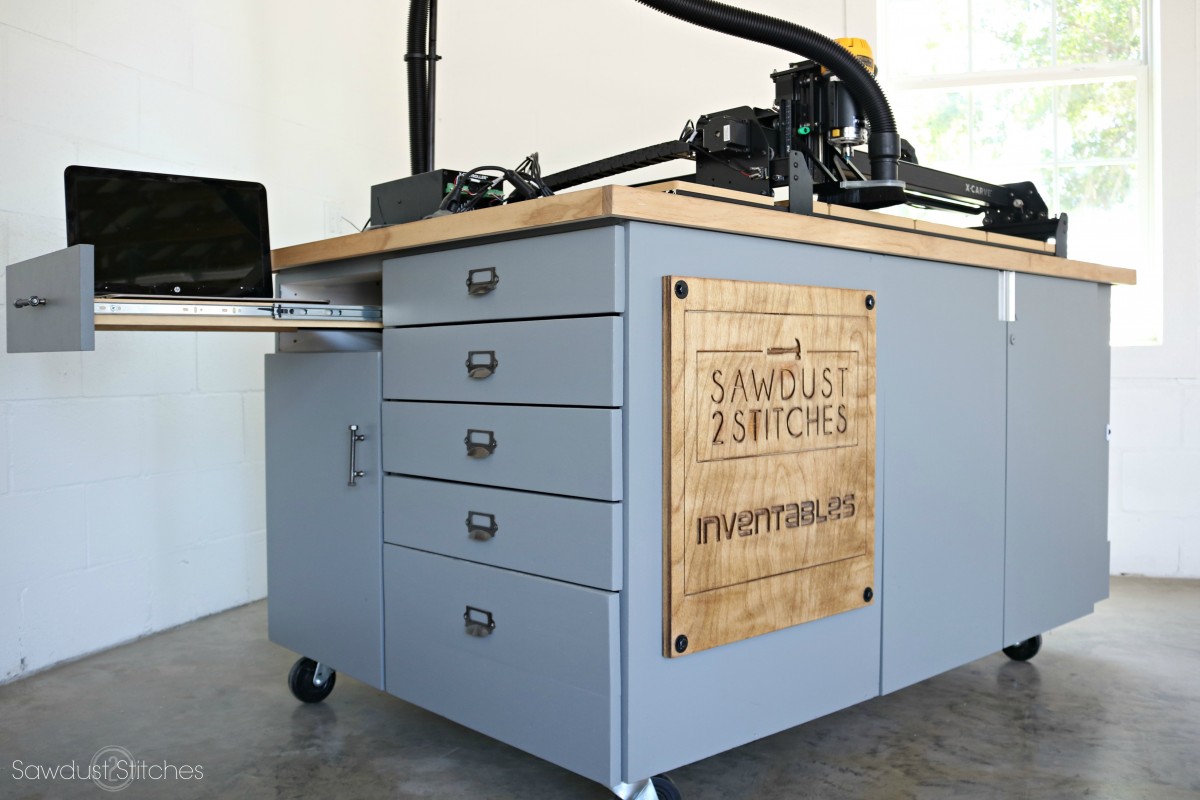
Doesn’t that sign just complete this project!??! I simply stained it, and mounted it with some black hardware and this sign steals the show! I can’t wait to start and use this thing EVERYWHERE! Until then, check out the rest of this beauty.
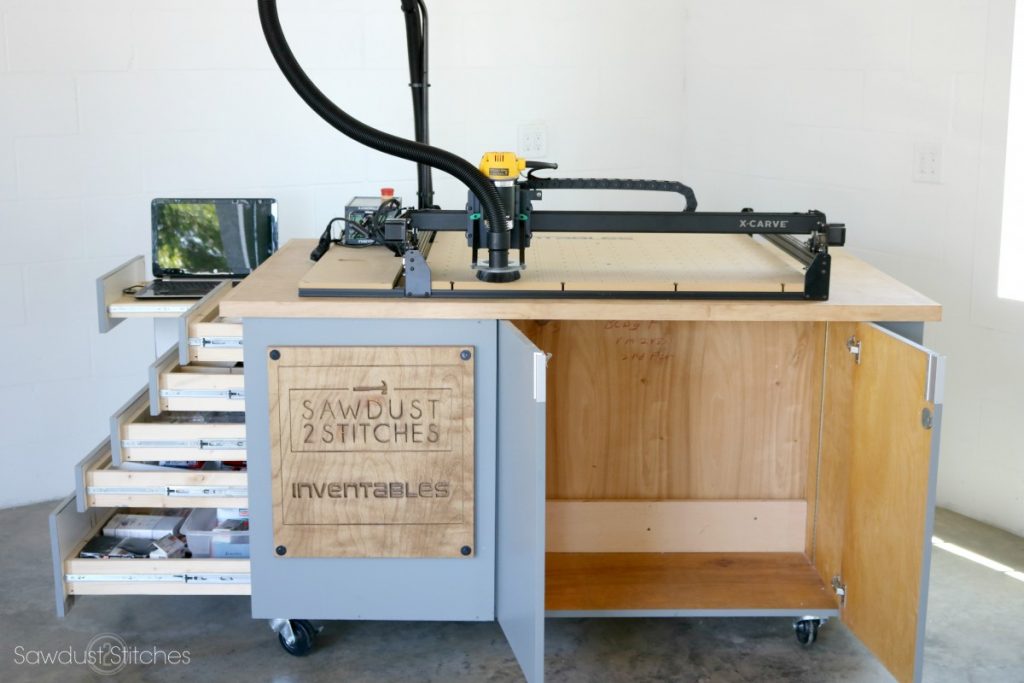 Plenty of storage for accessories, and projects, and you can see the far end where I made the material storage. I simply added a strap of thick elastic and attached it with screws and washers. Its easy to get materials out, but yet they won’t fall out. win/win
 Now, remember how this island was created by putting two cabinets back to back? There is still plenty of storage on the other side too! Booyah!
 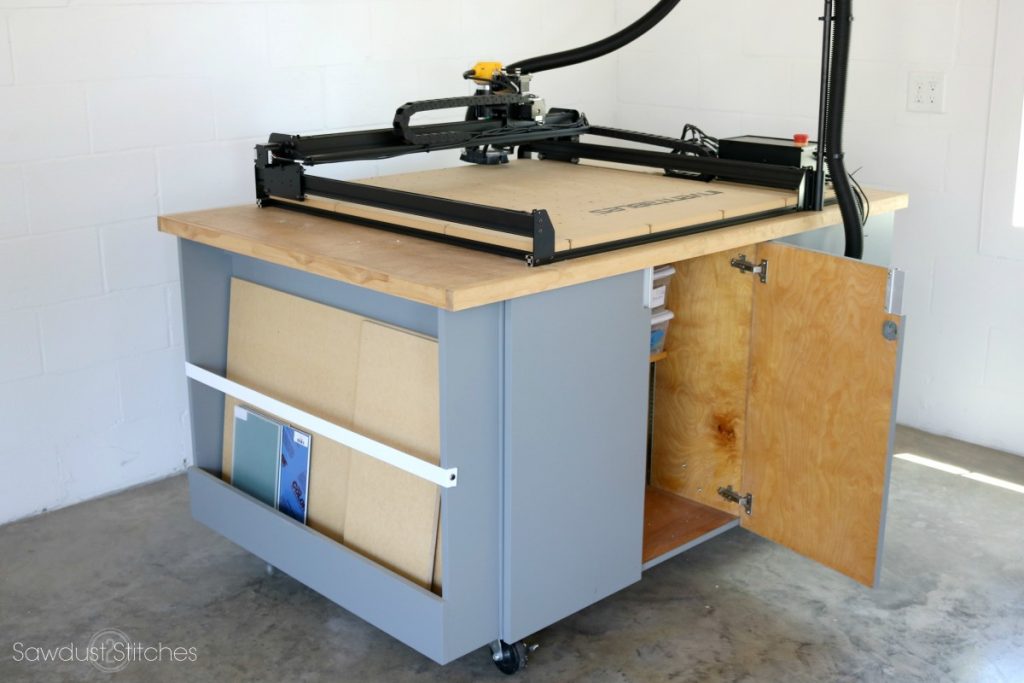 Well, there you have it folks. I have a new tool, which always makes me happy, an organized space to use it.. and my brain is straight up swimming with fun new ways to use this things, so stay tuned! You aren’t going to want to miss it!
Take Luck,
Corey
 Copyright secured by Digiprove © 2018


This is a great workstation..as a professional home baker I could envision this as an amazing workstation island for my bakery equipment. Bravissimo..!
This is awesome! With a slight modification you could make your own miter saw table/stand. The wheels will be very helpful.