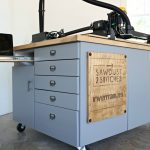
 Hi all! It’s April back here again from Uncookie Cutter and I’m here to share another fun project with you this month. I’ve been busy working on my husbands office and it’s been interesting for sure. I’ve run into all kinds of setbacks – you can read more about the progress HERE. I’m trying to save as much money as possible, and I wanted a cheap way to finish the countertops and backsplash on the cabinet side of the office. Here’s a picture of what I started with.

I had an extra bag of $5 concrete laying in the garage, and when I saw THIS bathroom vanity from Tasha at Designer Trapped in a Lawyer’s Body, it hit me! I don’t know why, but I decided to try and turn not only the countertop, but the backsplash and the entire back wall in concrete. So, I started out following Tasha’s directions. She has a great tutorial, but I had to do a few things differently. To start with, I couldn’t find any concrete that wasn’t filled with rocks. So, I sifted out the rocks. If you are going to do an overlay, the rocks won’t work. Make sure to wear a dust mask and goggles, this part is dusty!

Then, to get a more grey color, as opposed to the tan natural color of concrete, I added some of this concrete color. The easiest way to use this concrete color mix is to mix it in the water first (just like the directions say), otherwise you’ll waste a lot of time trying to work the color through uniformly. I made sure to measure the concrete to water ratio, so I would get a uniform color each time I mixed some new concrete. This whole project took less than a bag of concrete, but you do have to work fast so it doesn’t dry out, or mix a little at a time.

I started by trying to add the concrete directly to the top, but the laminate top had a little “bubble” in it and wouldn’t lay flat. So, I pulled it off. It was much easier to get the concrete to lay on the particle board than on the laminate top. The particle board also wasn’t as slick, so I got a better “grip”.


I did the countertop just like Tasha suggested, but when I got to the backsplash and wall, I started to have trouble. The best way I could find was to hold the concrete in my hand and just sort of rub it in, going in circular motion and being careful not to rub off the concrete already on. It would be a much better idea to wear gloves :).

After the first layer, it was looking like this.

Once I got one layer on, and let it dry, I started with the second. This was the hardest, because if I wasn’t careful, it would “pull” the first layer off. It took getting just the right consistency and lots of practice. 
The great thing about concrete is, that it cleans up really nicely and easily. So, don’t worry so much about making a mess – I certainly made a huge one. But, clean up really is a breeze. A little tip is get up any big chunks while it’s still wet, but when the thin layers dry, it wipes off very easily with a dry cloth.
For the third layer, I went very, very thin. Almost like a water and scraped it on. Since the wall and backsplash are vertical, I had to keep moving until the concrete no longer dripped. I poured it onto the countertop and then scrapped it up the wall. This helped to fill in any gaps and even it out a little.

I used one of these concrete smoother tools (official name) to smooth it all out.

Once I was happy with the way it looked, I sealed it with a concrete sealer.

Then, after sealing, I used about 3 coats of Polycrylic on top to really seal it all in, and give it a nice shiny, un-chipable surface.

I only used the paint like Polycrylic on the countertop and backsplash. For the wall, I used the spray on polyurethane. I figure it wouldn’t have the same sort of traffic on the wall as I would in the middle area, and the spray paint is cheaper and easier.

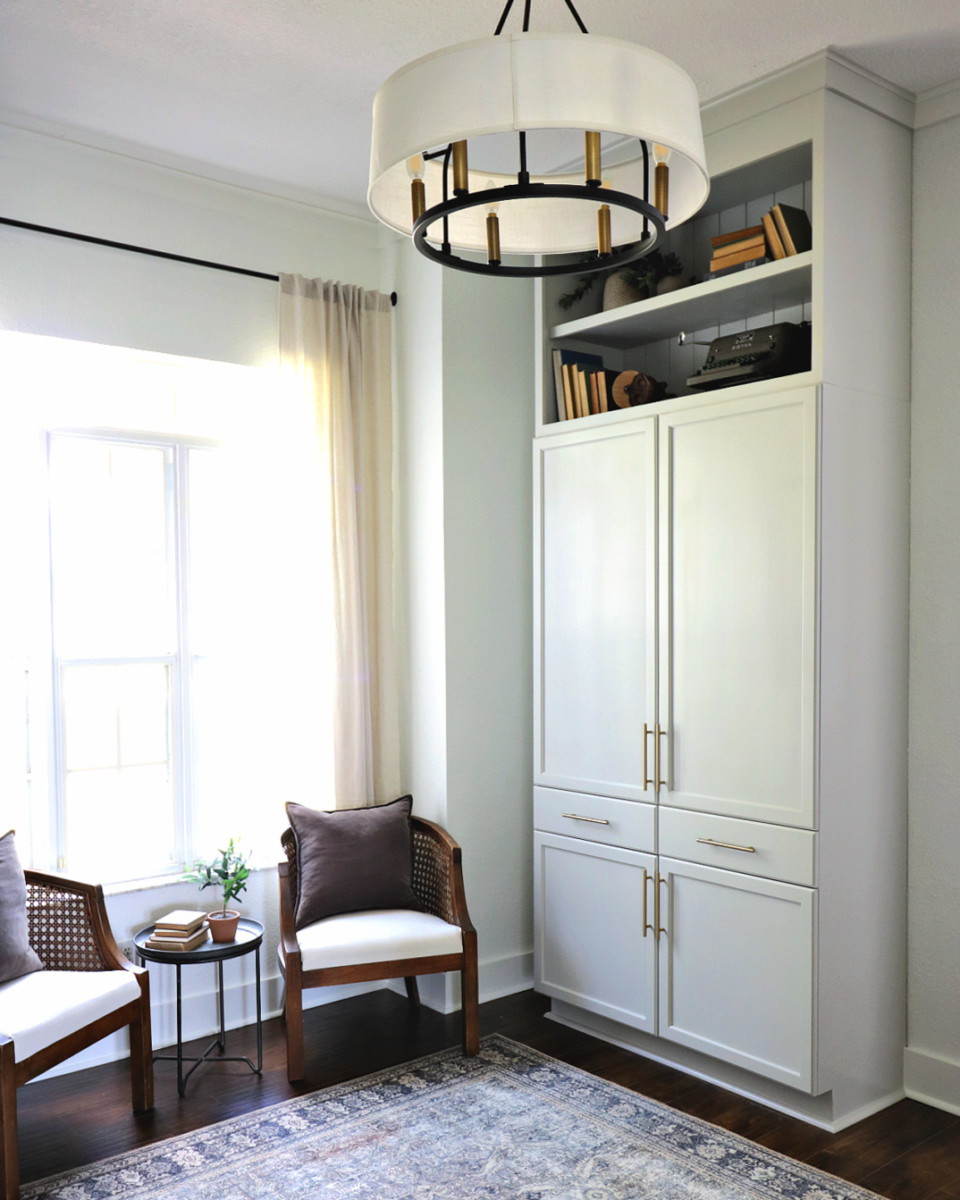
That’s pretty much it! I got this unique, masculine feature for under $25. The concrete was around $5, the color around $5 and I spent about $15 on Polycrylic and spray paint. I used leftover concrete sealer – it was such a small amount. I still have to finish painting the rest of the room and next week I’m going to attempt to lay porcelain tile! I’m a little nervous.
Let me know if you have any questions!
Thanks Corey, for having me back and head over to my blog to see my other concrete project HERE. It’s becoming my new favorite medium!
April-Uncookie Cutter
Facebook Pinterest Instagram Twitter

 Copyright secured by Digiprove © 2016


Thanks Corey!
This is so beautiful! I’ve never really used concrete color but now I have seen the light! This might work perfectly for the laundry room remodel I’m getting ready to start. Thanks for sharing and inspiring 🙂
Thanks Anna! Concrete is fun and cheap, I’d love to see if you use it!
This is so cool! You did a great job with the concrete wall and counter top. The colored concrete gives it a nice crisp look with the cabinets. Defiantly going to check out your other concrete projects. Keep up the great work.
Thanks so much Darren!
As a concrete contractor myself, I’d like to say great work! Concrete is my favorite medium to work with! There are endless ideas, colors and uses for it. Stamped concrete is a workers dream.
Thanks for sharing your project. I’m sure your husband was very pleased!
Thanks Joesph! I am loving concrete as well, so much so that I want to buy a mixer. I have been wanting to try stamped concrete. Might do the play room floor with stamped concrete.