Tools Used:
- Drill Press or Drill
- 1/8″ Drill Bit (for metal use)
- Dewalt Drill Tap Combo
- Set Screws 1/4″- 20x 3/8″ (width x thread per inch x length)
- Threading Tool Set
- Multi-Use Pliers/Wire Cutters
Materials Used:
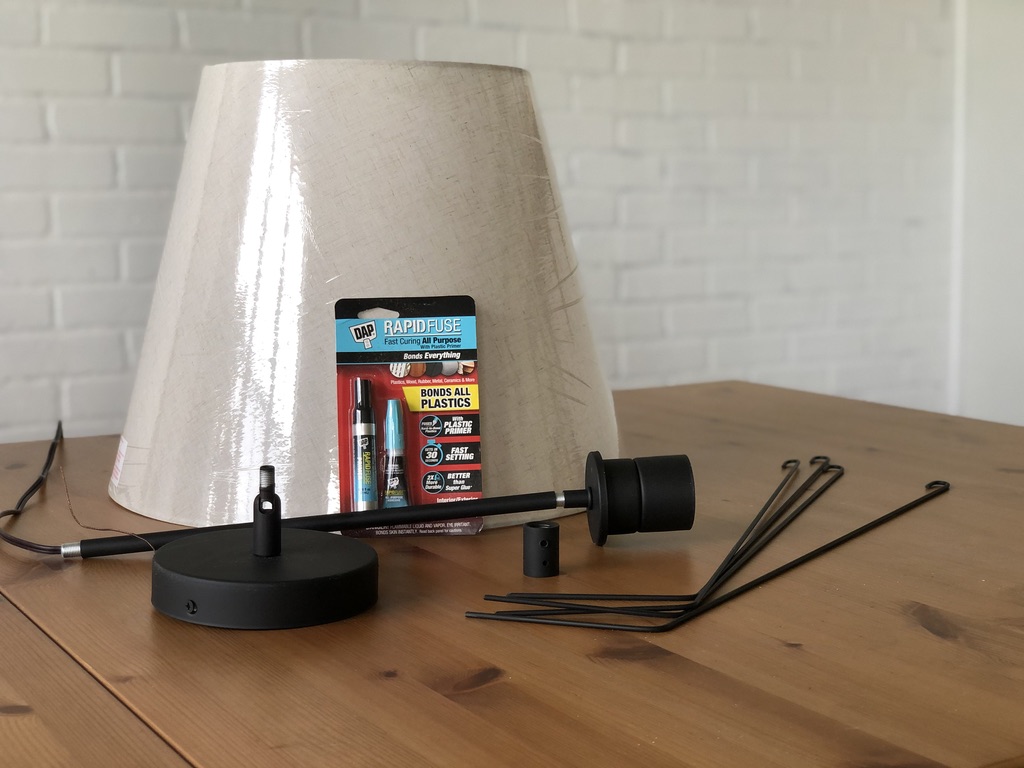
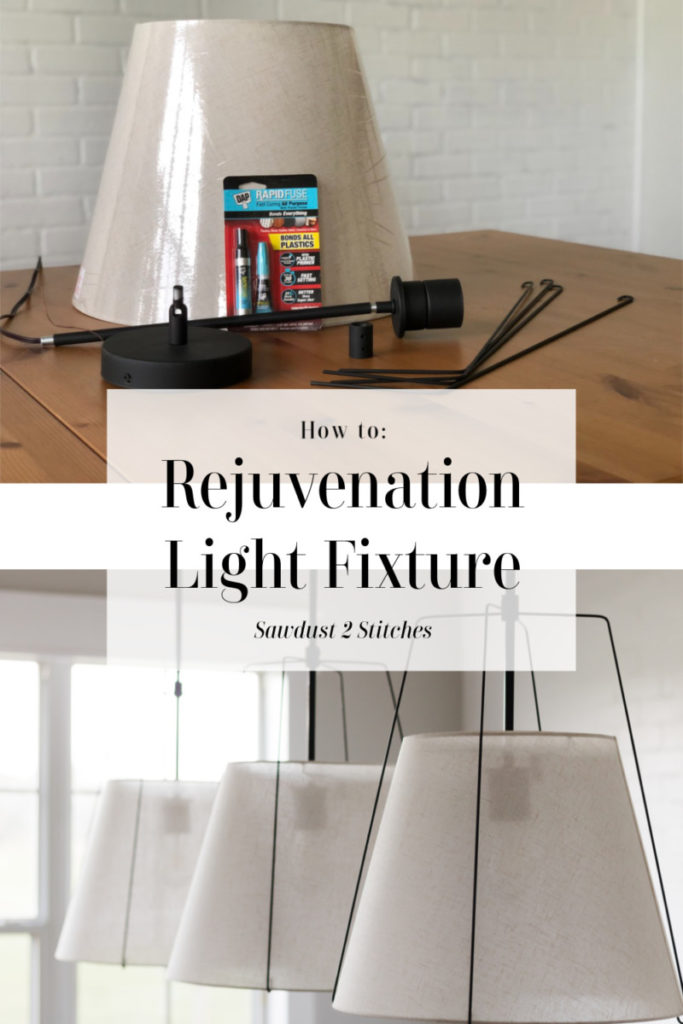
- DAP Rapid Fuse
- Electrical Conduit Coupling 1/2″- (size preference may vary dependent on light fixture rod diameter.)
- Stainless Steel Welding Rods – (4 per light fixture)
- Matte Black Spray Paint
- Pendant Light Kit – Lowes (What I used.)
- Pendant Light Kit -Amazon (Similar)
- Lamp Shade – Lowes (What I used.)
- Lamp Shade– Amazon (Similar)
- (x1 sheet) 3/4″ plywood- (Optional Mounting Base)
- (x2 boards) 1×4″ standard pine boards- (Optional Mounting Base)
Dang It Instagram
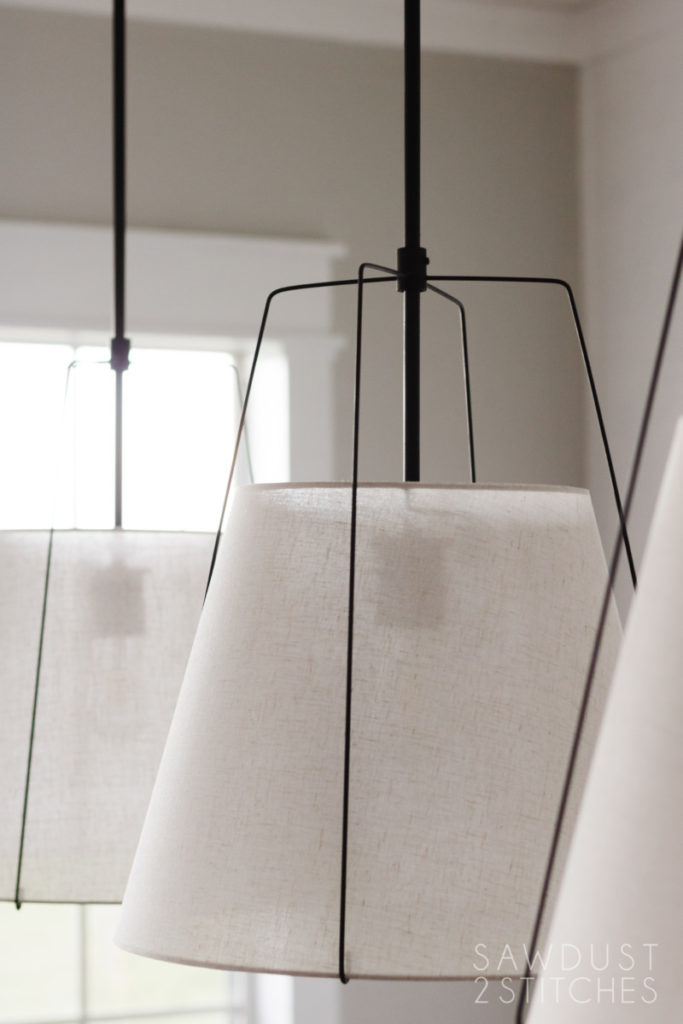
Recently I have noticed a truly gorgeous light fixture popping up all over Instagram. It’s gorgeous, sophisticated, a little edgy and REALLY expensive! Dang, hopes were really high as I followed the links to Rejuvenations website only to discover my dream light fixtures would cost me my first born and my right arm. Ok, maybe not my first born, but definitely a few appendages. DANG!

But wait… I am Corey freaking Decker. I can figure this out! Thus began a slow shopping trip that included every isle of Home Depot. I could figure this out. I just needed to think outside of the box.
Creating Collar
After browsing every isle of every department of The Home Depot I had an idea. An idea that included a conduit coupling! Electrical department you have saved me again. An electrical coupling would totally work for the junction point on the light fixture, right !?
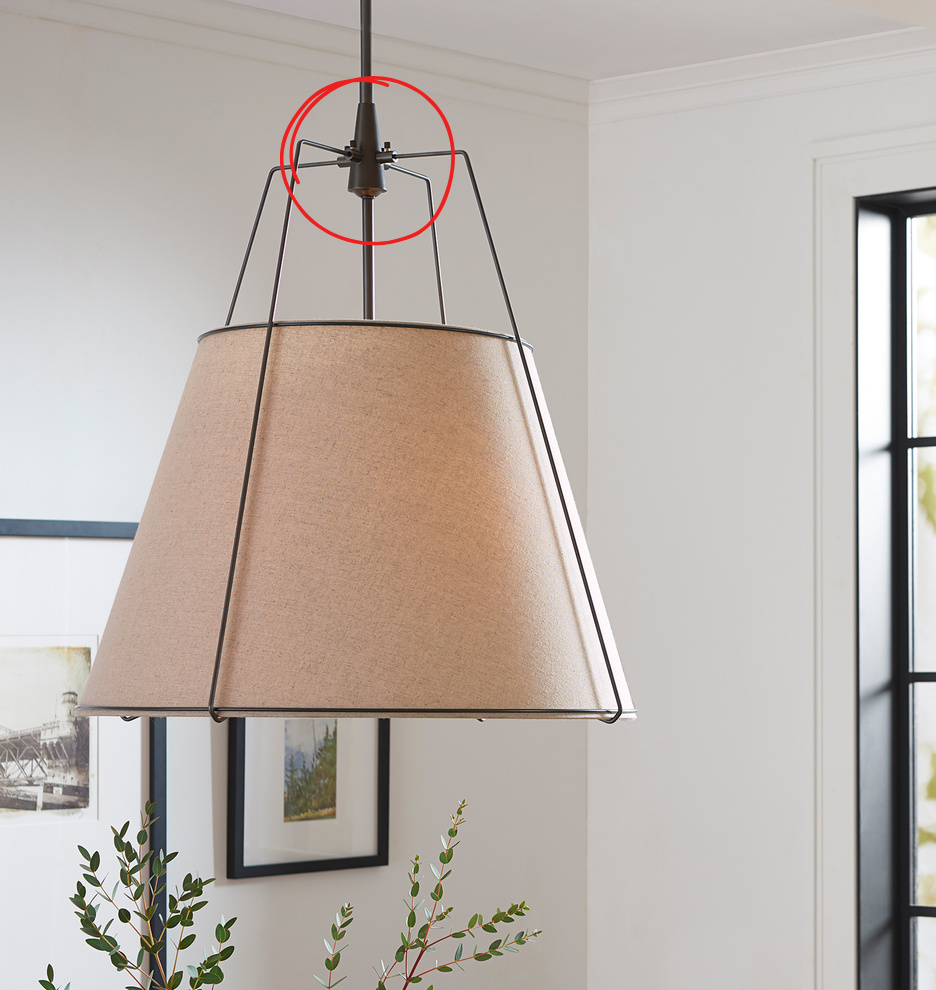
Converting the coupling into a junction point was definitely the trickiest part of this project. I needed this small piece to hold the metal arms in place and it also needed to stay suspended on the rod, but I had a plan.
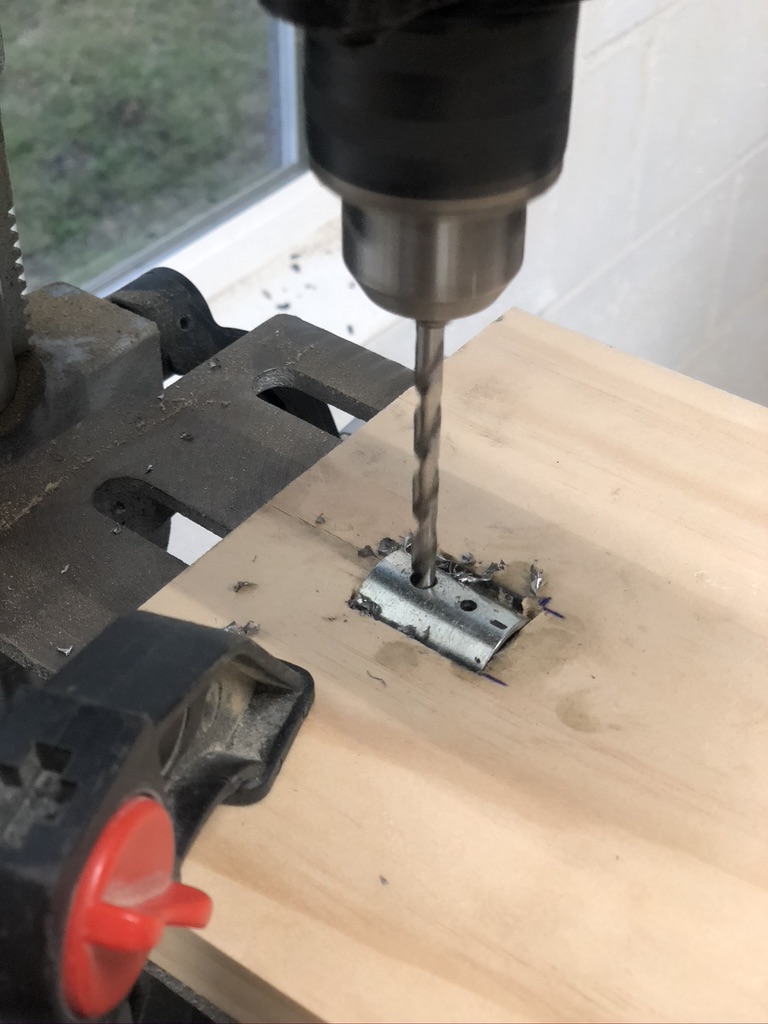
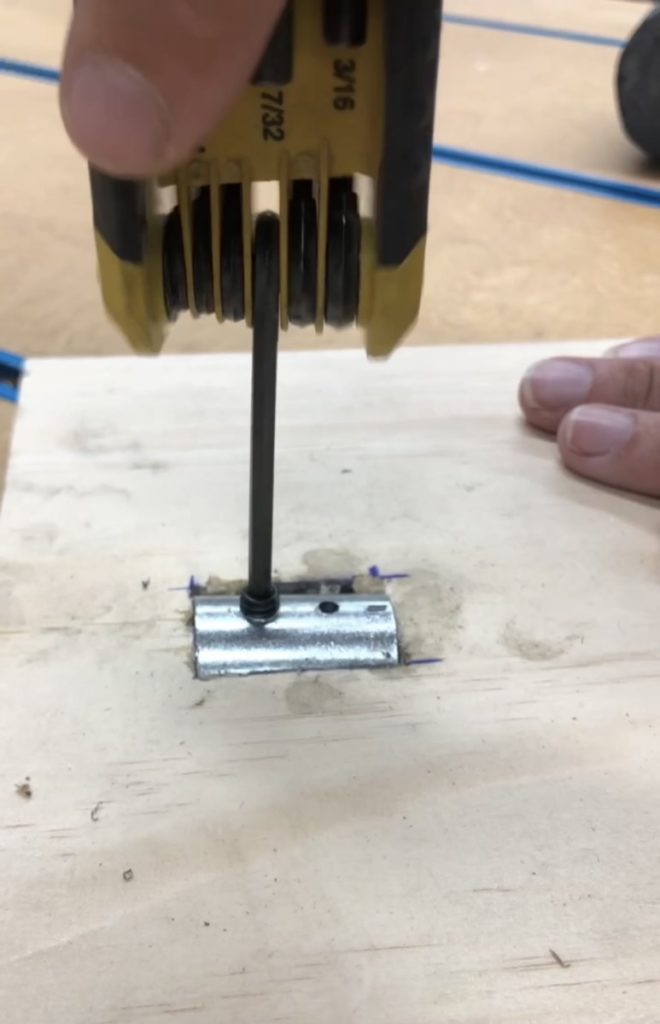
Did you know you can drill into metal? You can, in fact it is a fairly simple process. All you need is a drill bit intended for metal. I was planning on using 1/8″ welding metal rods for my arms so I used a 1/8″ metal bit to drill holes right through my conduit.
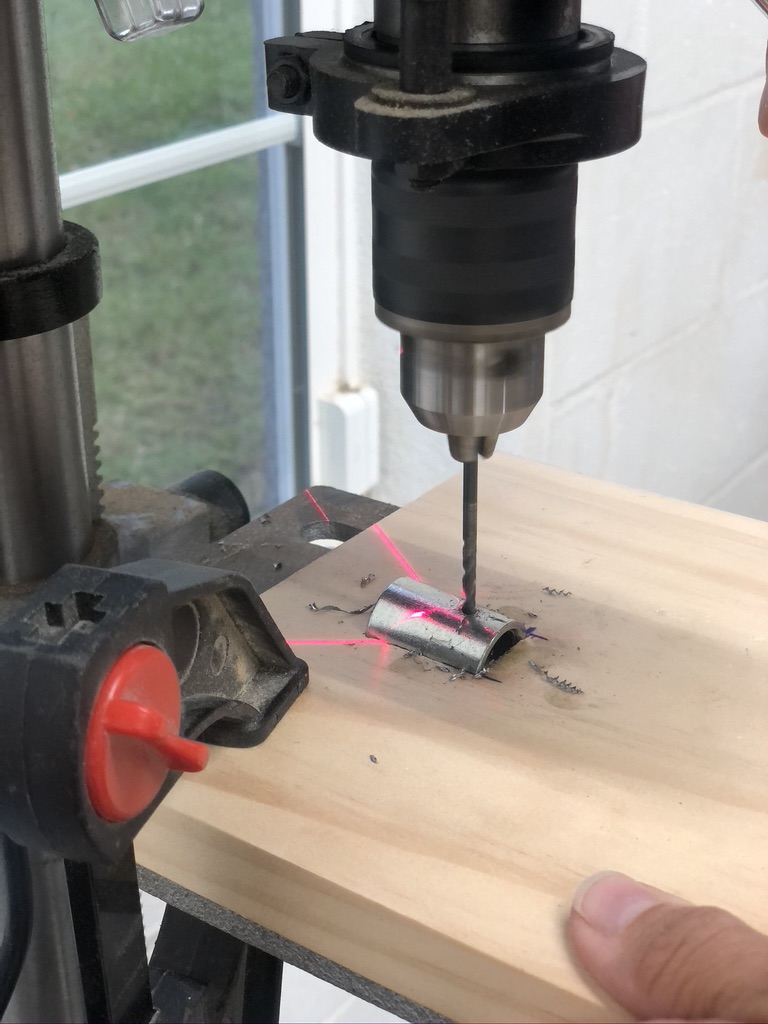
Incase you are wondering what the contraption in the above picture is, it’s a drill press. It is definitely handy, but not necessary. You can easily use a standard drill for this step. The important thing is to make sure that you drill 4 evenly spaced holes are on the lower half of the coupling.
Adding Set Screw
Have you ever heard of a set screw ? It is a nifty little piece of hardware that will make this project possible! Basically you can thread your own hole and use a tiny set screw to create tension. So let’s get started!
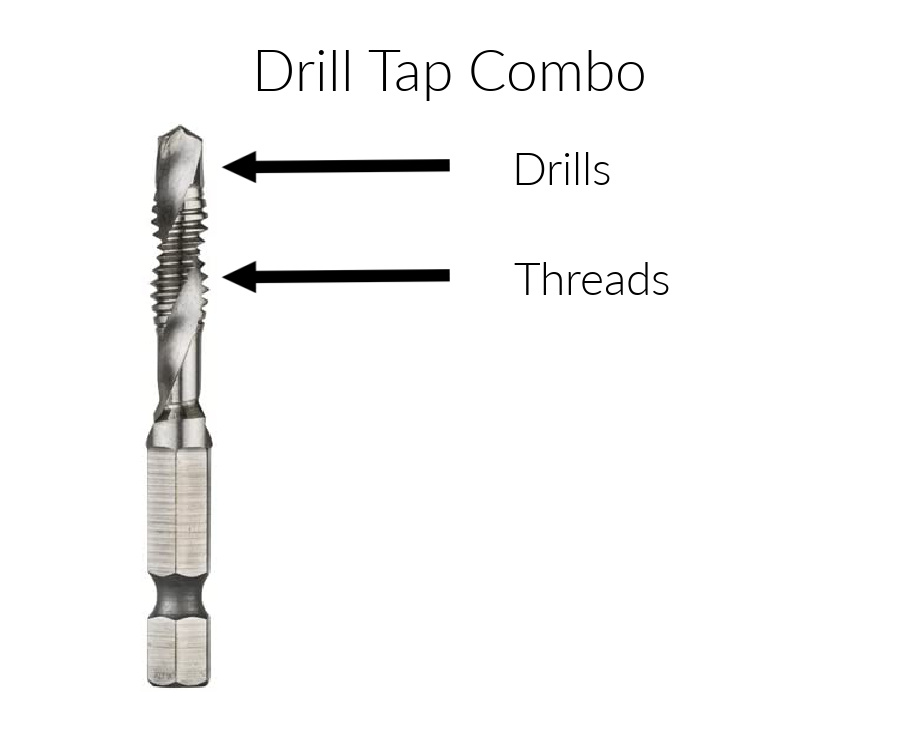
Adding a set screw will require some new tools, we will be using a drill and tap set. I already have a full set, but if you just need the tool for this project I would suggest either the Dewalt Drill Tap Combo or Drill, Tap and T-handle set.
Tool Thoughts:
Dewalt Drill Tap Combo– I have never actually used this but have heard good things. It is a drill bit that both drills and then taps/threads a hole. Again I cannot vouch for this system but it seems like a great concept.
Drill, Tap and T-handle set– This is the same basic style of system I used. It comes with a drill bit, which you follow-up with a tap that threads the hole. It comes with a hand grip that allows you to hand drive the tap.
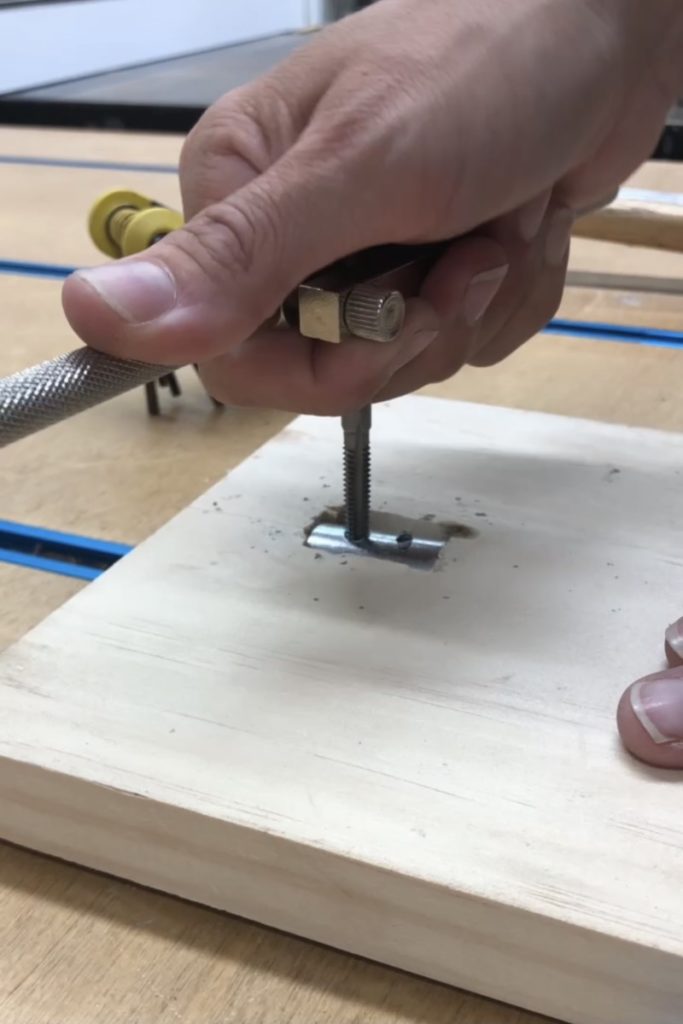
Just as before, I would need to drill two holes for my set screws in the coupling. To do this I used the 1/4″ drill bit . (This is included in both of the above mentioned kits.) These holes will need to be evenly space on the upper perimeter of the coupling. To make things easy on myself I simply drilled directly above my existing holes. Again, I used my drill press to make short order of the job, but it can easily be done using a standard drill.
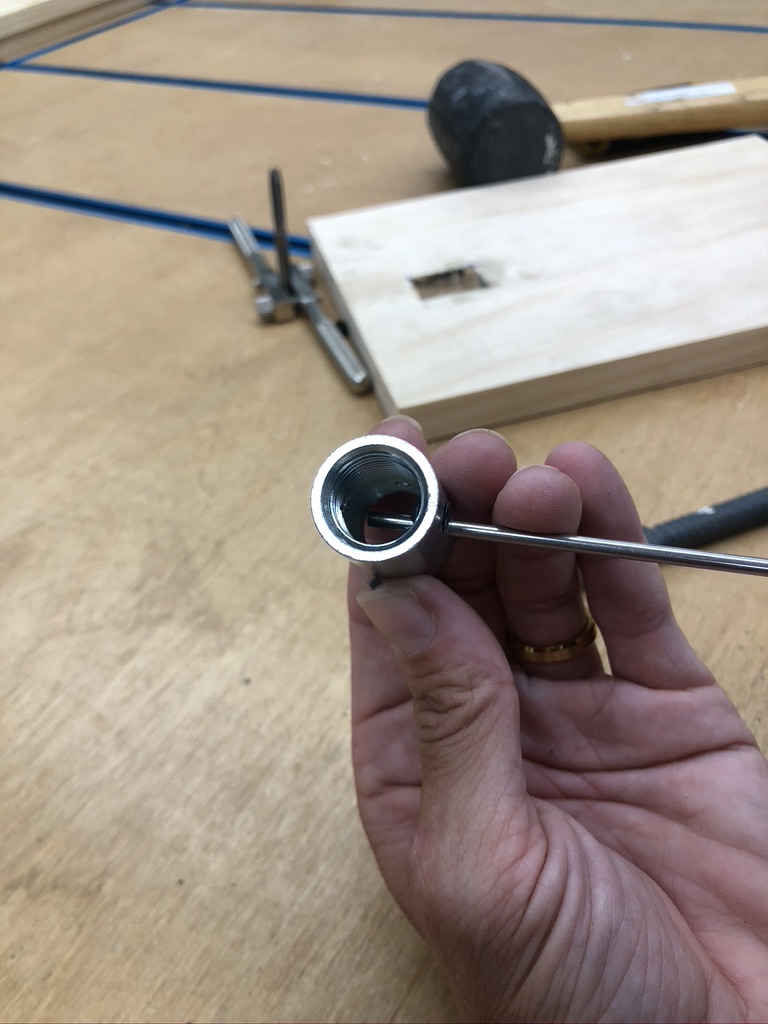
Once both 1/4″ holes are drilled through the coupling I am ready to thread it. In order to thread the hole I will need to use the tap bit. In the kit I used, I insert the coordinating tap pit (1/4″) into the hand tool. When threading a hole you will insert the tap in the pre-drilled hole. The key to threading properly is take make sure you are level, and drive/twist the tap in slowly. It will take a little bit of muscle.

Once the hole is threaded, ensure the coordinating 1/4″ set screws fit.
Making Arms/Supports
Next it is time to create the arms/supports. To do this I used 1/8″ x 36″ welding rods. To start I created a small “U” shaped hook at the bottom of four rods. These will hold/hook the bottom of the lamp shade.
(As a point of reference my lamp shade is top diameter is approximately 10″, the base diameter is approximately 16″ and the height is 14″.)
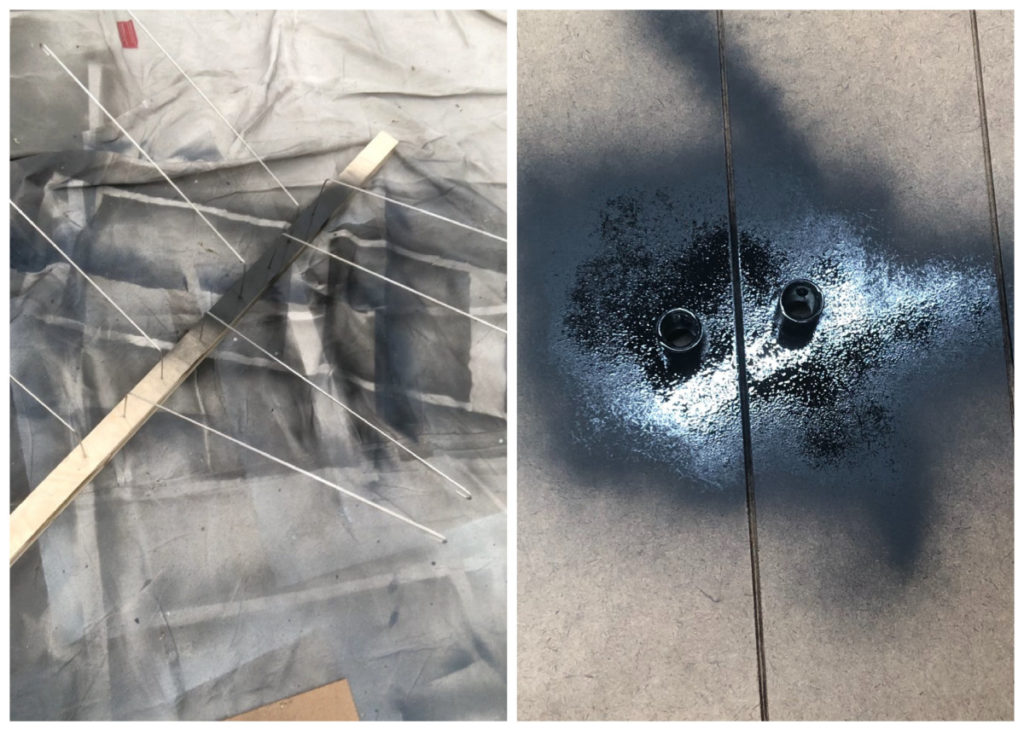
In order to create identical rods I would HIGHLY recommend creating a jig. The dimensions for a jig will be dependent on the size of your lamp shade. Before you create a jig, hook the “U” shape under the edge of your lamp shade, once the rod is in place mark where you think the bend in the rod should be. (As a point of reference my lamp shade is 13″ tall and my rods are 19″ from the end of the “u” to the bend.)
The jig is simple to create. It consists of 3 screws, a platform, and a straight edge. The goal is to hook the priorly created “u” on a single screw. This will hold the rod steady and will also help in continuity in the length of all the arms.
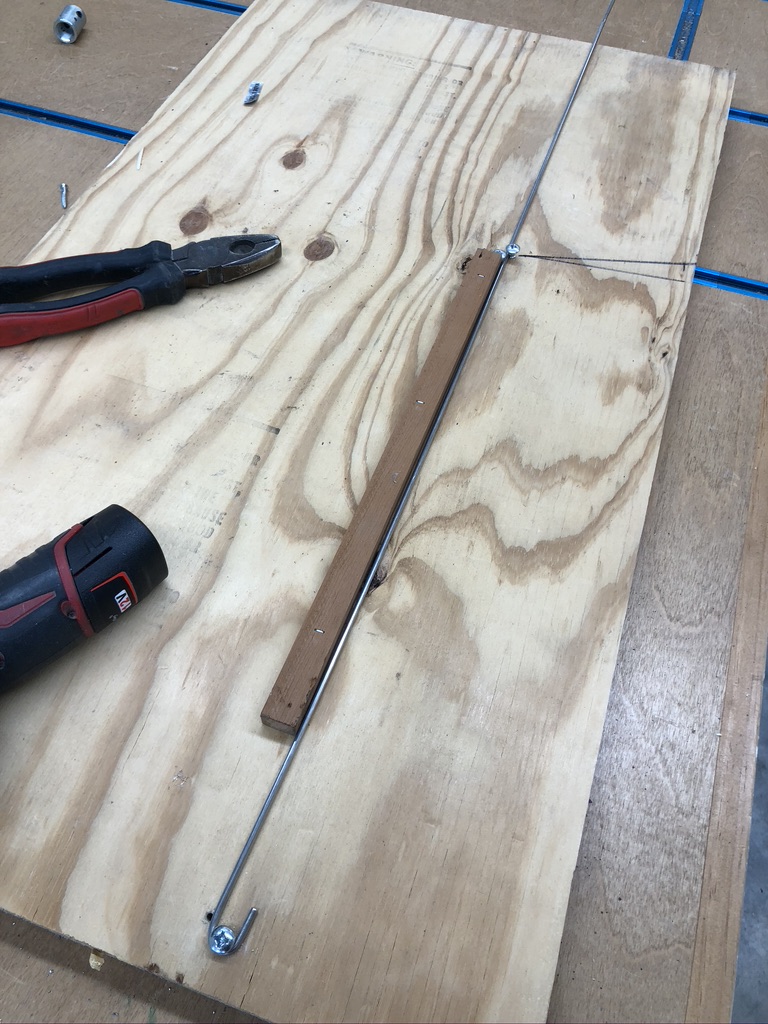
There will need to be a second set of screws that the straight end of the rod will slide through. This will be the bending point in the rod. Again at this point I would hold the rod up to your lamp shade and see what feels right for the angle of the bend. Originally, I bent mine about 90 degrees, but it looked a little harsh, so relaxed it to more of a 105-ish degree. No matter what angle you settle on, mark the angle on your base board and make sure you use it as a template for all the rods.

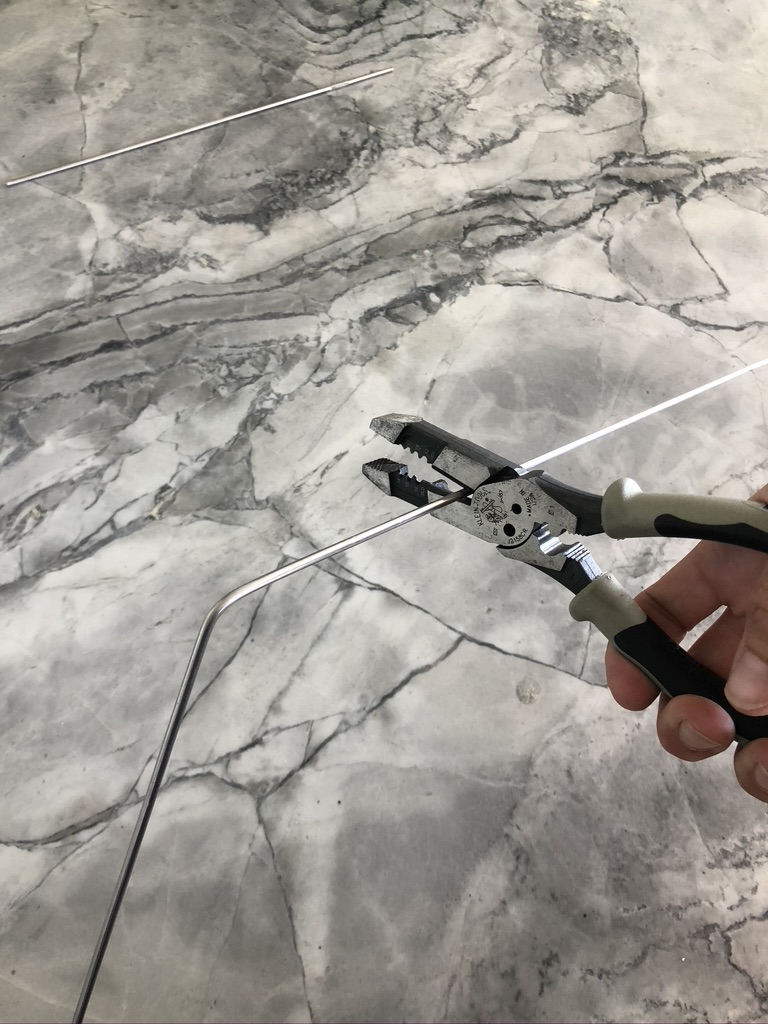
Alright, once the arms have a “u” hook, and elbow/bend we are ready to make our last reference to your lamp shade and rod. Hold the rod in place and mark where the rods will need to be cut in order to connect to the center rod and accompanying coupling.
As a point of reference, I cut mine 4.5″ from the bend.
If you want to play it safe you can first assemble your light fixture and install the coupling and then measure the distance you need from the elbow to the coupling.
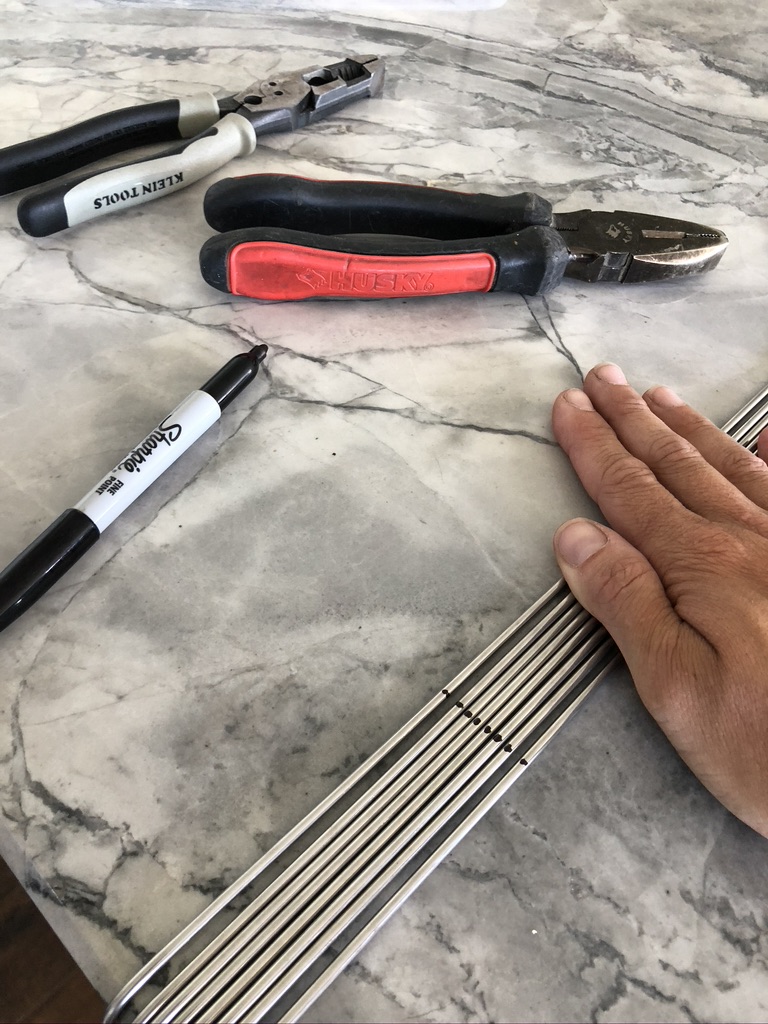
Regardless of the measurement, make sure you mark all of your rods together. These all need to be identical for this to work. I used a sharpie to mark my rods.
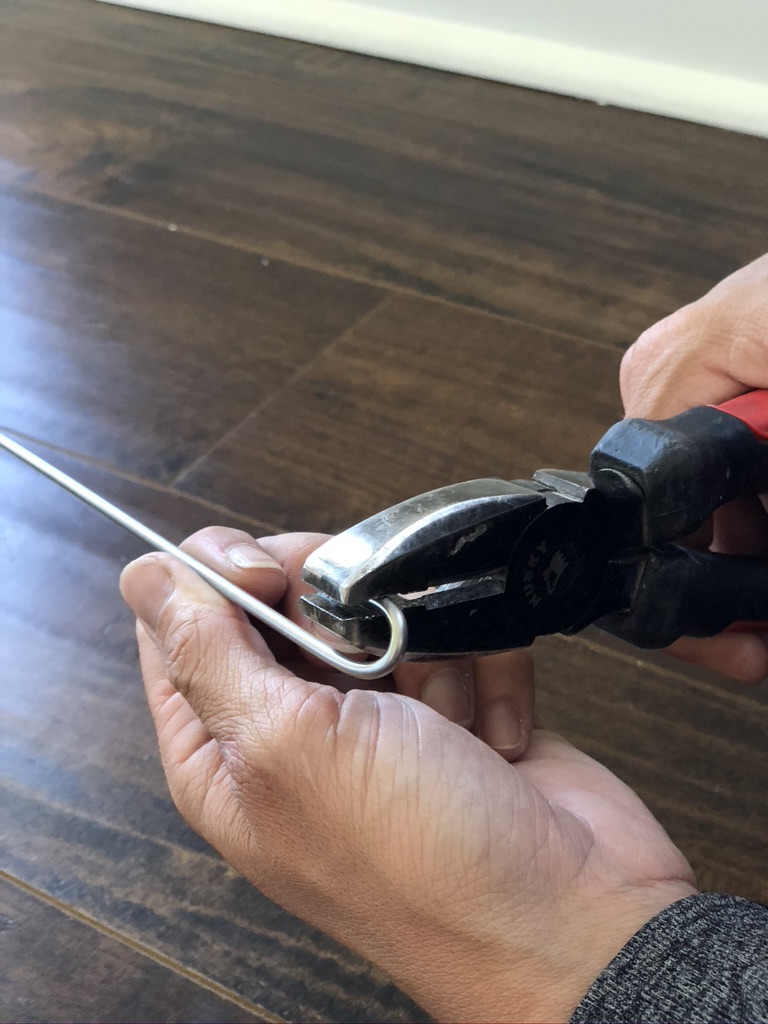
I then used wire cutters remove the excess rod.
Before beginning the assembly process I spray painted all my components in a matte black. This will include your light fixture kit, the rods, and the coupling. (This could look absolutely stunning in a brass finish!
Assembling Fixture
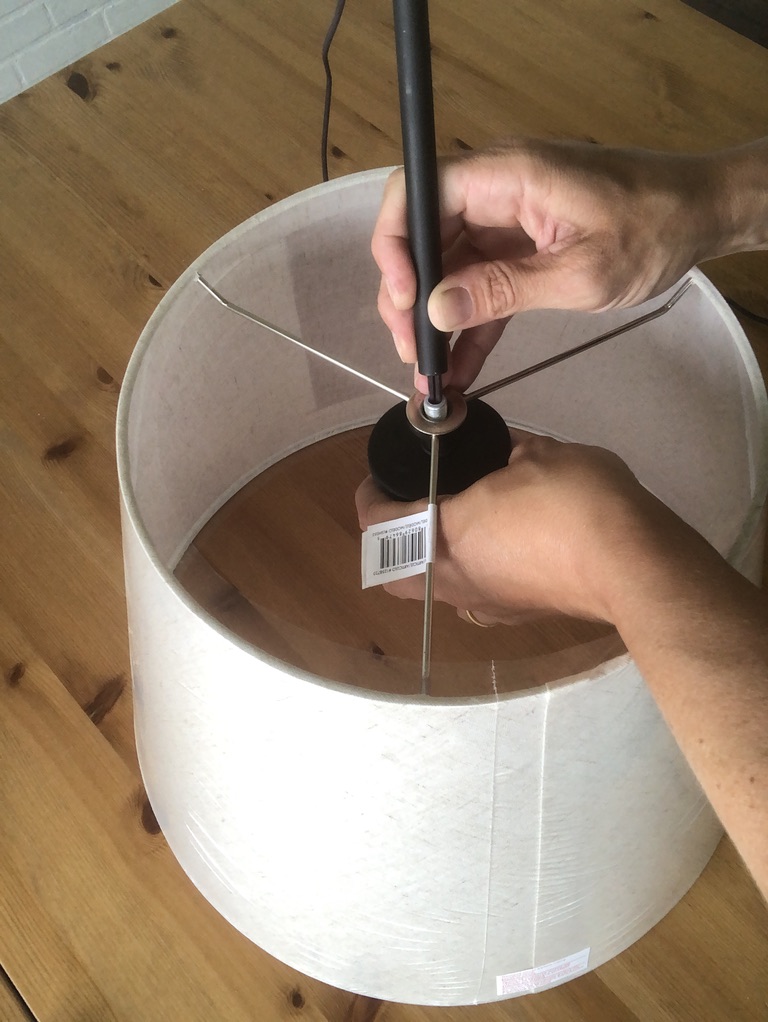
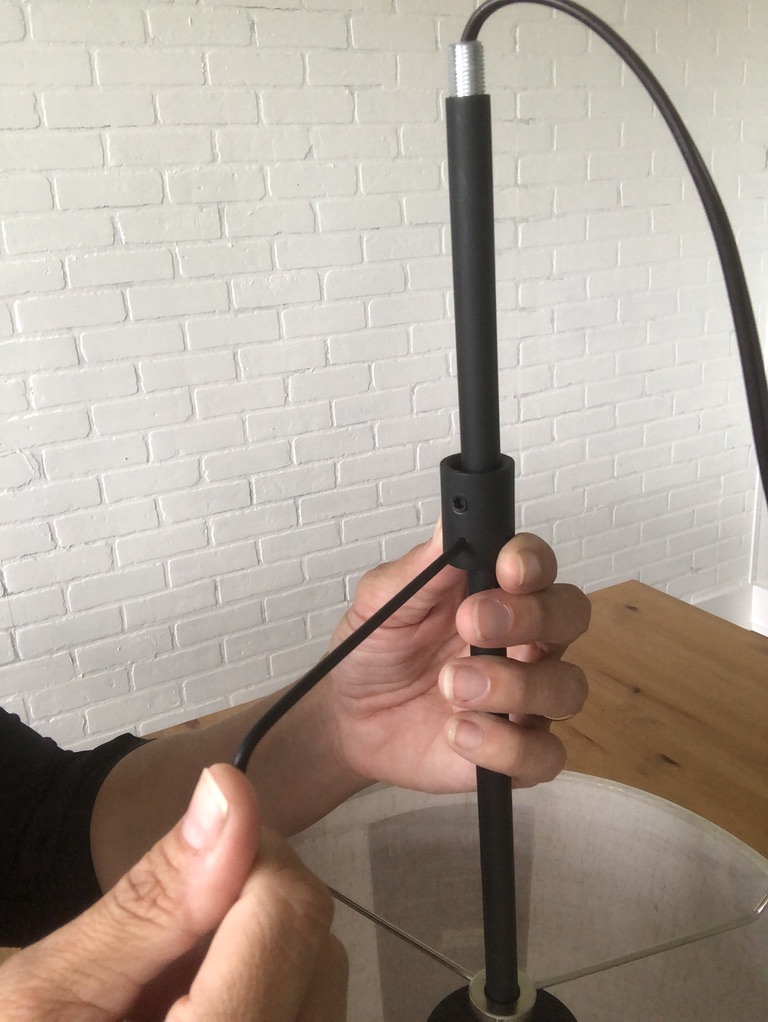
After the pieces have had adequate time to dry, it is time to assemble! Most light fixture kits disassemble as seen below. Thread the wiring through the circle in the center of the spider like legs that support the lamp shade. After, thread the wires through the accompanying rod, then screw them together.
Next we will add our modified coupling to the rod. Tighten the setting screws so that the coupling will not slide freely on the rod. ( This is a temporary placement, so don’t tighten it too much, it may scuff your paint job.)
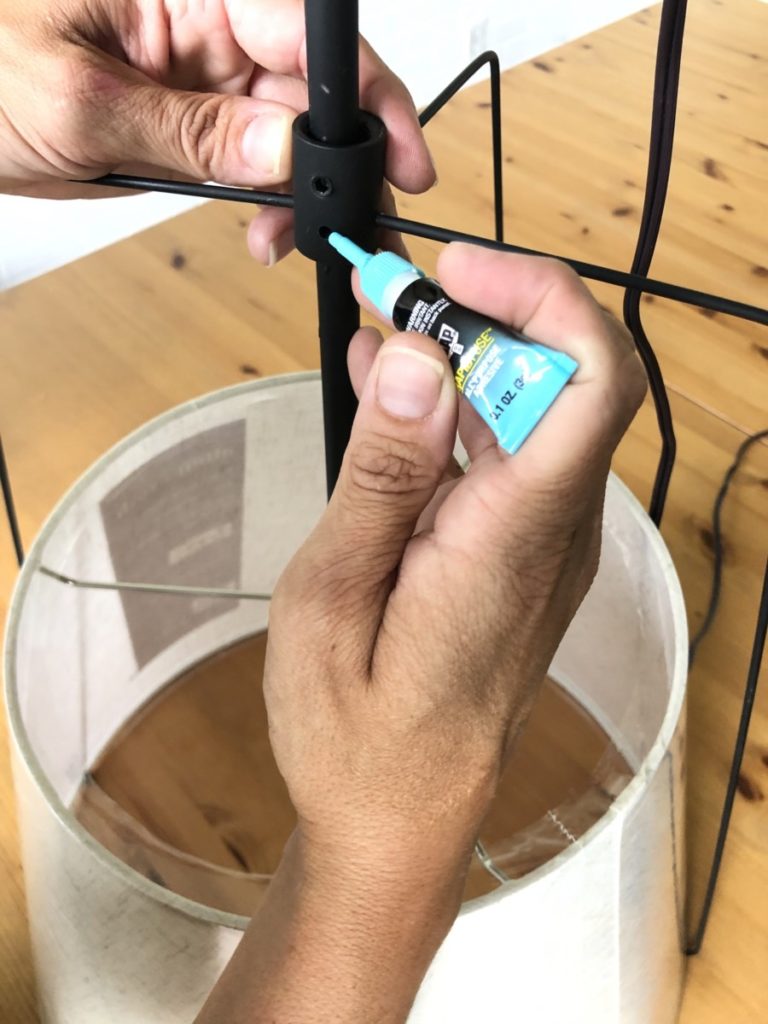
Now it is time to add the arms. While the arms are designed to fit snuggly in the previously drilled holes, I need to give them a little help. RapidFuse is just the ticket. To put it simply, it is like a SUPER glue for all sorts of surfaces, including metal surfaces! This will give the arms the staying power that this light fixture needs.
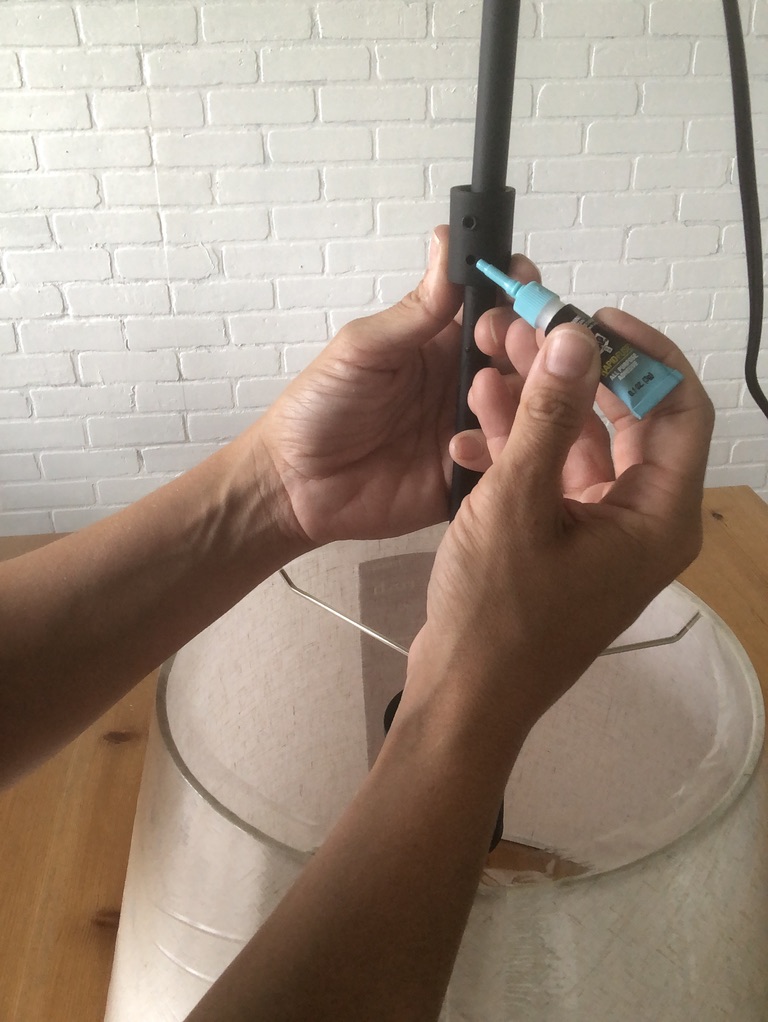
A small dab of DAP RapidFuse is all that is needed. Just add a small amount to the interior of the pre-drilled hole intended for the arms/supports. Promptly after applying the glue insert the first support. When doing so ensure that the arm is sitting straight. You don’t want wonky arms!
Repeat the above process on all four arms of the light fixture.

Make sure you use RapidFuse on each of the arms, this is what is going to hold this whole contraption together.
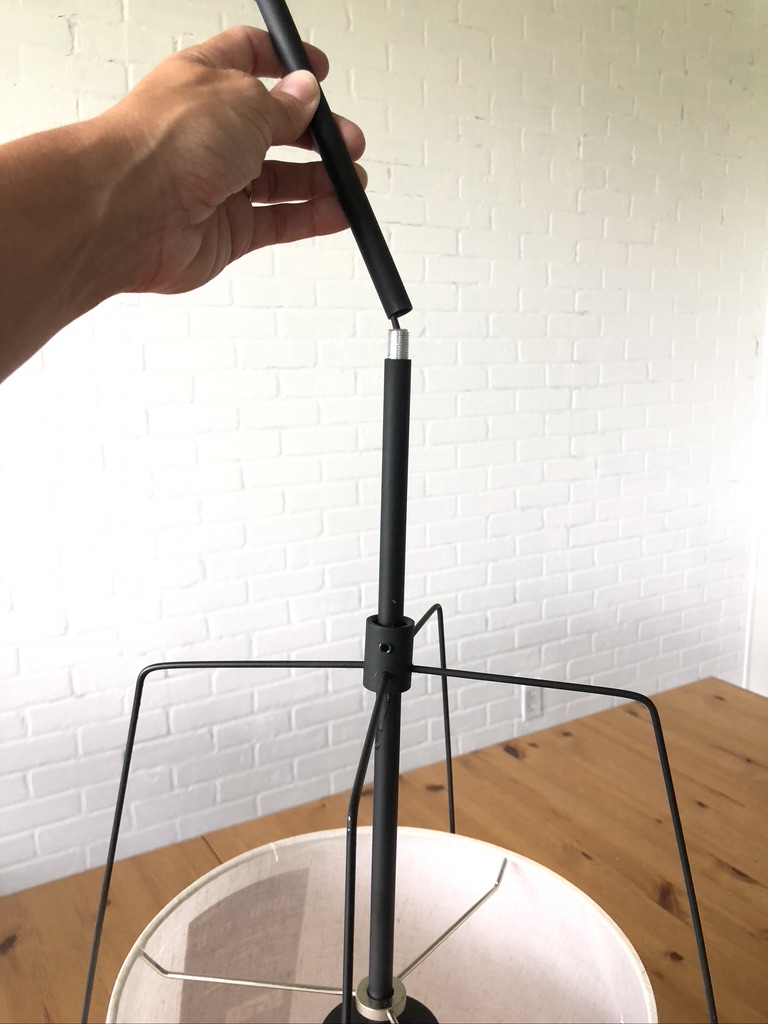
After each of the arms are snuggly fit and secured it is time to finish assembling the light fixture! Add the remaining/desired light fixture rods and the mounting plate. ( You can use the directions included in your light kit if further details are needed.)
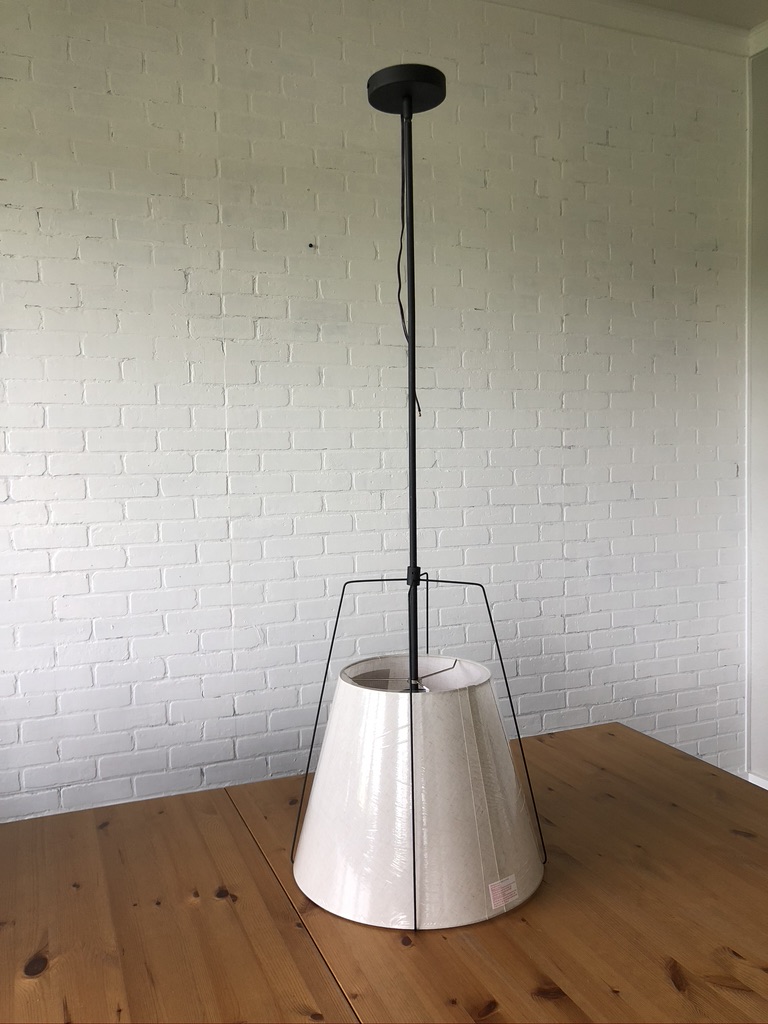
Remember how I mentioned that the set screw would only be a temporary hold? Now that all the arms are in place, loosen the set screws and if needed adjust the placement of the coupling. Ensure that all the “U’s” on the end of the supports are hooked under the bottom ledge of the lamp shade. Once the arms are sitting in place tighten both set screws tightly.
Mounting Base- Optional
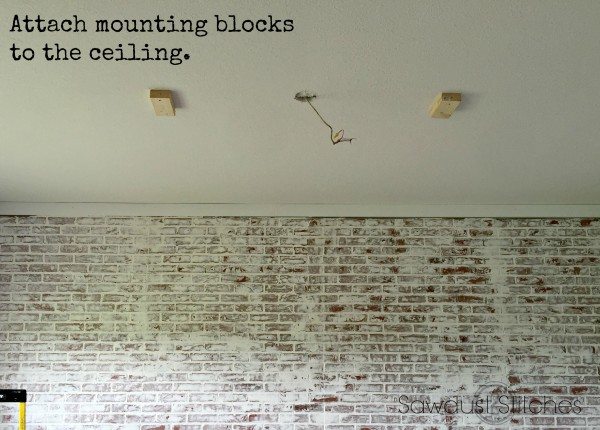
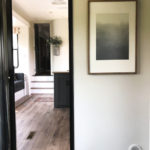
My dining room only has one light junction box, and seeing as I am more comfortable building than I am running electrical I decided to build a box that would allow me to mount multiple light fixtures and hide all the electrical behind the box.
Actually, that is partly true. I ORIGINALLY. used the box for the aforementioned reasoning. When I built my first kitchen light fixture I needed something to hide the wire. You can get all the details about my process here.

However, with this light fixture my motives for the box were a little different. I had a vision and I wanted to bring some beautiful wood tones to the space, and a stained mounting box was just the ticket!
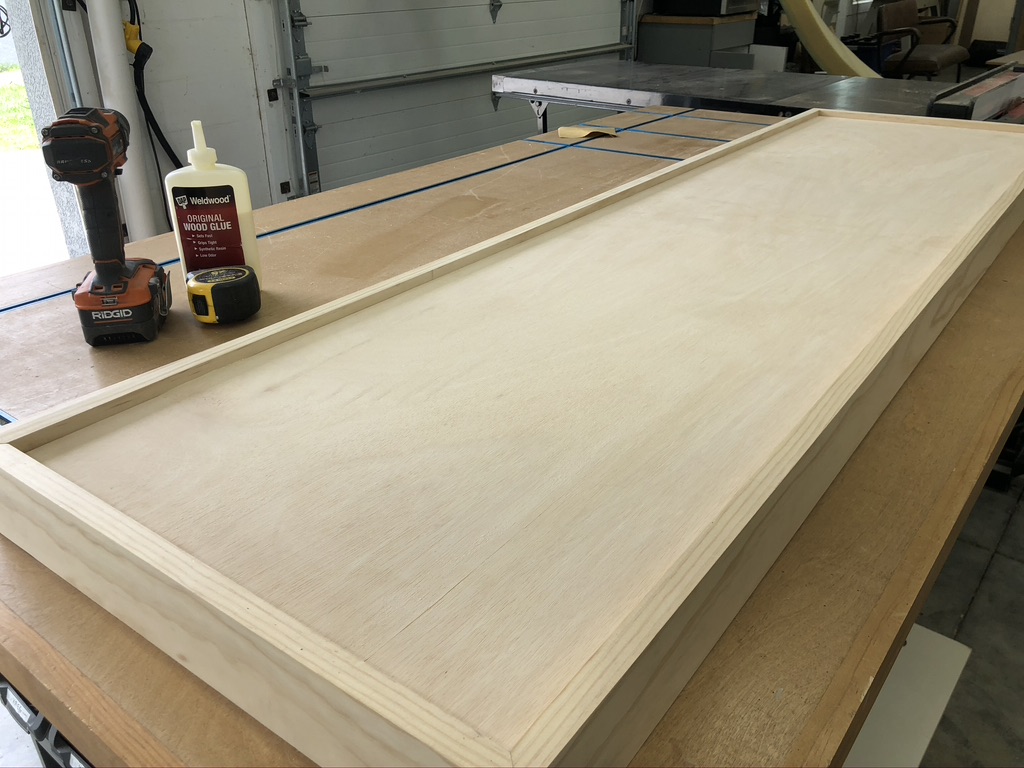
While I won’t go into the nitty-gritty details, here is a basic overview. The mounting box consists of 5 boards. The base which is. 3/4″ piece of plywood, and 1×4″ select pine boards.
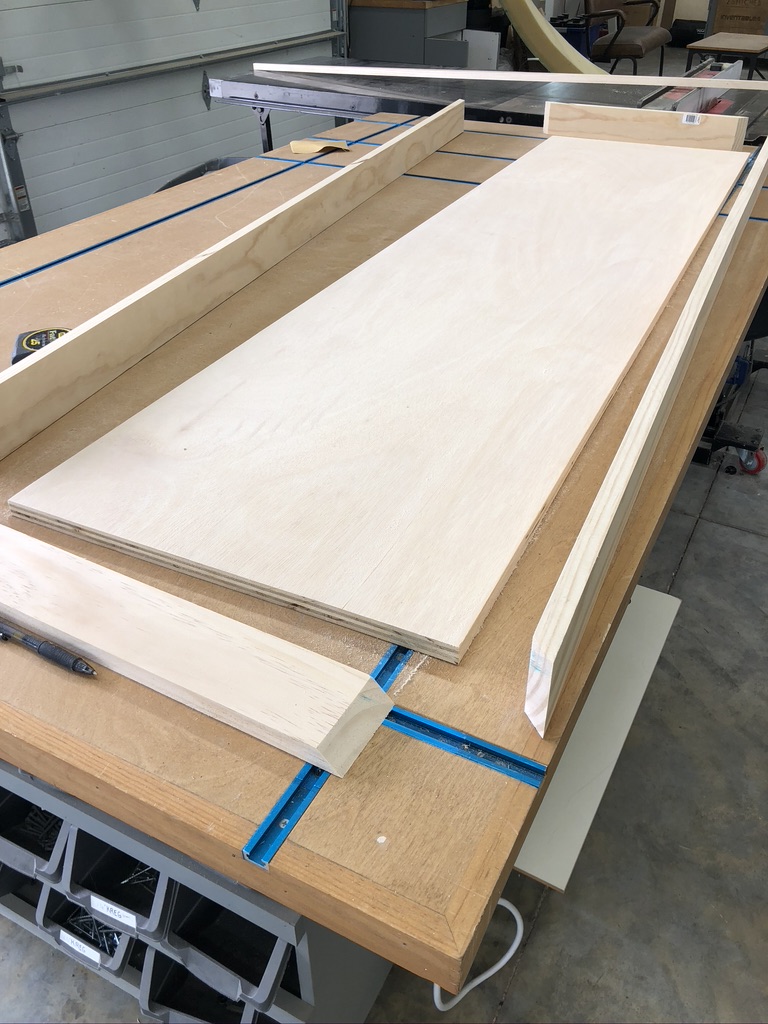
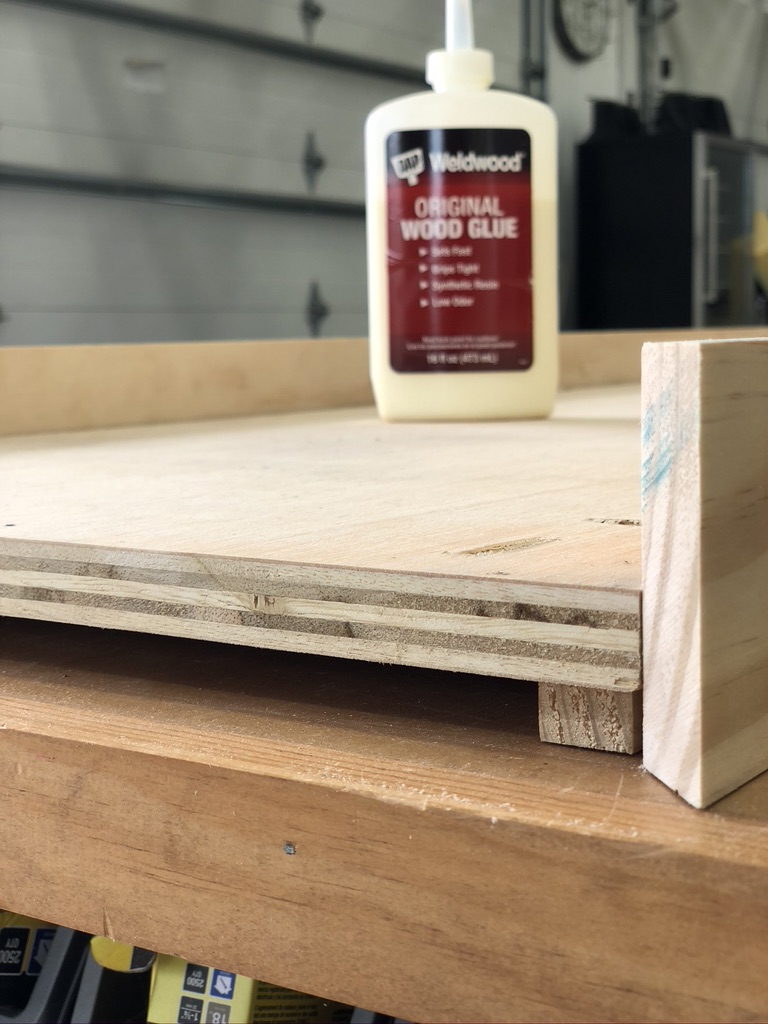
I cut my 3/4″ plywood to my desired dimension and then but my 1×4″ boards to fit the piece of plywood. (I mitered the corners.) The important thing to consider when assembling, you will need to leave space on the inside of the box for the wires and mounting blocks. I purposefully made my spacing behind the plywood 1 1/2″ deep so that it would accommodate a 2×4″ mounting block.
Once the box was assembled I used a stain pre-treatment, followed by a layer of MinWax American Walnut. Once it was dry I applied a protectant top coat.
If you would like to read more about the installation process I have a few more details here.
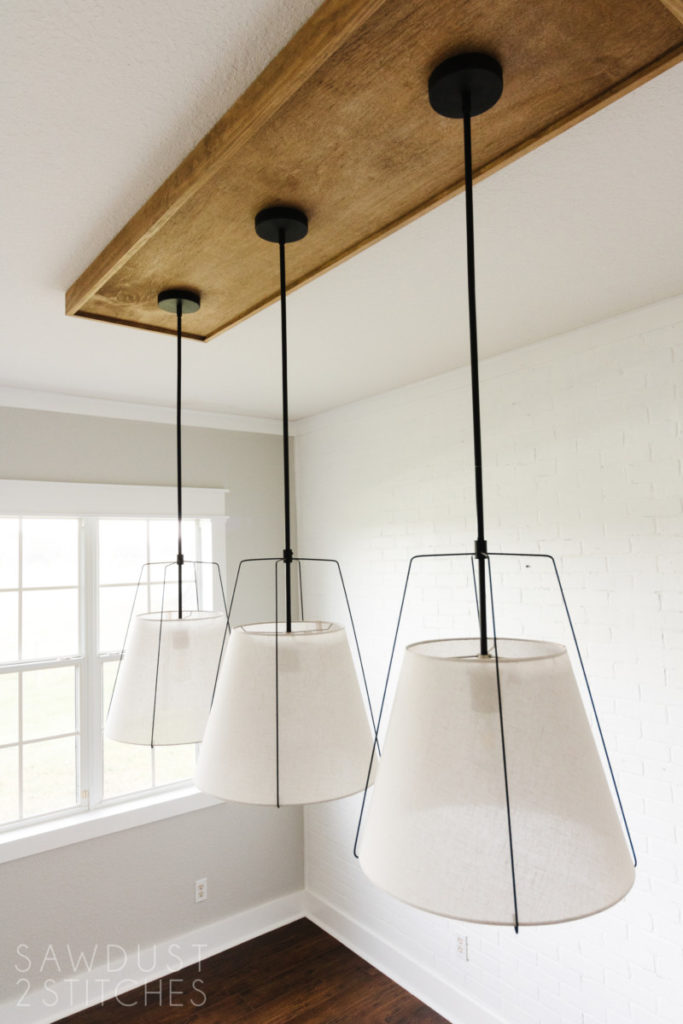
There you have it folks, my own beautiful rendition of a gorgeous light fixture. Full design credit goes to the talented folks over at Rejuvenation. As much as it would be fun to simply buy these light fixtures there is something very satisfying in DIYing. Thanks so much for following along!


You are a dream come true!
Wow! Wow!
Very very very NICE!.. great job. That box at the top is genius.
Absolutely genius work! I’ve seen this conical drum pendant on the ‘Chris loves Julia’ blog, and immediately fell in love with it! Thank God, rejuvenation.com doesn’t ship products to Europe, so I can keep my firstborn and my arms as well. 😀
But your DIY replica made my heart melt – and made me think about making it for myself one day! Thank you for the professional and detailed description!