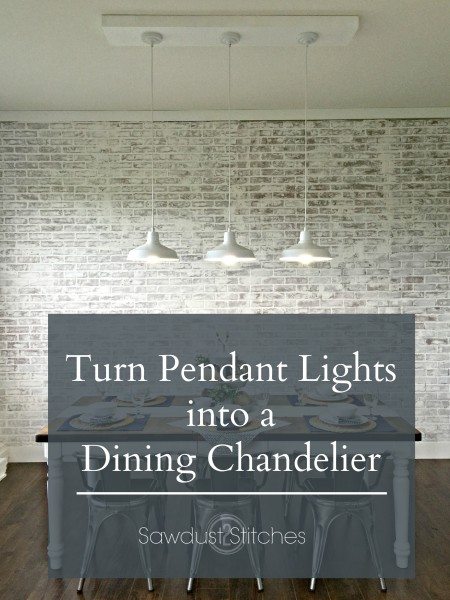
Pendant into Chandelier
Supplies Used:
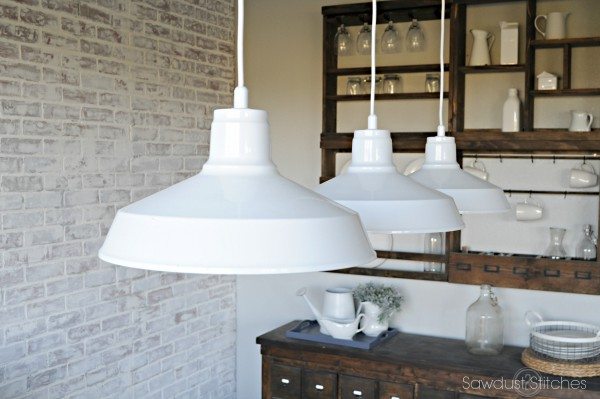
- 3 Pendant Lights (w/basic mounting kits) * I used some from Home Depot, but they have since been discontinued, HERE is something similar.*
- 1″x 8″ Board
- 1″ x 2″ Board
- 2″x 4″ Boards
Tools Suggested
- Miter Saw
- Square
- Tape Measure
- 1″ Drill Bit
- Drill
- Nail Gun
- Wood Glue
- Countersink bit
Disclosure: Some of the links provided are affiliate links. By purchasing through these links it supports this site and helps keep content free. You can read more about how we do this with no extra cost to you.
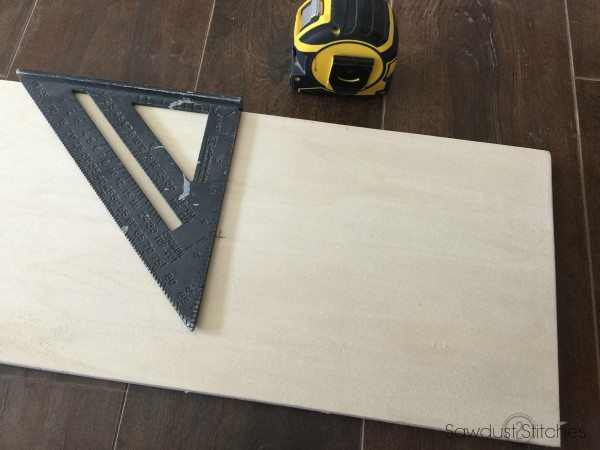
Step 1. Mark Hole Placement
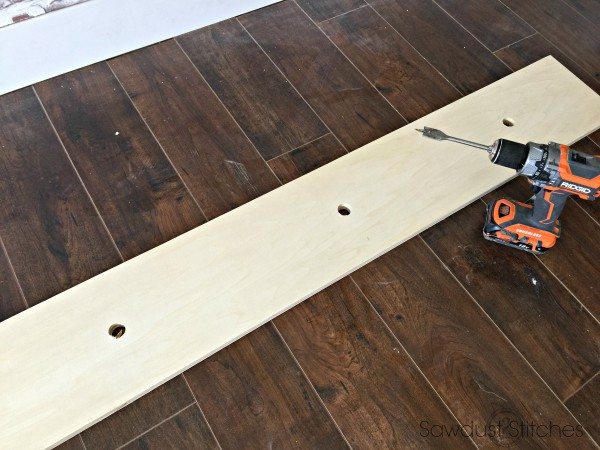
Step 2. Drill Holes
I used a 1″ paddle bit to drill out the holes for my lights.
Step 3. Cut Side Frames
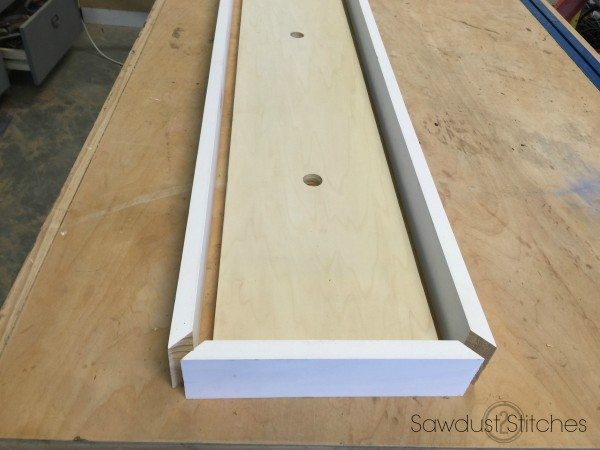
Next I frame out my base using 1″x 2″ primed boards. Okay, this is simple. So deep breaths. This is just (4) mitered corners. You will need to cut your boards on a 45 degree angle.
Step 4. Assemble
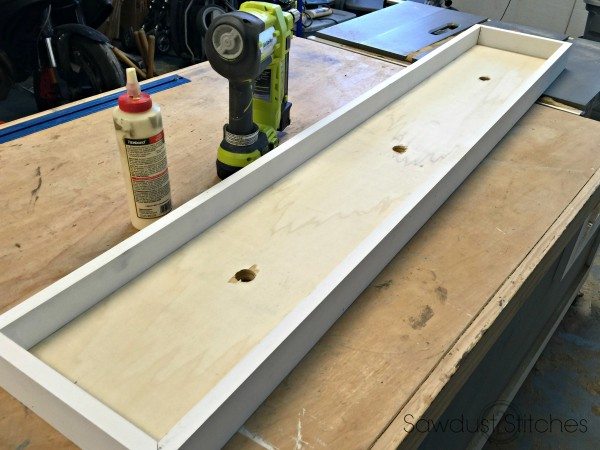
Once your side frames are cut, dry fit to make sure everything fits snuggly, there is nothing wonky going on. Once you know it fits like a glove, attach the 1 x 2’s to the base. I use wood glue and then reinforced using 1-1/2″ finish nails.
Step 5. Sand/Prep for Paint
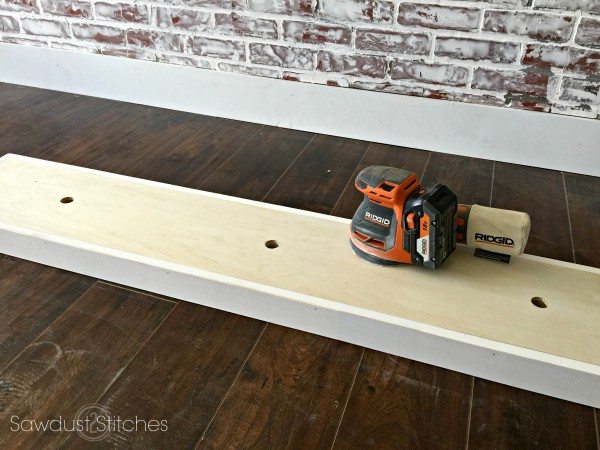
Once the glue has set, I gave the whole fixture/box a once over with a sander. (Using a sander you can easily minimize any discrepancies. 😉
Step 6. Paint
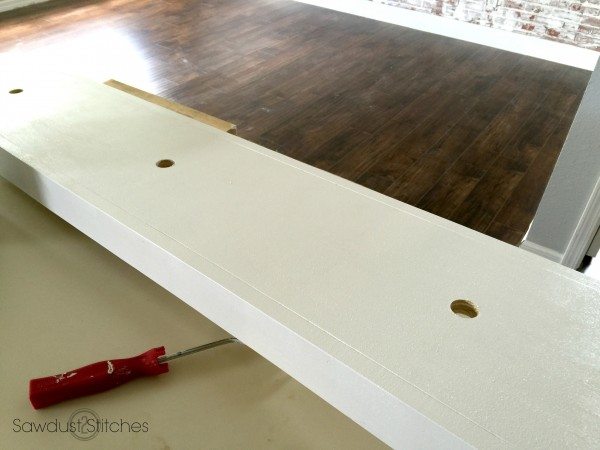
Once sanded, slap some paint on that sucker! It is so much easier to paint when it is not above your head Sistine Chapel Style. Your neck and arms will thank you later.
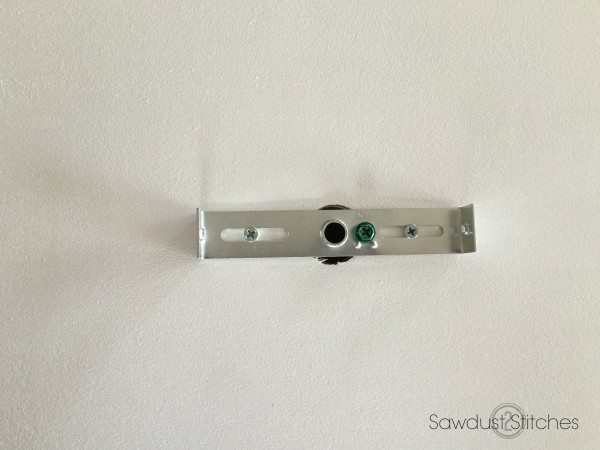
Step 7. Attach Light Fixture Hardware
Now you install the hardware. The only difference is, you are installing it to the board instead of the ceiling. (hint:The outside of the board.)
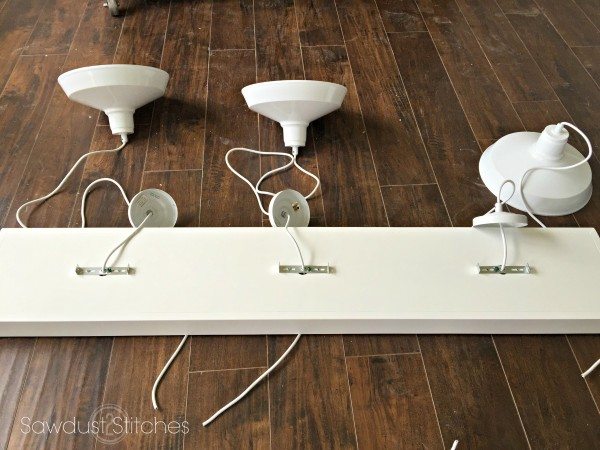
Step 8. String the Pendants through base.
Next you will string the pendants through. Make sure you measure how long you want each pendant to hang, because now is when you will want to measure and adjust the lengths.
Before you cut off any wire, make sure you have some excess. (This will be hidden in the box and will make your life easier when wiring/installing.)
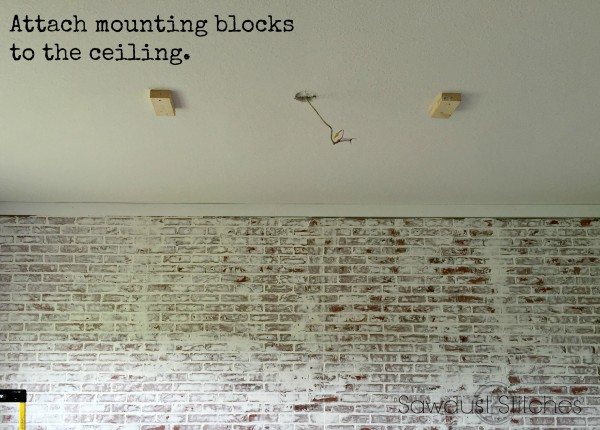
Step 9.Attach Mounting blocks
In order to attach the fixture to the ceiling, I attached mounting blocks to the ceiling. I took extra care to map out where the blocks would be in relationship to the placement on my fixture. I also made sure that my blocks hit the rafters, and would be secure!
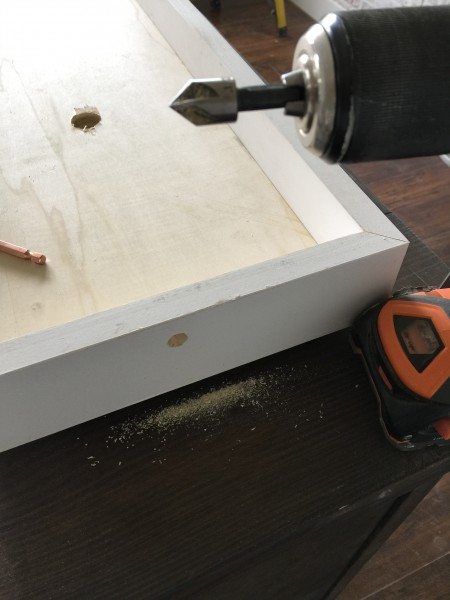
Step 10. Pre-Drill Base
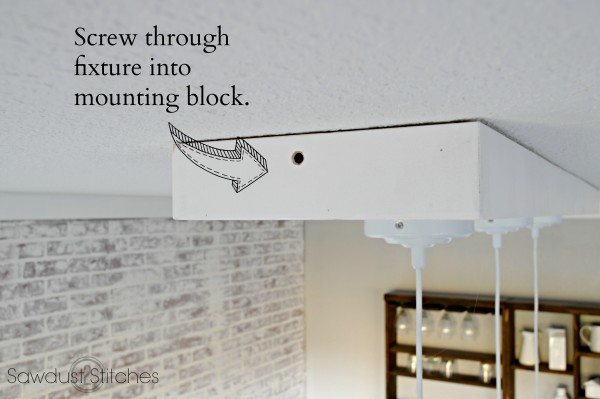
Before I wired the fixture in place, I did a quick fit check to make sure that my fixture/box fit over my ceiling mounted blocks snuggly. The idea being, that once it is wired I can screw the fixture/box from the outside, attaching it to the mounted block on the inside.
In order to make those screws less obtrusive I pre-drilled with a countersink bit.
Step 11. Wire
DISCLAIMER: I AM NOT A LICENSED ELECTRICIAN! I am simply showing you what I did, and I strongly encourage you to hire/consult with a licensed electrician who is well versed in the NEC (National Electrical Code).
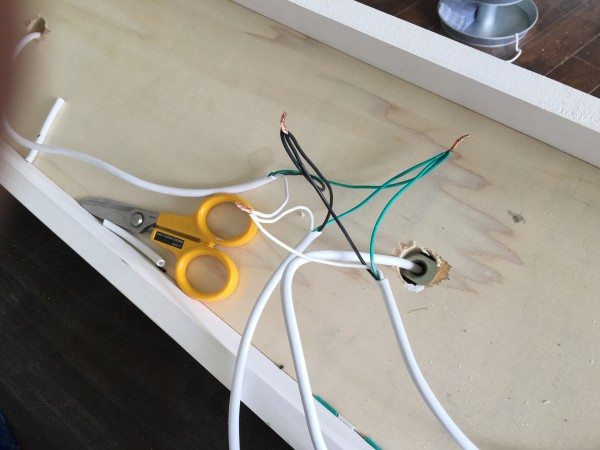
Because I am only wiring three lights together, I simply wired them all together. Anything more than three I would usually do a “Daisy Chain” approach.
Before you even think about wiring this in place make sure you switch off the breaker for the lights!!!
Once you have sufficiently twisted together your “live” (black), “neutral” (white), and your “ground” (green) you are ready to install.
Step 12. Install NEW Light Fixture
This is where it gets a little tricky. You will need another set of hands when installing. One person will need to hold the fixture/box while the other wires the fixture in place. You will again match the black wires, the white wires and then attach the ground wires. When wiring them together use a nut that was intended to accommodate multiple wires.
Once wires are attached place any remaining excess wire/cord in the box/fixture.
Now it’s ready to be attached to the ceiling! Place the fixture in over the ceiling mounted blocks. Then using a 1-1/2″ to 2″ wood screw(s) attach the fixture/box to the mounted blocks.
 Copyright secured by Digiprove © 2016





What’s the link for the pendant lights? I couldn’t click on it. Thanks! 🙂
They no longer carry them at Home Depot, sorry!