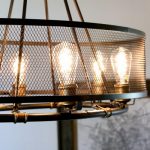
Hey all, the awesome Brittany from Pretty Handy Girl extended an awesome challenge. She wanted to see what kind of light fixture we could build/create… Challenge accepted! I decided to stick with wood as my medium. I present to you a DIY Wooden Chandelier Light Fixture!
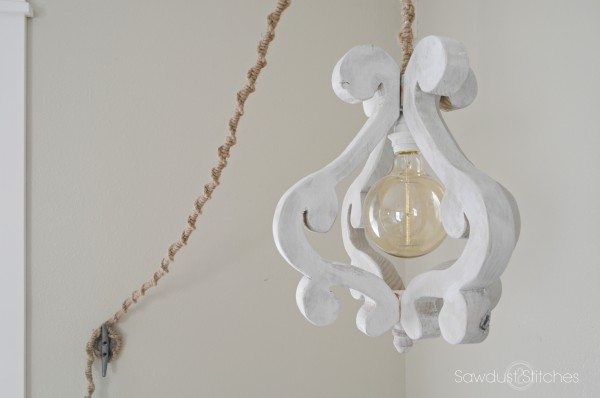
DIY Wooden Chandelier Light Fixture
Materials Used:
- Ikea Cord
- 1- (8′) 2″x 8″ board
- Wood Glue
- Jute/Rope
- Decorative wooden “foot”
- Rope Cleat
- Hitching Ring (You can easily use a large screw in hook)
- Printer
- Scissors
Tools Suggested:
- Jigsaw
- Scroll Blade
- Drill
- 1/2″ Dill Bit
- Miter Saw
- Large Clamps
Step 1.
Begin by printing this PDF template. Wooden Chandelier Template
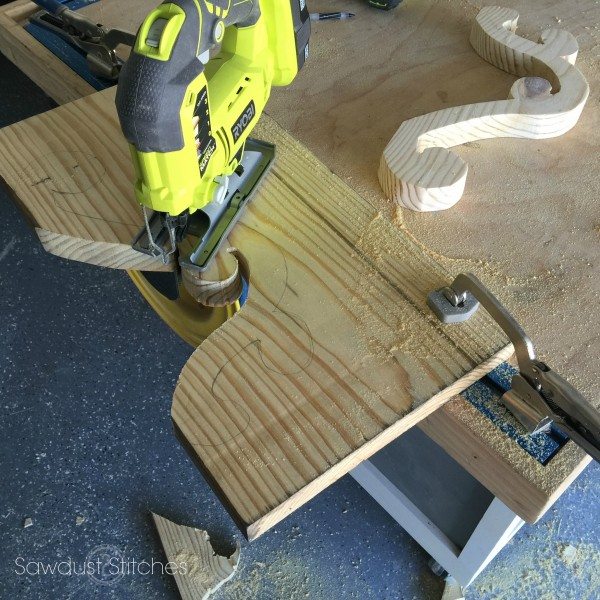
Print both sheets, and tape them together. (Make sure you print at 100% , not “fit to screen”) Cut out the pieces, and then tape together. Trace the design on to the 2″x 8″ board. (You will need 4 total.)
Then cut them out! I learned the hard way that it is infinitely easier if you use a scroll blade and put it on a slower setting!
Step 2.
I then softened the edges, and sanded all of the pieces. After they were all smooth I applied my finish. I first stained mine “Beachwood” by Varathane. Once dry, I dry brushed it with white chalk paint. 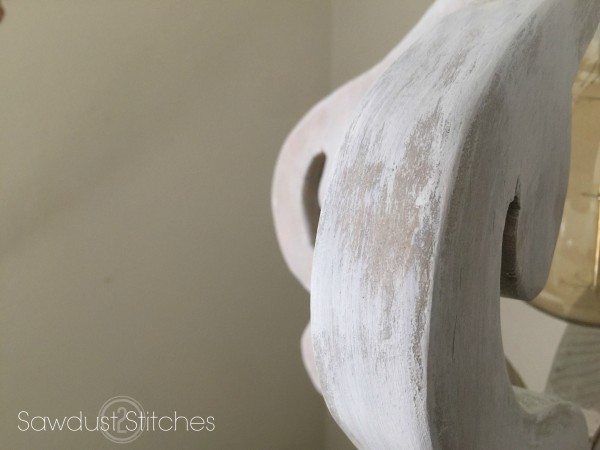
Step 3.
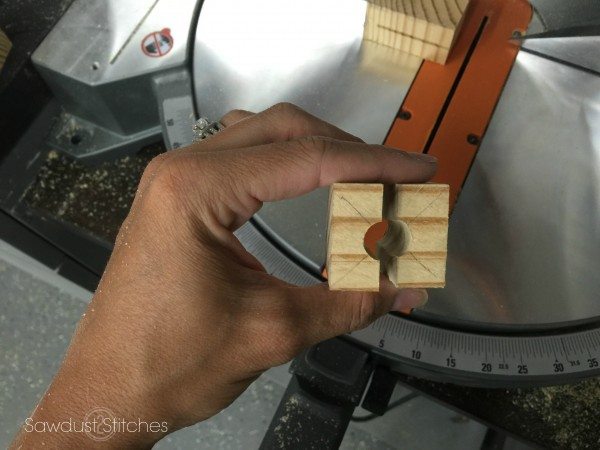
Next, take some of the excess 2″x 8″ board. Using this make (2) rectangles that measures 1.5″x 1.5″x 1.5″. In (1) of these rectangles drill a 1/2″ hole through the entire piece.
*or you can always cut these out of a 2″x 2″board. (They are around $1.)
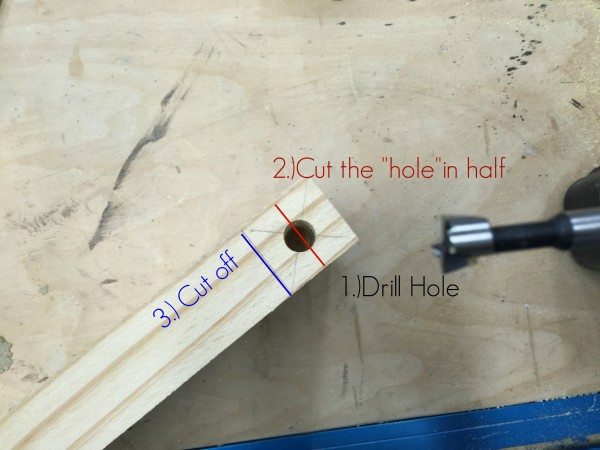
When completed, the one with the drilled hole should look like this.
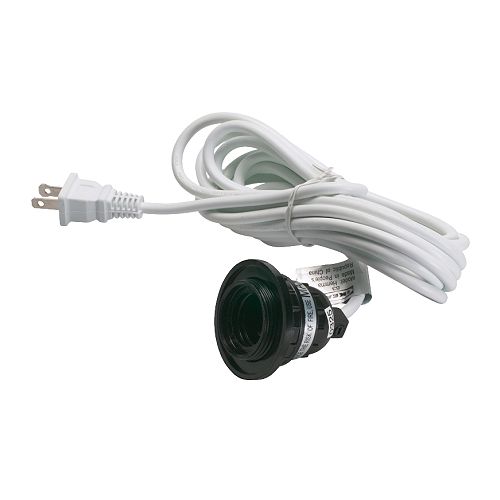
I picked up one of these lamp cords from Ikea for $5.
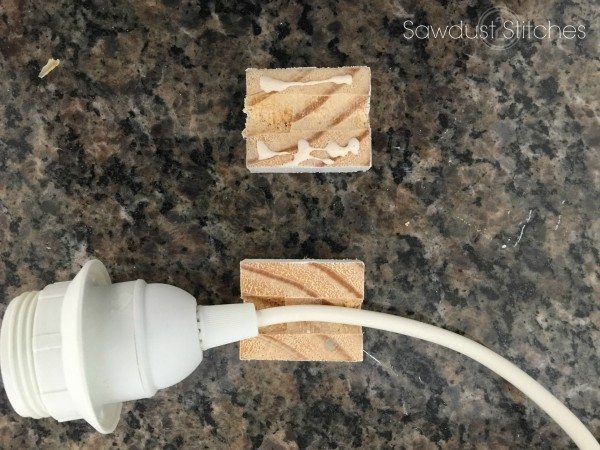
Apply a small amount of wood glue to the inside of the cut apart rectangle. Then place the cord in the groove.
 Then clamp the two pieces together! Let sit until dry.
 Then clamp the two pieces together! Let sit until dry.
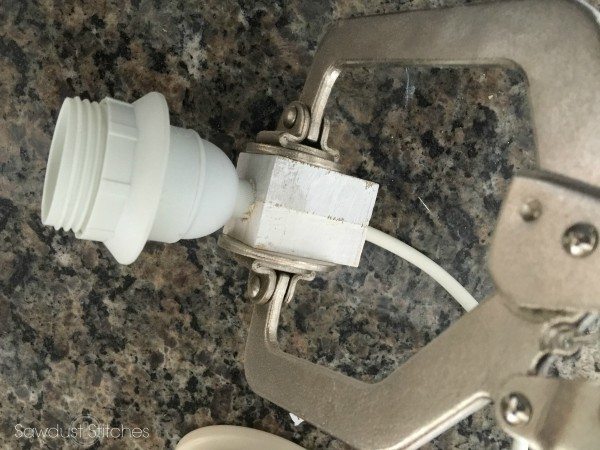
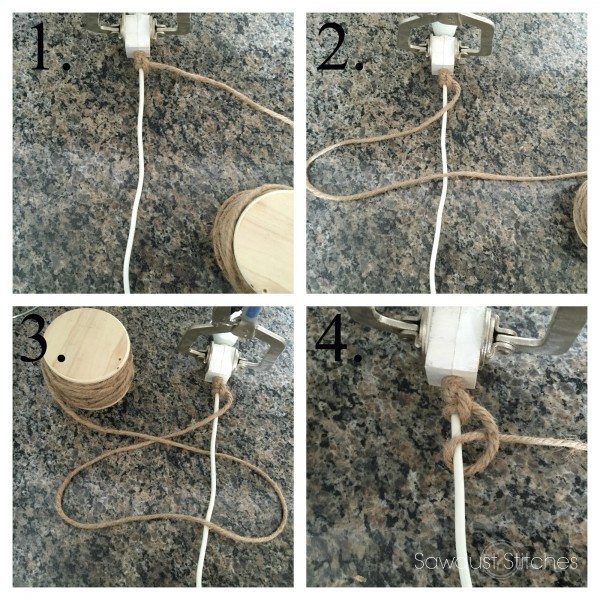
Step 4.
Now, to hide every trace of Ikea! I didn’t want a plain old white cord, I wanted something different, unique, and much more complicated and time consuming! Makes sense.
If you are girl, there is a fairly good chance you have already learned technique, while sitting in a cabin full of girls making friendship bracelets. (If you are a guy that did it… I am not knockin’ ya. Haha, it’s totally a good life skill 🙂
So… I proceeded to make (what I refer to as) the friendship bracelet from hell. I kid, I kid, it wasn’t too bad. I knocked it out during the last two episodes of Grey’s Anatomy.
Complete steps 1-4, and then repeat, repeat, repeat, repeat, repeat, repeat, repeat, repeat, repeat, repeat, repeat, repeat, repeat, repeat, repeat, repeat, repeat, repeat, repeat, repeat, repeat, repeat, repeat, repeat, repeat, repeat, repeat, repeat, repeat, repeat, repeat, repeat, repeat, repeat, repeat, repeat, almost there, repeat, repeat, repeat, repeat, repeat, repeat, just kidding, you are gonna be here awhile; repeat, repeat, repeat, repeat, repeat, repeat, repeat, repeat, repeat, repeat, repeat, repeat, your future grand children will really appreciate all your hard work; repeat, repeat, repeat, repeat, repeat, repeat, repeat, repeat, repeat, You get it.
Now that you have completed your friendship bracelet of eternity; and the top inside joint of your right pointer finger is burning. (If you do this, you will totally understand.)
Step 5.
We are now ready to assemble! Reference the image below, glue and clamp! Allow plenty of time for it to dry before moving on.
Repeat the above step.
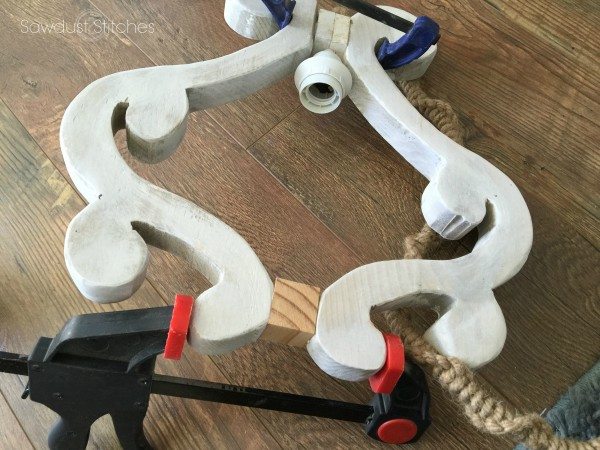 Repeat 2 more times. By then it should be looking a little something like this. If not, something has gone horribly wrong. Good luck friend.
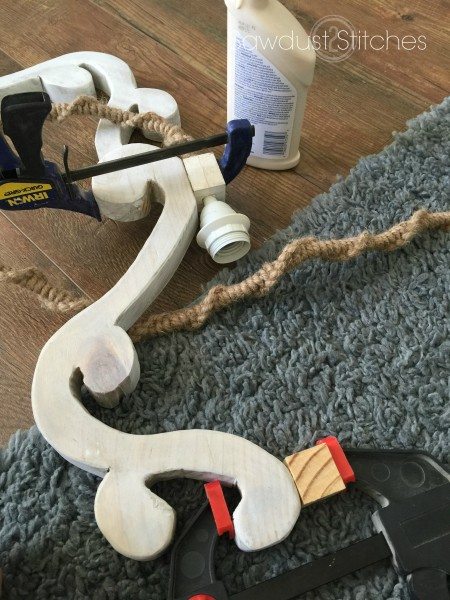
Step 6.
Moving on. Once all (4) sides of the chandelier were were in place, I felt as though it was missing something. It needed a tail! I picked up a decorative wooden furniture foot from Lowes for less than $2! It was a little long, but nothing I couldn’t fix.
I cut it down, and then applied glue and clamped while it dried.

Step 7.
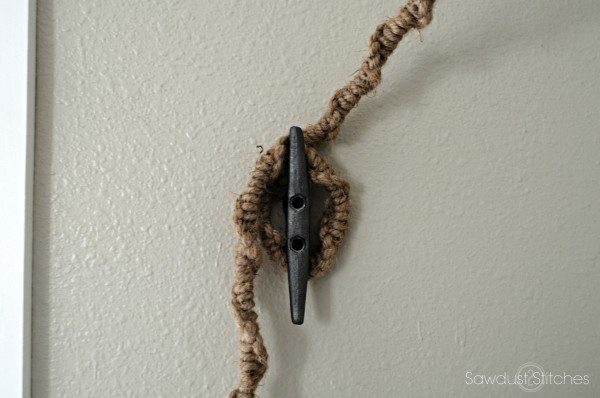
Once everything is dried, the chandelier is complete. Only thing left to do is hang it! I wanted something a little unique,so I mounted a “hitching ring” to the ceiling.
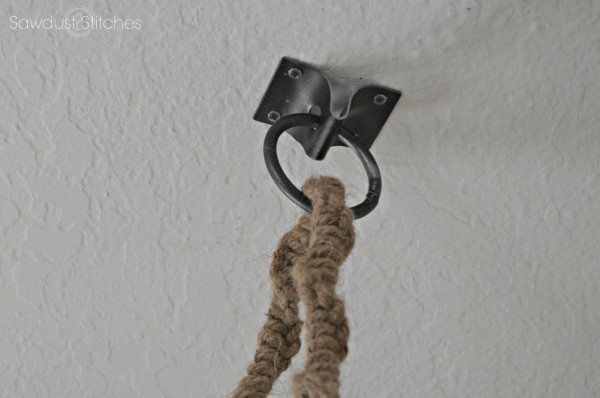
I then mounted a rope cleat to the wall so that I could tie it off.
Done and done!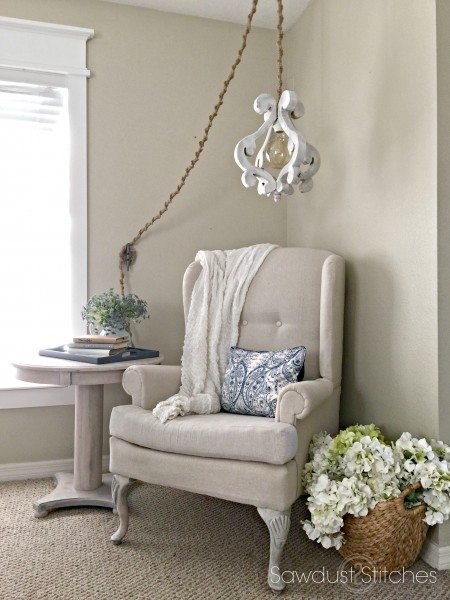
For sneak peeks of my upcoming projects be sure to follow me on Facebook and Instagram. You can also, follow me on Pinterest to get tons of projects plans from all around the web! 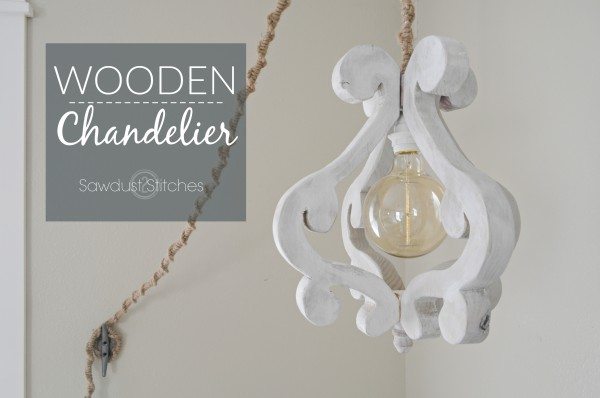
Make sure you check out these other light fixtures from more of my talented friends!
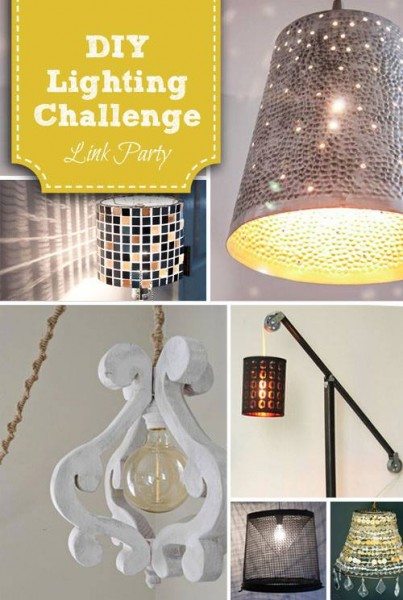
Have a light fixture you have made ? We want to see it! Link up below.
 Copyright secured by Digiprove © 2016


I love this on so many levels! But my favorite part is the friendship bracelet from hell, cracking up! And sooo glad you found out about the scrolling blade, I recently did a project using one and when it broke I had to finish without it…tourture! Pinned!!
I love this chandelier so much!! Is it worth it to buy the saw just to make this project? Hehe
A jigsaw definitely would cost less than it would to purchase a light fixture similar to this! Go for it!