• Blog
  • About
  • Press
  • Privacy

Let’s be social!

  • Skip to primary navigation
  • Skip to main content
  • Skip to primary sidebar
  • Skip to footer
Sawdust 2 Stitches

Sawdust 2 Stitches

  • Tutorials
    • Around the House
    • Organization
    • Wall Decor
    • Sewing
  • Makeovers
    • R.V.
    • Room Makeover
    • Furniture Makeover
    • Decor Makeover
  • Build Plans
    • Small Builds
    • Wall Decor
    • Dresser
    • Tables
    • Seating
    • Shelving
    • Hidden Compartment
  • Seasonal
    • Summer
    • Spring
    • Fall
    • Winter
  • Home Tours
    • First Home
    • Current Home
    • 70’s Ranch Home
  • Workshop

Patio: Don’t forget the Ceiling

July 30, 2014


ceiling makeover ss

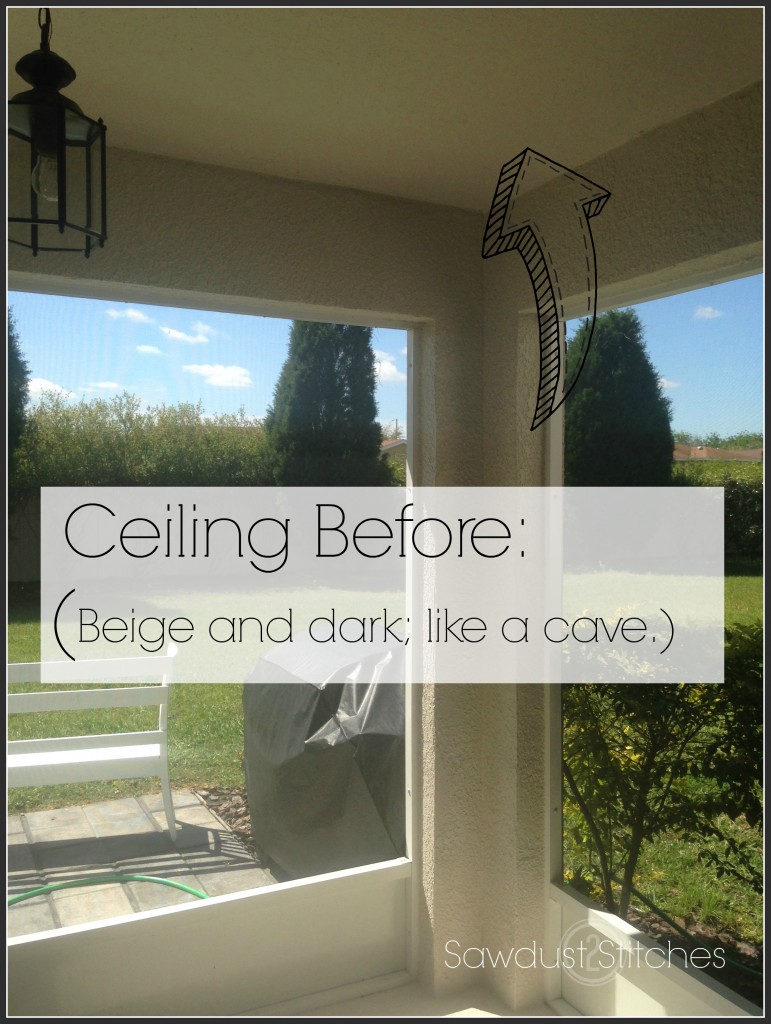
While  in the process of giving the patio a facelift,  I kept feeling like  I was not achieving the look I wanted.  I wanted a bright  area, with bold lines, and to be clean and inviting.  As I was closing in on the completion of all the projects,  it still felt a little “dark”.   Then I had my epiphany.  It was the ceiling.  The ceiling and the walls were the same beige color.  Granted it was not a dark color,  but having all the walls and the ceiling  the same boring color,  made it feel like a cave.

ceiling before ss

The only problem with  painting the ceiling posed, was that the corner where the ceiling and the walls  met, was  very bumpy.   No matter the brand of tape or how steady my hand  I was not able to create the appearance of a straight line.  Depending on your vantage point the  appearance of the line changed.  Well that was not going to work.

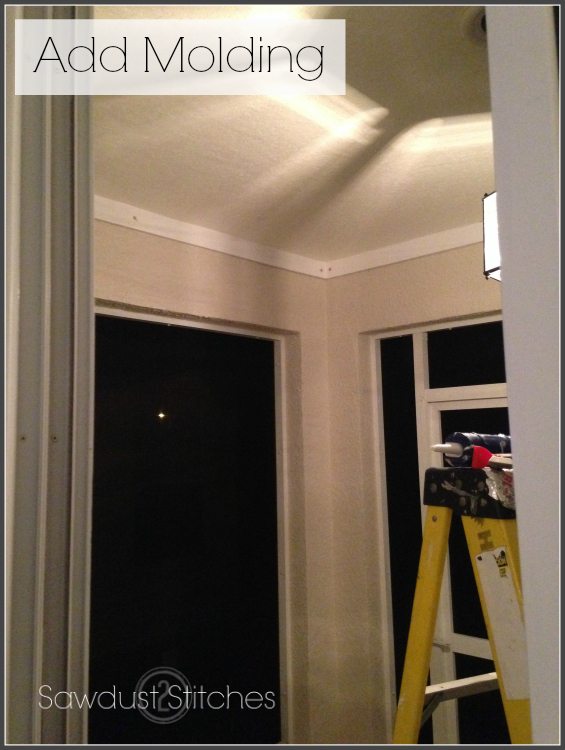
Then, another  *lightbulb*,   I decided  to add molding and trim out the ceiling.  It was perfect, it would give me a straight line, as well  bring in more white paint color.

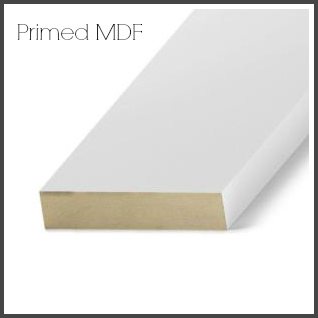
So here is what I did. : I used primed MDF finger board.  This can be purchased at  many lumber stores.

moldingss

Because I would be installing the molding  onto a stucco  finish I would need to use  a masonry  bit and masonry  screws.

masonry  bit ad screws ss

You will need to pre-drill your holes into the stucco using the masonry  bit.  I would  suggest having  someones help  hold the molding in place while  pre-drilling the hole. ( It can take a good amount of work to drill through stucco/concrete.  Once  pre-drilled,  use masonry  screws to secure .

add molding ss sm

At this point there will be very large holes where the screws were places.  Fill holes, and then smooth and or sand.

fill holes ss

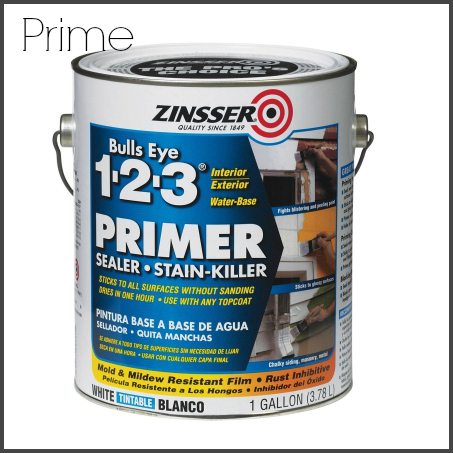
Once the  filler is dry,  follow up with primer so that the filler will properly take paint.


prime ss

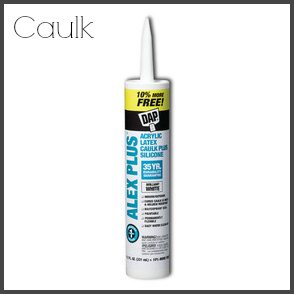
As I previously mentioned there  wall surface is very bumpy,  so even when the trim was screwed to the stucco it left tiny little  gaps.  I  went through and  using paint-able caulk  filled all the gaps.

caulk  border

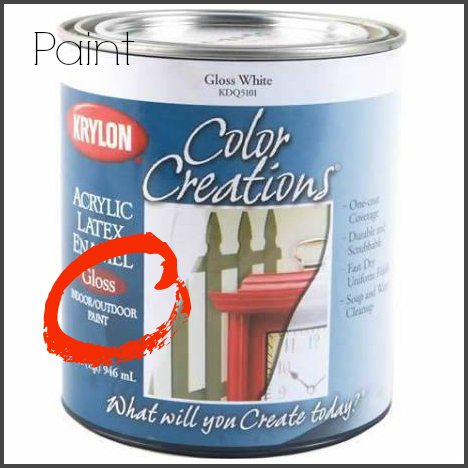
Once the  caulk and primer has dried ,  follow up with paint.   This is obviously an outdoor space, and so  I would need to use an exterior paint.

EXTERIOR PAINT ss

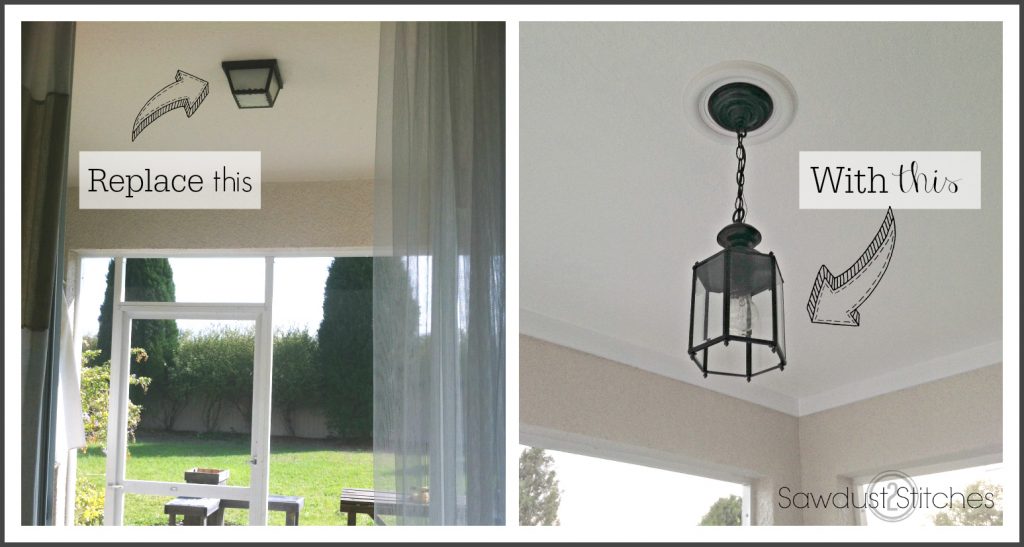
The only  thing left to fix (as far as the ceiling goes) was the awful  light.  Luck would have it that I found  the EXACT  same light fixture  that I had hanging in my front entry!   I had purchased both lights on separate occasions from  thrift stores!  So  for $6   I had a new light fixture!

You can read all about how to makeover the light fixture here.


light fixture ss

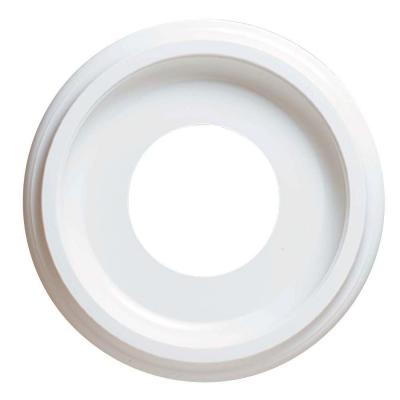
I added one of these fancy- schmancy  ceiling medallions  for $8.  (They  really  do add a  lot to the look. So worth it!)

687ecb2c-d8f7-4052-a354-939957bfe970_400

 That pretty  much sums it  up.  This may not have been a super fun tutorial but ,  bottom line is,  that  painting a ceiling white can brighten  up any room!  As with this case,  it made a huge difference.  So when decorating a space don’t  forget that the ceiling a large  percentage of the surface space in a room.  Don’t neglect it!


More from my site

  • Complete Patio MakeoverComplete Patio Makeover
  • Home Office MakeoverHome Office Makeover
  • How to use Pendants to make a Chandelier.How to use Pendants to make a Chandelier.
  • DIY Wooden Chandelier Light FixtureDIY Wooden Chandelier Light Fixture
  • Stair Well Over HaulStair Well Over Haul
  • Nautical Mirror MakeoverNautical Mirror Makeover

in Tutorials, Uncategorized # Light Fixture, Lighting, Paint, Patio

you may also like
Shelf Under Cabinets
Raised Kitchen Cabinet Makeover
Back of Door Spice Rack
Pool Patio Design

Primary Sidebar

  • Facebook
  • Instagram
  • Pinterest
  • Twitter
  • YouTube
IMG_9167 (1).jpg fd

Popular Projects

  • How to: Faux Brick Wall
  • Cheap White Curtains
  • Ikea Cubbies into a Rustic Apothecary
  • Cabinet Transformed Into A Kitchen Island
  • R.V. Makeover
  • How to: R.V. Curtains
DIY & Design

Meet Corey

Hi everyone, my name is Corey, and I have a problem. I can’t leave well enough alone… The best therapy usually involves a variety of power tools. So, in the few “spare” moments I am not entertaining my two beautiful, rambunctious, boys, I can typically be found hunched over a sewing machine and/or covered in sawdust. All in the efforts to create a perfect balance of aesthetics and practicality in our home.
read more

Join our mailing list!

DIY & design ideas - right in your inbox!

Top Hits!

  • How to: Faux Brick Wall
  • Cheap White Curtains
  • Ikea Cubbies into a Rustic Apothecary

Featured

Shelf Under Cabinets

Categories

  • 70's Ranch Home
  • Around the House
  • Build Plans
  • Crafts
  • Current Home
  • Decor Makeovers
  • Dresser
  • Exterior
  • Fall
  • First Home
  • Furniture Makeover
  • Hidden Compartment
  • Kitchen
  • Lighting
  • Makovers
  • Master Closet
  • Organization
  • R.V.
  • Room Makeovers
  • Seasonal
  • Seating
  • Sewing
  • Shelving
  • Small Builds
  • Smart Home
  • Spring
  • Summer
  • Tables
  • Tablescape
  • Tutorials
  • Uncategorized
  • Wall Art
  • Wall Decor
  • Winter
  • Workshop

Footer

Contact Me: Corey@Sawdust2Stitches.com

Latest ‘Grams

Follow on Instagram
2020 © Your Blog Name
theme by soleilflare
Enter your name and email and get the weekly newsletter... it's FREE!
Your information will *never* be shared or sold to a 3rd party.