Hey all! It happened again. I looked at my dining room and I COULD NOT leave well enough alone. I started fiddling with new ideas, then one thing led to another, and I had taken everything out of the dining room and was left with a blank canvas. One of those blank canvases was a large wall. I wanted it to be large, and a statement piece, but not take away from the space…
I was trying to figure out approximate size, so I went up to my home gym (you may recall it from the Frogtape Makeover Challenge) and I borrowed the large sign I had made for the gym… well I ended up loving the style so much that I simply duplicated the looked and this is how I did it!
Supplies Used:
- 1/4″ MDF Paneling
- 1/2″ Pine Boards
- Sand Paper
- Clean Cloth
- Wood Glue
- D-Rings
- White Primer/Paint
- Carbon Paper
- Sharpie Markers
- Black Craft Paint
- Paint Brushes
- Stain (your color preference)
Tools Suggested:
- Table saw (or ask the nice folks at The Home Depot to cut it for you in store)
- Miter Saw
- Sander
- Finish Nailer
- Drill
- Sponge Sanding Block
- Sponge Paint Roller
I went to The Home Depot and picked up a piece of 1/4″ MDF paneling. It’s fairly cheap, yet sturdy and smooth. A 8×10′ sheet is about $13.00. (If you are wanting to create a smaller size piece, they do sell “handy panels” that are 2×4′) I was going to make this sign HUGE ! I cut my MDF to my desired size. (Mine is about 58″x 42″)
 Once the MDF is cut, I needed to prep it for paint. I scuffed up my MDF board using a fine grit sandpaper. (MDF is a naturally very smooth, with an almost polished finish. It needs to be scuffed for proper paint adhesion.)
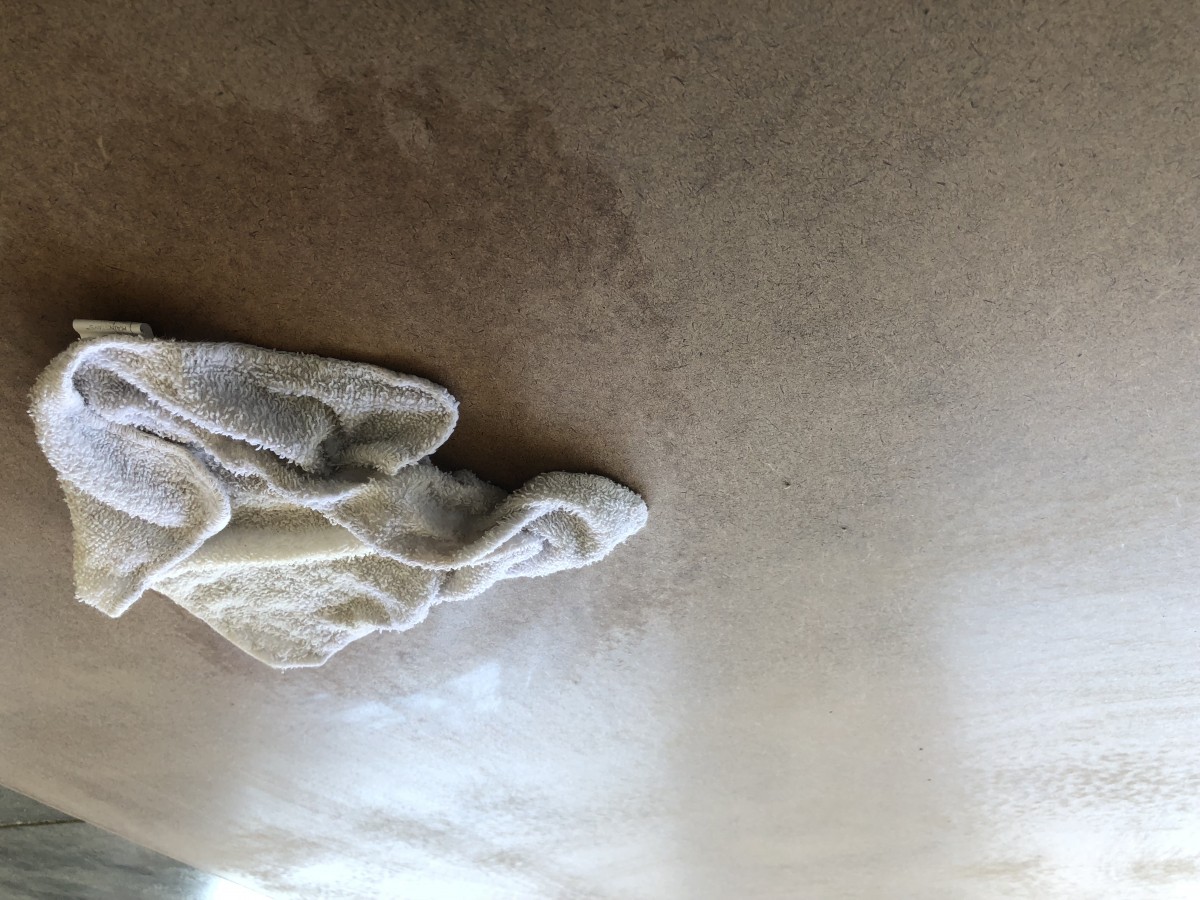
Once the entire board was LIGHTLY scuffed. I needed to remove all of the dust and residue left from the sanding. To do this I went over the board with a clean damp cloth.
Once the board had air dried for a few minutes, I proceeded to paint. I chose to use a low sheen white. The best advise I can give you, is to use a paint and primer all in one. It speeds up the process. 
Once the coat of paint is COMPLETELY dry, I like to go over all my painted pieces with a fine grit sponge sand block. I am TELLING you people, this little step will make all the difference when it comes to smooth paint finishes! Once you have used the sponge sander, wipe down with damp cloth and repeat painting/sanding steps until you have a nice uniform coverage. 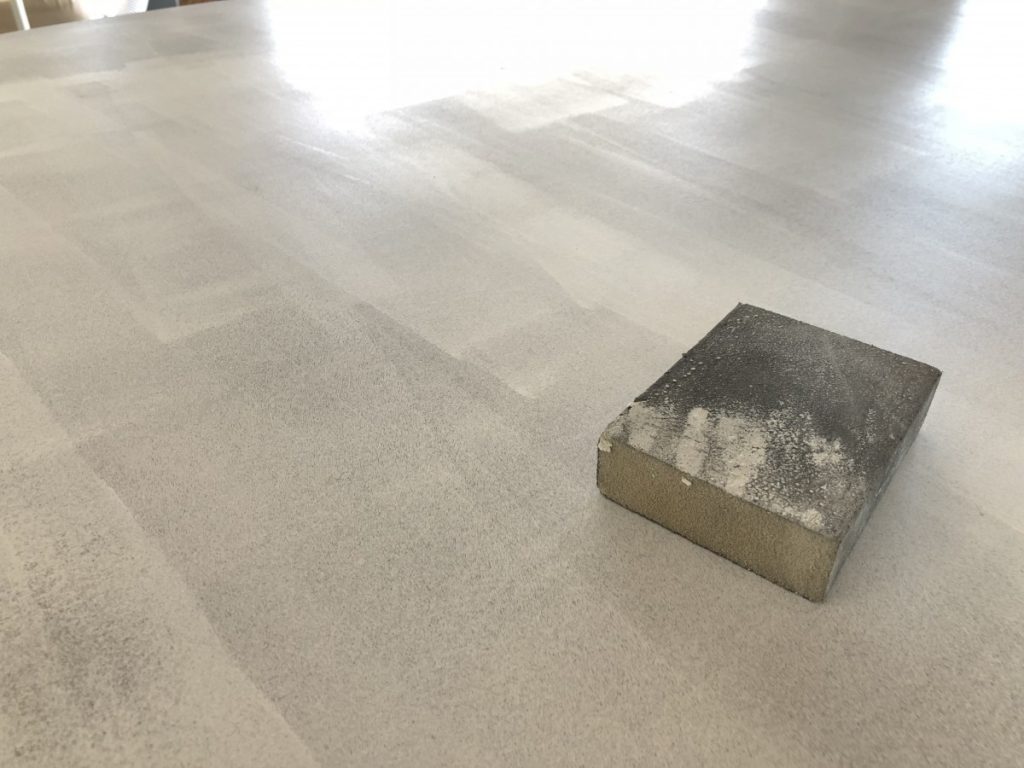 While the paint is drying I wentto work making a large frame. To make my frame I used standard pine 1×2″ boards.
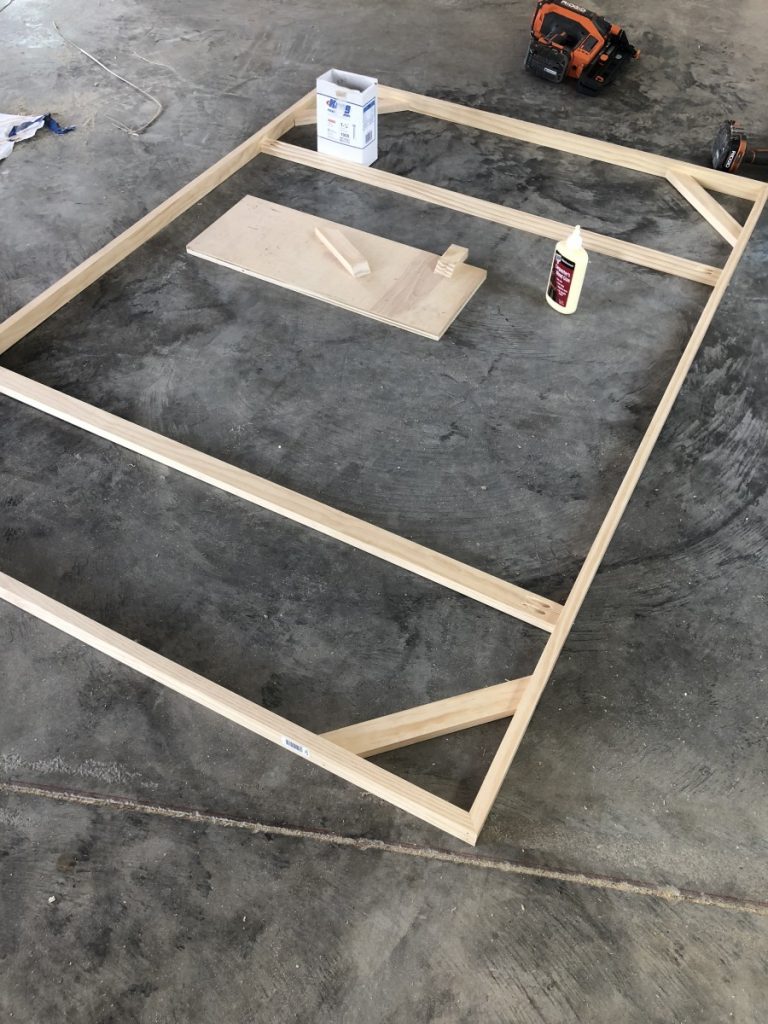
 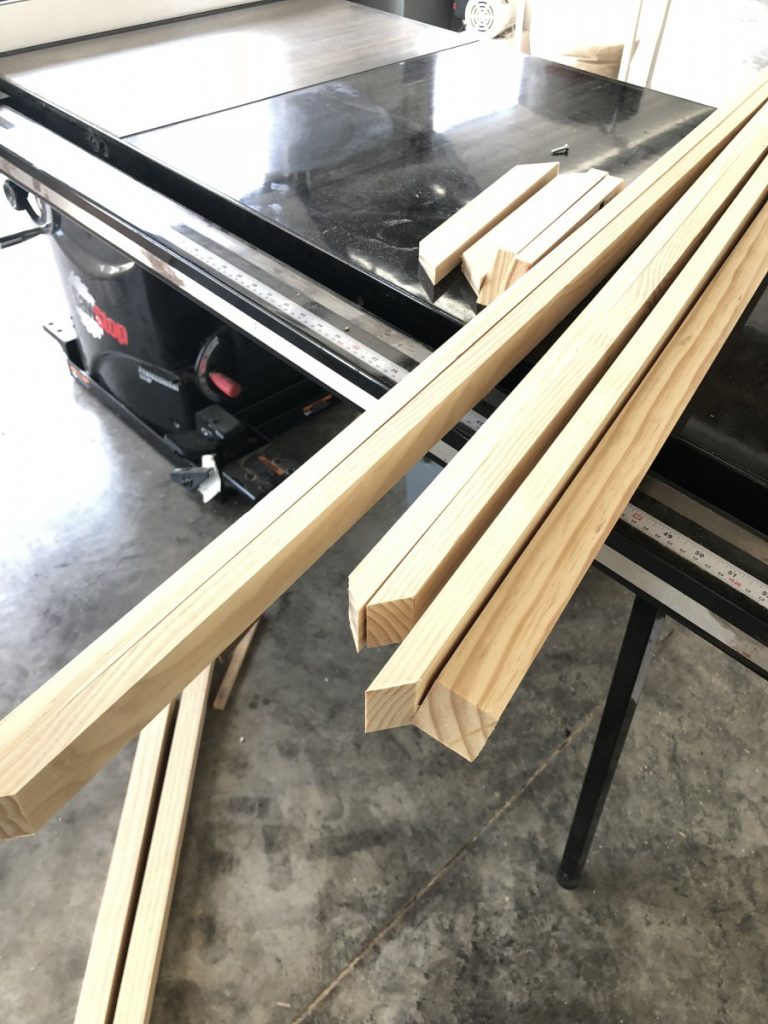 I based the dimensions of my frame off of my paneling/sign. Making sure the length/width of my panel matched the inside cuts of my frame pieces. When I make frames, I use a rather quick and dirty technique. I glue my mitered corners and then reinforce with 2″ 18 gauge nails. I then move on to the next corner. I repeat this process until all the corners are glued and secured. I then add corner supports, attaching in the same method. The corner supports are leftover 1×2″ boards cut with (x2) 45 degree angles on each end. These supports will help reinforce the corners, keep the frame square and give you a surface to attach the paneling too. Seeing as this is such a BIG piece I also added vertical supports. When attaching these, I used pocket holes and 1 1/4″ screws. These supports will be what I attach the “D-Rings” to so that I can hang it on the wall.
 I already had a good idea what I wanted my sign to look like, but I find using a computer to help with spacing and visualize the look is extremely helpful!
 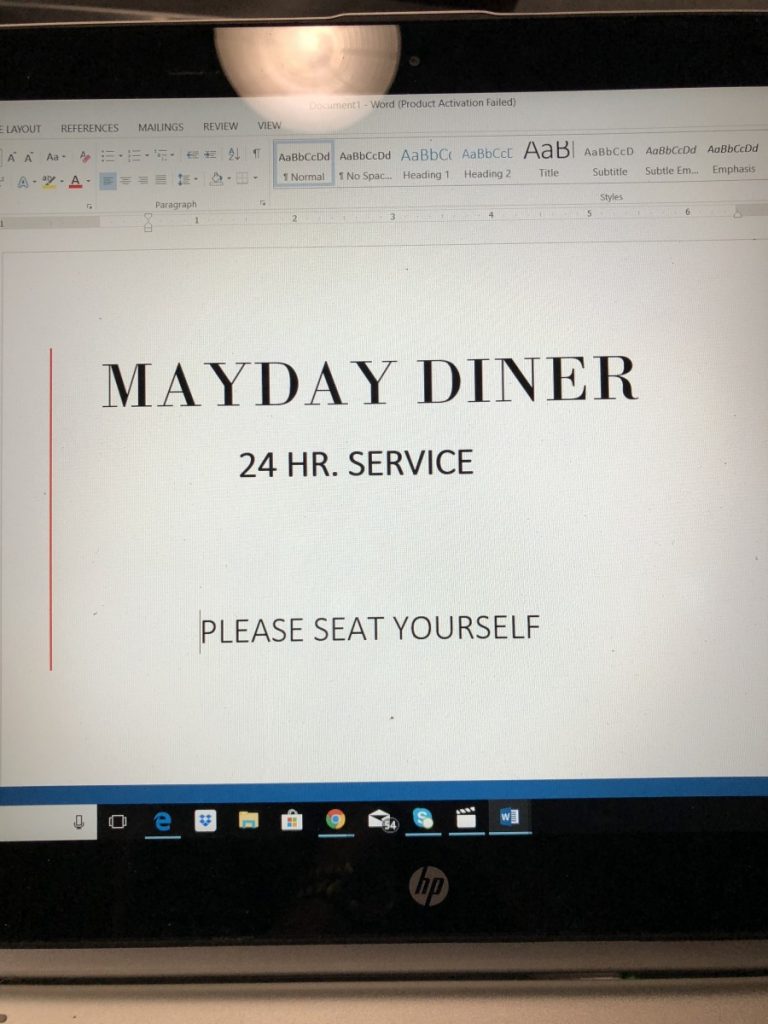 Mapping it out on a computer makes life so much easier! I then just need to pick a font size. To do this I just measure the width of my board and decided how much space I wanted each line to take up. So for instance, say I wanted my first line to be 36″ wide. I would divide the number of letters in the line. (M-A-Y-D-A-Y D-R-I-V-E) PLUS 1 for the space between the words and would get a total of 12. I then divide 36 by 12= 3. So I made each letter approximately 3″ wide in my WORD program. Then printed.
This is definitely an old school technique, but hey, I have no desire to buy a vinyl cutter that I will use once a year, and then I need to store the rest of the year. So this is how I do it! Just tape your design in place and then trace with carbon paper!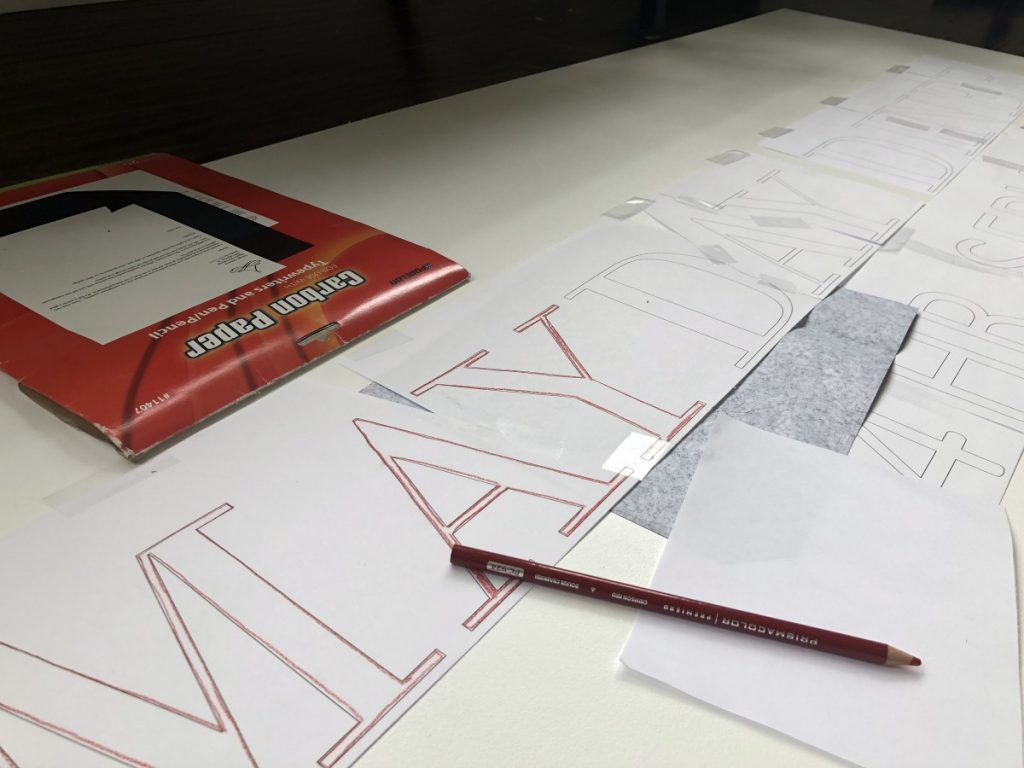 TIP: I always print my letters as an “outline”. Why? First, so I don’t waste a TON of ink, but ALSO… when I trace the letters with a colored pencil it is easier to make sure I have traced ALL the lines.
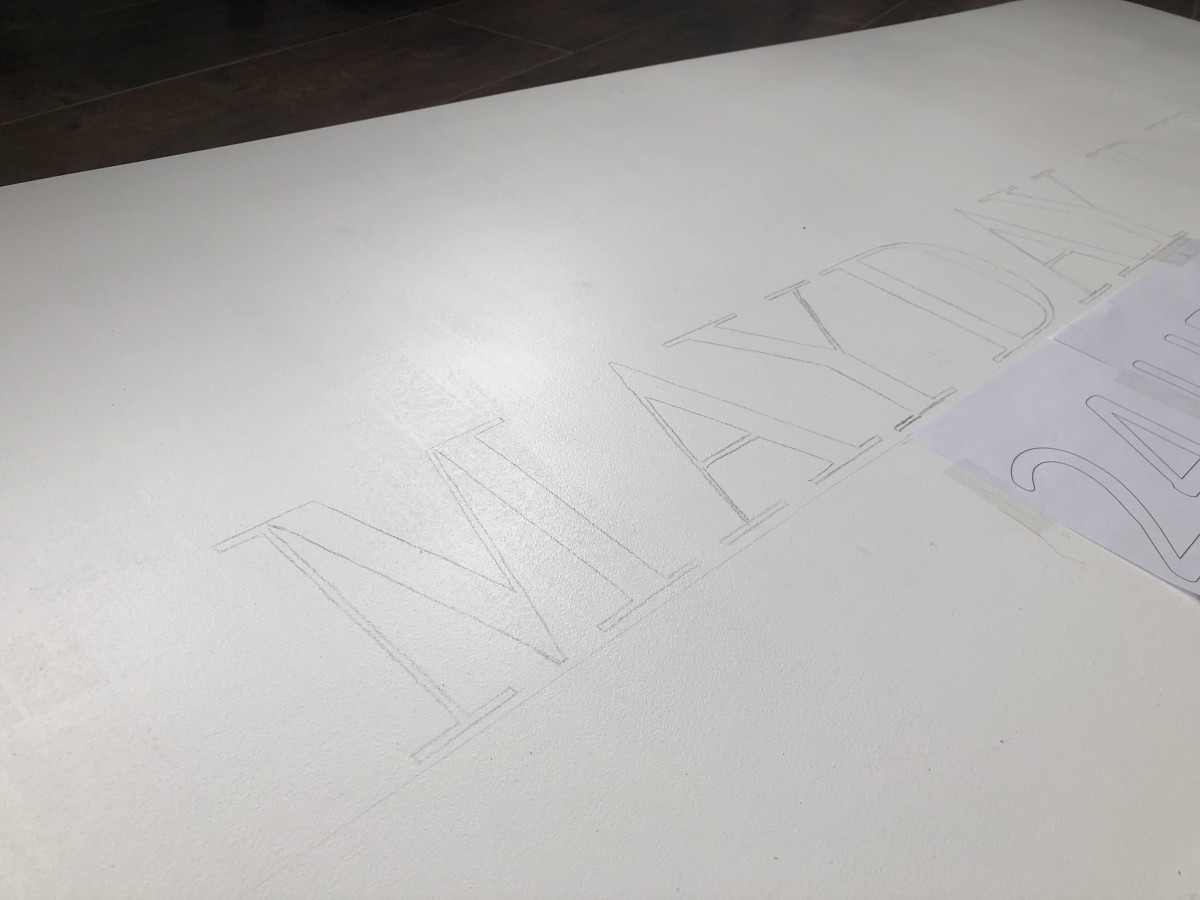
I forgot to take a picture, but here is another tip! BEFORE you start painting your letters, I trace all of my outlines with a black permanent marker! It is easier for me to get a straight lines with a marker, and then I fill in the rest with basic crafting acrylic paint. 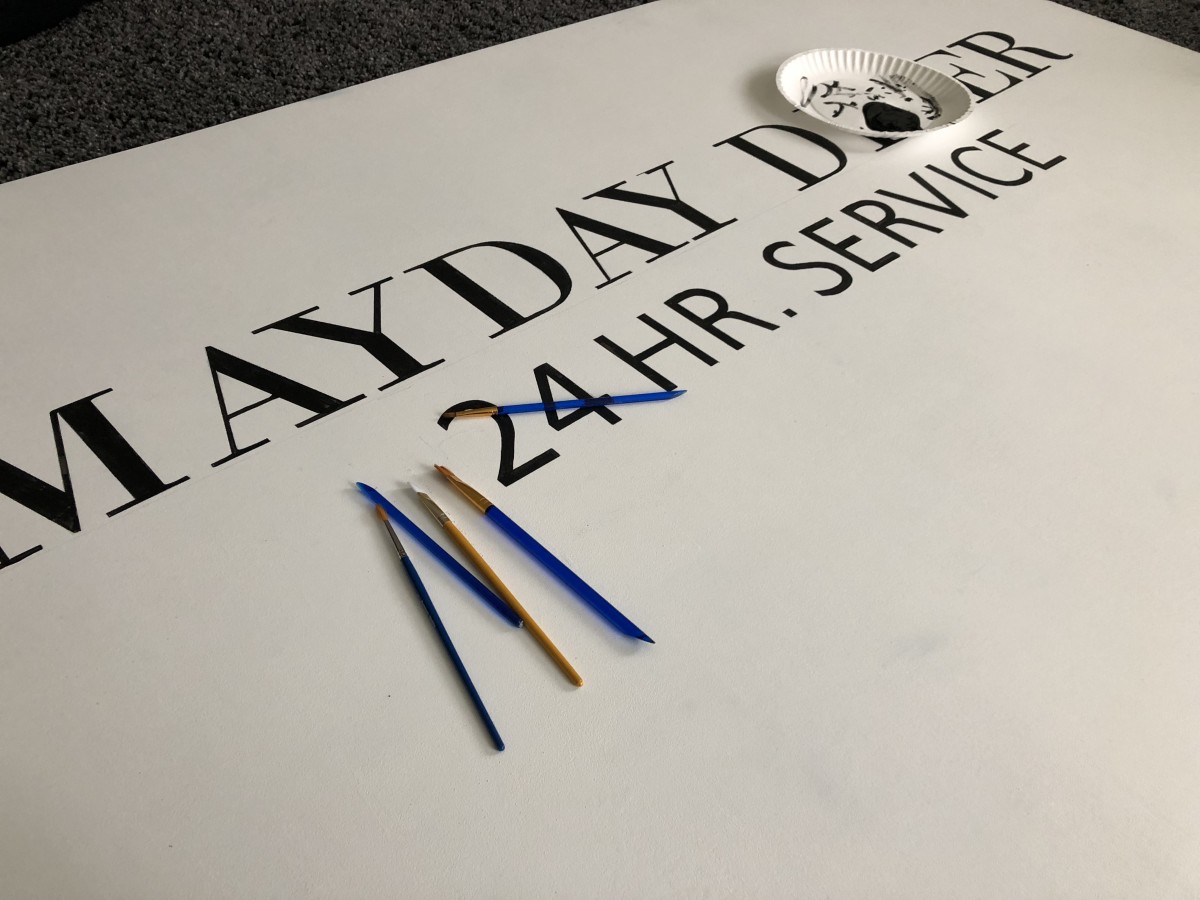
Next we need to get the frame ready for the panel/sign. I first stained my frame with “Golden Oak” by Minwax, and then I attached “D-Rings to the back vertical supports. 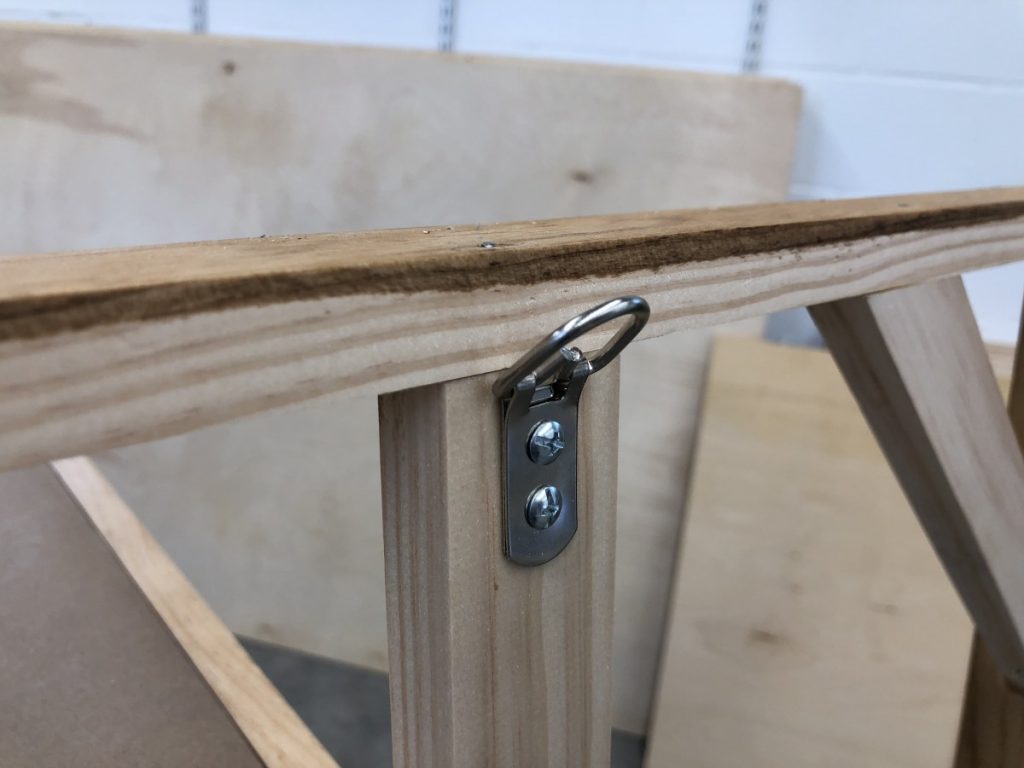 Once both the sign and the frame was dry, I combined the two. I added a bead of glue to all the vertical supports and the corner supports, and then laid the sign on top and weighted it down. ( I am also an impatient person and did not want to wait for the glue to dry, so I tacked the sign to the back supports using a pin nailer.)
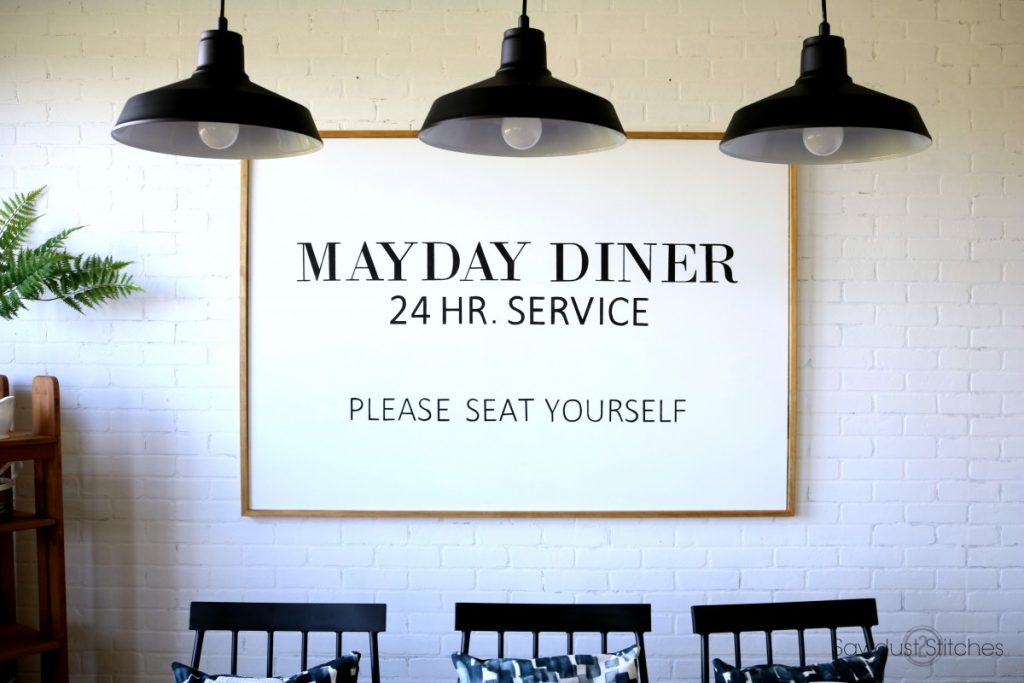
NOW you are ready to install! Make sure you properly mount it into either, studs, or you use a heavy duty mollies. That’s it! You now have a HUGE piece of completely custom artwork for approximately $20! That ain’t bad at all!
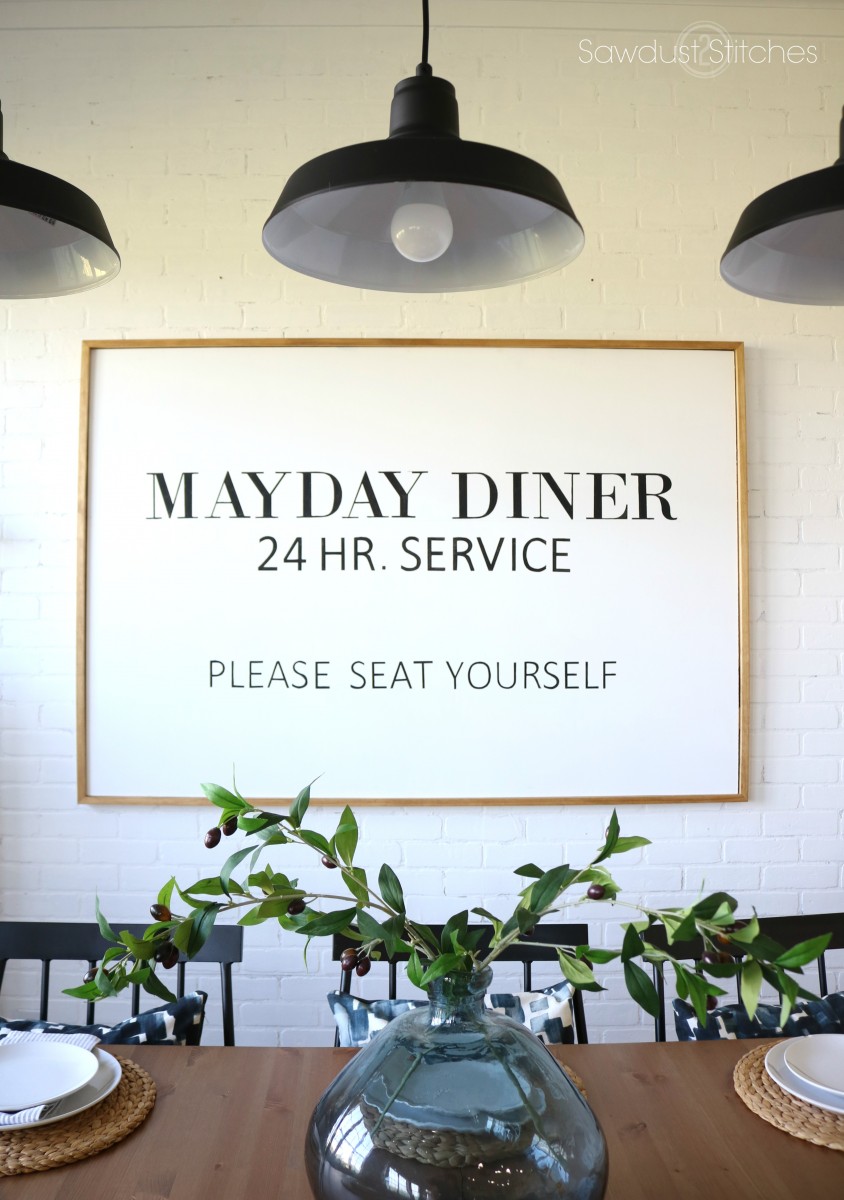
Check back soon for the rest of the dining room reveal!
Take Luck,
Corey 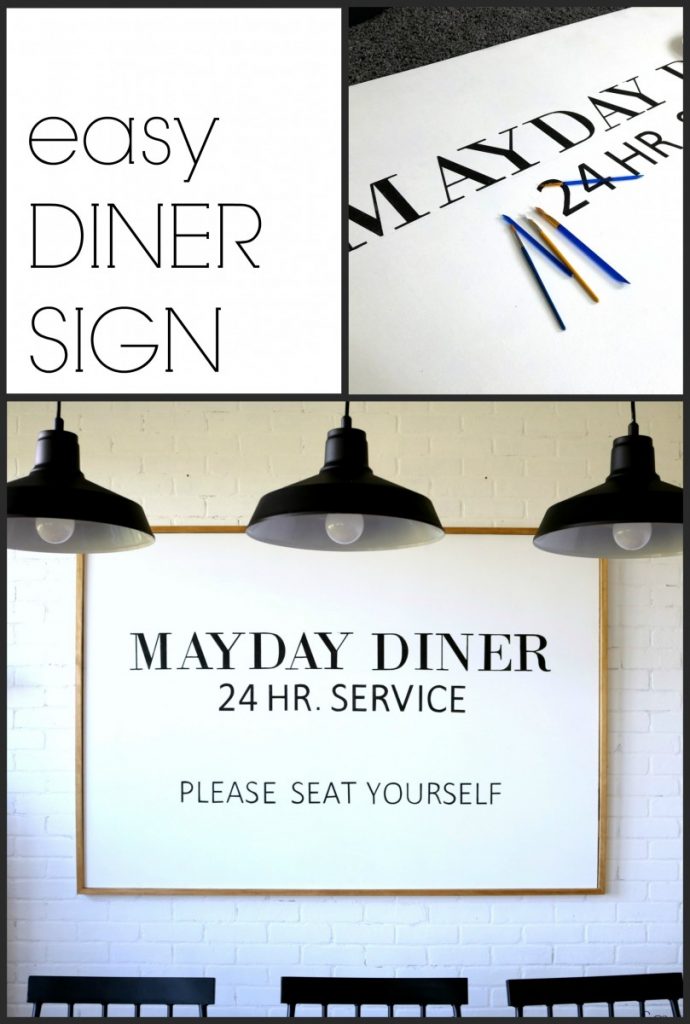
 Copyright secured by Digiprove © 2018


Wow, so cool! I love your frame pointers! A giant frame project is definitely in my near future!
P.S. The MDF can’t really come in 8’x10′ can it?!
DO it! I love all my over size framed art! The MDF/composite board does come in full panels. It is in a very thin sheet only 1/4″ thick, and it is textured on one side.