
So, I like the idea of having reading lamps, BUT I have a horrible habit of knocking them over. THAT, and I hate having to move them in order to clean. It’s just one more thing, I don’t like clutter. My solution…
Replacing lamps was enticing, especially when they are only about $9.00 a piece.
Here is what you will need:
Fir Stripping 1×3 (1) $ 1.50 each
Fir Stripping 1×2 (2) $ 1.00 each
Fir Stripping 1×4 (1) $ 3.00
Jelly Jar Light (2) $ 5.00 each
Extension Cord (2) $ 1.00 each
You will first need to decide how tall you want the lamp to be.
I cut my boards tall enough to be higher than my nightstands, I cut my boards at 2′. (They actually end behind the nightstands, not at the floor).
Cut List- ( This is to make TWO )
1×4 (2) @ 2′
1×4 (2) @ 4″
1×2 (4) @ 2′
1×3 (2) @ 5″
After cutting boards, sand and stain or paint.
Nail 1×2’s to the sides of the 1×4.

Nail the 1×3 to the top of the post.

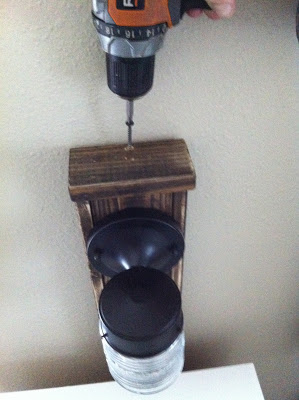
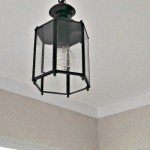
The new light fixture should come with a mounting bracket that looks like the one pictured below. Simply screw bracket to the new post.

Drill a hole below the mounting bracket so that wires be fed can through it.

Use cheap extension cords, like these.

Cut off the ends of the cords, like this.

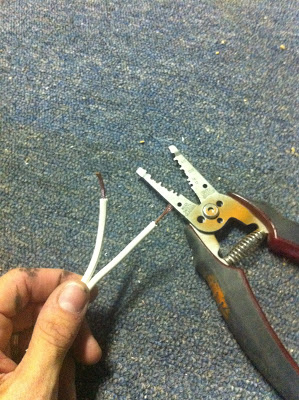
Then use a utility knife to split the ends.

Use wire strippers to strip the last 3/4 inch of the casing.
Feed wires through freshly drilled hole.

Here comes the fun part!
 |
|
| You can get them at Home Depot |
Wire the light fixture to the extension cord. When wiring, the white cord will be connected to the “ribbed wire” and the black will the connect to the “smooth”.


Once wired, place the light fixture in place, then screw the caps on the bolts. The lamp is now finished!

Drill holes through the 1×4 block.

This block will be mounted directly to the wall. The newly made fixture will rest snuggly on the mounted block.

To secure in place secure with a screw through the top of fixture.
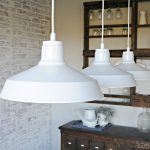
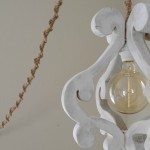
They are perfect! I love the way they turned out, they are unique, cheap, and out of the way!


AWESOME LIGHT FIXTURE!!!
Some people are put off by the sight of nails & screws on & in a project….
My Idea?
Ok maybe not MY idea, but this idea will work.
Liquid Nails.
For attaching the 1×2’s to the 1×4, use Liquid Nails or some other adhesive of the same type. The 1×2’s do not appear to be holding anything as far as weight goes, so Liquid Nails type of adhesive will work there.
As for the rest of the project, I would not use Liquid Nails type adhesive as the only source of fastener.
You will have the same fantastic look, without the “imperfections” of the nail fasteners. : )
Liquid nails would definitely work! I am just too impatient to wait for it to dry. Thank goodness for nail filler, right !?
Thanks for reading.
Cute idea! Thanks for the tutorial! Question: how are they turned on and off? Do they have to be plugged in to be on?
If you leave it as is, yes, they need to be plugged in. I later added a lamp switch. ( I have a tutorial coming soon!) Thanks for reading!
Even easier, leave the plug end of the extension cord intact (to plug into the outlet) and addd a simple switch inline to the front of the 1×4.