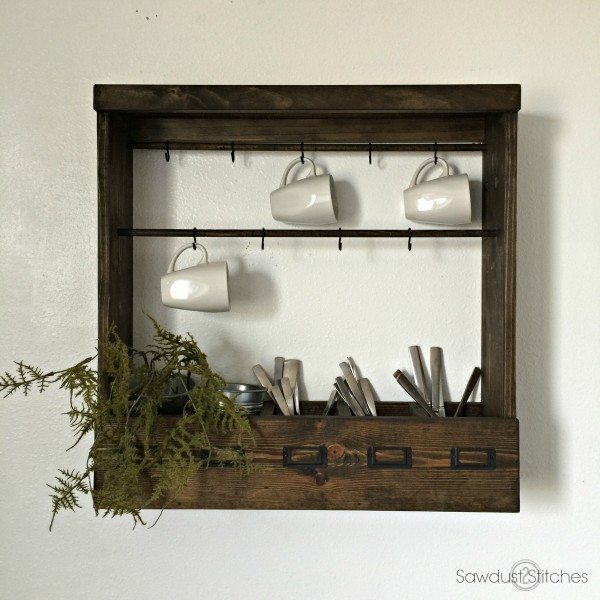
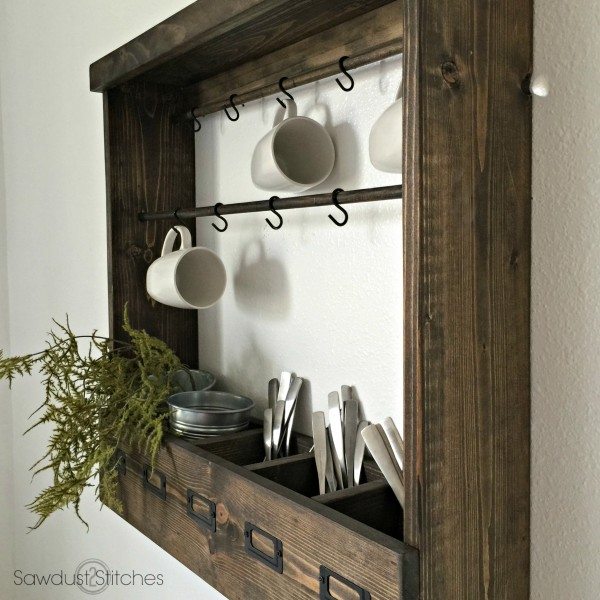
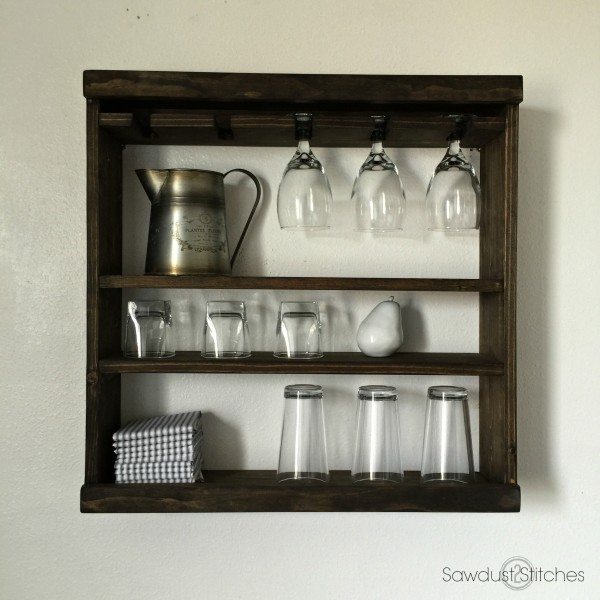
 Hey friends, I am sure that many of you have organization on the brain. I am a firm believer that you can create a organized space, AND make it beautiful at the same time. In fact all of the pieces in my home are aimed to be decorative while still serving a very useful purpose. These new kitchen racks are no exception! This Pottery Barn Inspired Mug Rack is intended to clear up some cupboard space and use these in the dining room and or kitchen!
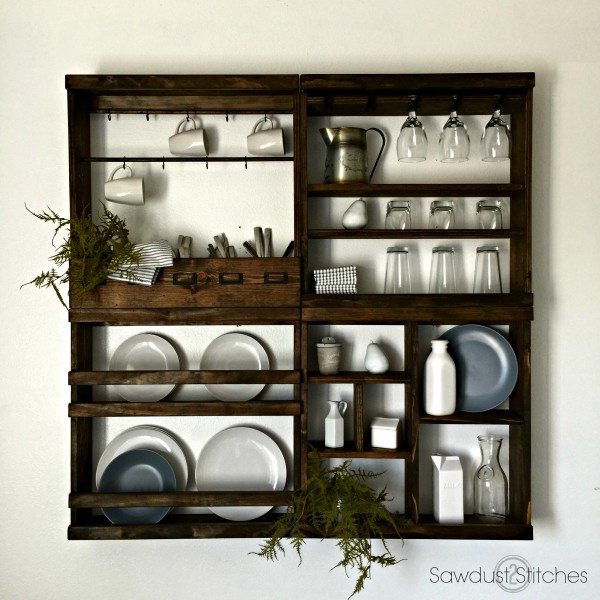
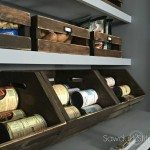
How t0: Pottery Barn Inspired Mug Rack
Materials Used:
- (2) 1×6″ 8′ Board
- (1) 1×2″ 8′ Board
- (2) 1/2″ x 36″ Dowel Rod
- (9) “s” Hooks
- (5) Label Holders
- 18 gauge finish nails
- Wood Glue
Tools Suggested:
- Miter Saw
- Table Saw
- Nailer
- Drill
- Sander
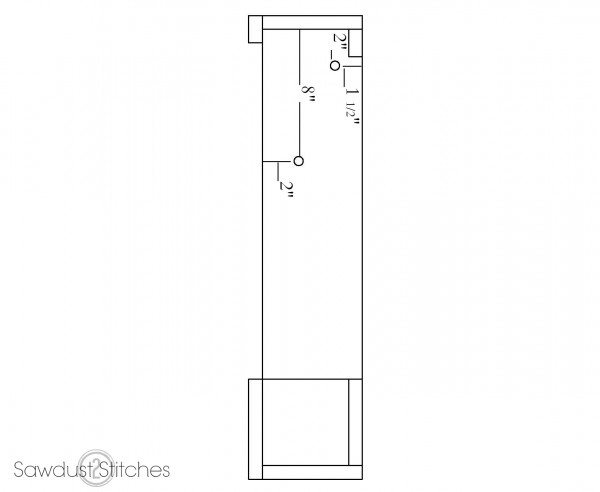
Step 1. Drill Dowel Holes
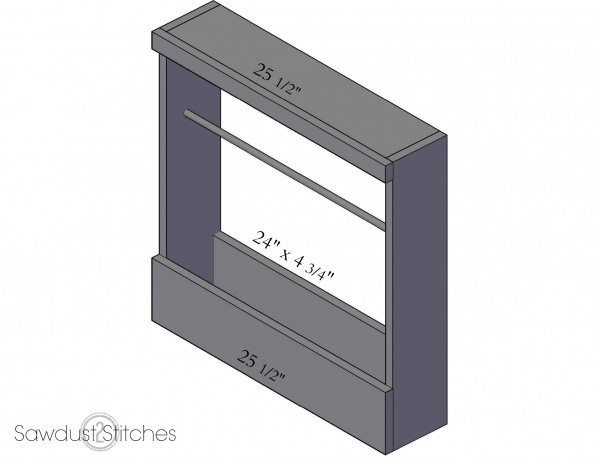
Before assembling frame pre-drill holes for dowel rods in the 1″x 6″x 25 1/2″ boards. Use a 1/2″ bit and drill 3/8″ deep. You will need to make a mirror copy on to the remaining 1″x 6″x 25 1/2″ board.
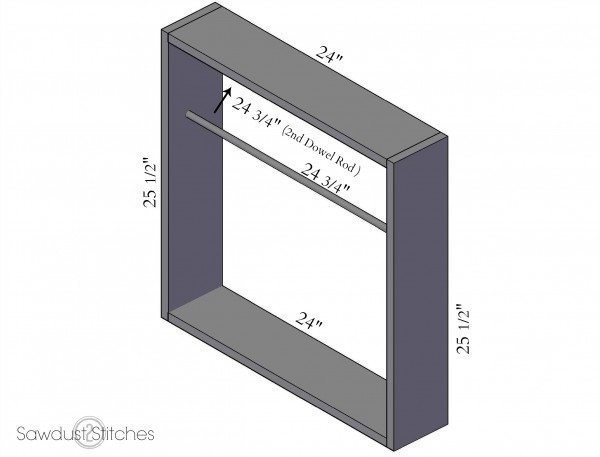
Step 2. Frame
Apply a small amount of wood glue into the pre-drilled holes for the dowel rods. Fit both dowel rods into their corresponding 1/2″ holes. Join both 25 1/2″ and 24″ 1×6″ boards using wood glue and 2 inch, 16 gauge finishing nails. This will form a 25 1/2″ square.
Step 3. Front Rails
Attach the 25 1/2″ 1×2″ board(s) to the face of the unit using wood glue and 2 inch 16 gauge finishing nails. Secure your 1x6x24″ that has been ripped down to 4 3/4″ wide, using wood glue and 2″ 16 gauge finish nails.
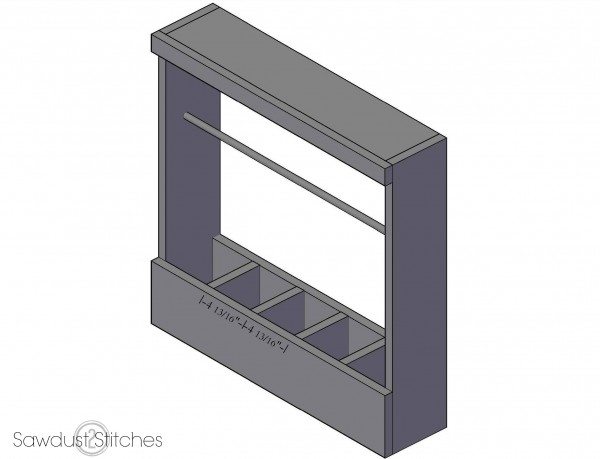
Step 4. Dividers
Place the (4) dividers (1×6″ board ripped down to 4 3/4″ wide, and then cut into 4 3/4″ boards). Secure using wood glue, and 2″ 16 gauge finish nails.
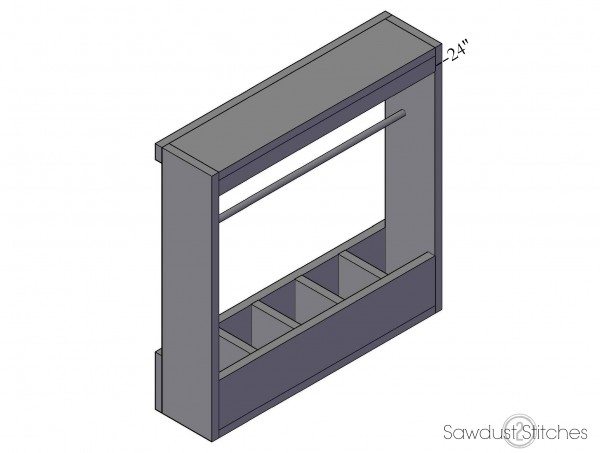
Step 5. Back Support
Attach the remaining 24″ 1×2″board using wood glue and 2 inch 16 gauge finishing nails. This is an ideal place to attach the unit to the wall, or you can attach hanging hardware to the back.
Step 6. Finish
Fill all nail holes with wood filler. Sand smooth, then apply desire stain and/or paint. If desired add “label hardware” and “s” hooks to the dowel rod.
… and THAT is how it is done folks! Make sure you look for the other units that coordinate!
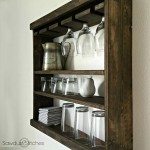
Pottery Barn Inspired Glass Rack
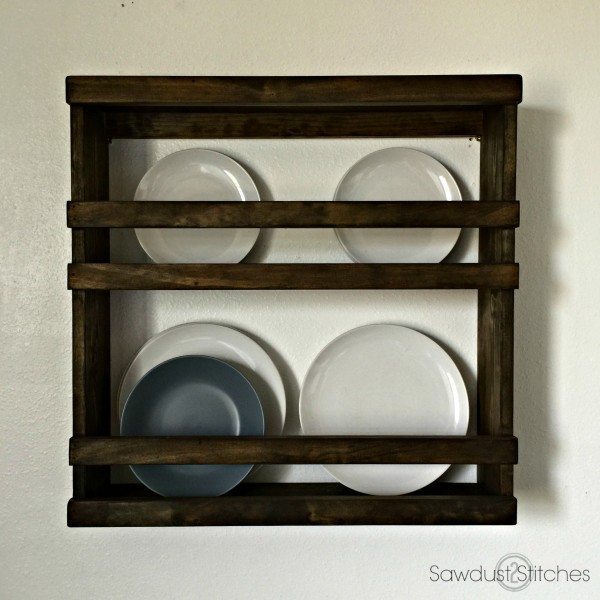
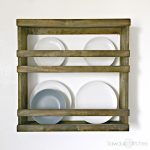
Pottery Barn Inspired Plate Rack (Coming Soon)
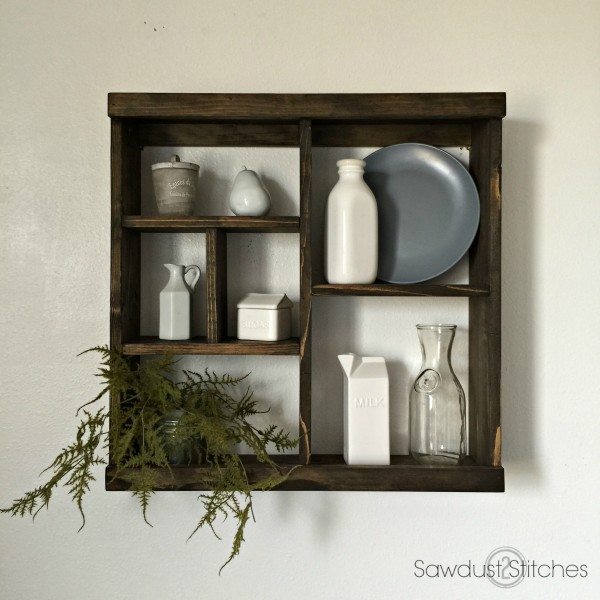
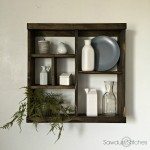
Pottery Barn Inspired Cubby Rack (Coming Soon)
Take Luck,
Corey
 Copyright secured by Digiprove © 2016


I head up the workshops at the Rohnert park home depot (Sonoma county, ca) and this looks like a perfect do-it-herself workshop project…thanks so much for sharing the plans…can’t wait to get started.
Thanks so much Nancy! That is the plan one day 😉