• Blog
  • About
  • Press
  • Privacy

Let’s be social!

  • Skip to primary navigation
  • Skip to main content
  • Skip to primary sidebar
  • Skip to footer
Sawdust 2 Stitches

Sawdust 2 Stitches

  • Tutorials
    • Around the House
    • Organization
    • Wall Decor
    • Sewing
  • Makeovers
    • R.V.
    • Room Makeover
    • Furniture Makeover
    • Decor Makeover
  • Build Plans
    • Small Builds
    • Wall Decor
    • Dresser
    • Tables
    • Seating
    • Shelving
    • Hidden Compartment
  • Seasonal
    • Summer
    • Spring
    • Fall
    • Winter
  • Home Tours
    • First Home
    • Current Home
    • 70’s Ranch Home
  • Workshop

Trofast Ikea Bin Base Unit

July 24, 2019

*This post is sponsored by DAP and does contain affiliate links. 

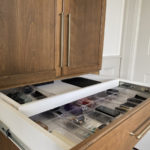
When designing my Grandma’s florist studio, I was trying to make the space as economical and as versatile as possible. I wasn’t entirely certain how much space she would need, and what drawer sizes would be optimal. So, I tried to plan for ANY scenario. After a lot of brainstorming I designed this IKEA Trofast Bin Base Unit. By utilizing bins  it would allow her to swap out and rearrange  the bucket sizes, AND  I it would also accomodate shelves that she could use if she needed/preferred.


To bring this build to life, I teamed up with the great folks at DAP!

This build is an inexpensive and quick alternative to building a traditional dresser, not to mention the versatility that is offers is unparalleled for the price.  (Can I also add, that this may be the classiest use of plastic  bins I have ever seen!)
I ultimately ended up building two of these units and fastened them together to make a MEGA Trofast IKEA base unit.

Complete Build Plans Here

1.) Prep boards

Cut all boards  to the dimensions designated in cut list.  For the body of this unit I used 3/4″  Purebond Birch Plywood. (It really is a beautiful board and would look beautiful stained as well.) 
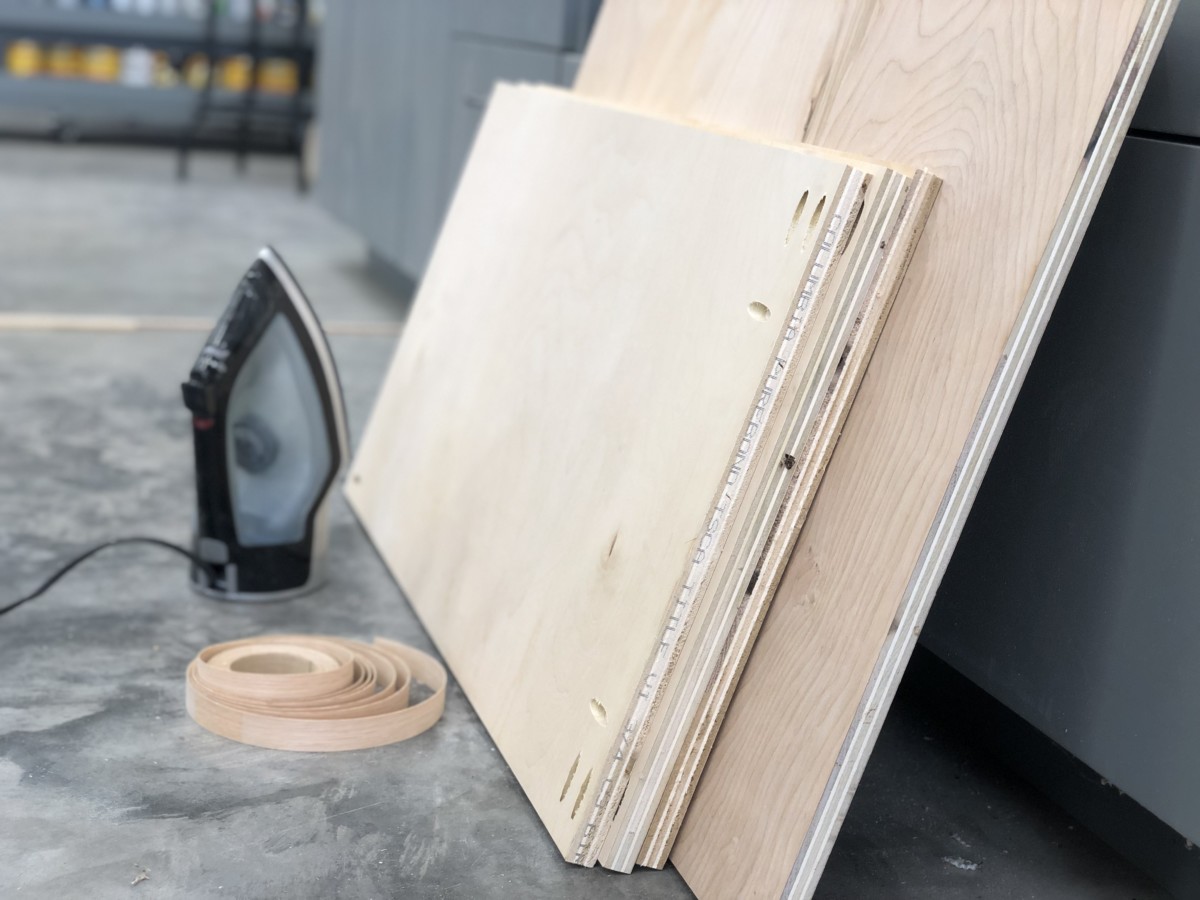
2.)  Band Edging

This is an optional step.  I wanted a nice finished edge on my unit so I decided to band the front exposed edge of all of my vertical boards.  (It is much easier to do before the unit is assembled.)

3.) Rip Down Slides

This is also an optional step.  You can ABSOLUTELY  use 1″x2″. boards as is.  I just wanted something a little more streamlined,  so I ripped down my slides/supports to 1″ as opposed to 1 1/2″ boards.  It is also  more cost efficient to do them 1″ wide.  I was able to rip down a 1″x4″  board into 1″  segments and  create 3 boards from the single 1″x4″ board.  (Illustrated below)

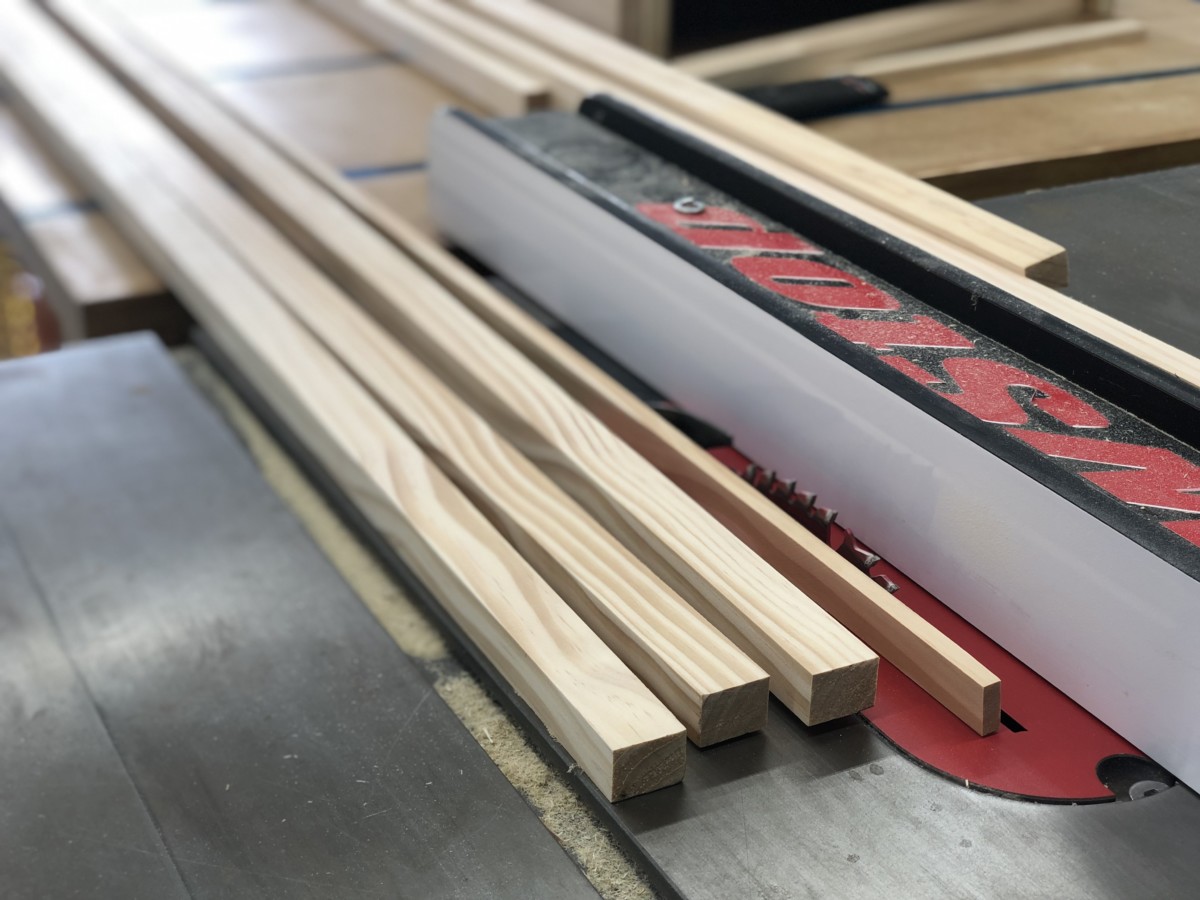
4.)Install Slide/Supports

When installing the supports  I always like to use a spacer.  A spacer is a board that is cut to the proper dimension (space in-between boards) and you use it to space out your supports. ( Get it?  The “Spacer” creates the same uniform space repeatedly.)

To properly install them I always use a liberal amount of DAP Wood Glue.  This would be strong enough to support the IKEA bins alone,  but it would need to be clamped while it cured.  I am not a patient person and I prefer to tack it in place with a brad nailer to “clamp it”.

Once the slides are installed I  use DAP Plastic Wood to fill any nail holes left from the brad nailer.  I give it quick once over with my sander and these babies are ready to be assembled!
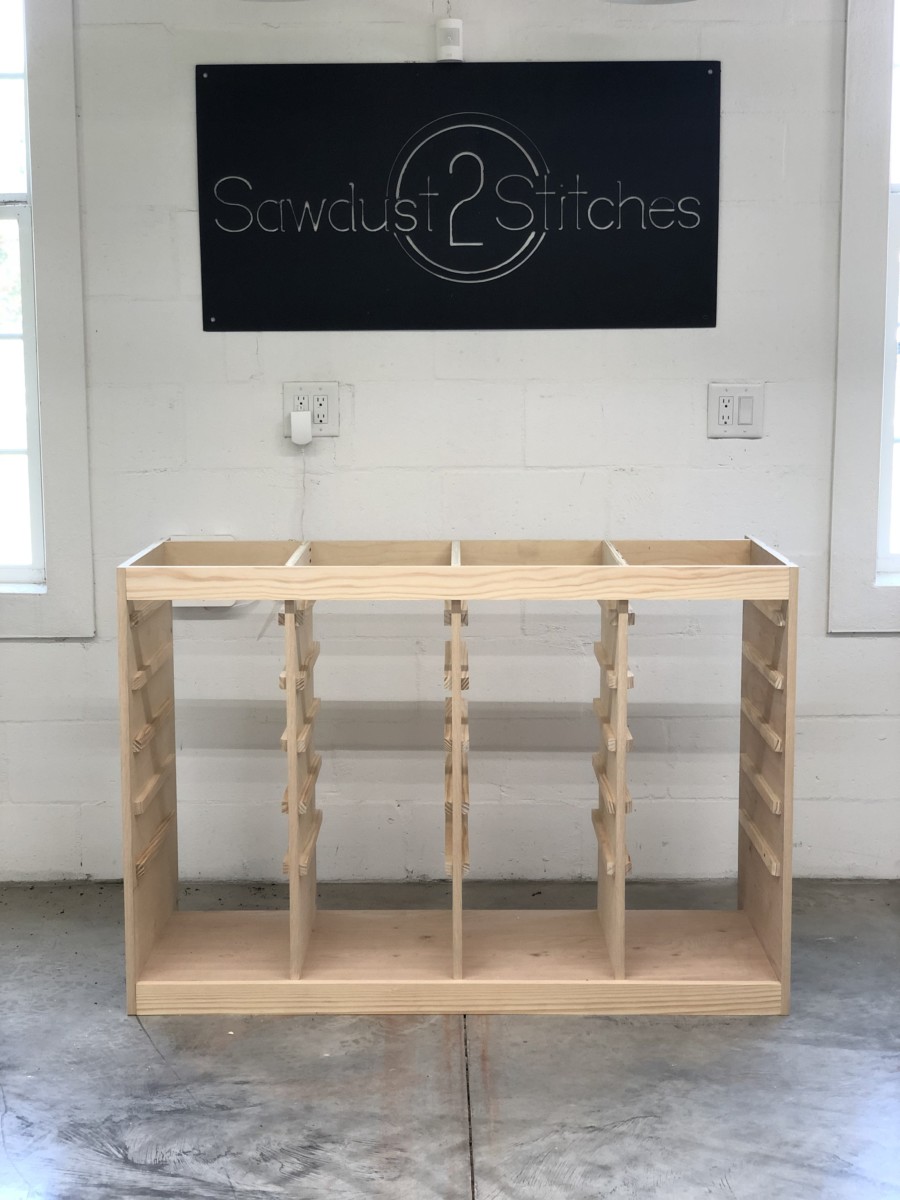
5.) Assemble Base

Click here for full build plans.


6.) Counter Top

I tried some thing a little different this time in regards to the countertop.  In the past I have used 3/4″ plywood and then used 1″x2″ boards to beef up the edges.  Well I tried something a little different this time and I LOVE it.

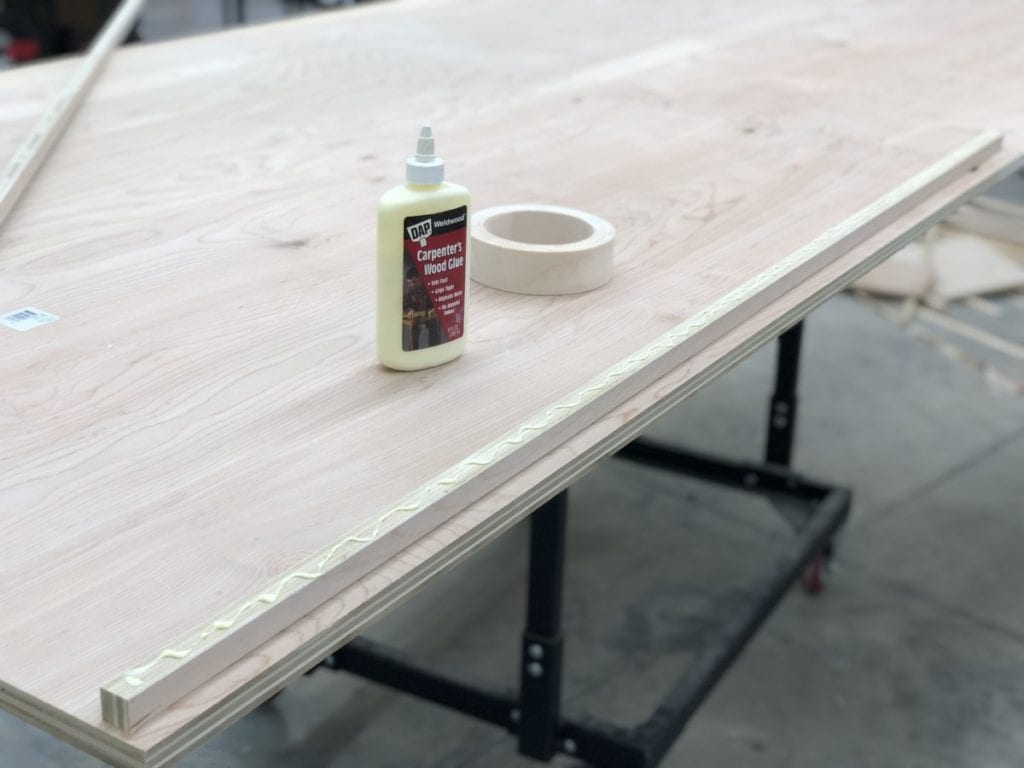
Instead of using a board, I found some  1 1/2″ birch edge banding online. All I needed to do was to add a 3/4″ lip to the underside of my counter top.   (Make sure you cut your countertop so that you have an extra 1 1/4″  on all edges you wish to use this application.)

For the 3/4″ lip I referenced earlier, I just ripped down a piece of plywood 3/4″ wide.  I then  cut it to fit the outer edges of my counter top board.

I then glued down the lip to bottom of the outer edge.

Then I ironed on the edging to the now 1 1/2″ thick lip.   It creates a seamless edge that makes the 3/4″ plywood appear to be a slab countertop!

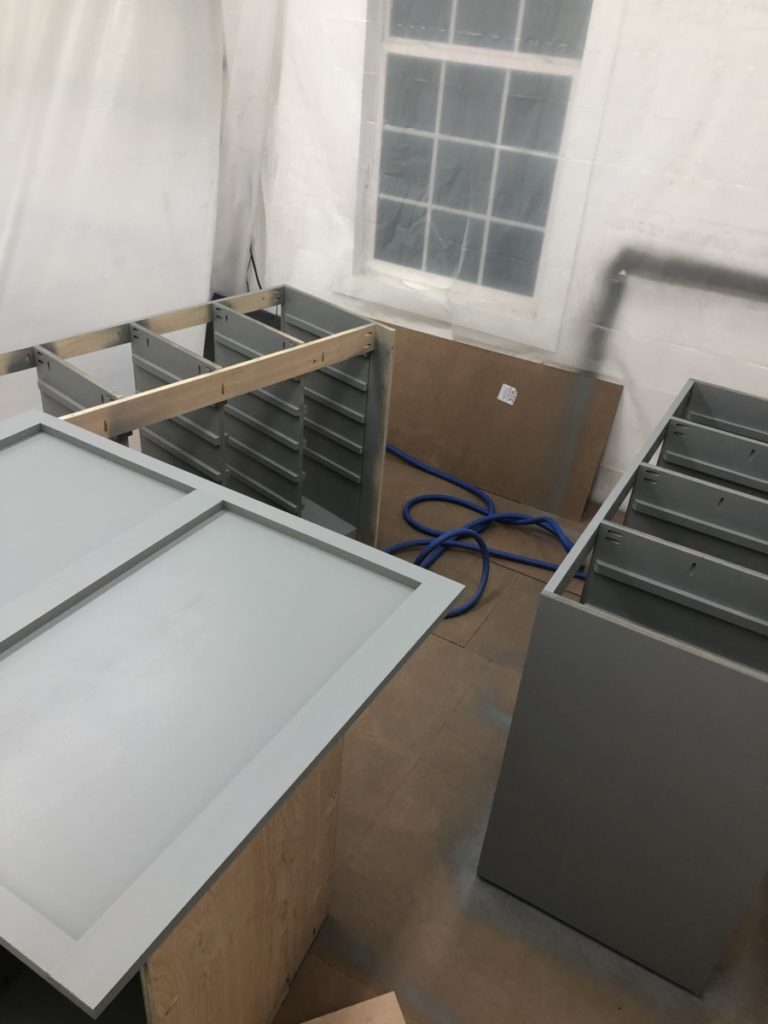
Once the countertop and the base unit were assembled  all it needed was little bit of paint and stain.

For the base units I used Sherwin Williams “CityScape” and for the counter tops I used “Early American” by Minwax.

I used my FujiSpray Semi-Pro to spray all the units for this install, and I LOVE it!

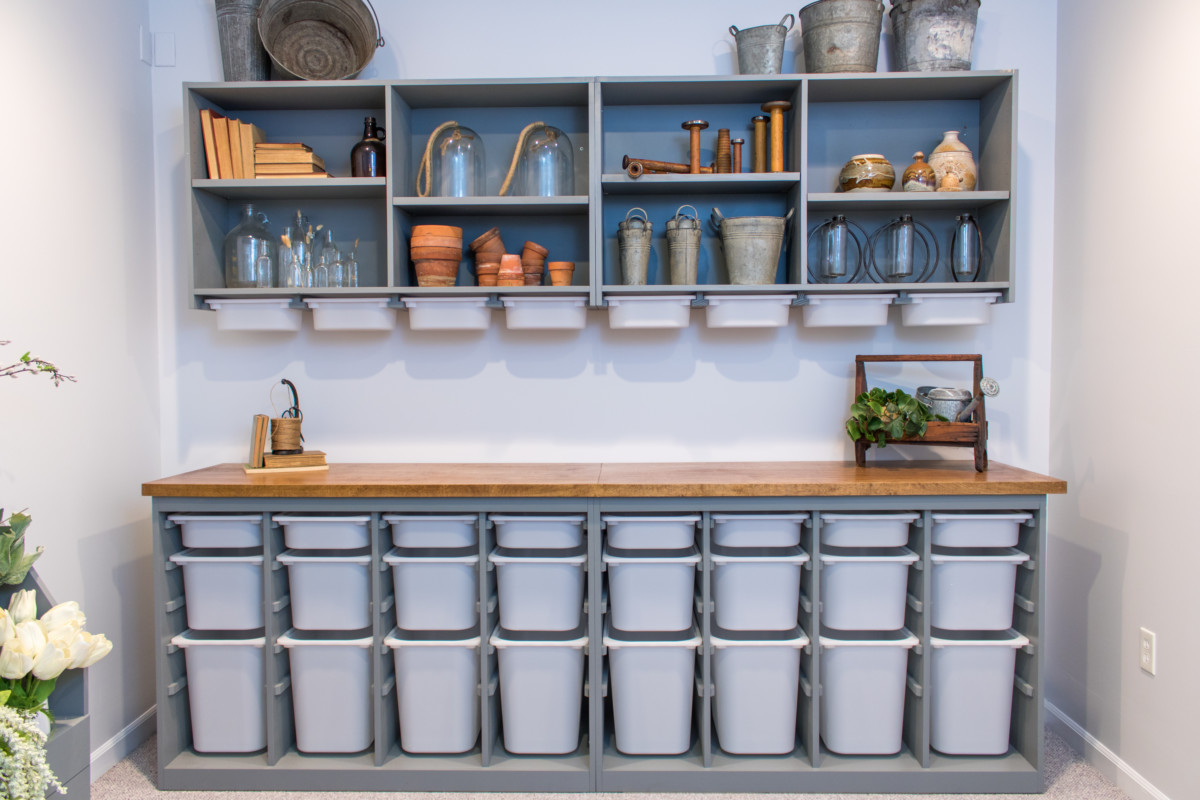
Okay, here they are in all their glory!  
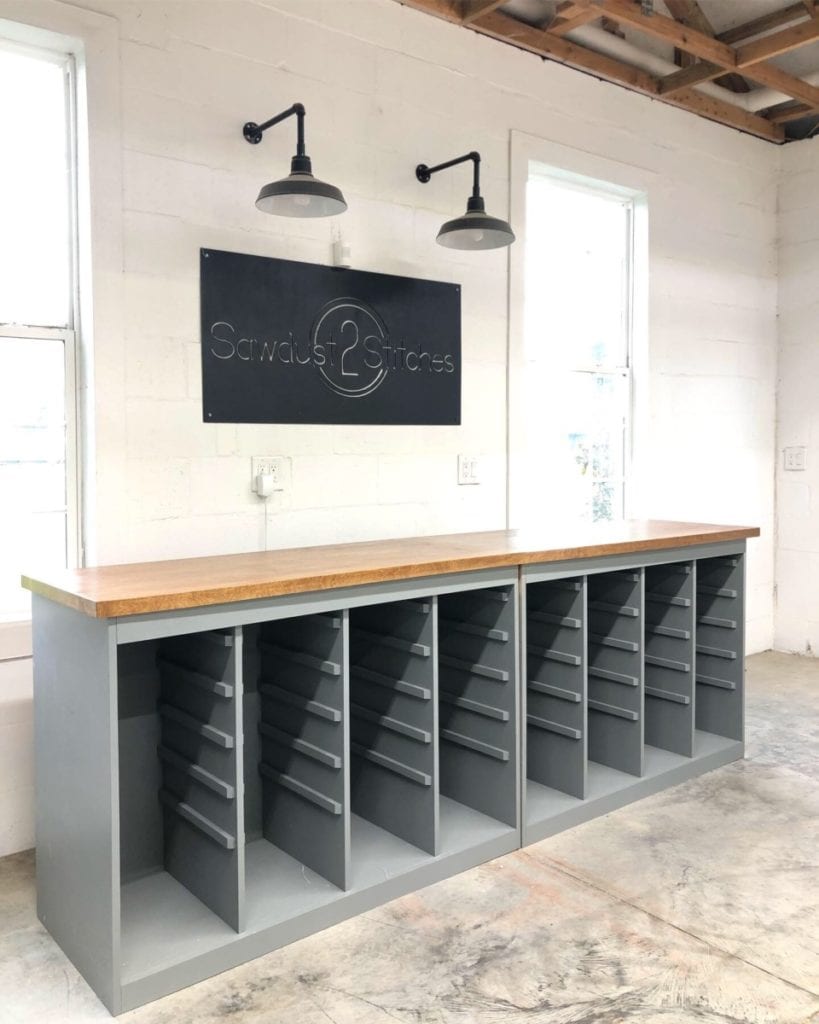
This unit was designed to go in a larger florist studio,  so I actually built 2 of these units and made a longer countertop to make it appear to be one large unit.

Full Build Plans Available Here.

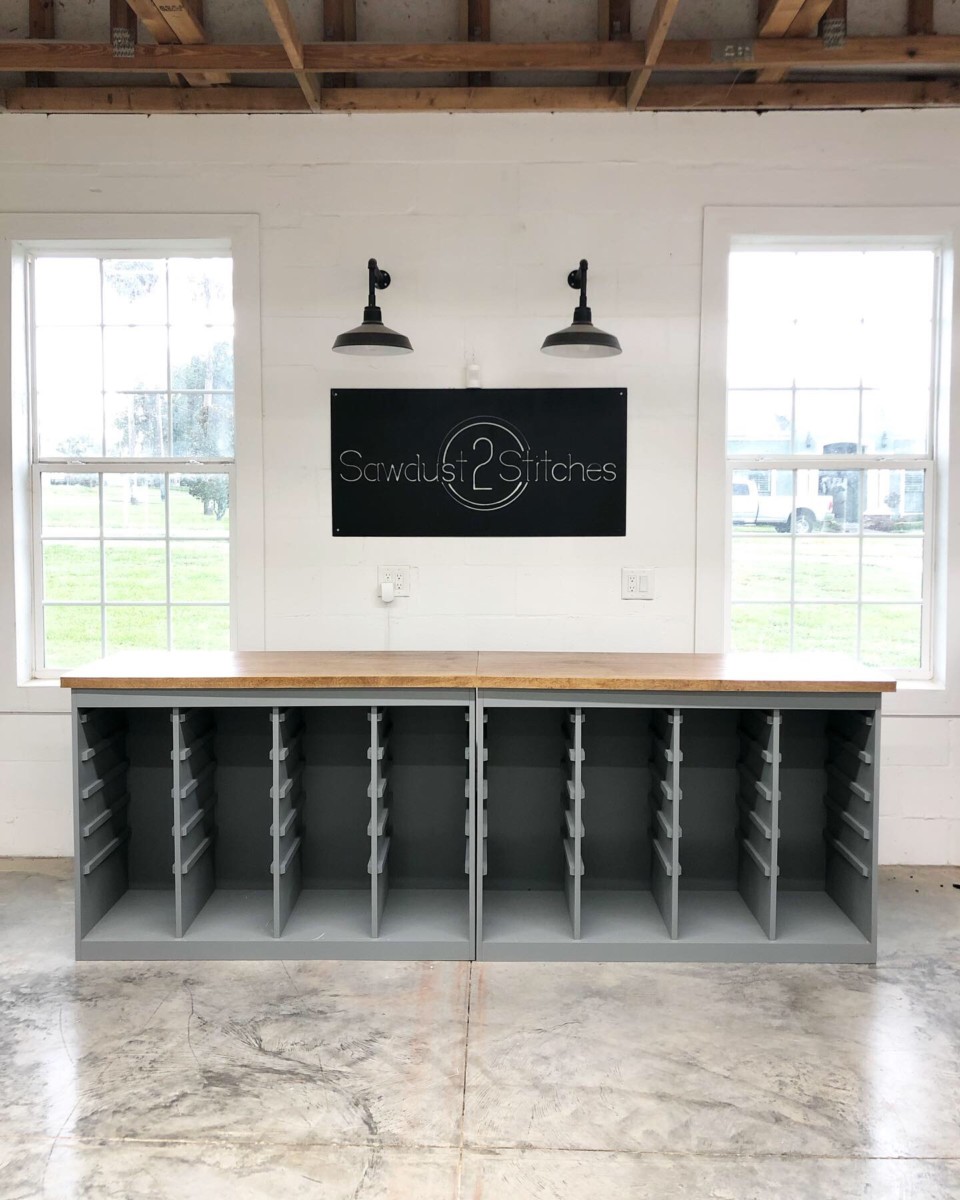
 I’d like to think that it worked beautifully!
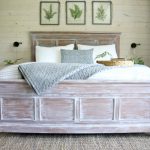
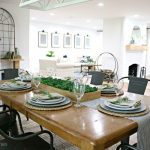
 Want to see more of this space?  Check out the full reveal here!

Digiprove sealCopyright secured by Digiprove © 2019

More from my site

  • BEFORE  New Carpet/ Bonus Room MakeoverBEFORE New Carpet/ Bonus Room Makeover
  • Chalkboard OrganizerChalkboard Organizer
  • Trim-a-Tree Series: Cheap, Large OrnamentsTrim-a-Tree Series: Cheap, Large Ornaments
  • PVC Pipe ShelfPVC Pipe Shelf
  • Valid Excuse: We MOVED!Valid Excuse: We MOVED!
  • Laundry Room Pedestal / PlatformLaundry Room Pedestal / Platform

in Build Plans, Dresser, Room Makeovers, Shelving, Uncategorized

Reader Interactions

you may also like
Lazy Susan Charcuterie Board
Moody Board and Batten Guest Room
DIY Rejuvenation Light Fixture
Convert a Cabinet Into a Built-In Armoire

Comments

  1. Retha Cloar says

    July 28, 2019 at 8:53 am

    I love this. I was trying to het to the full plan but the link is not working. How can I purchase?

    • coreydecker@gmail.com says

      July 29, 2019 at 8:56 pm

      Should be all fixed now. Sorry about that.

Primary Sidebar

  • Facebook
  • Instagram
  • Pinterest
  • Twitter
  • YouTube
IMG_9167 (1).jpg fd

Popular Projects

  • How to: Faux Brick Wall
  • Cheap White Curtains
  • Ikea Cubbies into a Rustic Apothecary
  • Cabinet Transformed Into A Kitchen Island
  • Workshop Assembly Table
  • The BEST Beach Blanket ever!
DIY & Design

Meet Corey

Hi everyone, my name is Corey, and I have a problem. I can’t leave well enough alone… The best therapy usually involves a variety of power tools. So, in the few “spare” moments I am not entertaining my two beautiful, rambunctious, boys, I can typically be found hunched over a sewing machine and/or covered in sawdust. All in the efforts to create a perfect balance of aesthetics and practicality in our home.
read more

Join our mailing list!

DIY & design ideas - right in your inbox!

Top Hits!

  • How to: Faux Brick Wall
  • Cheap White Curtains
  • Ikea Cubbies into a Rustic Apothecary

Featured

Lazy Susan Charcuterie Board

Categories

  • 70's Ranch Home
  • Around the House
  • Build Plans
  • Crafts
  • Current Home
  • Decor Makeovers
  • Dresser
  • Exterior
  • Fall
  • First Home
  • Furniture Makeover
  • Hidden Compartment
  • Kitchen
  • Lighting
  • Makovers
  • Master Closet
  • Organization
  • R.V.
  • Room Makeovers
  • Seasonal
  • Seating
  • Sewing
  • Shelving
  • Small Builds
  • Smart Home
  • Spring
  • Summer
  • Tables
  • Tablescape
  • Tutorials
  • Uncategorized
  • Wall Art
  • Wall Decor
  • Winter
  • Workshop

Footer

Contact Me: Corey@Sawdust2Stitches.com

Latest ‘Grams

Happy Holidays to all my DIY loving friends! I’ Happy Holidays to all my DIY loving friends! 
I’m going to put down the tools so I can hang with my crew. 
Merry Christmas from our family to yours! I look forward to sharing so many great projects in 2021, stay tuned! @ashleynavarrophotography
LAST MINUTE DIY GIFT IDEA!!! This Holiday Season m LAST MINUTE DIY GIFT IDEA!!!
This Holiday Season might be a little different from those we’ve seen in the in past. With many folks looking to keep costs and stress low, they are turning to a more sentimental approach to holiday gifting. 
 Handmade gifts are a great way to personalize gift giving this year. I made this serving tray/lazy susan for a friend and I know she will love it! If you want more easy-to-make, handmade gift ideas The Home Depot has many other great tutorials.

@homedepot #HomeDepotPartner #THDxHoliday #THDxDIYWorkshops
2020… it’s been a weird one. I suspect Christm 2020… it’s been a weird one. I suspect Christmas will be a little different too, but that doesn’t need to be a bad thing!  This is the perfect time to branch out and DIY your Holiday gift lists. Take this serving tray/lazy susan for example.  It was such a simple and facts option if you are gifting in a pinch!  The Home Depot has fun DIY gift ideas that your friends and family will love. Check out the link in my bio for more handmade gift ideas. 
@homedepot#HomeDepotPartner #THDxHoliday #THDxDIYWorkshops
This post is sponsored by Kilz but the content and This post is sponsored by Kilz but the content and opinions expressed here are my own.

I leaned in heavily to the dark moody feel for the guest bedroom makeover and I love it! The dark sienna  hue, coupled with my @kilzbrand #accentwallchallenge is absolutely stunning. (If I do say so myself.)
I have a room tour, wall tutorial and source links on the site today. #linkinprofile #sponsored #everyprojectisworthit
@Kilzbrand presented me their #accentwallchallenge @Kilzbrand presented me their #accentwallchallenge, and you know how much I love a good challenge!
If I am being completely honest, I feel like I rocked this challenge. It is absolutely insane how a single wall can change the entire feel of a room. 

On the site I have a full tutorial on how you too can create this look and all the fun details about my choice of color from the Magnolia Home by Joanna Gaines® paint line & the KILZ 3® Premium Primer
#sponsored #kilz #GuestRoomMakeover #AccentWallChallenge #EveryProjectIsWorthIt
Am I the only one who tackles unnecessary projects Am I the only one who tackles unnecessary projects before entertaining guests? As I was preparing the guest room for the Holidays I had an epiphany. I had a vision of what this room could be, and I just cannot let it go - this room needs an accent wall!

I am teaming up with the great folks over at @kilzbrand to create the perfect accent wall, with a gorgeous color from the Magnolia Home by Joanna Gaines® paint line & KILZ 3® Premium Primer. Stay tuned because this accent wall is going to be gorgeous. I just need to pick my accent color. What do you guys think, clay or sage?  #sponsored #kilz #GuestRoomMakeover #AccentWallChallenge #EveryProjectIsWorthIt
Follow on Instagram
2020 © Your Blog Name
theme by soleilflare
Enter your name and email and get the weekly newsletter... it's FREE!
Your information will *never* be shared or sold to a 3rd party.