Prep Boards for Door Casing Makeover
I recently decided to give my upstairs landing a makeover. There will be a cute desk area for my kids, but I wanted to take this makeover one step further. I wanted to give all the doors and the trim a glow up. I really didn’t want to replace all the door casings, that sounded like a lot of work and more money than I wanted to spend. So instead I decided to work with what I had and give the door casings a makeover and I did it for CHEAP!
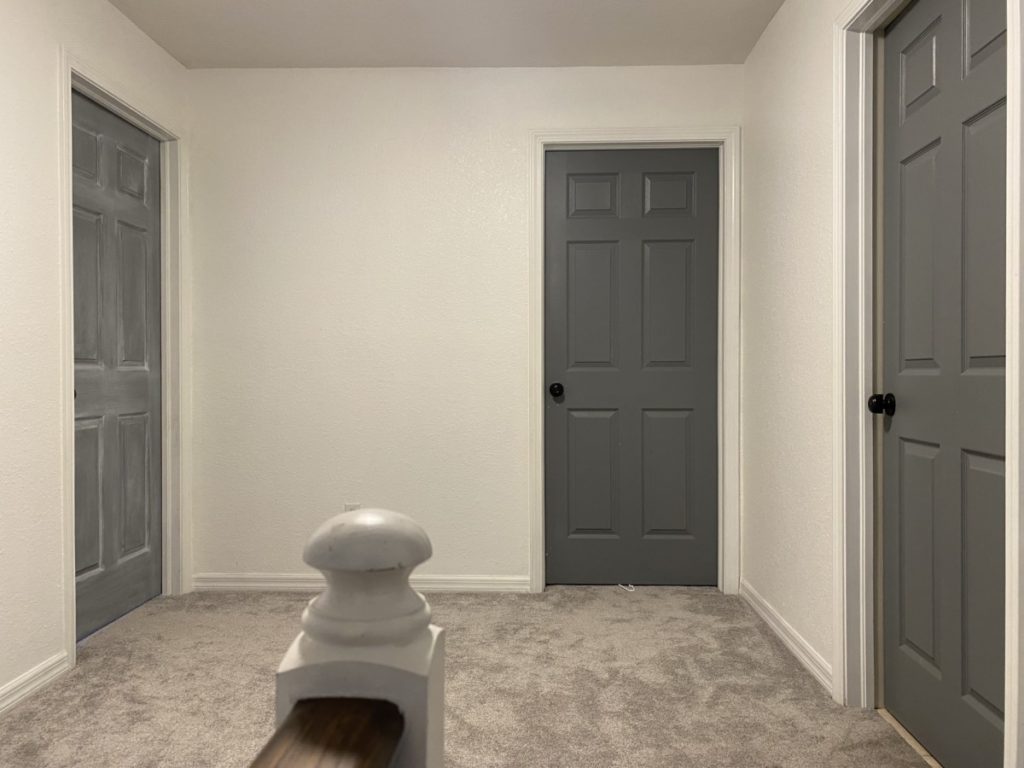
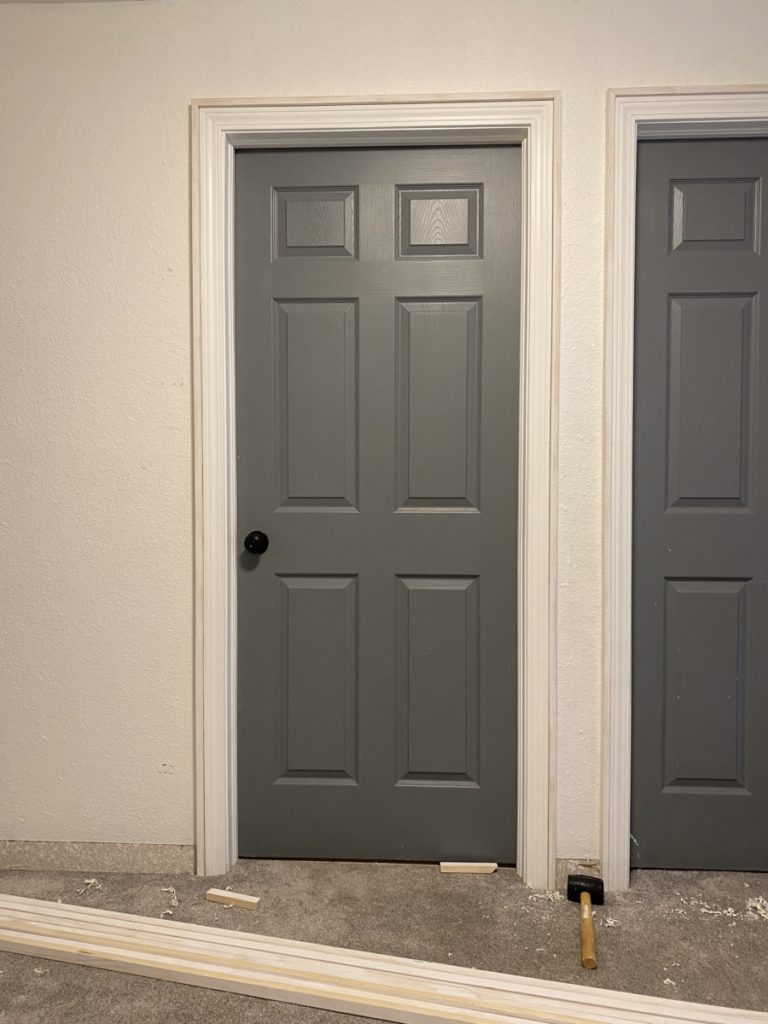
As you can see in this BEAUTIFUL image below, the door casings were very basic, builder grade casings. Nothing wrong with them. I actually had given the casings and the doors a quick coat of paint a few years back. Again, nothing wrong with them, but I had an idea that would only cost a few dollars a door and would totally elevate the look of them. Let’s get started with a door casing makeover.
Remove BaseBoards
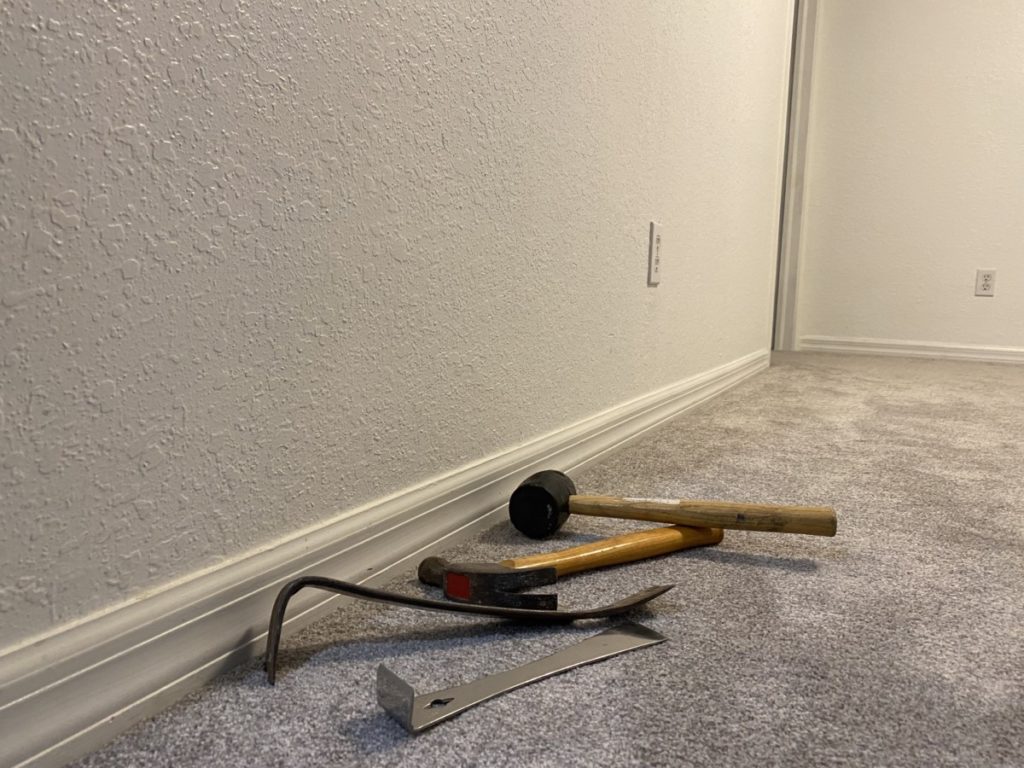
This idea only works if you are comfortable removing your existing baseboards and then reinstalling them after the door casing trim is done. (We are making the door casing wider and we need to make space for the new trim.) If you are new to installing baseboards, make sure that you check out my baseboards tutorial here.
Rip Boards Down for Door Casing Makeover
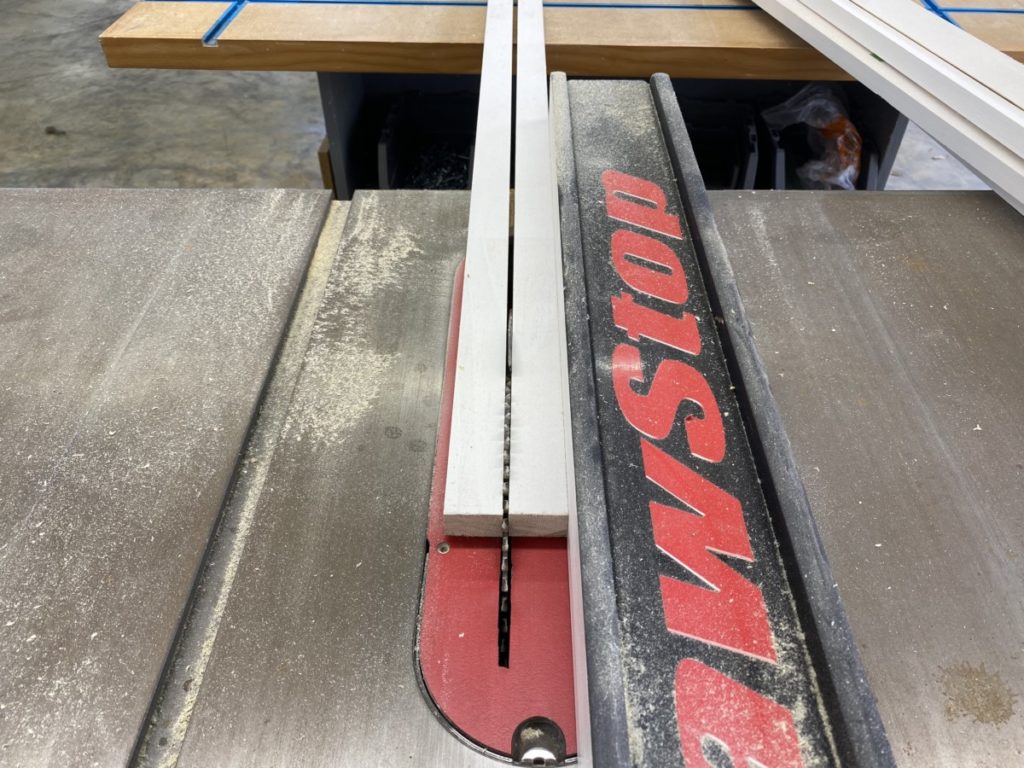
Here is the basic premise. I planned to ADD trim to the existing casing. I wouldn’t need to remove the existing trim, and it would save money win/win! After playing around with a few options I ultimately decided that I wanted the new trim to be 3/4″ thick and 1 1/4″ wide. the best way I found to do this was to split a 1×3 primed finger board right down the middle! ( You could also split a 1×4 in thirds and have them be a little narrower, which would still look great.)
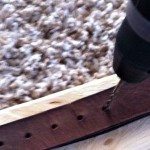
I used my table saw to rip all my boards in half. (If you do not have access to a table saw I think that using a 1×2 would also produce the same results, it would just be a bulkier profile.)
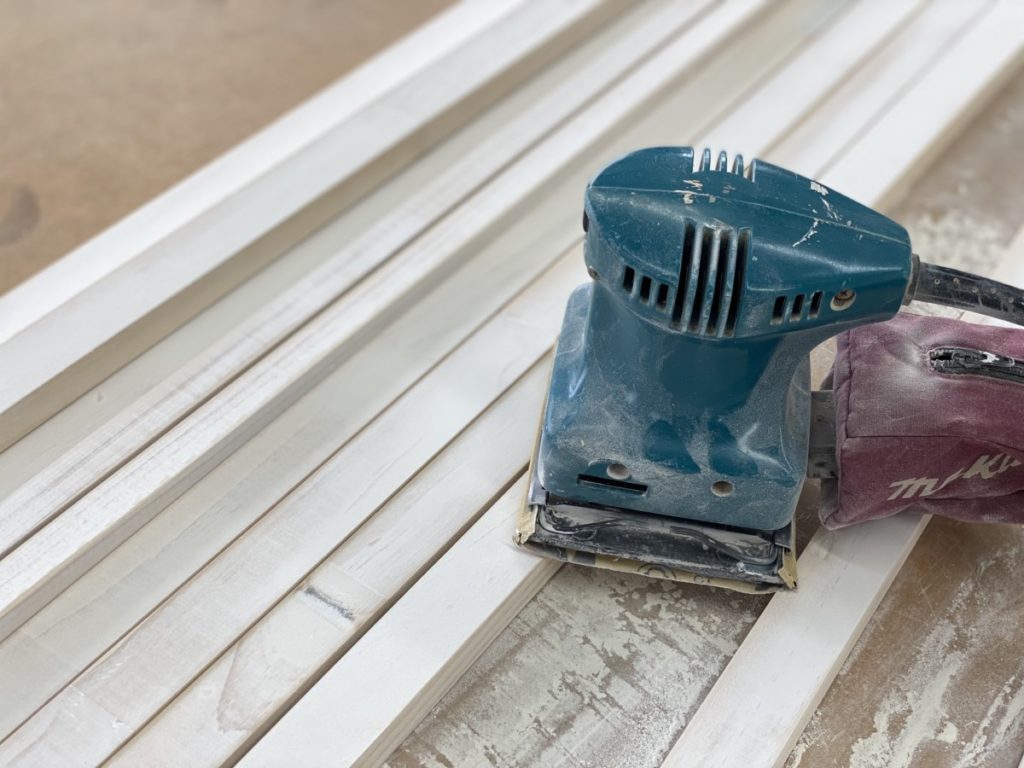
Sand Boards
Once the boards were ripped in half, I sanded them. Yes, I could wait until they are installed and sand them in place, but I prefer to sand before. In my opinion it is so much easier!
Primed finger board is typically in decent shape and dent not require much prep work. I used a 220 grit sandpaper, and it only took a few minutes.
Custom Fit Trim
I’ve learned the hard way that not all doors, windows, and walls are square. Just because one side of the door is 84″ doesn’t mean the other side is. Always take the time to measure all sides of EACH door.
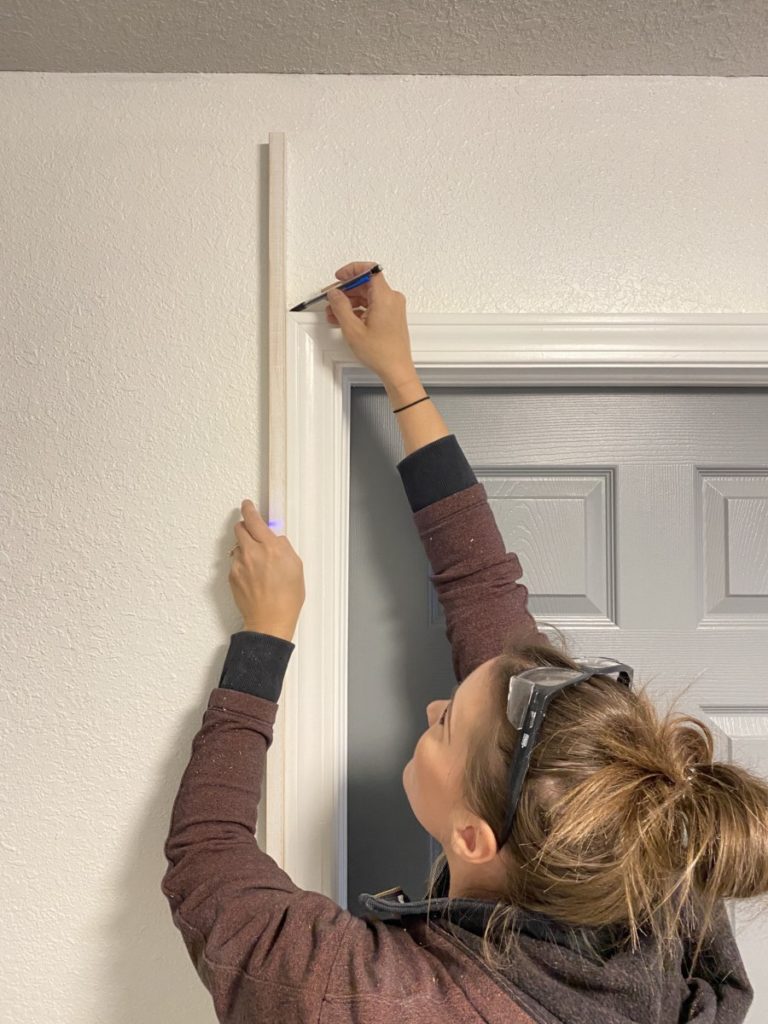
Mark / Measure
You can either carefully measure each side or you can mark in place. I prefer the latter. I simply place my board and mark the inside of the trim. (As seen pictured below.)
Of course, if you prefer use a tape measure and measure from the bottom of the door casing to the inner top of the existing door casing.
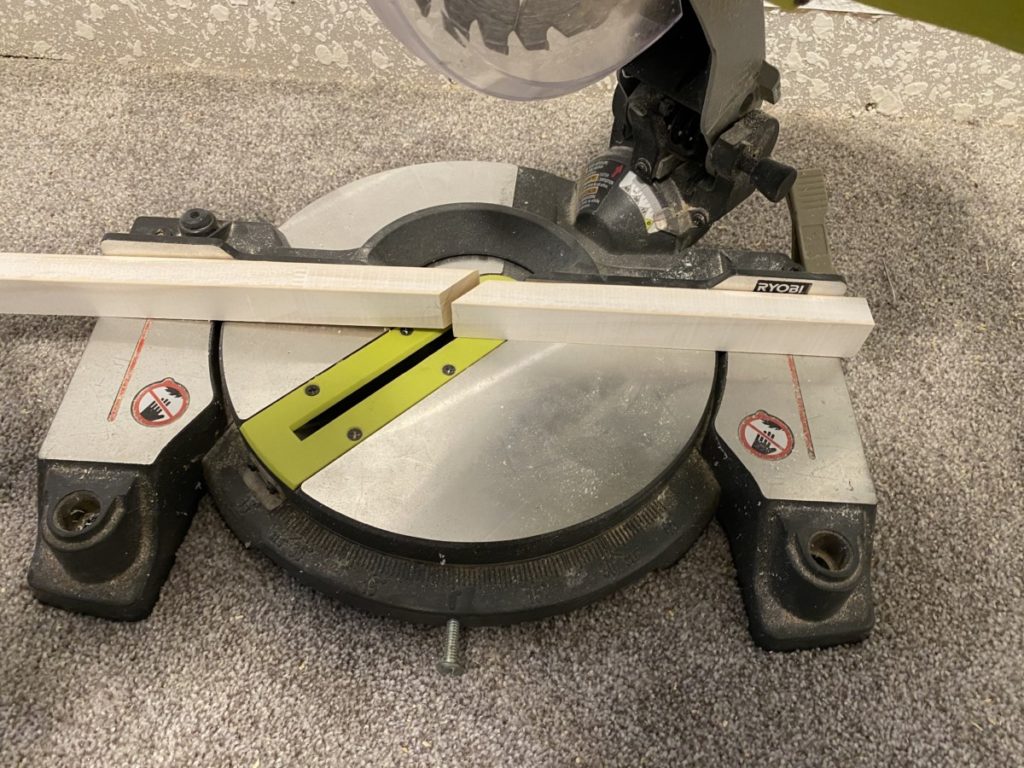
Cut to Fit
When cutting the trim, the bottom edge will be a straight 90º with a 45º on the top. The goal is to create mitered corner. 45º+ 45º= 90º.
Set your miter saw to 45º and cut to your marked measurement.
Installing Trim
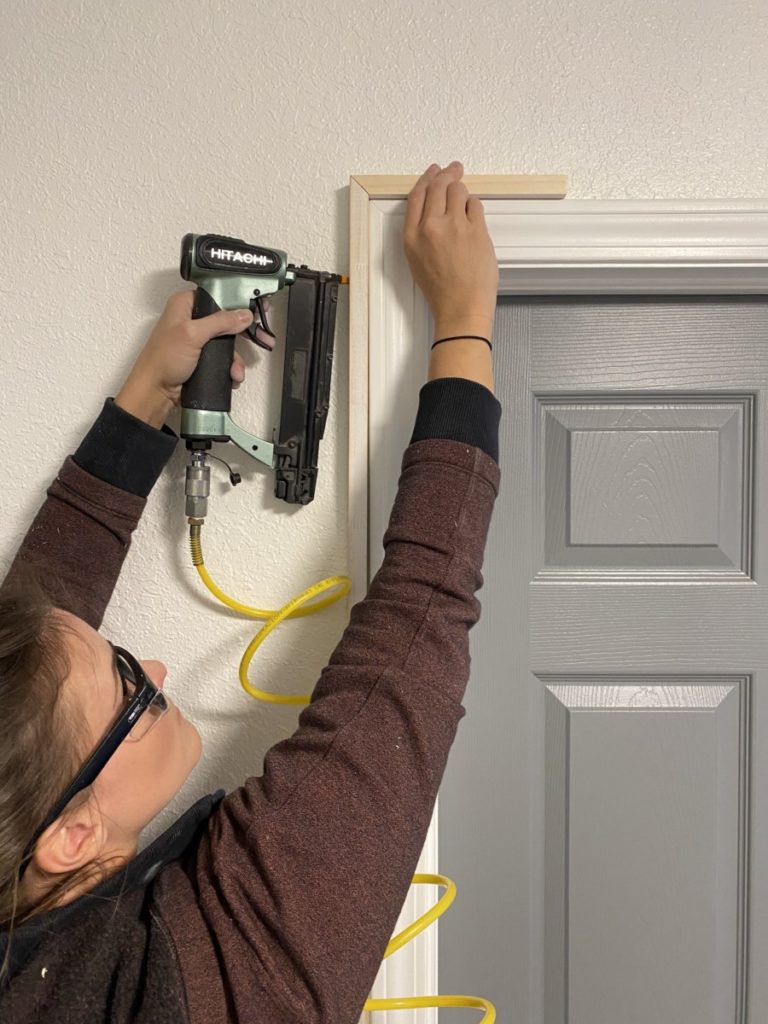
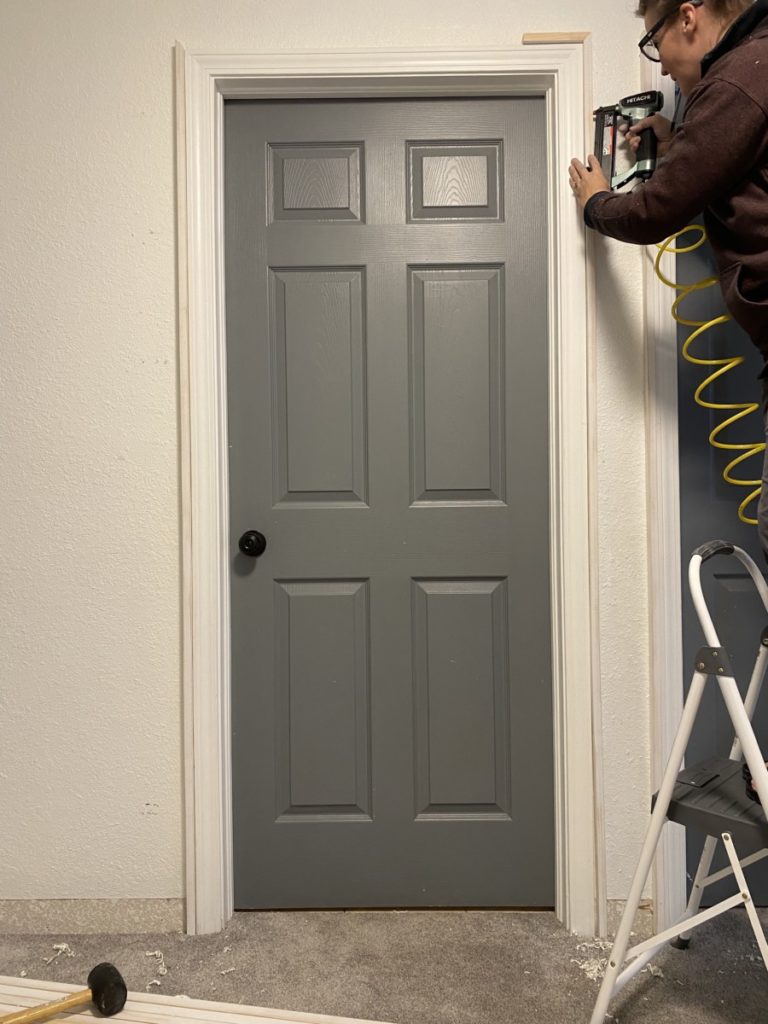
Nail In Place
This may be an unpopular option, but I am using a pin nailer for this project. You can use a 16 or 18 gauge nailer for this project. However, I have found that for small trim pieces the pin nailer is an excellent choice! (If you recall my picture frame molding, I used a pin nailer exclusively.) I used a 1.5″ nail, AND I knew I would be using caulk which would also help secure the trim.
As seen below I use a small scrap board cut on a 45º angle so that I can ensure that I am installing the trim in the correct spot.
I proceeded to do the same on both sides of the door. ( If you are still worried about the trim being secured, feel free to apply caulk to the back of the trim when installing. It will serve as an adhesive.)
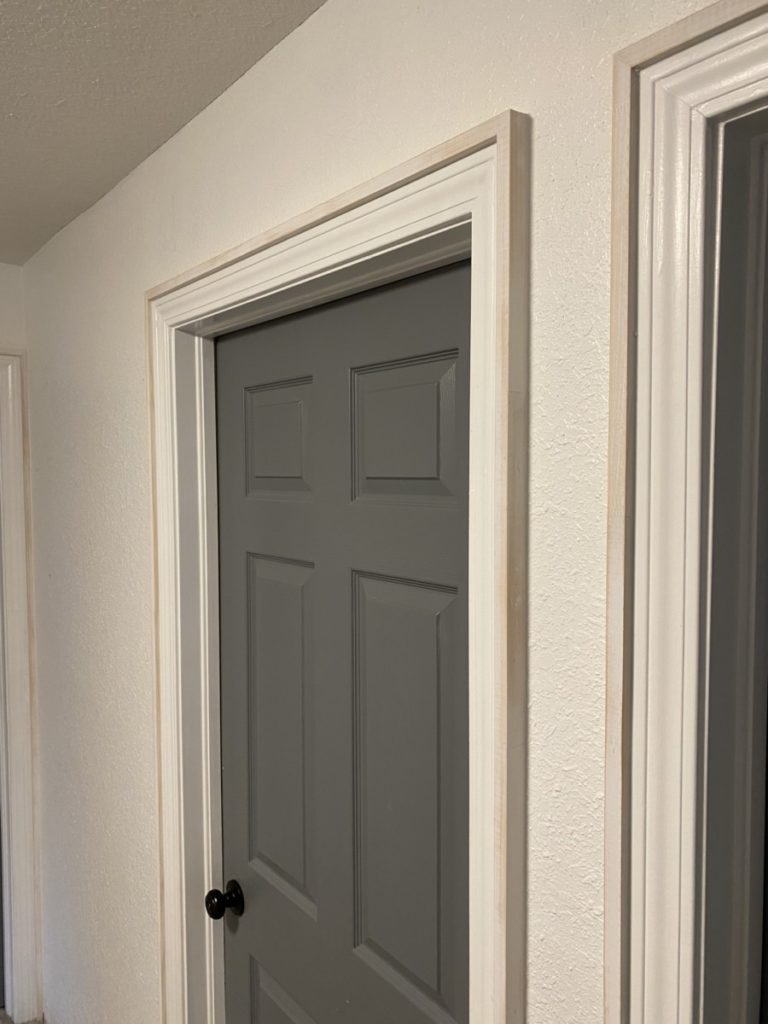
I saved my top piece for last. When marking my top pice I like to measure it from long point to long point and then mark in place. (See the below image.)
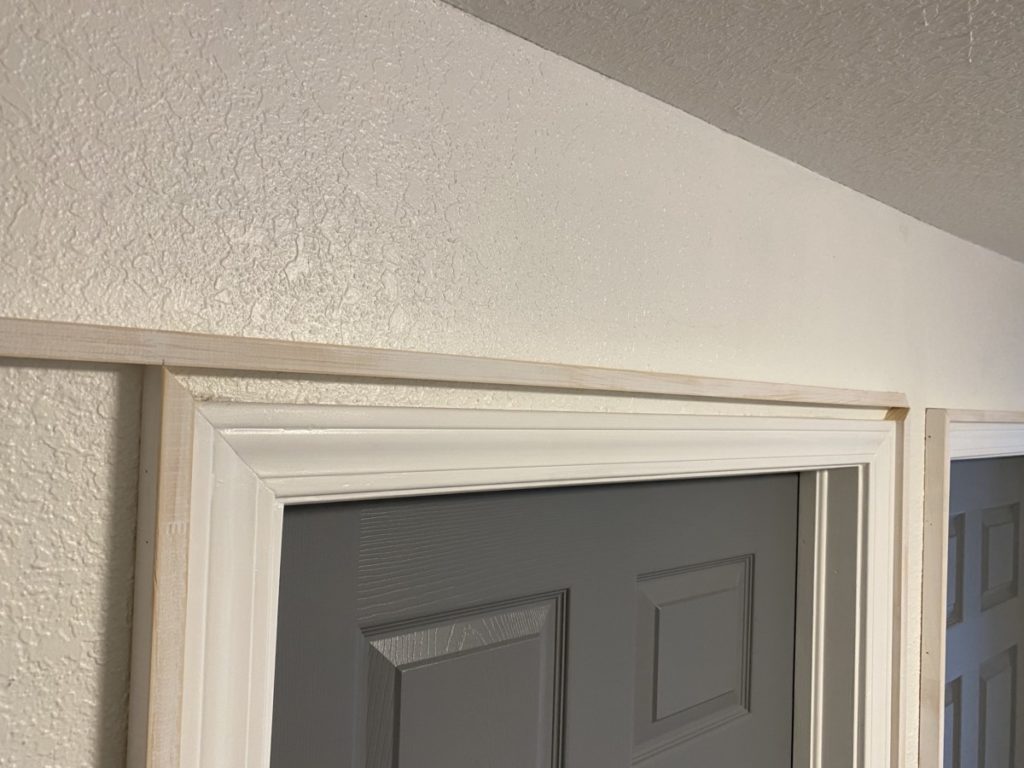
For the top trim piece it will require 45º cuts on both ends. Once the top pice is installed it should look a little something like this. ( See below image.) I know this may seem subtle, but this small change really does make a big impact!
Prep Door Casing for Paint Makeover
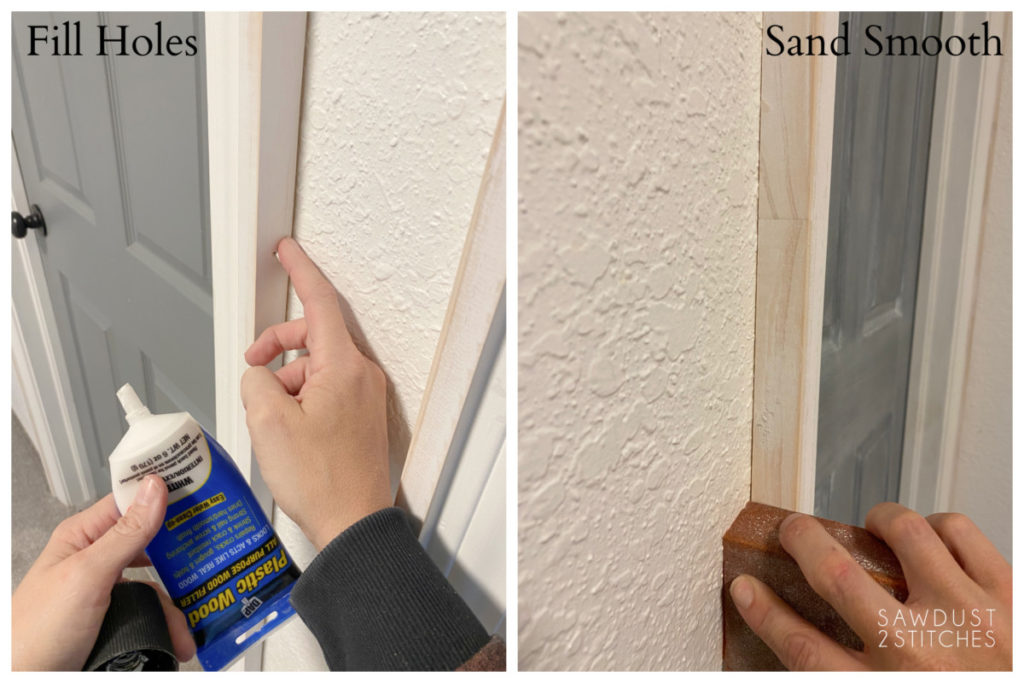
Fill Holes
Ok, before we start painting there are a few more steps. Seeing as I used a pin nailer the holes that I need to fill are very small. Regardless of the nail size, the holes do need to be filled. To do this, I used Plastic Wood by Dap. Once it is completely dried, I go over it with a sponge sander and smooth it out.
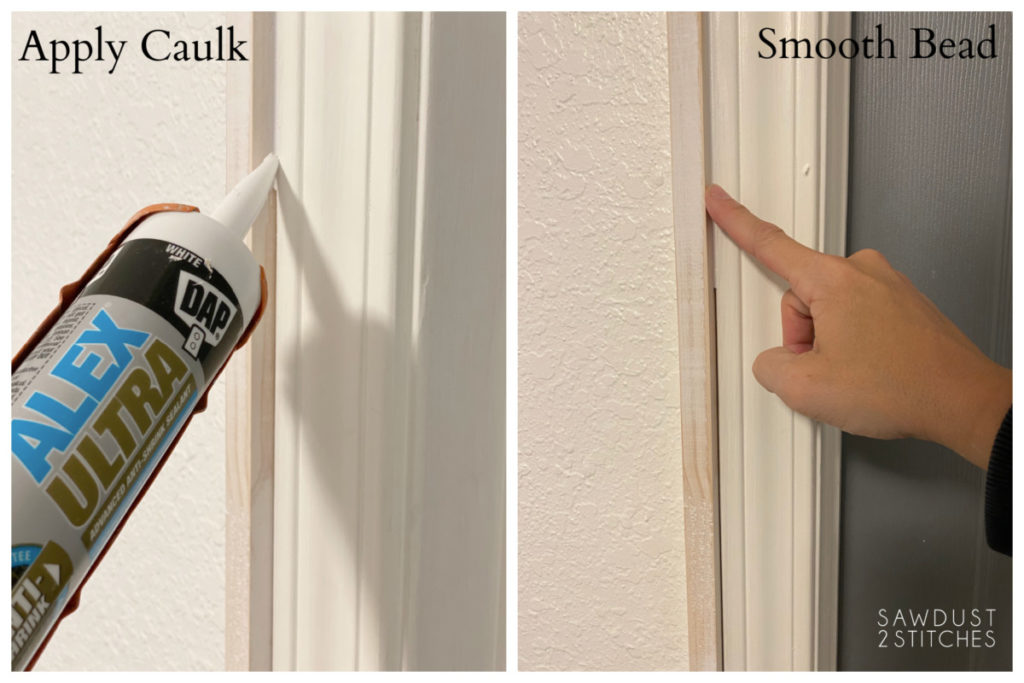
Caulk Seams
Here is where the magic happens. Caulking the seems. Apply a small bead of caulk where the new trim meets the old casing. Smooth out the bead of caulk using a damp finger, or baby wipes also work great. By caulking this seem it create a very unified look, and also helps secure the trim in place.
I suggest using DAP Alex Ultra. It has advanced anti-shrink technology, PLUS it’s paintable in 15 minutes. Perfect for the impatient DIYer like myself.
Caulk Perimeter of Door Casings
Repeat the same process around the perimeter. Again, this will not only create a flawless look, it will also help secure the trim in place.
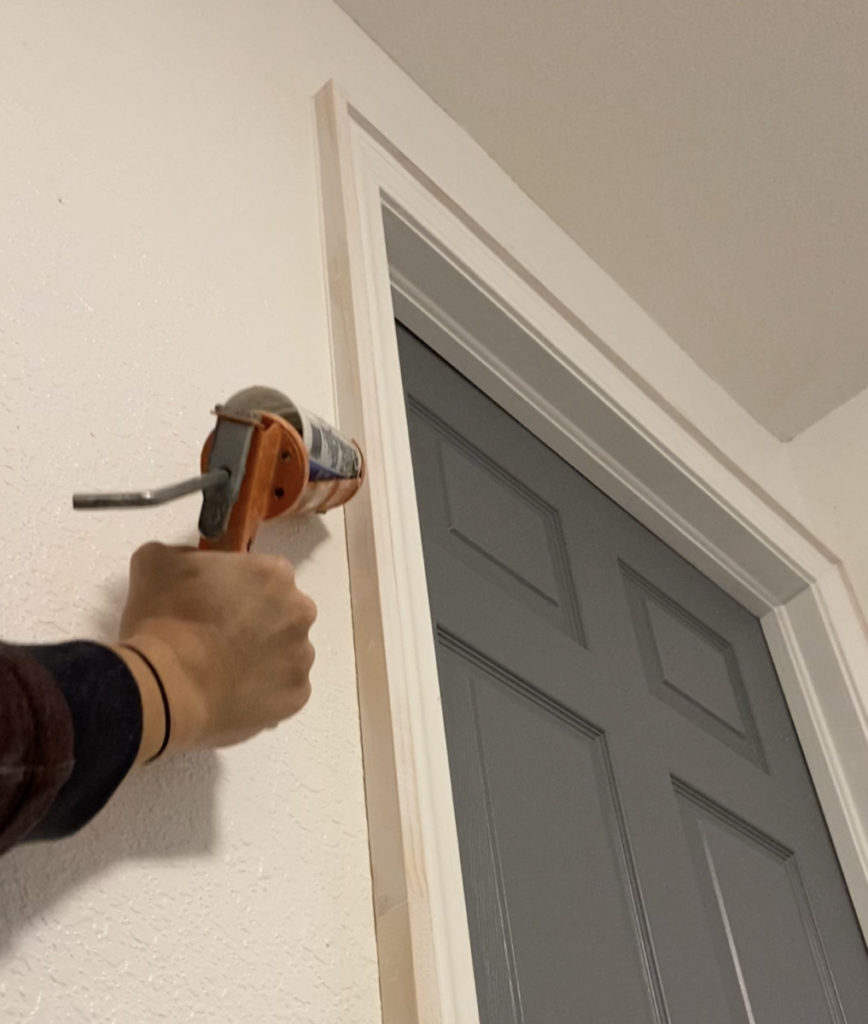
Repeat this process on any desired door frames.
Paint New Door Casings
Once the caulk and nail filler is completely dry it is time to paint. Before I started priming I did quickly go over the entire door with a sanding sponge to remove any sheen from the existing topcoat.
I suggest removing the door hardware when painting. In my opinion it actually saves time to remove the hardware then try to tape, and cut in around it . Plus it ALWAYS looks better to just paint the entire slab without cutting it. It just does.
I used a paint and primer enamel in satin sheen. It worked great for this application. I could have rolled but I love the look and efficiency of a sprayer, so I draped and taped the entire area and used a Graco TC cordless sprayer.

Install New Hardware for Door Casing Makeover
If you did remove the existing door hardware it is time to reinstall it, or maybe add something new! I added some really fun doorknobs to my primary bathroom and I love them. However, I was trying to do this space on a budget and used the existing ones.
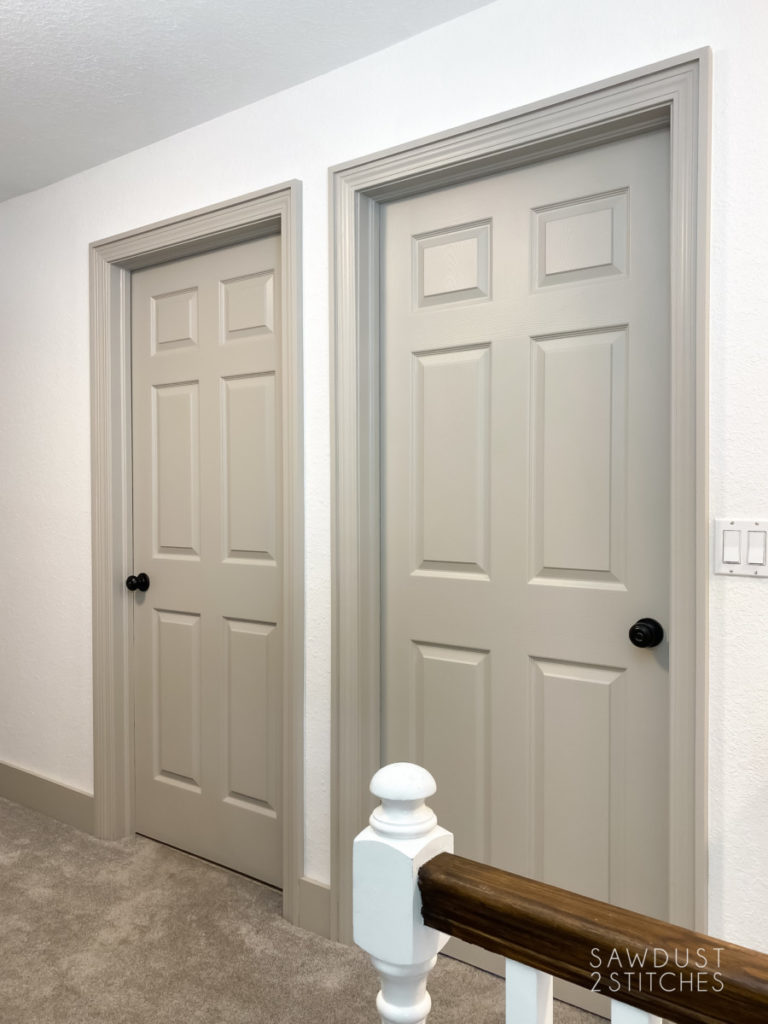

Let’s break this down. I had four doors in the upstairs landing. I needed a total of (5) 1×3’s =$48. That comes out to approximately $12 to upgrade each door. I feel like $12 for a door casing upgrade is well worth the money and effort.
Thanks for following along and take luck,
Corey
Sources:
- Wall Color: Ultra Pure White by: Behr in Eggshell Sheen
- Door/Trim Color: Agreeable Gray by: Sherwin Williams in Satin


Love, love, love this update! We were planning on replacing all of our door trim that looks exactly like your before, and it would have ended up costing $$$ this will be a great upgrade for us! Thanks for sharing!