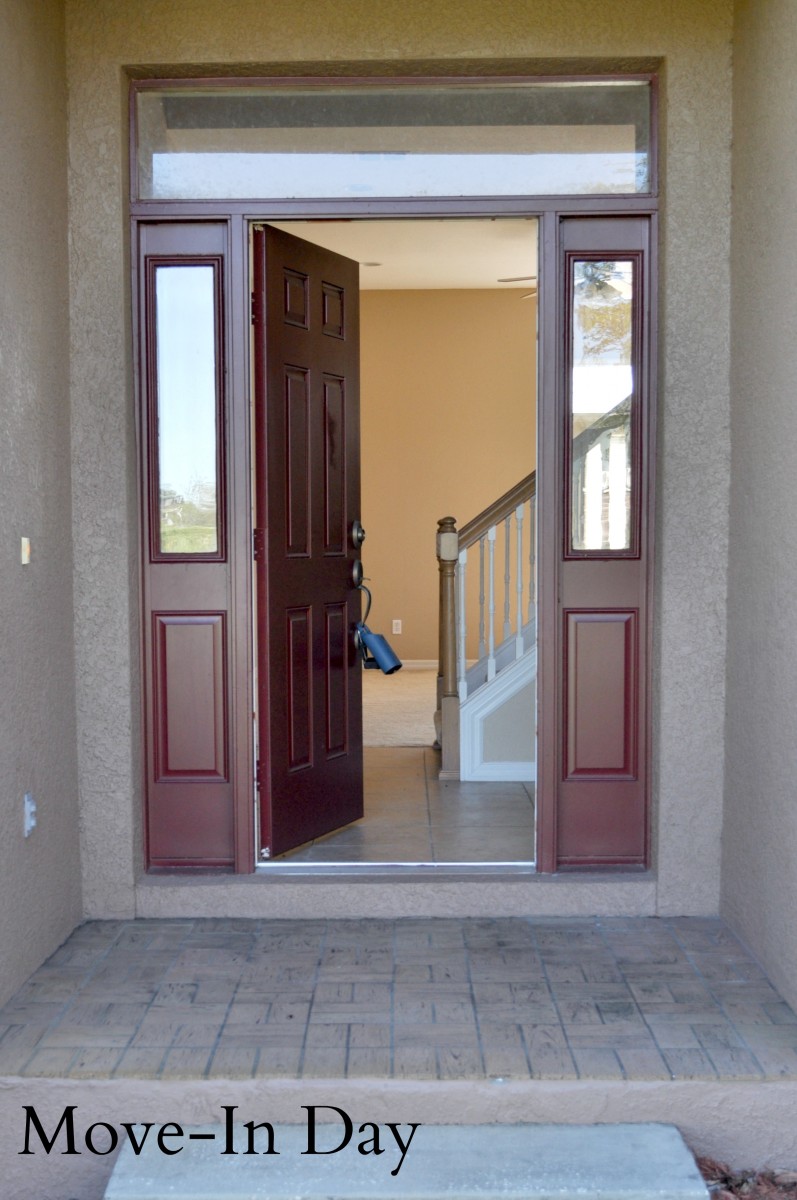
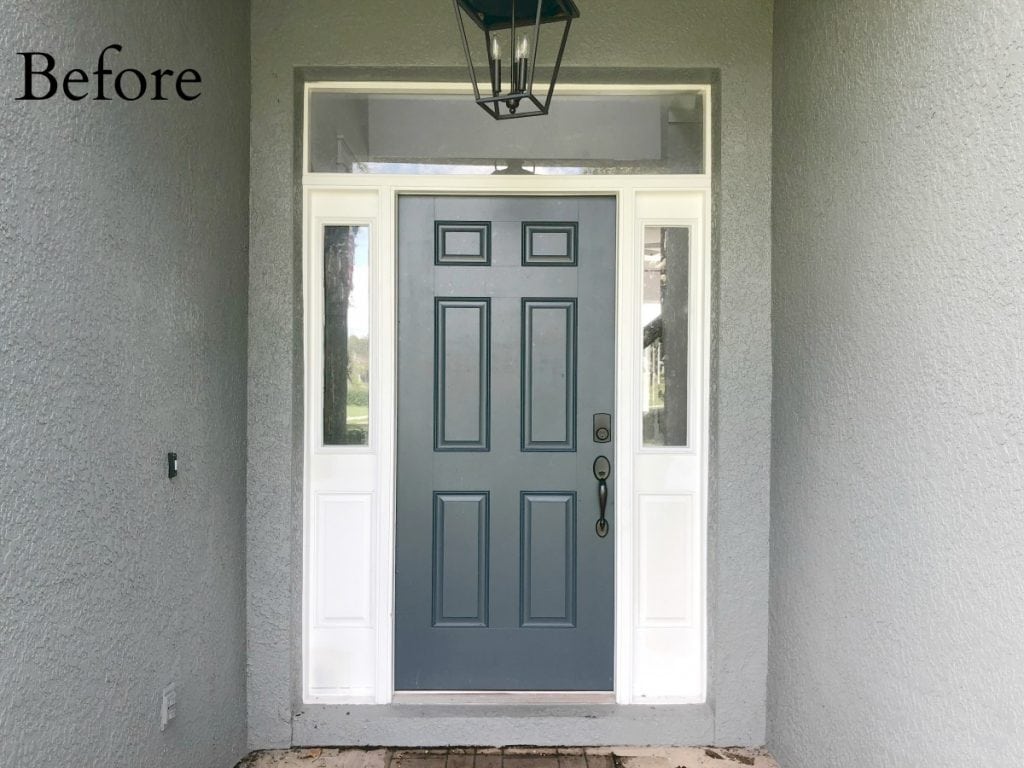
You know you are in the homestretch of finishing up a house when you start to go back and tweak projects you have already completed. Well, my front porch is one such project. When we first moved into our home the exterior was an unflattering dirty band-aid color, and the door was burgundy… Definitely not my first choice. Well, the exterior was not an initial priority, so instead I settled for painting the front door a nice shade of dark gray-blue , with plans of tackling the rest of the home exterior at a later date.
Well, last summer we finally did paint the entire exterior of our home a nice gray color. (You can read about it here.) Well, the house looks great, unfortunately the door and the house seemed to blend together. So what’s a girl to do ? DIY it of course, I decided to update the front porch and give it a little pizzazz and definitely update my hardware that I had spray painted and installed a little prematurely. (It never cured properly and was chipping.) So I teamed up with my friends at The Home Depot and Schlage to bring you an awesome afternoon front porch makeover!
I already knew I definitely wanted to upgrade my door handle to the new Schlage Smart Home Keyless Set. So before I got started I took off the existing hardware. (When painting a door I find it much easier to get nice smooth strokes without a handle in the way. PLUS, installing new hardware is super simple. Don’t be intimidated by it!
So lets’s get started. I first painted my door a pretty shocking color… YELLOW. I knew I wanted to use a stain effect as my top layer. Seeing as I have a metal door, if I want it to look wood, I first had to make it a color that mimics wood a little more closely. So unfortunately my deep blue was not going to cut it. 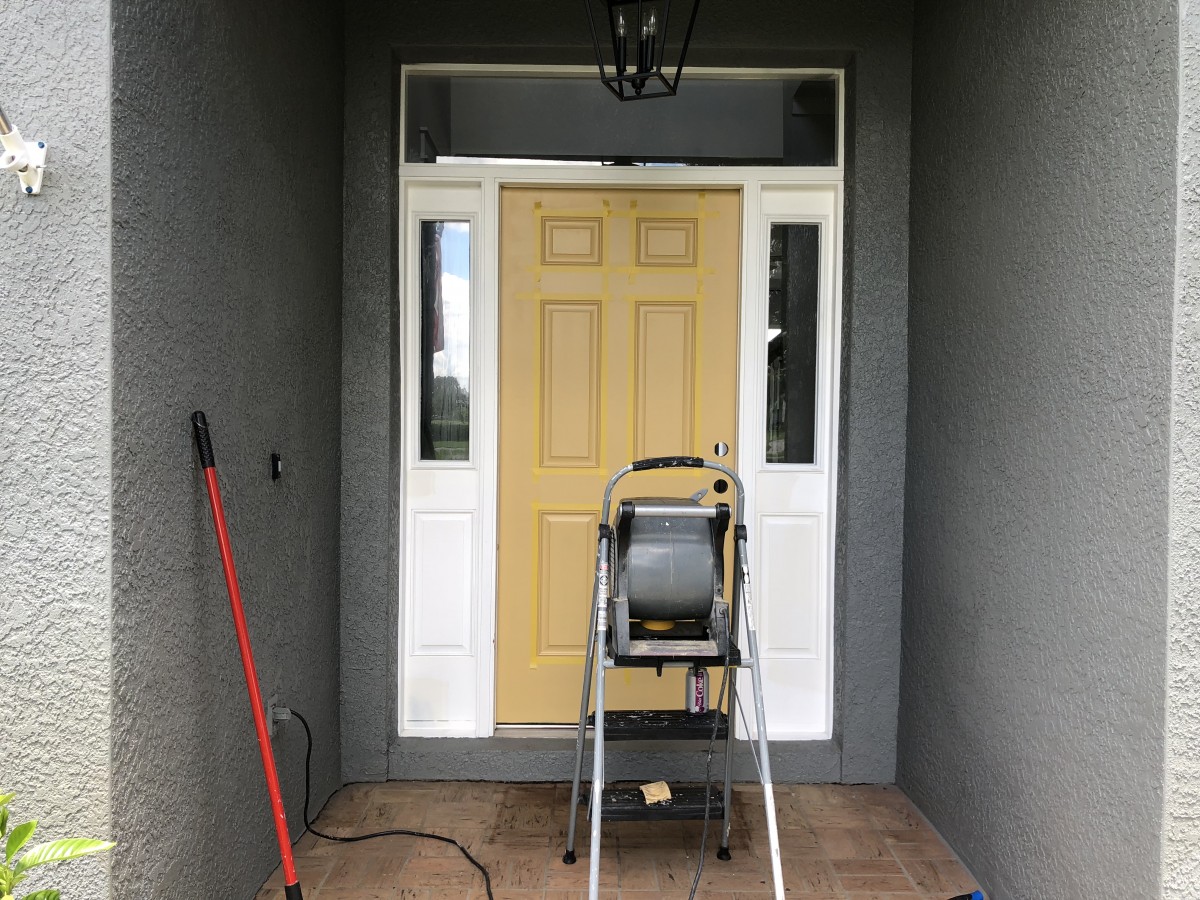
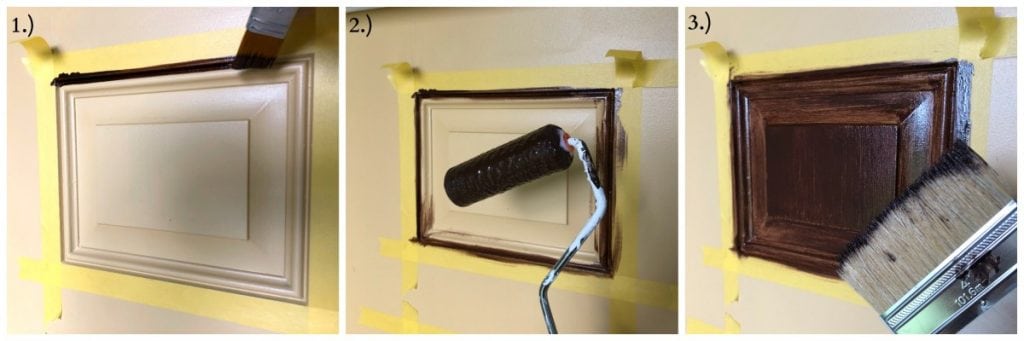
So I painted it yellow and then waited for it to dry…The next part made me a little nervous. I used a Gel Stain to topcoat my door. I Had never attempted it before and this was my first attempt. I first taped off all the the panels. I then went along with a medium size paint brush and applied the stain to the crevice lining the perimeter of the panels. I found that I needed to work fairly quickly with this medium, so I used a sponge roller to quickly apply the stain to the panel, and THEN I want over the gel stain with a coarse brush VERY lightly. I just wanted to give it some dimension. I had tried a wood grain faux finish tool, and I was NOT great at it, so I resorted to this technique.
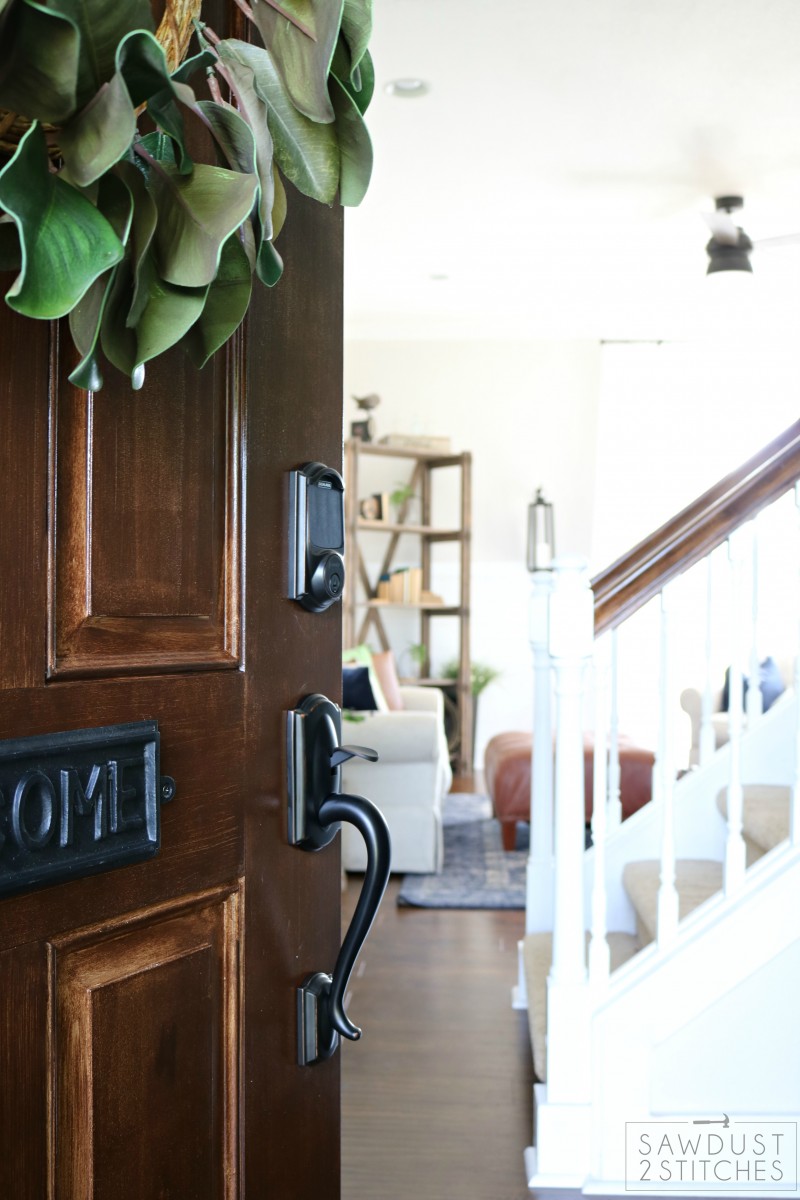
After all the panel were completed I moved on to the rails and the stiles of the door. I always taped off the edged so that I would have a crisp line where the sections of door began and ended. I always worked just one section at a time, because like I said it seemed to dry fairly quickly. 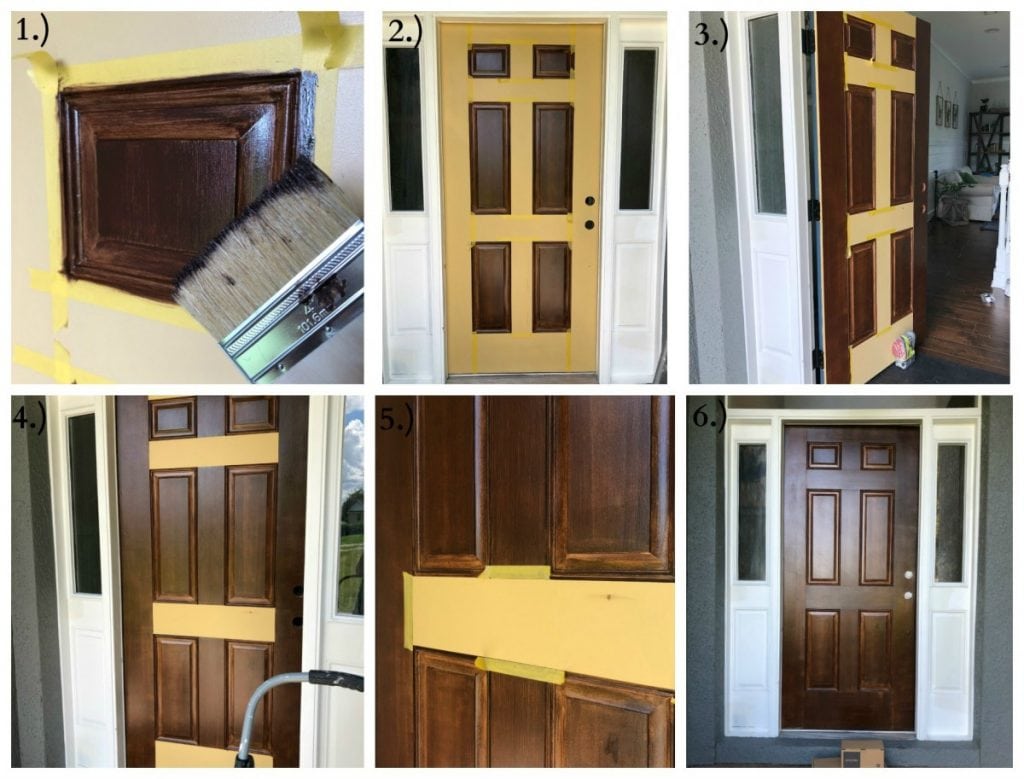 The process of painting and staining was a little fast paced and nerve wracking, but the tricky part was over and I was on to the fun and easy part! Adding new hardware to a door is always so satisfying. I always feel like I am adding the last missing piece. In this case a very intuitive, high IQ, dare I say downright sexy piece!
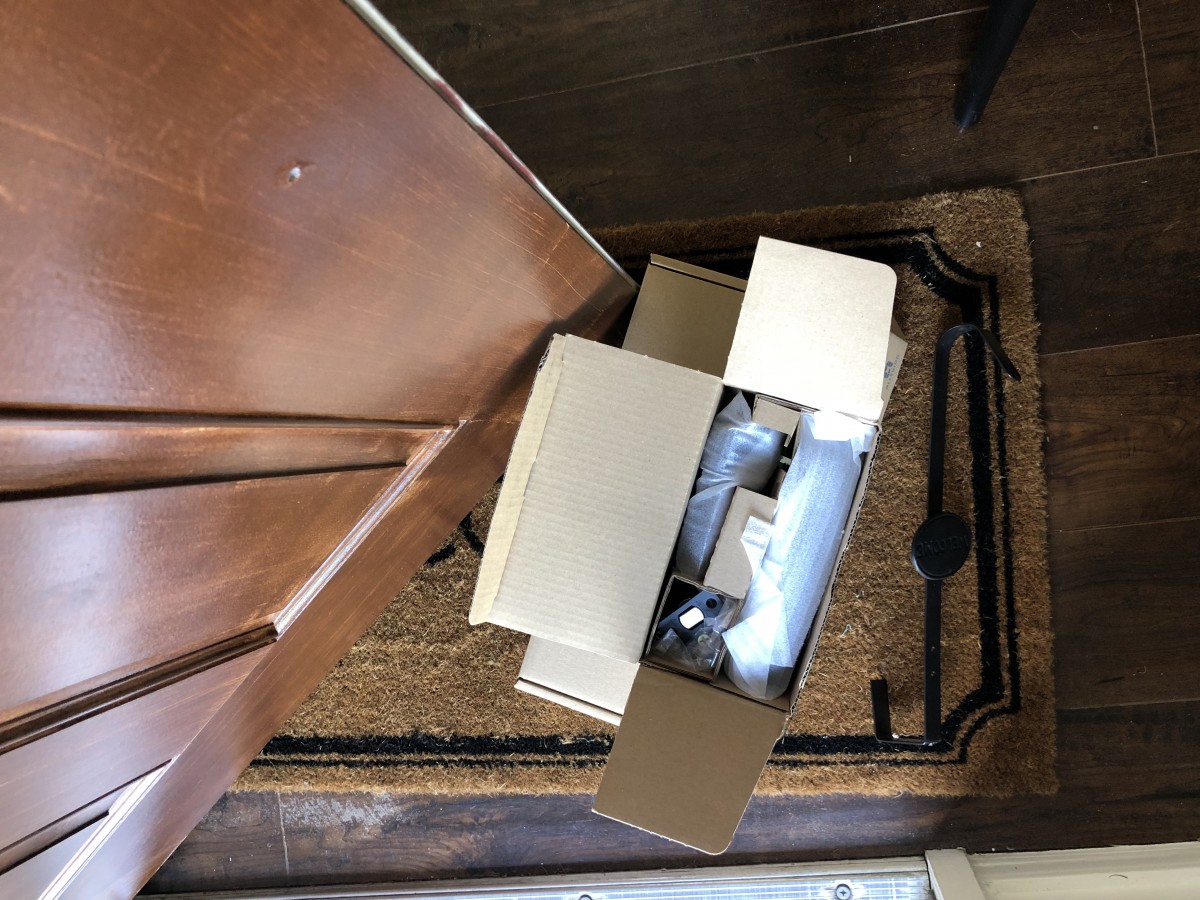
When I was deciding on which handle set I wanted for the front door, it was a fairly simple decision. I knew I definitely wanted a keyless entry. I have one on my shop and I absolutely LOVE it. So why mess with a good thing? I decided on a Schlage Connect Smart Lock in the Bronze.
It is a super simple upgrade to any door and is simple to install. It comes with detailed instructions and can easily be swapped out in under ten minutes with just a screw driver!
Ok, so this is why I LOVE the Schlage Keyless entry. First of all, keyless, hello!? You no longer have to go fishing through your purse looking for your keys. I also love knowing that if there were ever any dire circumstances I always know that the kids can get themselves into the house. (Of course I’m always home when my kids are, but as a Mom I am basically a pro at imagining the worst case scenario.) Another thing that I love is that it is so simple to set up new pass codes. Are you going out of town for the week and need the neighbor to water the plants? Well it’s super simple to set up a temporary passcode just for the week! In fact you can have up to 30 different passcodes saved! Not too shabby huh ? 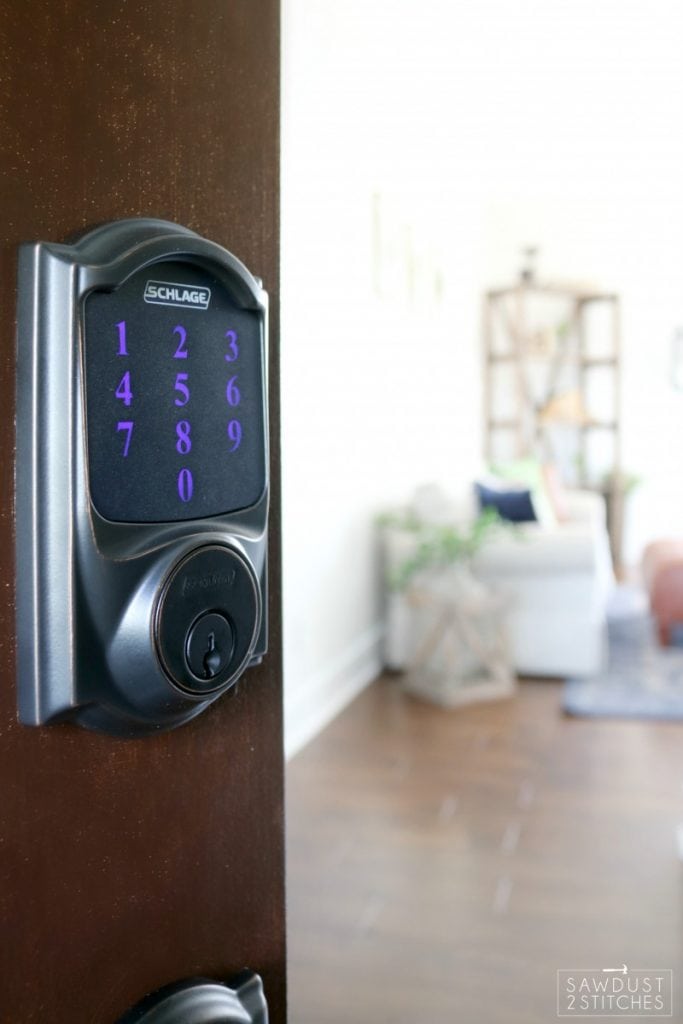
Of course it has all the bells and whistles and can actually be hooked up to a z-wave hub that will open up a whole new world of possibilities! I am talking about unlocking your phone remotely with your smart phone, you can even track people coming and going and view which passcodes were used on your phone! Cool huh? (This requires a Wink Hub, but the Schlage Connect Smart Lock is compatible .)
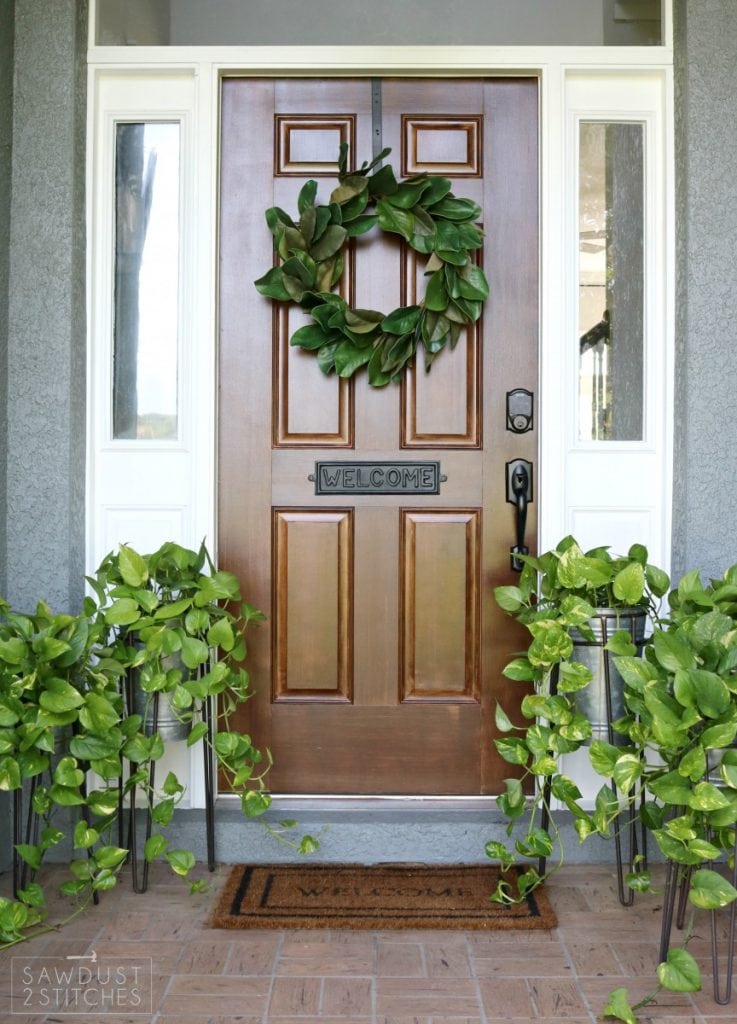
Plus, didn’t I say it was pretty!? The design is timeless and elegant and it comes with an extremely durable finish. I no longer need to worry about my door looking sad and faded. This new hardware definitely completes this mini front porch makeover. It looks classy, and gives me peace of mind knowing I have it as a reinforcement to my family and home’s safety.
Well folks, there you have it. I one day transformation that will drastically improve your curb appeal while also improving your home security. That is what I call a win/win.
Thanks so much for reading along, and Take Luck!
Corey 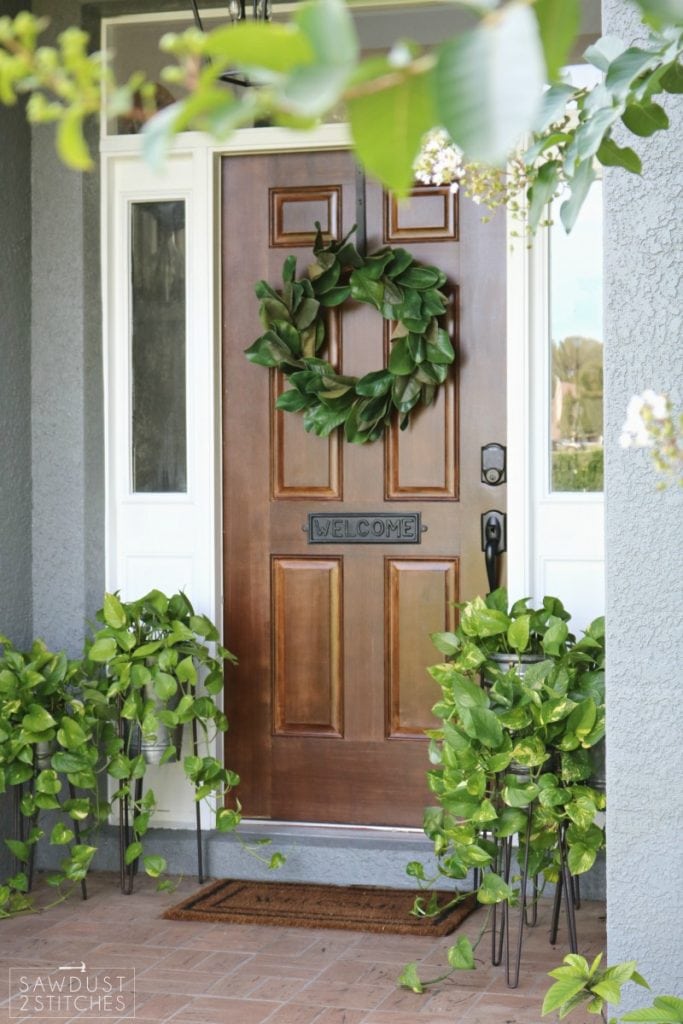
*I acknowledge that The Home Depot is partnering with me to participate in the Smart Campaign promotional program. As a part of the Program, I am receiving compensation in the form of products and services, for the purpose of promoting The Home Depot. All expressed opinions and experiences are my own words. My post complies with the Word Of Mouth Marketing Association (WOMMA) Ethics Code and applicable Federal Trade Commission guidelines.

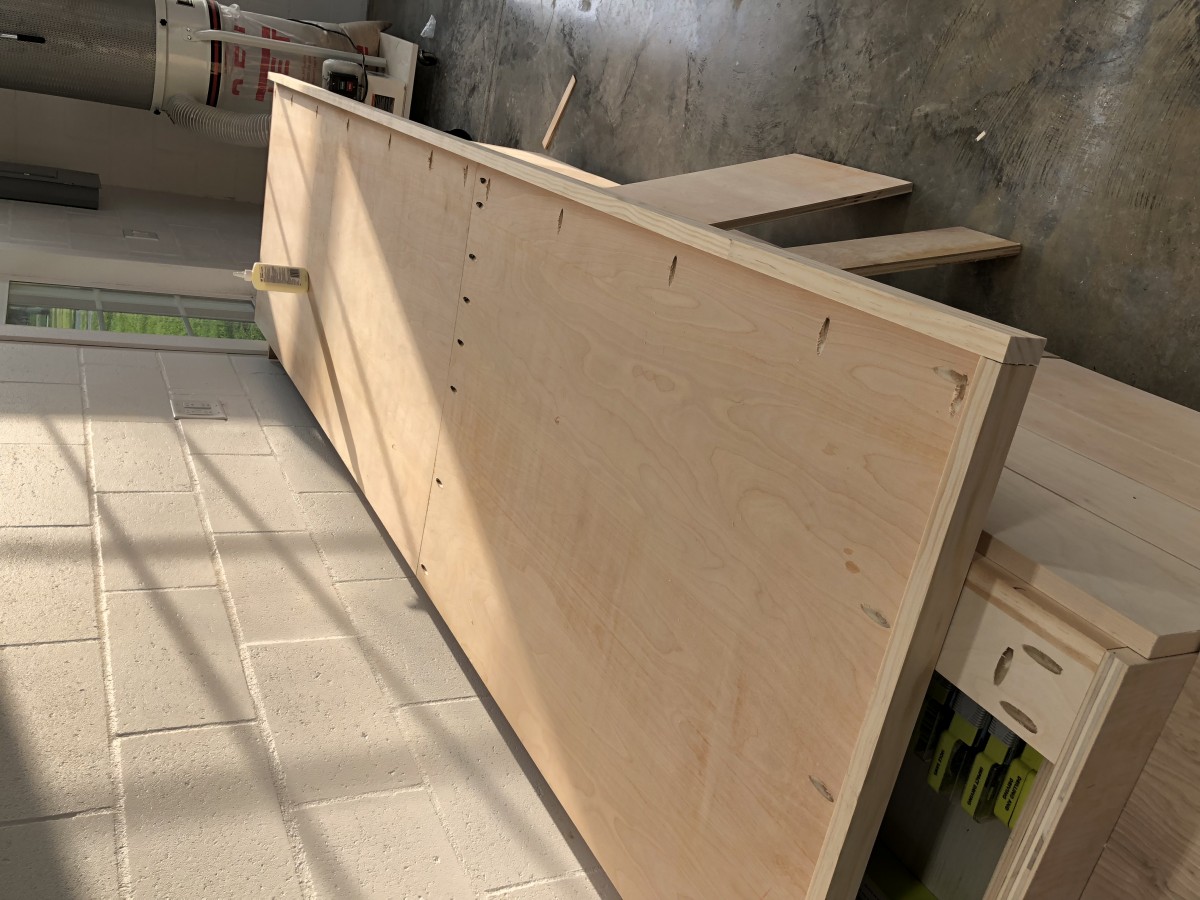
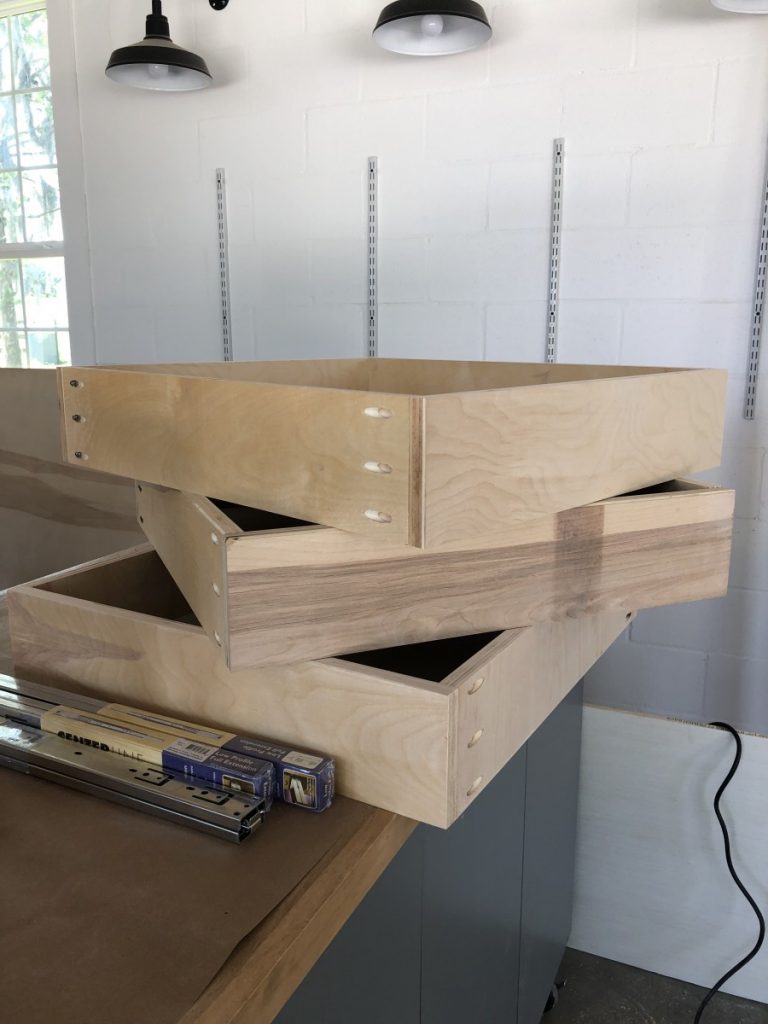 I am not going to lie, drawer glides use to terrify me. I could spend an hour measuring and leveling and my drawer would still sit all wonky. That is where jigs can save you hours, if not days of frustration. It will hold your glides perfectly distanced, and level so you can install them. ( I used these
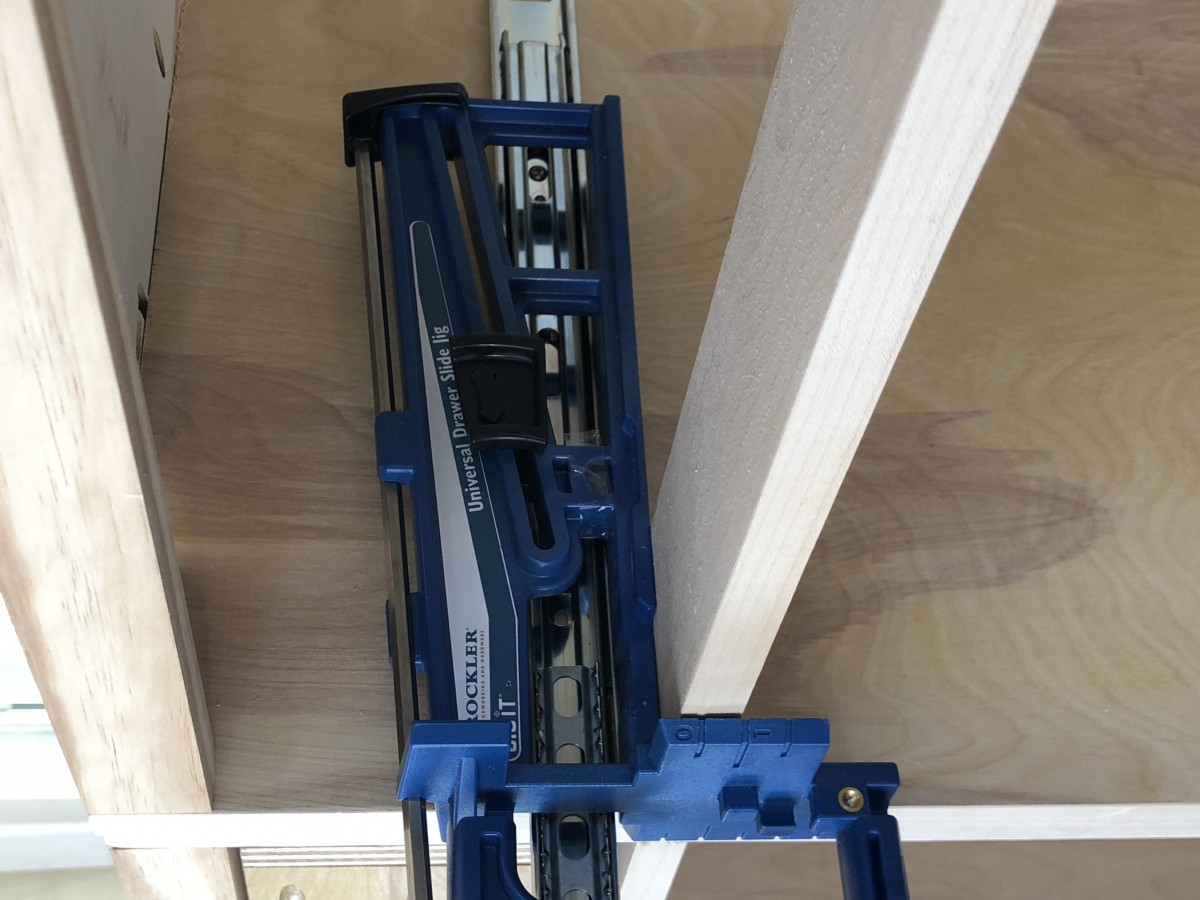
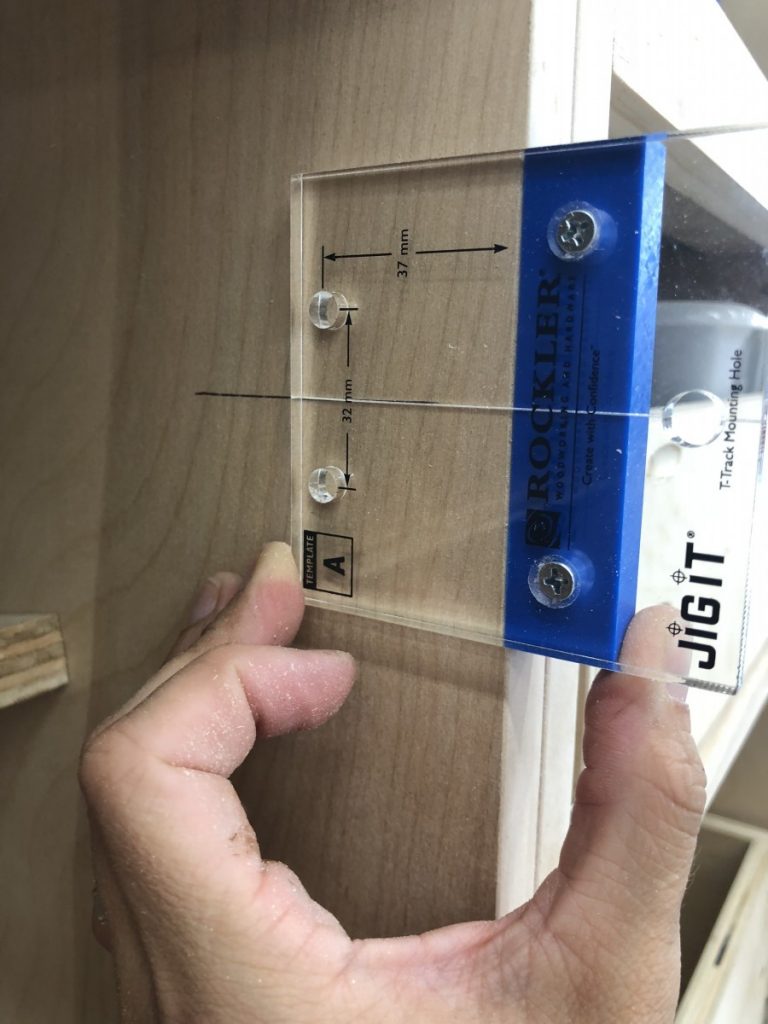
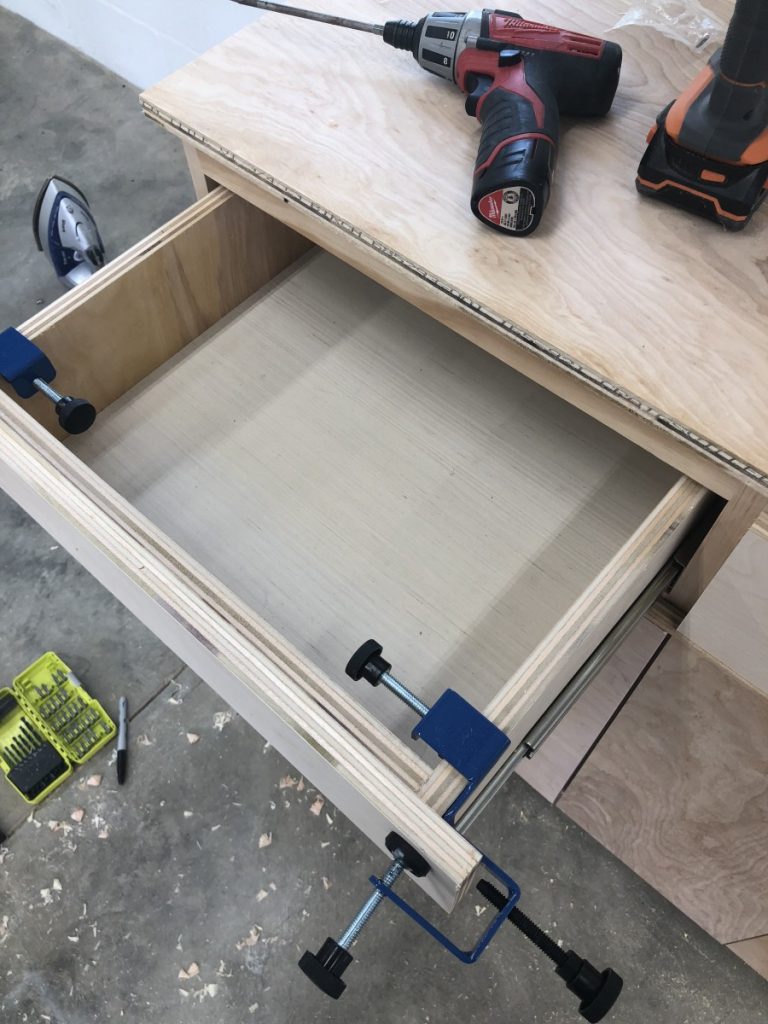 Next up, the dreaded hinge. ( I’m serious, I should not openly admit this but I use to absolutely SUCK at installing hinges. My doors sat all sorts of wonky, and I was constantly shimming and filling holes like it was going out of style.) After a few years I finally started to get the knack of it, but there is an easier way to install them. You guessed it jigs.
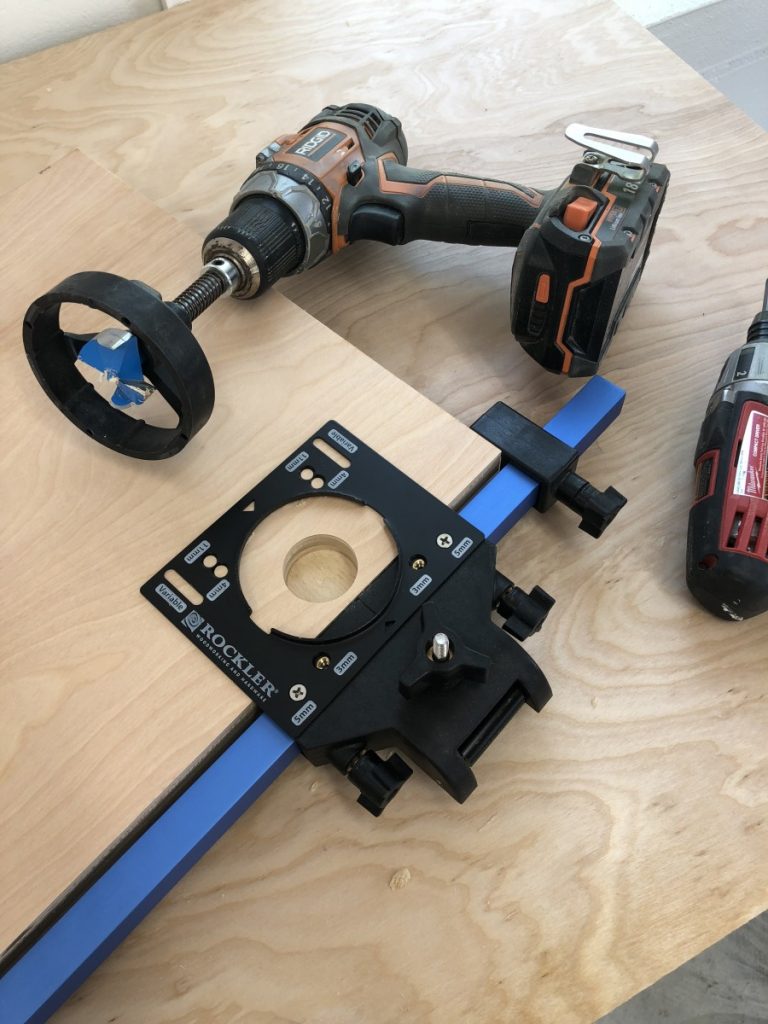
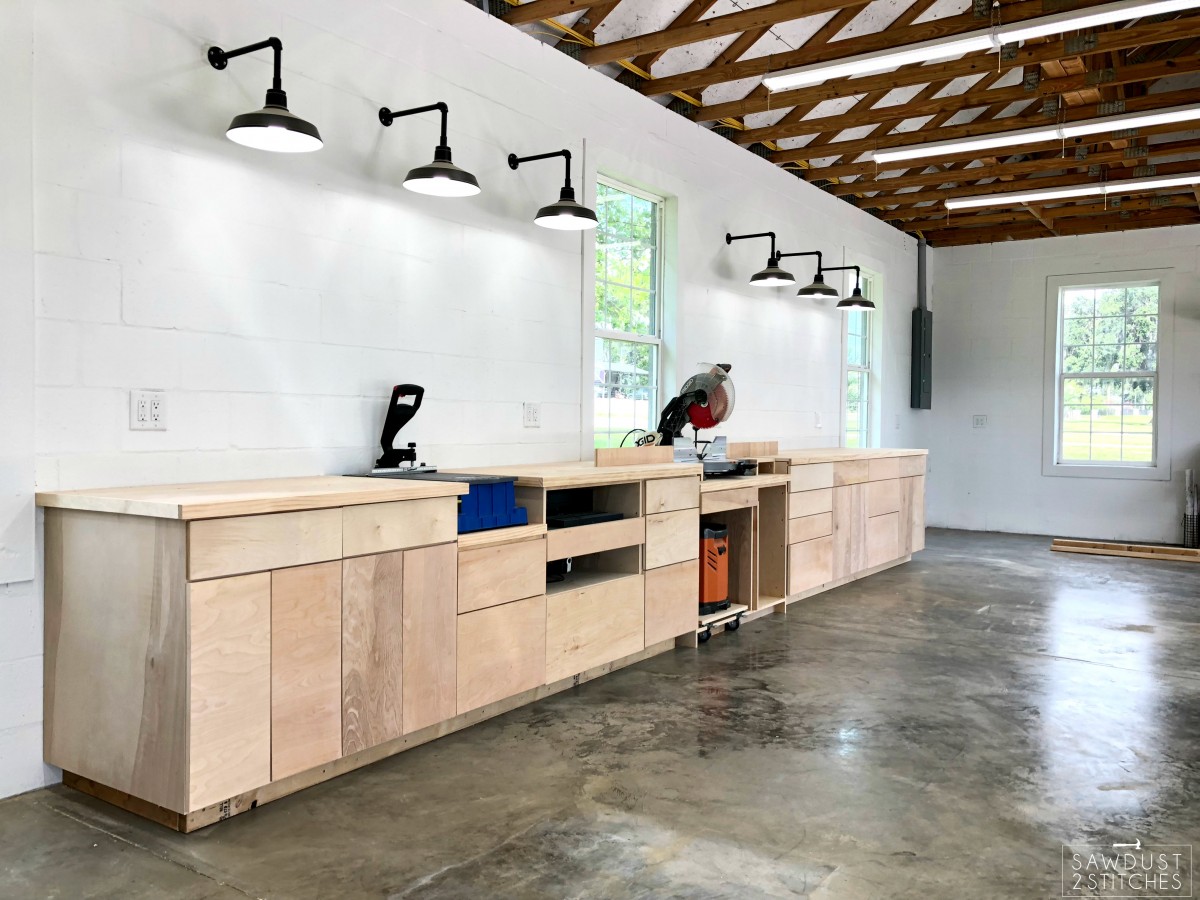
 Okay, see that wasn’t so hard!? Let the jigs do all the thinking. Once you have the basics of cabinet making down, you can start evolving the process. You can start to customize cabinets to fit not only your sizes but also your needs, and that is exactly what I did! Check out some of the cool things you can do once you dive into the world of cabinets!
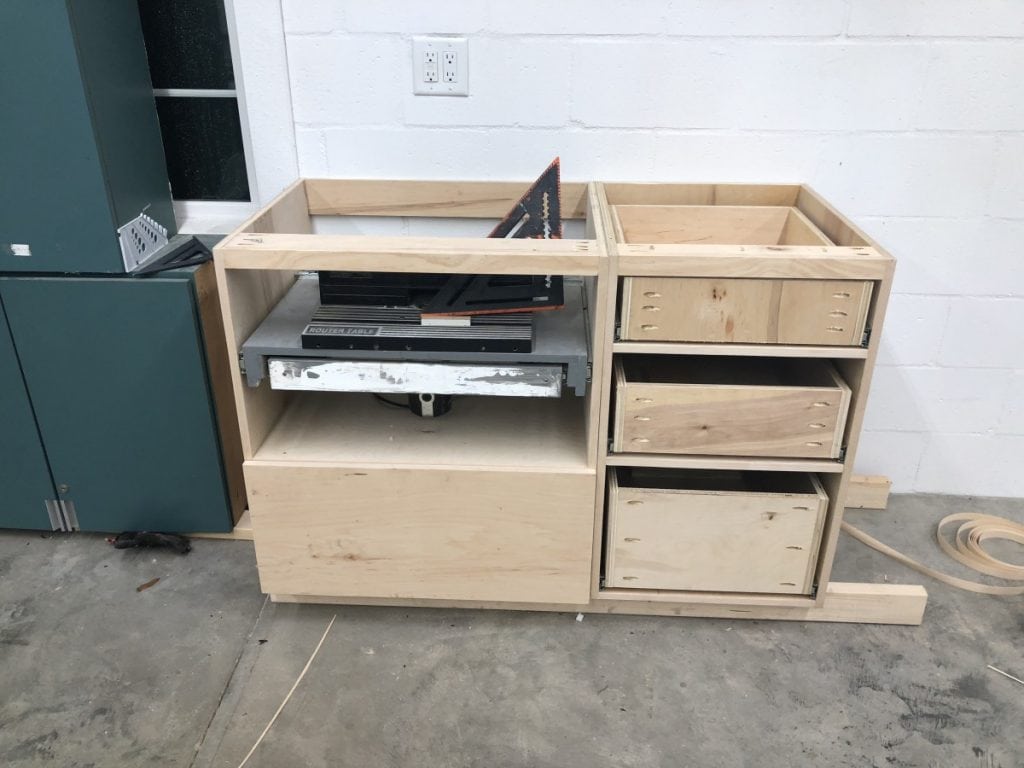


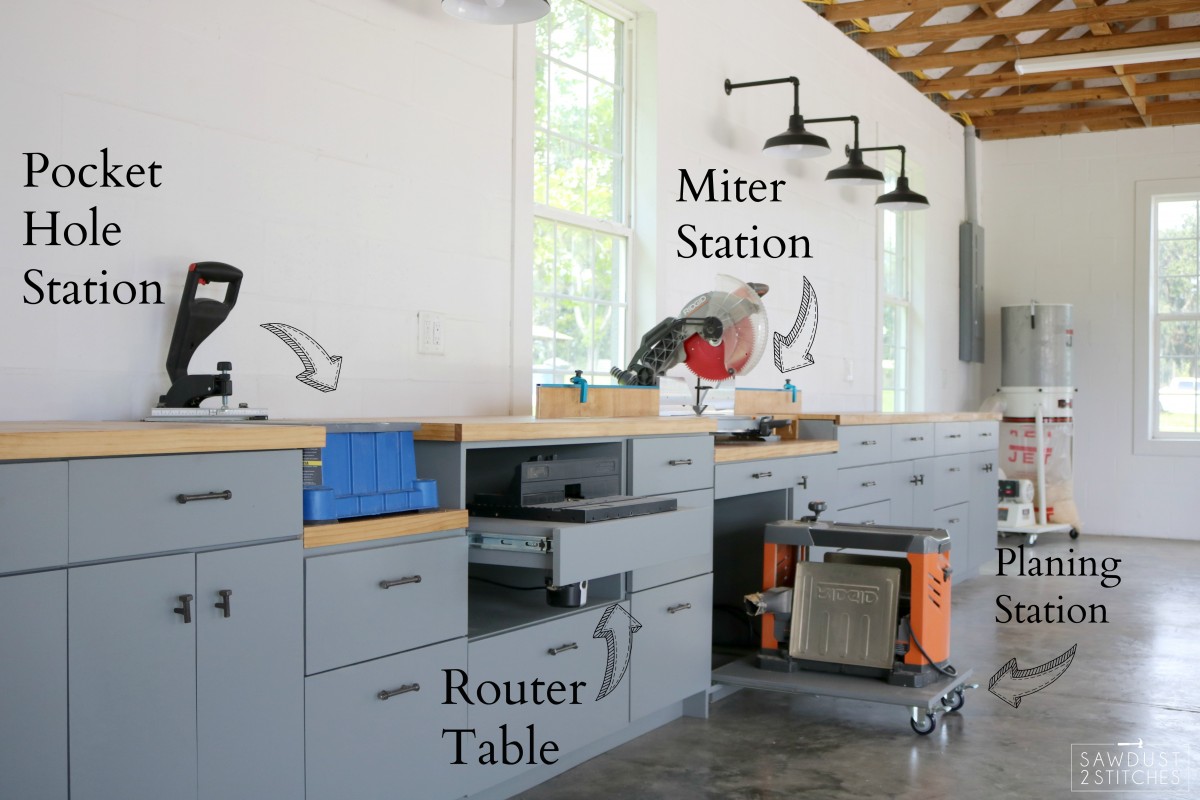

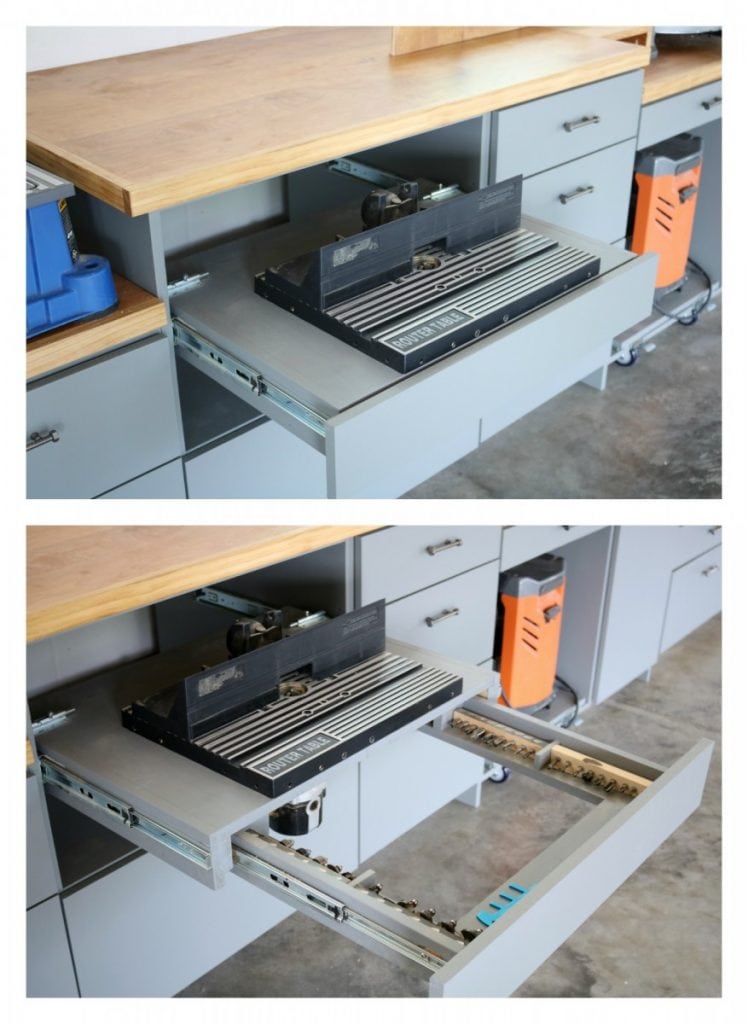 Oh ,oh, oh! I almost forgot! I also built a really small drawer directly below my miter saw to house all my safety gear… but it also manages my dust collection system! I have a dust collection system that runs behind all my cabinets and hooks up to various tools. Well, instead of walking all the way to the other side of the shop to turn the dust collection off and on, I simply hooked it up to a christmas light remote! Simple, but brilliant, right !?
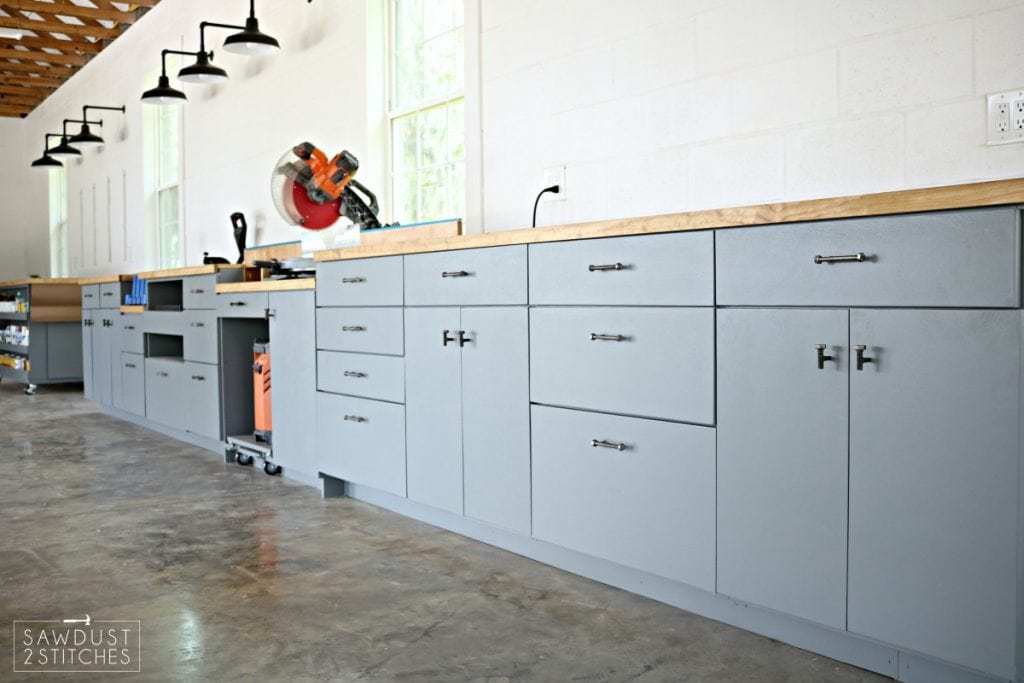
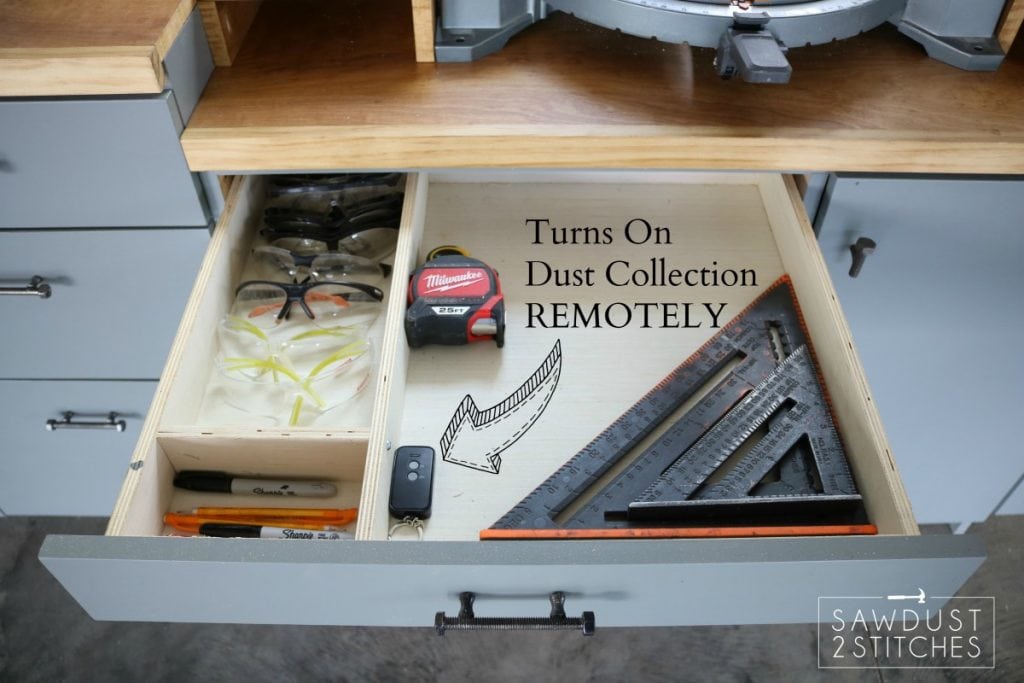 Ok, so I have shown you some of my favorite customized features, but I didn’t just stop there. Even the smallest detail had my full attention. Check out the hardware ! I was able to find both the pulls and knobs from Hobby Lobby.
 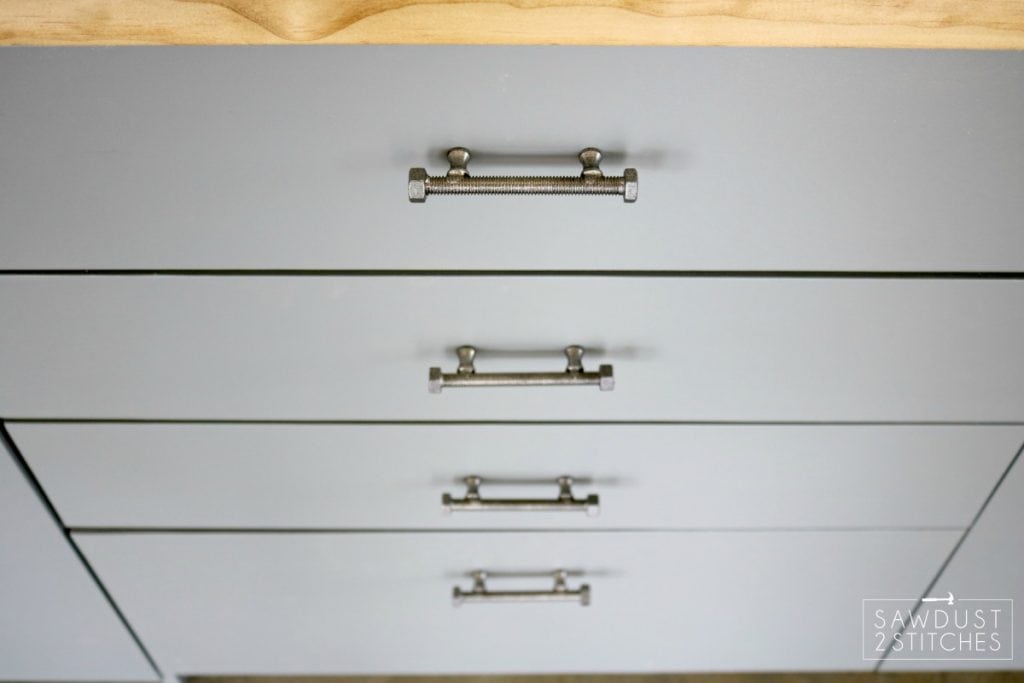 Ok, just a few more, just because it is so dang pretty!
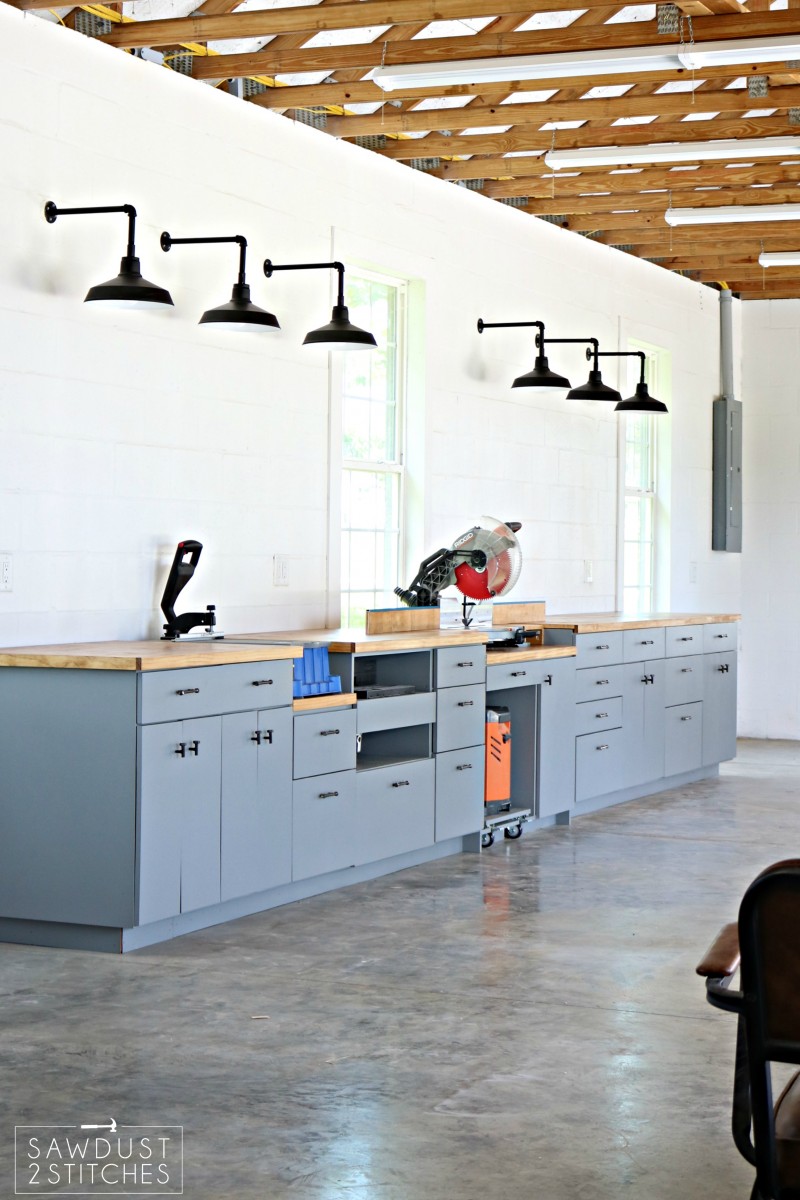
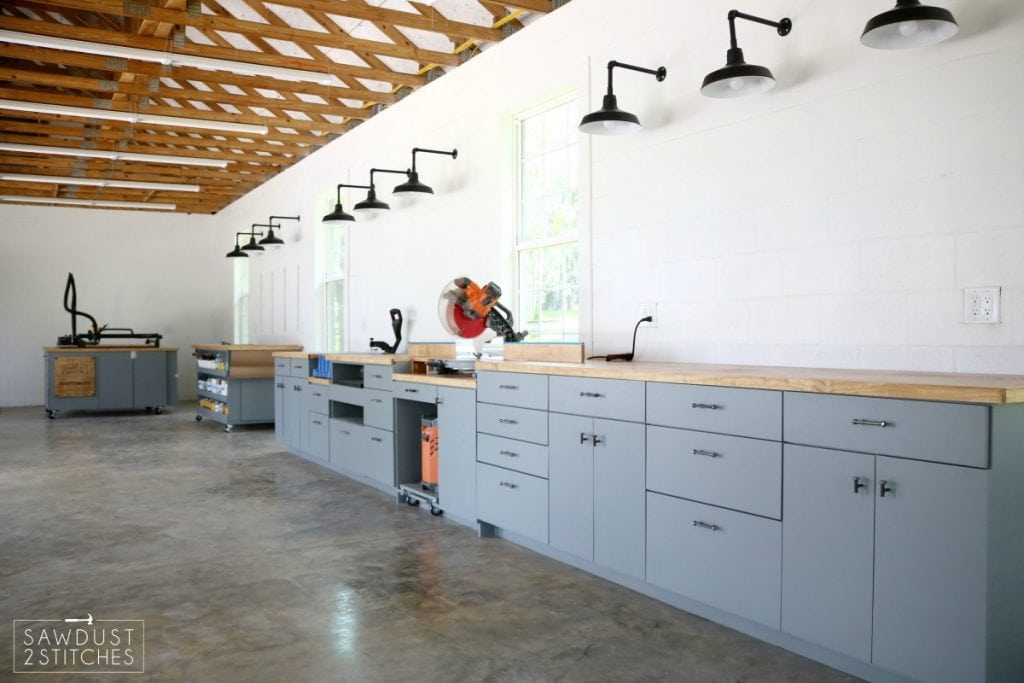 Well what do you think? I don’t know about you, but I truly feel like it is the prettiest shop ever!
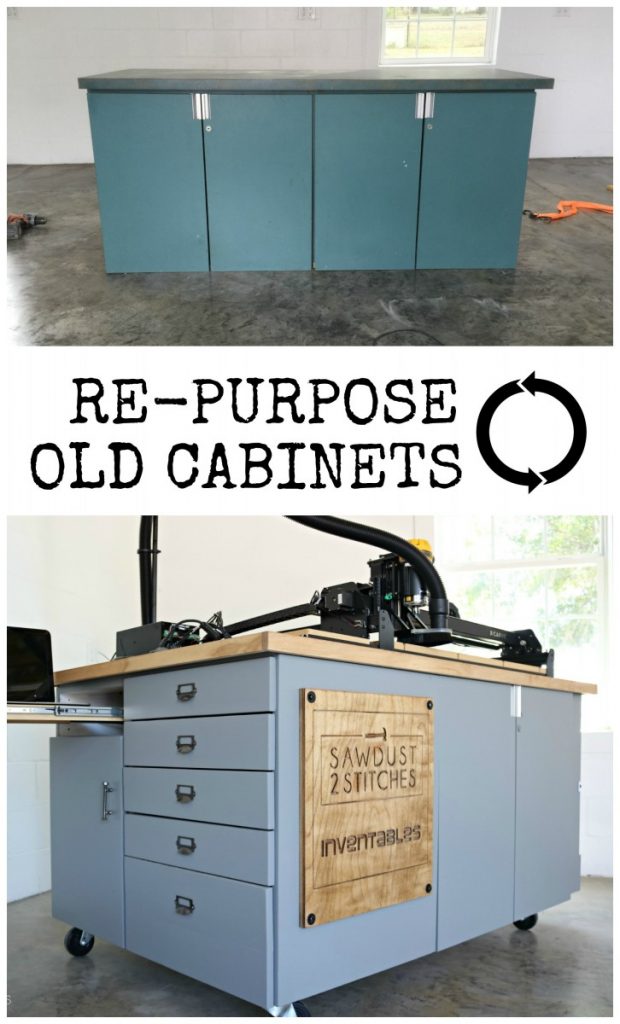
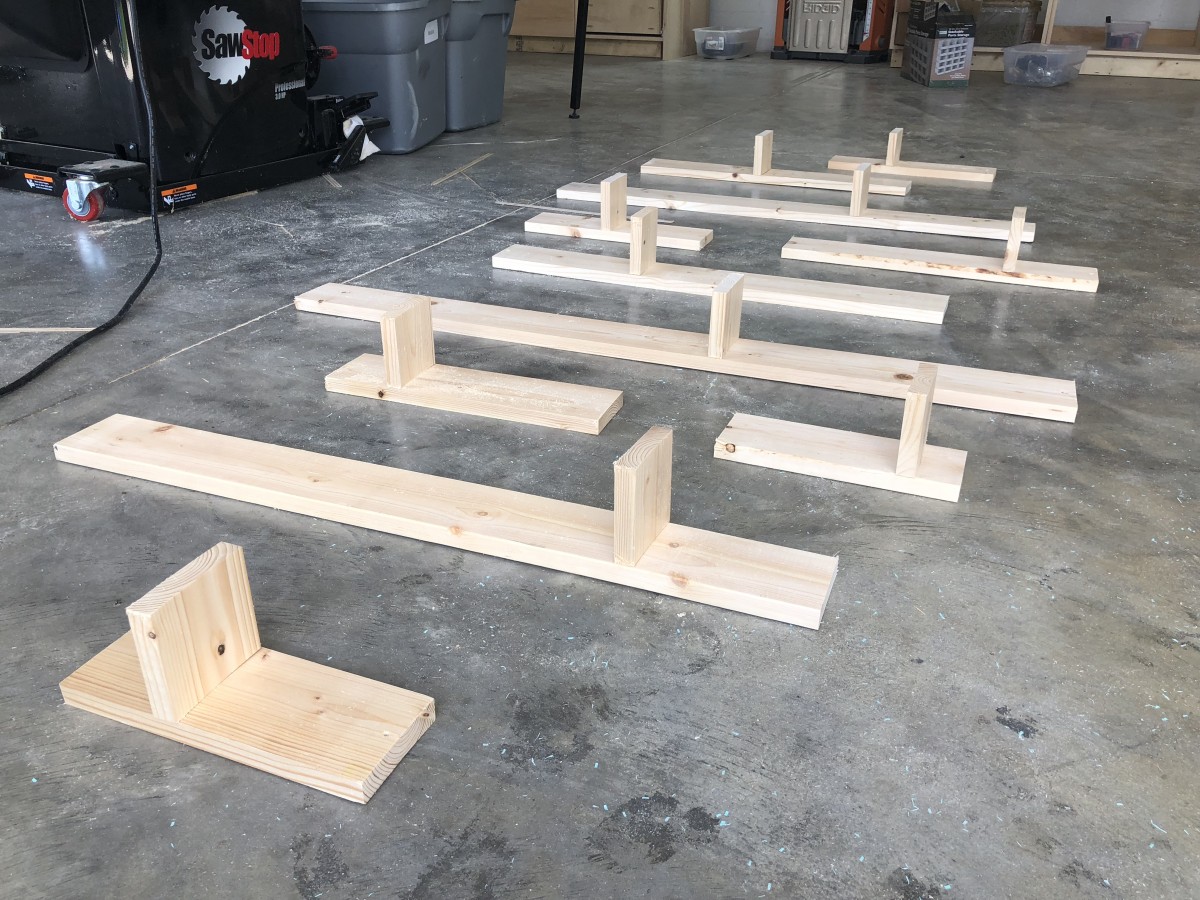

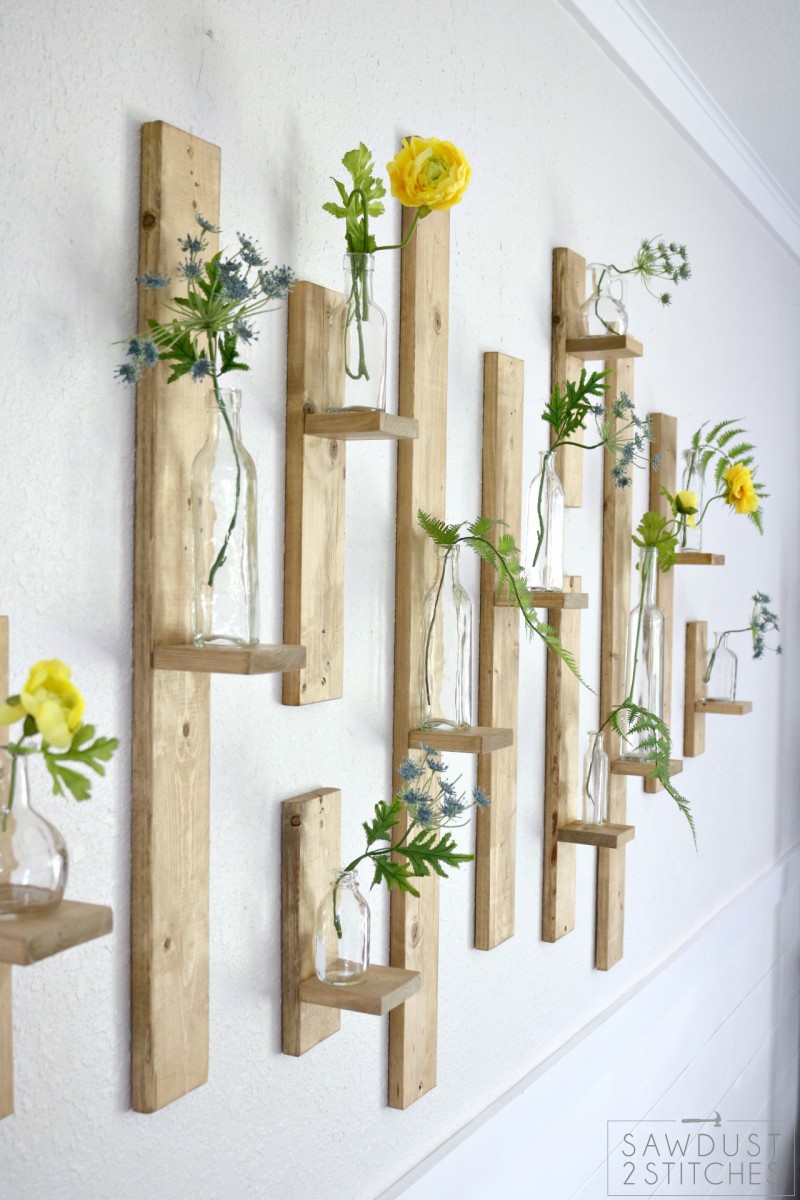
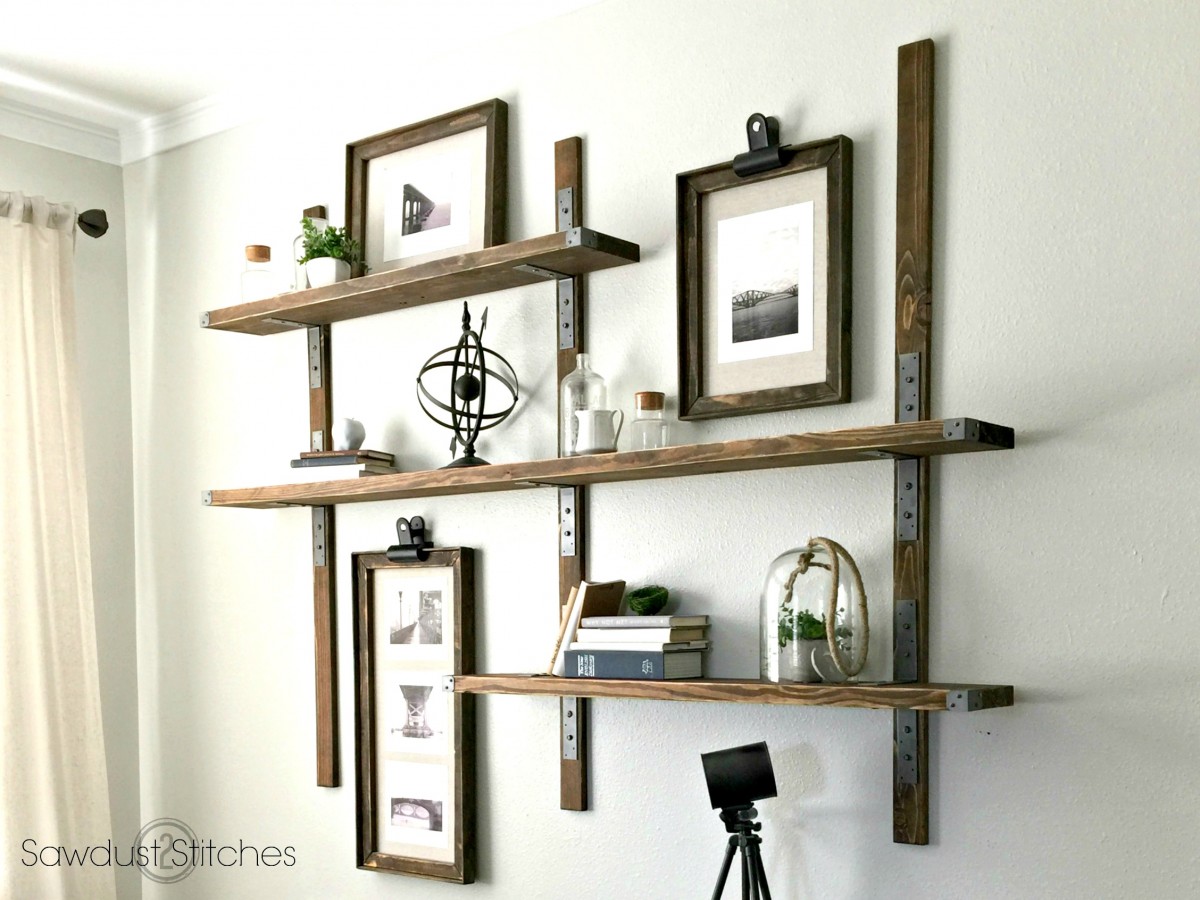
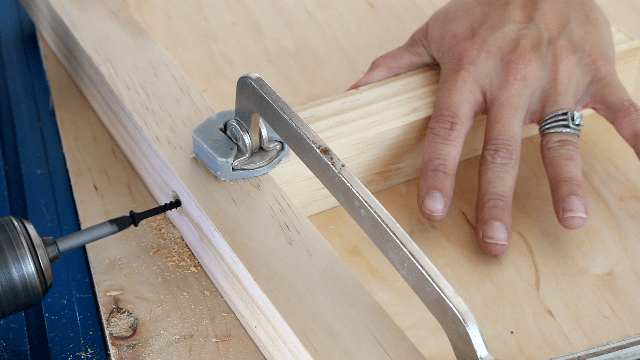
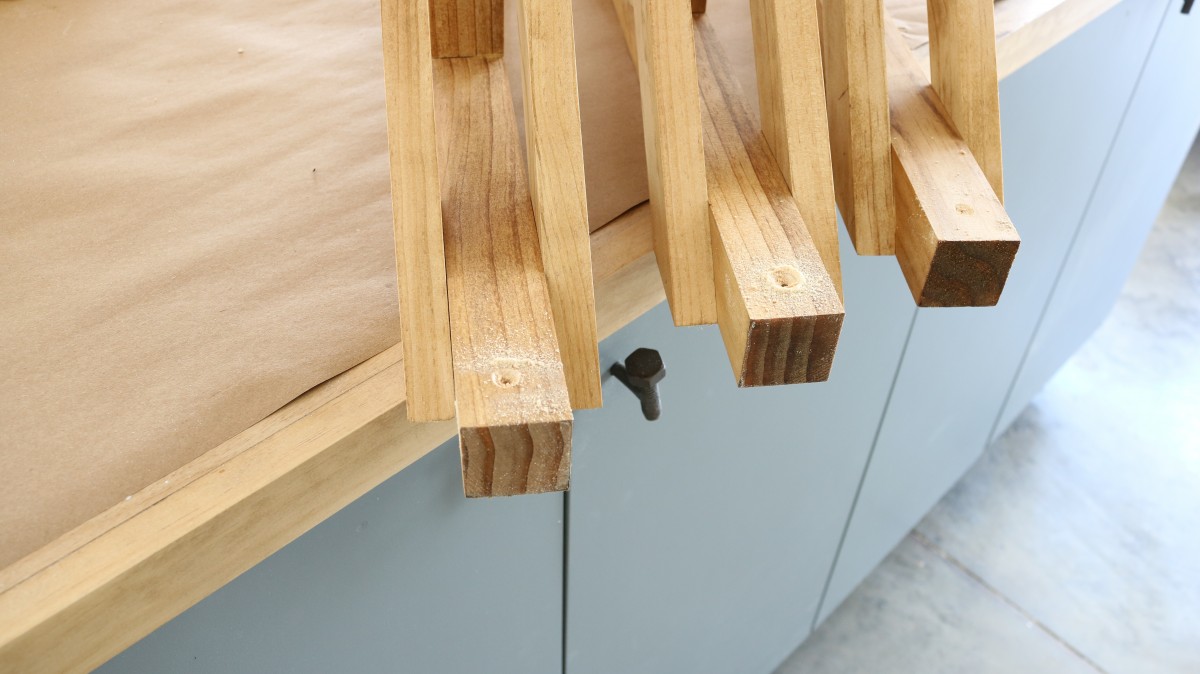
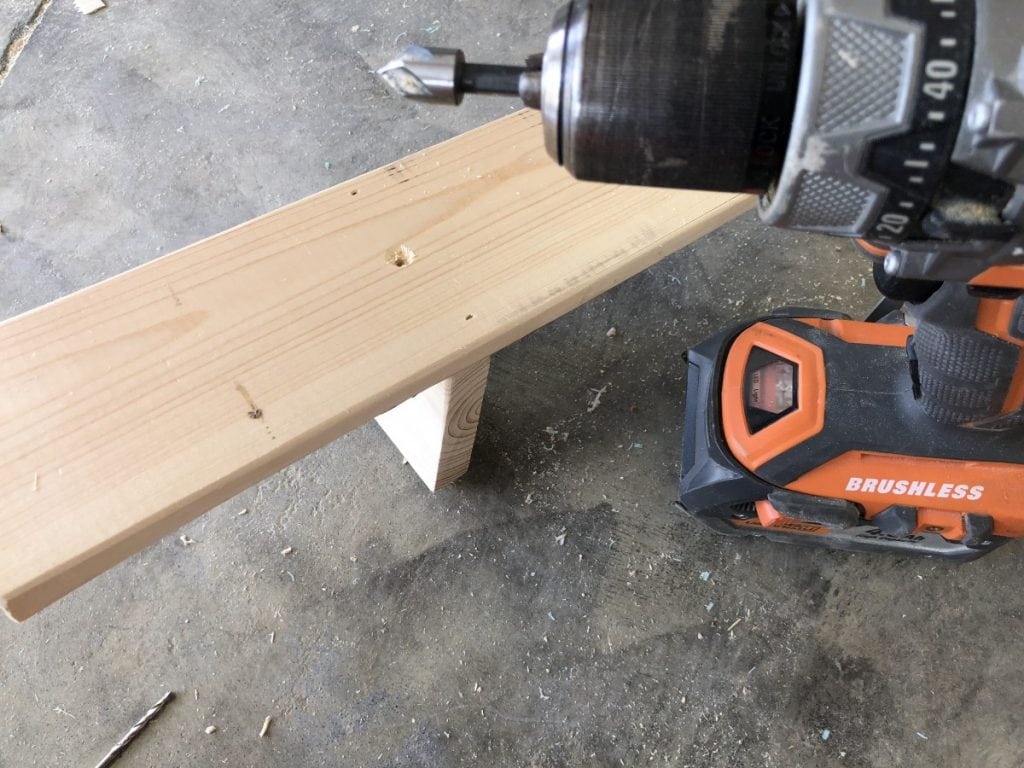 I then drove in 2″ screws. Keep in mind, these are only going to be holding very light, very small vases so they will not be holding an exorbitant amount of weight.
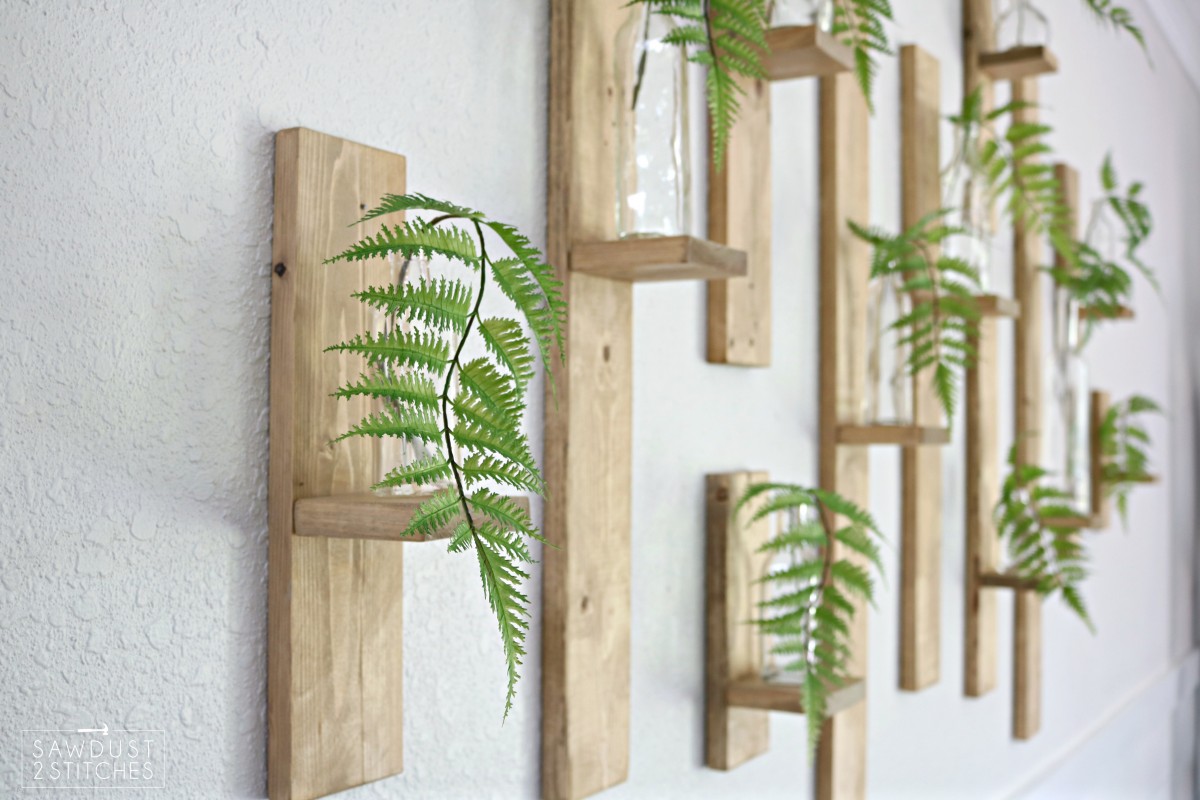
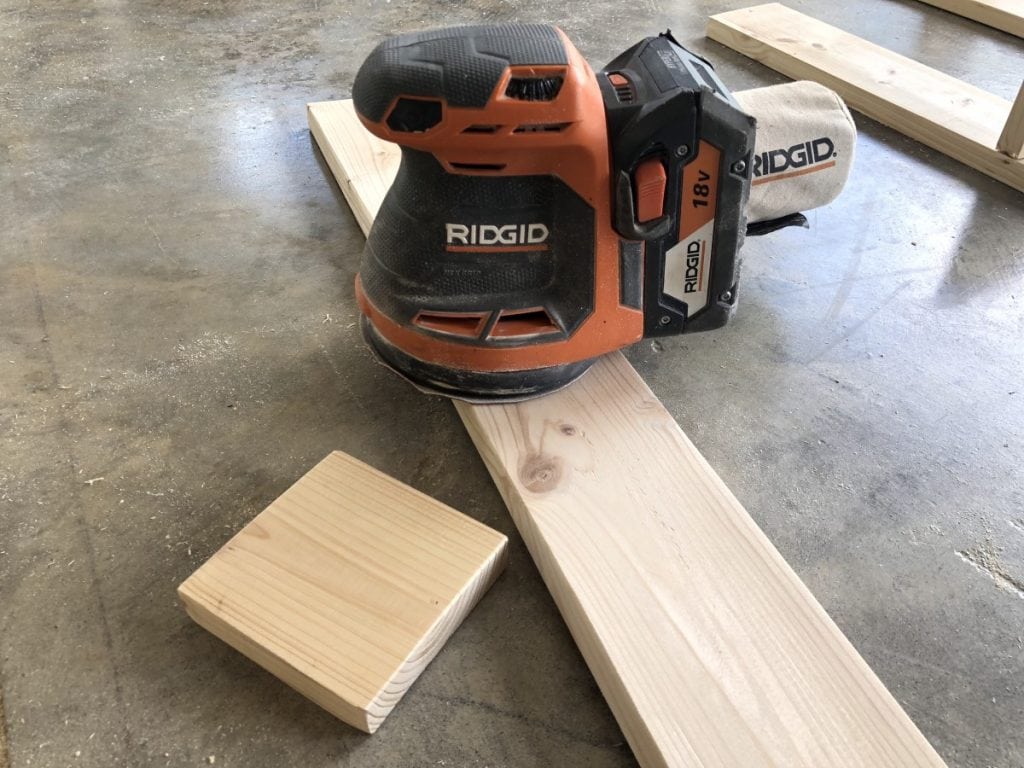
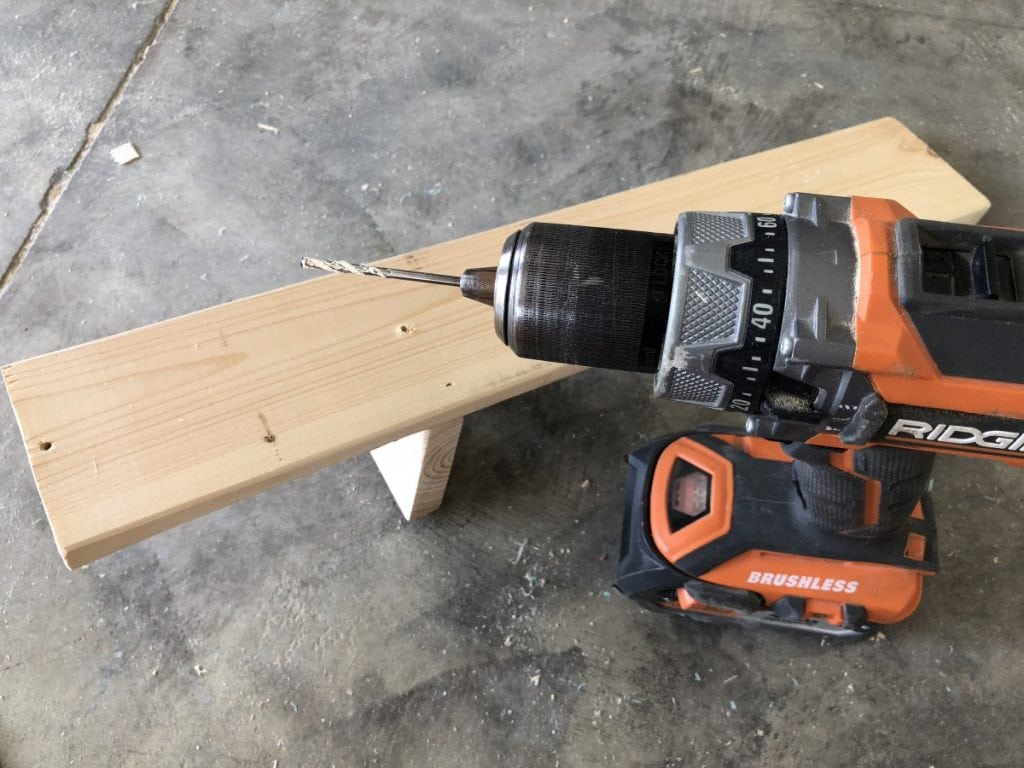
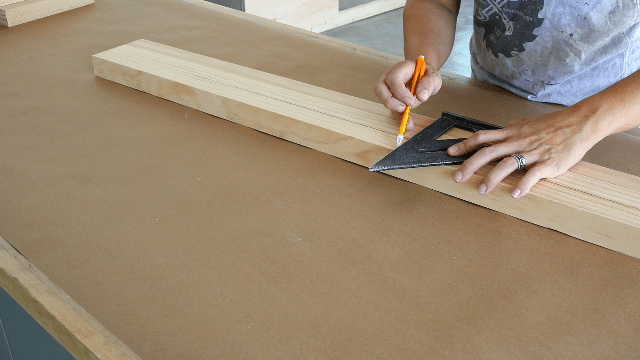
 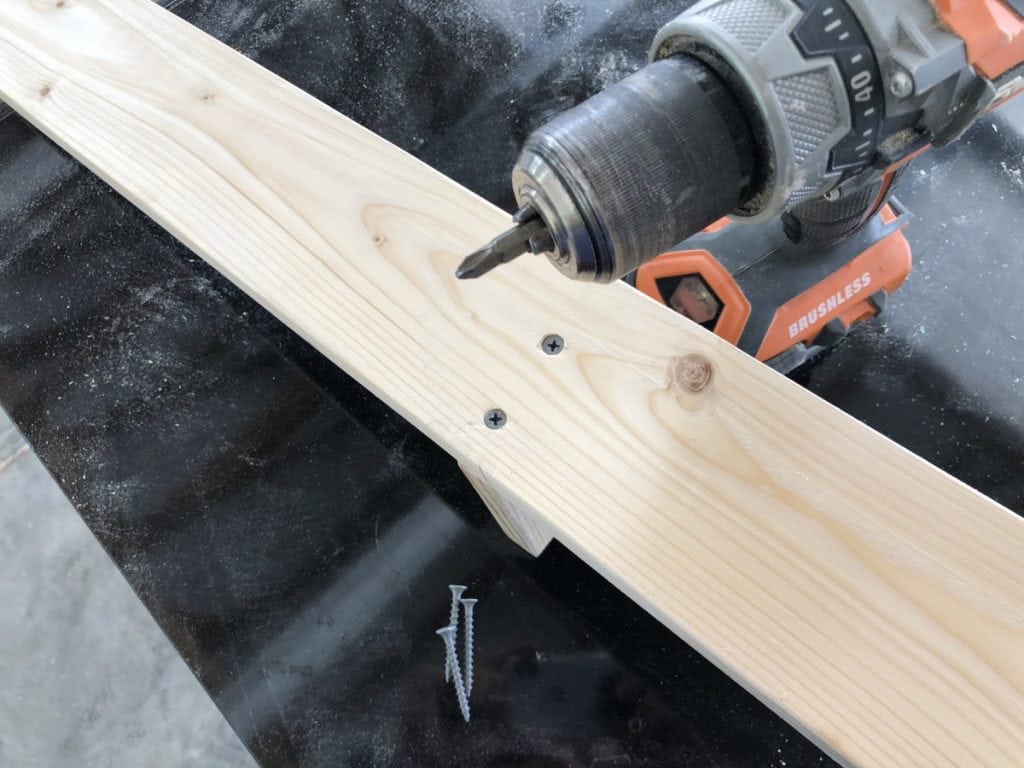 At this point I stained all of my boards/sconces. I used Minwax “Golden Oak”. (It is currently trending in my house). Once the stain had dried I pre-drilled and counter sank a hole at the top center, and bottom center of every board. This is how I mounted them on the wall. Remember these are really light weight, and will NOT be holding a lot of weight. If you feel strongly that they need more support you can always place them into studs, or use mollies.
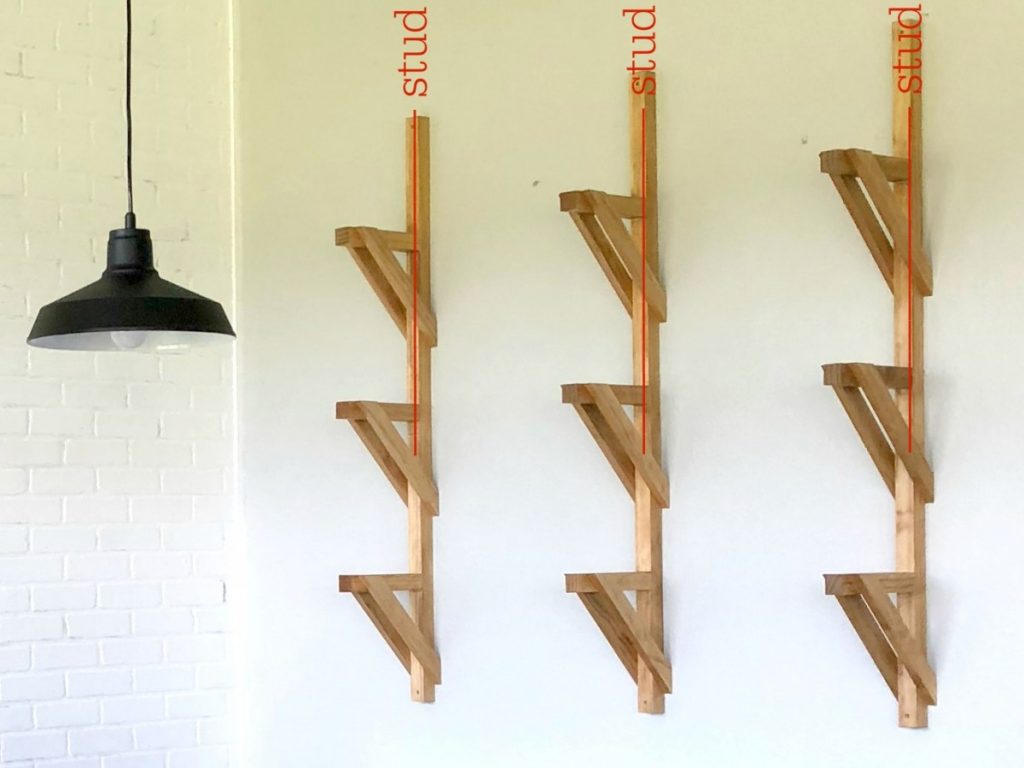
 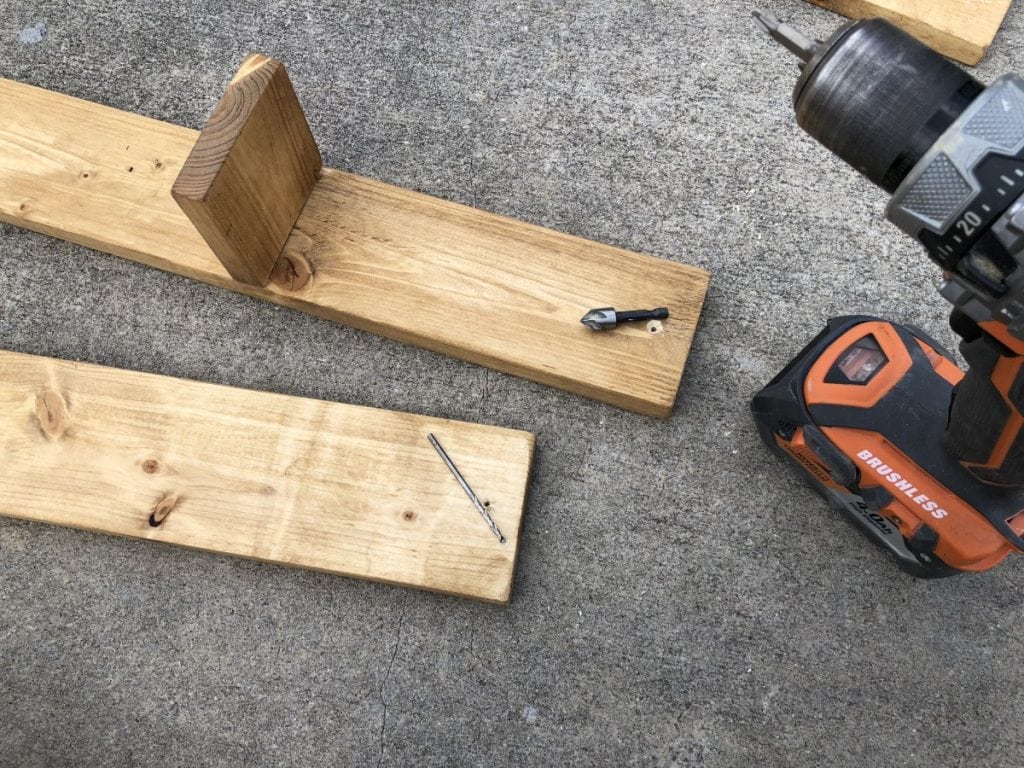 Once the stain in dry you are ready to install. I made sure to lay out my design in the room I would be hanging them so I could visualize the placement. I personally had to to tweak my layout 3 times before I got it just perfect. In all reality, sometimes it really is trial and error.
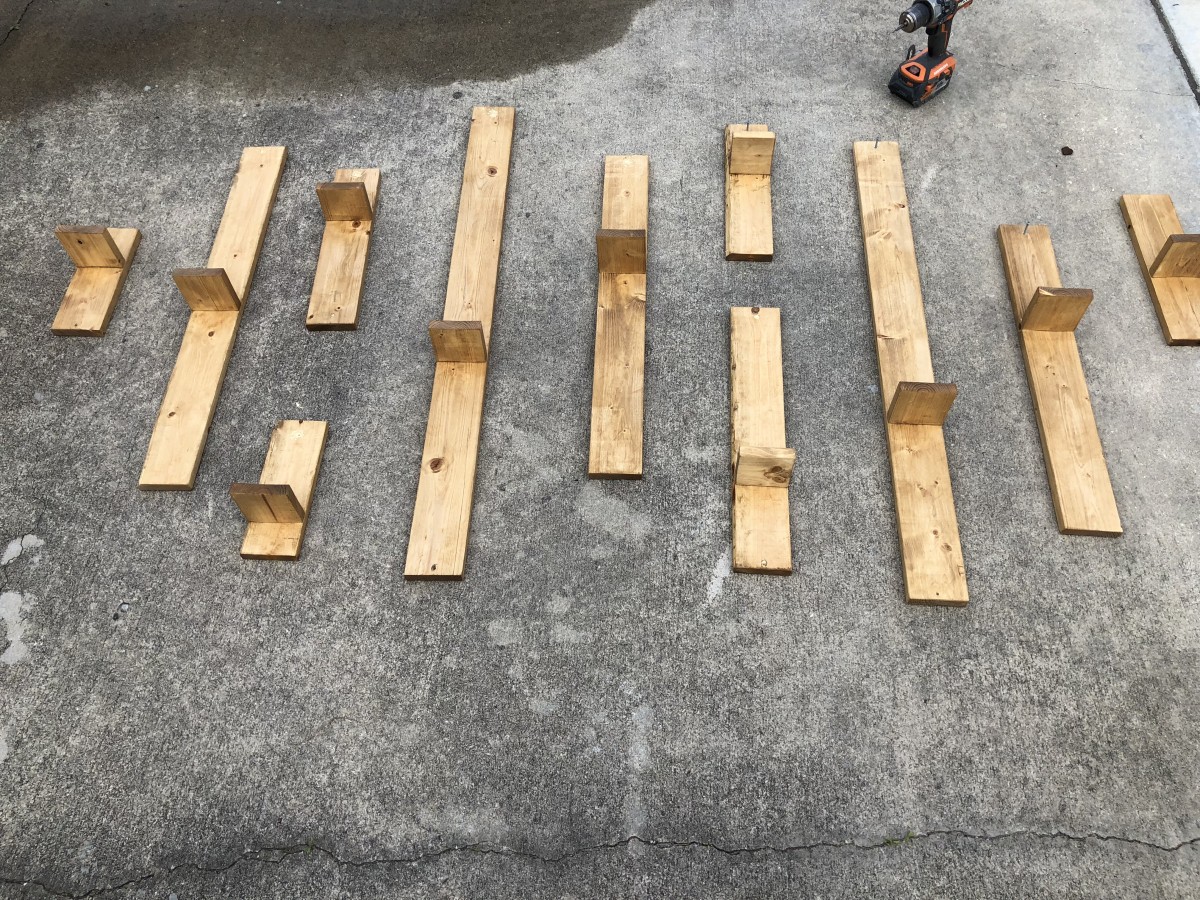
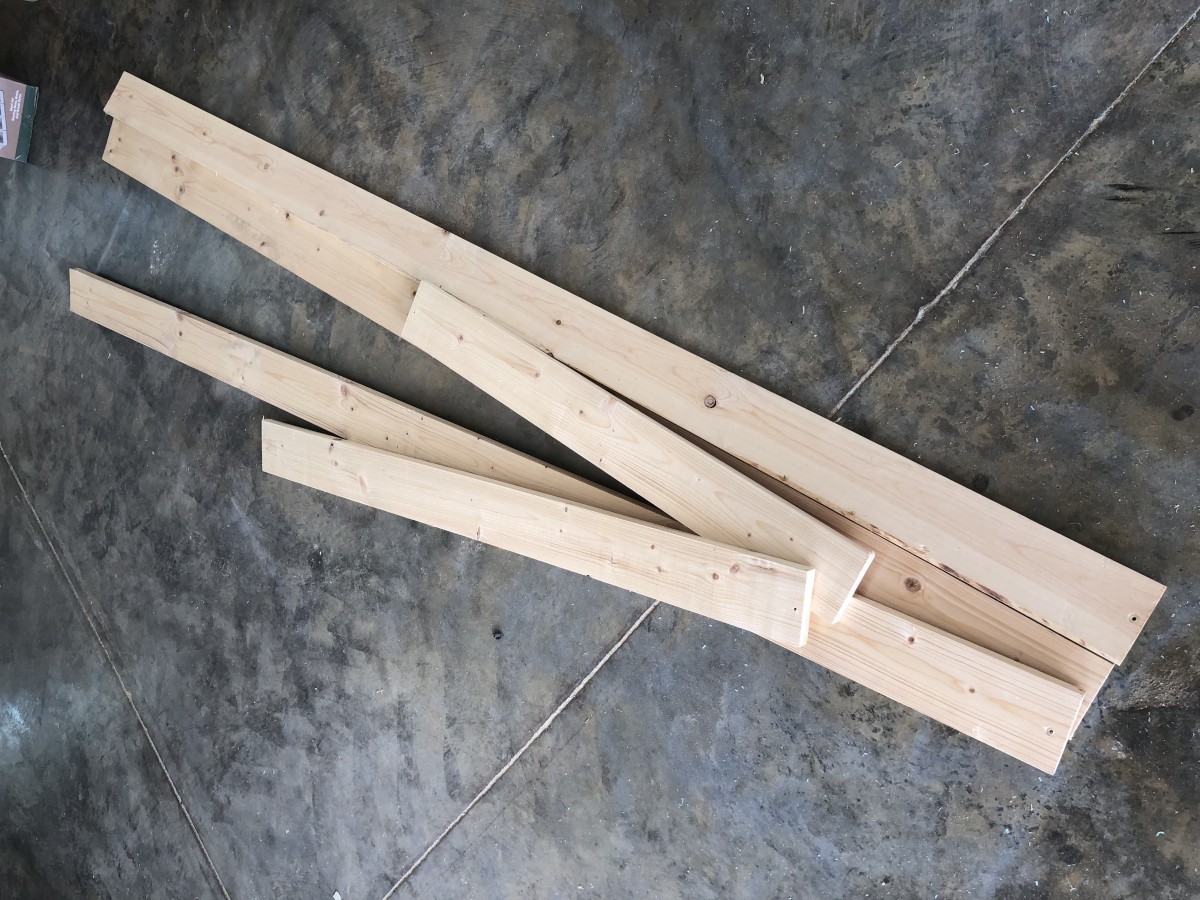
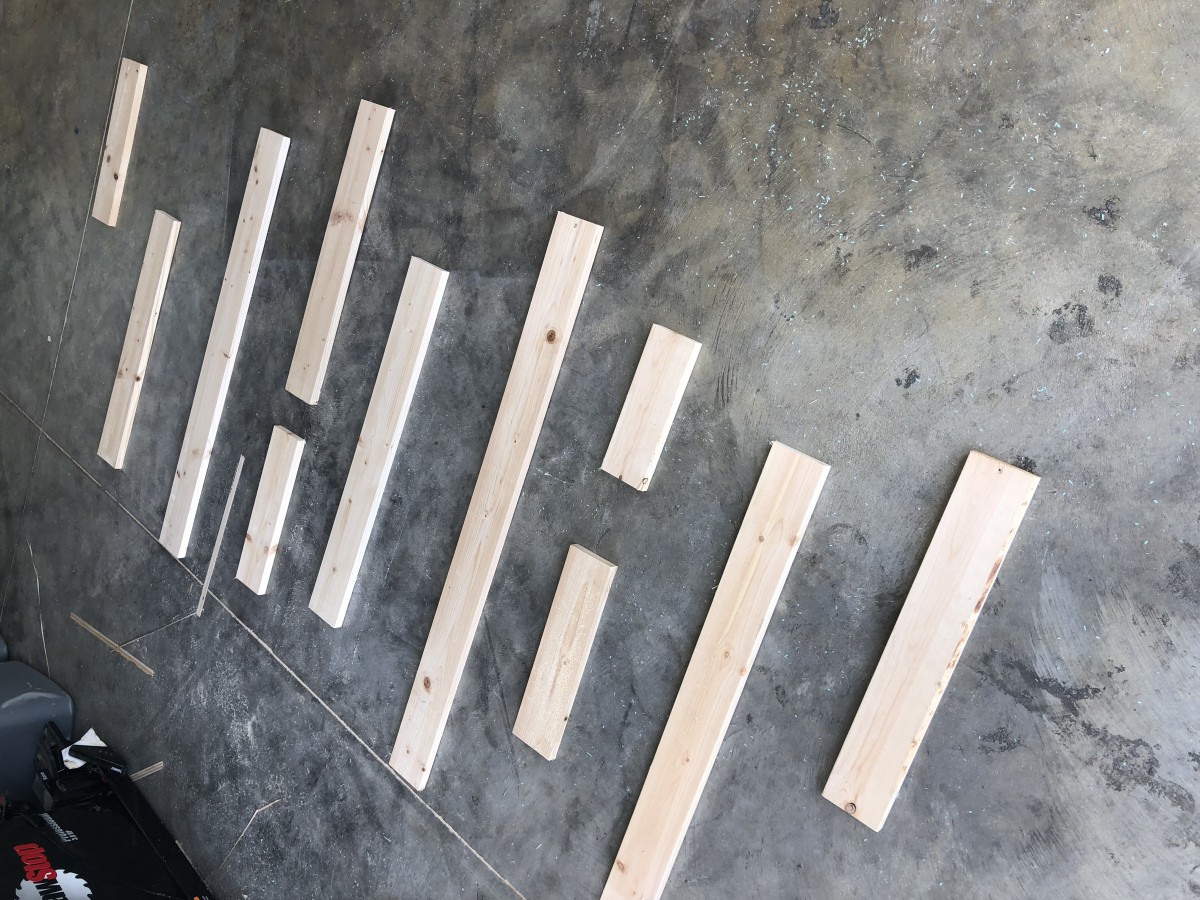
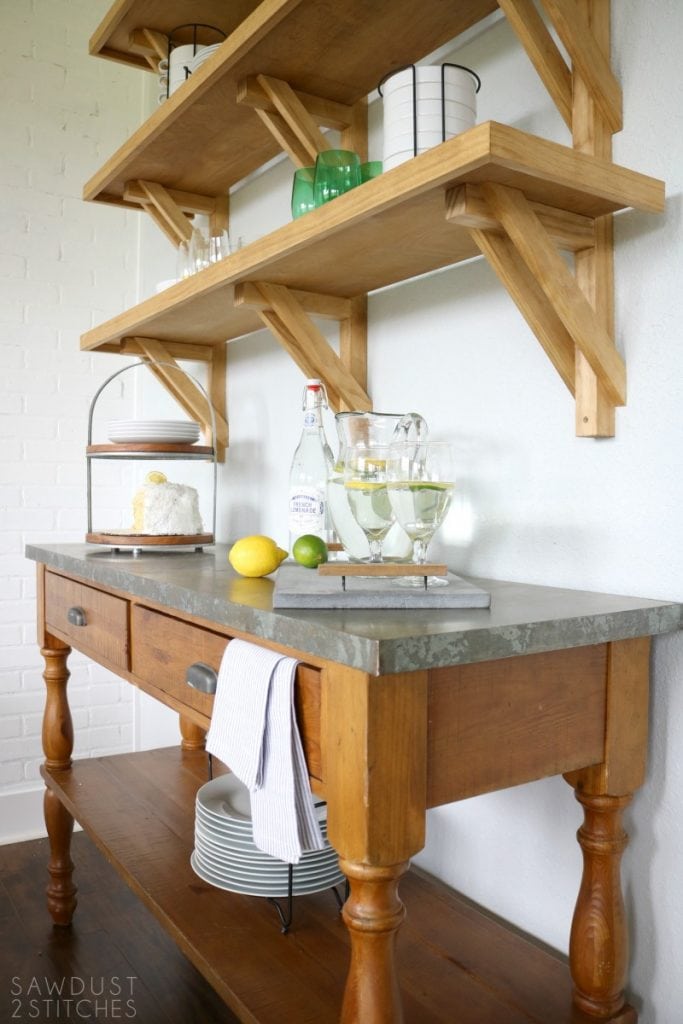
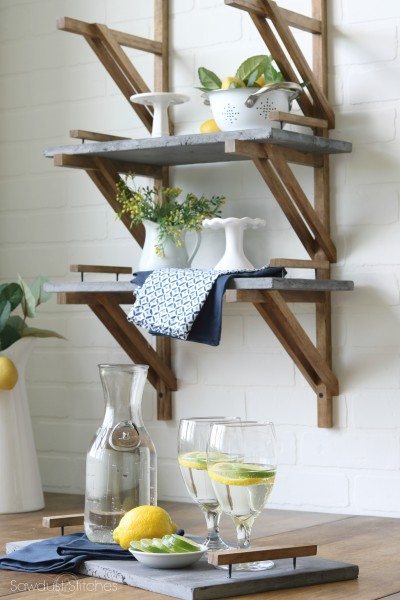
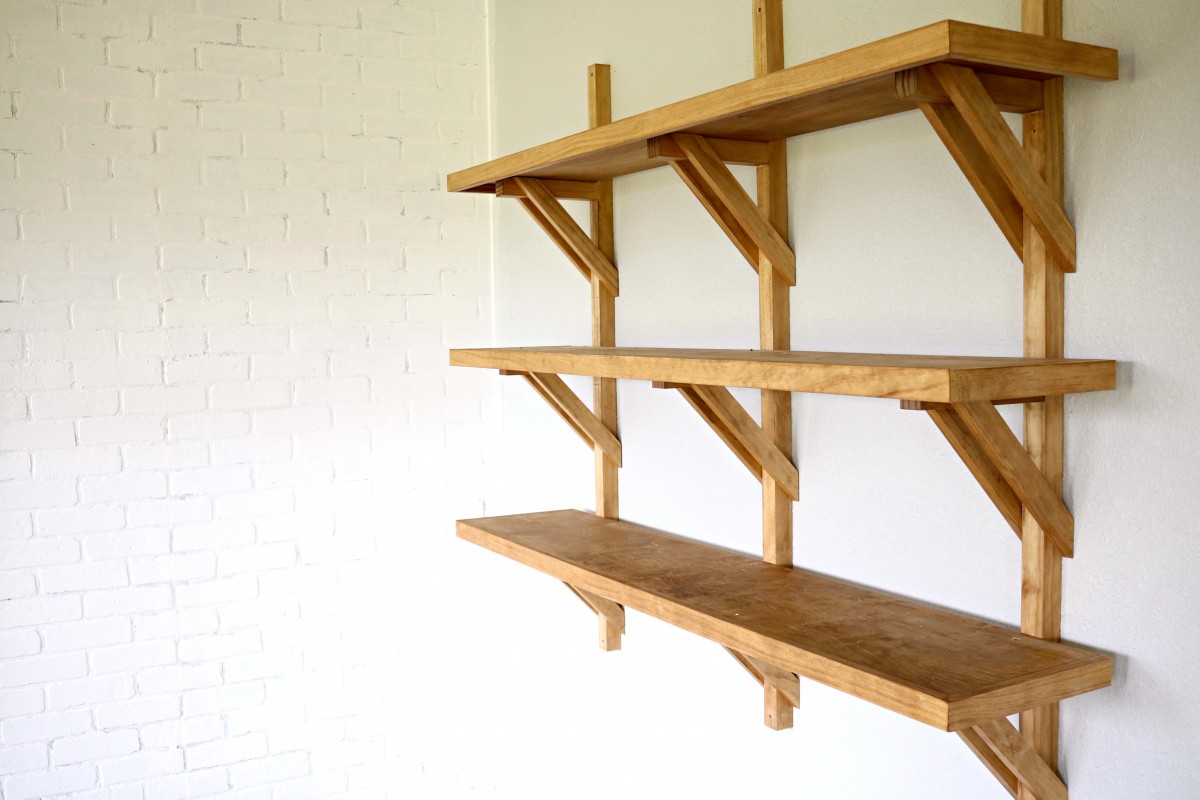
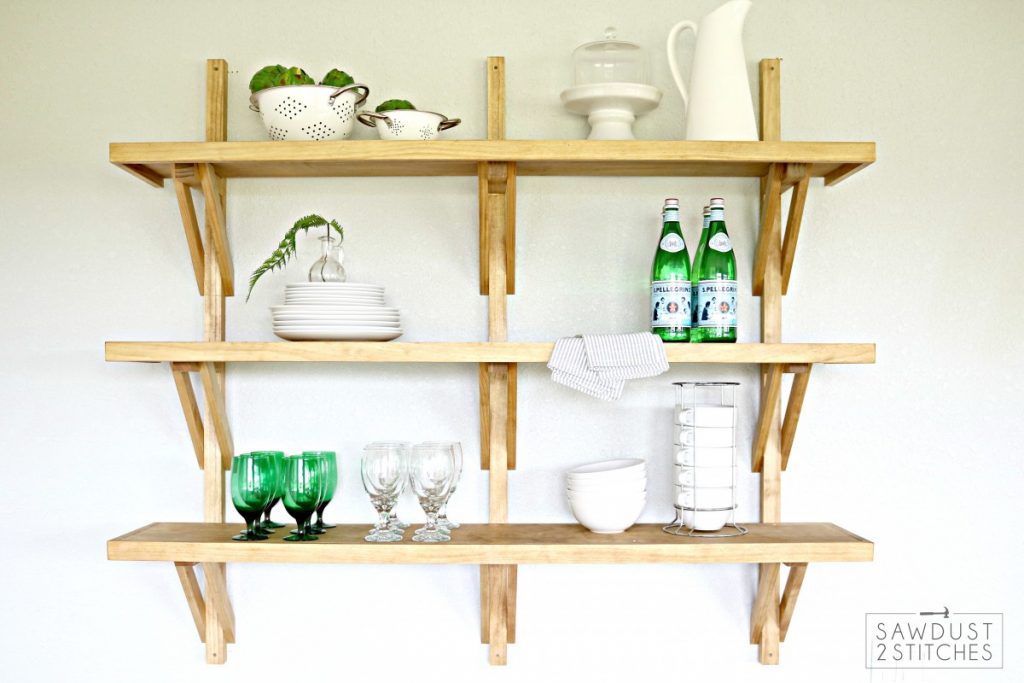
 Now, if you don’t happen to have a large scrap pile, no worries! You can achieve this look by purchasing (x3) 1×4″ boards. If you pick up fir stripping pine boards you can make these shelves for less the $10! Not bad huh?
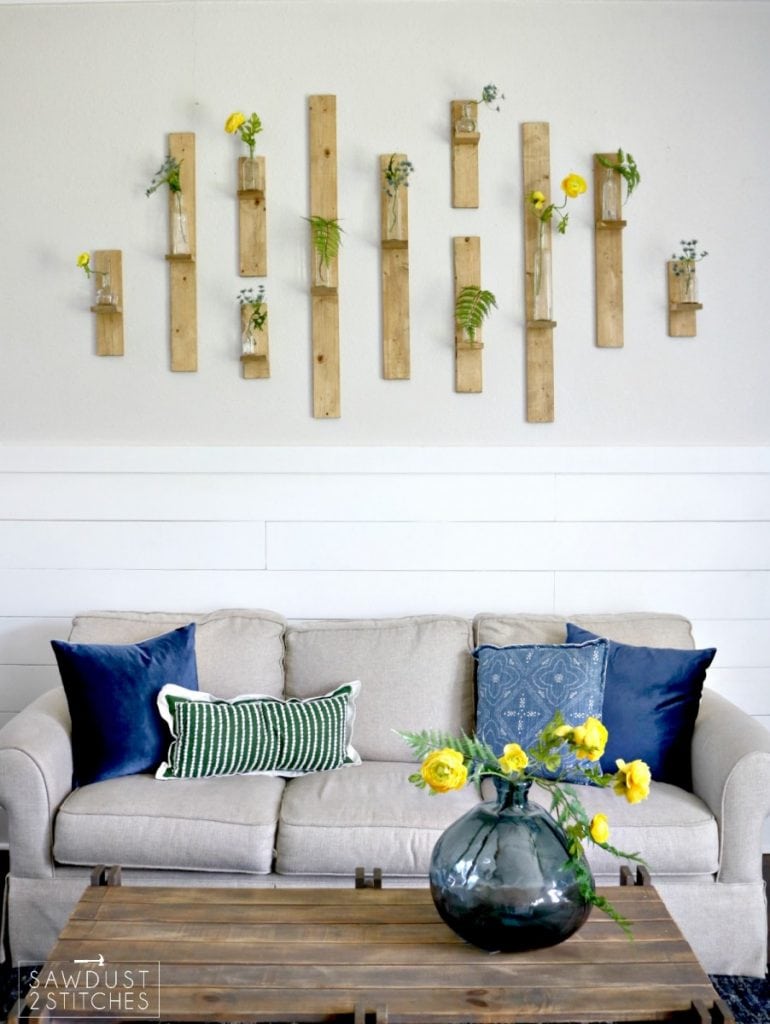 Here it is with all green. I love the simplicity of it!
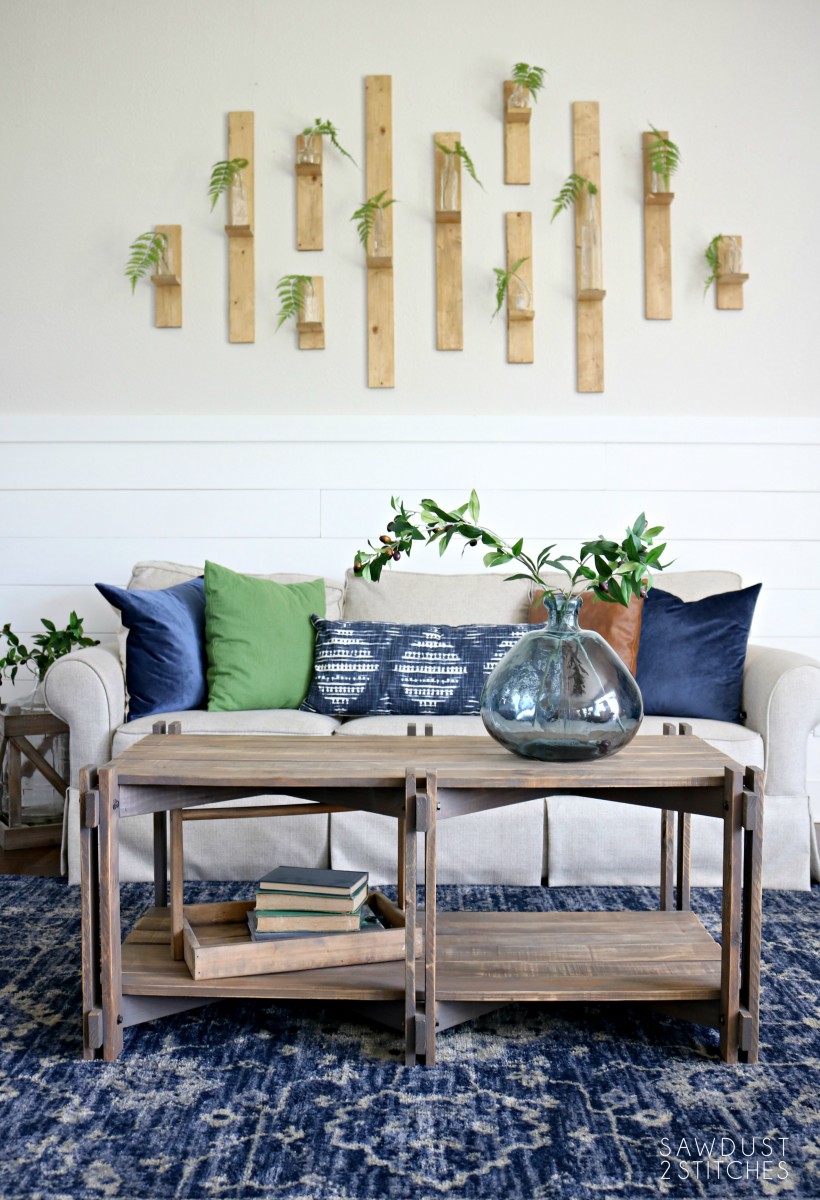


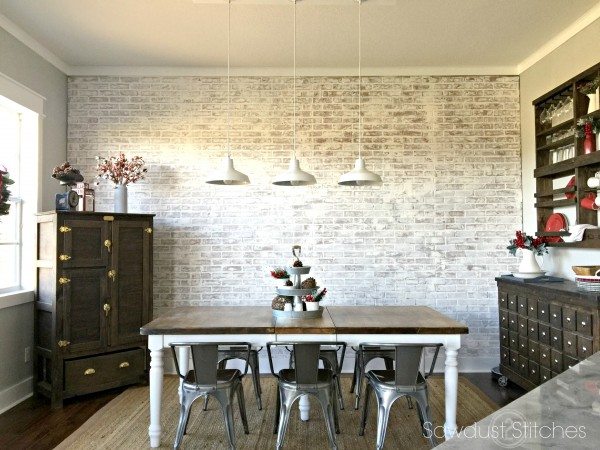
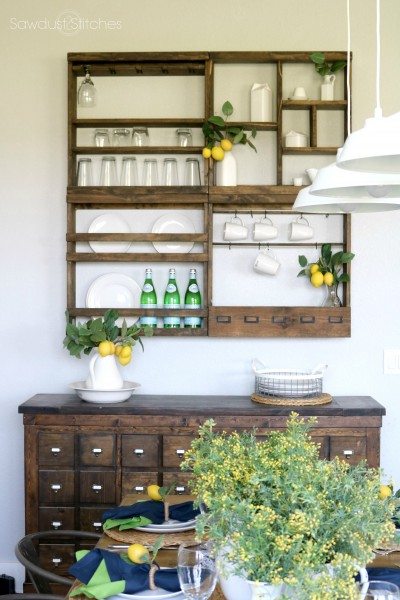
 Well, what do you think !? I was able to snag the black out door patio chairs for $39 each. I am somewhat enamored with them, and strongly believe they complete the look of this whole room! In actuality, it was one very slap happy girls night at Target that spurred the whole makeover. While lounging in the patio section of Target with some girlfriends on a late night Target run, I fell in love with these metal outdoor chairs! It was then that the wheels started turning, and I started plotting. Which pretty much brings us up to date.
 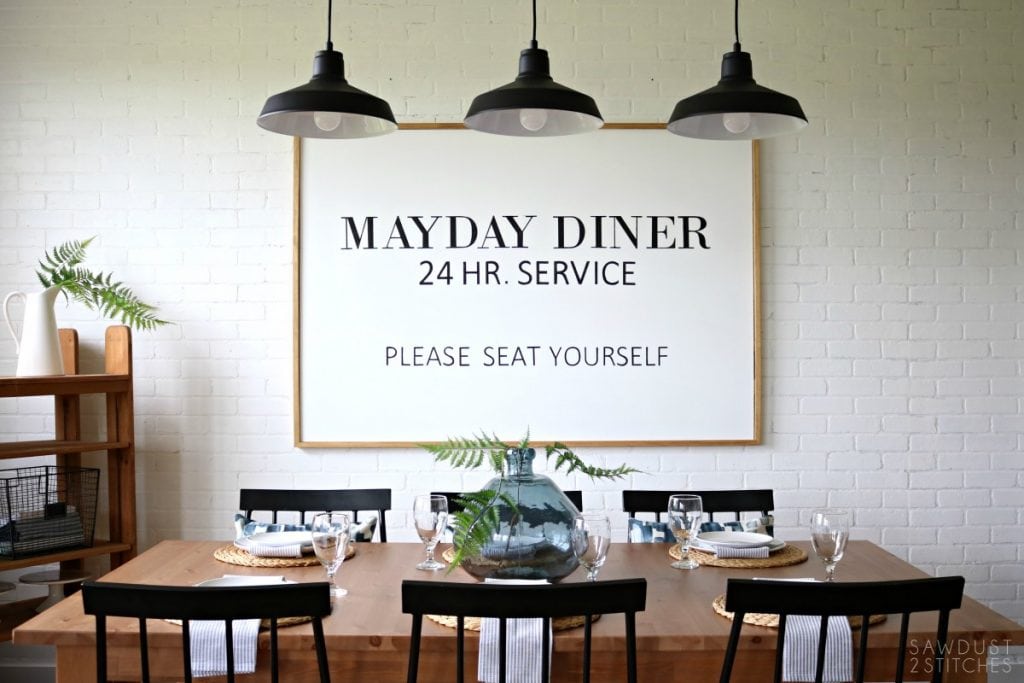 I definitely wanted to have some repetition of the black chairs so I opted to spray paint my DIY light fixture! If you love it and want to make your own, I have all the
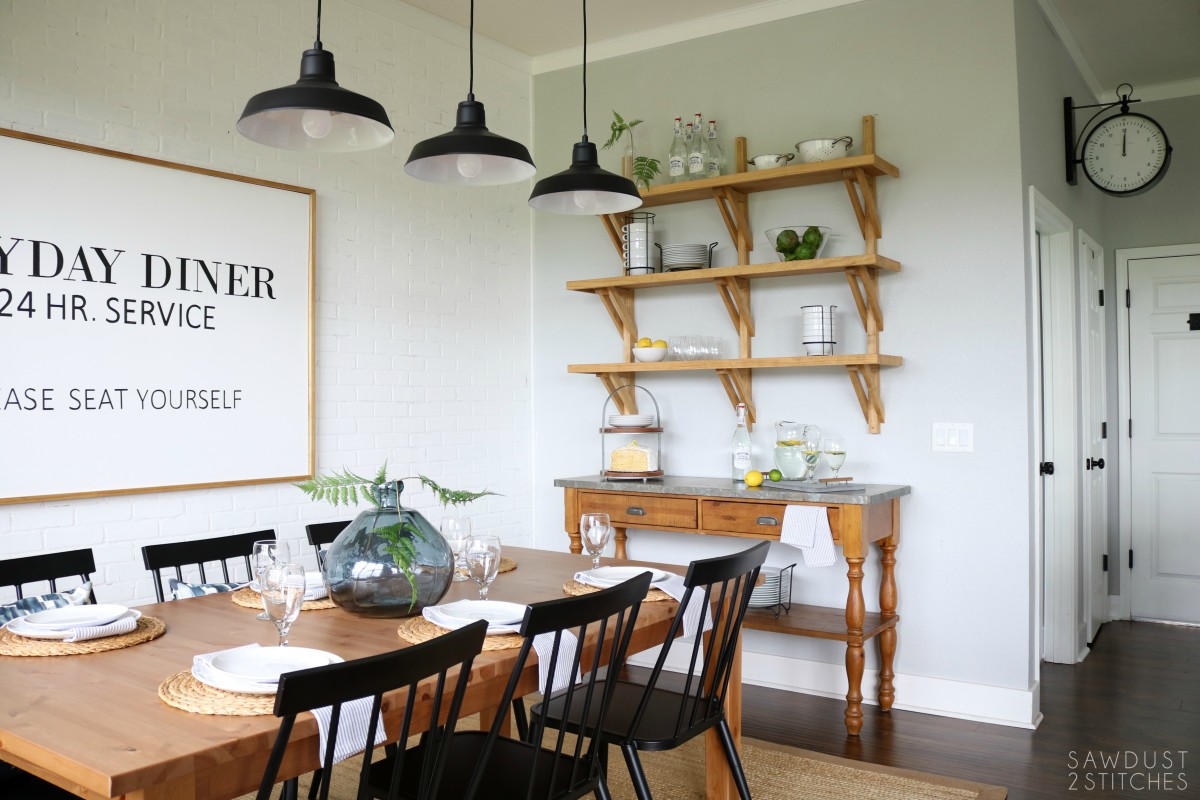
 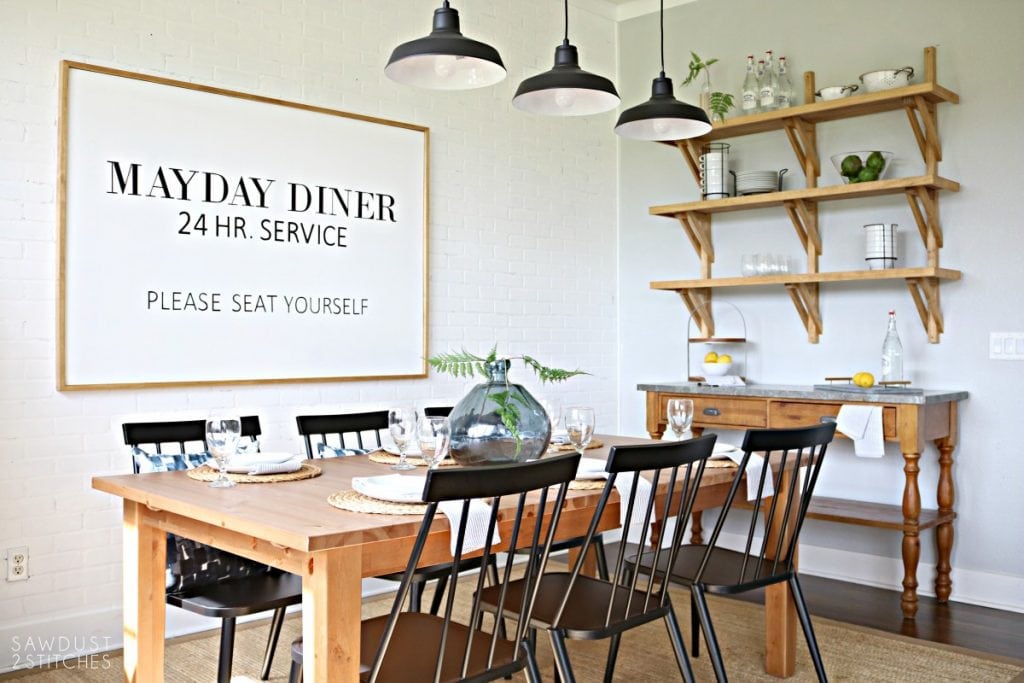 If you have been following along with the process of the dining room makeover, then you know all about my most recent build, by bracket open shelving. However, if you are new around here I have got you covered. You can read all about how I built these
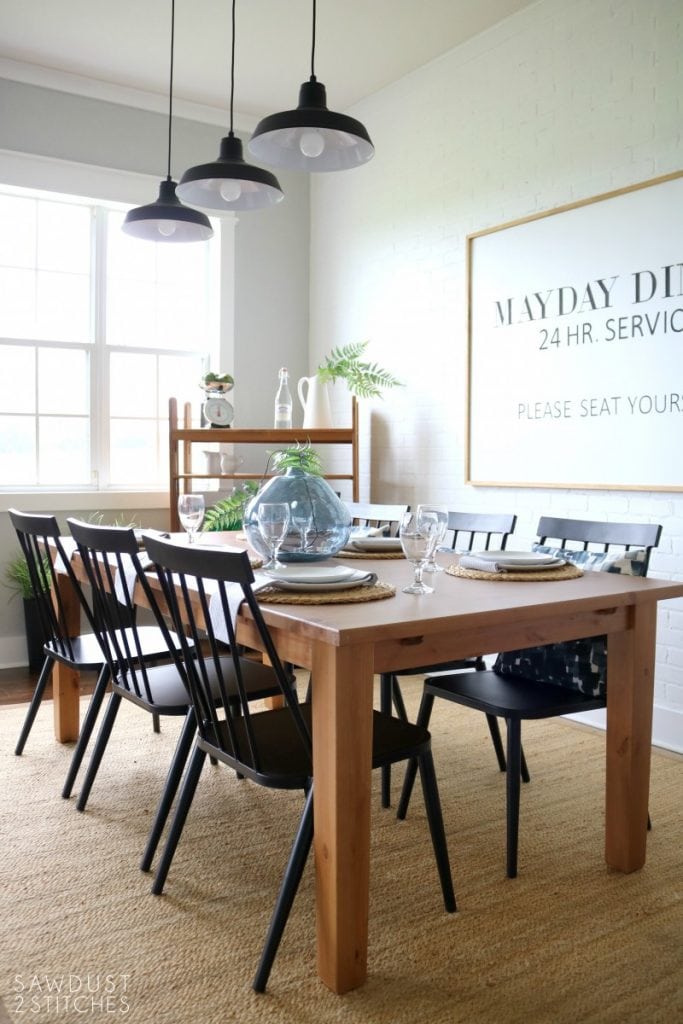

 Well there you have it folks. My take on a fresh modern farmhouse!


 Thanks so much for following along, don’t forget you can get all the
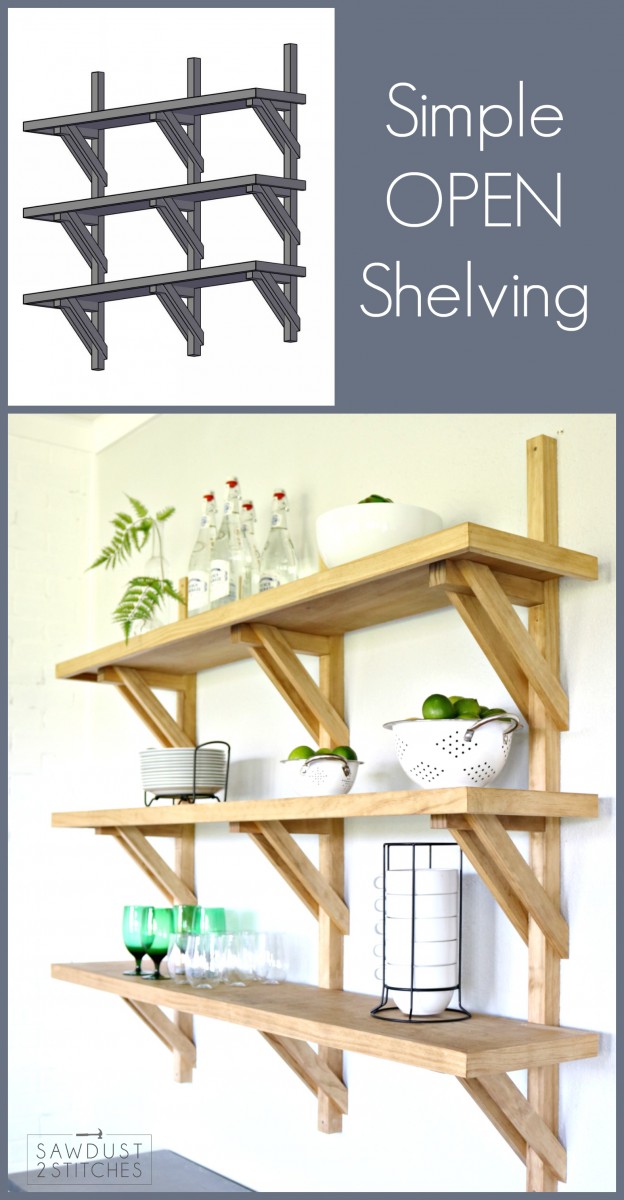
