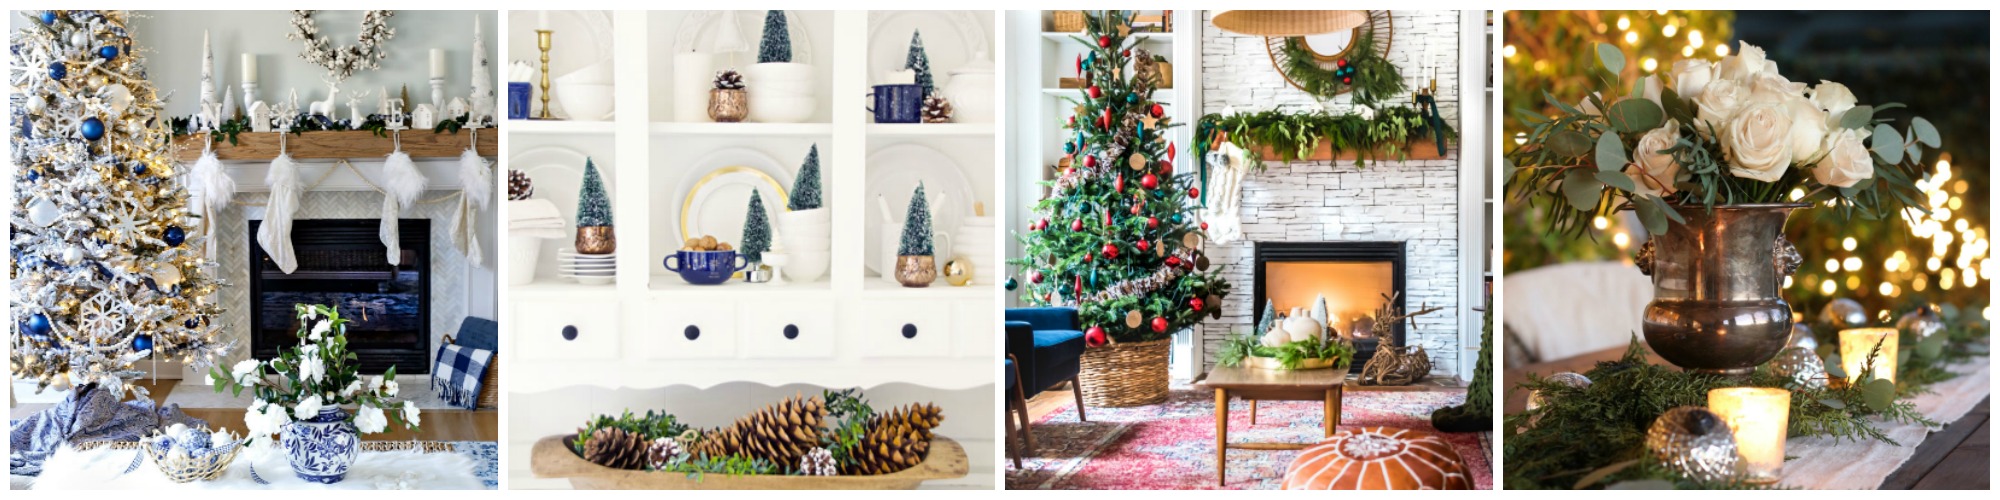
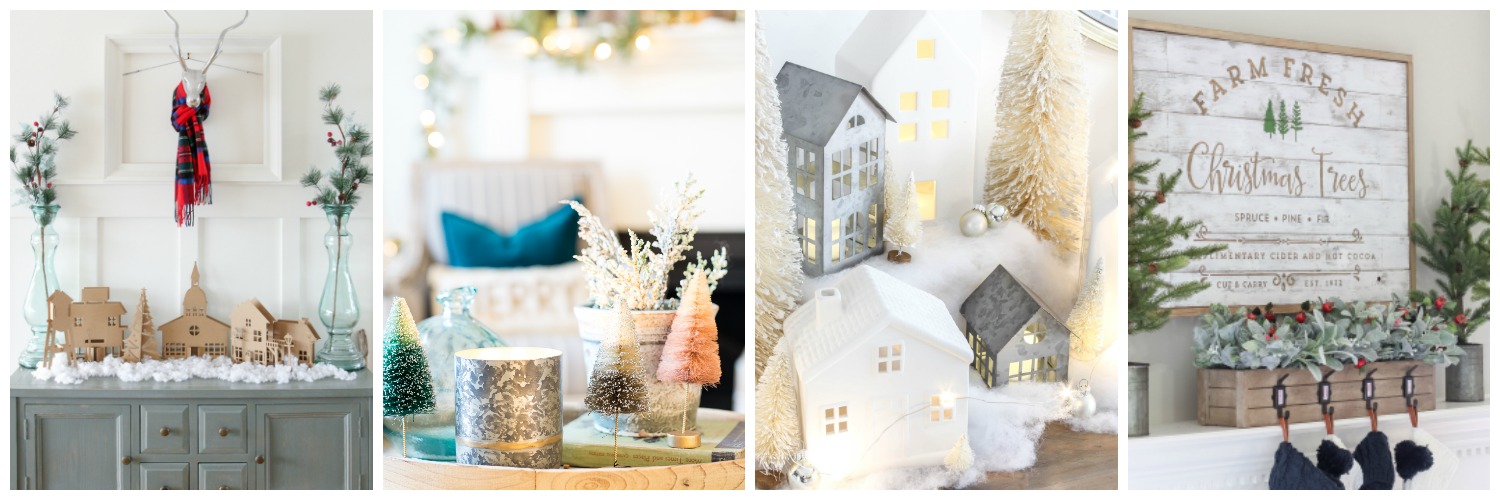
Welcome to my Christmas 2018 Holiday Home Tour! I’m joining some of my very talented blogger friends as we share our homes all decked out for the holidays. This home tour blog hop has been going on all week, so be sure to visit the links at the end of this post to see some of the great looks my friends have created!
This year, I was torn over the look I wanted to create. I always LOVE traditional red, but it got me thinking… green and golds are also very traditional. So, I decided to try a traditional route that wasn’t too… traditional? I love the dark hunter green coupled with the bright brass. Whilst decorating I did get a bit of a wild hair and threw in a touch of deep blue. I know, I know, I went totally nuts, but I love it and I stand by my devil may care attitude towards my “traditional tree”. It’s pretty and I like it.
So, without further ado, allow me to present you with my 2018 Christmas Holiday Home Tour!
![]() It really was a go with the flow theme, I didn’t have a firm game plan, but I just started adding things, and it seemed to pan out alright. I used the navy from last years tree. (If you are looking for more ideas, I strongly suggest you check out last year’s tree!)
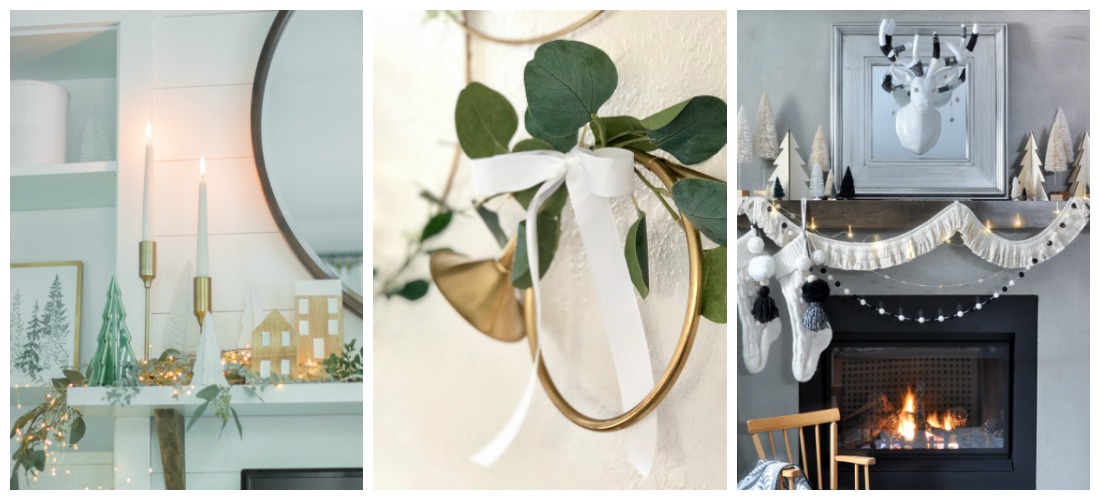
It really was a go with the flow theme, I didn’t have a firm game plan, but I just started adding things, and it seemed to pan out alright. I used the navy from last years tree. (If you are looking for more ideas, I strongly suggest you check out last year’s tree!) ![]() The modern wreaths that I made were really a source of inspiration when it came to decorating the tree. The brass was such a delicate look, that packed a punch, so I tried to pull in the look without it being overpowering. Funny story, I actually picked up all the french horns at a garage sale about 8 years ago! #winning
The modern wreaths that I made were really a source of inspiration when it came to decorating the tree. The brass was such a delicate look, that packed a punch, so I tried to pull in the look without it being overpowering. Funny story, I actually picked up all the french horns at a garage sale about 8 years ago! #winning![]()
![]() Last year, I picked up these large bells at the Michael’s end of season sale for cheap! So when I pulled them out I knew just what to do with them. I grabbed a can of spray paint and lightly dusted them with gold spray paint to give them a matte brass look. (They were originally a galvanized metal.)
Last year, I picked up these large bells at the Michael’s end of season sale for cheap! So when I pulled them out I knew just what to do with them. I grabbed a can of spray paint and lightly dusted them with gold spray paint to give them a matte brass look. (They were originally a galvanized metal.)![]()
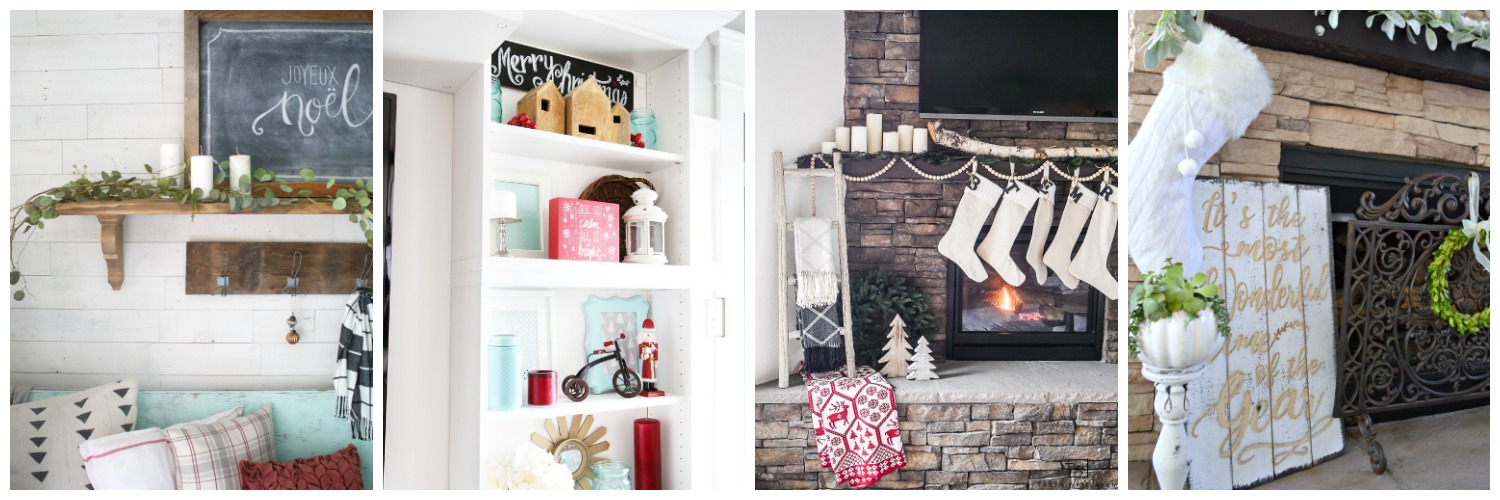
![]() Now this might be my favorite part… last year I made a beautiful piece of wall art that I displayed ornaments in/on. (Check it out here.) This year I decided to use the modern wreaths as my wall decor, leaving me with a very large unused piece of wall decor. What is a girl to do? I temporarily re-purposed and made it into an over-sized chalkboard and added some swag. For the cost of a piece of paneling I had a major statement piece, and I LOVE IT!
Now this might be my favorite part… last year I made a beautiful piece of wall art that I displayed ornaments in/on. (Check it out here.) This year I decided to use the modern wreaths as my wall decor, leaving me with a very large unused piece of wall decor. What is a girl to do? I temporarily re-purposed and made it into an over-sized chalkboard and added some swag. For the cost of a piece of paneling I had a major statement piece, and I LOVE IT!![]()
![]()
![]() Another staple piece when it comes to seasonal decor is my carboy jug crate. (You can get the build plans here.) I just switch out the stems every season and it gives the room an updated look for cheap!
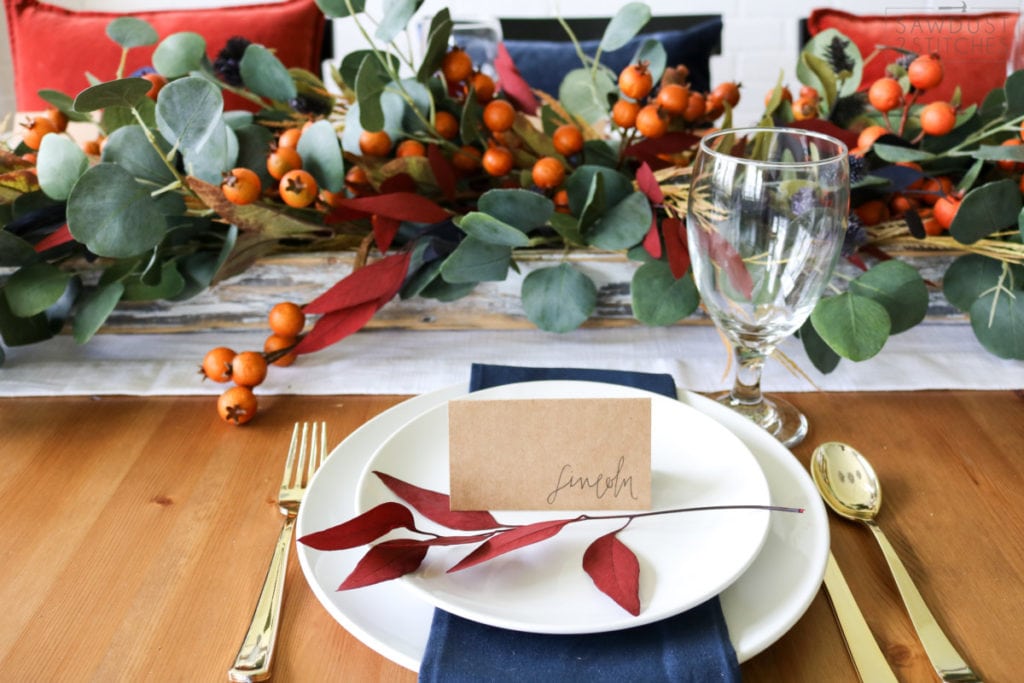
Another staple piece when it comes to seasonal decor is my carboy jug crate. (You can get the build plans here.) I just switch out the stems every season and it gives the room an updated look for cheap! ![]() Last stop. The dining room. I love a beautiful, albeit impractical tablescape. I pulled the brass and green theme into the kitchen and called it good. Over time I have noticed a theme to my tablescapes… whatever the focal piece is, I tend to buy about 3 x’s more than what I originally plan for, and THEN it comes together. I don’t know why that is, for some reason when it comes to my table decor, more is always better! Impractical yes, but oh-so pretty!
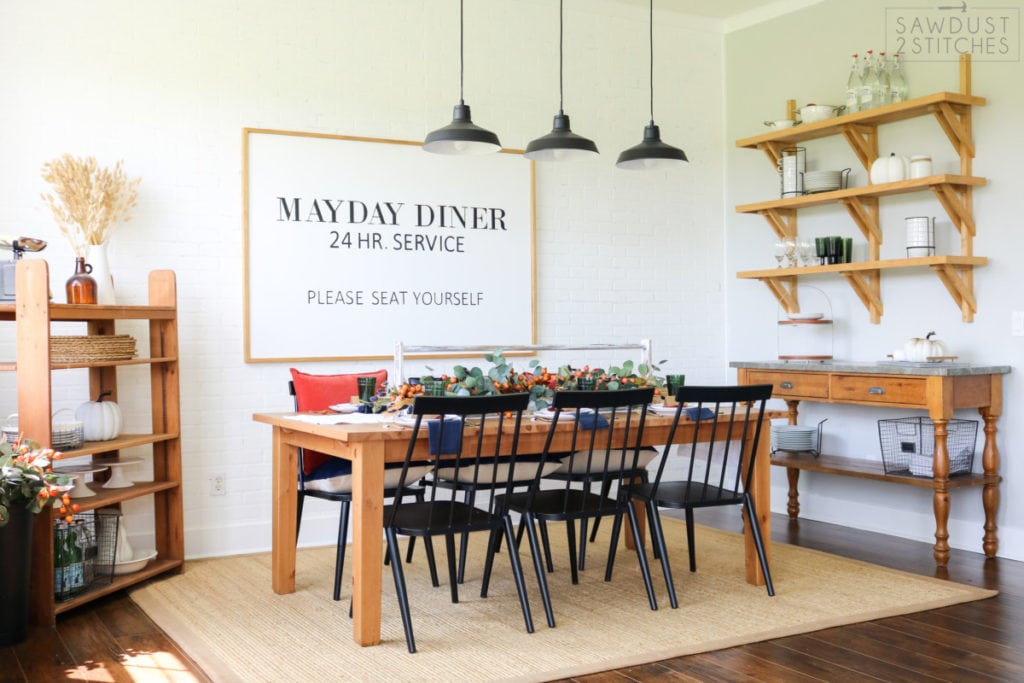
Last stop. The dining room. I love a beautiful, albeit impractical tablescape. I pulled the brass and green theme into the kitchen and called it good. Over time I have noticed a theme to my tablescapes… whatever the focal piece is, I tend to buy about 3 x’s more than what I originally plan for, and THEN it comes together. I don’t know why that is, for some reason when it comes to my table decor, more is always better! Impractical yes, but oh-so pretty! ![]()
![]()
![]()
![]()
![]()
![]()
![]()
![]()
![]()
![]()
Well, there you have it, my 2018 Christmas Holiday Home Tour. I hope you enjoyed it! Now, before you check out, might I suggest you head over to “The DIY Mommy” next? From there she will direct you to another fabulous home tour. If you continue the pattern you will eventually end up right back here, but you will have seen so many beautiful homes and your head will be bursting with brilliant ideas! Have fun and enjoy.
Take Luck,
Corey

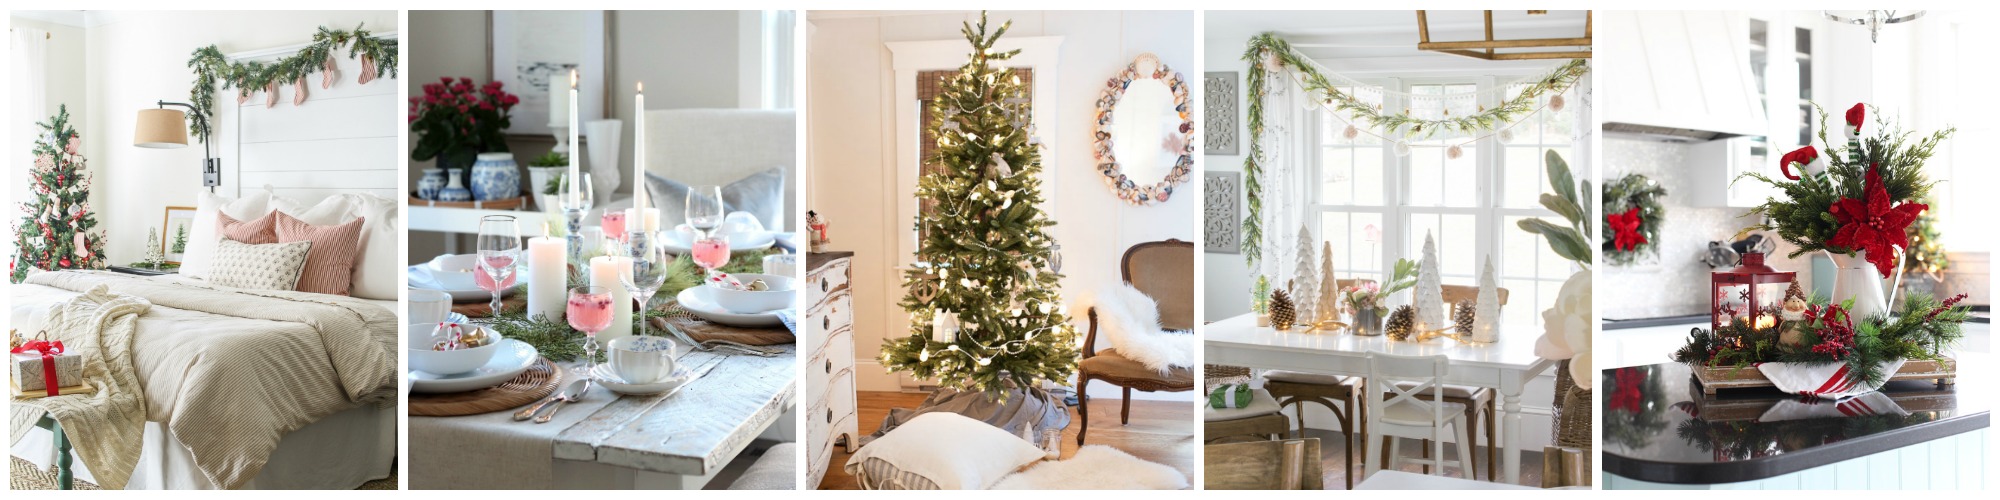
Today I’m joined by some talented friends who are also sharing part of their Christmas home tour with you…
Friday
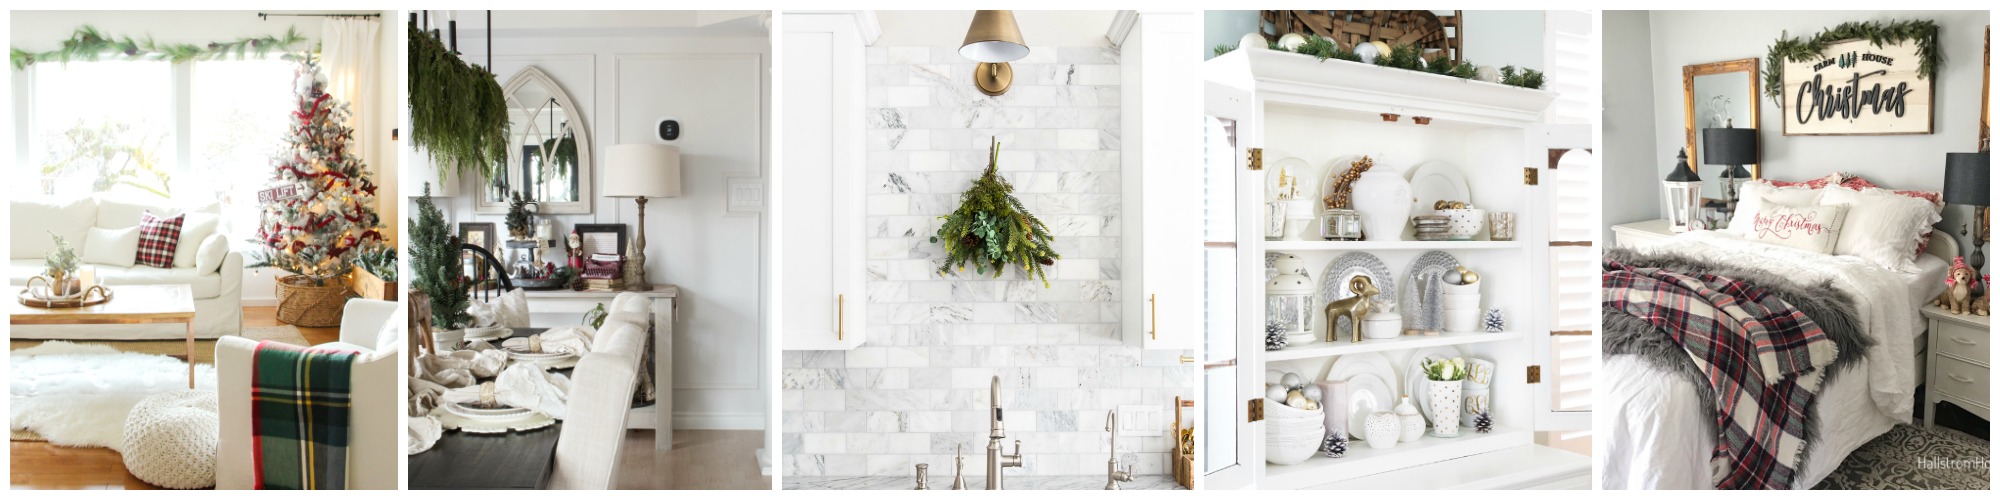
The Happy Housie
Home Made Lovely
Maison de Pax
Just a Girl and Her Blog
Hallstrom Home
Jamie Costiglio
Sawdust 2 Stitches
The DIY Mommy
Summer Adams
All Things With Purpose
And the sharing has been going on all week long!
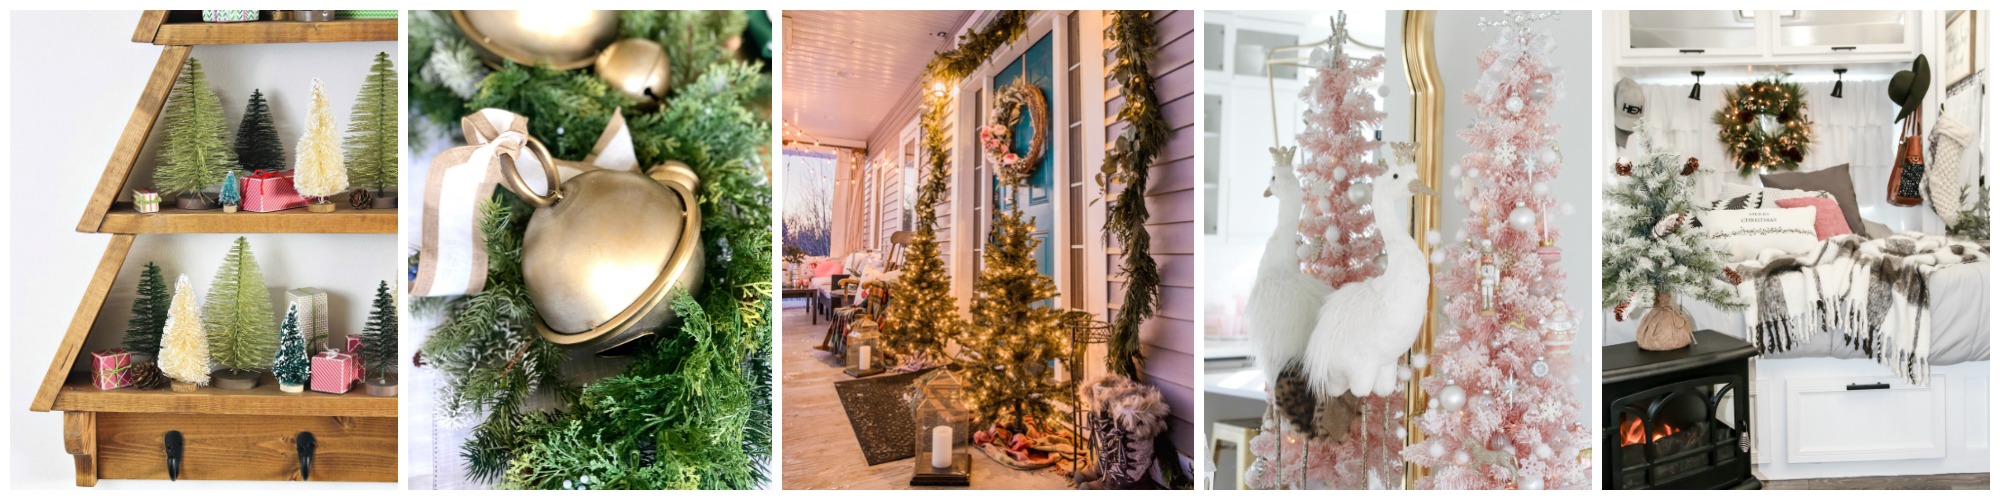
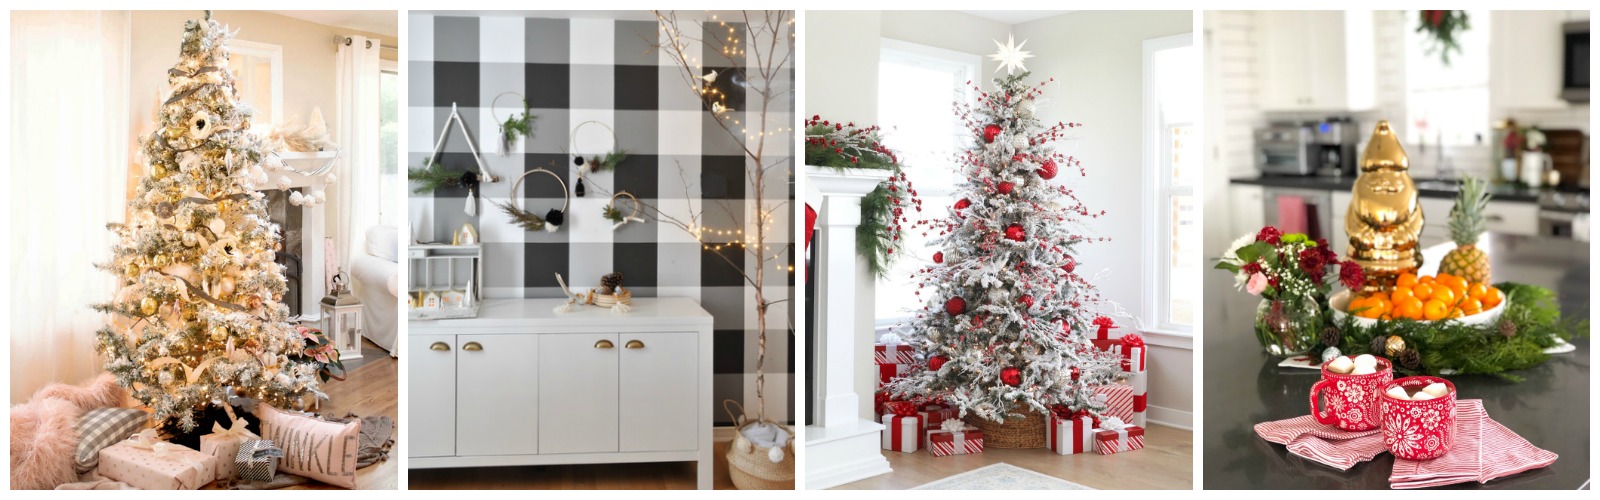
Monday
The Happy Housie
House of Wood
Inspiration for Moms
Town and Country Living
In My Own Style
The Turquoise Home
Amber Tysl
Deeply Southern Home
Tauni Everett
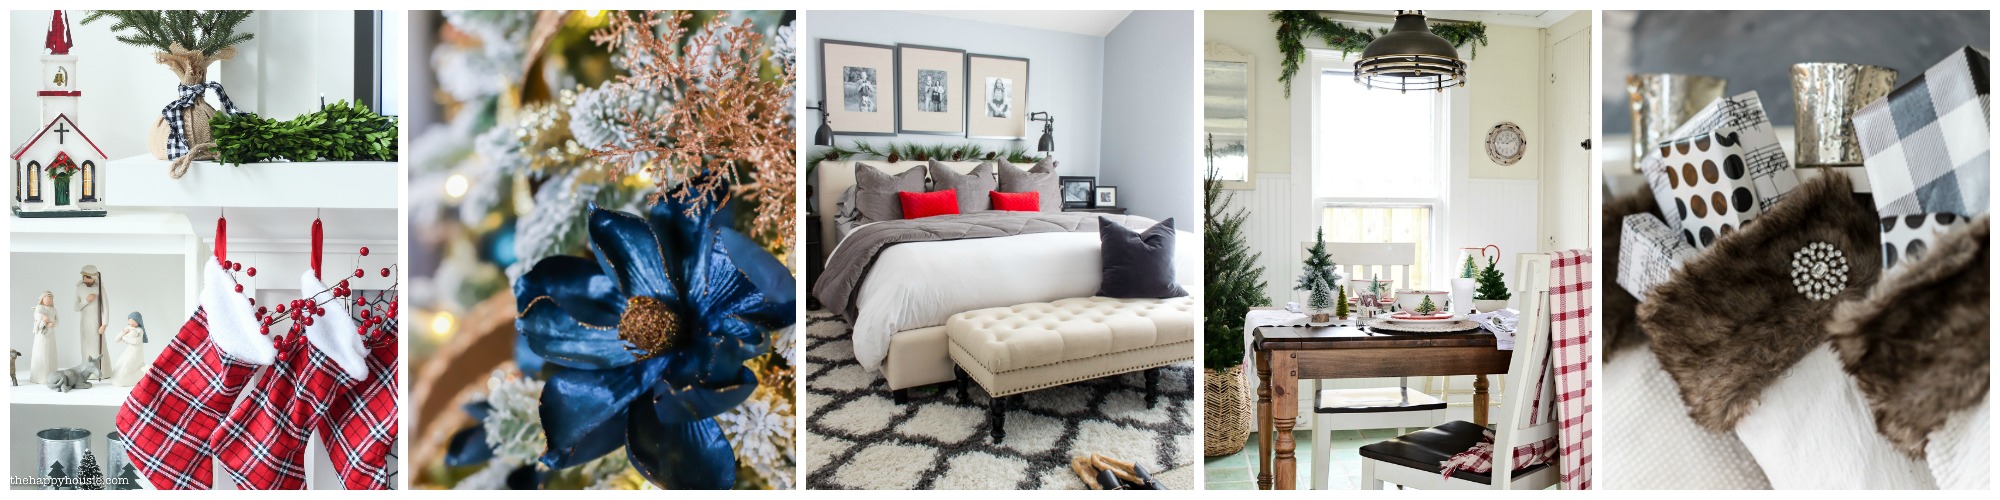
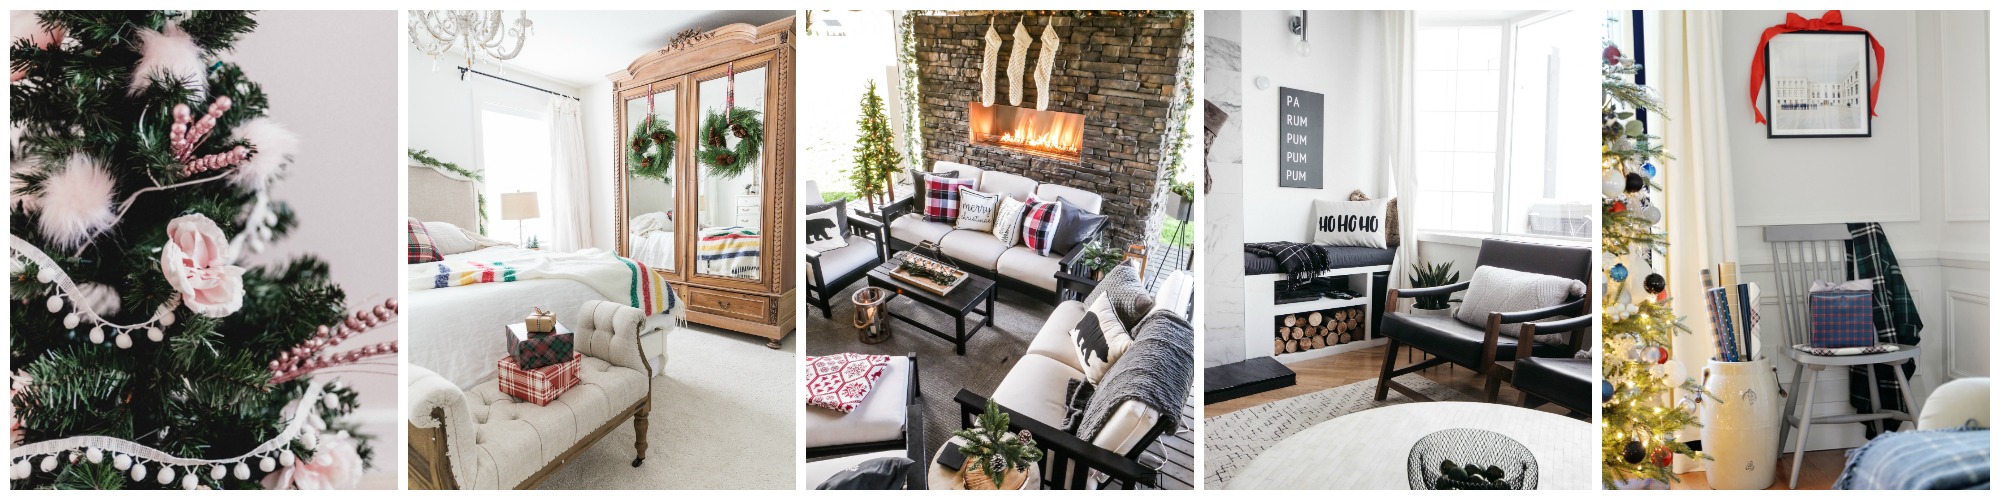
Tuesday
Sincerely, Marie Designs
Satori Design for Living
Finding Silver Pennies
Willow Street Interiors
Confessions of a Serial DIYer
Happy Happy Nester
Life is a Party
Two Twenty One
Tatertots and Jello
Wednesday
Lemon Thistle
So Much Better With Age
Taryn Whiteaker
Love Create Celebrate
Rambling Renovators
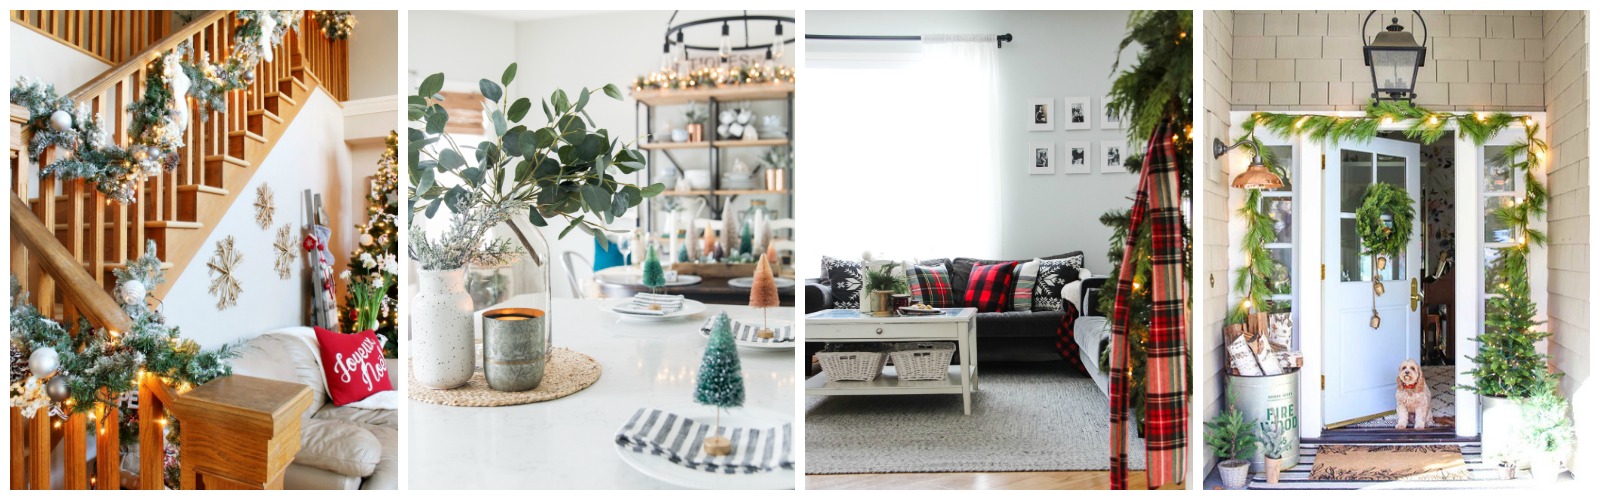
Clean and Scentsible
House by Hoff
A Pretty Life
Modern Glam
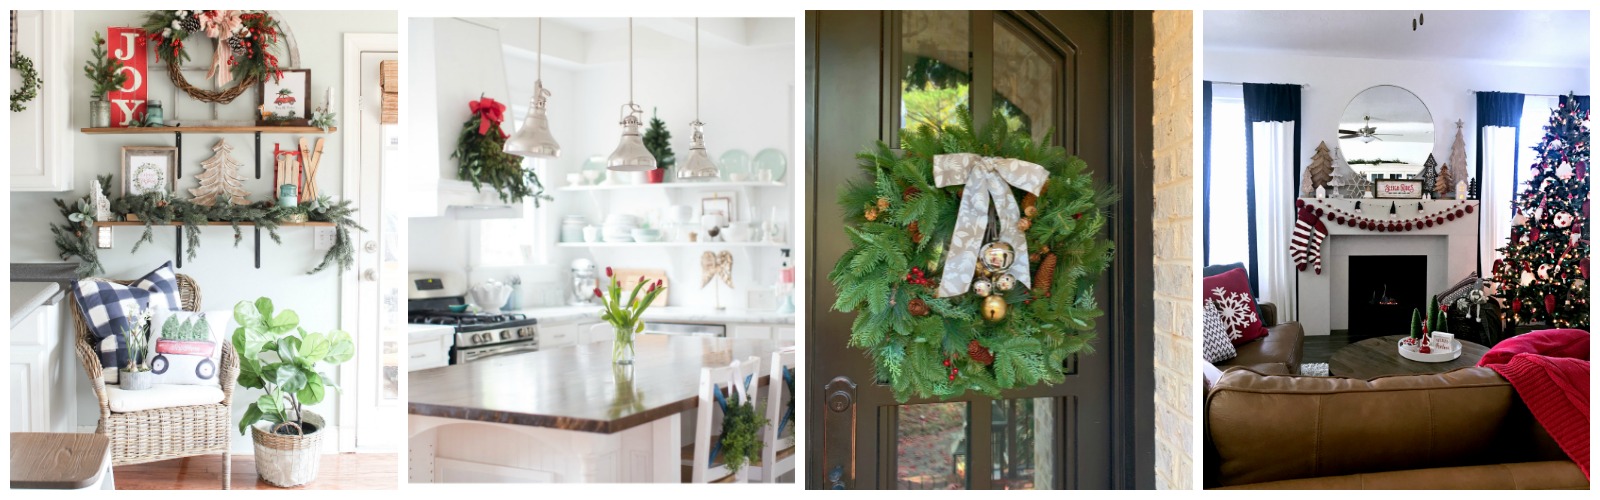
Thursday

Rooms FOR Rent
Shabbyfufu
Stacy Risenmay
Jenna Kate at Home
Sand & Sisal
Paint Me Pink
Place of My Taste
Maison de Cinq


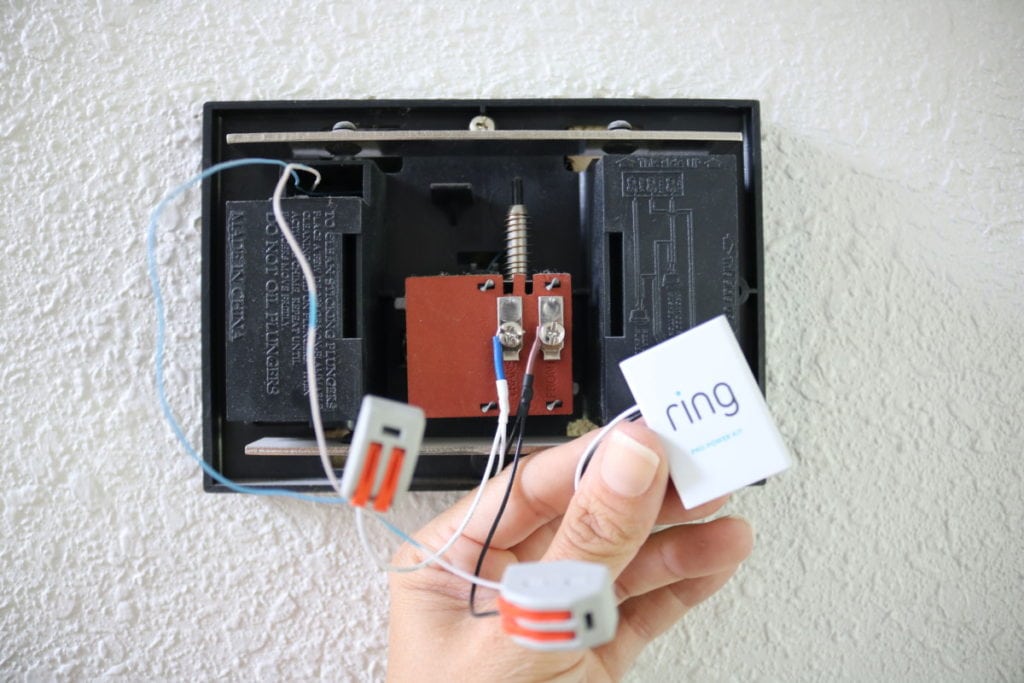
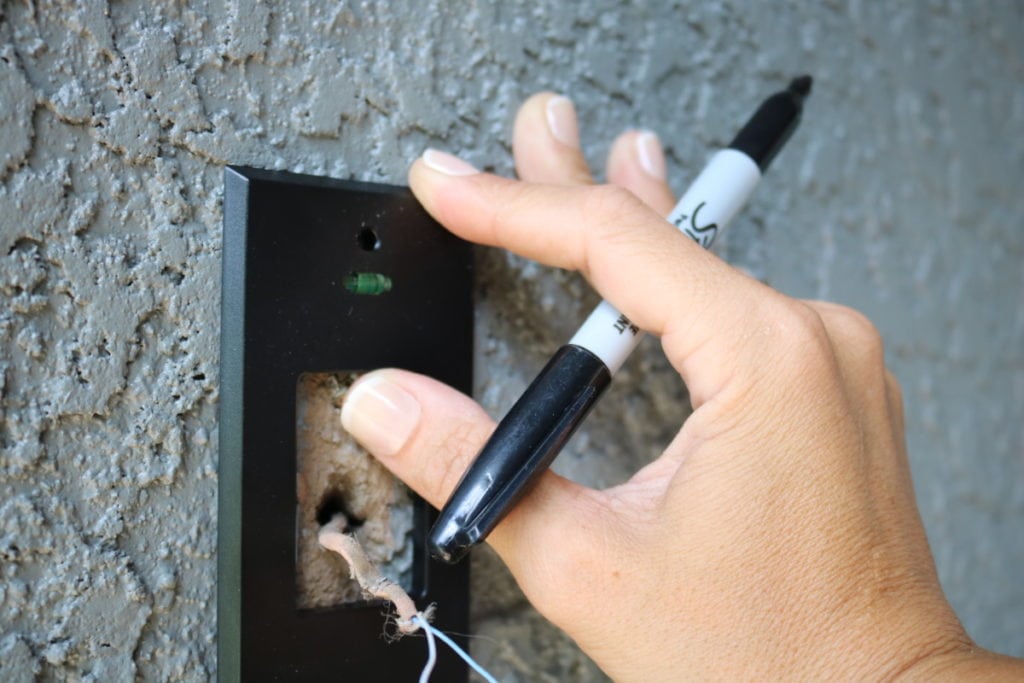
 Then you just wire it up. It is super straight forward and simple. If you get confused at all you just reference the app screen. It will be walking your through ever single step. (Can I just tell you how much I LOVE that I was not constantly referencing a manual to make sure I did it correctly!? They have handy little videos that walk you through the entire process.

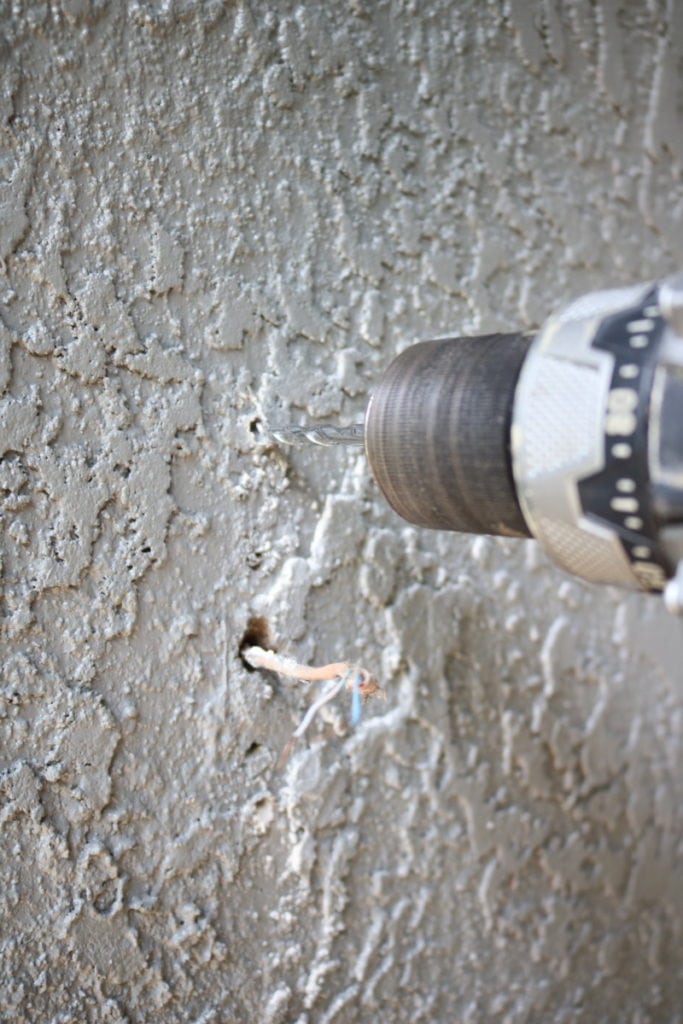
 Again, the install process for this thing was a cinch. Like the doorbell, it will walk you through the entire install process.
 Again it comes with a easy install template and all the bits you need to install. Just install the plate…
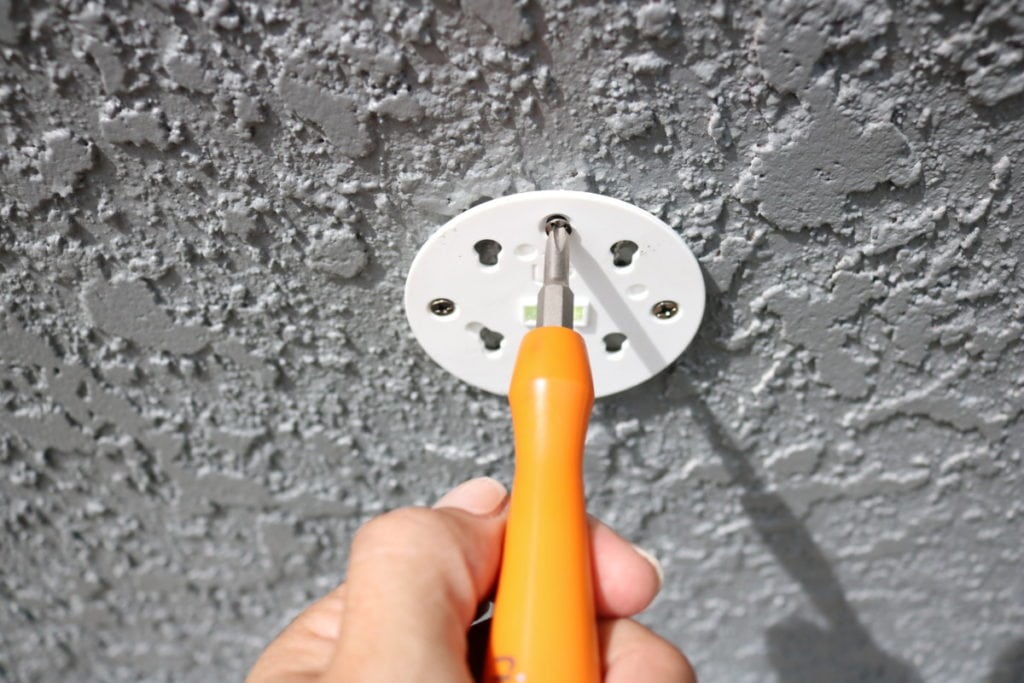 Then slip the camera mount onto the plate. Easy Peasy! The camera just screws into place, then you plug it in and go! Seriously, that’s it. The app will walk you through the setup and will allow you to make any changes. (Including the range of motion you want detected, the sensitivity, and how/if you want to be notified of any movement.) How cool is that ?!
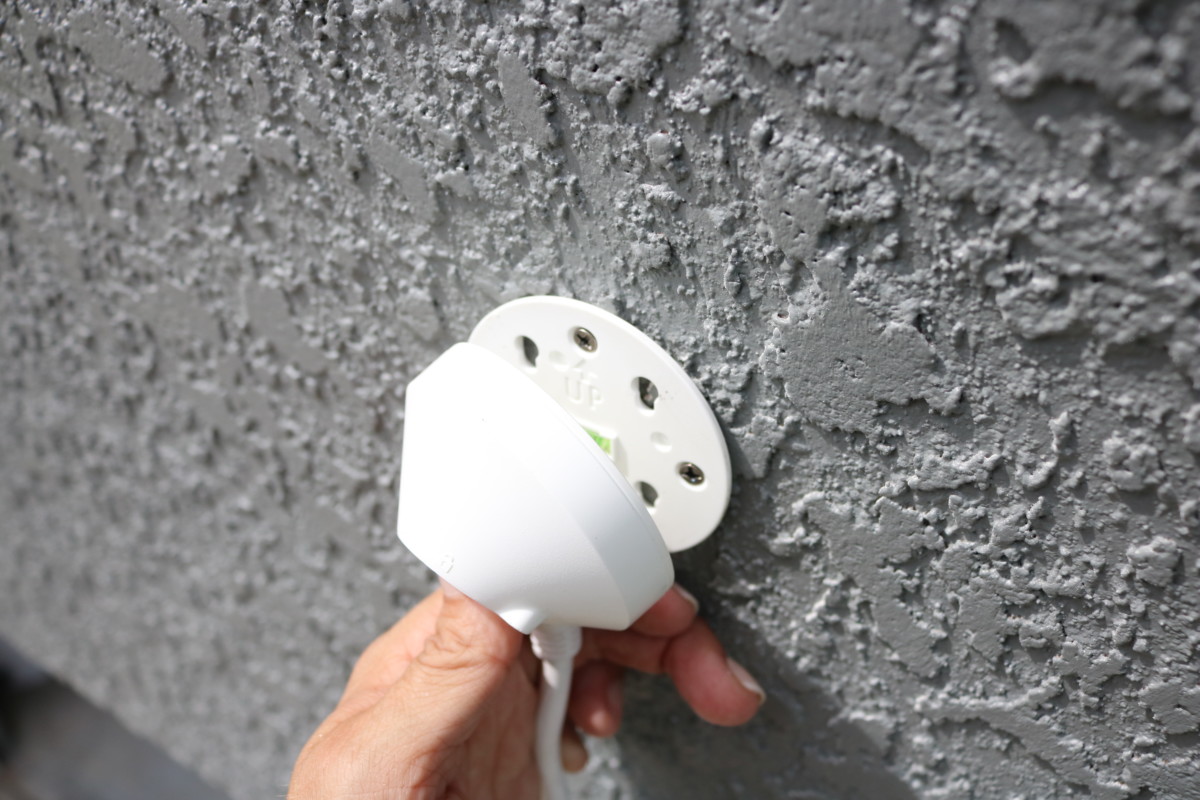
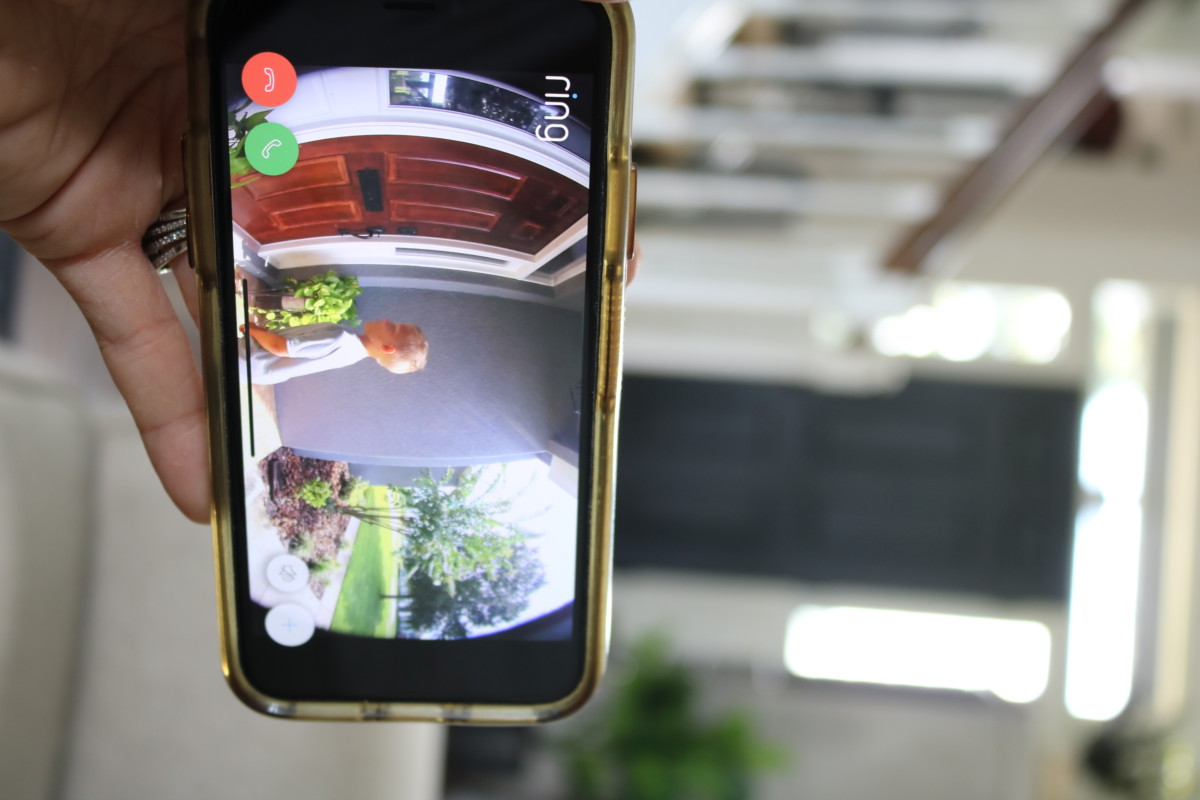
 Seriously, check out the range of view from that one little camera! I can easily see anyone that pulls down our road, and obviously the driveway is completely visible. I also have a great view of the shop. With the way my house is situated, I can basically see anyone that approaches my house. It is awesome! (Side note: How cute is my little guy pressure washing the driveway for me, also holy crap look at how dirty it was! Eek)
 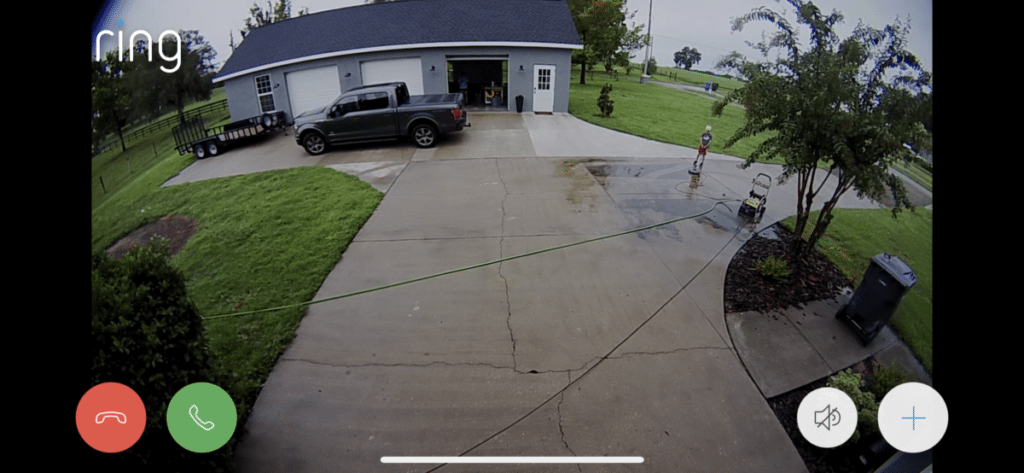 Bottom line, do I love it? Absolutely! In fact since installing it I have had two different friends purchase some of the Ring products because I keep on raving about them! So if you have been considering an alarm system of any sort, might I suggest looking into the
 I even tried out using some deep hunter green stemware! I loved it, but I think I gravitated back towards the clear glass by the end of the photo shoot, but I did include a couple of the outtakes!
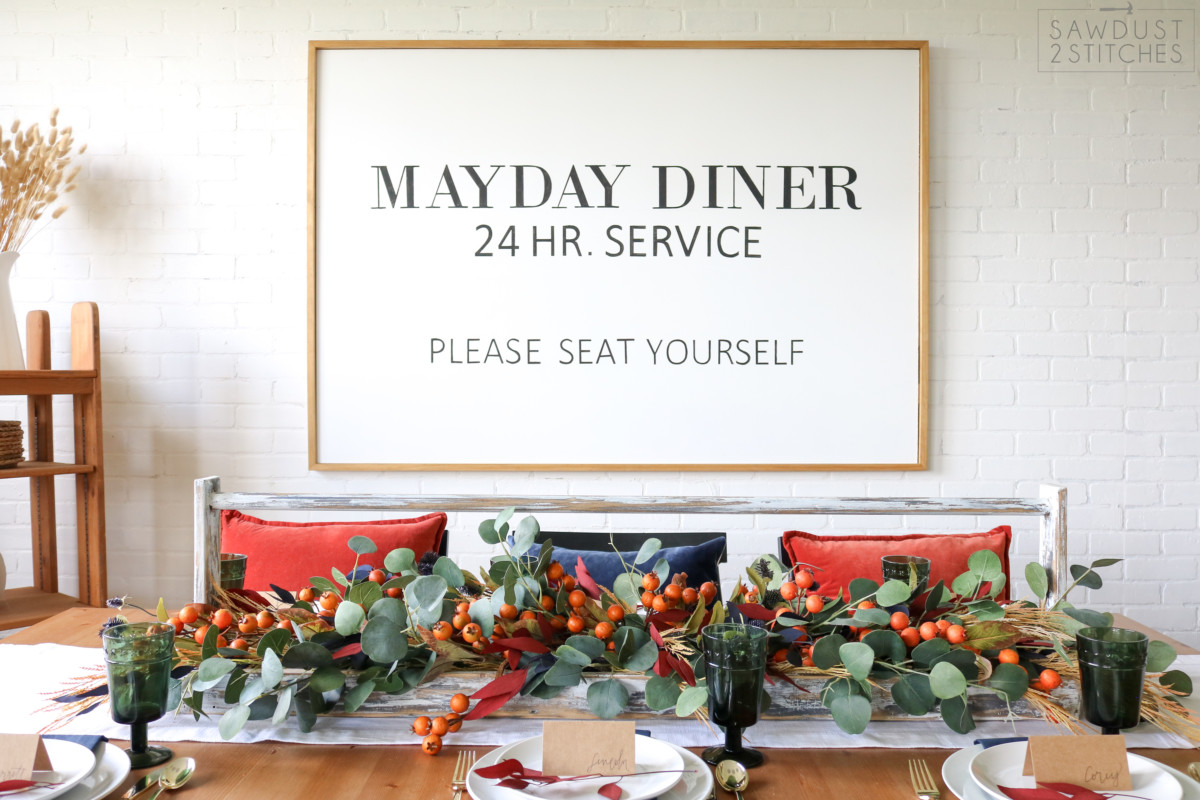
 I have never been an overly ecstatic lover of color, but I am getting my toes wet and think I might start finding some middle ground.
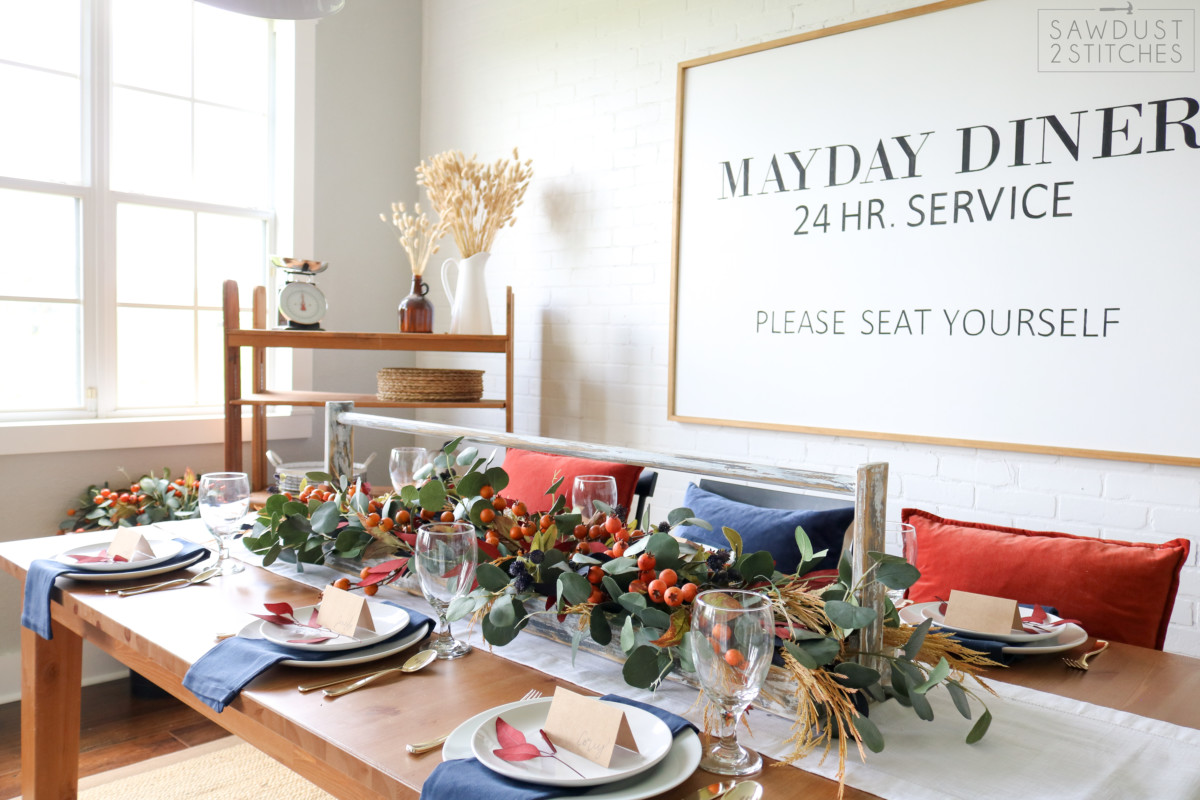
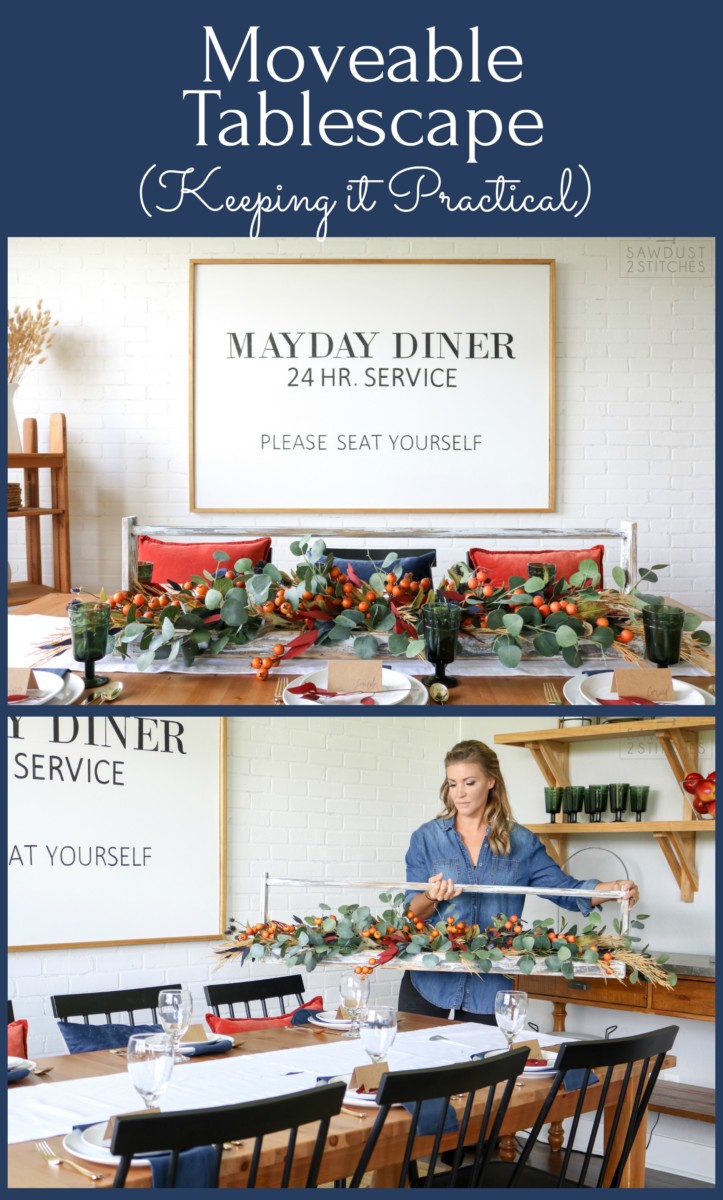
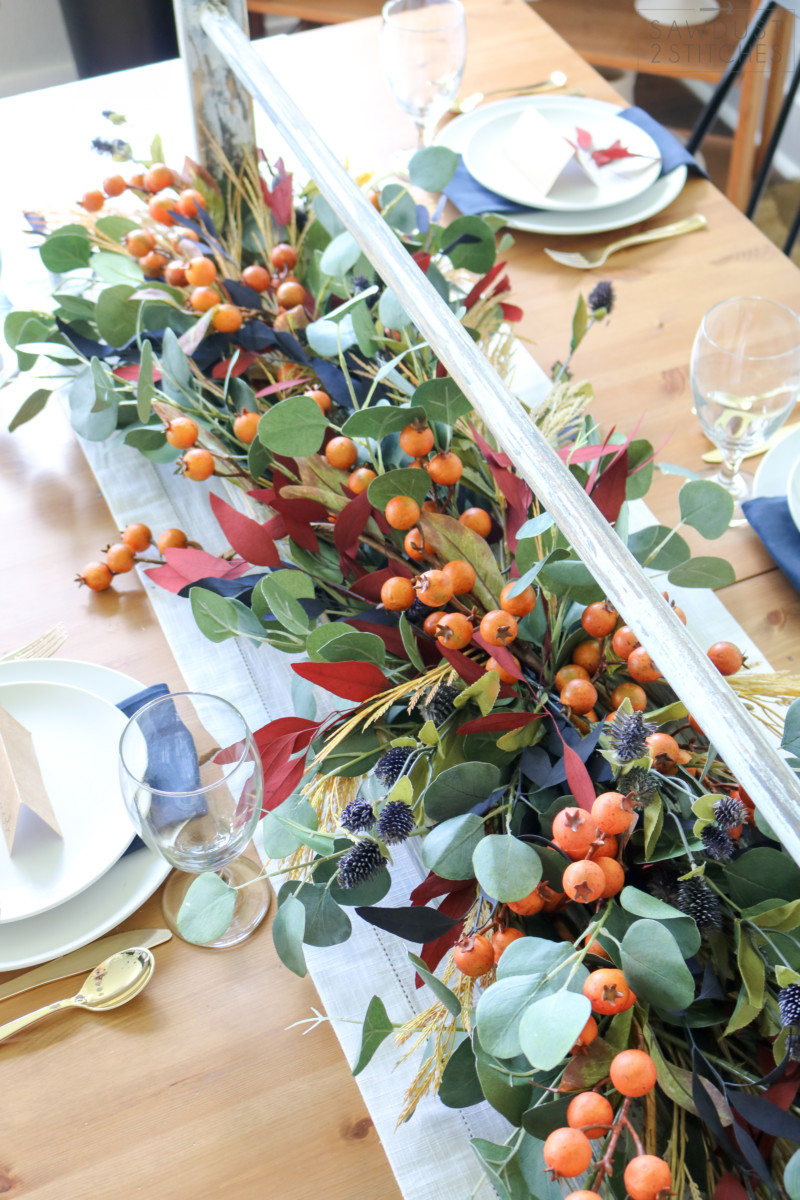
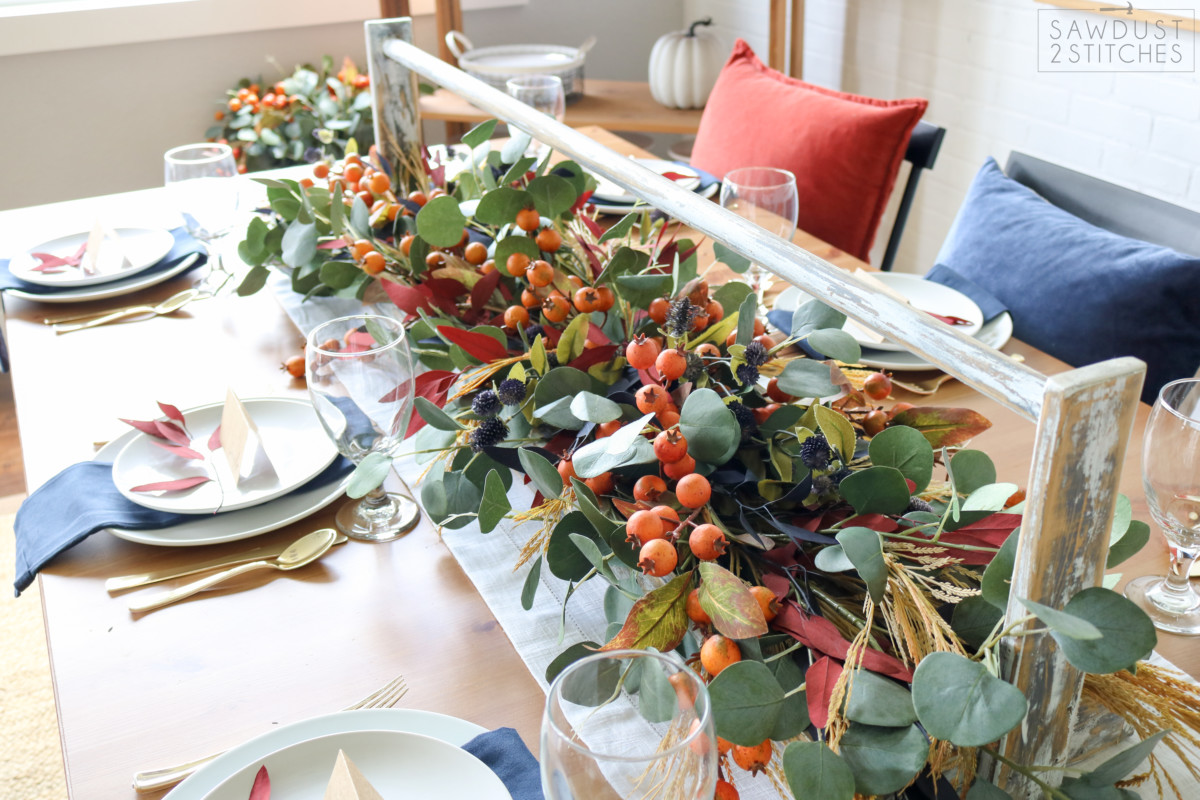
 Okay, now I am about to really blow your mind! Forever ago I made a table runner tray that I use on repeat for most of my Holiday Tablescapes. Why? Because it is so dang practical! I love making the table look beautiful, but let’s be real. It’s often extremely impractical. It’s hard to actually serve food when your table is full of stems. Enter in the table runner tray!
 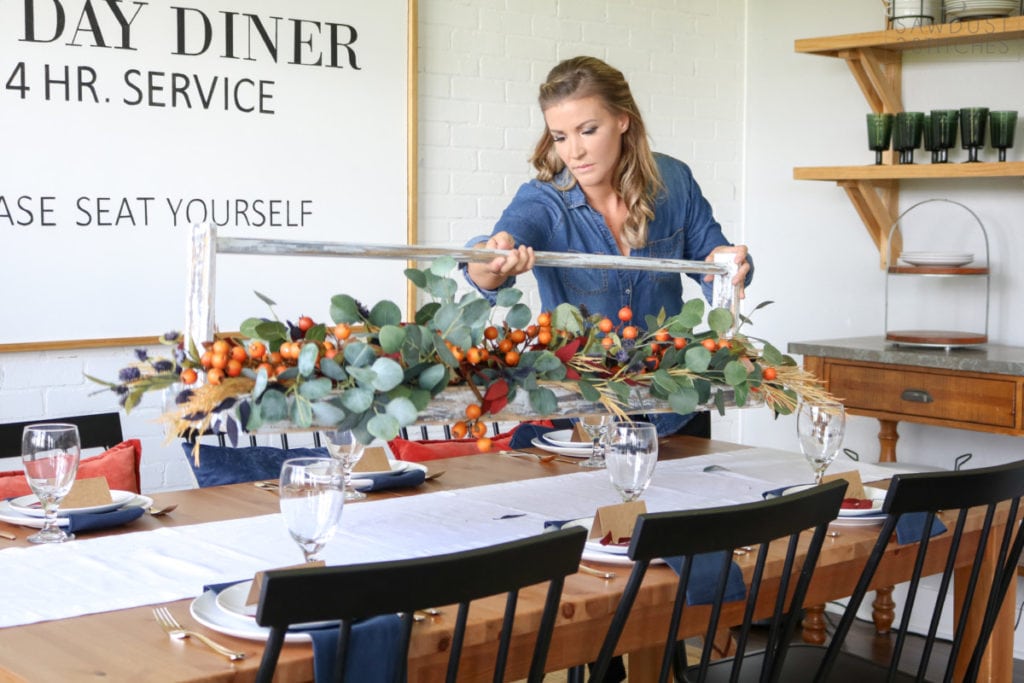 Just pick it up and move it conveniently out of the way!
 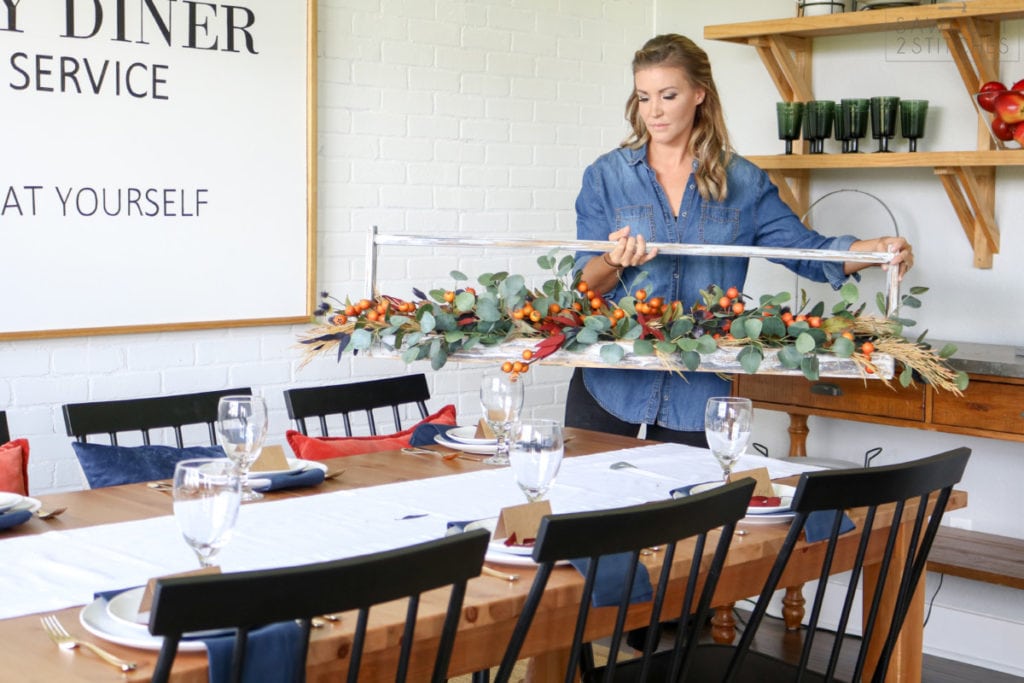 No muss, no fuss!
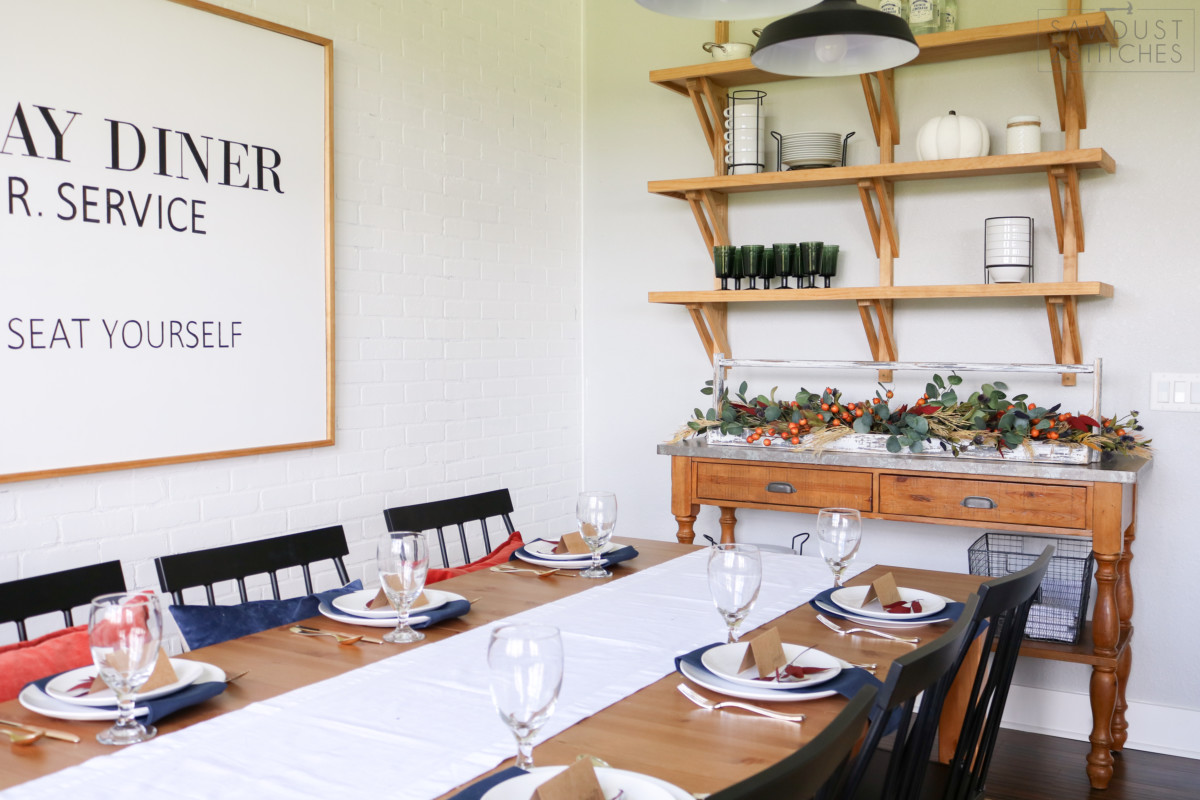


