I did it. I slayed my Goliath, conquered my mountain, took the plunge, overcame my fears. What did I do? I published a YouTube video. I know this may seem like a small feat, but in my head it was the great unknown. I have had every excuse in the book.
“When the kids are in school full-time.” (The youngest is currently finishing up second grade)
“When my workshop is complete.” (Completed a year ago, and for real when is a shop ever “finished”. Amiright?!)
“When I have more time.” (Ha, if I was waiting for more time, I picked the wrong career.)
The list could go on and on and entail such menial things like, “washing my hair sounds like a lot of work”. Honestly, any excuse was better and easier than just diving in.
So, what changed?
Well about 3 years ago I met a friend. Not just any friend. One of those life longer, ride-or-die types. She is one of those friends who is willing to fly halfway across the country (only accepting a box of Cheerios as payment) and hold your hand as she walks you through your own personal hell. In my case, YouTube.
If you don’t already know Jenn she has worked for some BIG deal names. Like … I don’t know “This Old House”?! She is actually so great at what she does, that they asked her to head up a new branch of “This Old House” geared toward new home owners. If you aren’t already tuned into “House One” you should be. If that isn’t enough, she also runs her own site “Build Basic” that is chocked full of creative content. So make sure you head over to her site to see tons of fun new ideas INCLUDING plans for today’s project.
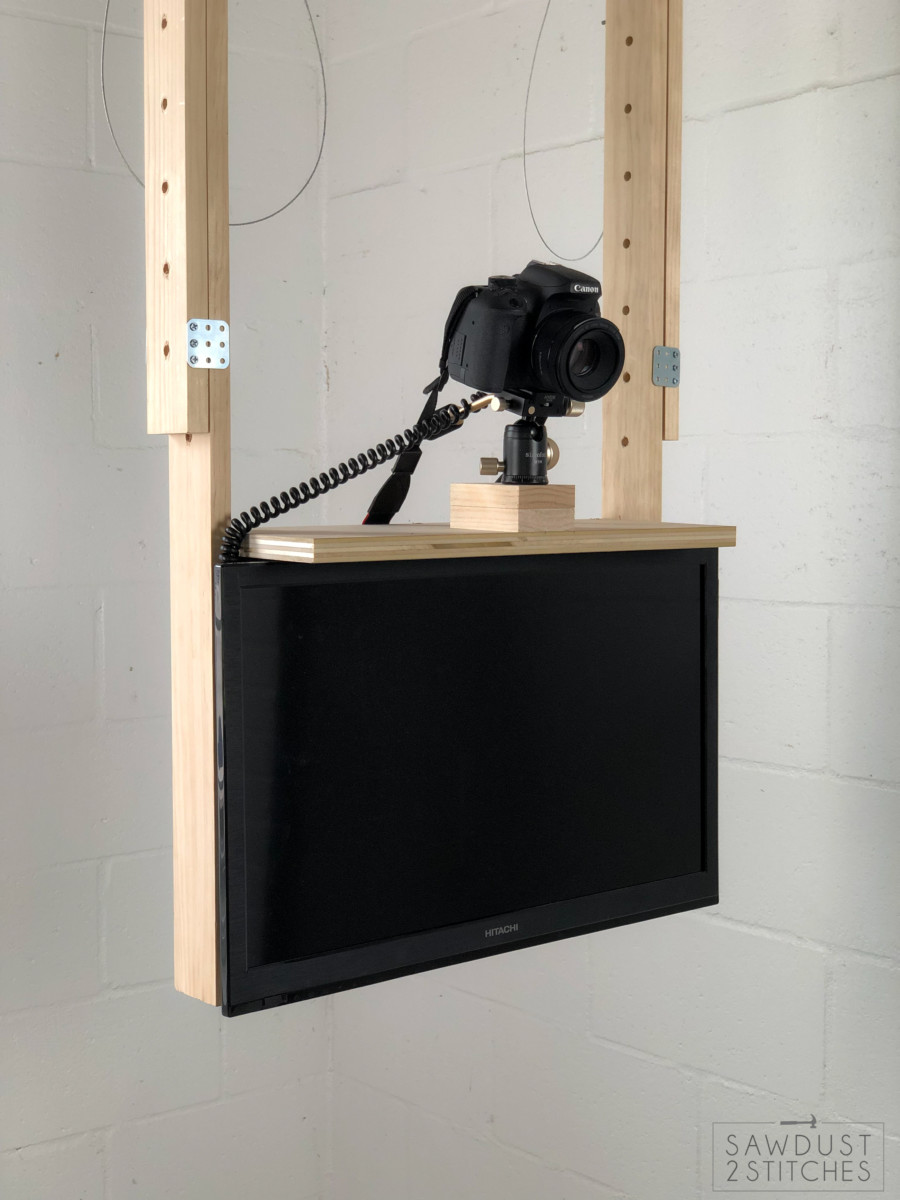
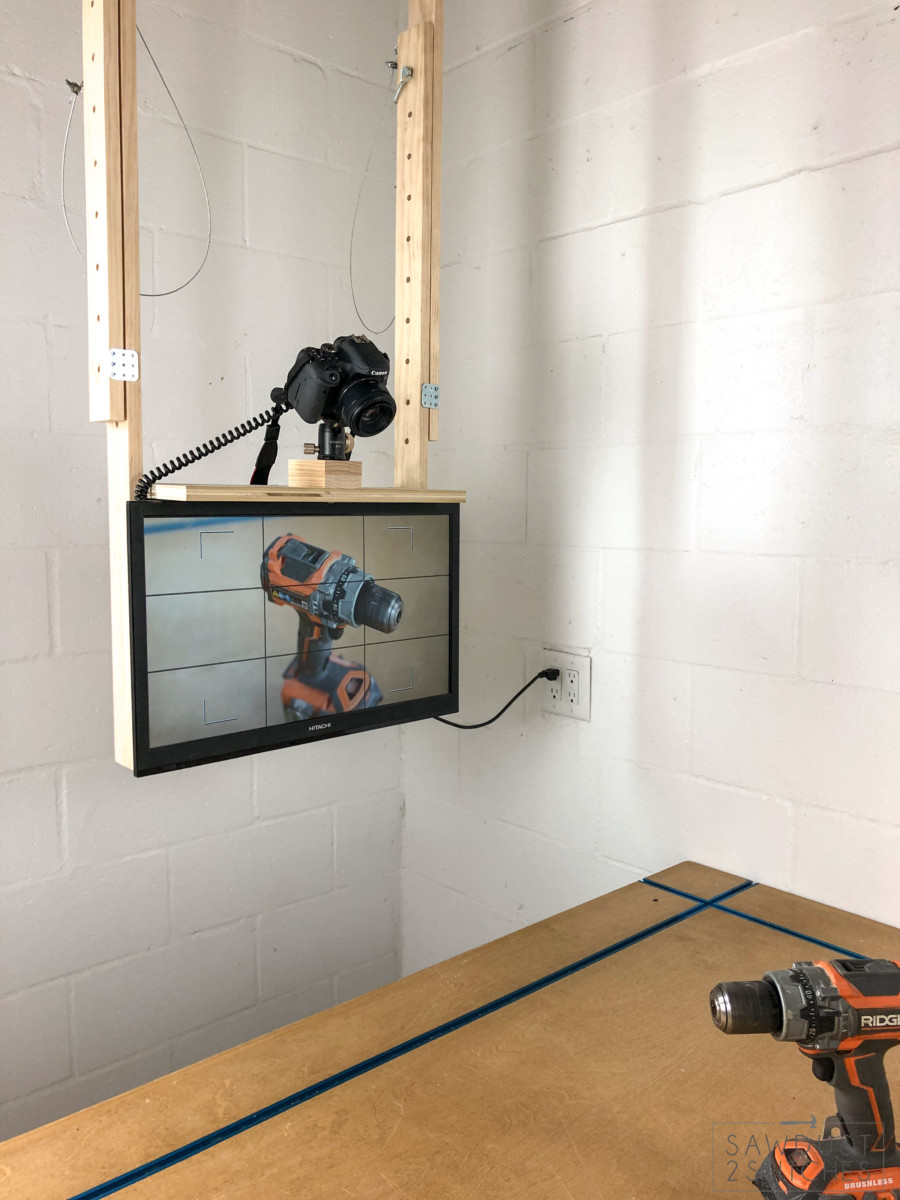
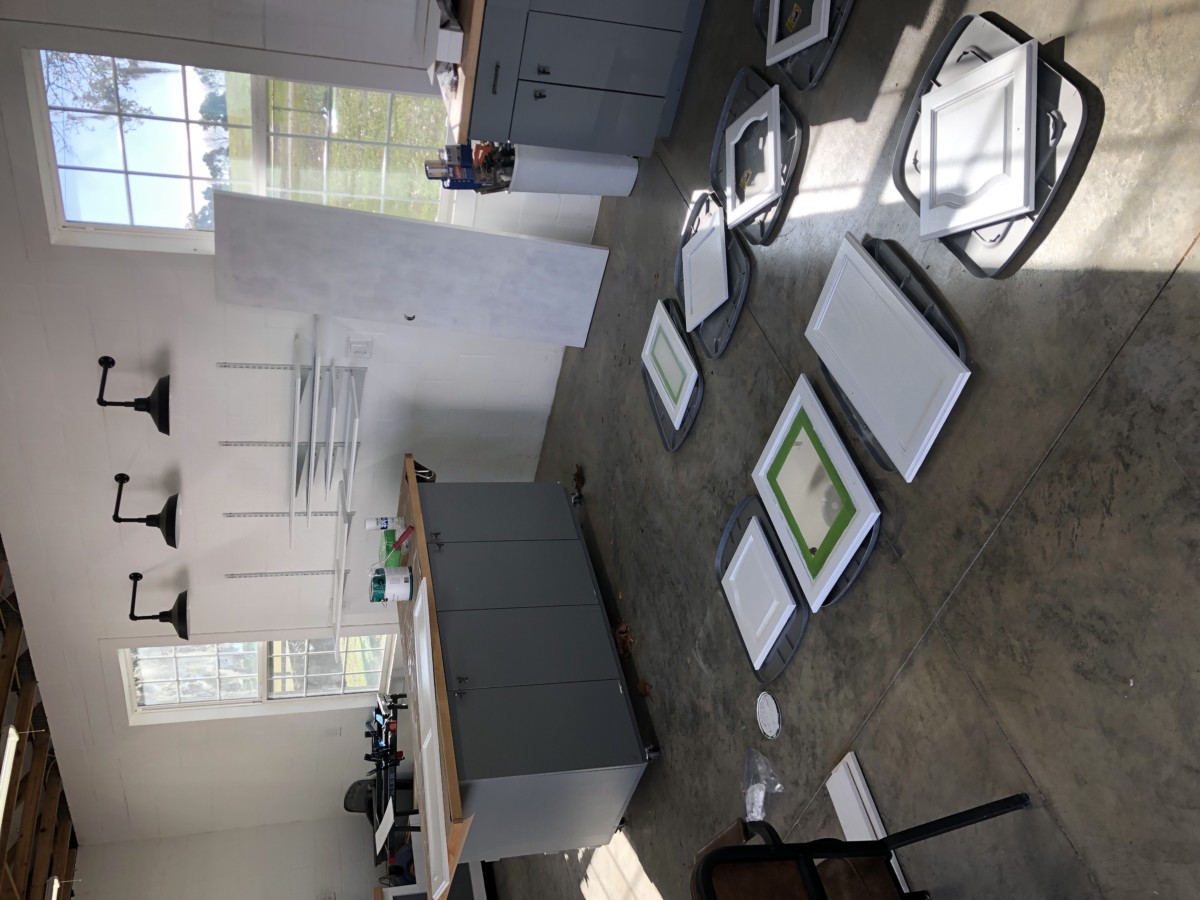
We brainstormed some fun ideas, and came up with a very fitting project. A project that would ultimately aid me in this new YouTube endeavor. We designed a new camera mount that would hang from the trusses in my shop. By designing it this way, I would be able to move the mount/camera quickly, and easily to my different work stations. We also constructed it so that we could attach a monitor that would allow a live preview of what I was working on. While we were at it, we also came up with a simple solution that would up my lighting game! So this project is really a “two birds with one stone” scenario. Not only are we sharing this project with you, but I also took the plunge into video content!
Without further ado. Our first video produced specifically for YouTube.
<iframe width=”560″ height=”315″ src=”https://www.youtube.com/embed/NhpPFSGoNyg” frameborder=”0″ allow=”accelerometer; autoplay; encrypted-media; gyroscope; picture-in-picture” allowfullscreen></iframe>
If you wouldn’t mind taking a moment to subscribe to the new channel I would forever appreciate it!
Take Luck,
Corey


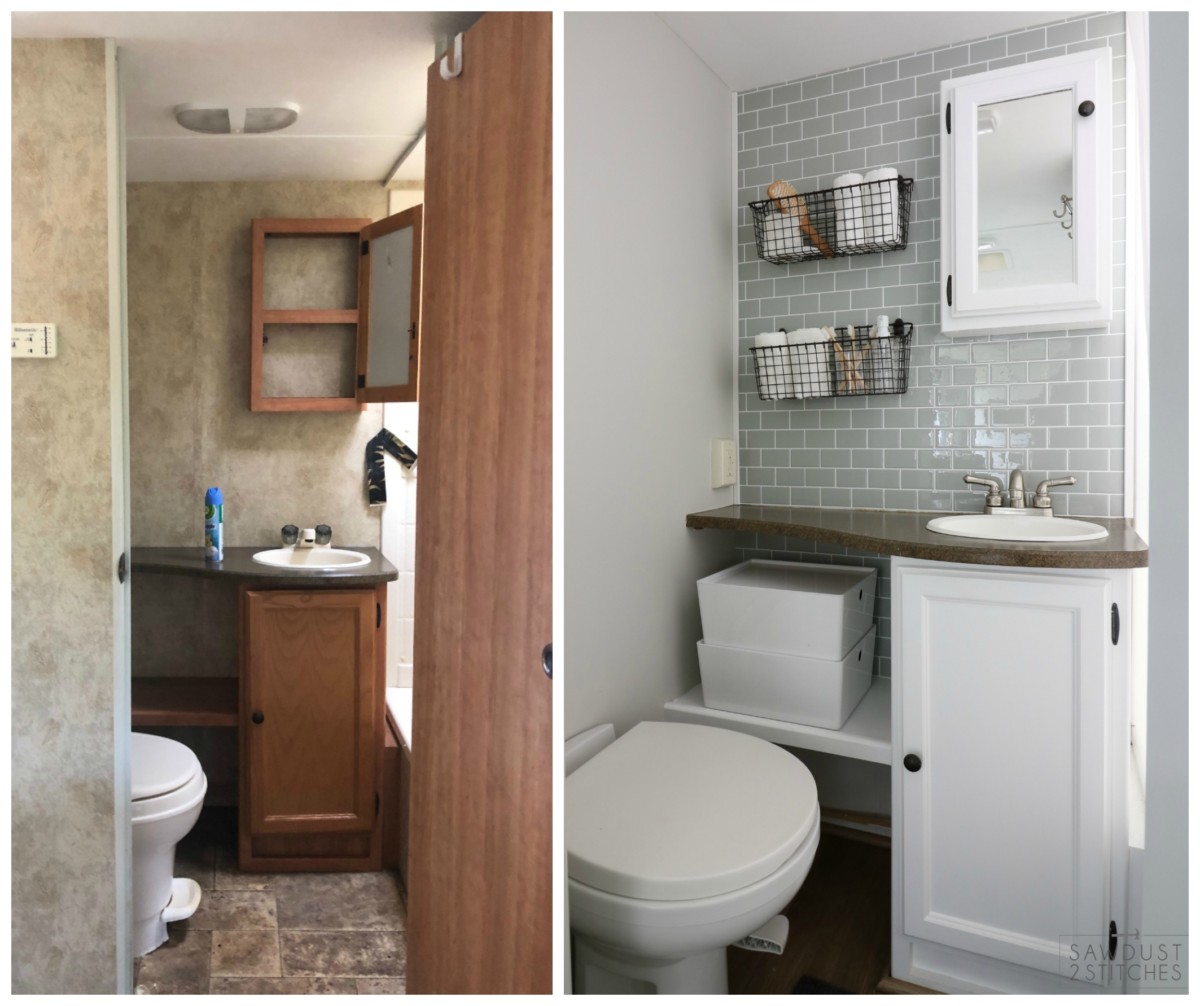
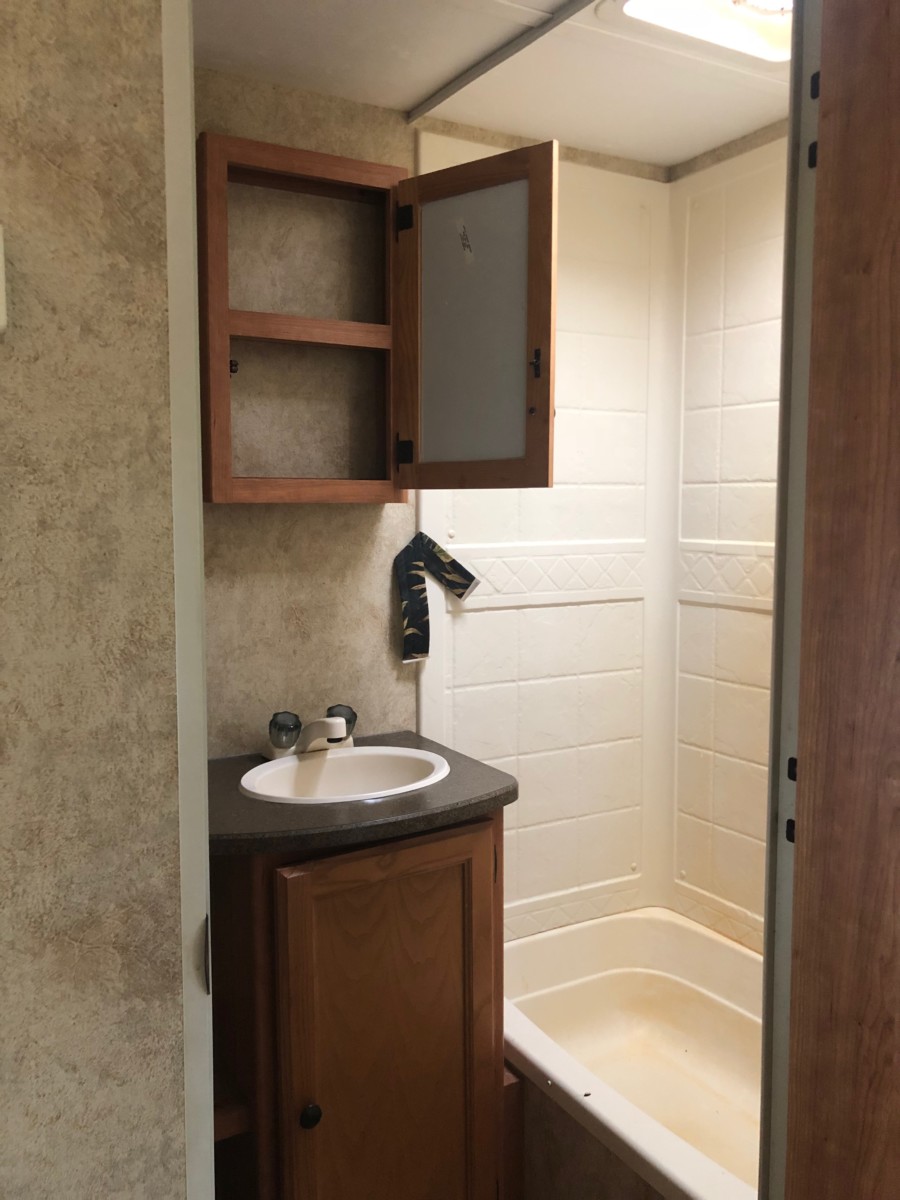
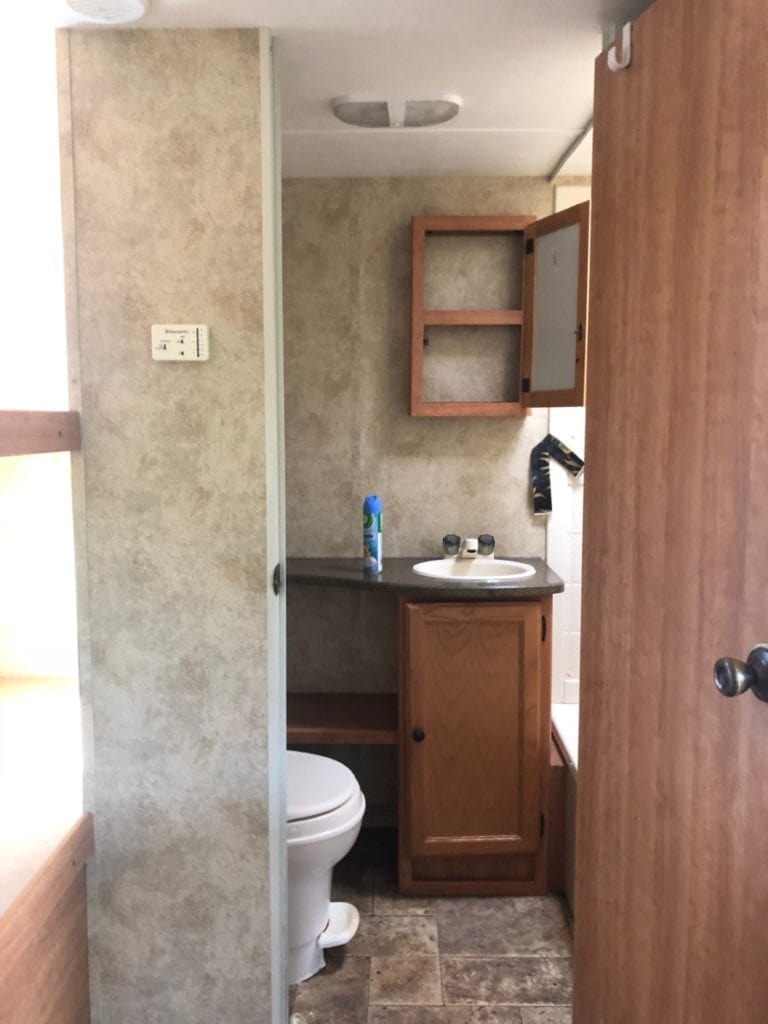
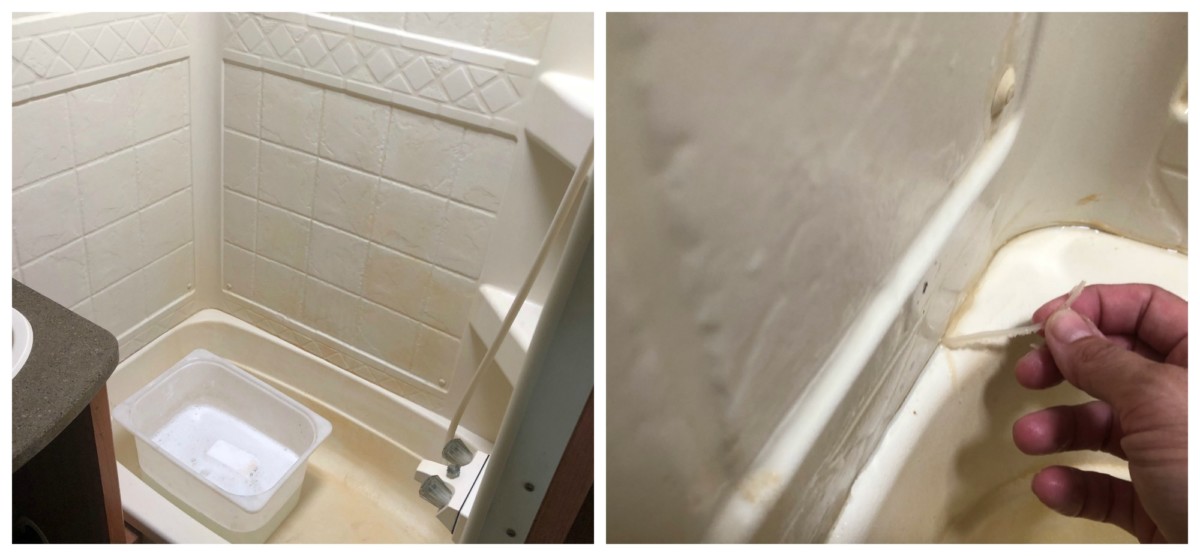
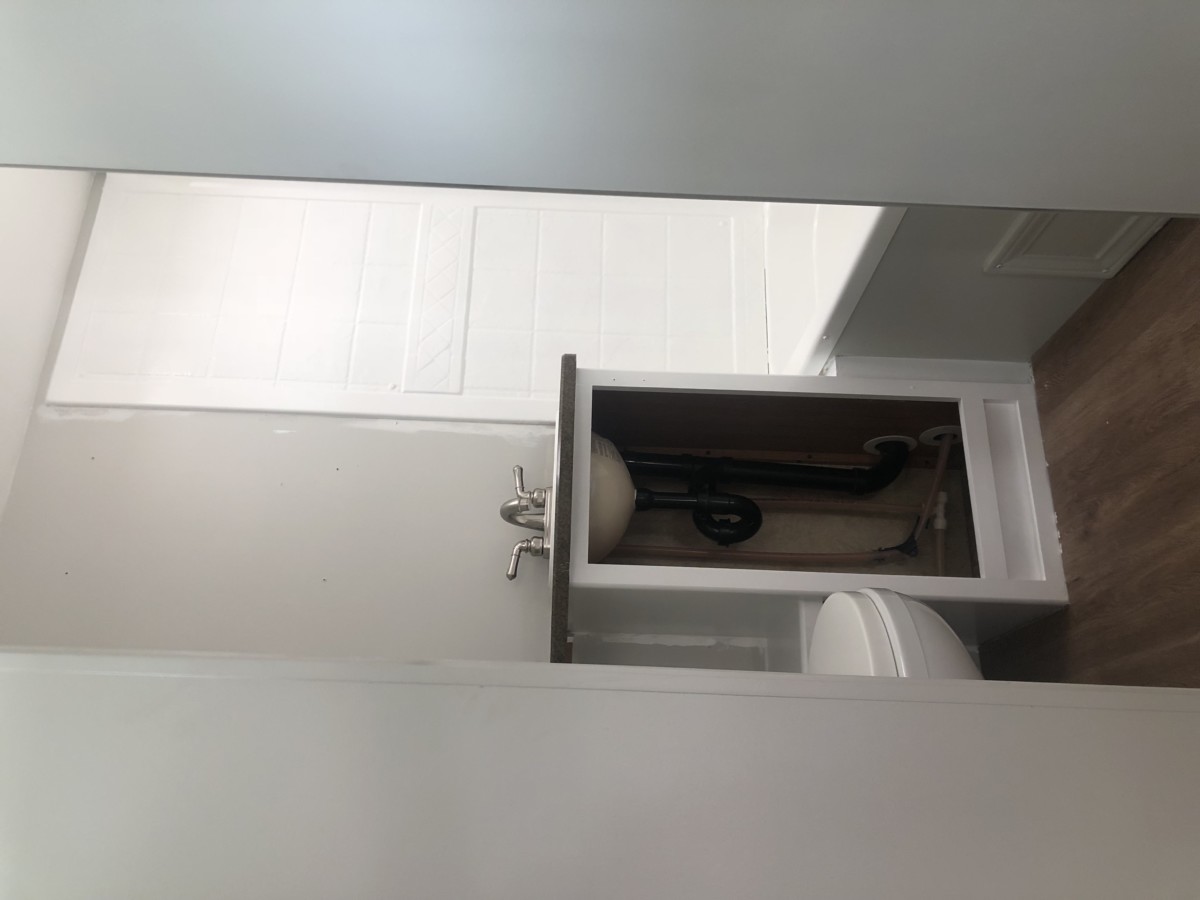
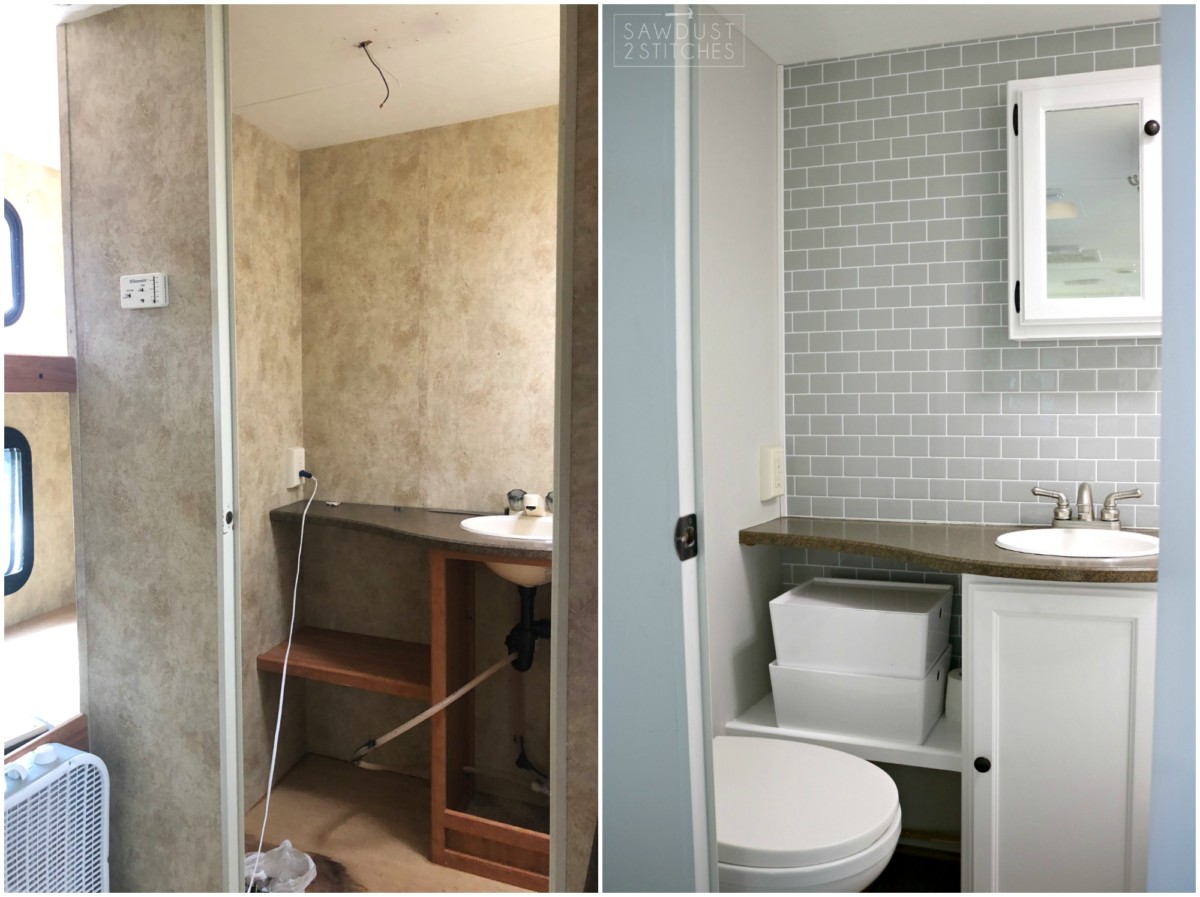
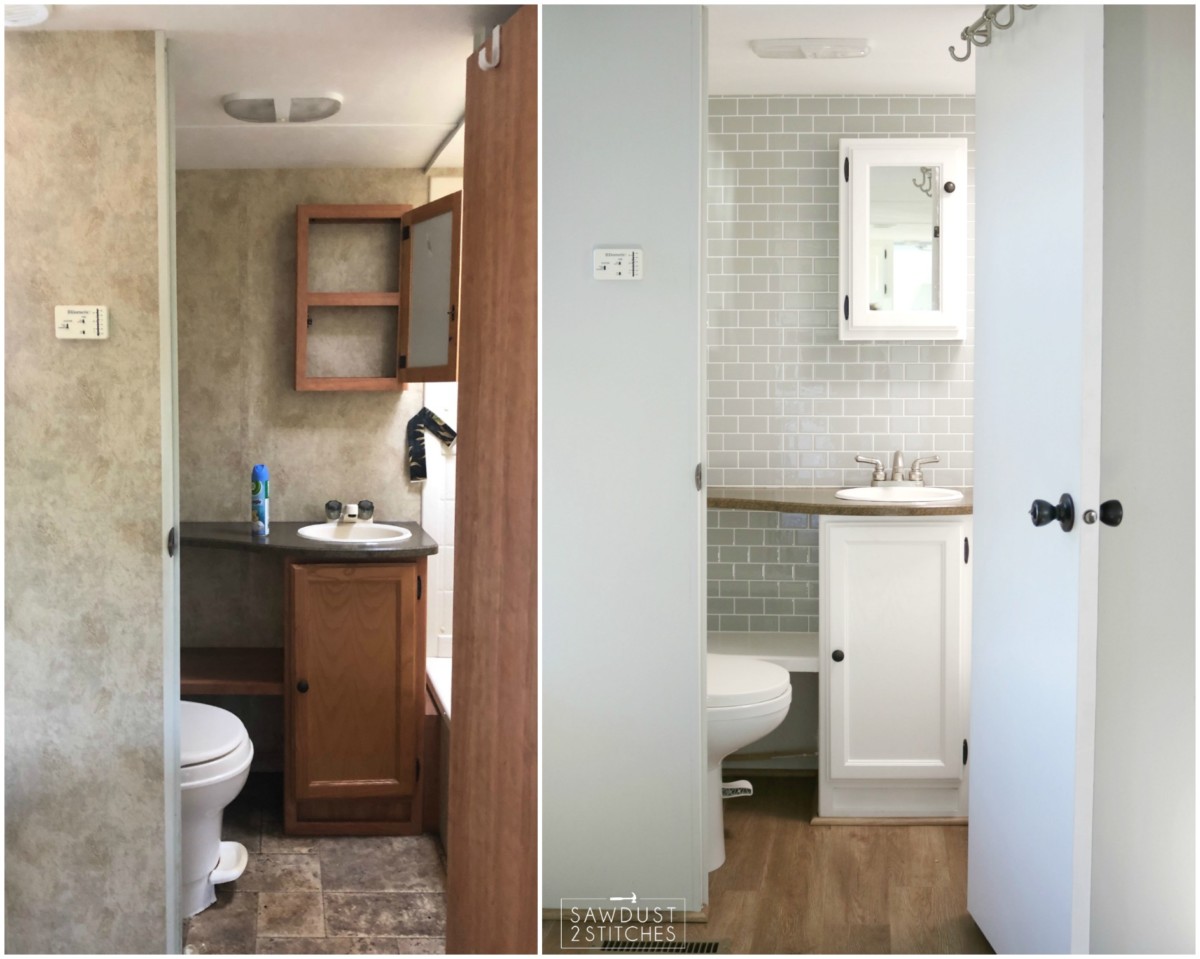
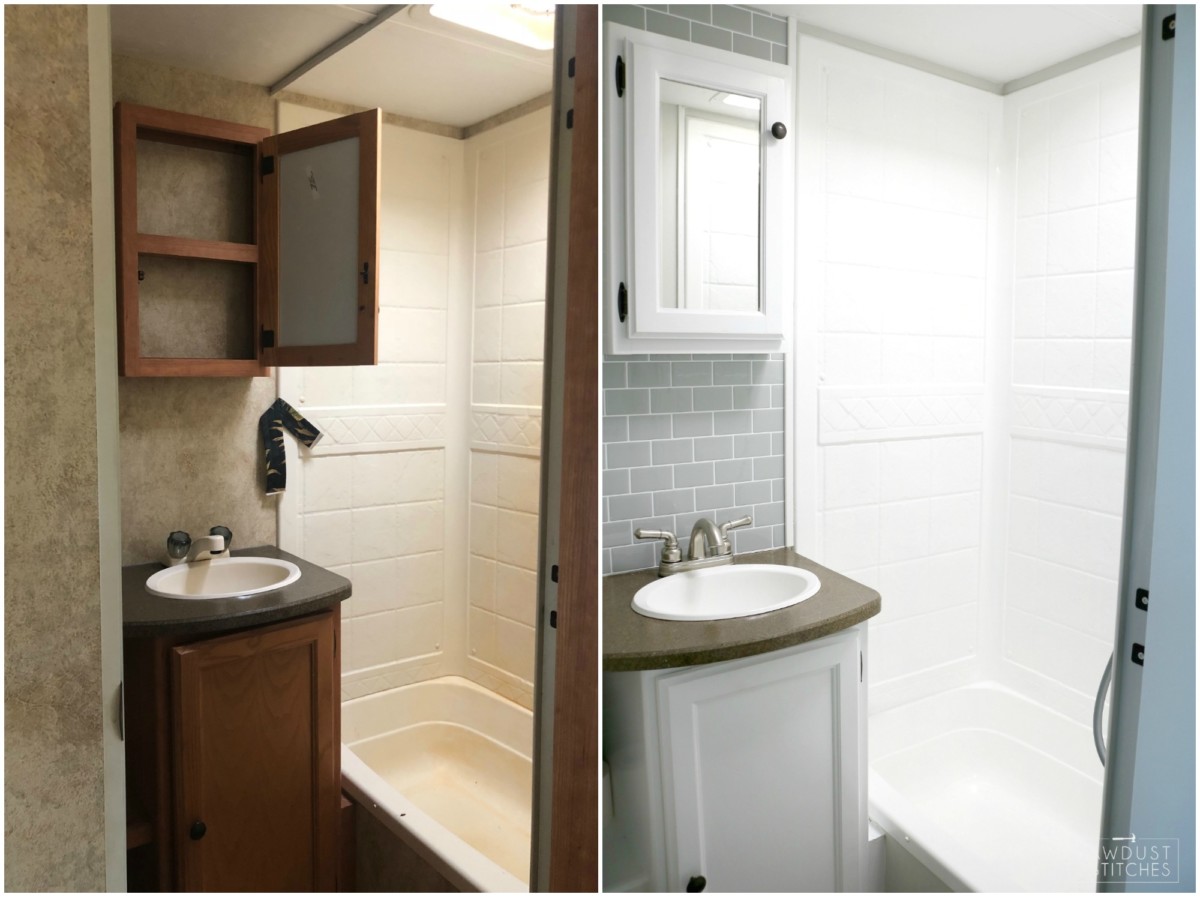
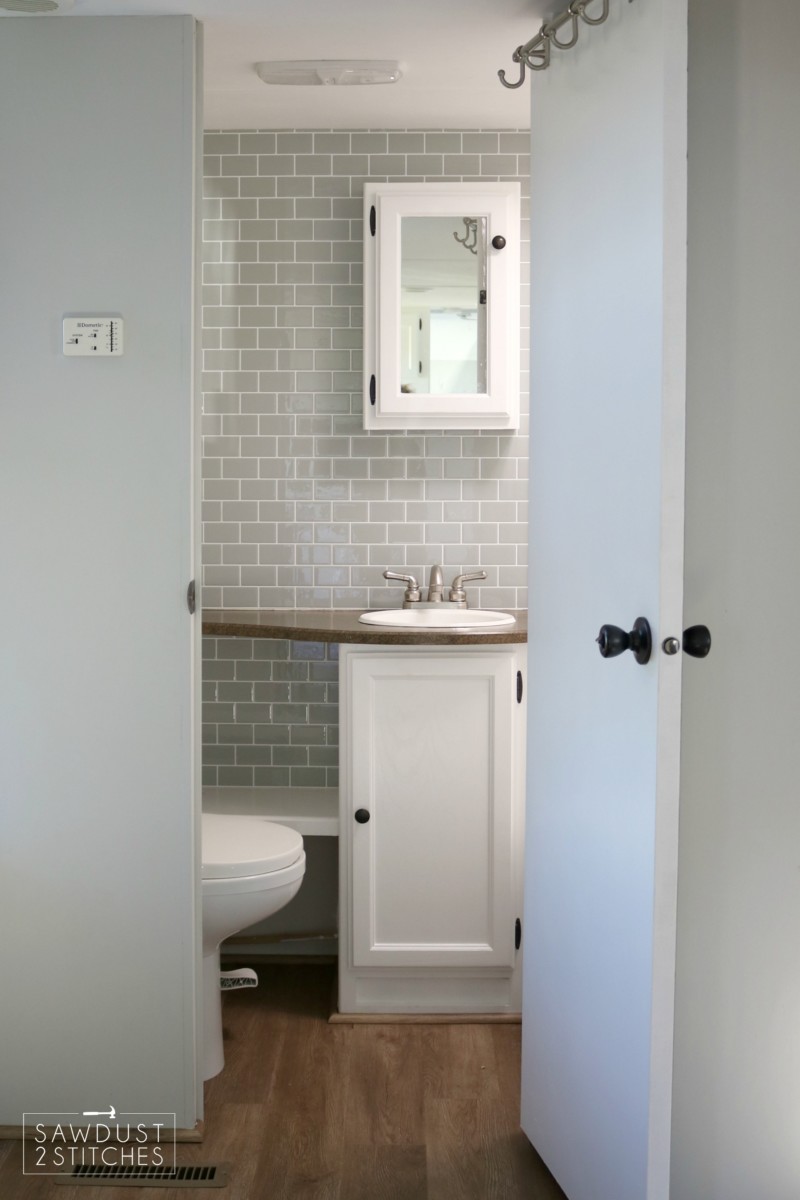
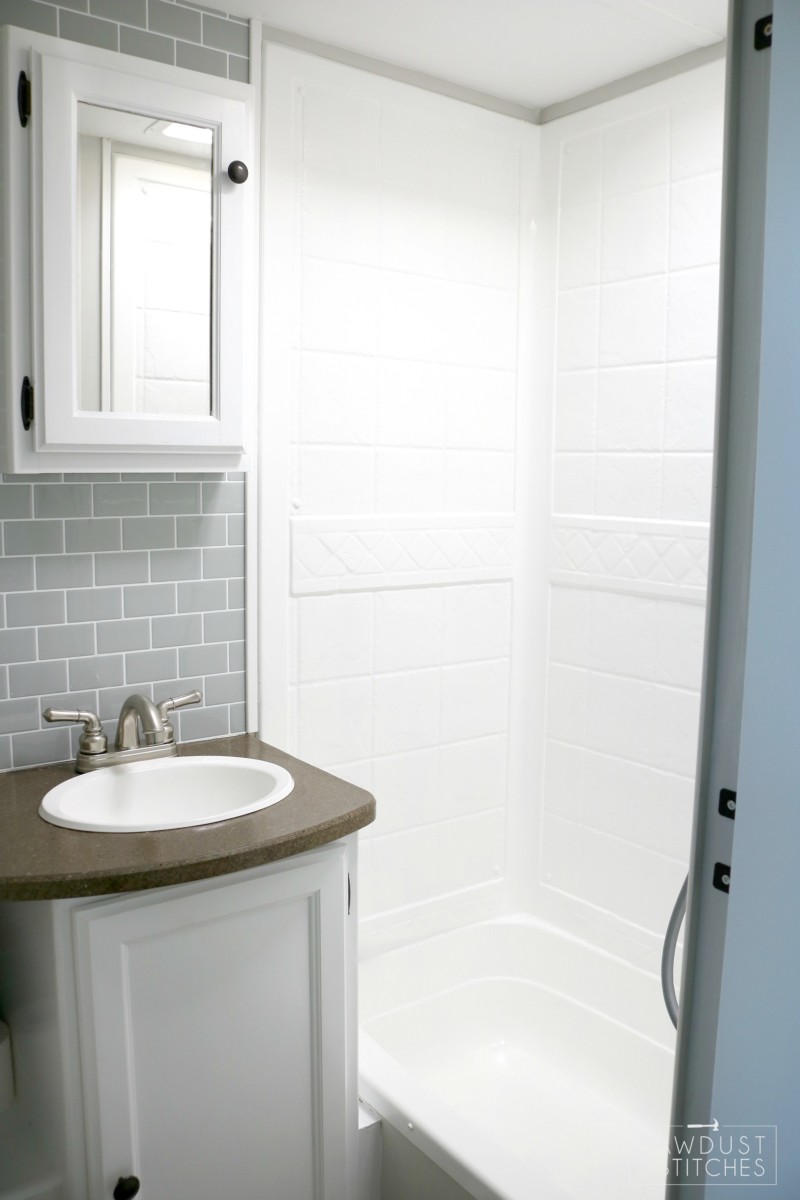
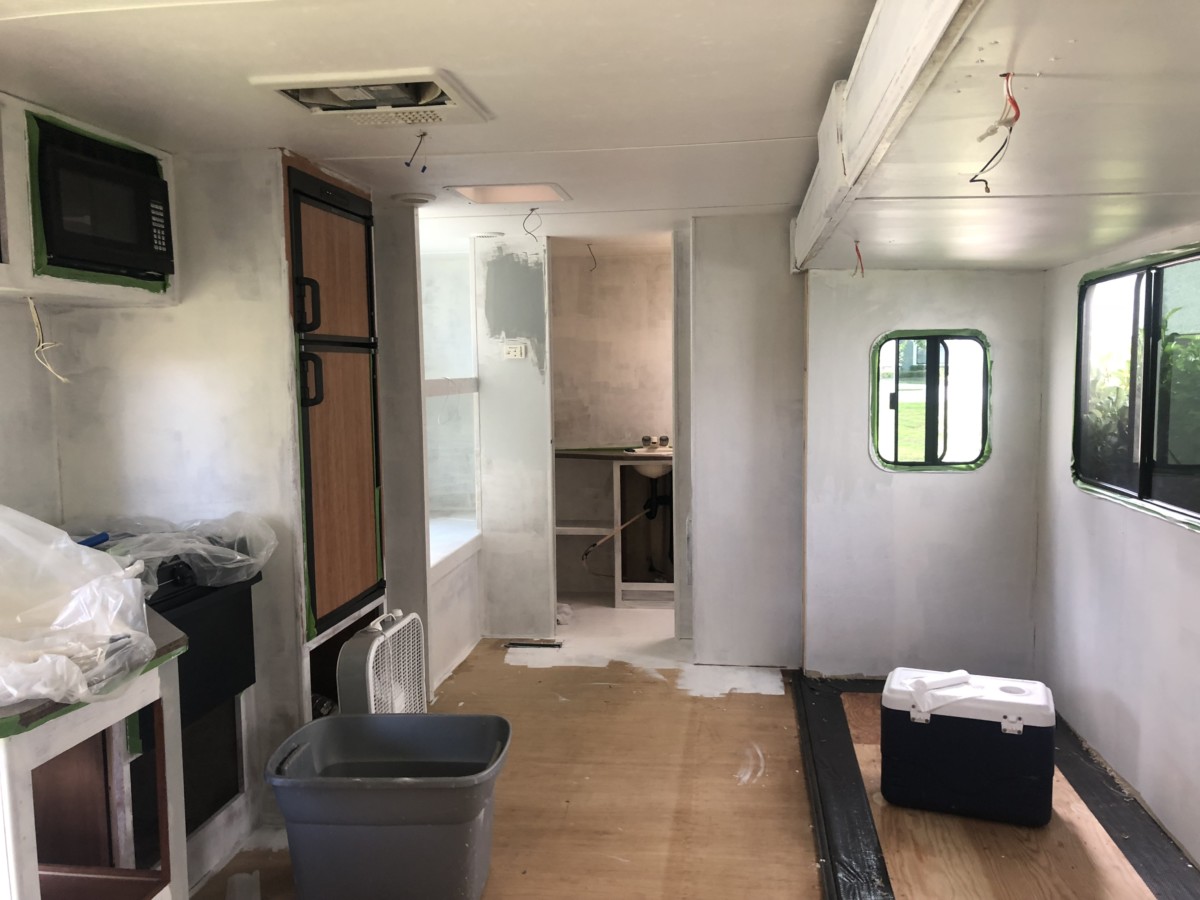
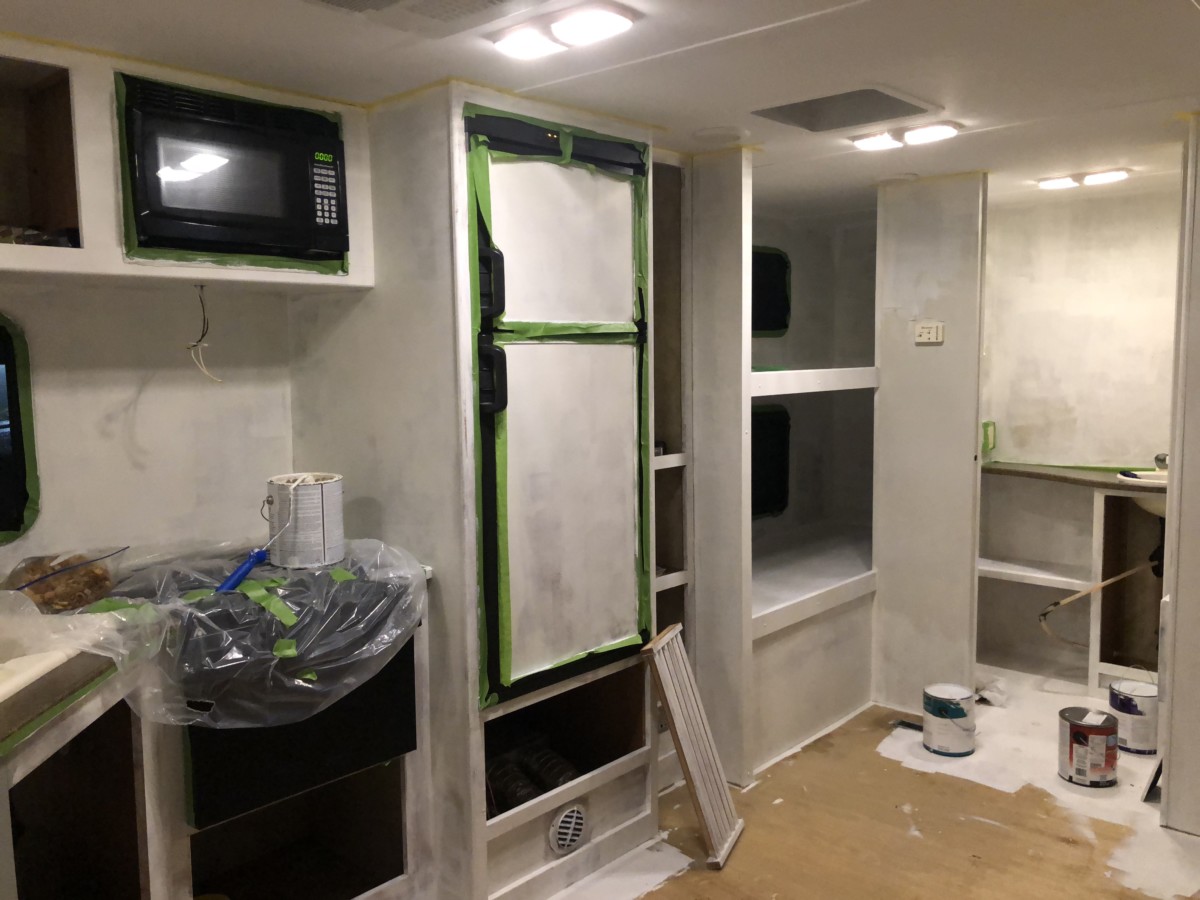
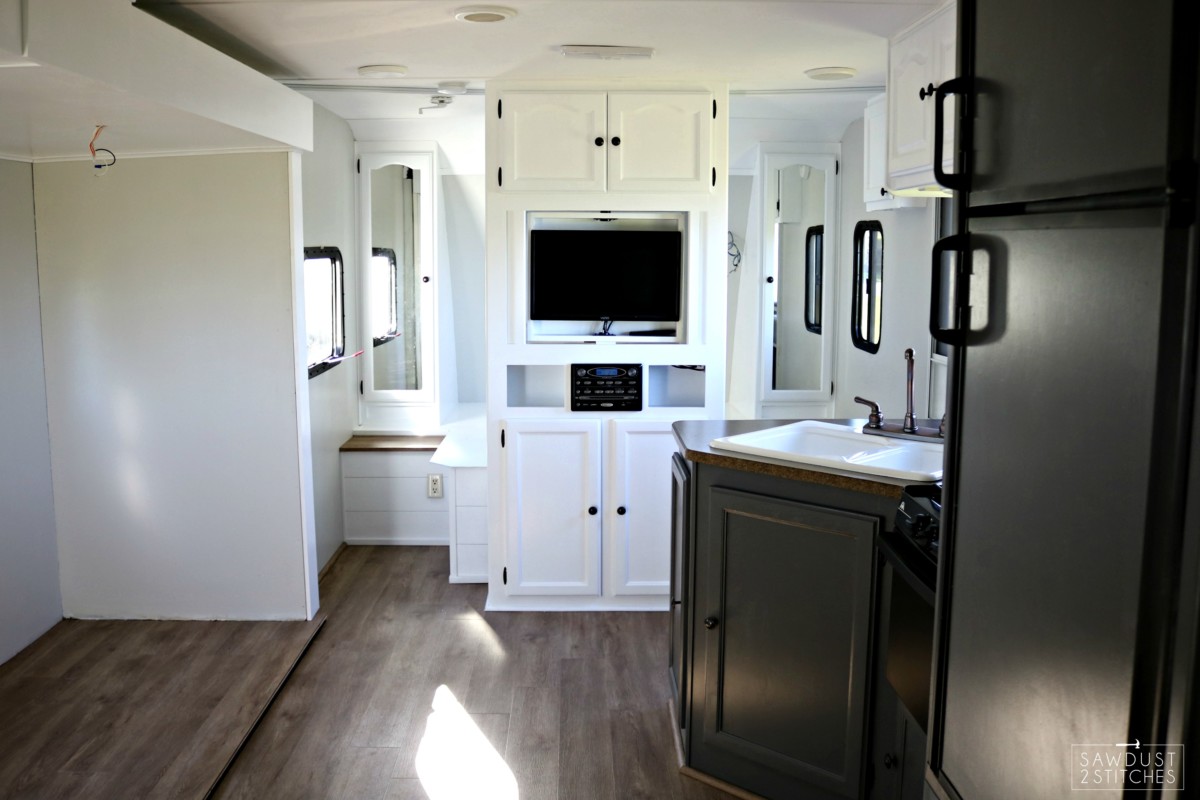
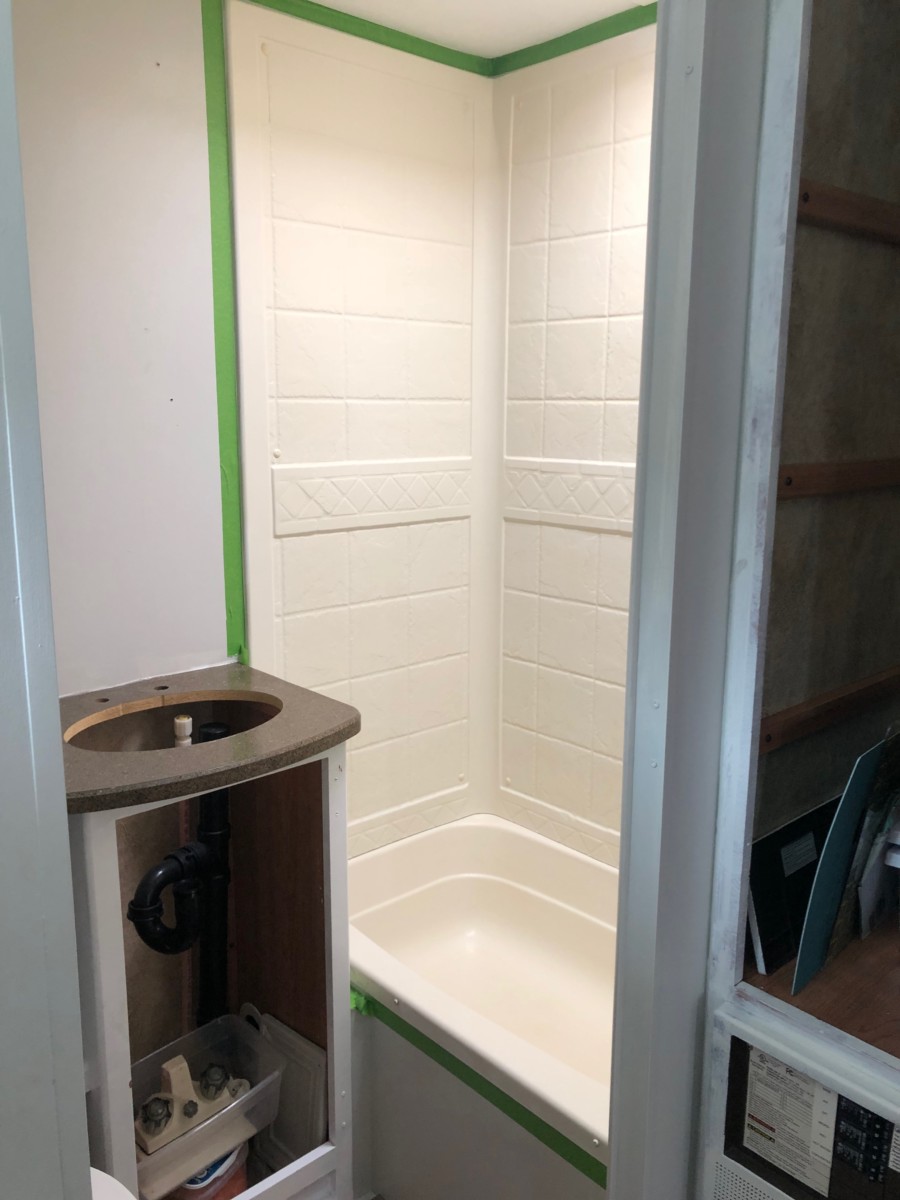
 Now for the bathroom. This thing was gross, and so I felt it completely necessary to recover every single surface in the entire room, and I did. Did you know you can paint tubs? Well you can and I share all the fun details in regards to this
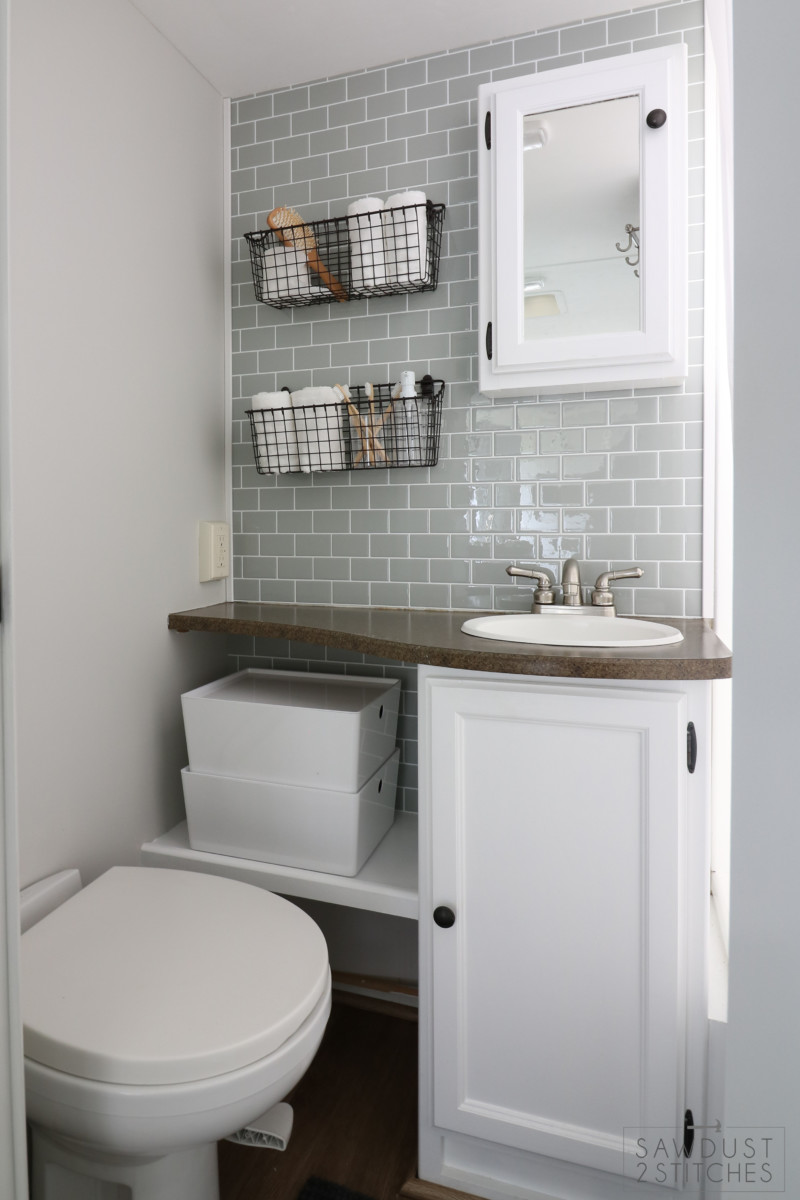

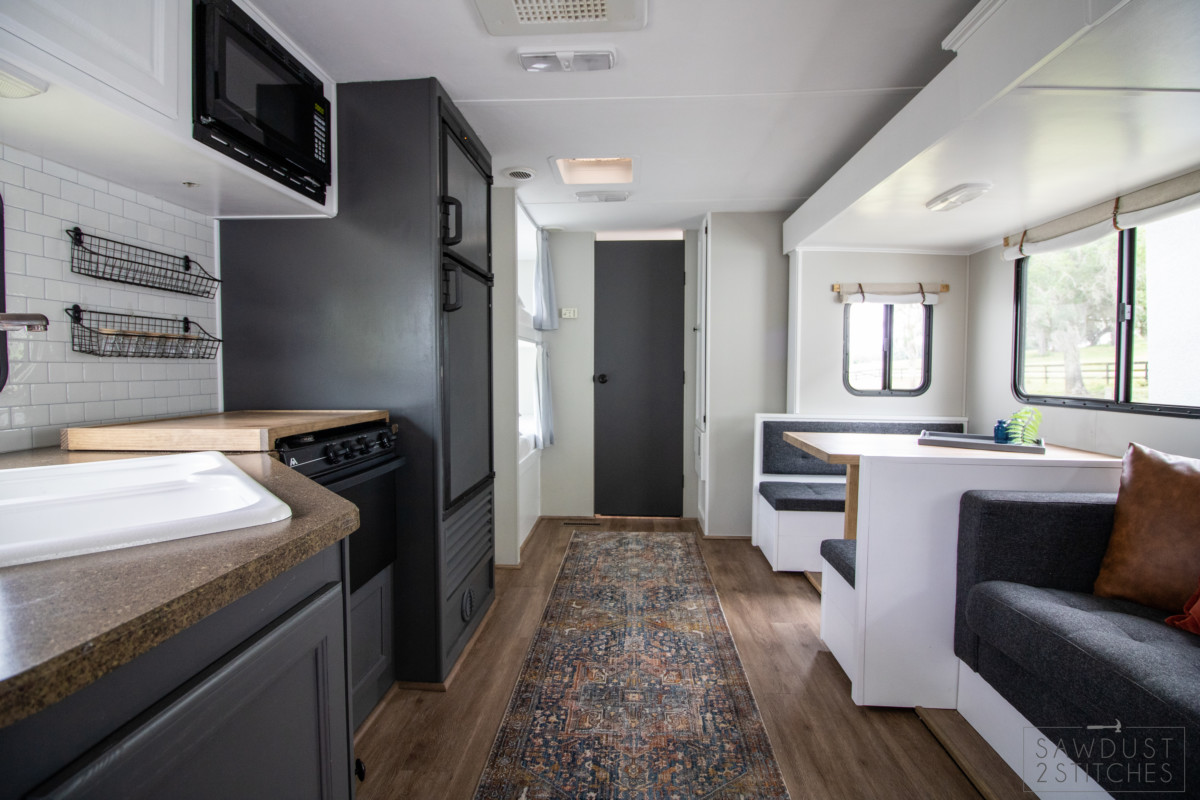
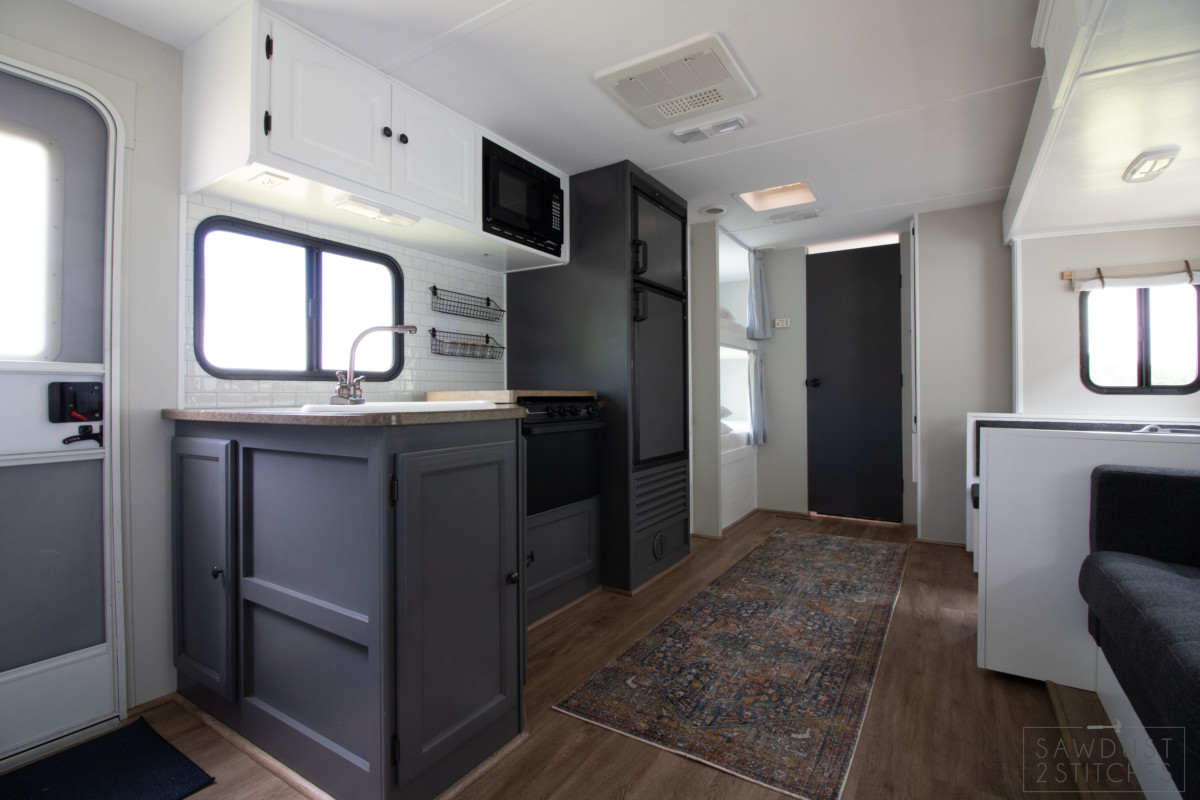
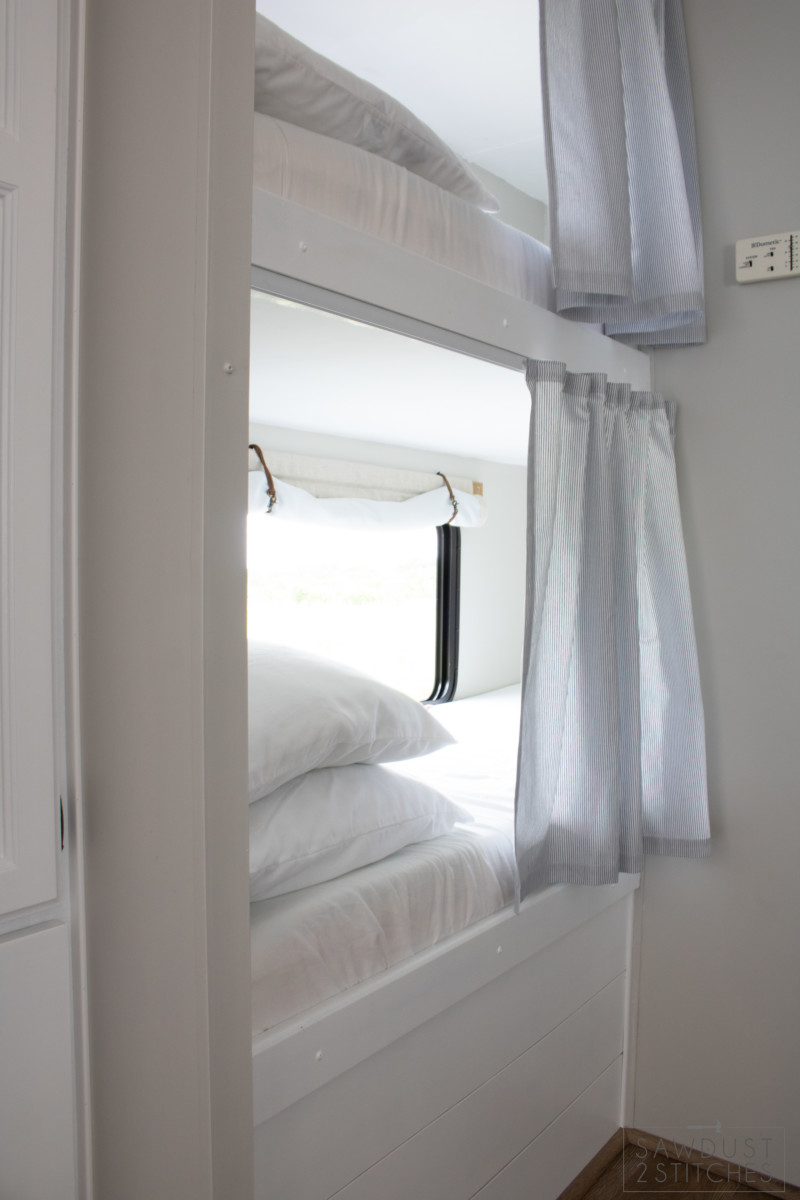
 I even added a some wire baskets to keep their books and personal items.


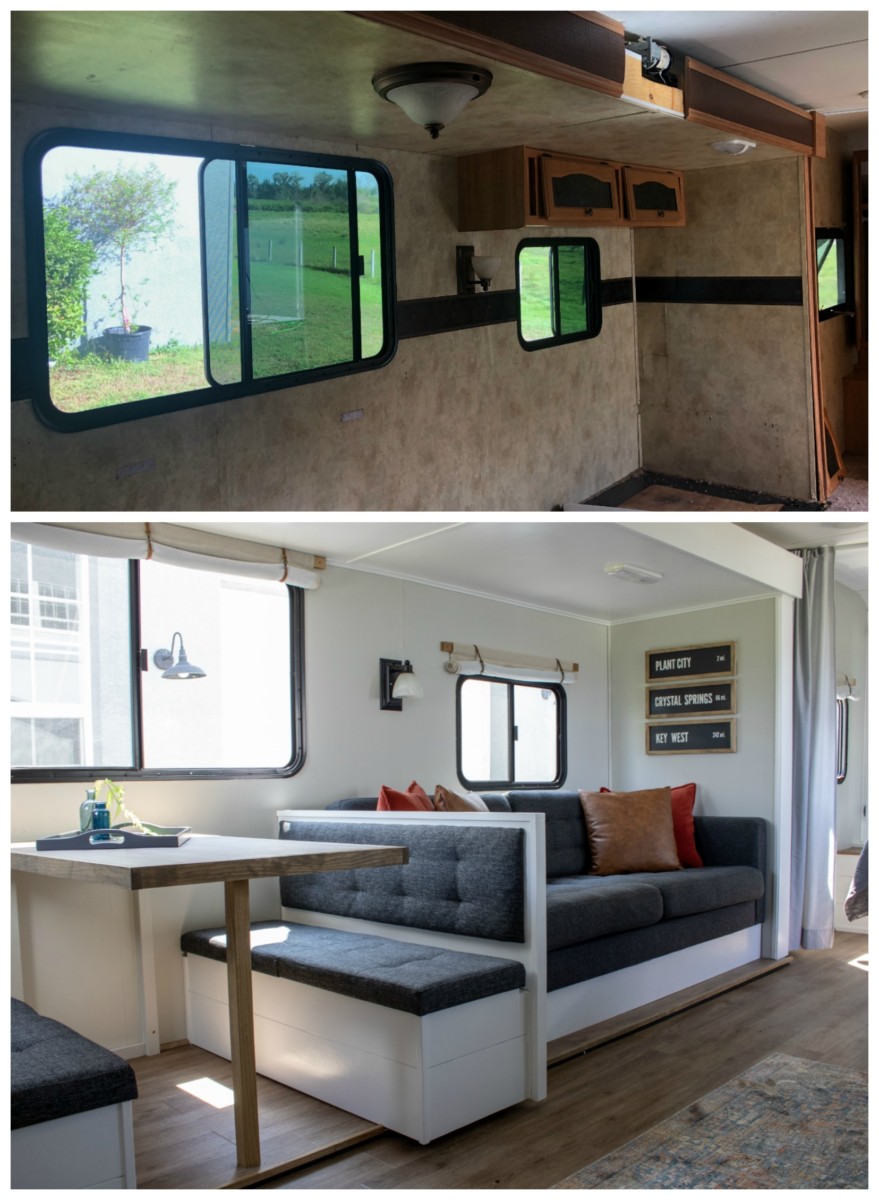
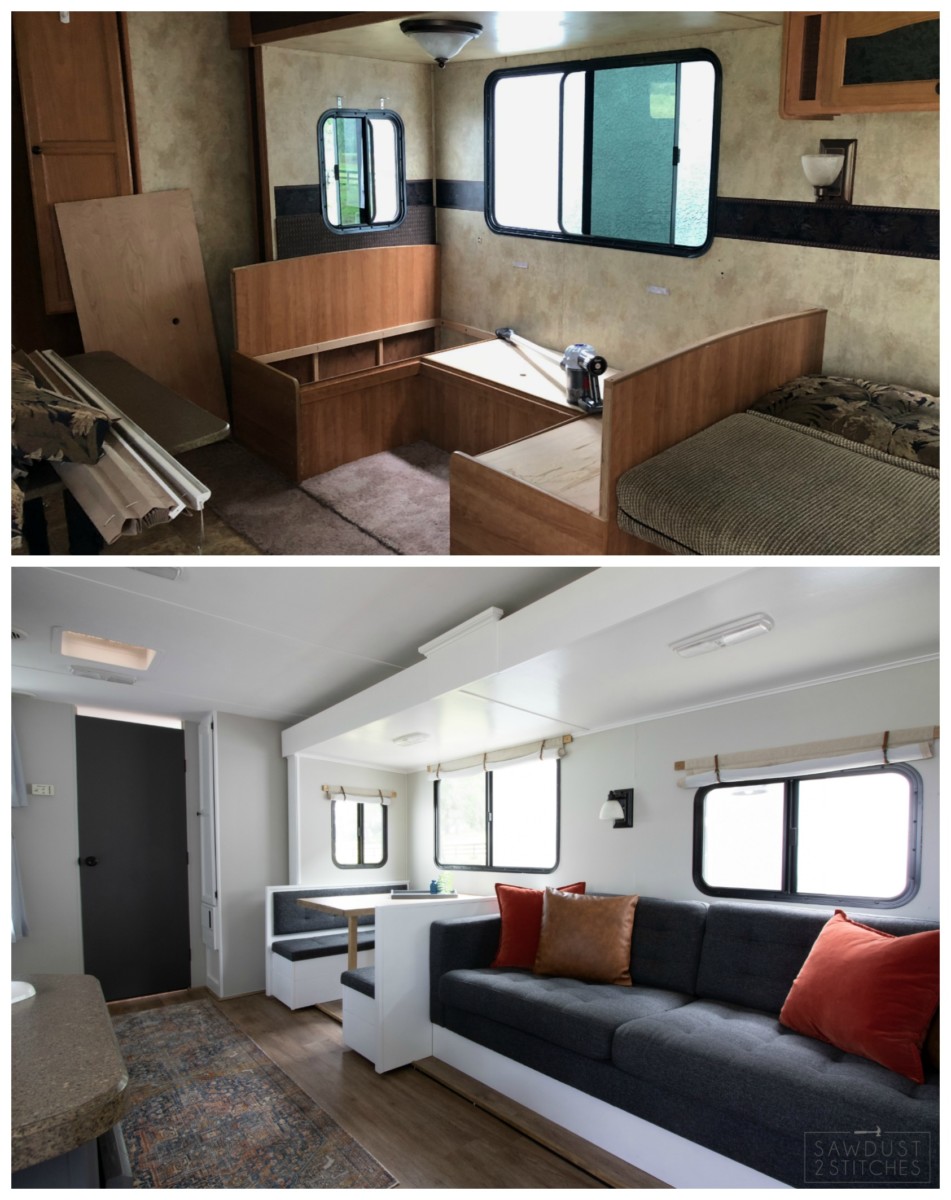
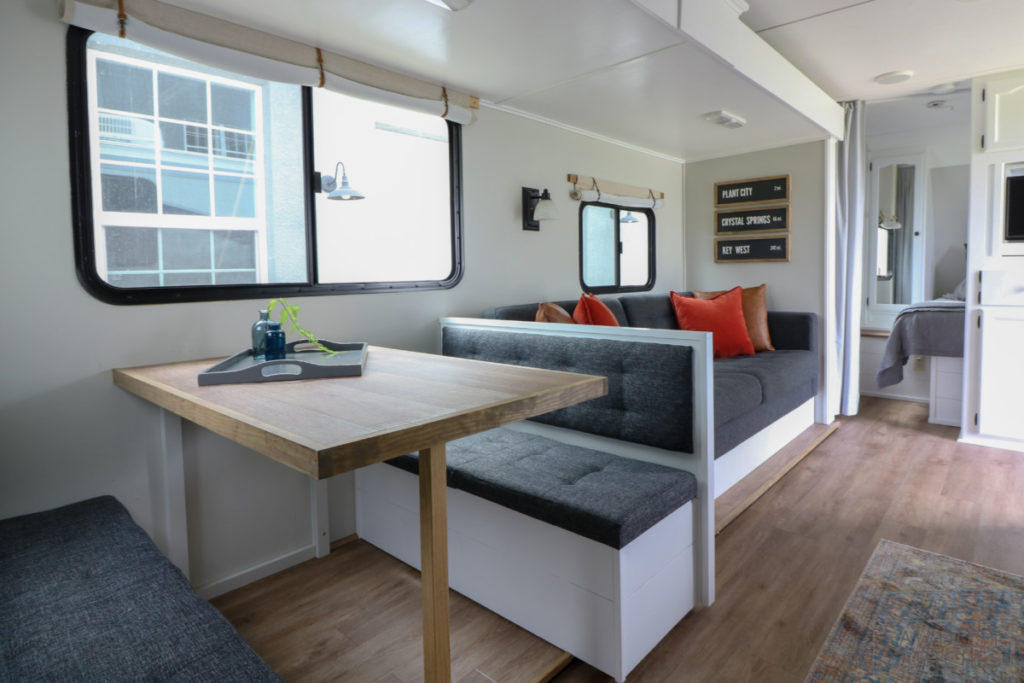
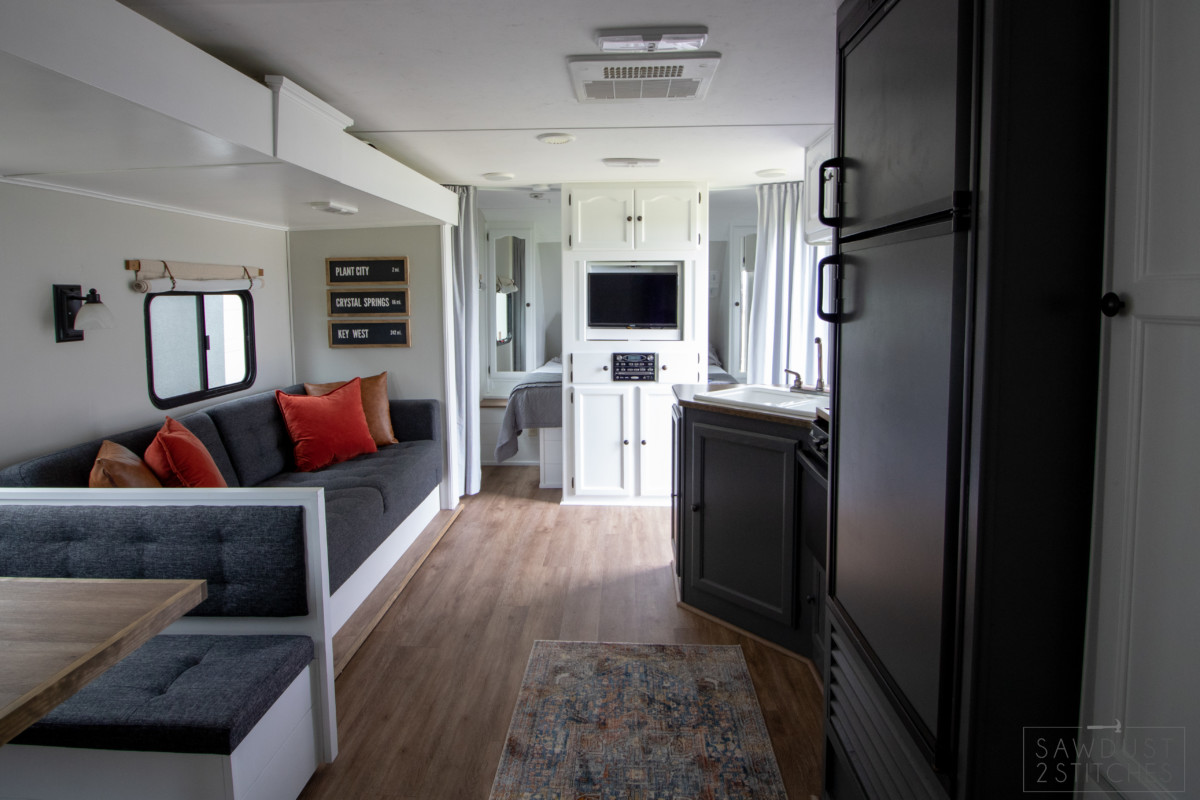
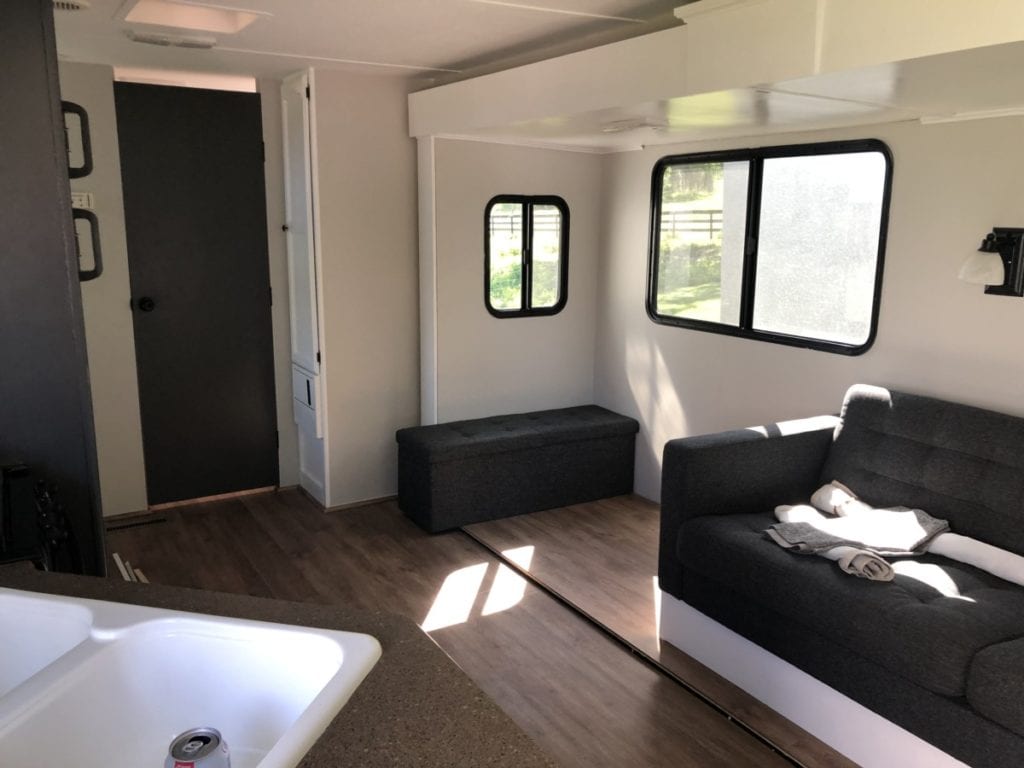
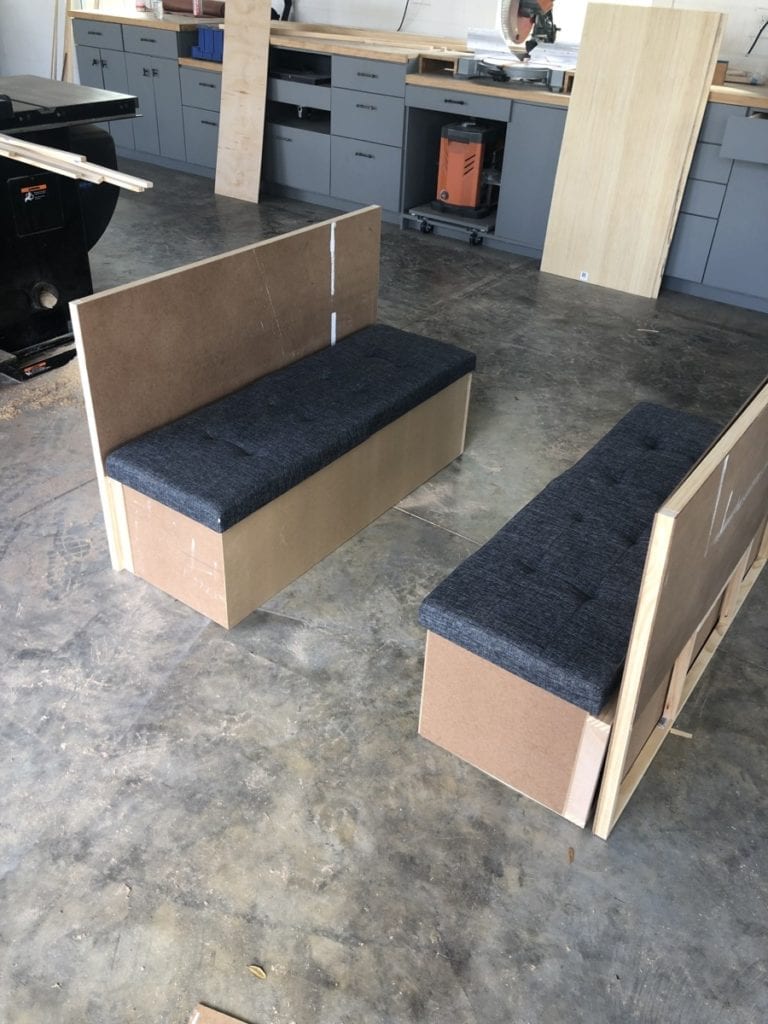
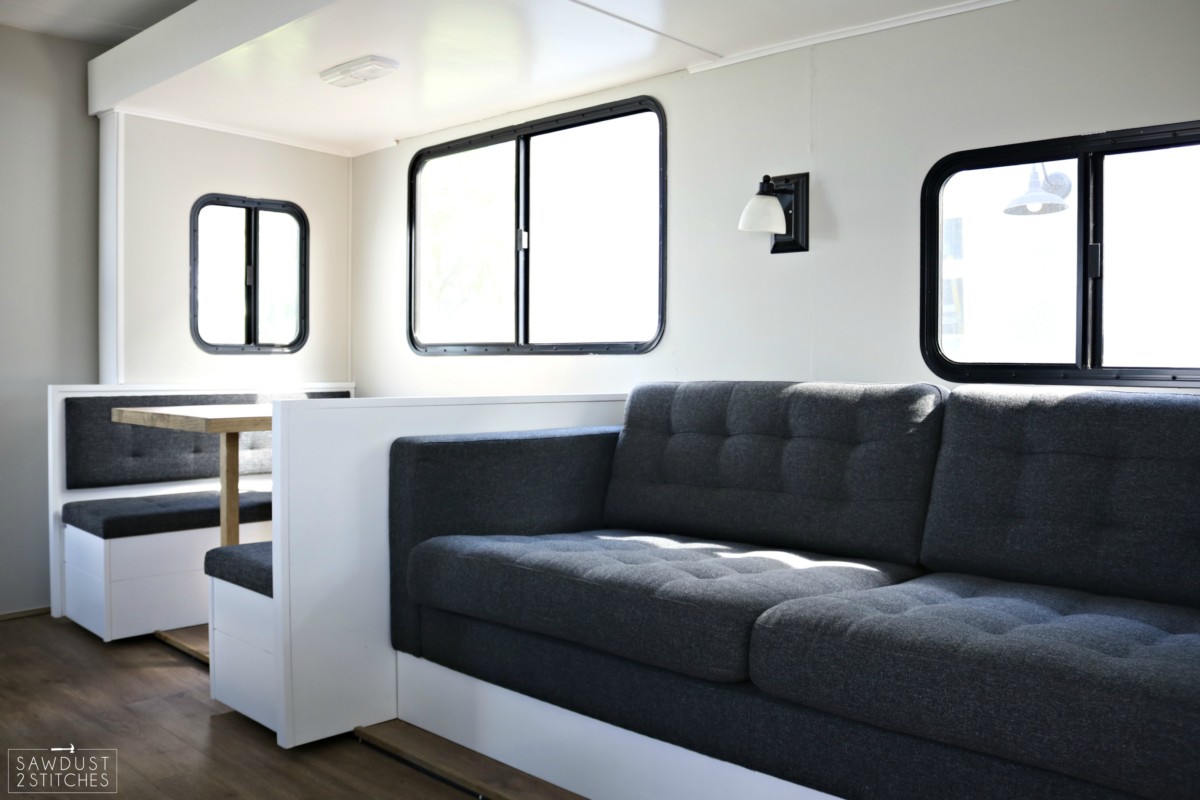
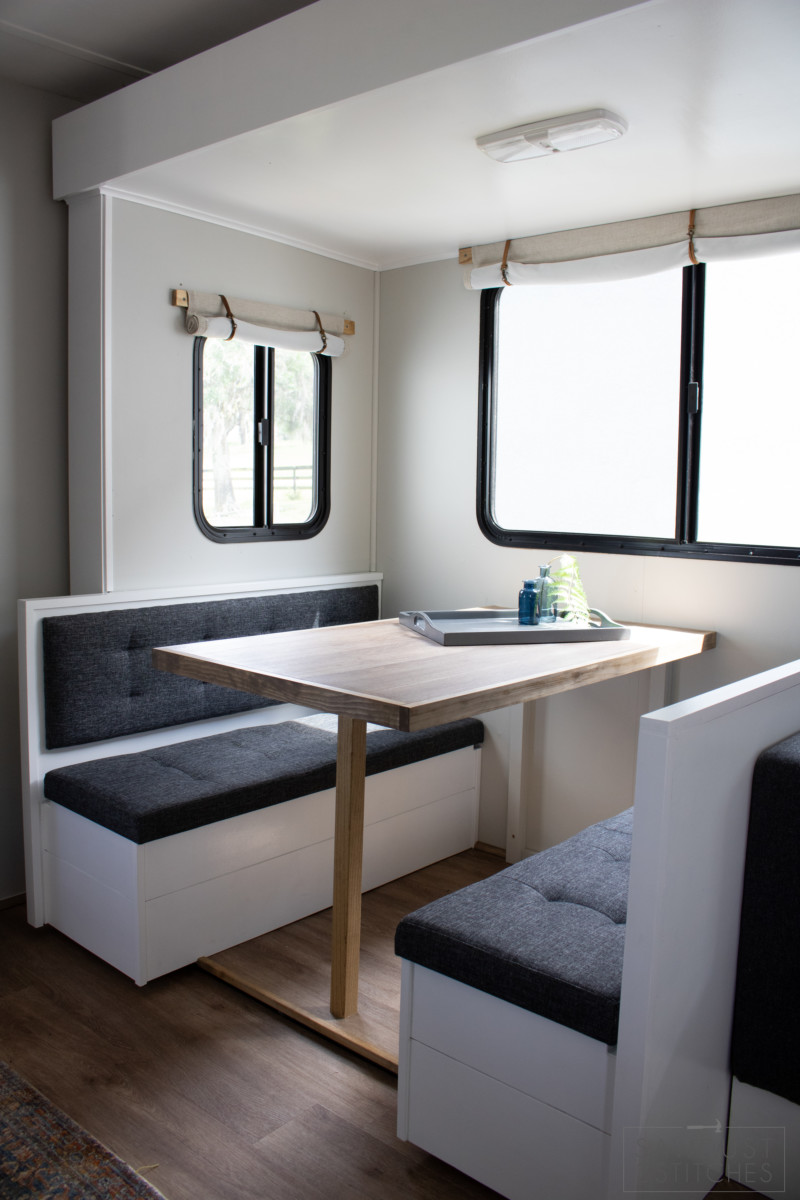
 Instead of just putting this couch in a place and somehow anchoring , I decided to take a more labor intensive route that I hoped would be worth the work! (Spoiler Alert: It was!) I wanted to make this look like a built-inland not like an after-thought. To do that I built it up so that it would appear to be on a platform. By doing this it would still be lightweight and create plenty of space for storage underneath!
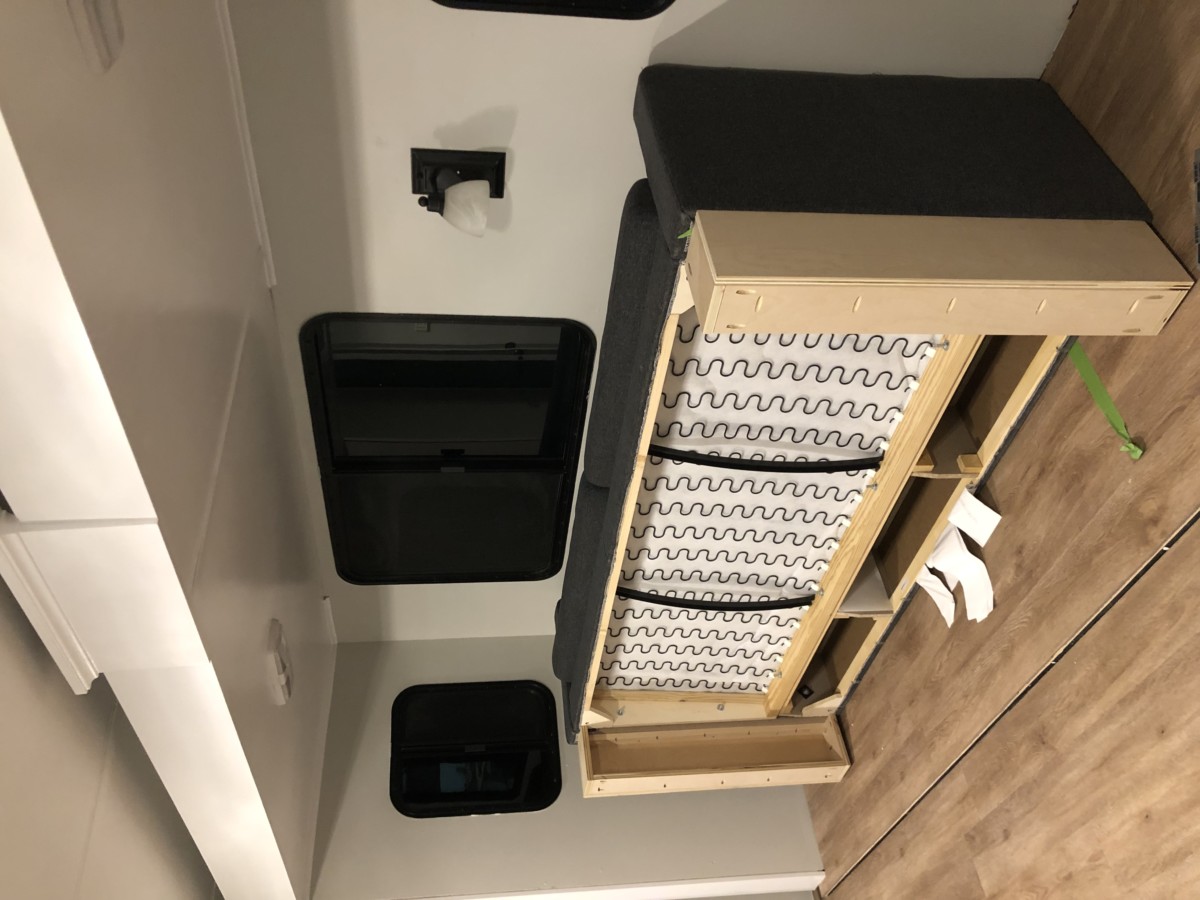
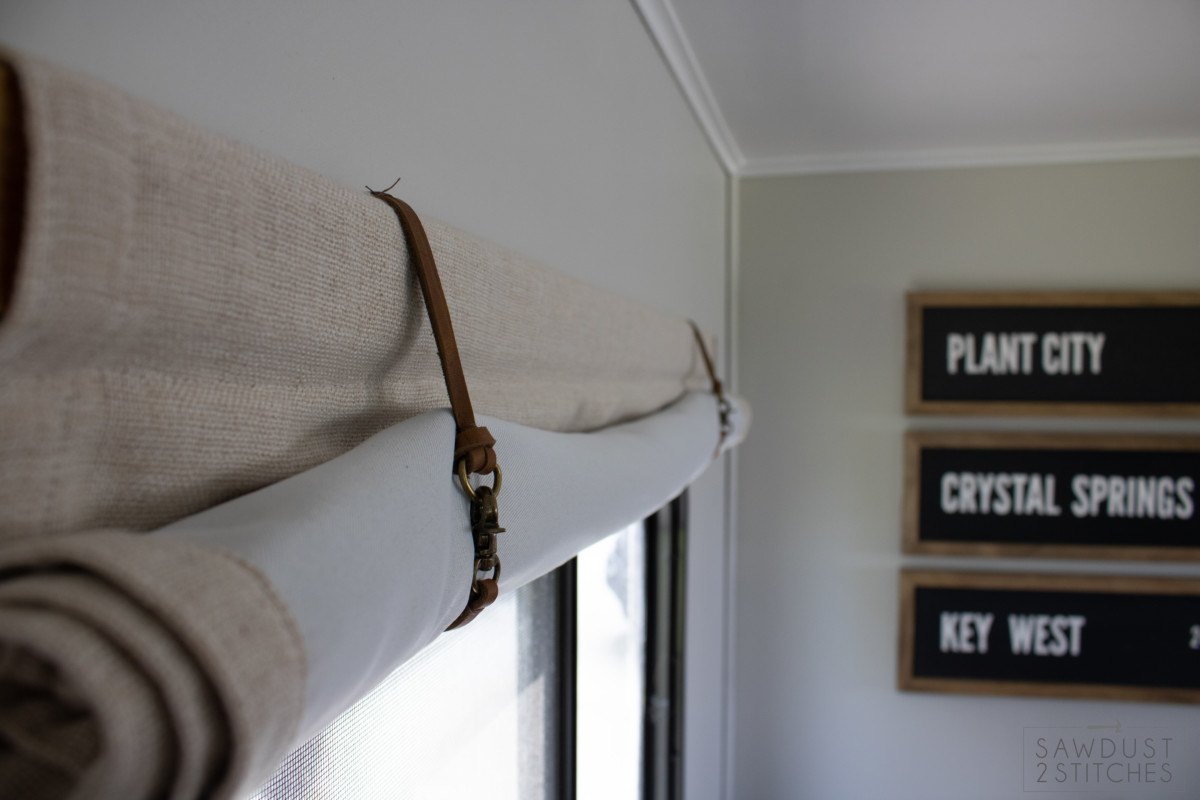
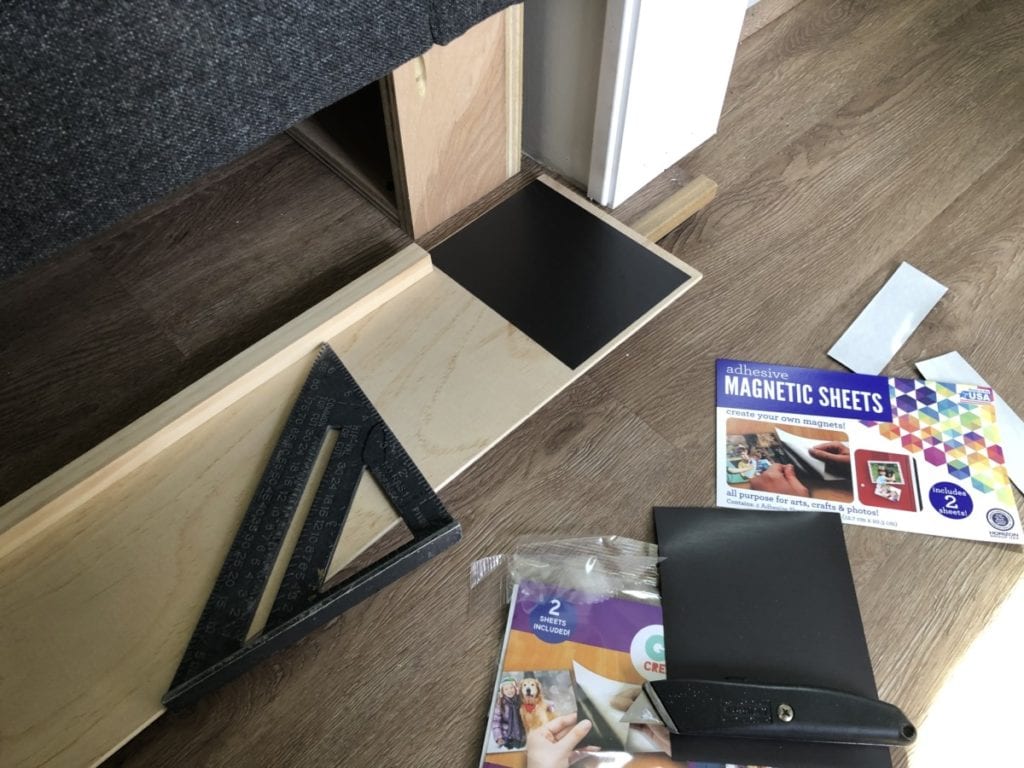
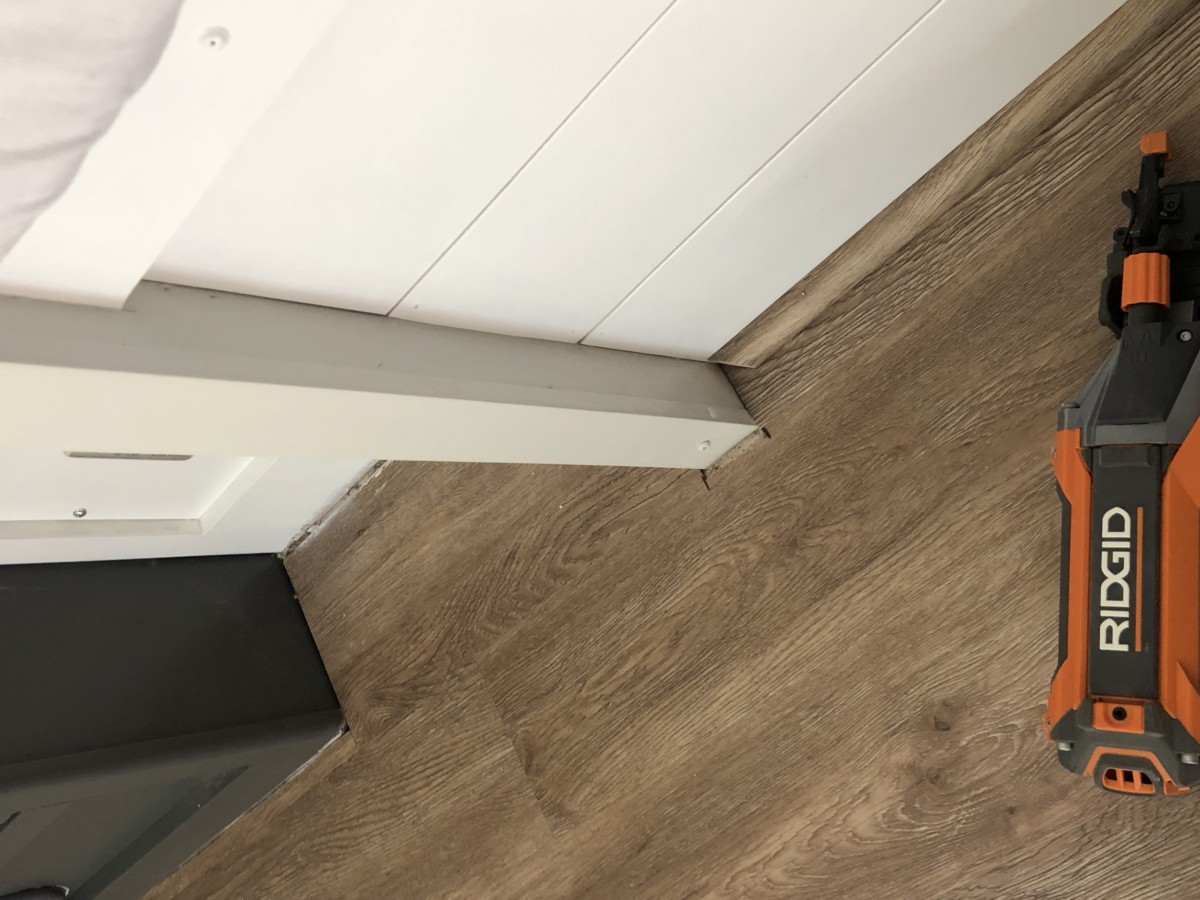
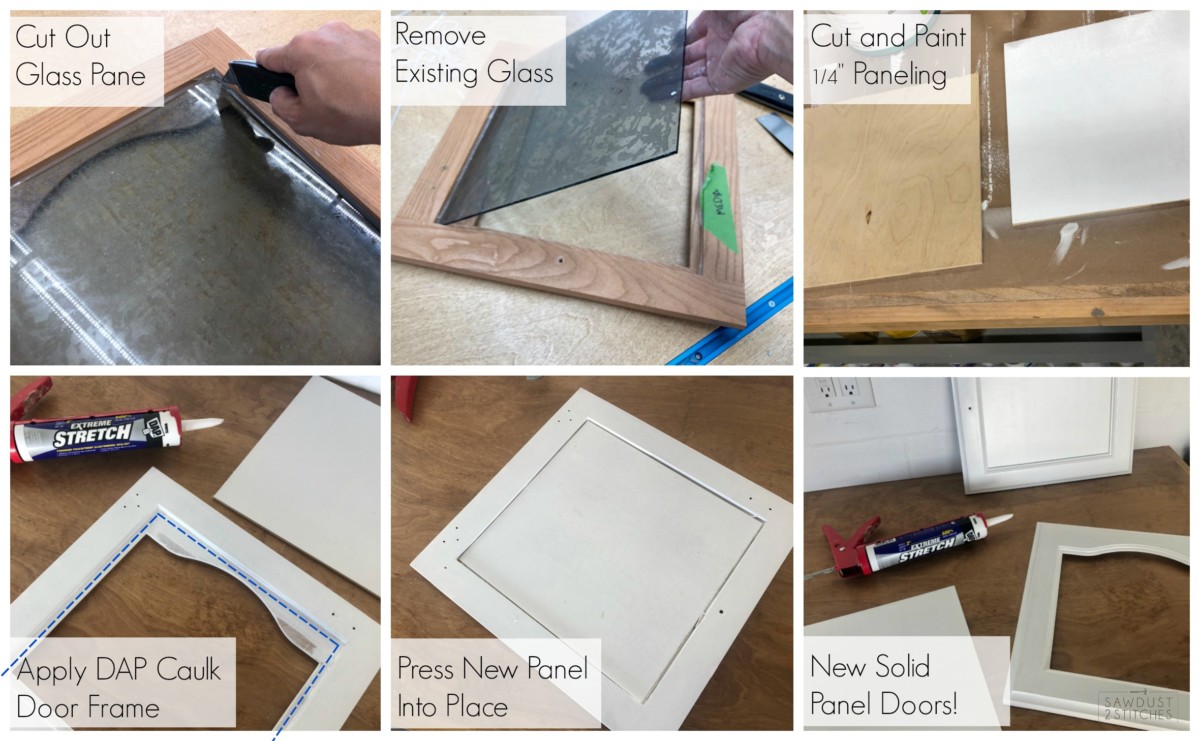
 I was racking my brain trying to figure out a super impressive way to make this work. I had considered hinges and glide and many other contraptions, but then my inner voice of reason chimed in. “It doesn’t always have to be time consuming to be effective!” So, I just ripped a piece of paneling to fit, and attached a small board that would serve as a stabilizer to the panel. This was such a simple fix and yet SO effective. I just used some Rapid Fuse and it was done in 20 mins, start to finish!
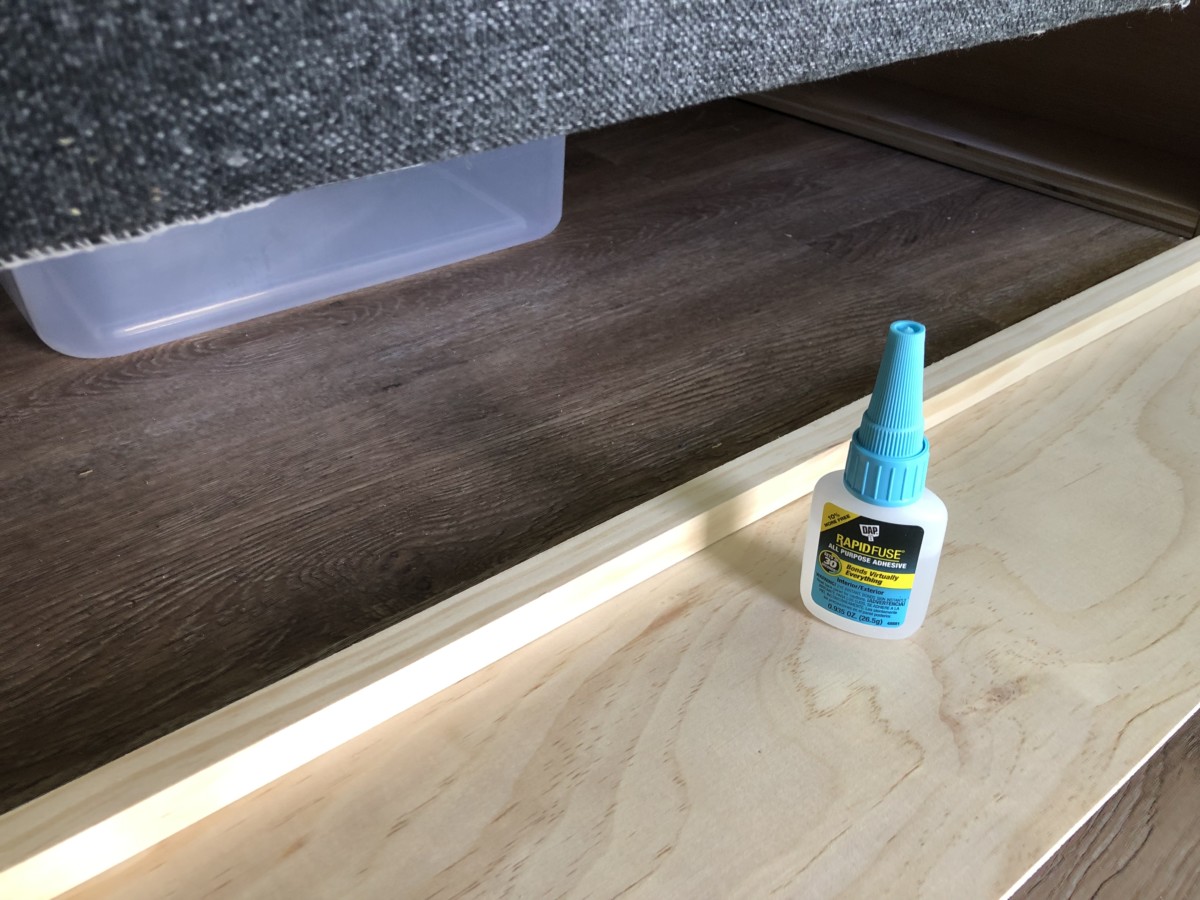
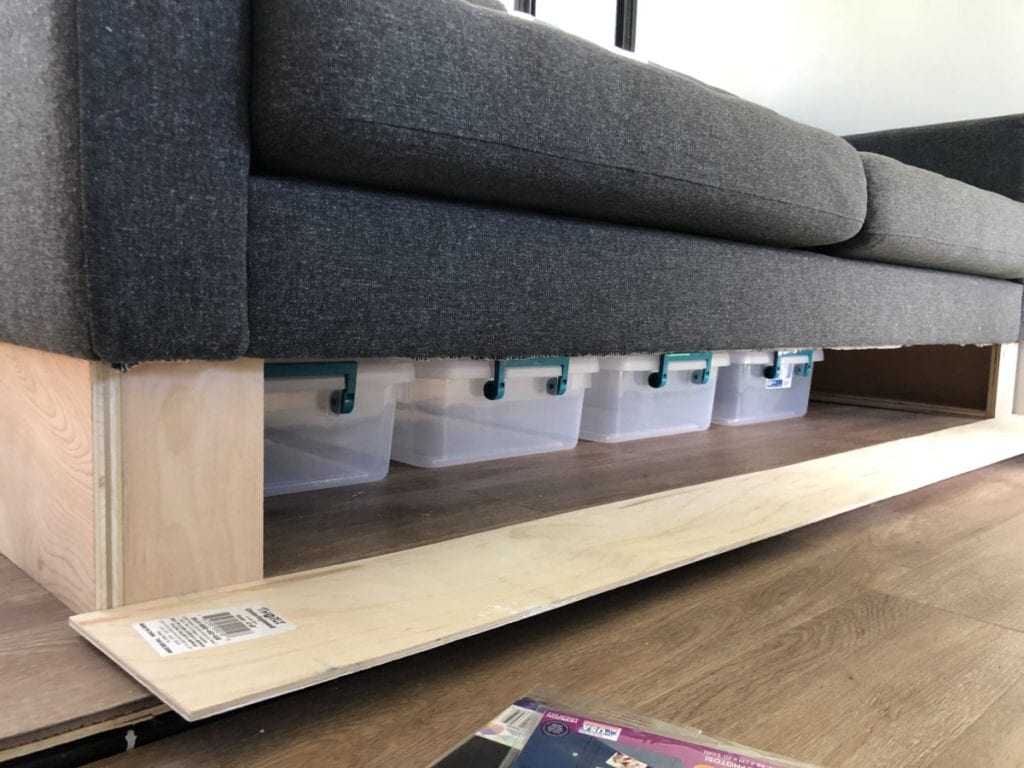
 All of that storage makes my heart happy. It will make for easy loading and unloading, and of course it will stay a bit more organized!
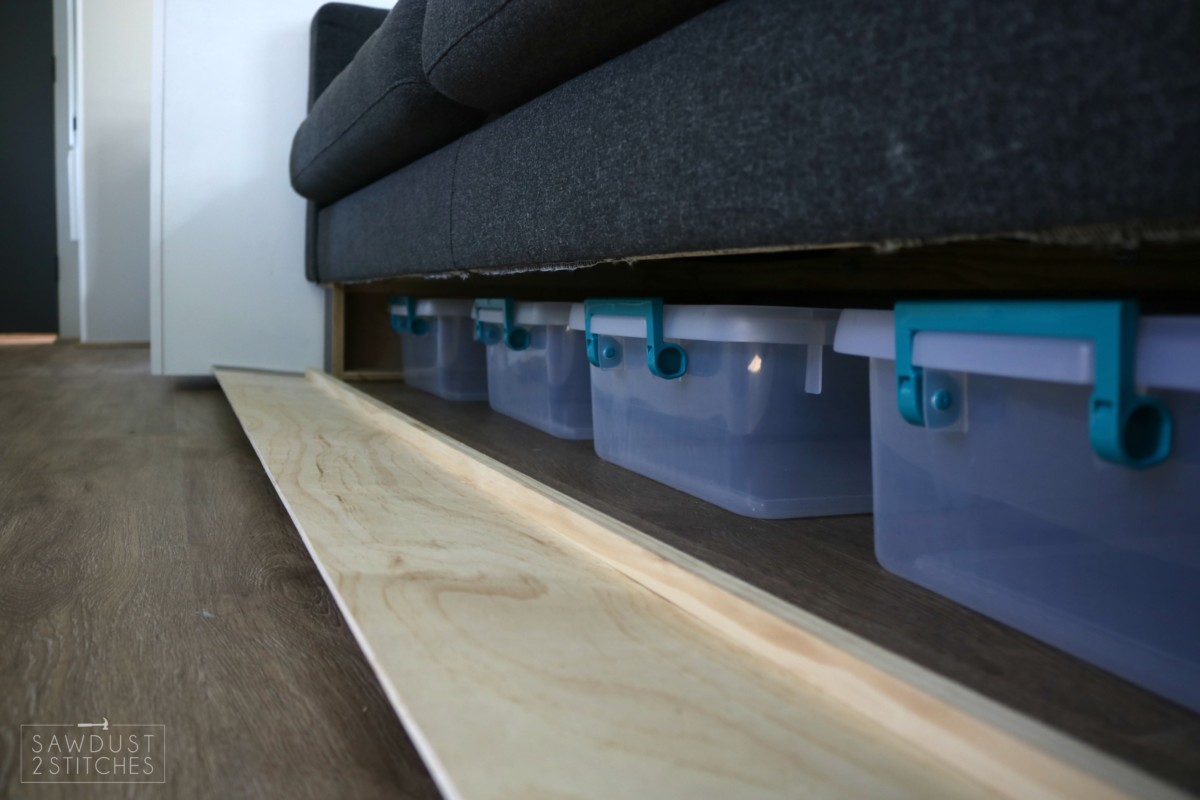

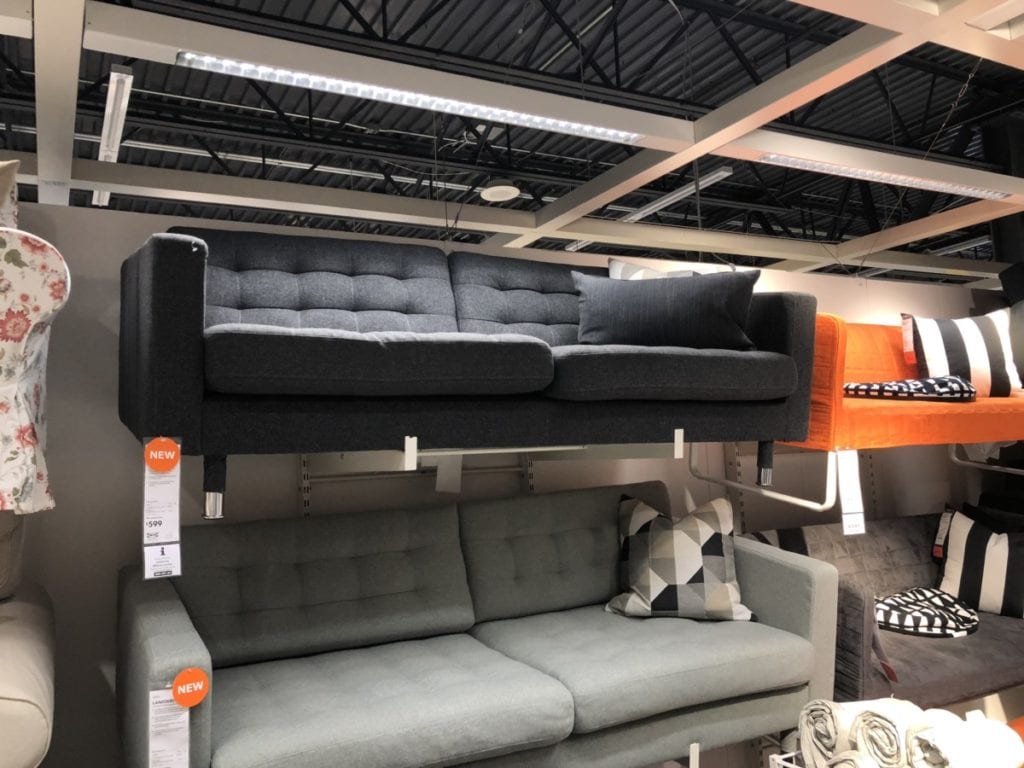
 So I began breaking down my new ottomans and using them for parts. The base I knew I could build easily… it was the fabric and the upholstered hinged storage lid that I really wanted to utilize.
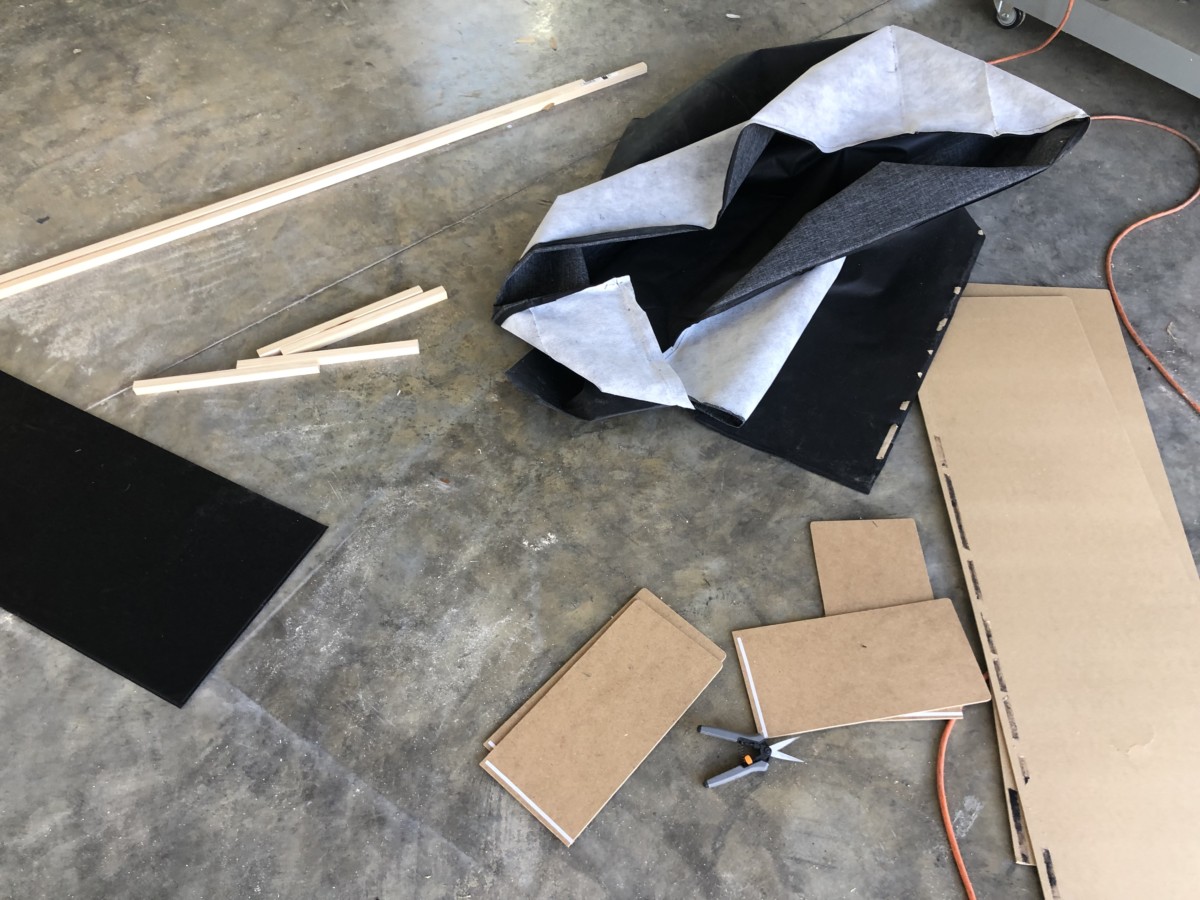
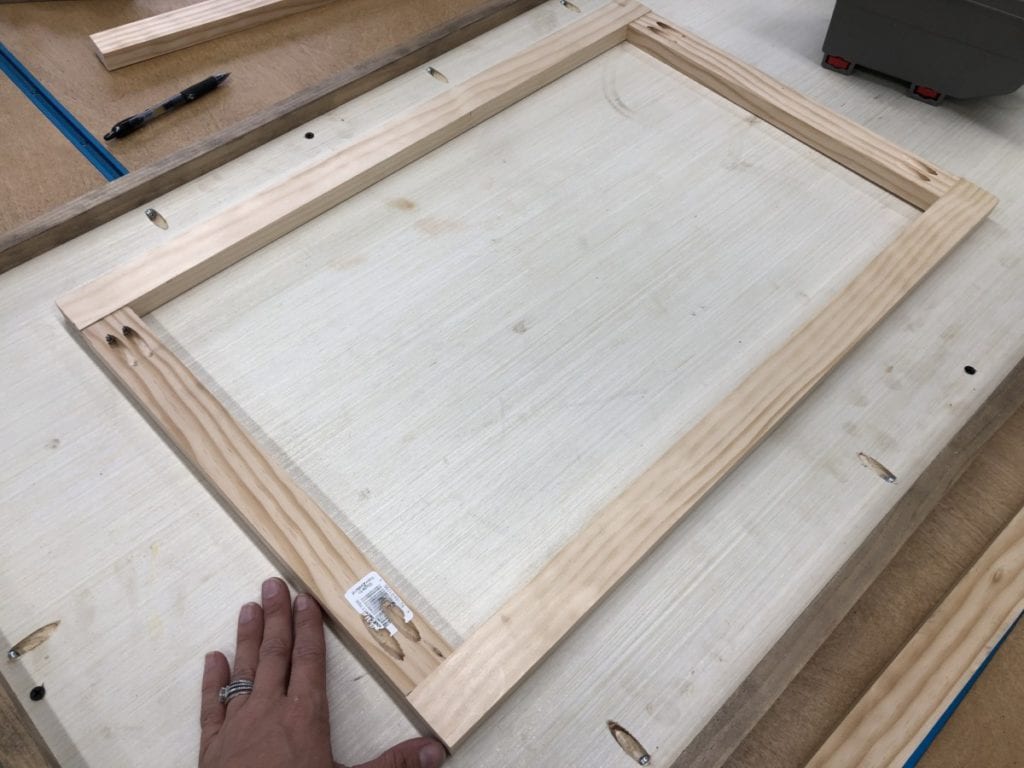
 Seeing as I was building this matchstick style, I wanted to give it as much strength without adding a lot of weight. In order to do that, I upped my adhesives game. I used both Rapid Fuse and DAP Wood Glue before fastening the structure together. Can I just tell you how pleasantly surprised I was at how sturdy these little benches are!?
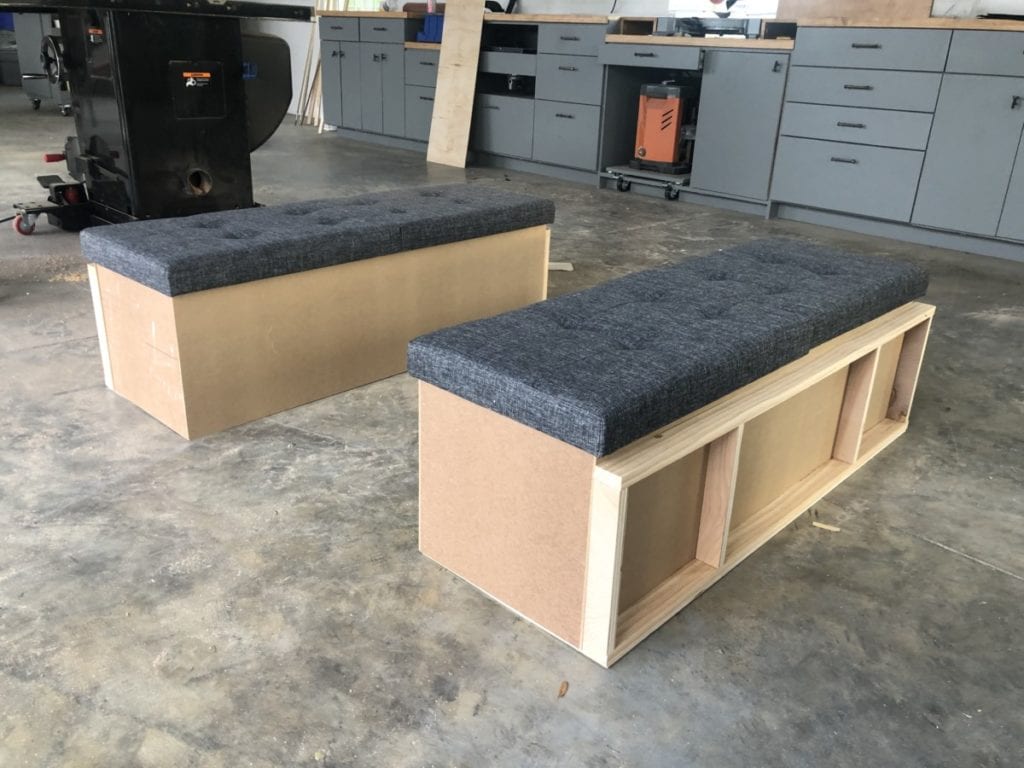
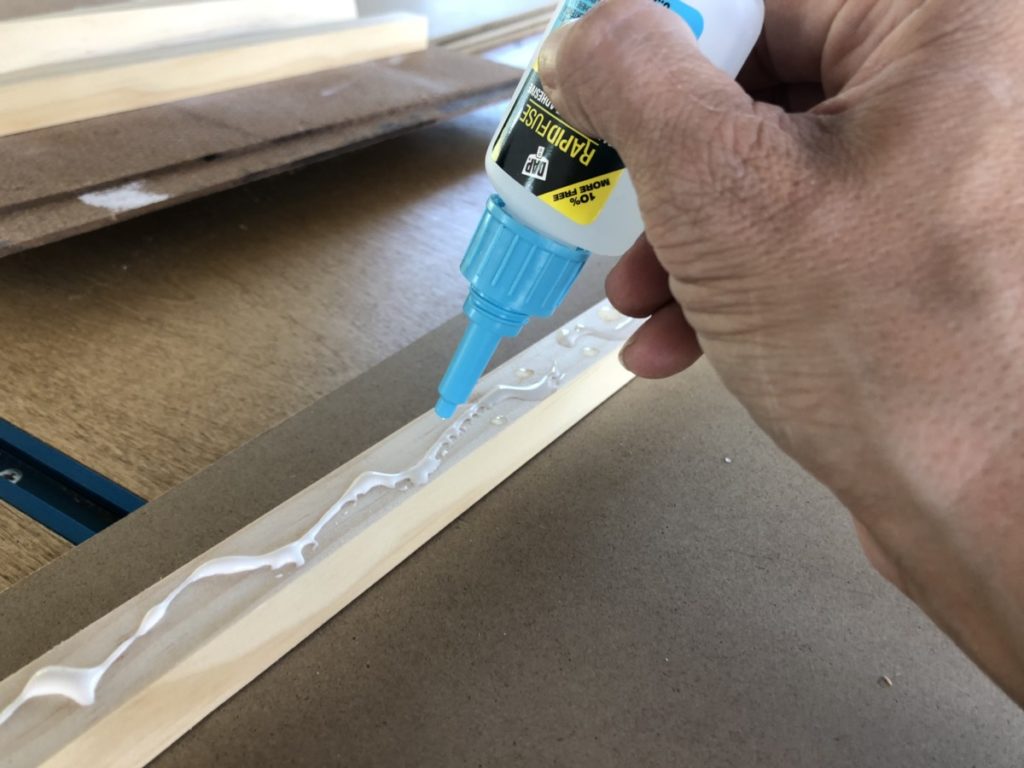 Once the bases were built I moved on to the back supports. Again, I needed to keep this LIGHT, so I had to get a little creative. I used 1″x 1″ boards to make a skeleton (With a few strategically placed 1″x3″ boards so that I could attach my upholstered back (keep reading). Using my glue up trick, I was able to make a very STURDY and light weight frame that I would be able to attach paneling to.
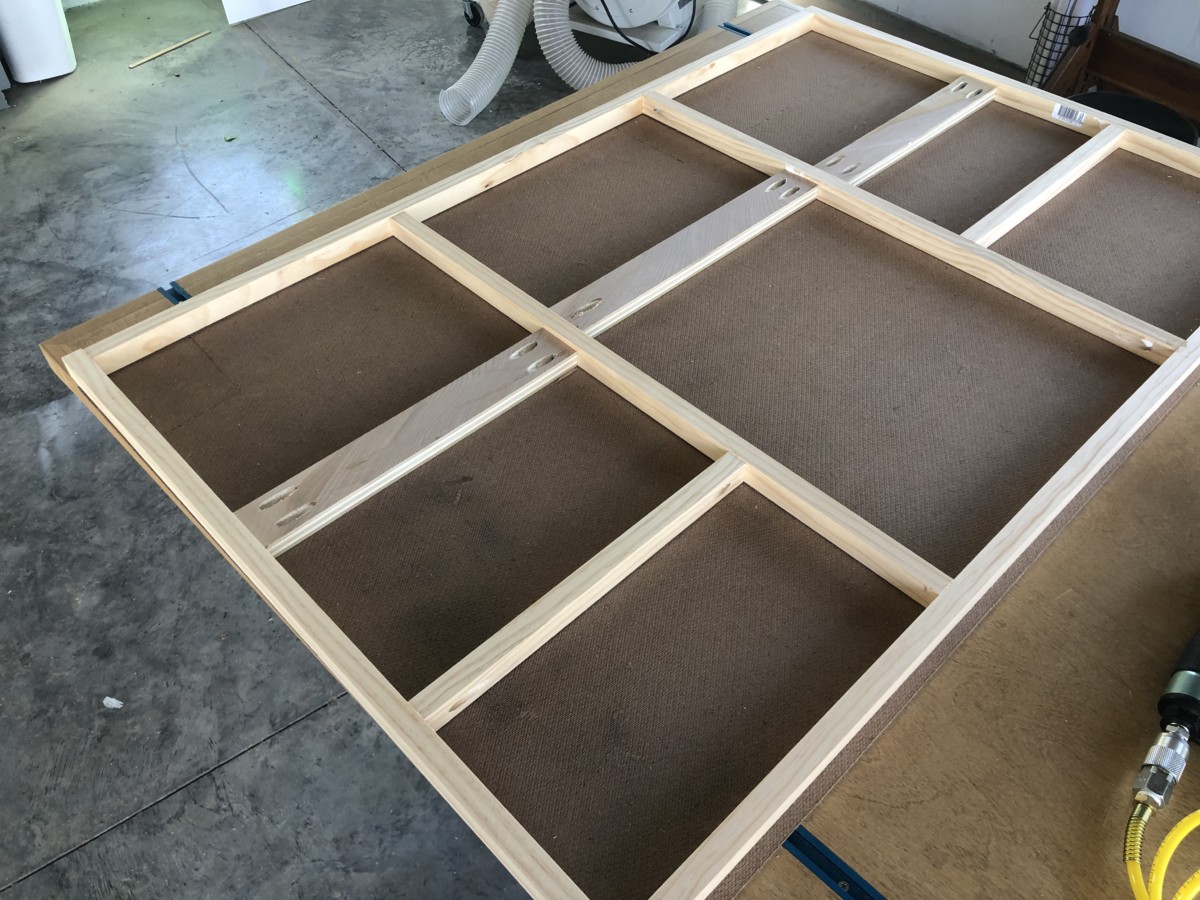
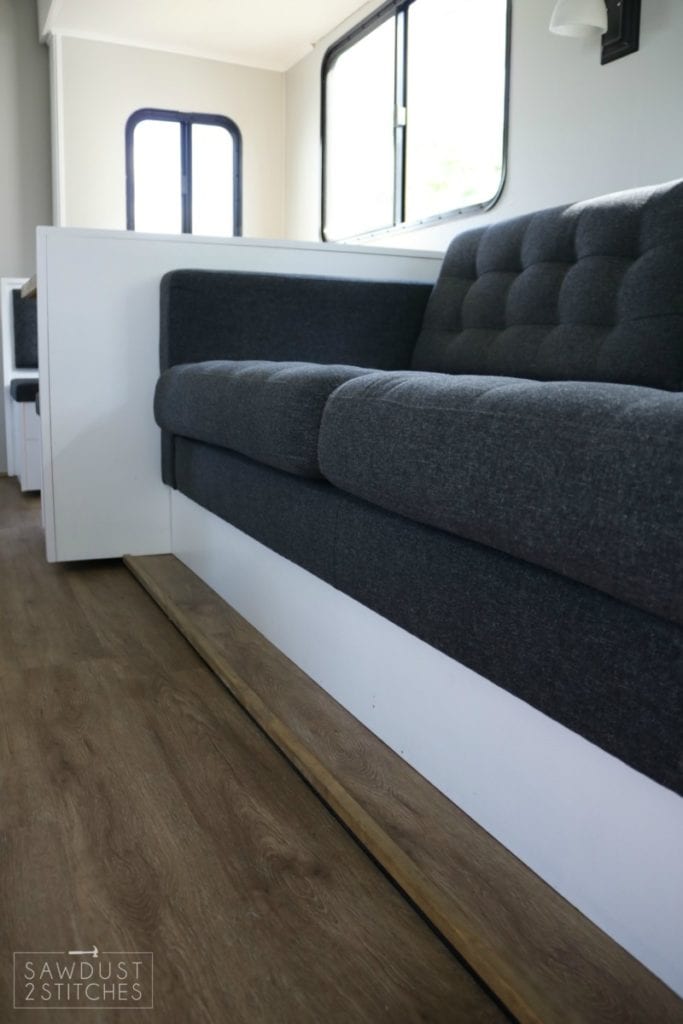
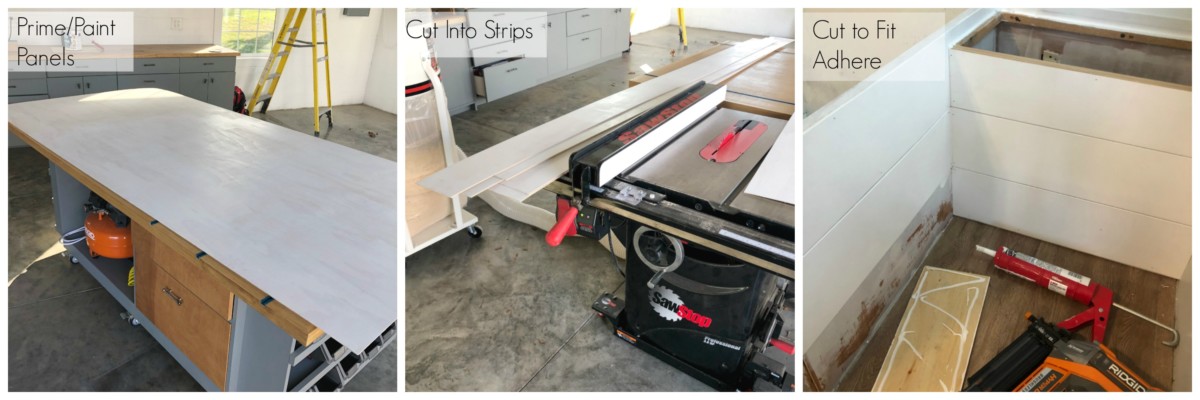
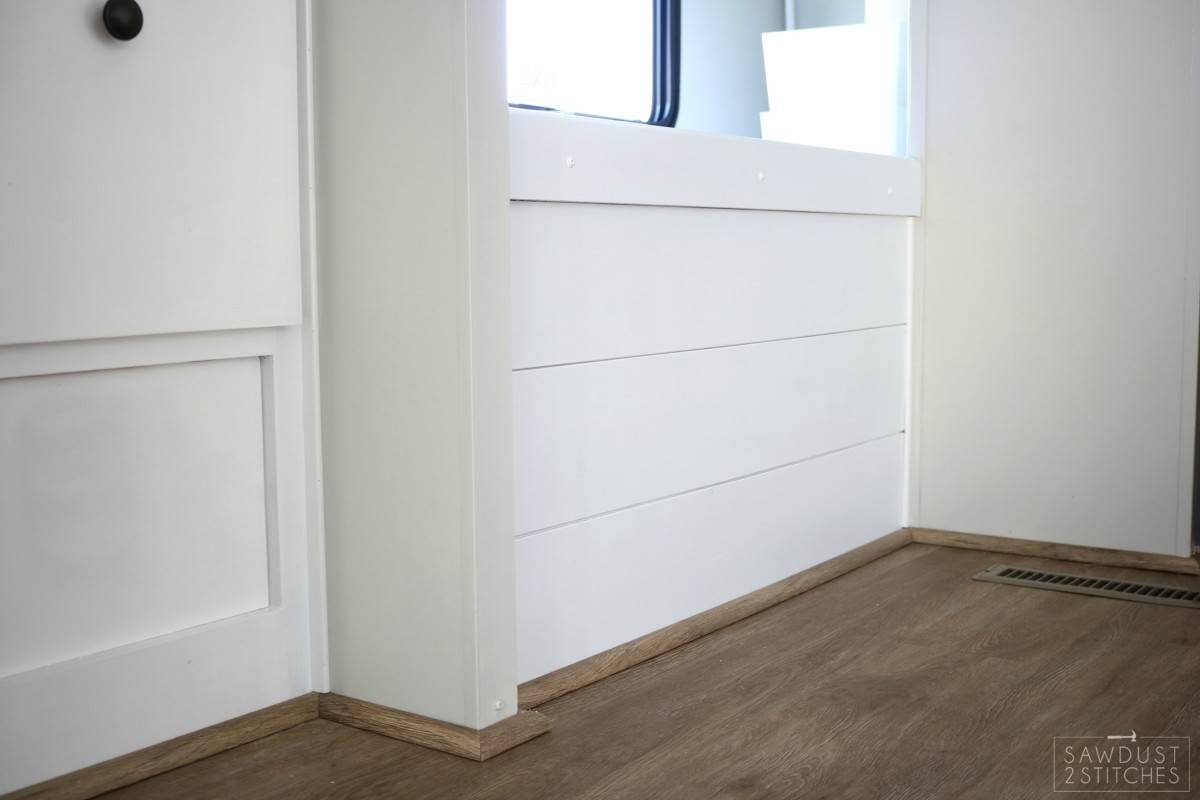
 Once the backs were attached I moved on to the aesthetic’s of this project. I wanted this to look built-in. So, I decided to tie in the look I created in the master bedroom of the camper. (
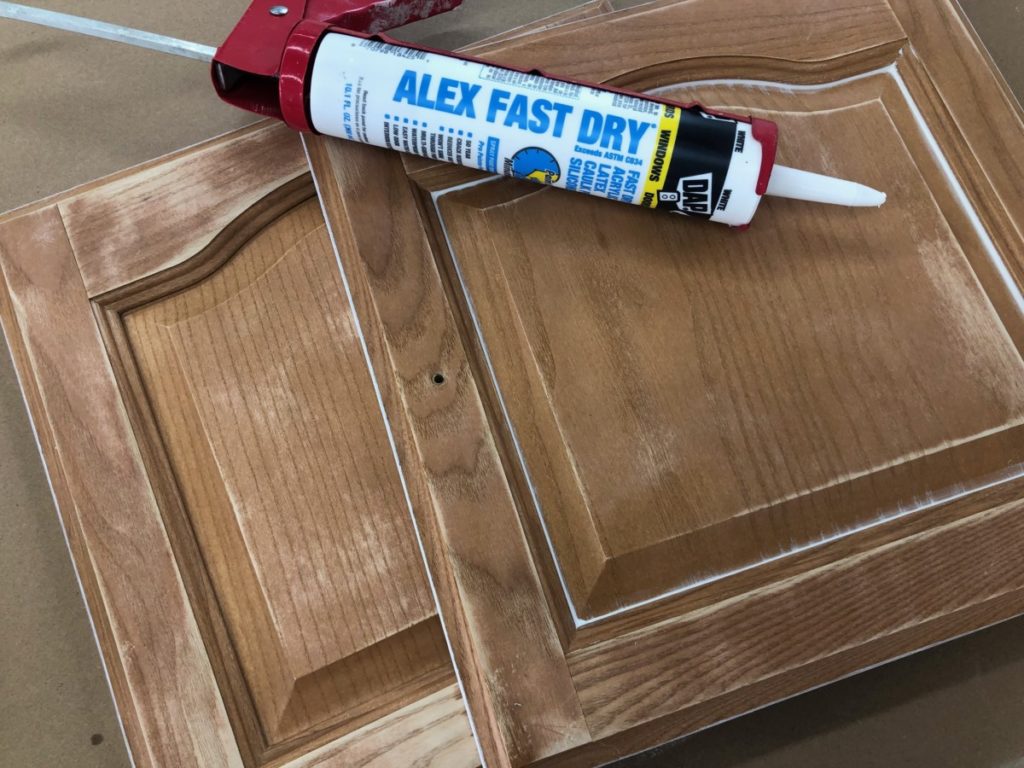
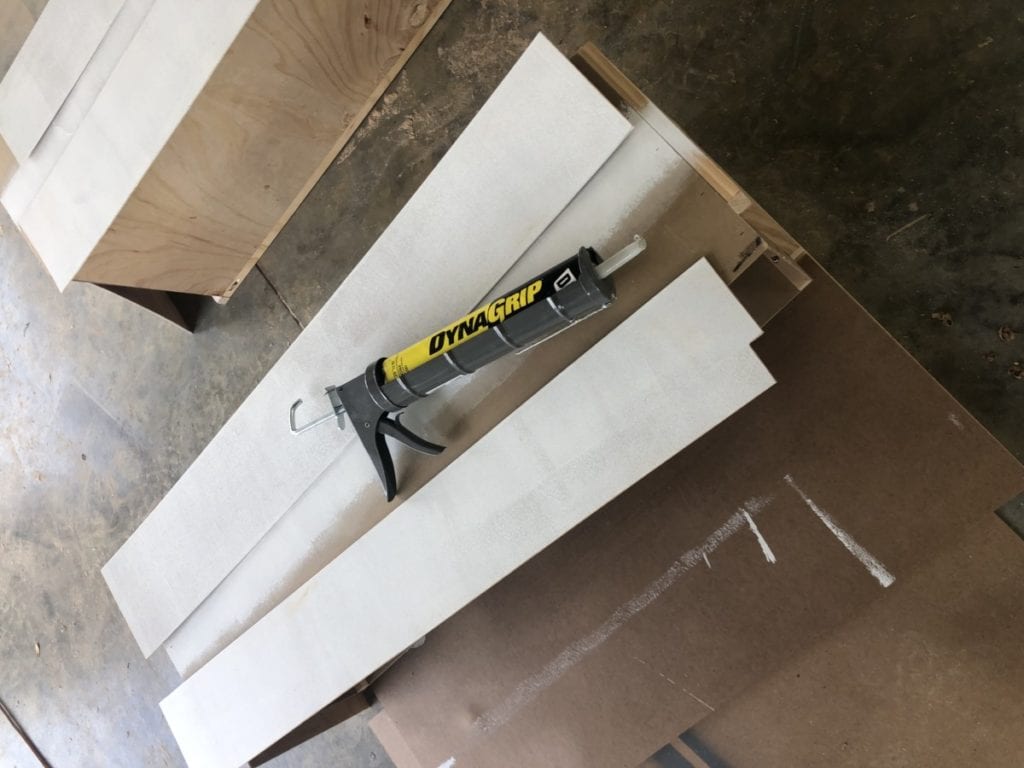 Once all the shiplap was in place I needed to complete the look by trimming it out. I SWEAR it is in these last few detail oriented steps that projects truly start to look professional! I always like to trim the corner of pieces and then I follow up with a thin bead of caulk. Once the piece is painted it creates a flawless look! I am telling you, caulk is the Magic Eraser of the DIY world. I like to use Alex Fast Dry, it has a great finish, is easy to work with and of course you can’t beat a 20 minute dry time!
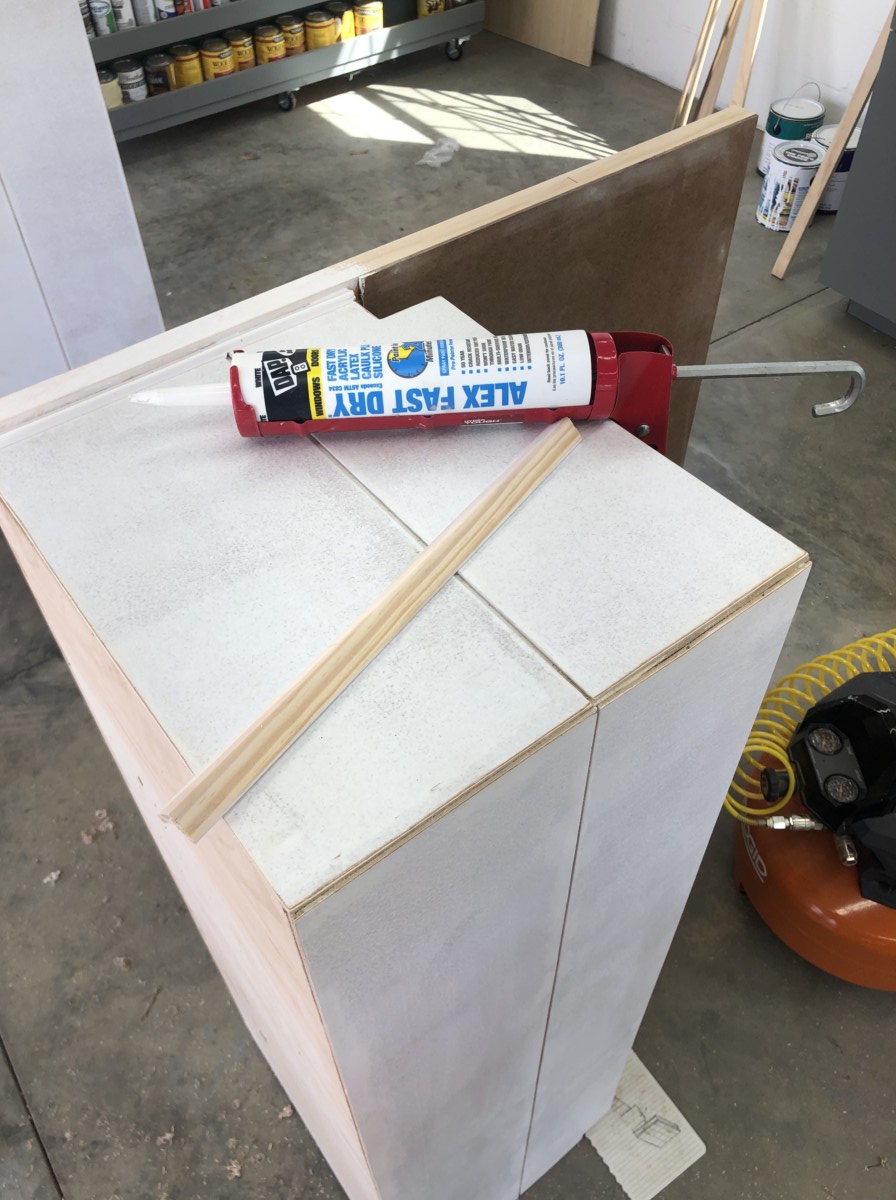
 I then using a drill bit to create small holes where I wanted to create tufts.
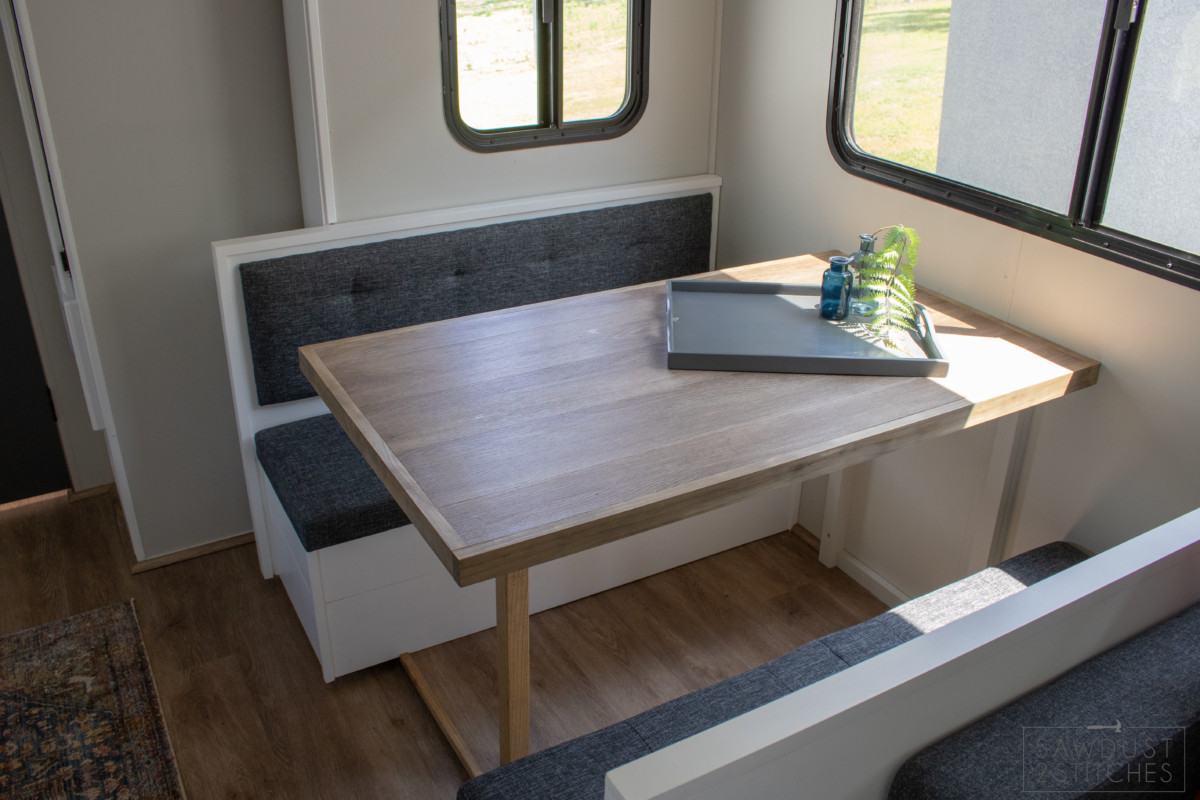
 Camper Table
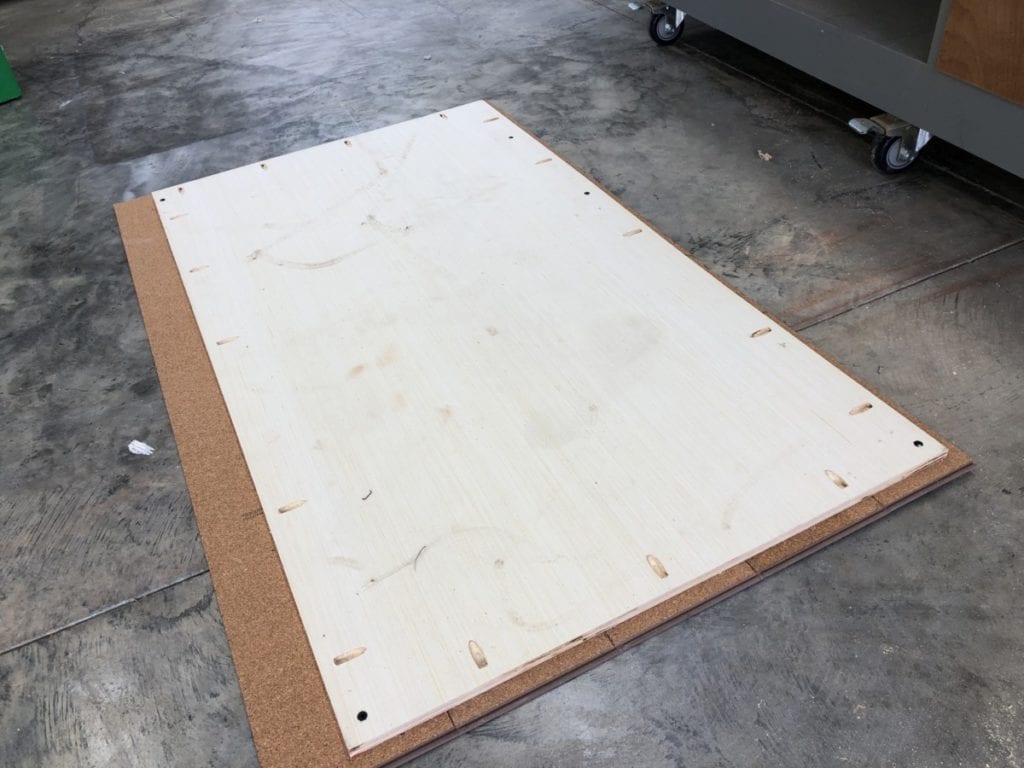
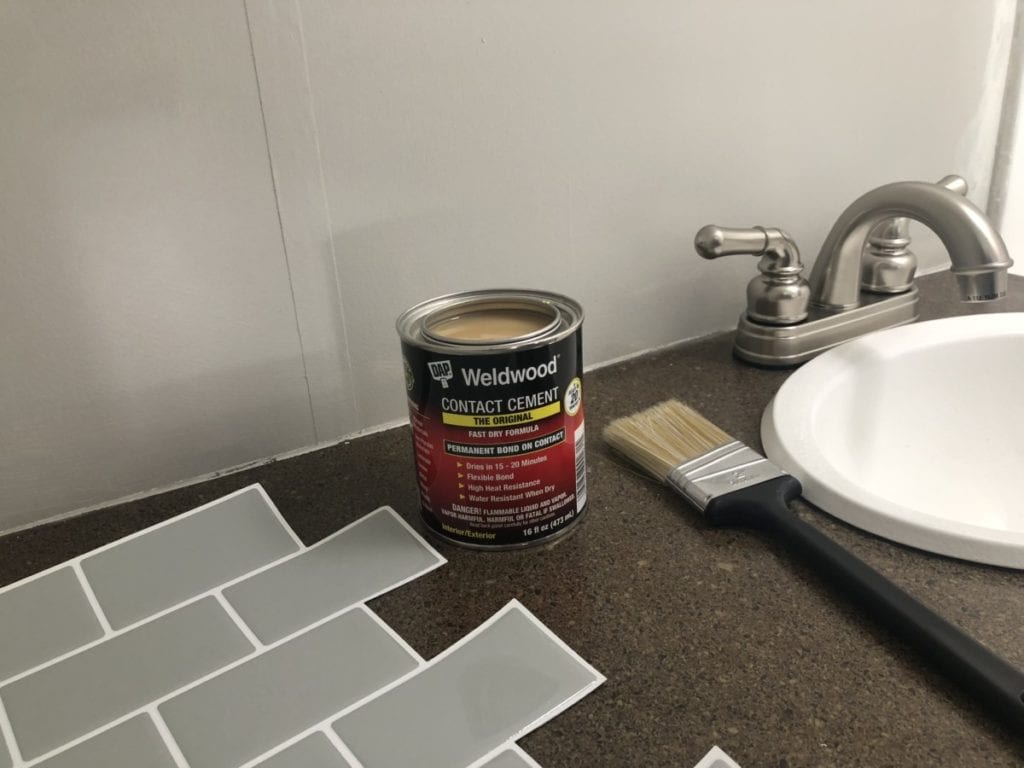
 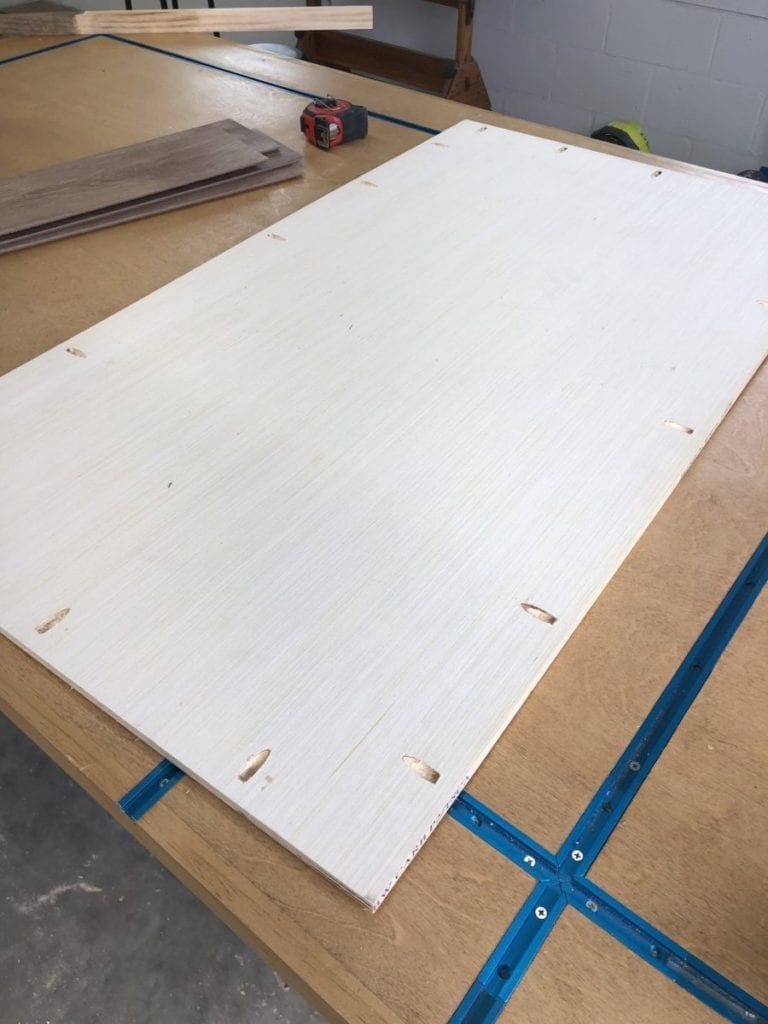 Next is the easy part, making this simple piece of plywood look like a custom table! I simply glued the flooring to the board. Yup, it’s that easy! Using a paint brush I I brushed on a even coast of DAP Weldwood Contact Cement over the area that I would be placing my first board/flooring.
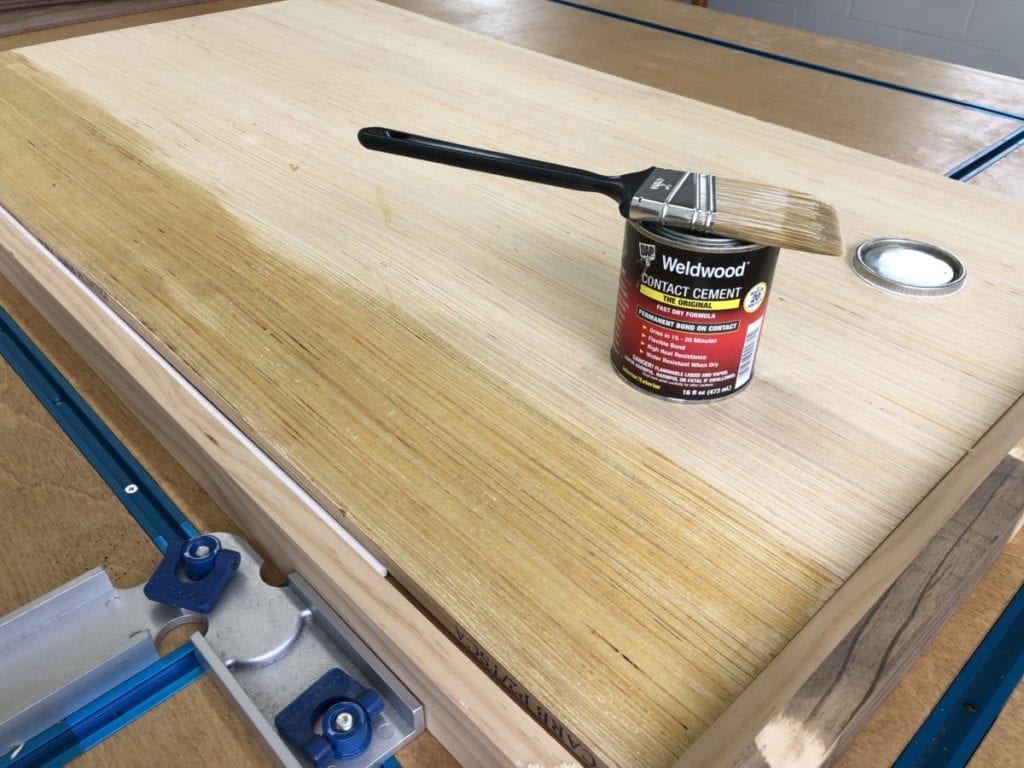 Once the initial piece of flooring/board was in place I proceeded to paint on more of the Weldwood, and then added my second piece of flooring as if I were laying it on the floor. The flooring type I chose was click and lock and it is also waterproof so it would work great for the table top.
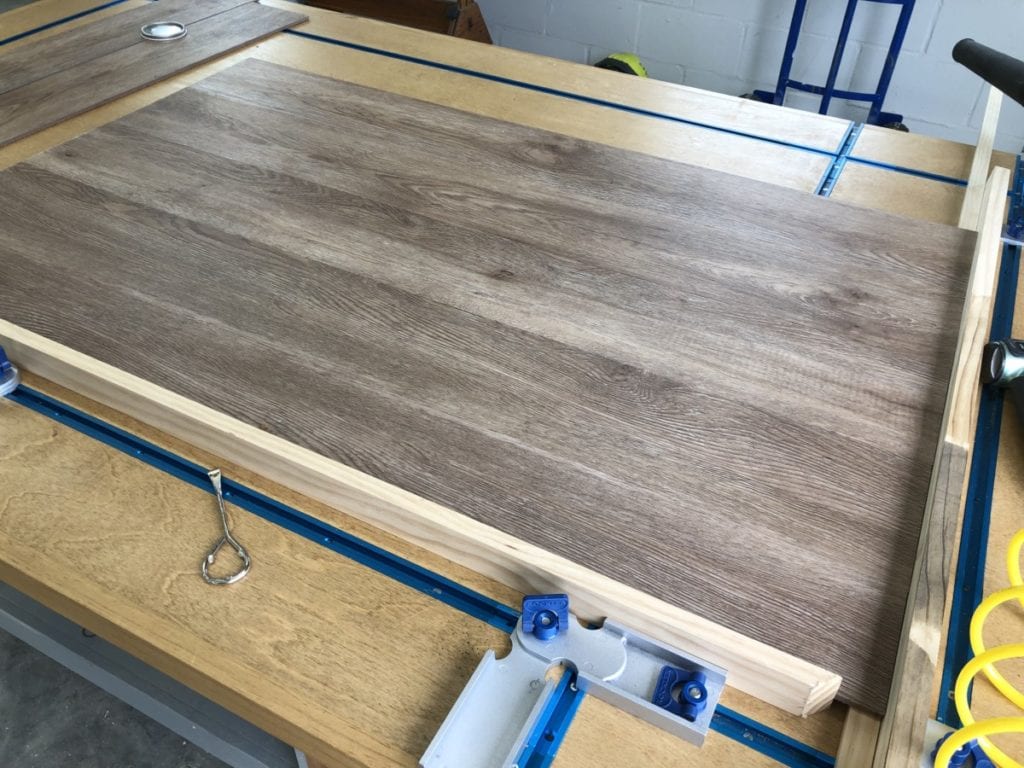
 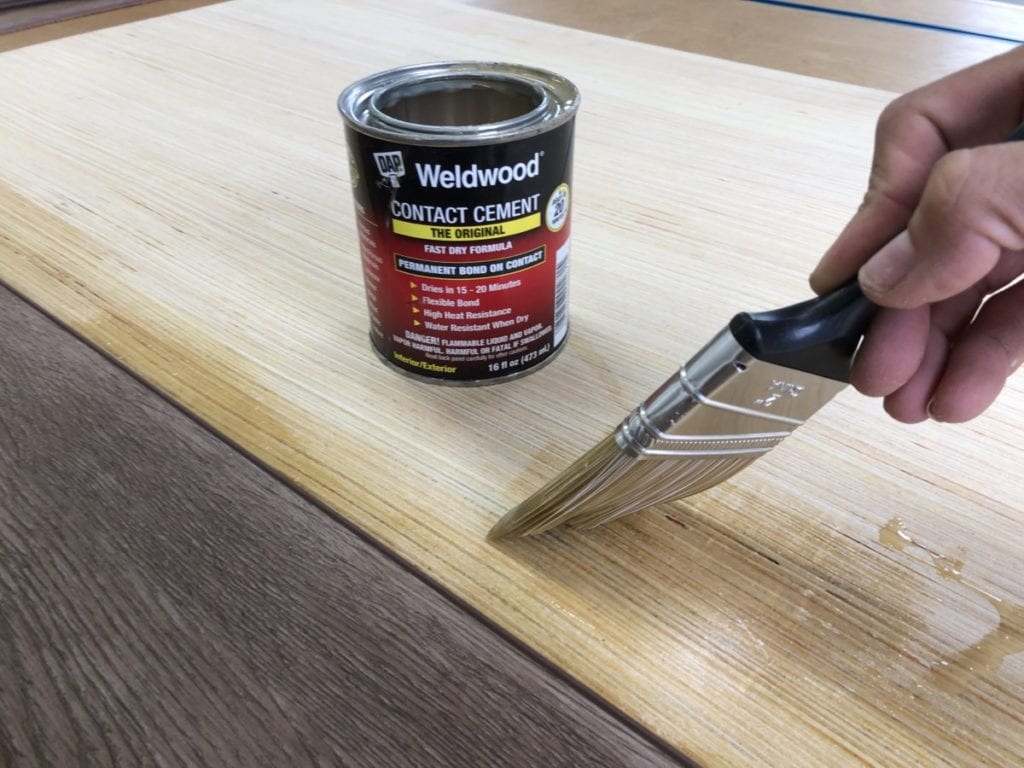 Continue repeating the steps until your entire table surface is covered.
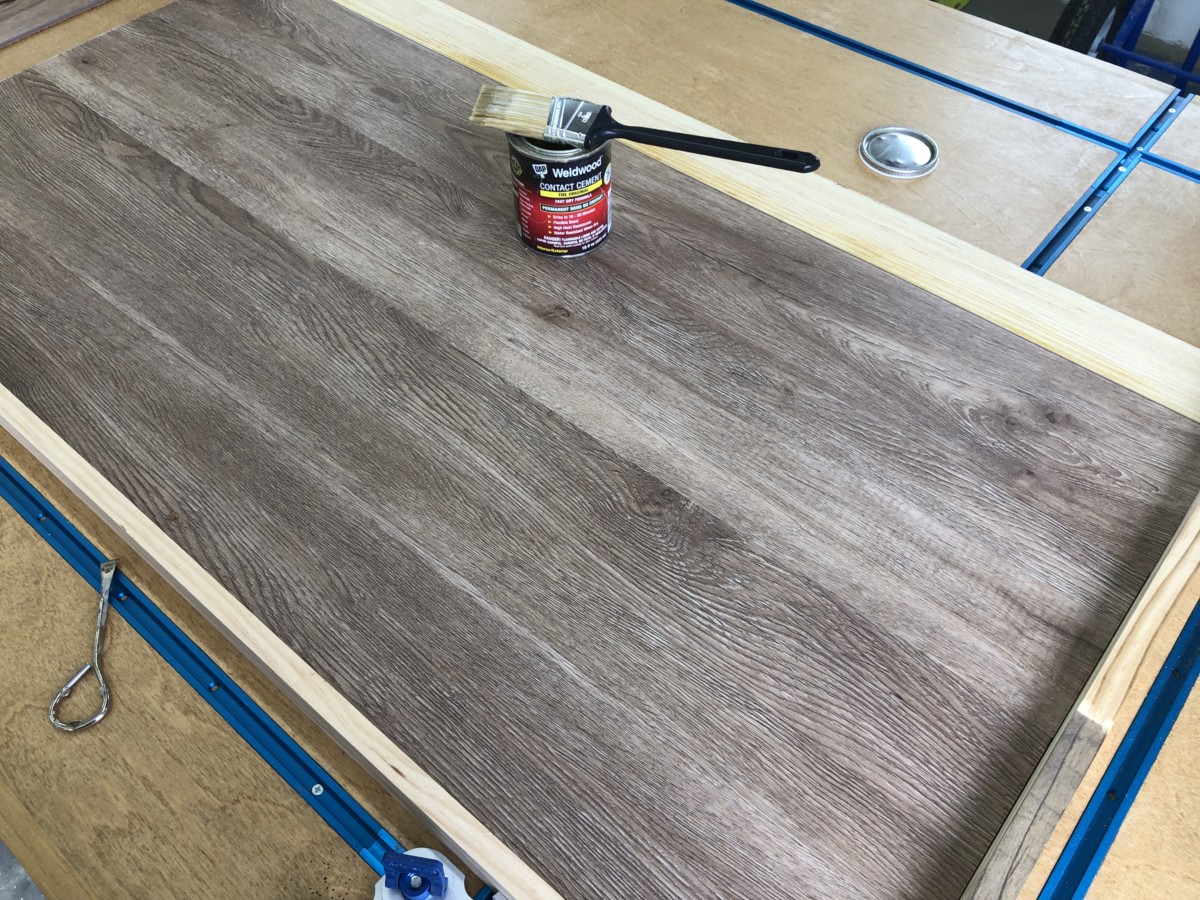
 I just used my tablesaw to cut off any excess board and it gave me a nice flush edge.
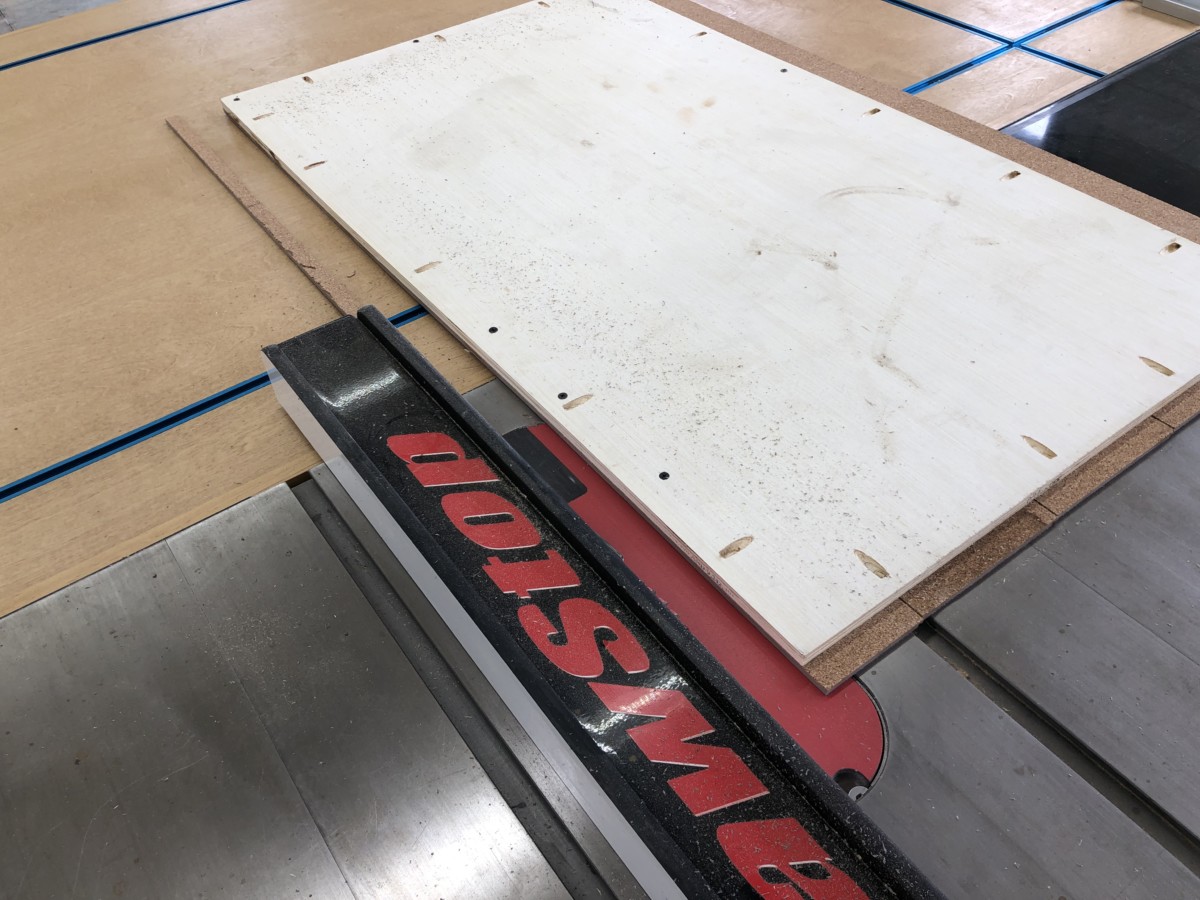
 Once they were dry I attached them around the perimeter of the table using DAP Wood Glue and the pocket holes I drilled earlier. This will not only give it a finished edge but also give the table top some support and rigidity.
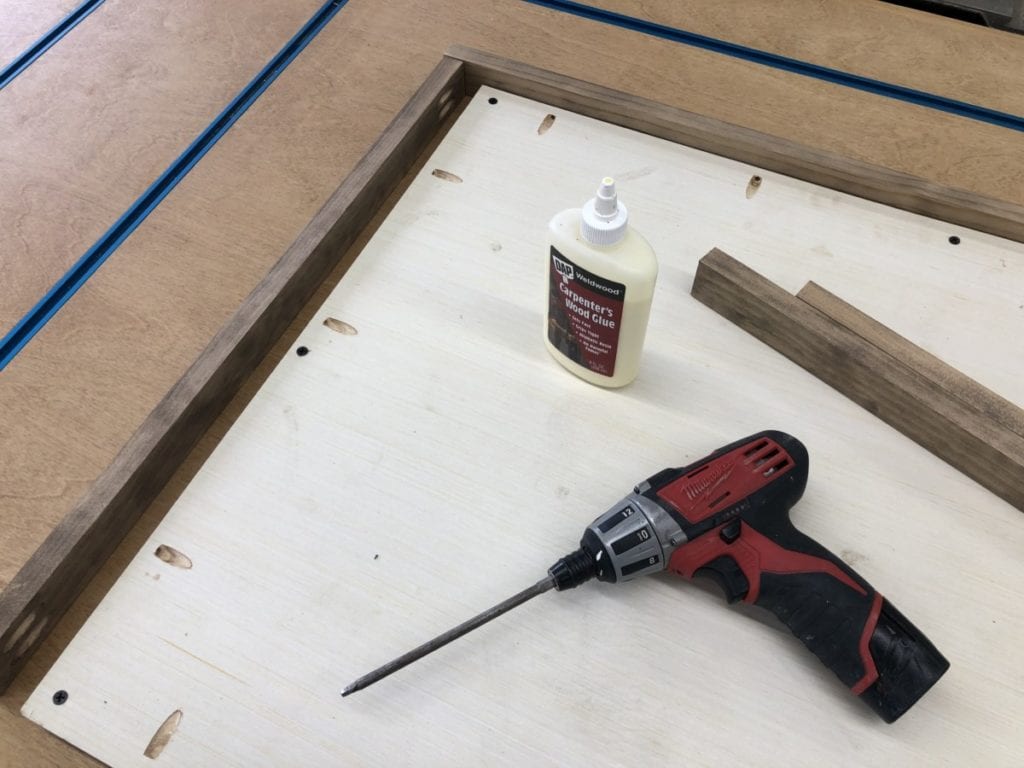
 I attached the leg/support directly to the wall. Again, you cannot really rely on the camper wall holding weight independently, but with a handful of screws I felt confident that it would easily keep the leg securely fixed to the wall. I designed the support so that the lip (the 1″x 2″ board I banded the edge of the table with) would sit on the inside of the the top of the wall support. It worked perfectly! All the weight of table rested on the floor, and the wall mounted support was low profile and very sturdy! WINNING!
 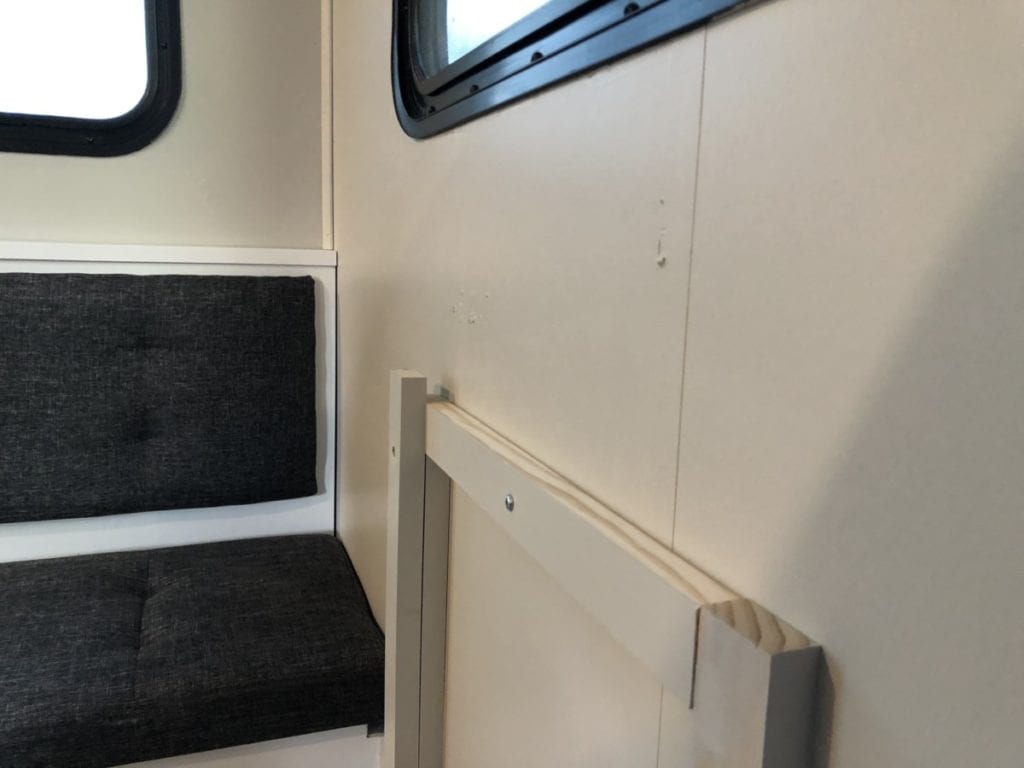 As awesome as my wall mount support was, I would still need at least one other point of support. I just added a very simple straight leg using a plate made to fit said leg. Just screw the plate in place and then screw in the leg to the plate. The one word of advise I would give… I did add a pokethole to the base/backside of my leg. Once I had the table in place and the leg of the table centered I secured the table leg to the floor via the pocket hole. It worked great and the table is completely secure even if someone were to kick the table leg.
 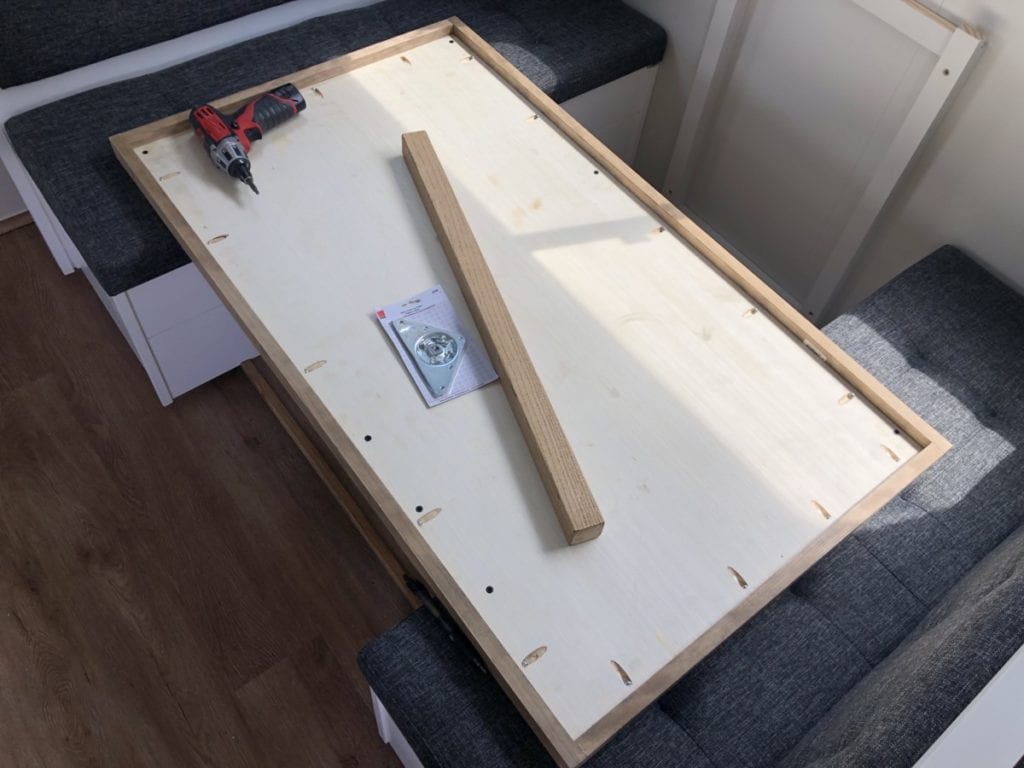 Isn’t it a beauty!? This table cleans up perfectly, can take a beating and matches everything PERFECTLY!

 I know it is not my place to judge… but when I am scrubbing a situation like this and my gag reflex is kicking in, I found it really hard not too. :/ Don’t worry. I humbled myself back down… but seriously how hard is it to clean your shower once a year!? Ok, I’m done I promise.
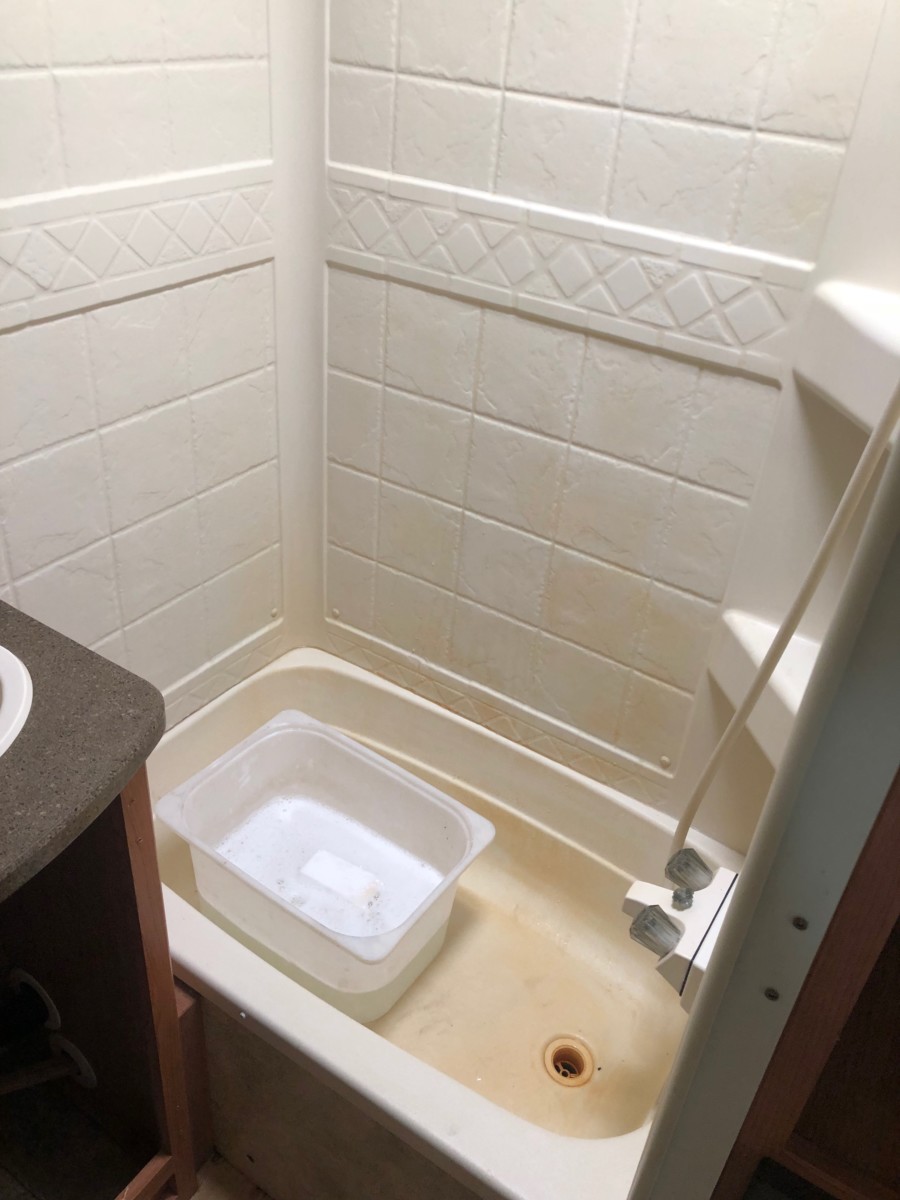

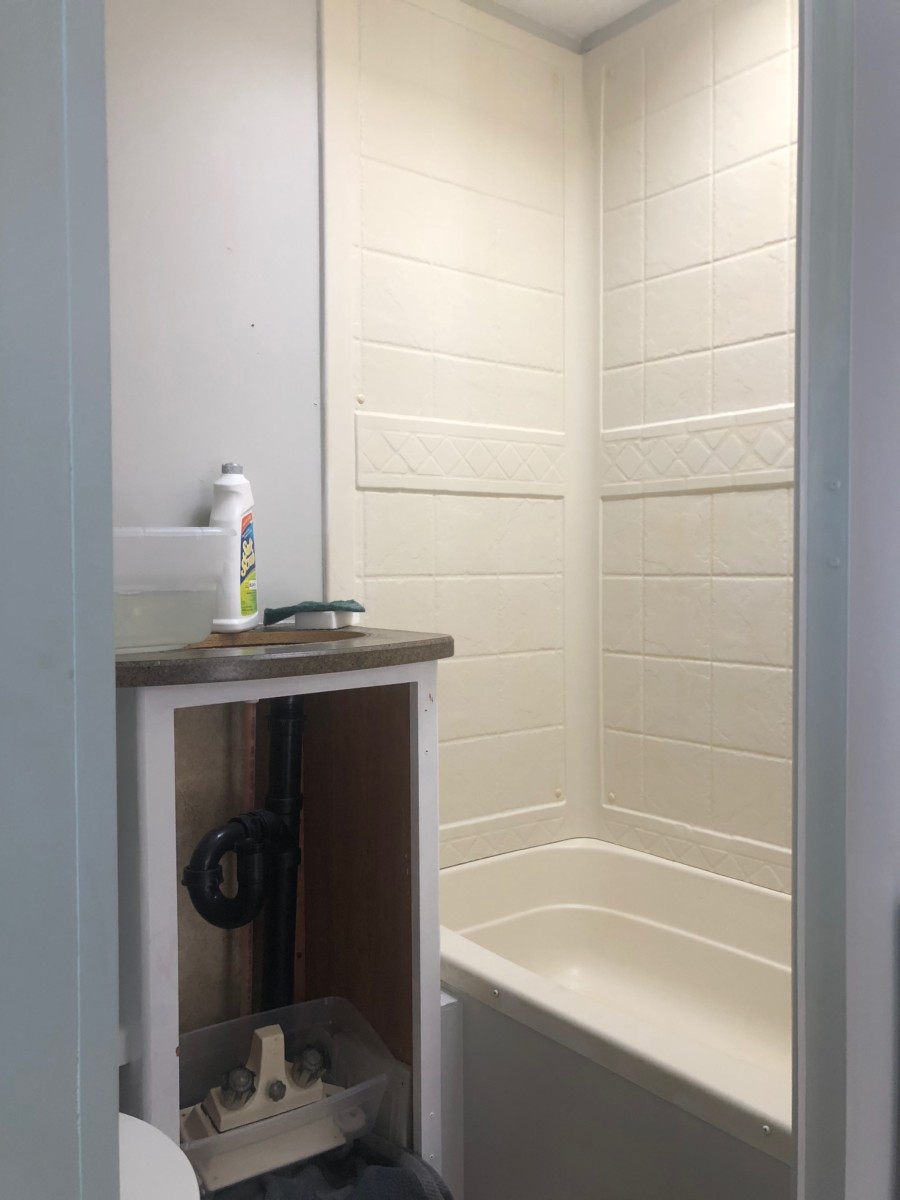

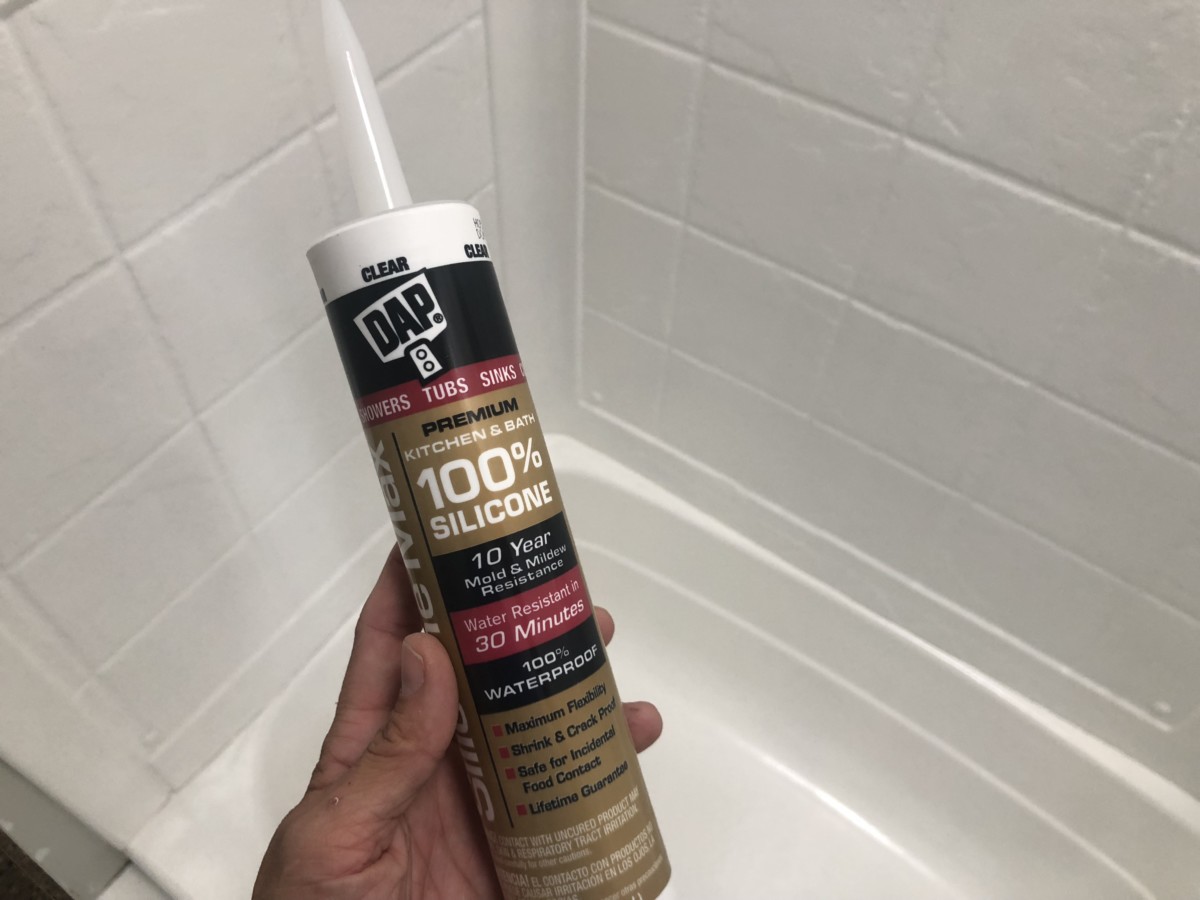
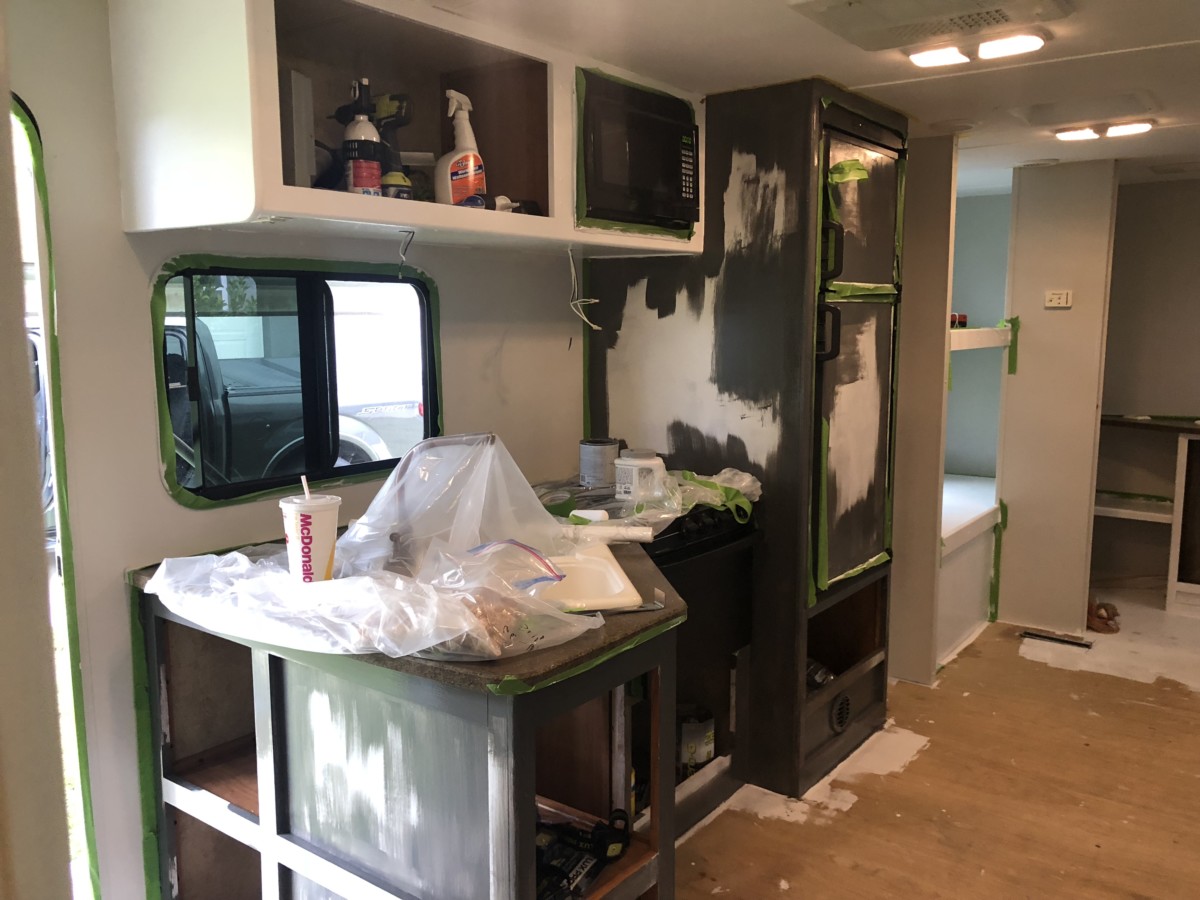
 So instead of applying the
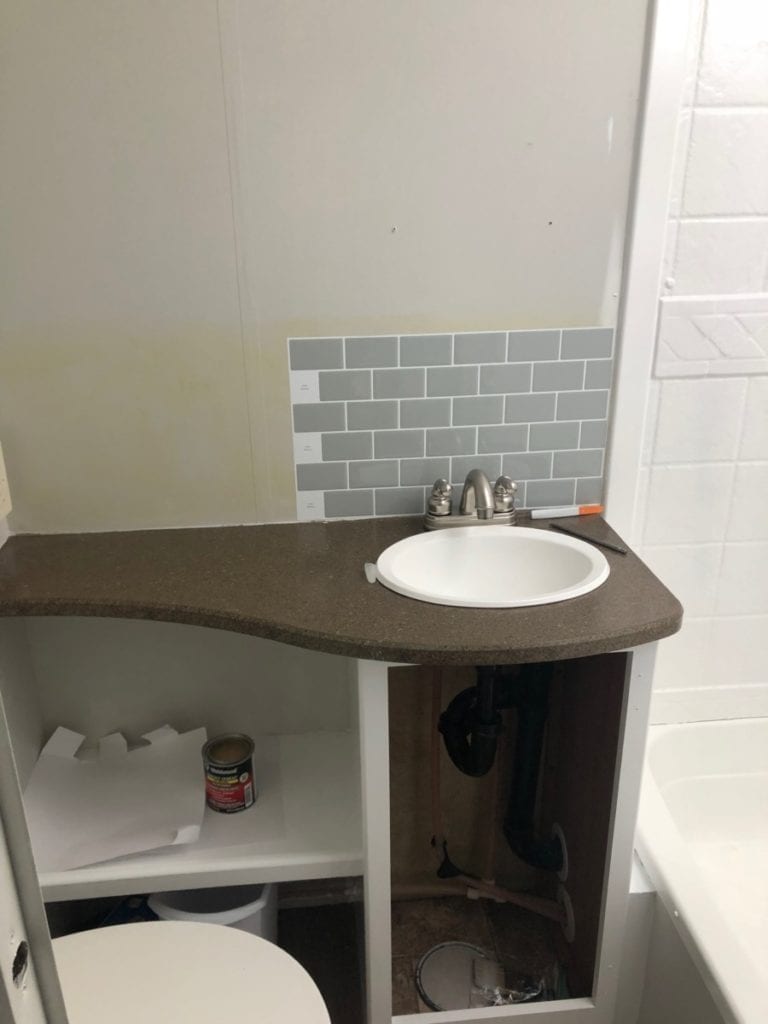
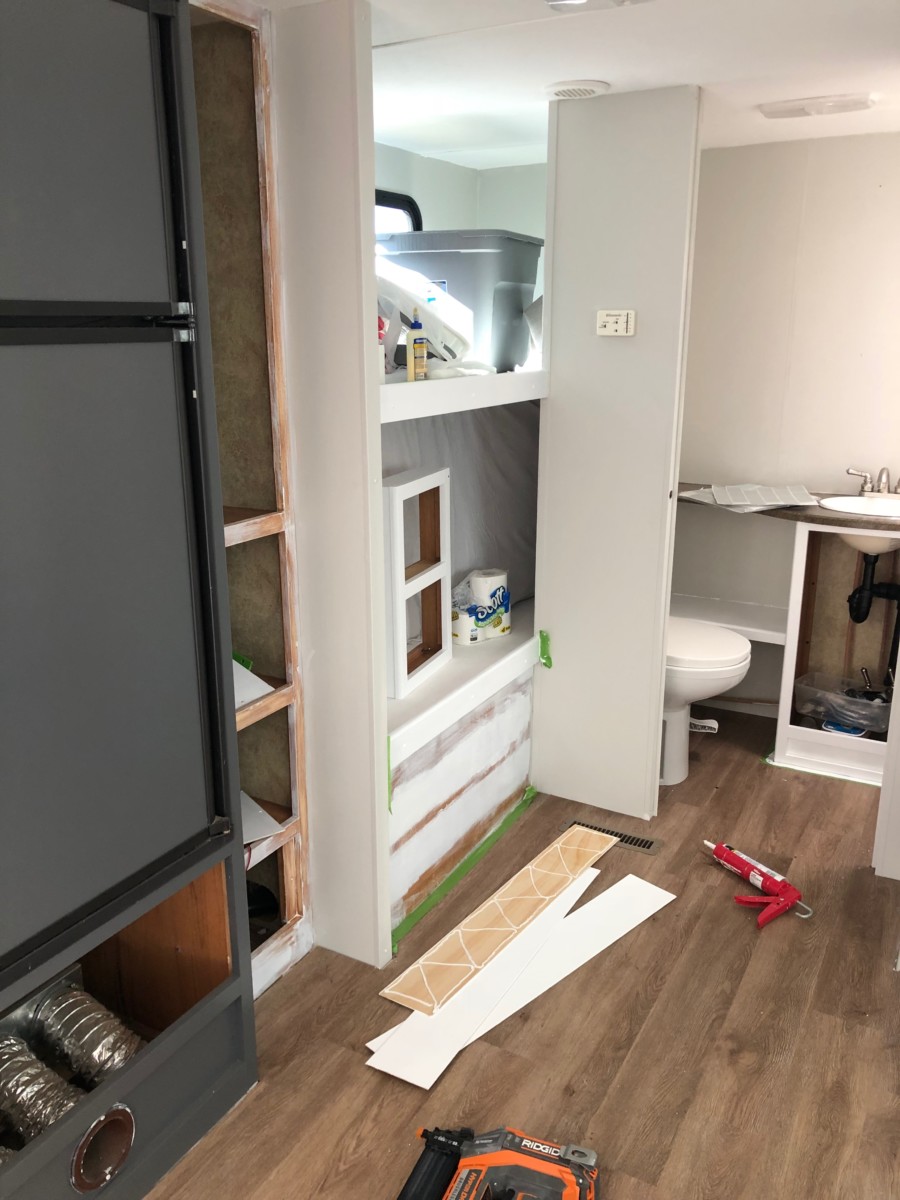
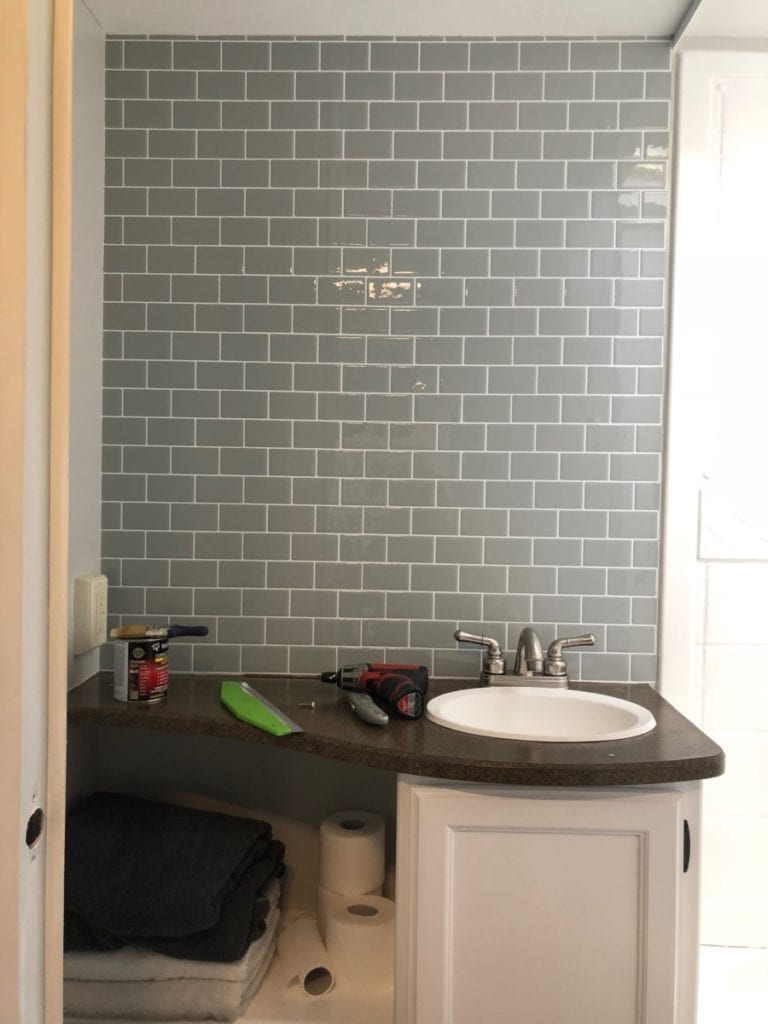 I even had enough that I was able to use it in the little cubby space above my shelf. (This would have been a great place to try it out, but I wasn’t sure how much waste I was going to have. )
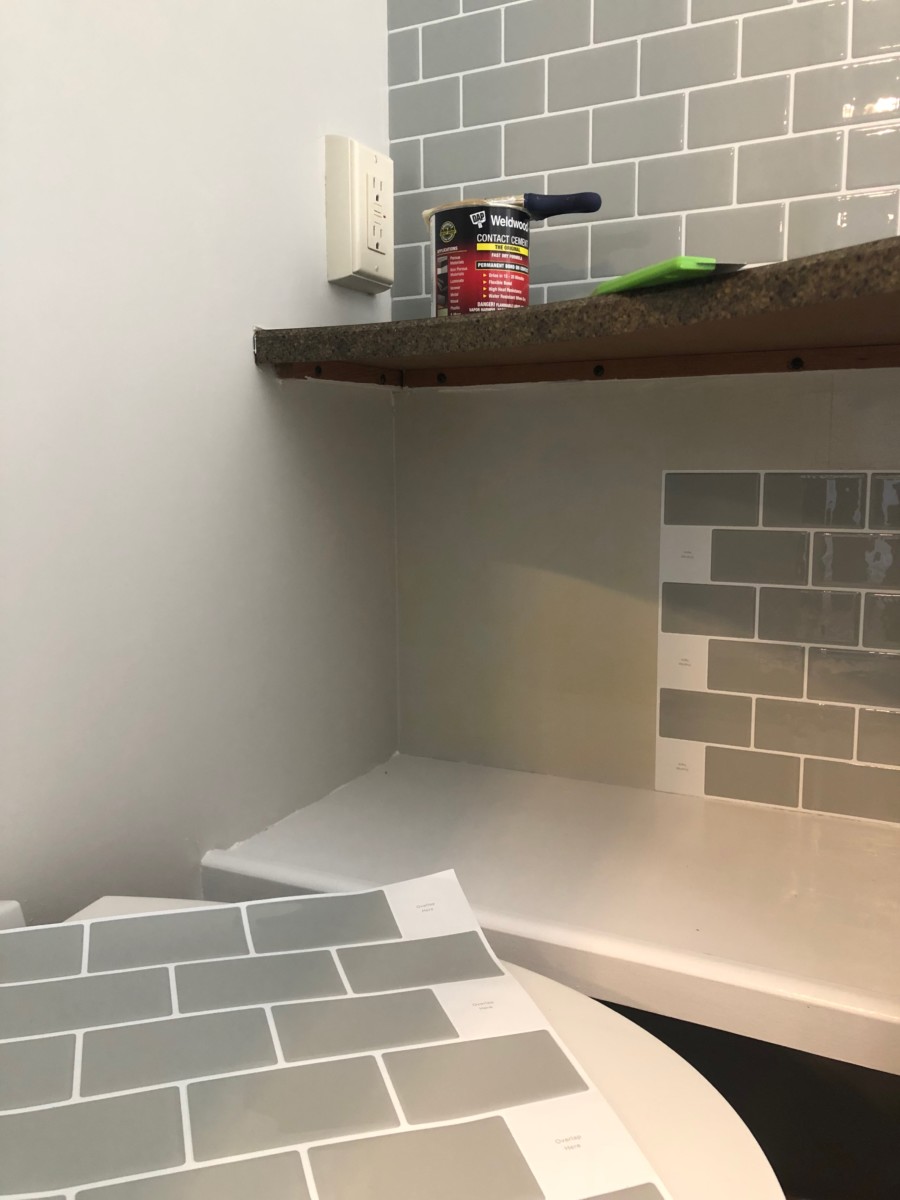


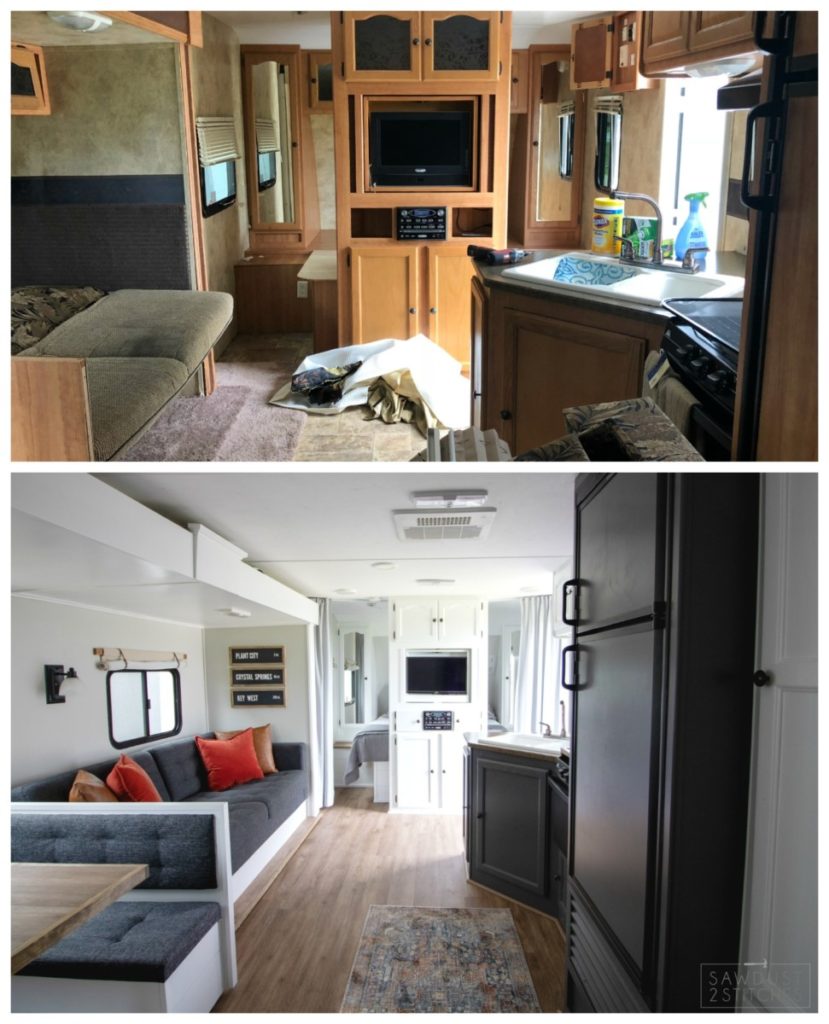
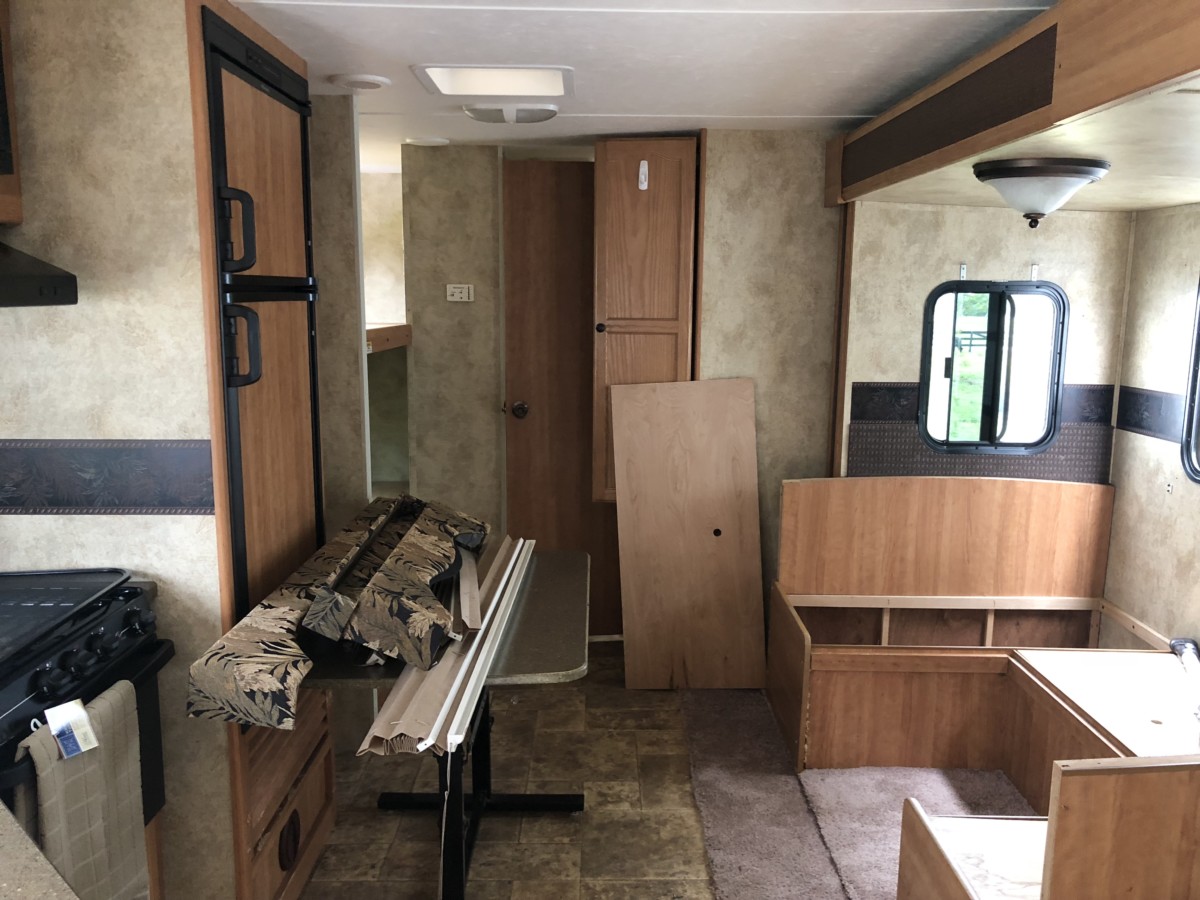
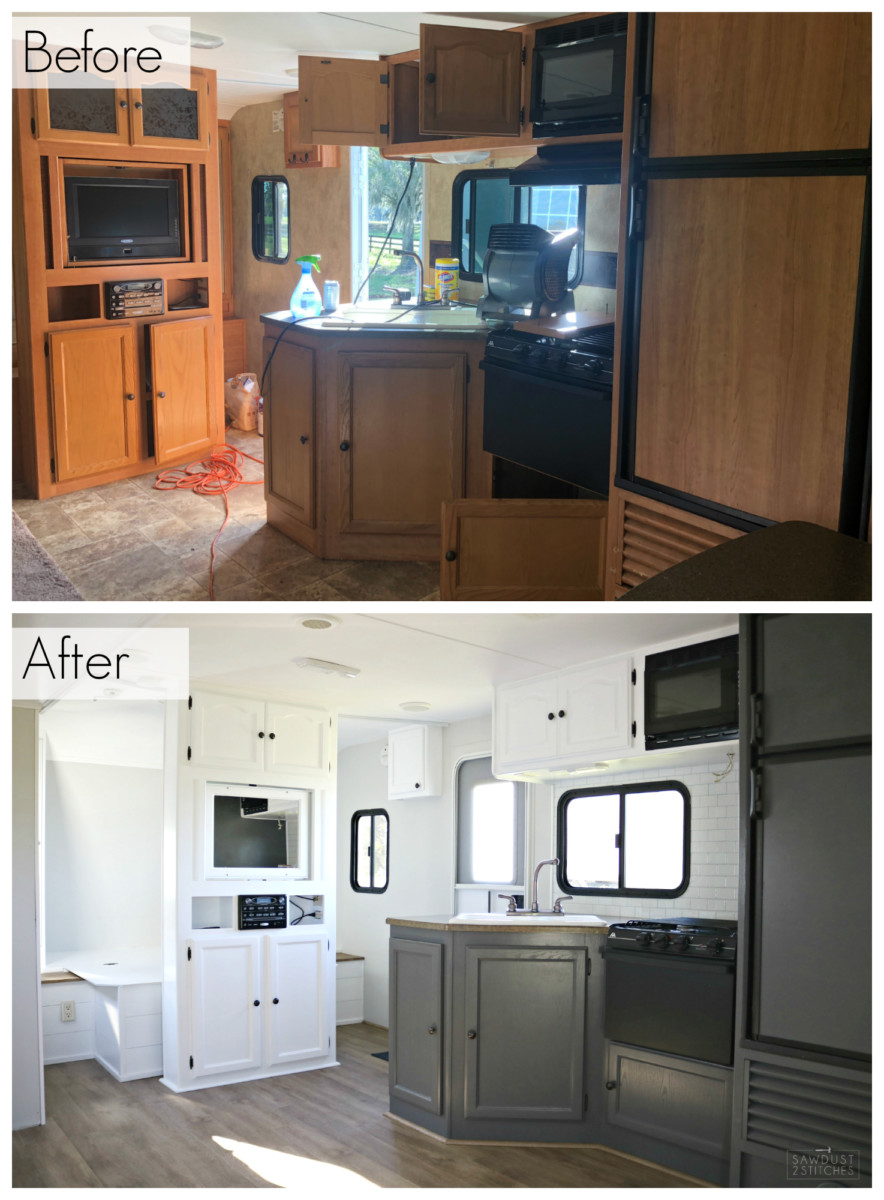
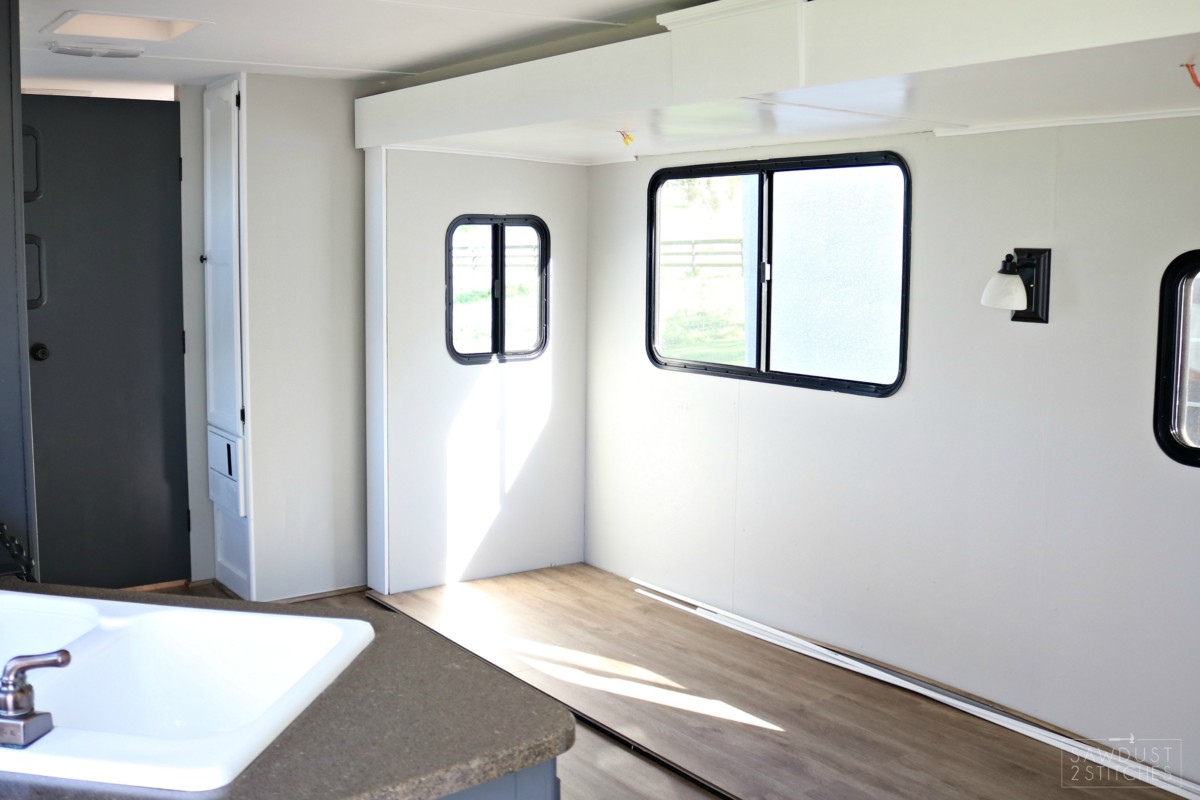
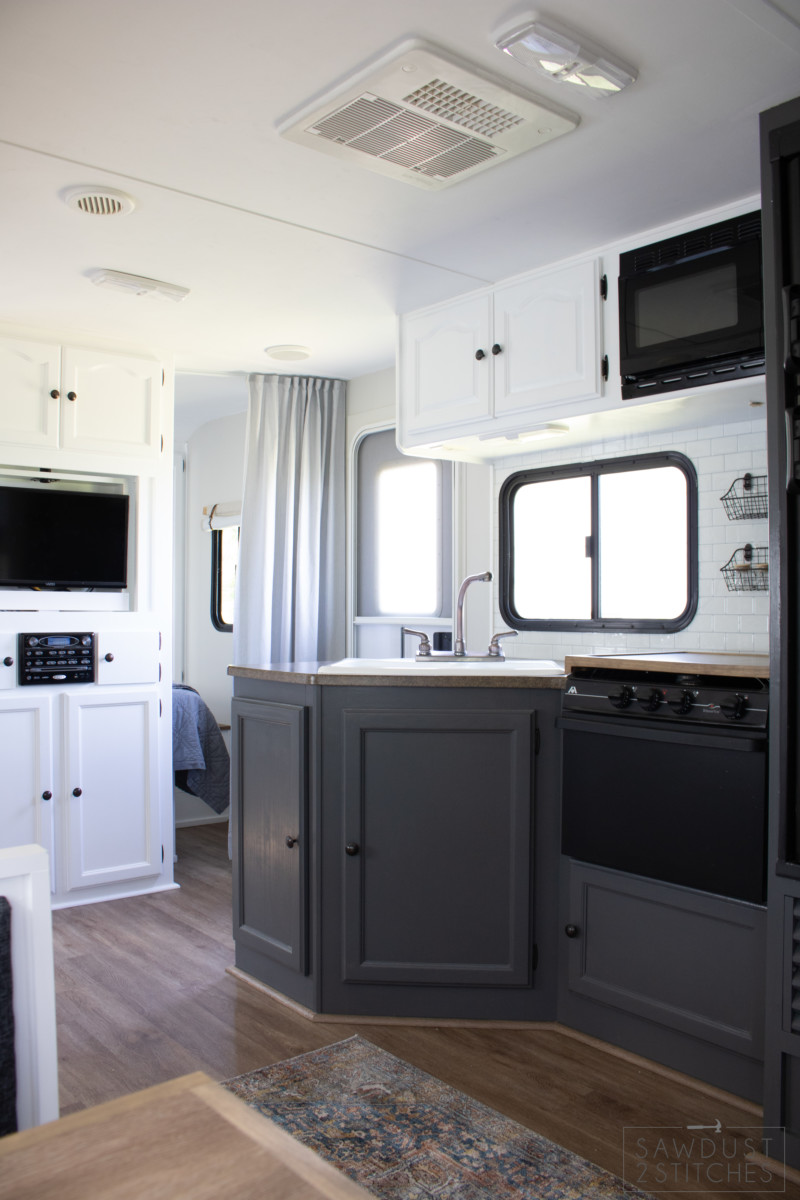
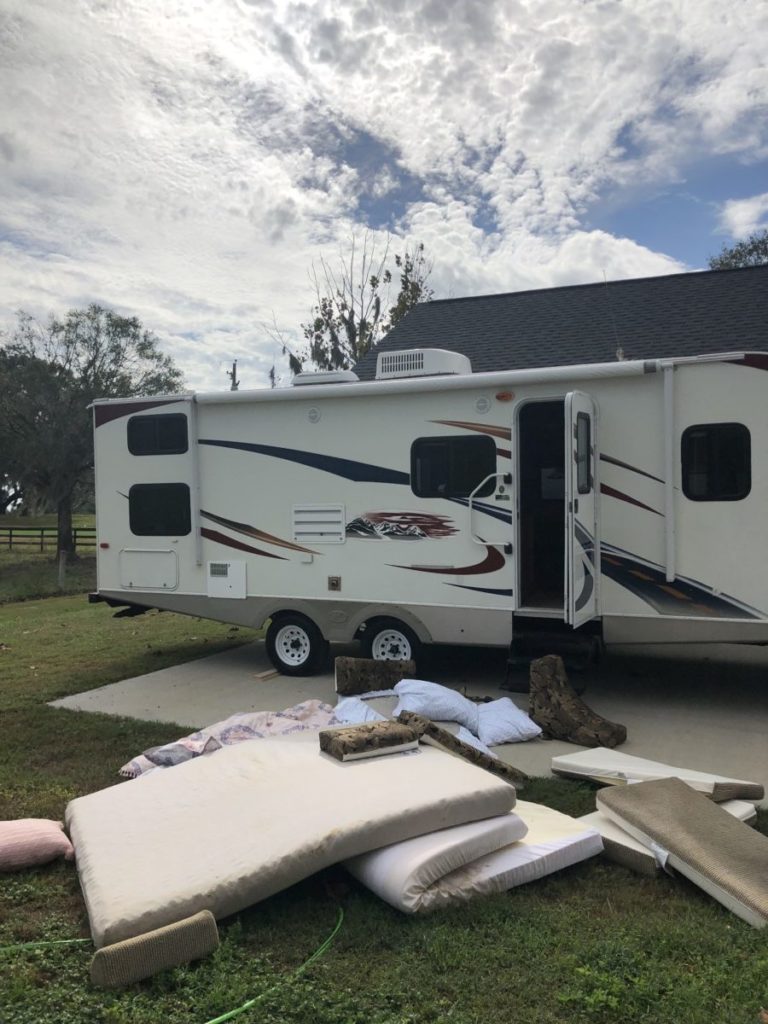 Bringing Her (The R.V.) Home
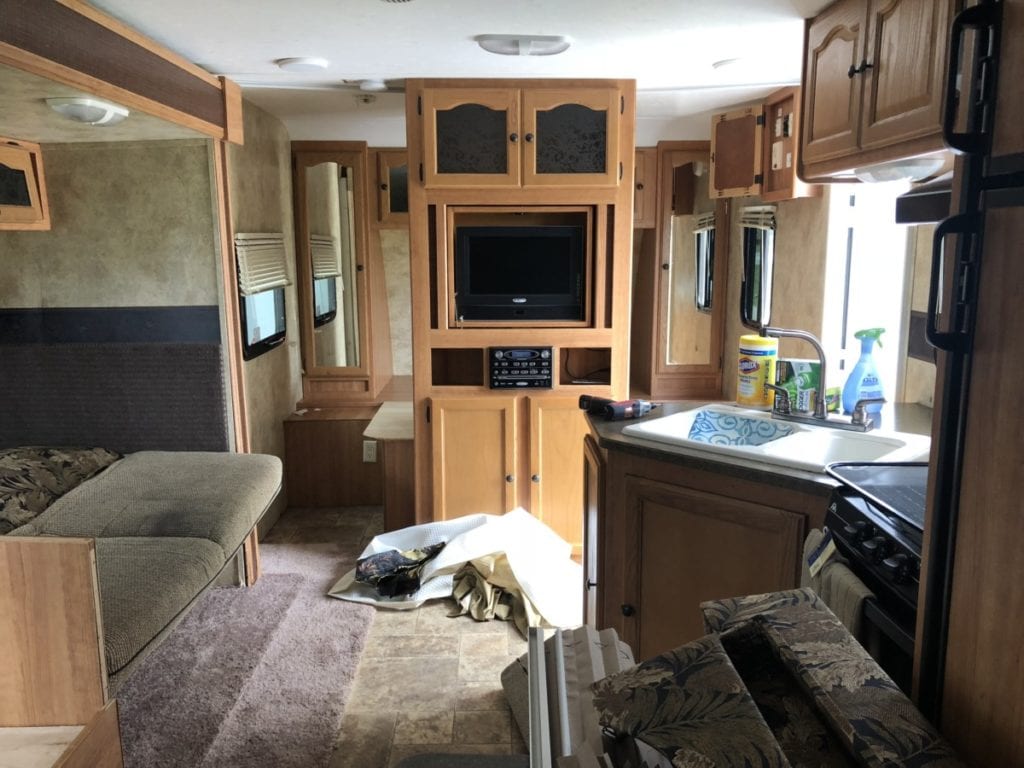


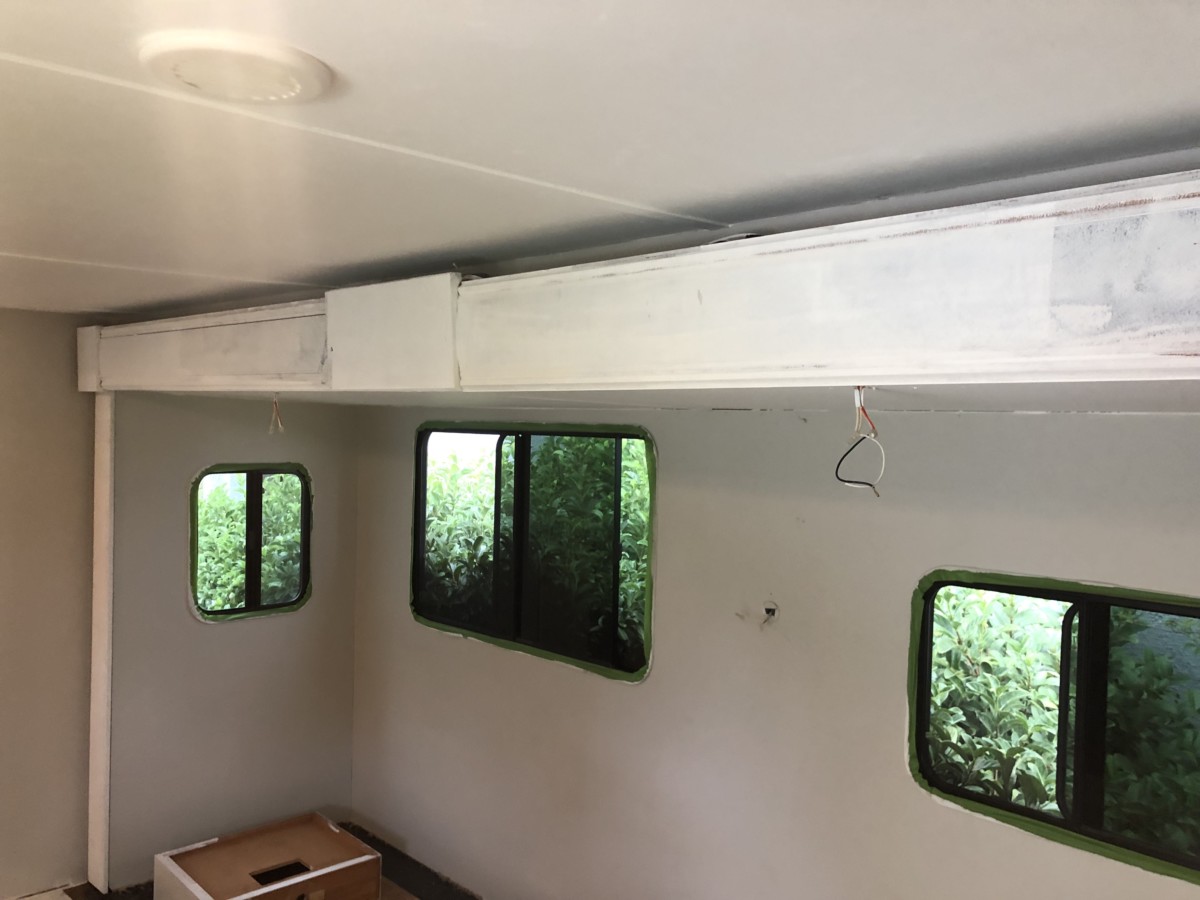
 Then of course the MOST rewarding part of paint, pulling back that FrogTape to reveal perfect crisp lines! Ahhh.
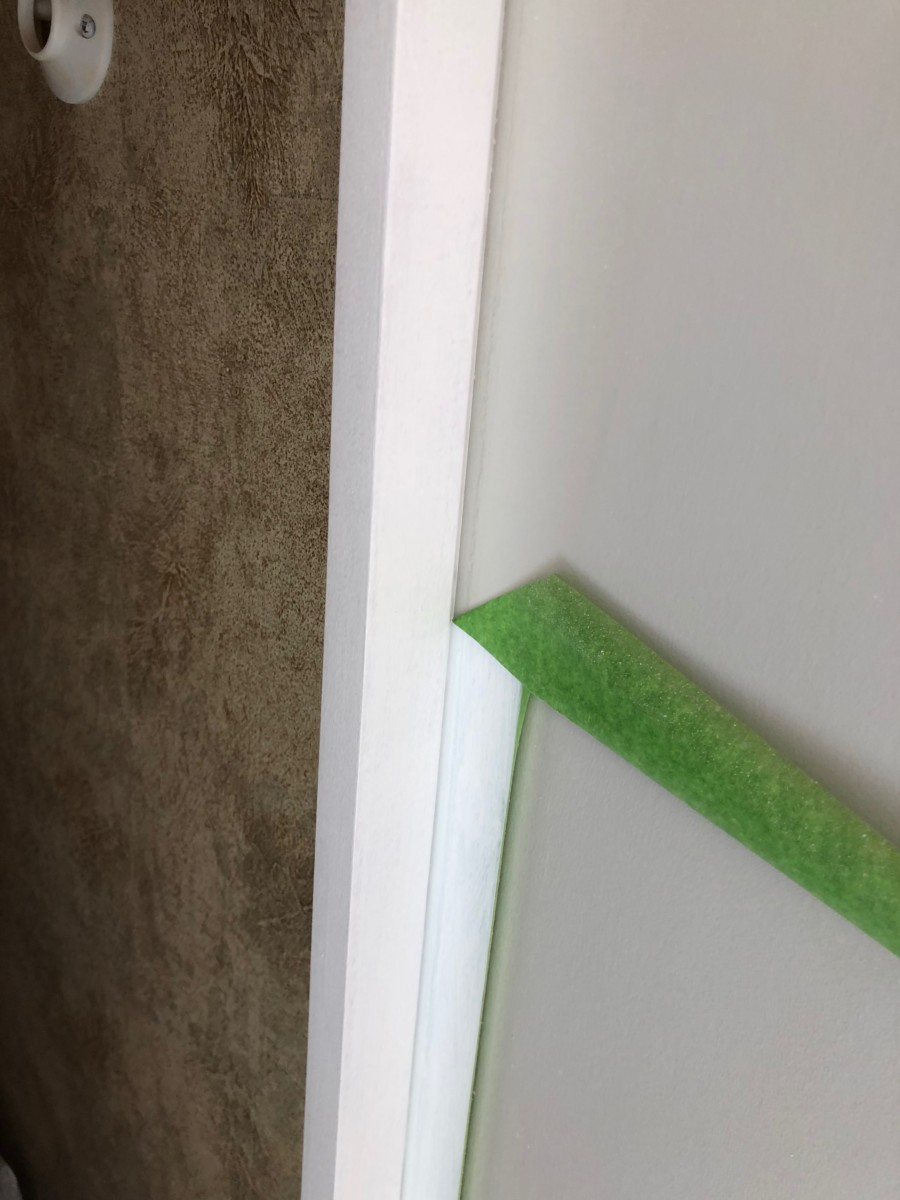

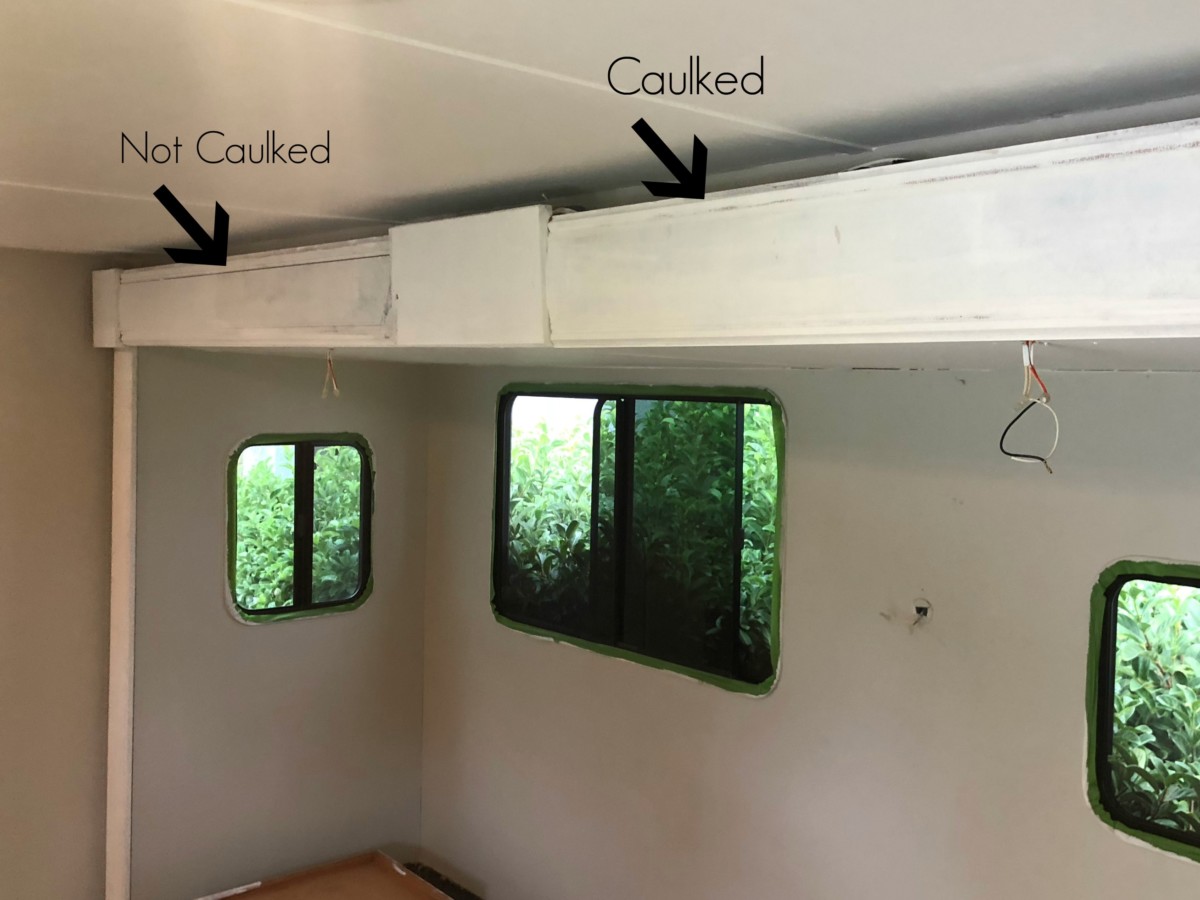

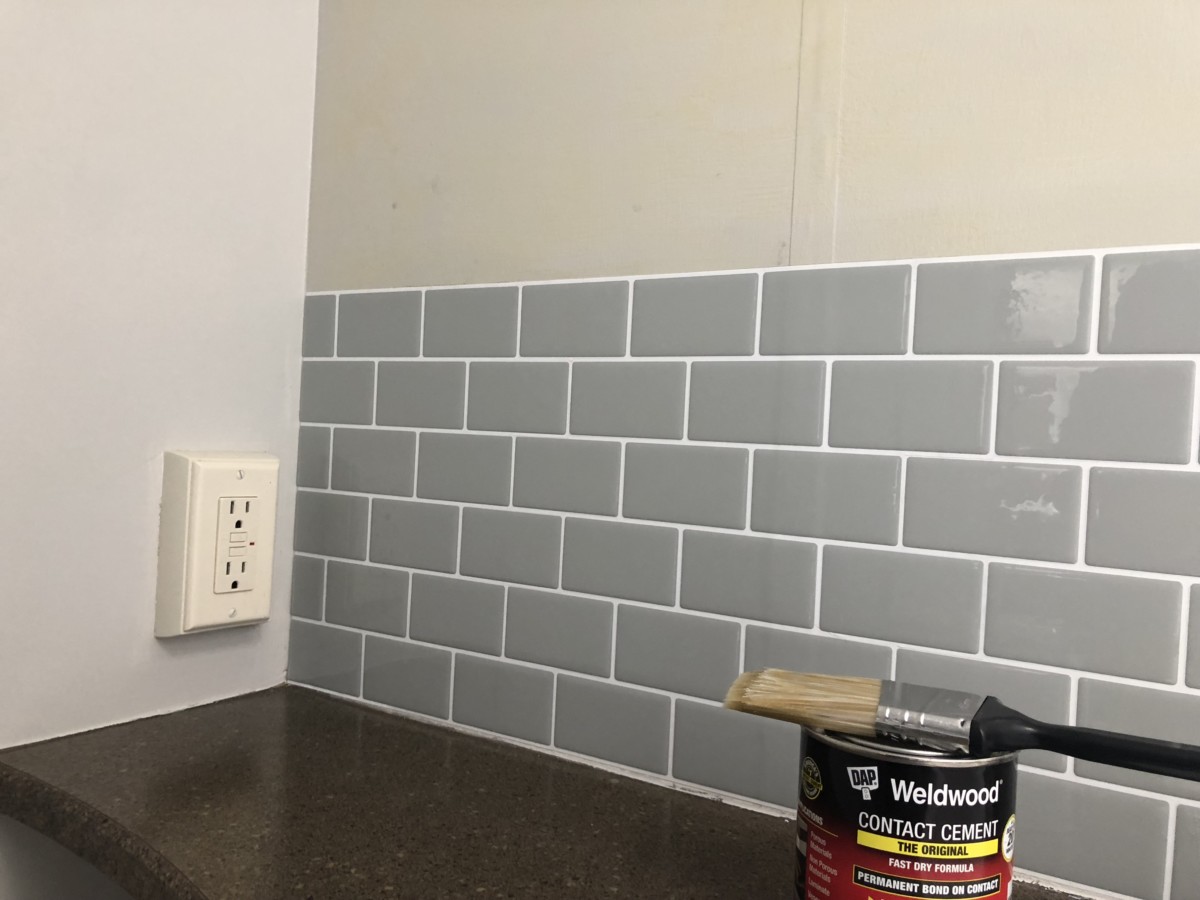
 See what I mean? Makes a huge difference, and once painted it looks great!


 Hue Smart Bulb
  Schlage Keyless
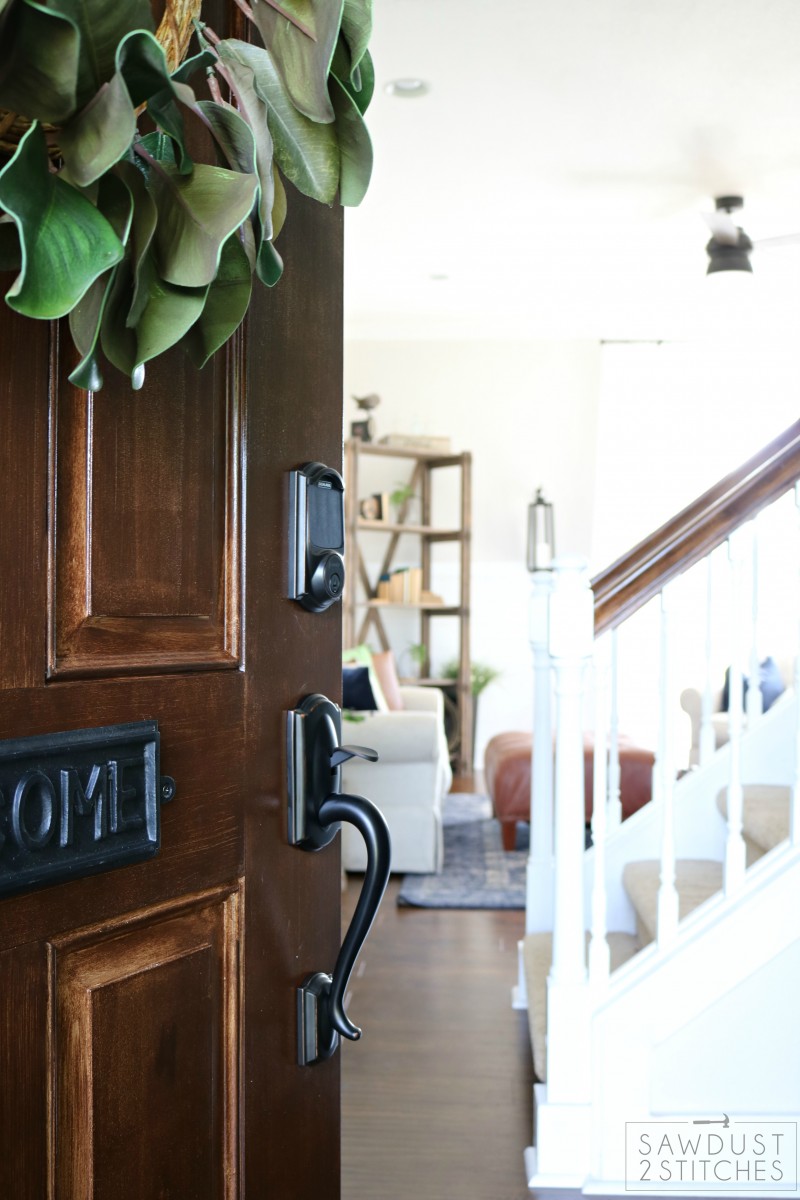
