• Blog
  • About
  • Press
  • Privacy

Let’s be social!

  • Skip to primary navigation
  • Skip to main content
  • Skip to primary sidebar
  • Skip to footer
Sawdust 2 Stitches

Sawdust 2 Stitches

  • Tutorials
    • Around the House
    • Organization
    • Wall Decor
    • Sewing
  • Makeovers
    • R.V.
    • Room Makeover
    • Furniture Makeover
    • Decor Makeover
  • Build Plans
    • Small Builds
    • Wall Decor
    • Dresser
    • Tables
    • Seating
    • Shelving
    • Hidden Compartment
  • Seasonal
    • Summer
    • Spring
    • Fall
    • Winter
  • Home Tours
    • First Home
    • Current Home
    • 70’s Ranch Home
  • Workshop

Bracket Open Shelving

May 24, 2018

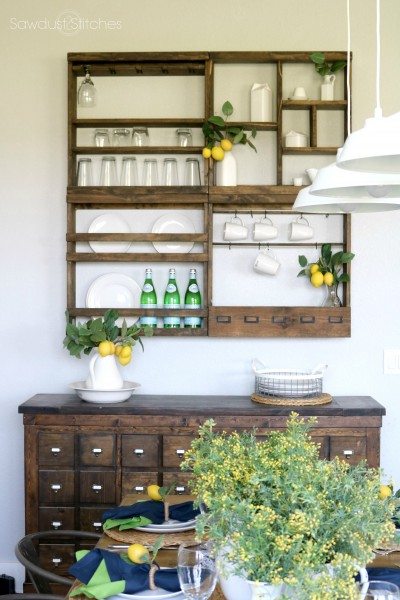
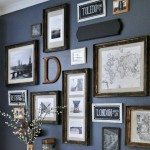
Hey all!  As you know I have been slowly working on updating my farmhouse style dining room to a more modern/farmhouse style.  I have already updated my “Brick  Wall”  and created  a gorgeous new piece of wall art. While I LOVED my  Pottery Barn inspired cubbies,  (Seen Below) I was ready to change it up a bit.  So today I am teaming up with the good folks over at DAP to bring you  another AWESOME new build. 

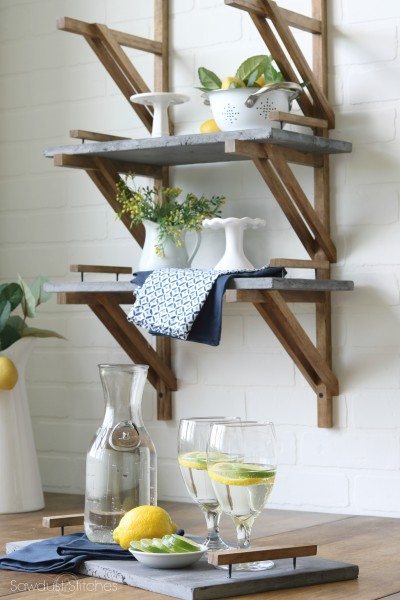
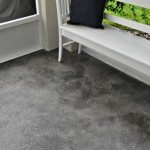
When designing my new shelving, I decided to draw inspiration from two different shelving units I designed a while back.   The first being  this little “Concrete Tray Shelving”….

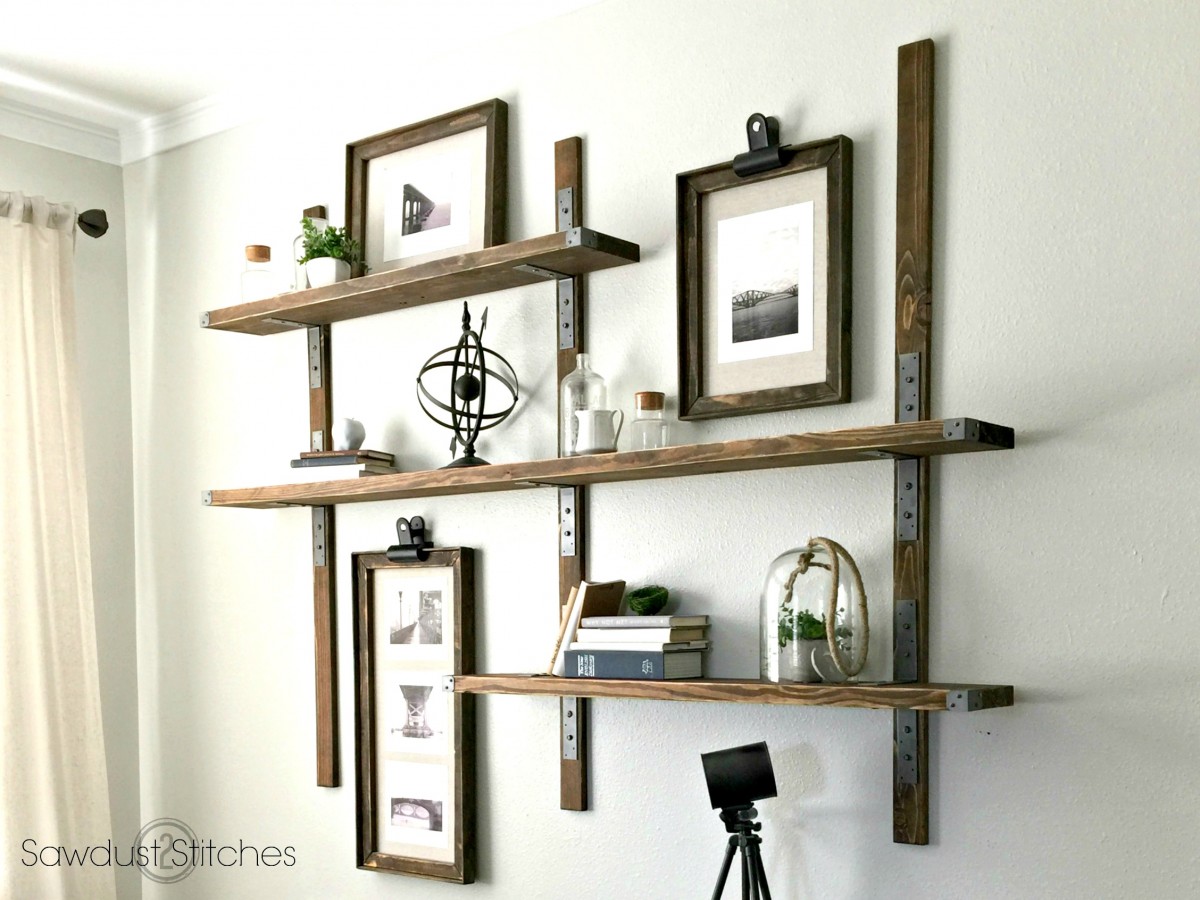
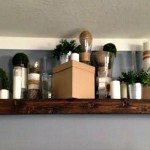
 The other source of inspiration was my Simpson Strong-Tie Shelves. 

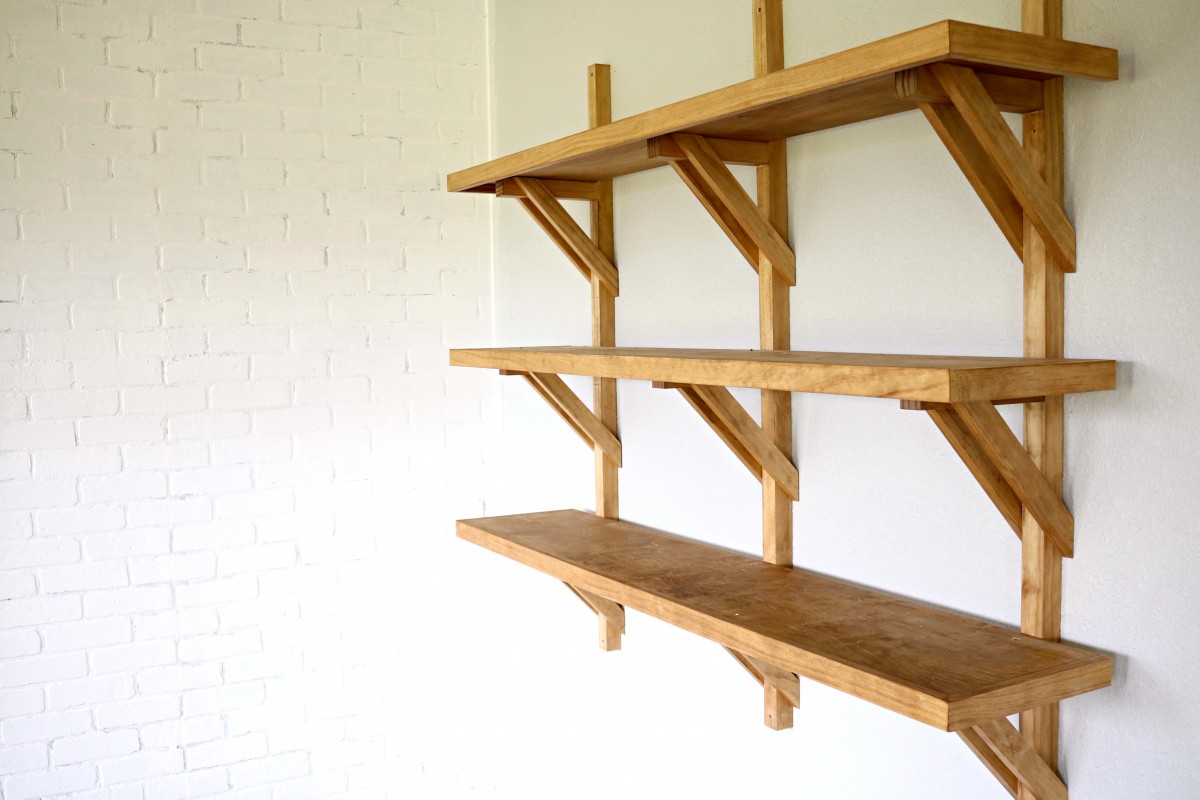
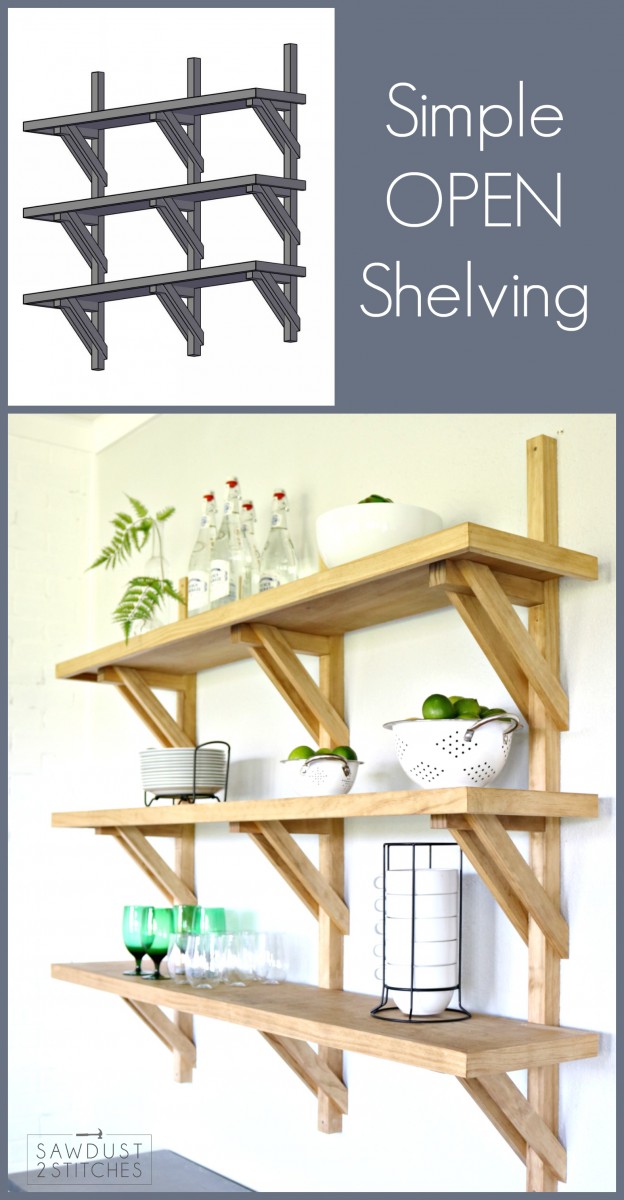
By combing these two designs, I have come up with what might possibly be my favorite design ever…

So,  let’s get started?  Today on the blog I am taking you through  the build in a step-by-step tutorial of how I created this piece.  If you want to build it yourself  you can get the PDF printable version that includes a complete cut list, full build plans with 3-D drawings.   You can  get them here:

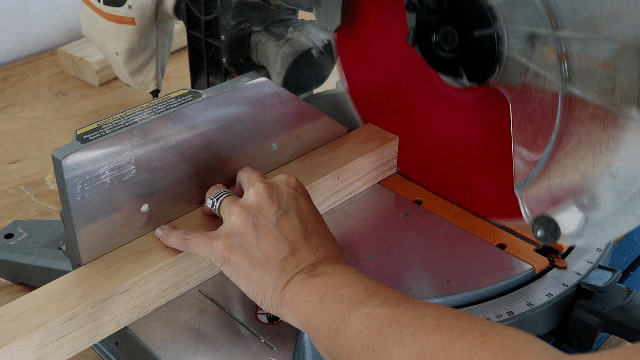
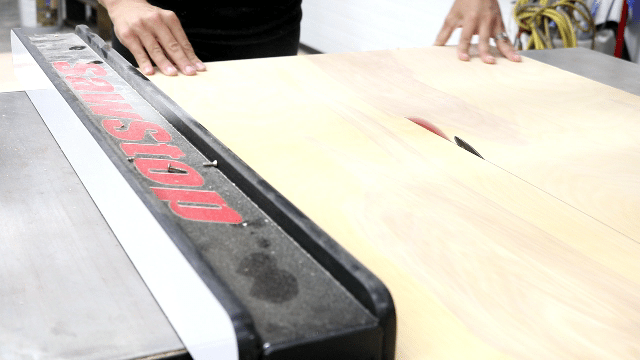
Step. 1)  Prep Materials

Cut all boards per cut list.  Sand all pieces if desired.


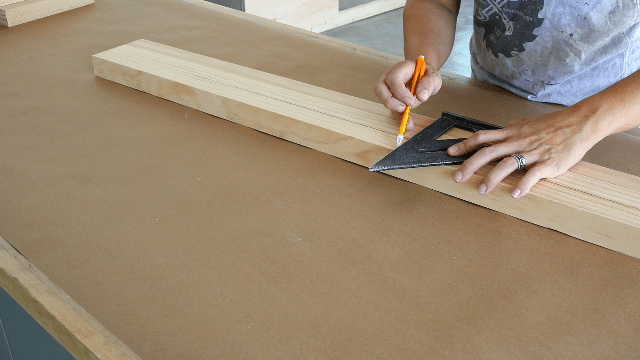
Step. 2) Attach Horizontal Supports to Vertical Base

Using a tape measure mark the placement of the horizontal shelf support.


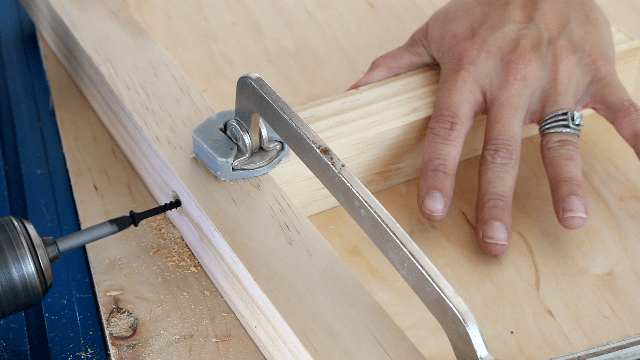
Next add a small amount of DAP Wood Glue to the end of the horizontal shelf support, and place (and clamp if desired)  where previously measured/marked.  In order to attach these,  I first pre-drilled using a 1/8” drill bit, and a counter sink bit.  Once pre-drilled, secured the support to the vertical piece using a 2 ½” screw.

Repeat above process x3 on each vertical board,  for a TOTAL of (9) shelf supports.

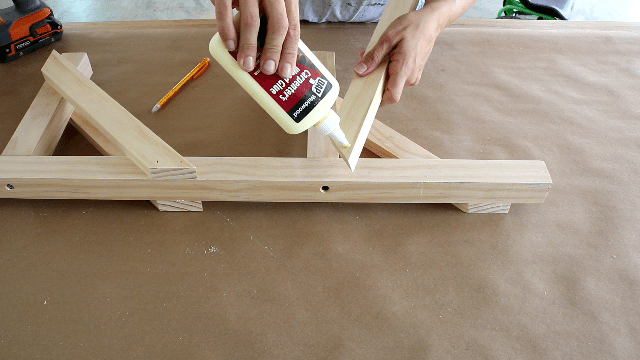
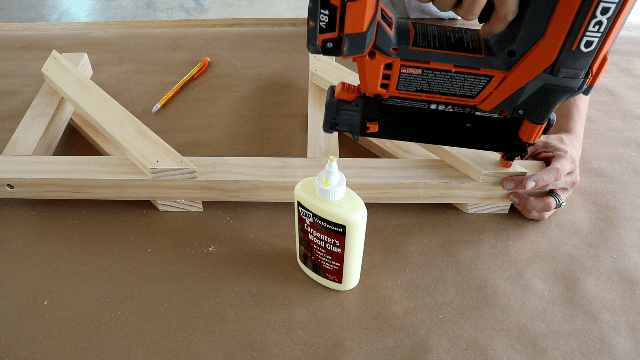
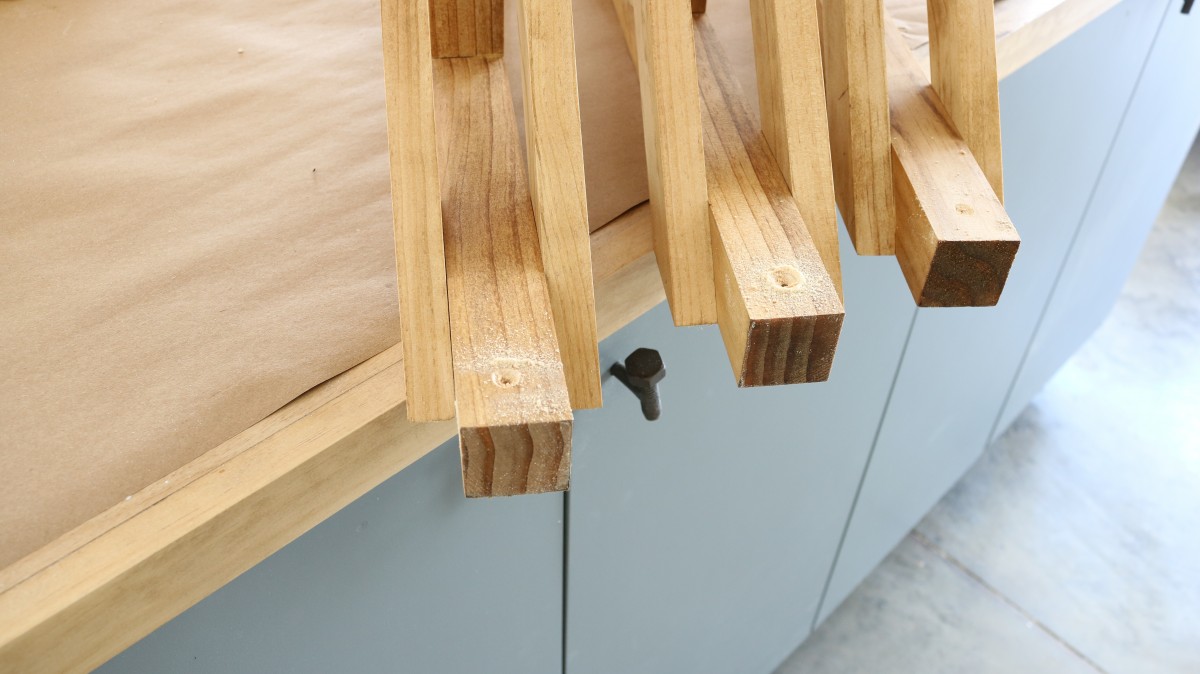
Step. 3)  Attach Diagonal Supports

Next  attach all diagonal supports.  Measure  and mark with a pencil ¾” from the end of the horizontal support.  This will be where the point of your diagonal support will need to be secured.

Add a small amount of DAP Wood Glue to the inside of the diagonal support and lay in place,  making sure the 45 degree angle sits flush with the top of the horizontal support and with the back of the vertical piece.


Once in place, reinforce with a 1 ½ “ 18 gauge nail.

Repeat the same step on both sides of each horizontal support for a total of (18) diagonal supports.


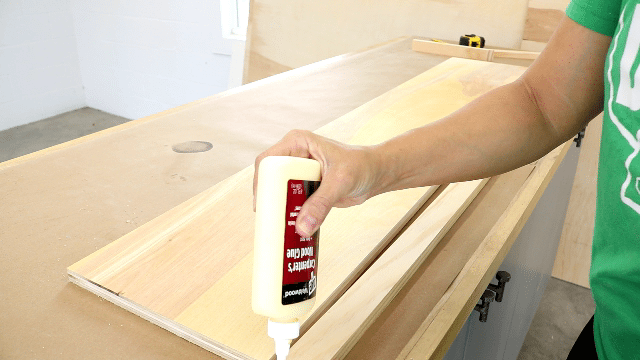
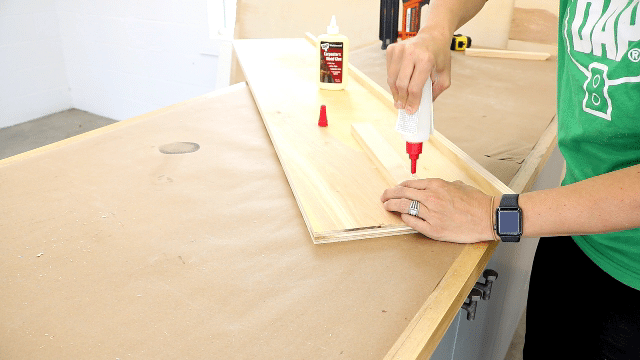
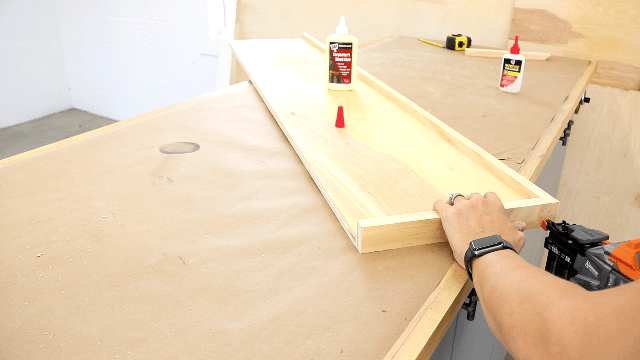
Step. 4)  Build Shelves

The ¾” plywood will serve as the actual shelf.  The 1”x 2” boards will serve as an edging that will bulk up the look of the shelf and create stability.


Per the cut list use the 1” x 2” boards to wrap around the front and the sides of the plywood. When attaching these pieces I used both DAP Wood Glue and DAP Rapid fuse for an instant bond. I then tacked it in place using 1 ½” 16 gauge nails.
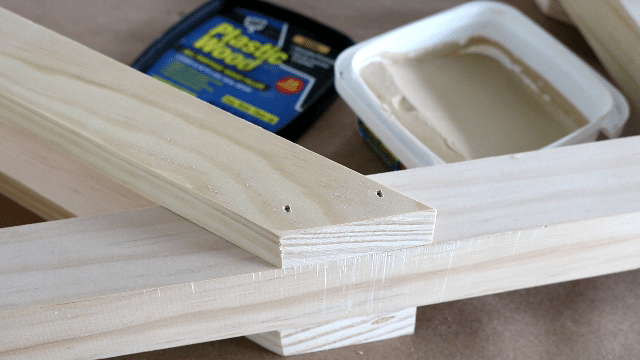
 

Step. 5)  Finish

Once the shelf supports and shelves are complete, prepare them for a finish of your choice.   Begin by filling all the nail holes with DAP Plastic Wood Nail filler. (It is both stainable and paintable.)  Once the filler has adequately dried remove all excess filler by sanding it smooth.

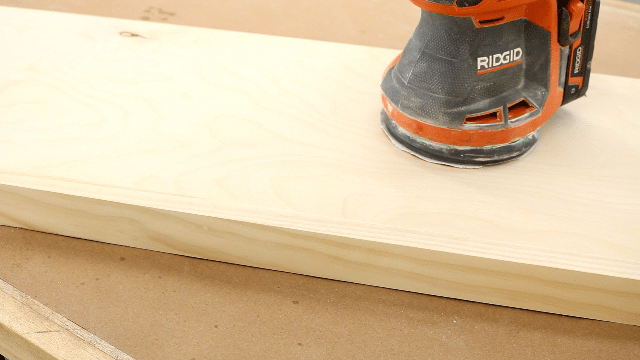
Once sanded, apply your choice of stain and/or paint.


Bracket Open Shelving


Step. 6) Install

To attach my supports to the wall, I used a counter sink bit, and a 1/8” drill bit to pre-drill.   I did this at both the top, bottom and the middle of EACH vertical bracket. For a total of 3  4” screws in EACH board.

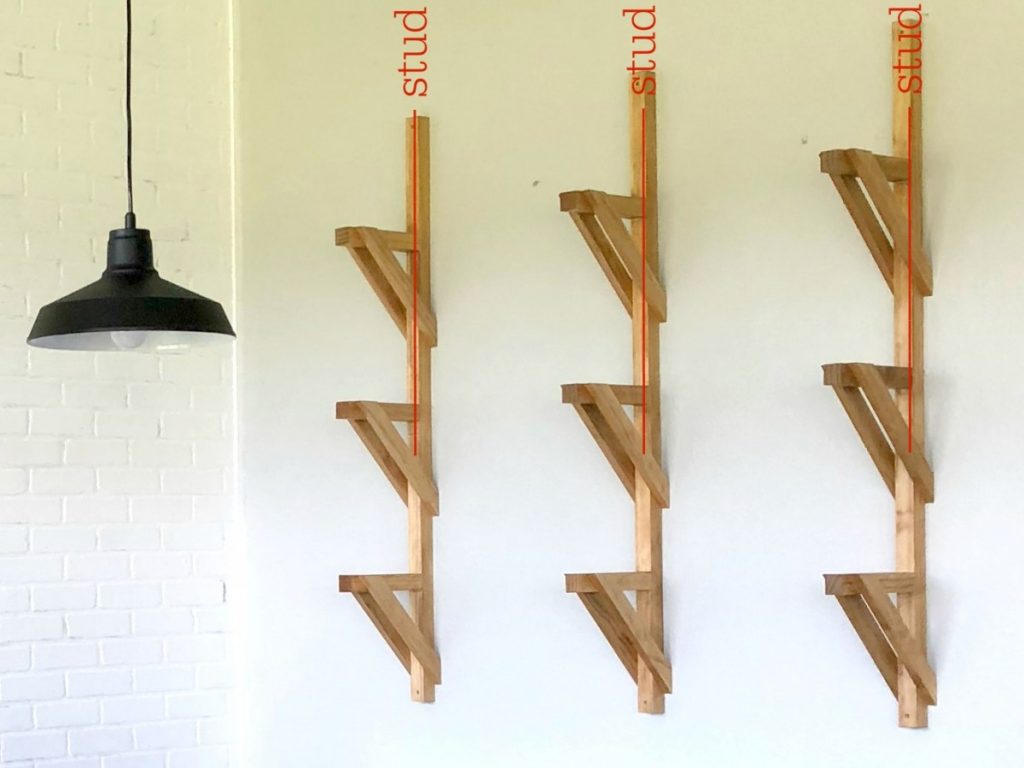
I designed these shelves so that the vertical base/supports would be secured on my wall into studs. Stud placement in my interior walls is 24”. It is important that if these will be holding any significant amount of weight that they be properly secured!

Once pre-drilled, install to the desired wall.  Make sure you mark the placement of your studs, and use a level and tape meaure to make sure they are all level and equal distant.

Once the supports are properly  secured to the wall/into studs,  add the shelves.

To attach the shelves to the  supports I again,  pre-drilled at the back of the shelving and used a 2” screw to attached the horizontal shelves the the brackets.  I found the (1)  screw in each bracket worked well,  but adding a second to each wouldn’t hurt.

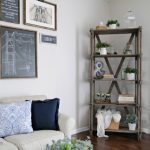
 There you have it folks!  The perfect solution for a blank wall space. It is a fun new twist on the widely  loved open shelving concept.  
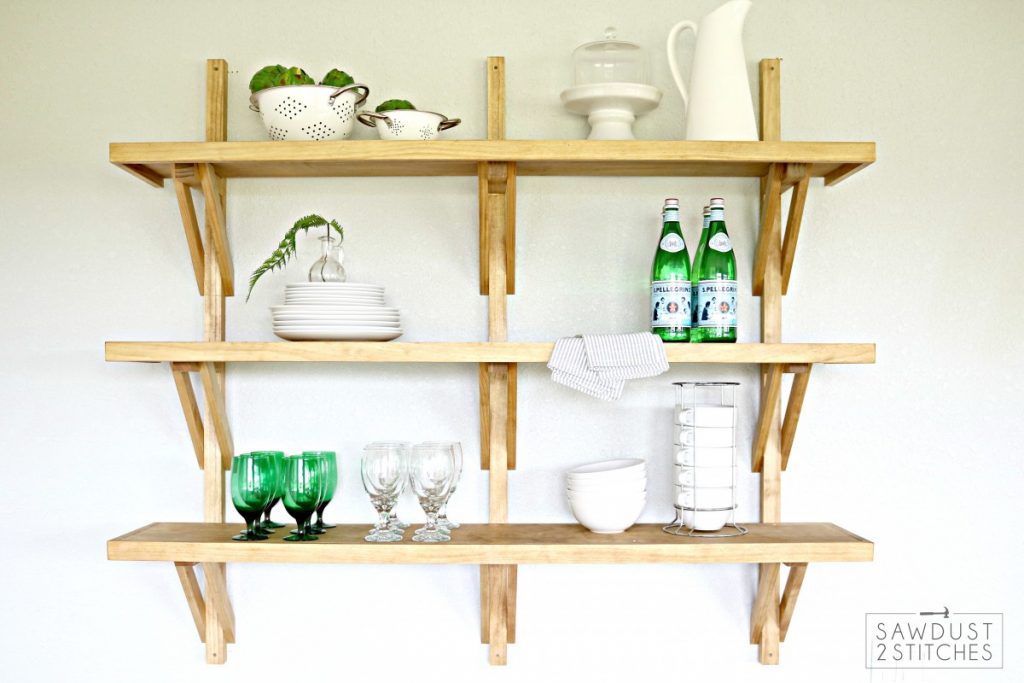
Thanks so much for following along, don’t forget you can get all the build plan details here.

Take Luck,

 Corey

Digiprove sealCopyright secured by Digiprove © 2018

More from my site

  • Fall Chalkboard SignFall Chalkboard Sign
  • Modern Chair UpCycleModern Chair UpCycle
  • Crib MakeoverCrib Makeover
  • Built-in Pantry MakeoverBuilt-in Pantry Makeover
  • Suspended ShelvingSuspended Shelving
  • Hanging Shelves with Faux Live Edge and Galvanized WireHanging Shelves with Faux Live Edge and Galvanized Wire

in Shelving, Small Builds, Uncategorized, Wall Art, Wall Decor

Reader Interactions

you may also like
Master Bathroom Makeover
Board and Batten Island Makeover
DIY Pull Out Drawer Storage
DIY Drawer Dividers

Comments

  1. Amy says

    May 30, 2018 at 8:12 am

    Very cute!

Trackbacks

  1. Modern Farmhouse Dining Room Makeover - Sawdust 2 Stitches says:
    June 1, 2018 at 6:00 am

    […] buy all my chairs from Target and  had a few dollars extra that I put towards the materials for my shelves and my DIY […]

Primary Sidebar

  • Facebook
  • Instagram
  • Pinterest
  • Twitter
  • YouTube
IMG_9167 (1).jpg fd

Popular Projects

  • How to: Faux Brick Wall
  • Cheap White Curtains
  • Ikea Cubbies into a Rustic Apothecary
  • Cabinet Transformed Into A Kitchen Island
  • Workshop Assembly Table
  • The BEST Beach Blanket ever!
DIY & Design

Meet Corey

Hi everyone, my name is Corey, and I have a problem. I can’t leave well enough alone… The best therapy usually involves a variety of power tools. So, in the few “spare” moments I am not entertaining my two beautiful, rambunctious, boys, I can typically be found hunched over a sewing machine and/or covered in sawdust. All in the efforts to create a perfect balance of aesthetics and practicality in our home.
read more

Join our mailing list!

DIY & design ideas - right in your inbox!

Top Hits!

  • How to: Faux Brick Wall
  • Cheap White Curtains
  • Ikea Cubbies into a Rustic Apothecary

Featured

Master Bathroom Makeover

Categories

  • 70's Ranch Home
  • Around the House
  • Build Plans
  • Crafts
  • Current Home
  • Decor Makeovers
  • Dresser
  • Exterior
  • Fall
  • First Home
  • Furniture Makeover
  • Hidden Compartment
  • Kitchen
  • Lighting
  • Makovers
  • Master Closet
  • Organization
  • R.V.
  • Room Makeovers
  • Seasonal
  • Seating
  • Sewing
  • Shelving
  • Small Builds
  • Smart Home
  • Spring
  • Summer
  • Tables
  • Tablescape
  • Tutorials
  • Uncategorized
  • Wall Art
  • Wall Decor
  • Winter
  • Workshop

Footer

Contact Me: Corey@Sawdust2Stitches.com

Latest ‘Grams

The bathroom reveal is LIVE! Here is just one The bathroom reveal is LIVE! 

 Here is just one small view of this new, improved, and somewhat magical bathroom.  I have been dreaming about remodeling my bathroom for years and I can finally say it was worth the work and the wait. 
 For real though, can you even get enough of this tile ?? I know I can’t get enough, but I certainly knew HOW much to get. Did you know that The Home Depot app has project calculators for a wide range of materials INCLUDING tile, so you  can know exactly how much product you  need? You better believe it!
 I have details about this feature and more reveal images on the site today. 
#linkinprofile #ThdDoerProject #HomeDepotPartner @homedepot
Sneak Peek… of our completely renovated master b Sneak Peek… of our completely renovated master bathroom!  I have put off giving our bathroom a makeover for 5 years.  I think there are a lot of reasons people put off big projects … time, money, skills, knowledge, tools?  While The Home Depot can’t completely eliminate the list, they can certainly shorten it!  With a library of “How-to Guides”, helpful resources like “Project Calculator” and a vast inventory of tools to rent The Home Depot can certainly make any daunting project more achievable. 

@homedepot #THDDoerProject #HomeDepotPartner
I have put off giving this kitchen island a faceli I have put off giving this kitchen island a facelift for 6 years! I always prioritized projects I perceived would have the biggest impact. Well, HOT DANG  I under estimated the difference a kitchen island could make!I have a full tutorial on the site today. #sponsored @dapproducts 

Photo credit: @ashleynavarrophotography
I’m on a kitchen organizing kick, and these pull I’m on a kitchen organizing kick, and these pull-out drawer are easier than ever to make using the new (extremely intuitive/user-friendly @kregjig 720 PRO.
I have a full tutorial on the site today.#linkinbio #sponsored
Photo Credit: @ashleynavarrophotography
My organizing heart could just burst!! I’m still My organizing heart could just burst!! I’m still organizing the kitchen, but so far I have fit all the contents from the existing pantry AND freed up an entire lower and upper cabinet that contained pantry items.  #winning
Would you believe me if I told you that where this Would you believe me if I told you that where this beautiful custom-built pantry sits, used to be a small builder grade closet? Talk about untapped potential!? While the closet/pantry served its purpose, the space was not well utilized and was altogether unremarkable. With the help of The Home Depot this pantry is not only extremely functional it is a gorgeous feature in my kitchen. 
Sometimes we might look past or forget the untapped potential and resources. 
For example, did you know The Home Depot has a TON of resources to help you with your projects?  Did you know that you can do image search in their mobile app? Yup! Just take a picture of the needed item scan it on your app and find the product in a flash! In fact you  can add it right to your cart and have it ready to be picked up at available stores or lockers!
#THDDoerProject #HomeDepotPartner @homedepot
Follow on Instagram
2020 © Your Blog Name
theme by soleilflare
Enter your name and email and get the weekly newsletter... it's FREE!
Your information will *never* be shared or sold to a 3rd party.