I just love my diy blogging buds, seriously they just get me. Seriously, if you are ever lucky enough to find a tribe of people that get excited about the same weird things you like, you hold on to them! My good friend Jen Woodhouse asked if my friends and I would take an afternoon and make a project using ONLY scrap wood that we had in our shops… Challenge accepted! Luck for me, I had just recently replaced the foundation of my bed. I feel so grown up now, it is no longer being supported by 1×4’s and cinder blocks! “Yay” for adult-ing the crap out of life. (It only took us 11 years.) I digress, with the new foundation, the aforementioned 1×4’s were now in the pile of scrap wood in the shop. Well, when the “Scrap Wood Challenge was extended, I had a pretty good idea what I wanted to do. I had recently been in Waco with my blogger buddies (Jen included!), and came across a really cute wooden wall sconces while perusing “Magnolia Market”. They had them displayed as a singular candle sconce, but I thought to myself ” I need that, but x 12!”, well as it turns out I really only needed 11. 🙂
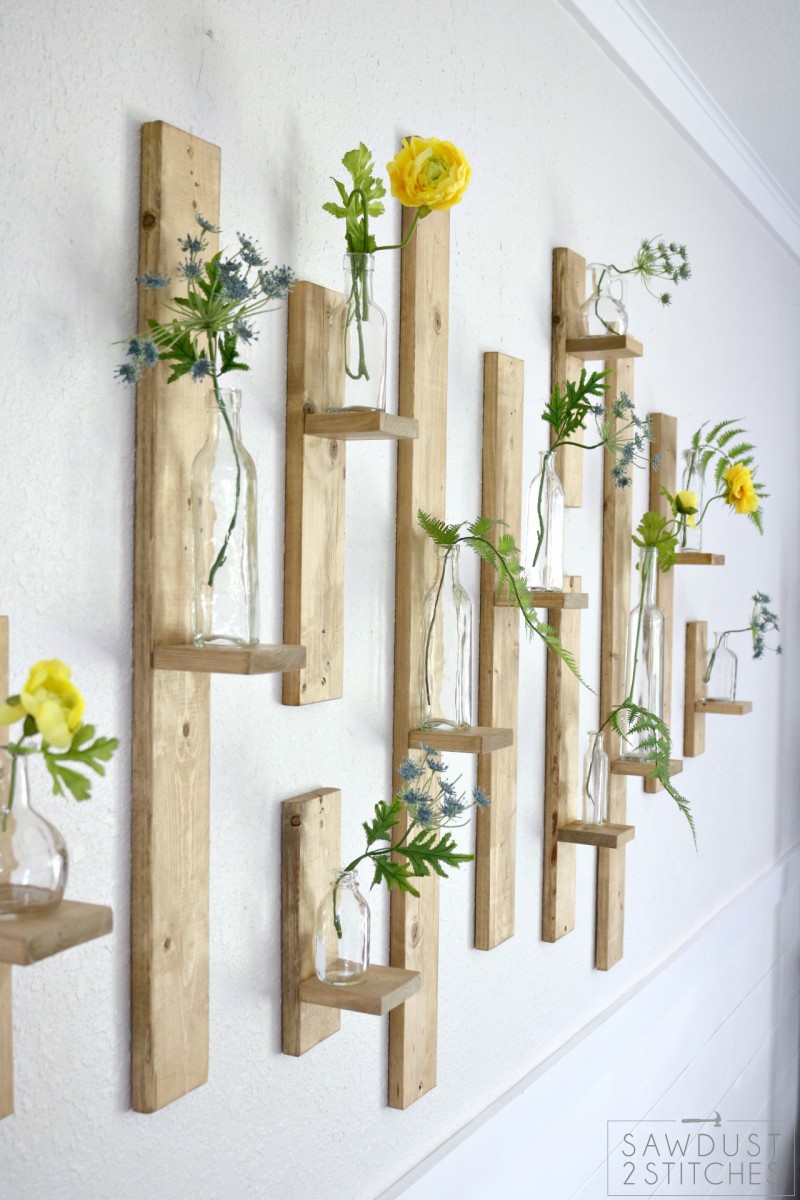
Here is how I turned my old bed slats into an afternoon diy wall decor. 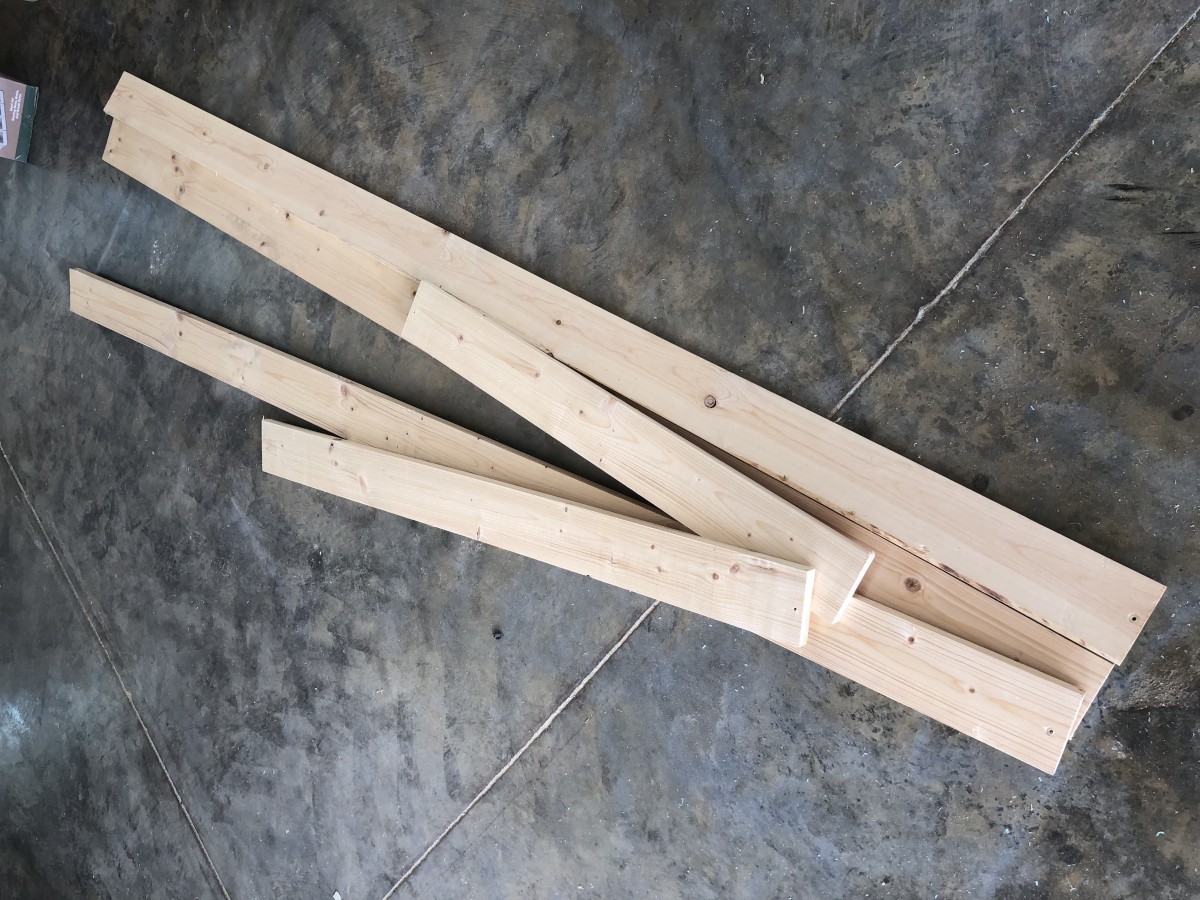
First I started by figuring out my layout. Nothing very technical about my method. I first measured the space I anticipated hanging them, and went from there. In all reality I just cut one board that would be the max height of the art and started filling the space until the layout appeased me.
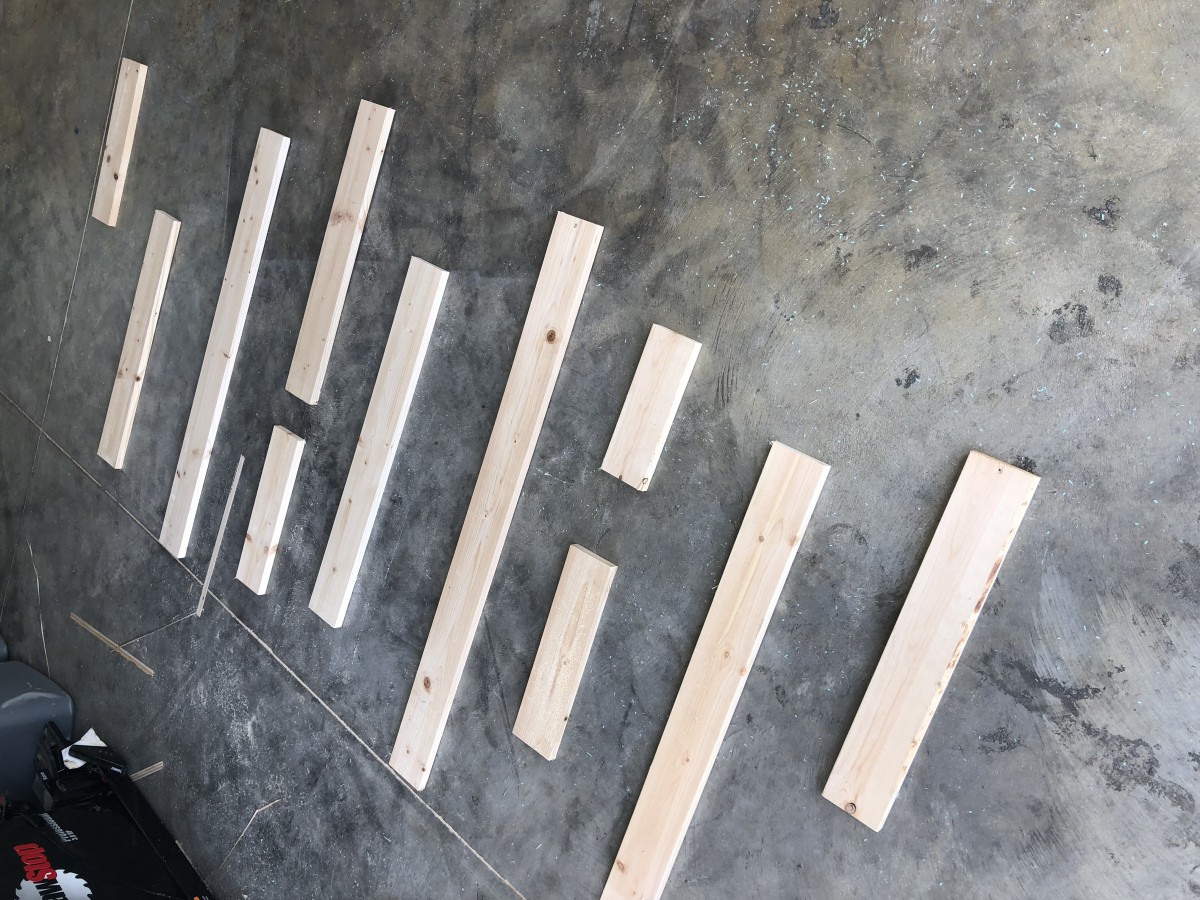
Then with what was left of the board I cut 3.5″ pieces that would serve as ledges. Again, there was no formula for the configuration. I just started placing the ledges randomly on the vertical pieces. I knew that these ledges would hold a tiny vase containing single floral pieces, so mentally I took into consideration where the pops of color would be, and tried to space out the ledges accordingly. 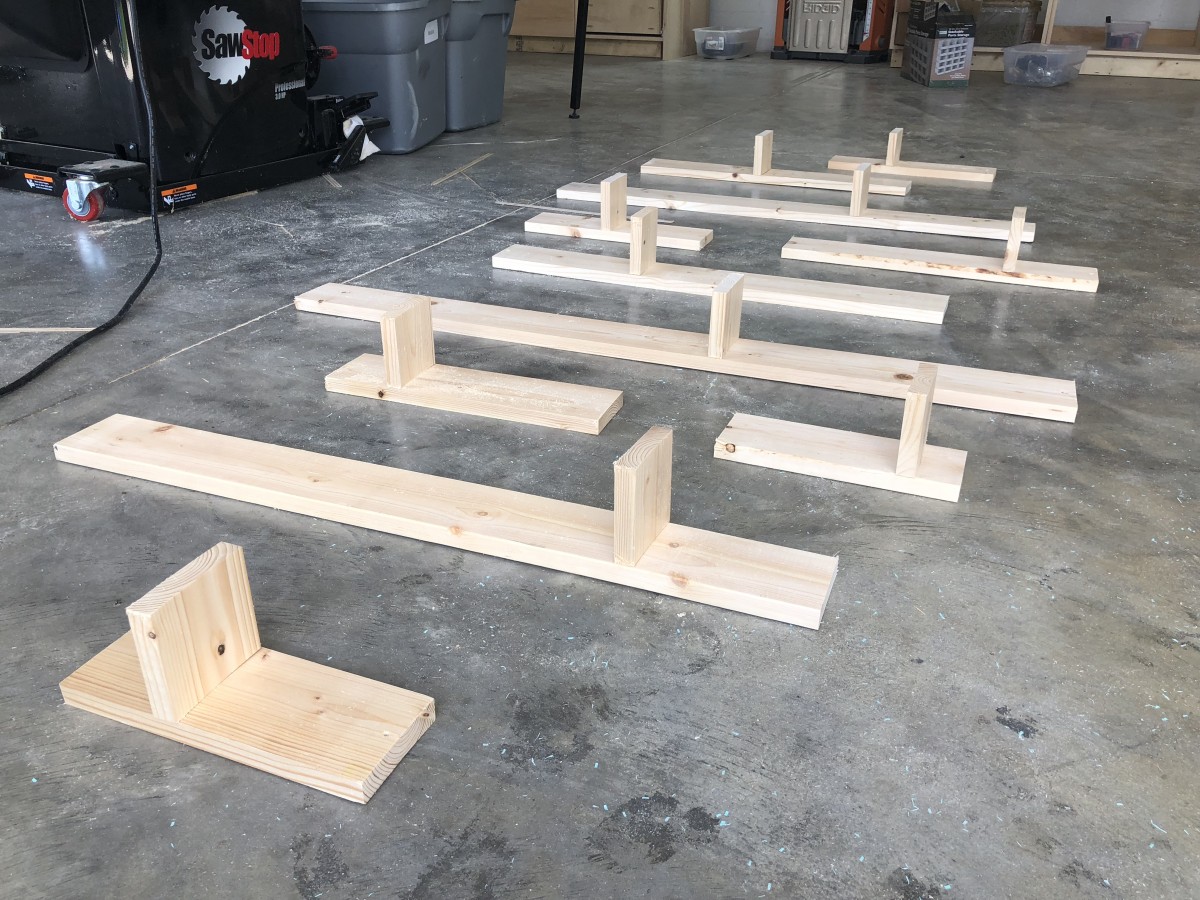
Once I had a general idea of placement, I started prepping the boards. Before assembling the boards I first gave them a once-over with my sander. (Make sure you mark where you want your ledges, or you will be repeating the previous step again, and ain’t nobody got time for that.) 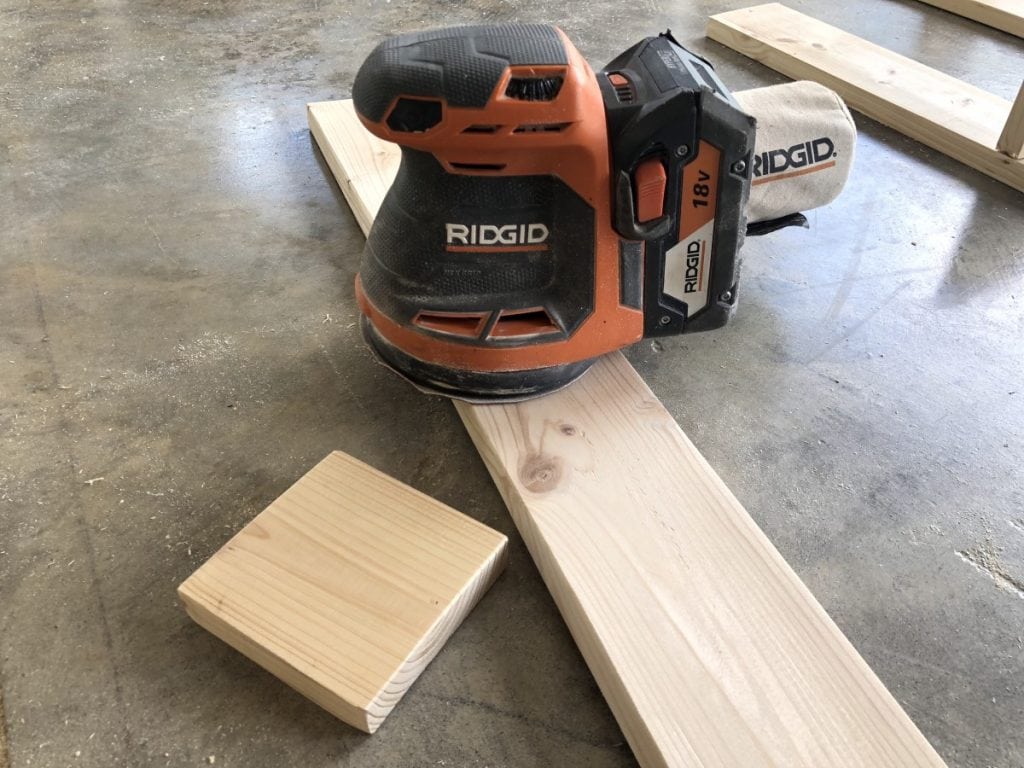
I then use a bit of wood glue and placed them at the before designed places. I like to use wood glue as a quick hold. On a small project like this it works well as a holding agent while attaching them from the back. It’s just an extra set of hands if you don’t feel like clamping them up.

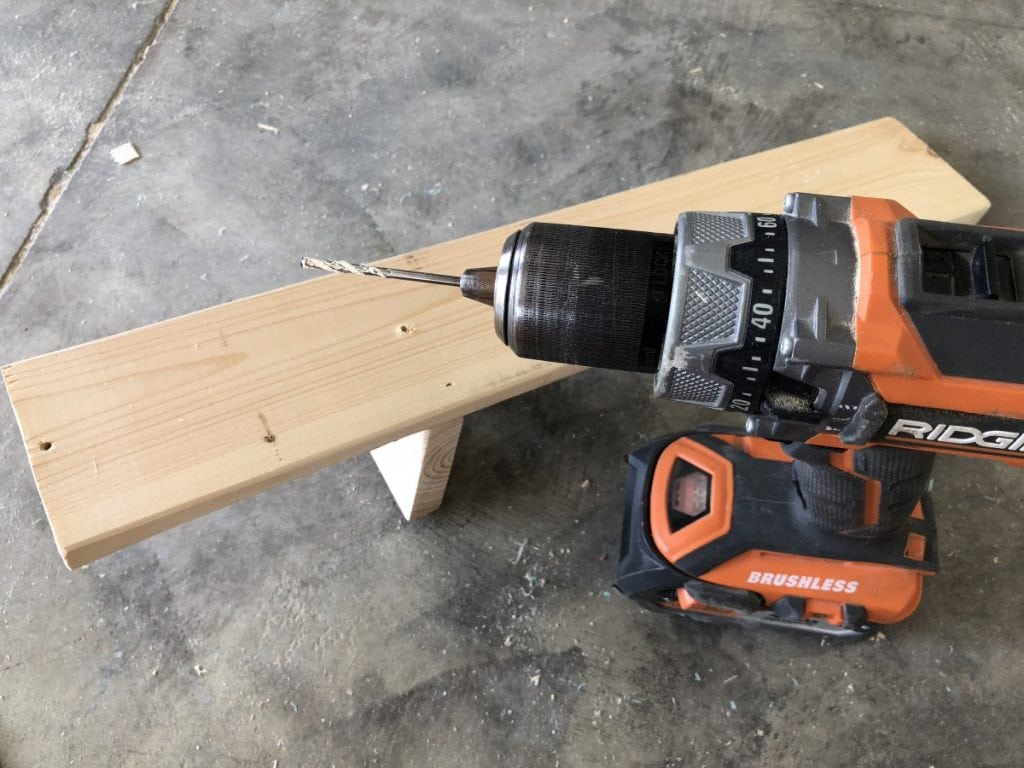
Once the glue had set for a few minutes I flipped them over and prepped the board for a screw by pre-drilling through the board and into the ledge.
As an extra precaution I used a countersink bit, so that the screw would countersink. Keeping in mind that I want this to hang on the wall and I wanted to make sure that the screws were flush in the board, and would not make my sconce hang out away from the wall. 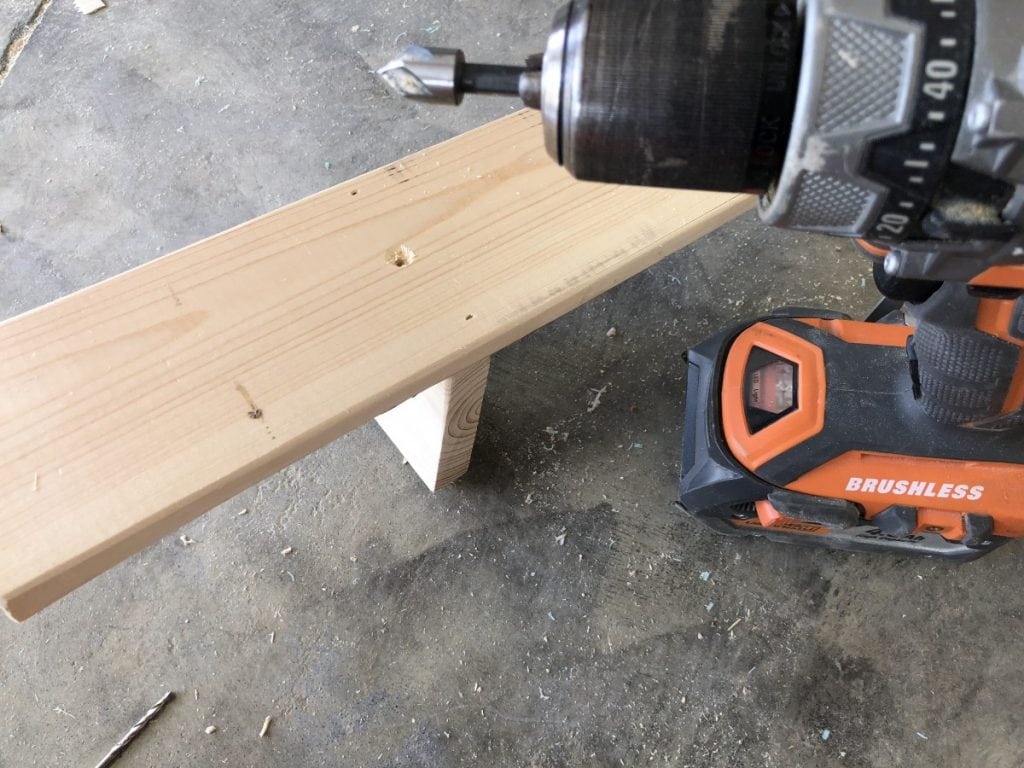 I then drove in 2″ screws. Keep in mind, these are only going to be holding very light, very small vases so they will not be holding an exorbitant amount of weight.
 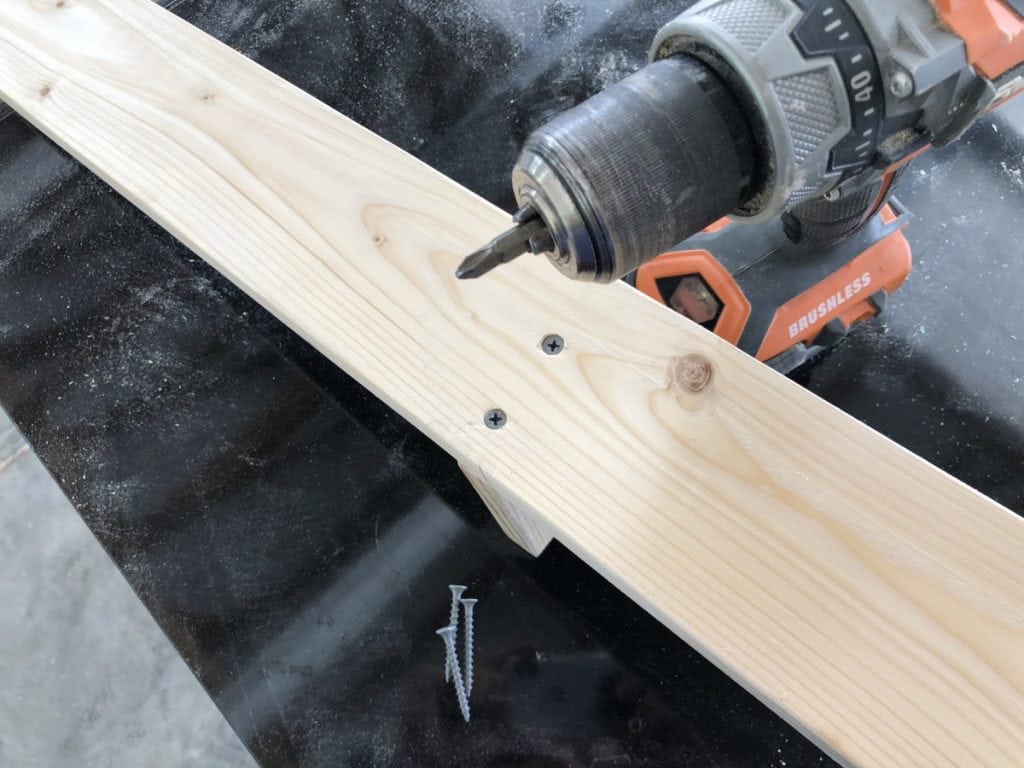 At this point I stained all of my boards/sconces. I used Minwax “Golden Oak”. (It is currently trending in my house). Once the stain had dried I pre-drilled and counter sank a hole at the top center, and bottom center of every board. This is how I mounted them on the wall. Remember these are really light weight, and will NOT be holding a lot of weight. If you feel strongly that they need more support you can always place them into studs, or use mollies.
 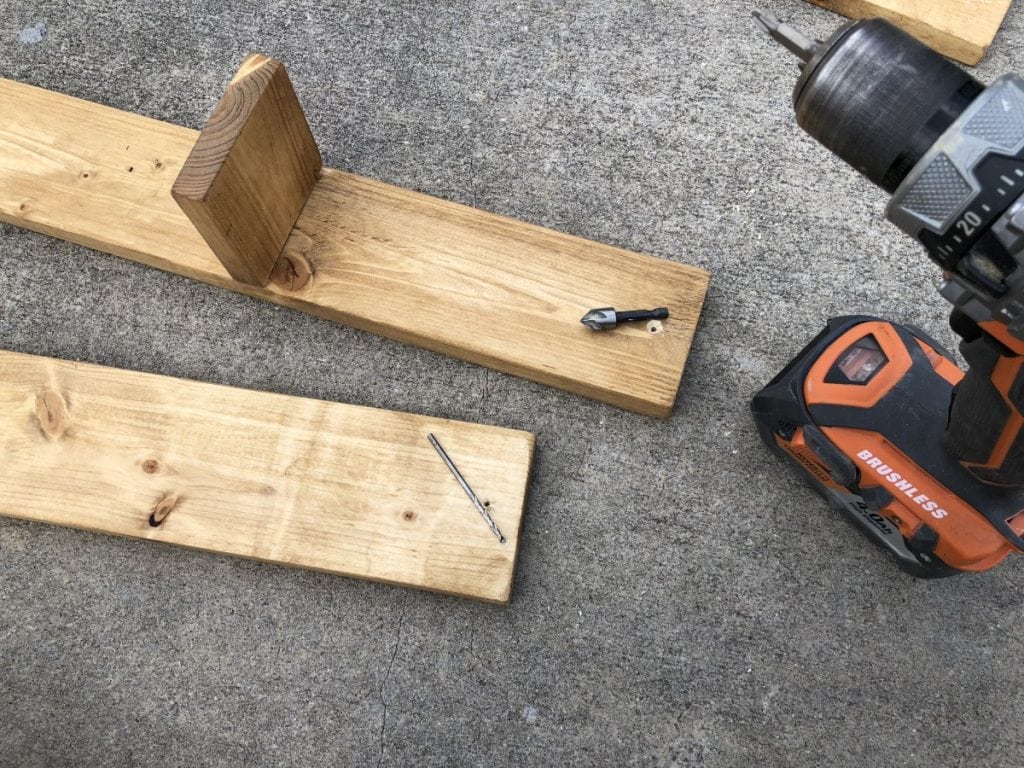 Once the stain in dry you are ready to install. I made sure to lay out my design in the room I would be hanging them so I could visualize the placement. I personally had to to tweak my layout 3 times before I got it just perfect. In all reality, sometimes it really is trial and error.
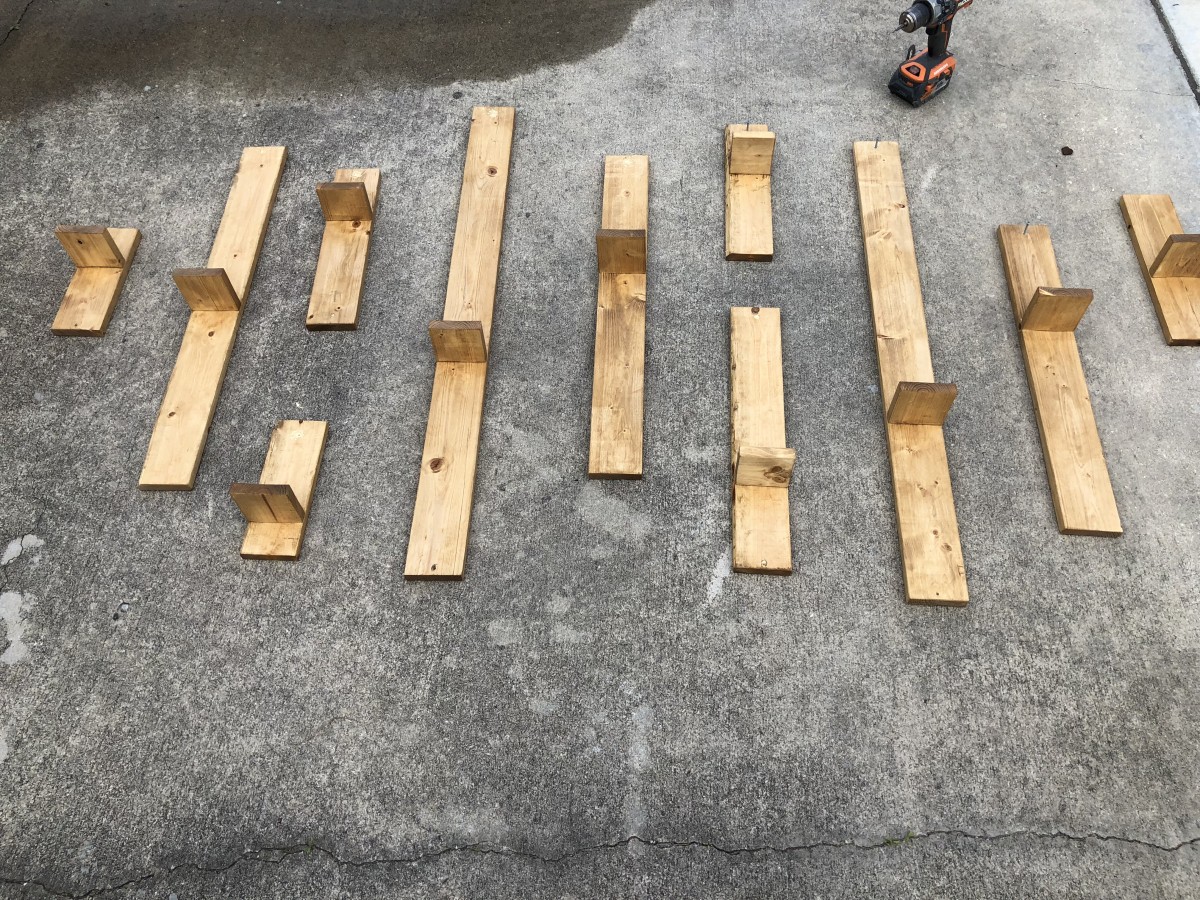
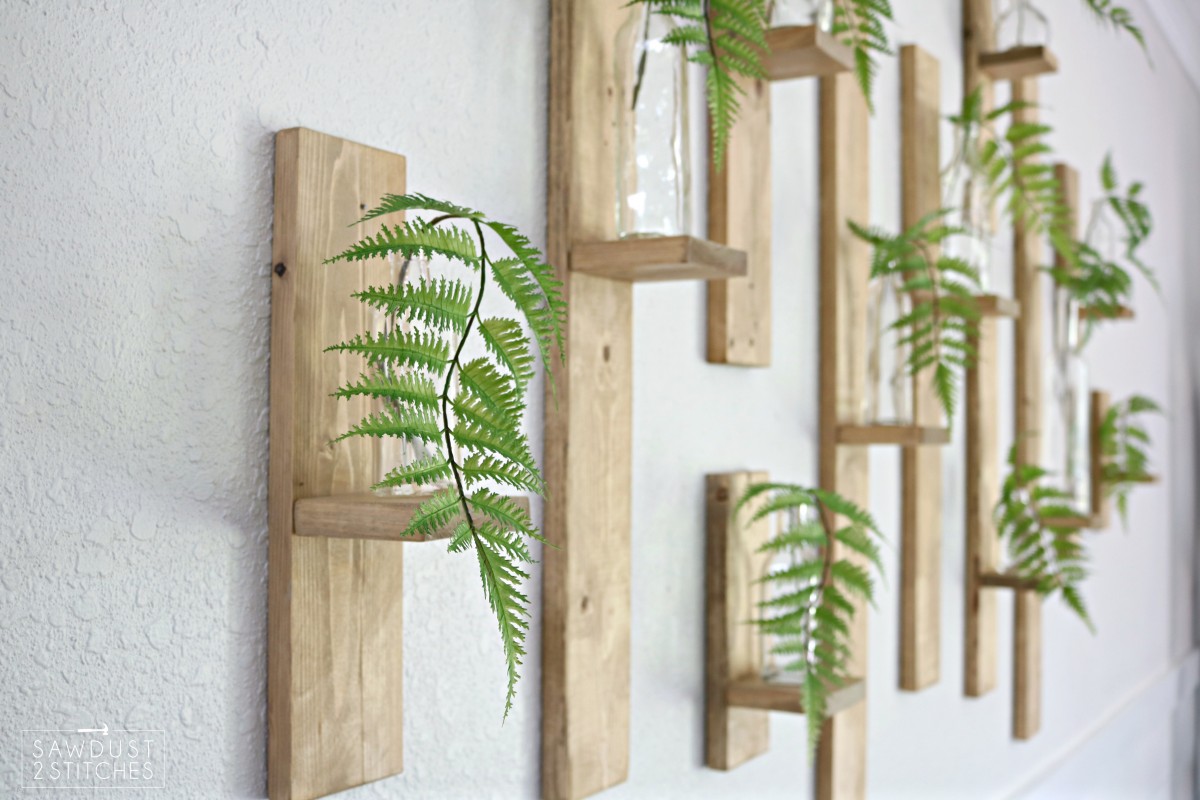
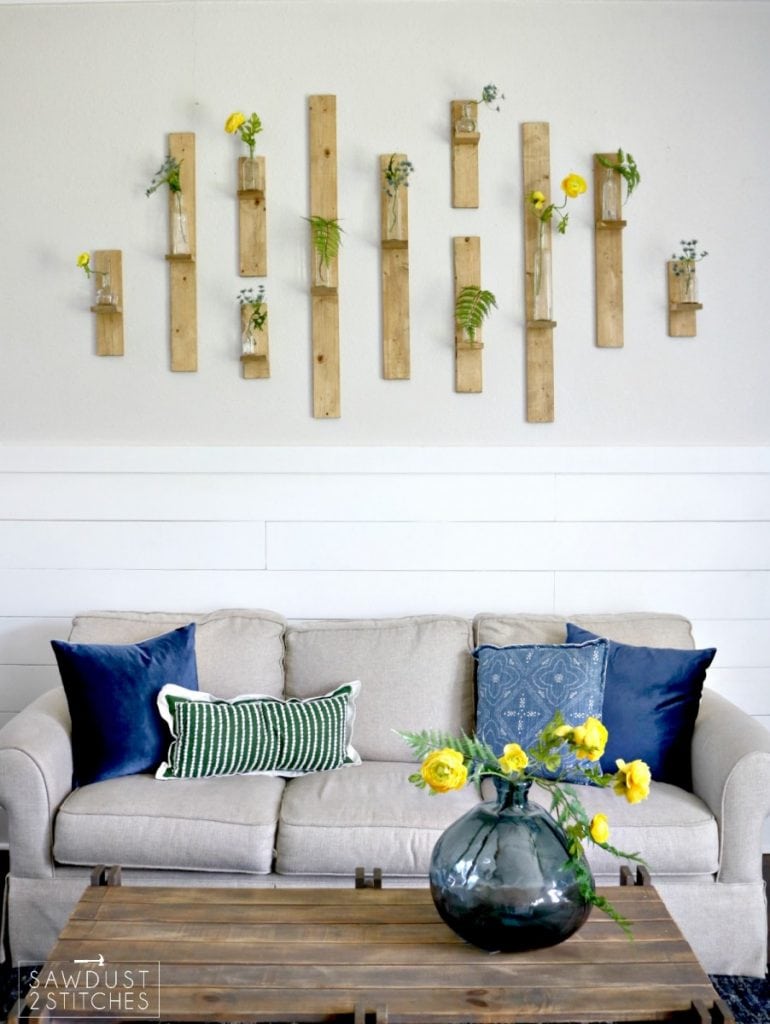
BUT, the trial and error was totally worth it! I love the outcome, and i love that it is so versitile! I originally planned on using only greens, but quickly realized that this is a great way to update your space with the different seasons! Seriously, you could totally change the feel on a room in a few minutes by simply replacing the flowers! Now, if you don’t happen to have a large scrap pile, no worries! You can achieve this look by purchasing (x3) 1×4″ boards. If you pick up fir stripping pine boards you can make these shelves for less the $10! Not bad huh?
I am happy to report I spent $0.00 on this challenge. I am really weird and love little glass bottles, and had them on hand. If you do not a have a weird glass bottle fetish and need to purchase some ,I will not judge. I get a lot of mine from Hobby Lobby. If you catch them on sale you can pick them up for as little as $1 a piece. I also tend to hoard artificial flowers so I just pulled them out of my silk plant arsenal. Again, if you do not hoard faux vegetation, this is again a cheap fix. I used very minimal flowers, and only one tiny sprig is necessary per vase. Most fake plants available at craft stores have multiple buds on each stem. So don’t go crazy, you aren’t going to need much!
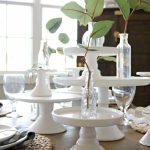
 Here it is with all green. I love the simplicity of it!
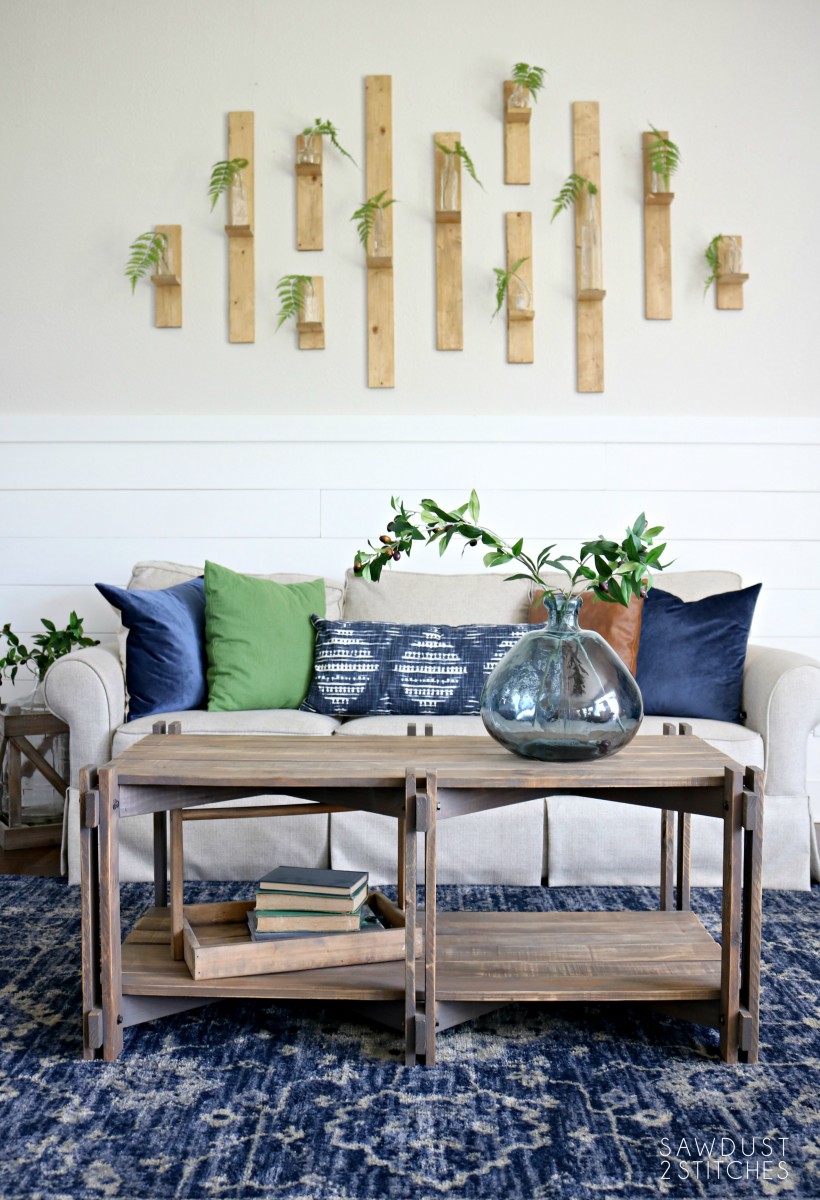
Isn’t it amazing what you can do with a few pieces of scrap wood and some elbow grease!? Well if you want some more fun ideas, make sure you check out my friends projects below!
- The House of Wood – DIY Bunk Buddy
- 3×3 Custom – Scrap Wood Trivets
- Ugly Duckling House – Mini Garden Deck
- The Created Home – Animal Coin Banks
- Her Toolbelt – 3D Pixel Art
- The Kim Six Fix – Outdoor Drink Stakes
- DIY Huntress – Scrap Wood Coasters
- Mr. Build It & Mrs. Style It – Bent Plywood Headphone Stand
- At Charlotte’s House – Buffalo Check Tray
- Sawdust 2 Stitches – Scrap Wood Wall Decor
- Bower Power – Pallet Baseball Hat Rack
- Pneumatic Addict – Table with Epoxy Resin
- Anika’s DIY Life – DIY Spice Rack
- 100 Things 2 Do – DIY Can Crusher
- Hazel + Gold Designs – Patio Table Drink Holder
- Reality Daydream – Scrap Wood Shoe Cabinet
- House Becoming Home – Modern DIY Clock
- Chatfield Court – Wooden Garden Obelisk
Take Luck,
Corey
 Copyright secured by Digiprove © 2018


This might be my favorite from the project challenge bunch. Love it!
Ah yessss Magnolia Silos! So much fun! Love this project, Corey. See you next month! xoxo
LOVE, LOVE, LOVE this! Such a good idea and this would work with just a few as well. I like the idea of switching out the greenery, too.
Absolutely stunning!