
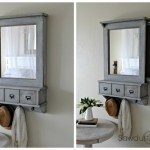
The holidays are coming up, which means a lot of baking, and cooking. Are you ready ? Well, kitchen organization has been lacking a little… Especially my “baking” cabinet. It needed a little bit of a facelift. 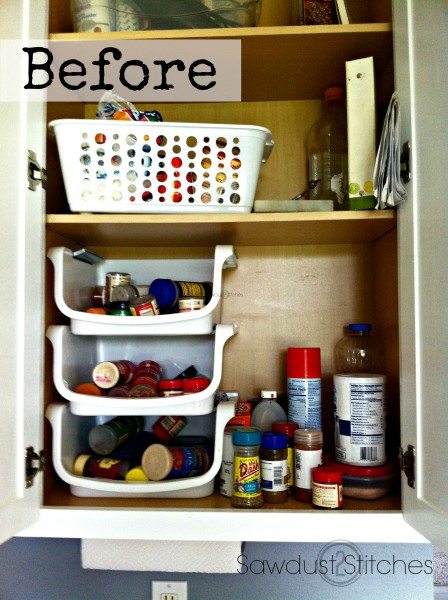
Supplies Used:
- (2) 1″x4″ Boards (8′)
- Primer
- Paint
- 1 1/2″ FinishNails
- Wood Glue
- Glass Jars
- Round Stickers
- Black Primer
- 1/4″ Paneling
Tools Suggested
- Miter Saw
- Sander
- Paint Brushes
- Nail Gun
- Compressor
Spice Rack
Step 1: Prep Boards
Cut boards, sand all the boards.
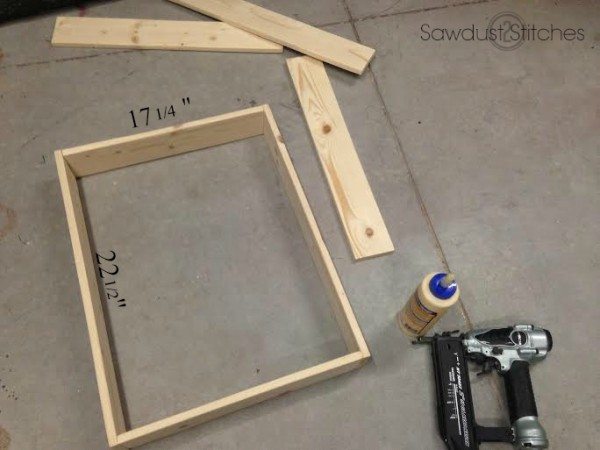
Cut List:
1″x 4″=
- (2) 17 1/4″
- (2) 22 1/2″
- (3) 21″
Paneling=
- 18 3/4 x 22 1/2″
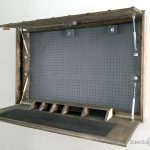
Step 2: Assemble Frame
I first applied glue, and then reinforced with 2″ nails. Make sure to use a square when constructing the shelf. Once constructed fill all holes with nail filler, and then sand.
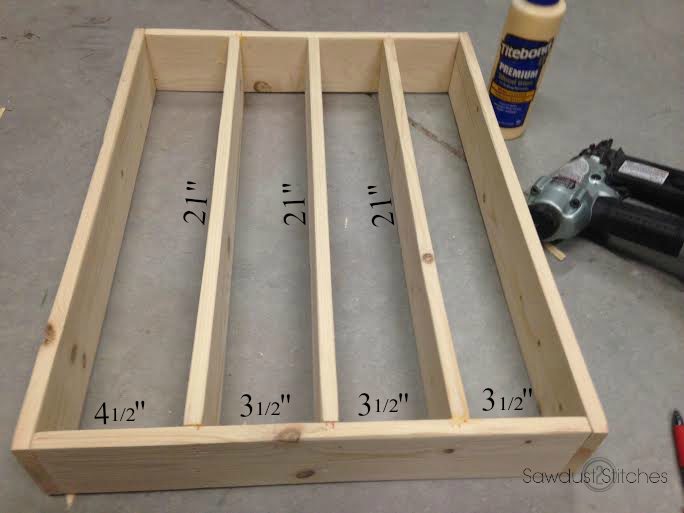
Step 3: Add Shelves
Add shelves using the dimensions depicted in the image below. For good measure I used wood glue and reinforced with 1 1/2″ finish nails.
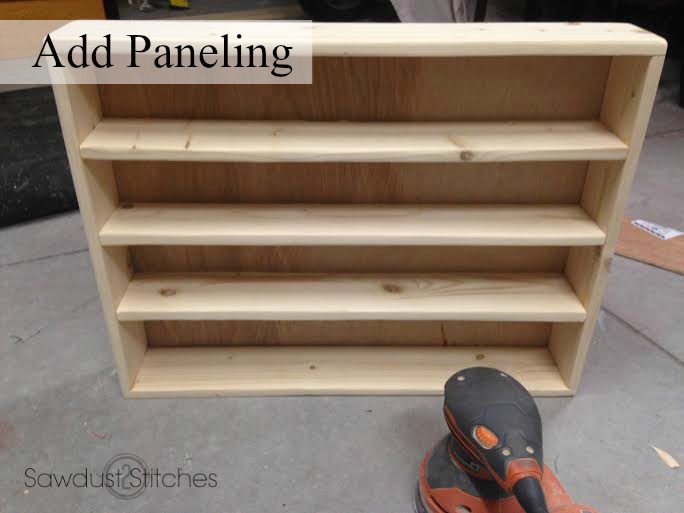
Step 4: Attach Backing
Once the shelf is constructed, I then applied glue to the back, and then reinforced the paneling with 1/4″ nails.
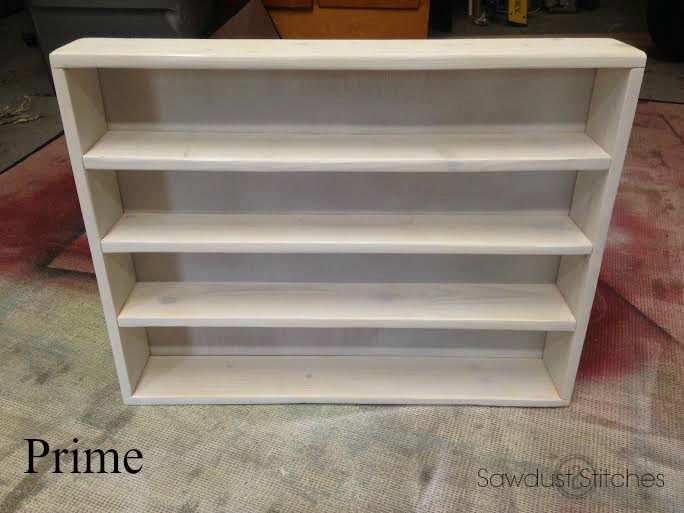
Step 5: Finish
After the structure is completed, sand, prime and paint! ( I ended up distressing mine.)
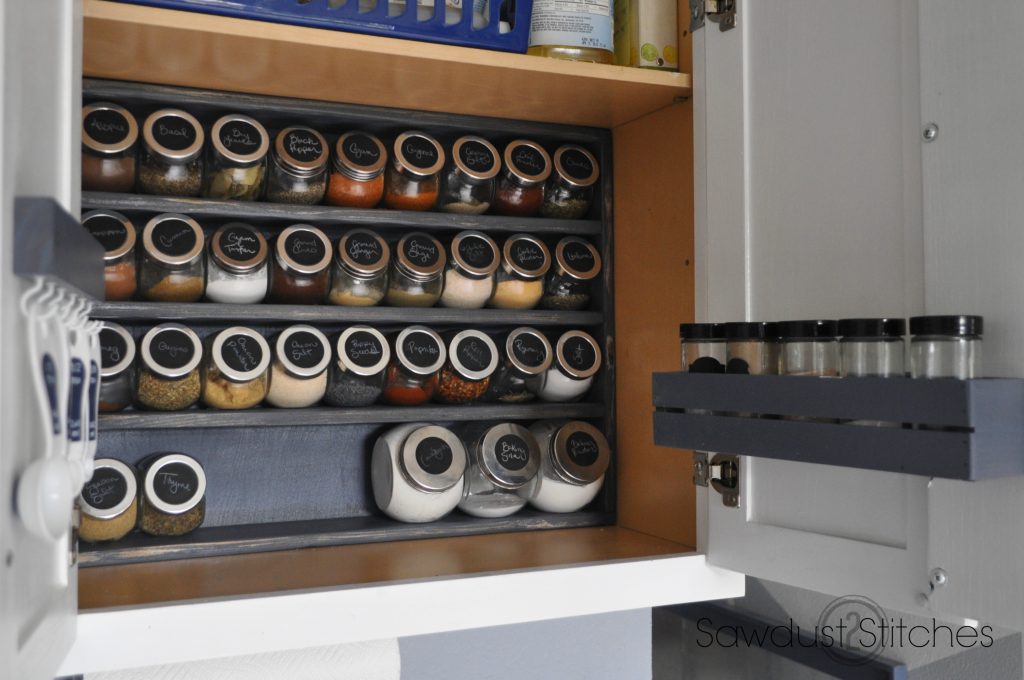
Step 6: Add Spices
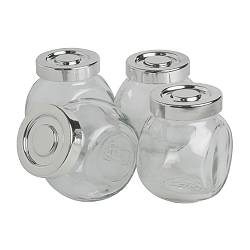
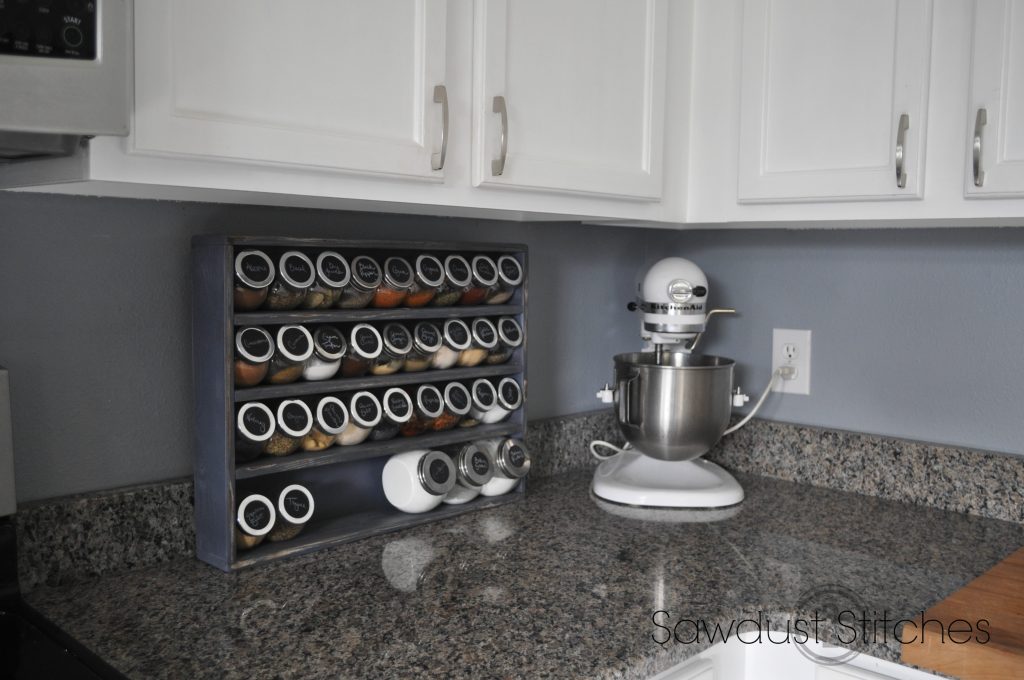
I used glass tilted jars, I know you can purchase them at Ikea and Hobby Lobby. If you have access to baby food jars that would be and awesome/cheaper alternative.
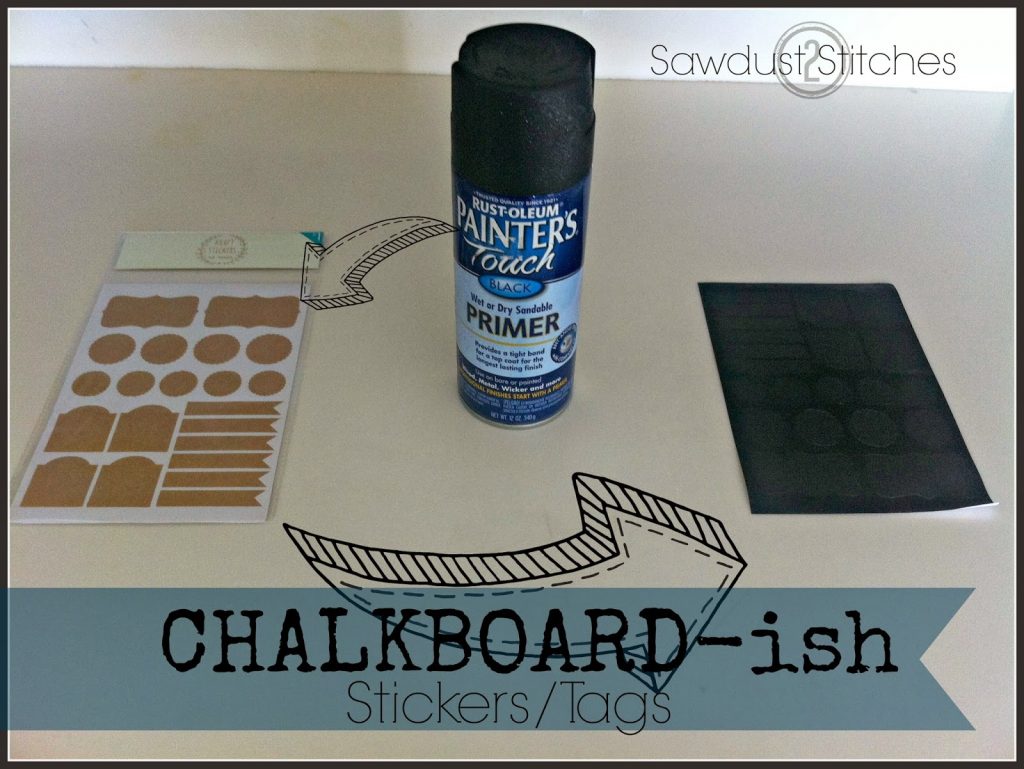
I used chalkboard stickers for my jar labels. When I originally made this spice organizer, chalkboard stickers were not readily available. If you have trouble locating chalkboard stickers. Consider this alternative.
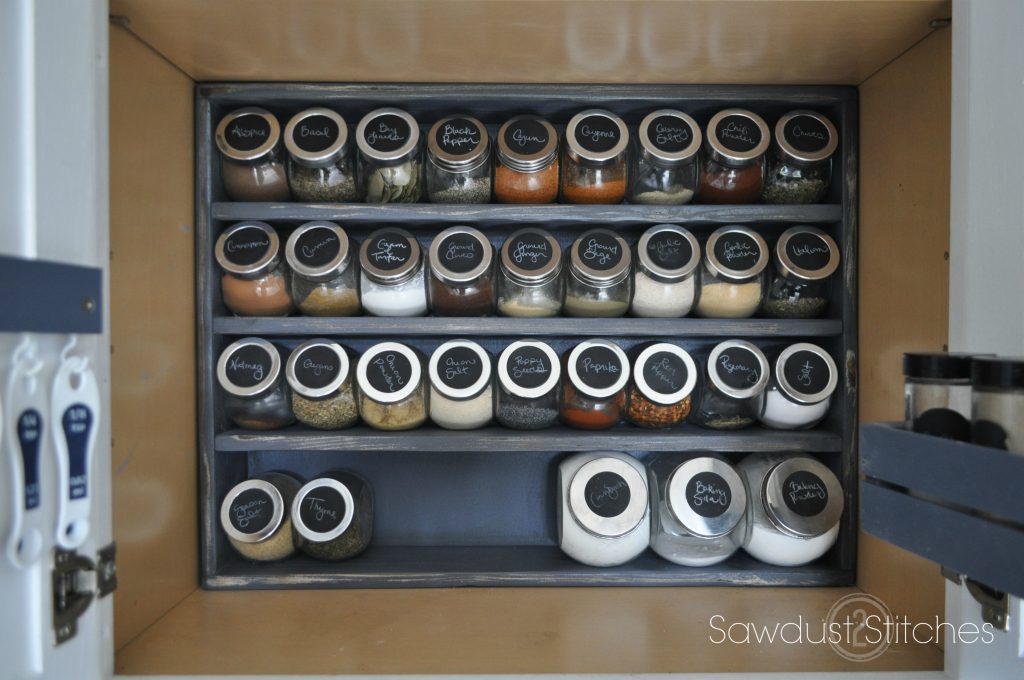
 This awesome spice rack is extremely versatile! It can either go on a counter top, mounted to the wall , or like I did fit in the cabinet! I love the way it looked.
I liked it so much that I added a few more modifications. Next on the agenda ?
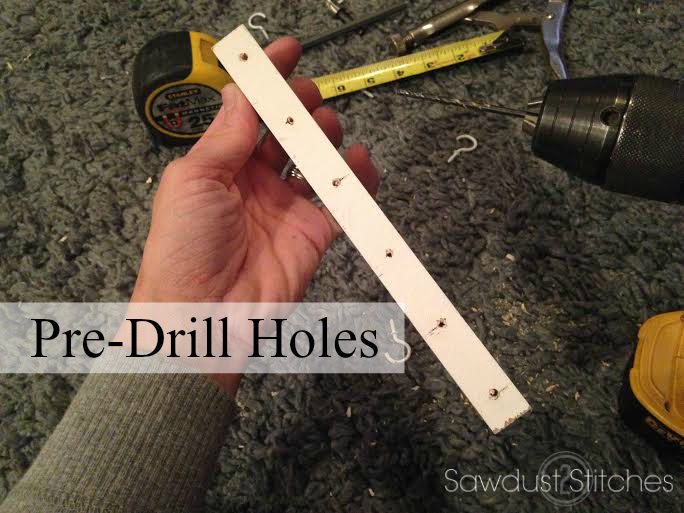
Measuring Spoon Rack
I used a 1×2″ board. I then pre-drilled holes.
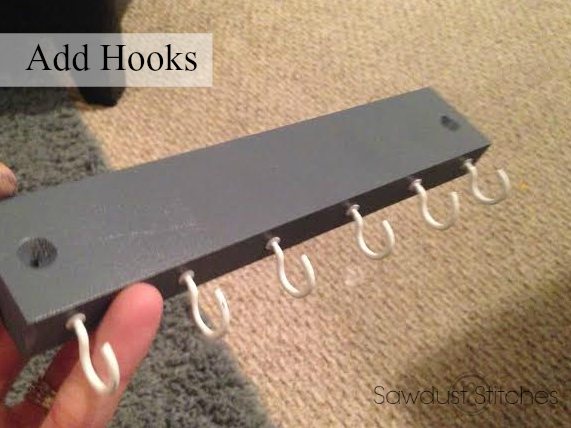
 I then painted the board and added the hooks. All that was left, was to attach the board to the cabinet door.
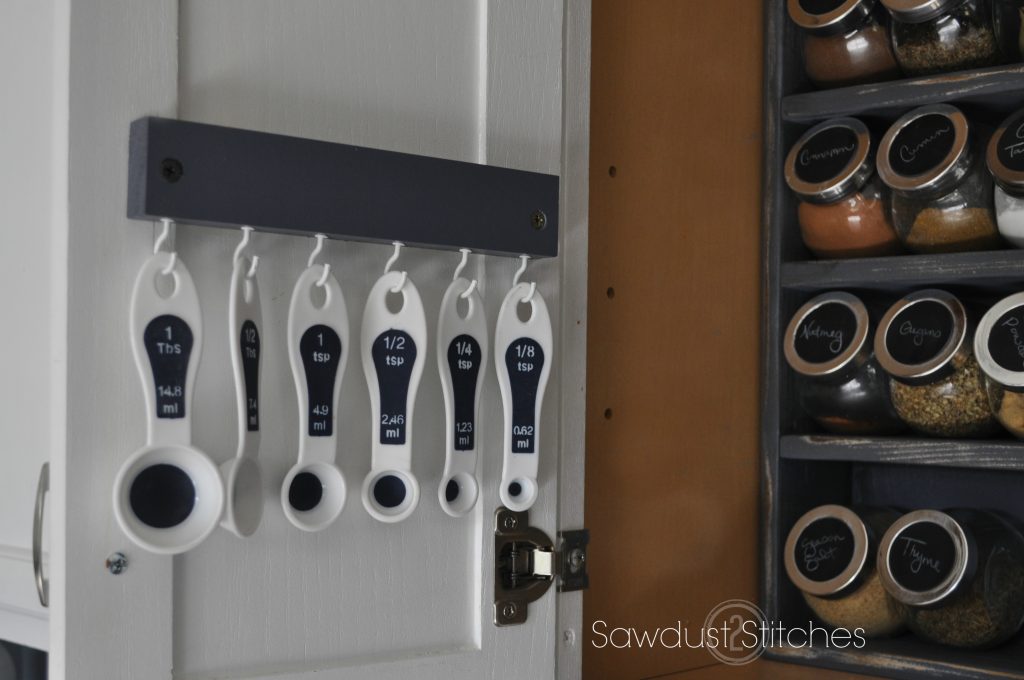
I even ended up adding an extra shelf to the other door. It is perfect for salt, pepper, and commonly used spices.
So there you have it folks, an easy fix for the cluttered cupboard!
 Copyright secured by Digiprove © 2015-2016


Corey – Just gotta say…this is the best site that I have been on for a while!!! [you get triple exclamation points :)]. And thank you for SHARING your inventiveness. All I have to do now if beef up my power tool inventory and get started on all of these.
I would love to take a walk inside your mind…do you just stare at these things and, poof!, you have a plan? LOL Again thanks, I will be doing some of these projects for sure. May you always continue to have the energy and creativity to do these wonderful projects. You are an inspiration. – – – Maris
Maris,
Thank you so much for taking the time to comment!!! ( you get a triple exclamation points as well!) Seriously, getting feedback like yours is my FAVORITE part of blogging. Made my day. Hahah and I have got to say, when you start beefing up the power tool inventory, it becomes a little addictive! Glad to have you as a reader!
Where did you find the jars?
They are available at a lot of stores, but I have seen them at Hobby Lobby and Ikea.
Thank you!!!! I love this!!! I have been looking for a spice rack that did just this!! I too will be making one!!
Lindsey, Awesome, I would love to see pictures when you are finished! Take luck.
Hi! Thanks for the inspiration. Could you please give a little more info on the cuts and details for the little side shelf you made for the commonly used spices? Thanks and awesome end product!!!
Thanks so much! I’m sorry I don’t have access to the dimensions right now. I am out of town on vacation! woohoo! It is just a basic box, nothing fancy. Just make sure you secure it to the door at the thickest part of the door, (my cabinet doors have a paneling center and is fairly thin). Sorry, I know that isn’t extremely helpful. Thank you for reading!
so very impressed….just finished replacing all my spices to organic…never know so many chemicals reside in them. Looking to streamline storage place of same -tried drawer, counter holder, used to have Tupperware holders…none worked well. Yours will be especially efficient, practical and easy to keep neat. TY from a true fan!
Laurie, Good for you! Hopefully this system works out well for you! Thanks so much for reading and taking the time to comment!
Corey,
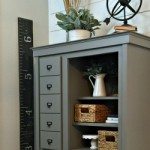
I stumbled upon your site via some link and am so thrilled! The things you do are amazing, I always seem to have great ideas for projects but it takes forever to get them to fruition. You inspire me to get things done! I absolutely loved the Ikea cubby that you turned into a ‘drawer’ unit. Just go to try that.
Thanks Anne! Haha, I am always motivated, it’s the energy and time I struggle with! I would love to see pictures as you complete projects!
I have never been a huge fan of cooking, but this refinement does help! Thanks for reading!
Hi- What size jars did you use for this? Hard to tell in the picture- Love the idea and making it my weekend project.
I don’t know what size ox they are, but they are approx 3″ tall. They sell them at hobby lobby and Ikea, and I have seen them at quite a few craft stores!