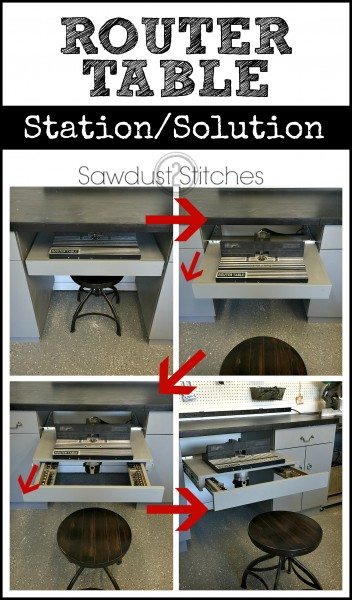
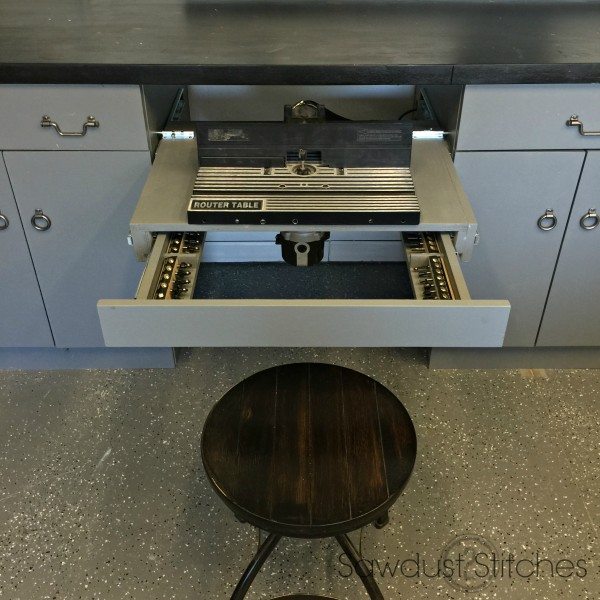
 So if you have read more than one of my posts, you have probably gathered that I am an organization enthusiast. I like everything to have a place, and I love it when everything is in it’s place. Well, the past few months I have been busy customizing my workshop . I am getting so close! One of the last projects that I needed to take on was a place for my router table. I wanted it to be easily accessible, but let’s be honest it is not my most used tool, so I also didn’t want it taking up valuable work space. This was my solution…
Now let me preface this is not build plans. I figure the odds of anybody having this exact space as mine was slim to none. Instead I will be breaking down step-by-step how I did it.
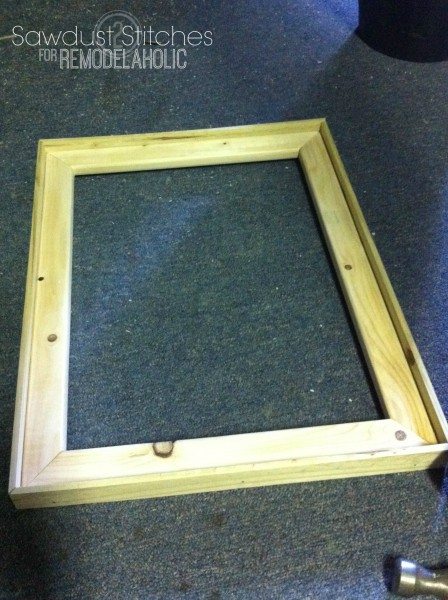
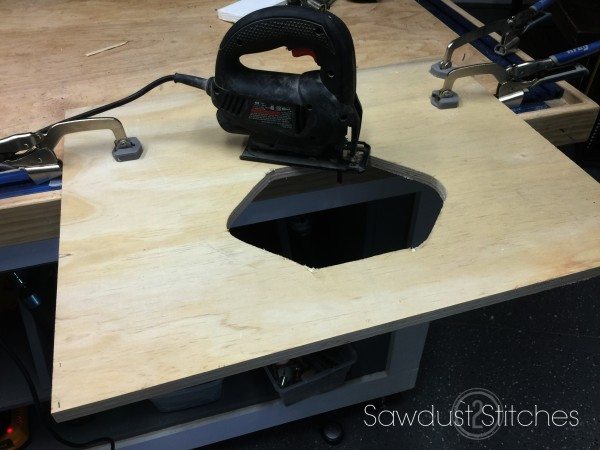
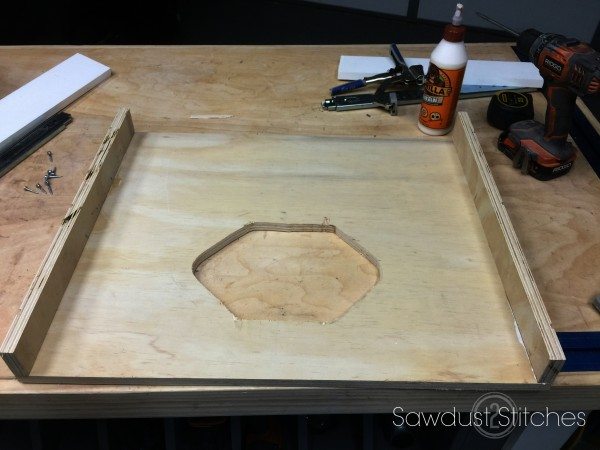
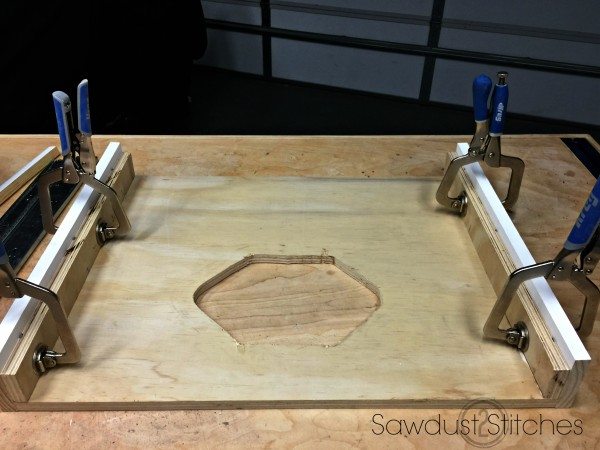
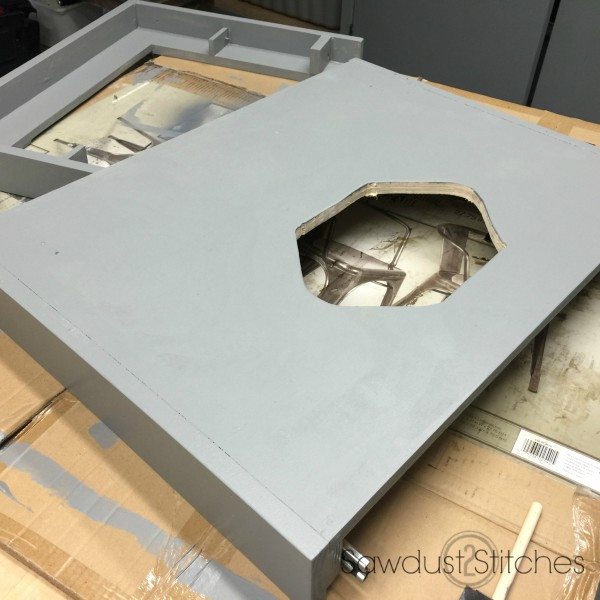
Here is where I started. I cut a piece of 3/4″ plywood down to fit within my allotted space. I then cut out a hole that would accommodate my router.
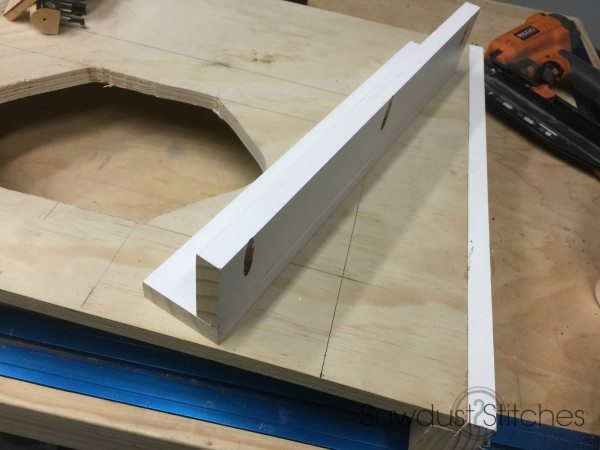
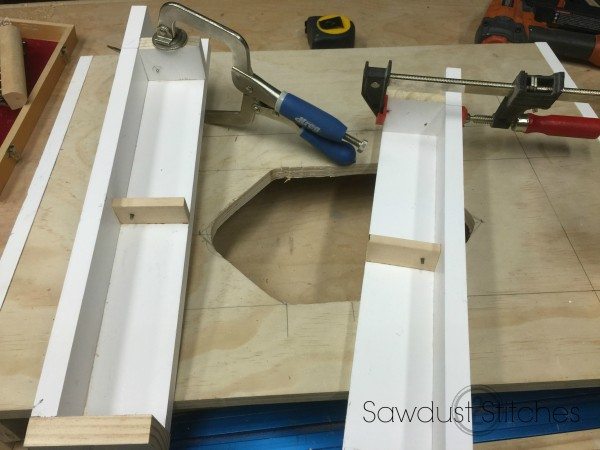
I then made supports for the bottom of the shelf, using cut offs of my plywood. (Approximately the dimensions of a 1×3″)
Once the top of the table was assembled, I began to the tray that will serve as the pull-out drawer.
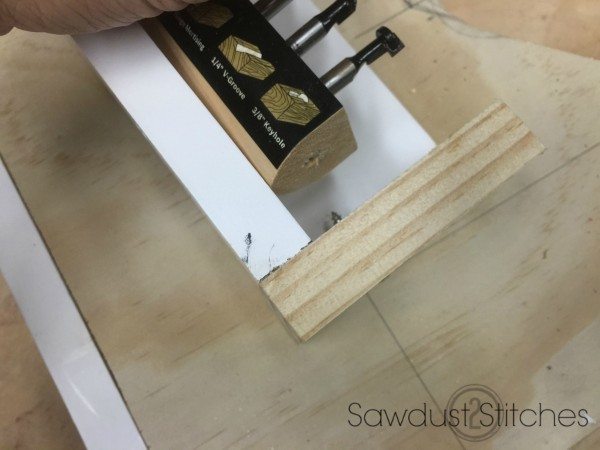
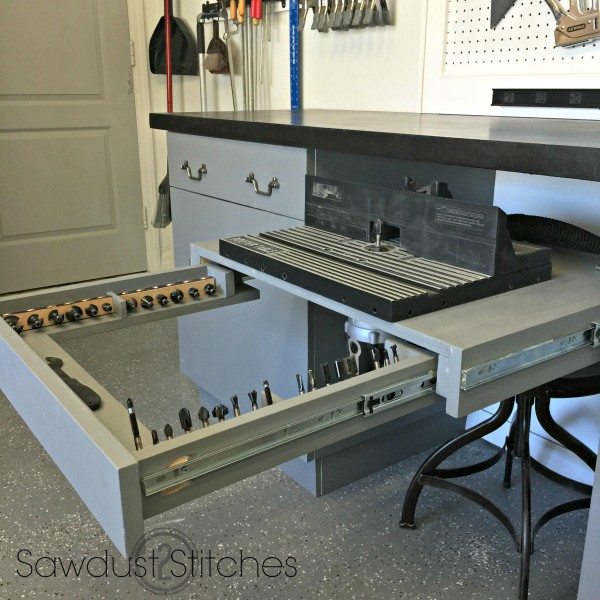
I had this tray of router bits, and I loved the way the rows flipped up to make them easily accessible. I wanted to use the same concept in the drawers. Well instead of duplicating it, I dissembled and adjusted it to fit in my drawer.
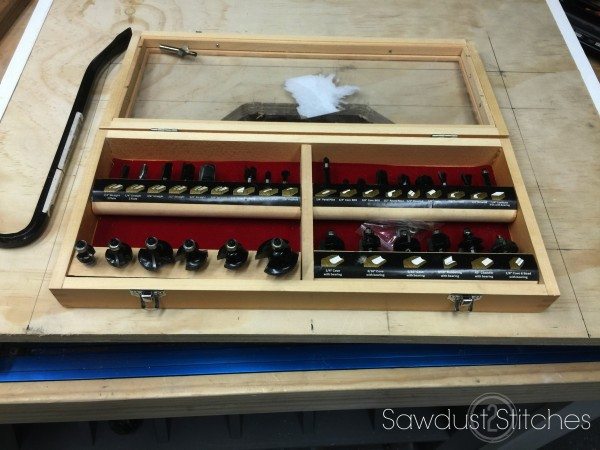
I just put a screw in partially through the drawer. (I did this on both sides of my bit trays. ) The screws serve as pivot points, allowing them to rotate up, and lay back down.
Next I needed to add drawer glides for the inner drawer. I knew full well I needed really strong full extension ball bearing glides. “D. Lawless” carries 75lb. and 100lb. glides. They are the best price point I have found. 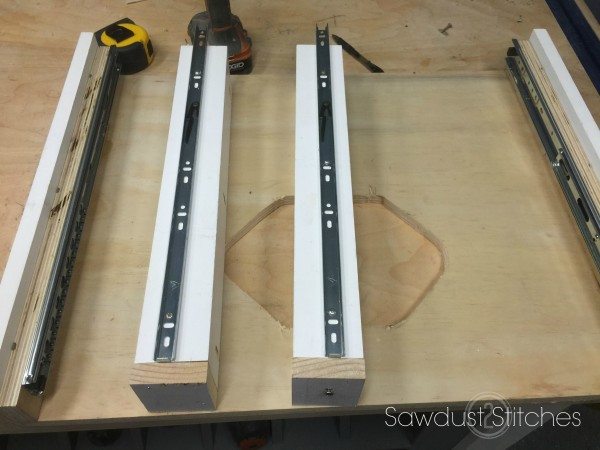 Once the drawer glides were installed, the drawer was ready.
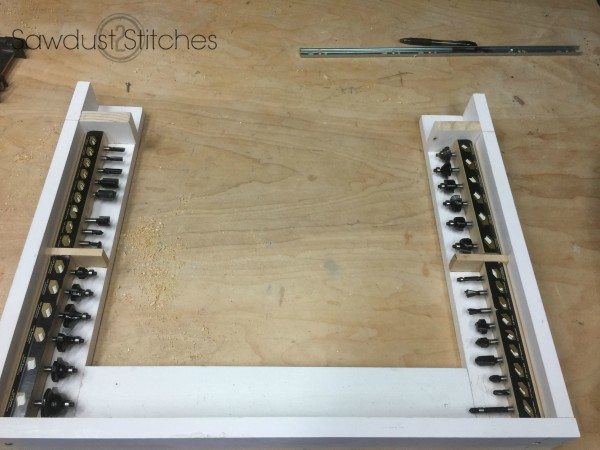
I saved all my finish work for last… honestly, because I had no idea how it was going to pan out. So I didn’t want to do touch up work all along the way. I painted all the components the same color as the cabinets. (You can see how I made my shop cabinets here.)
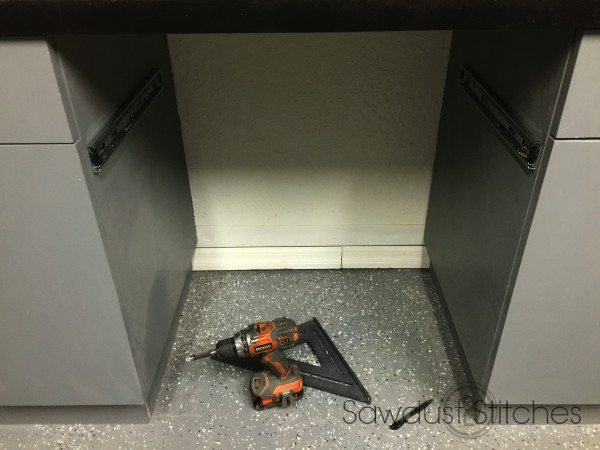
To install the station, I needed to add 100 lb. drawer glides, to the outside of the station. 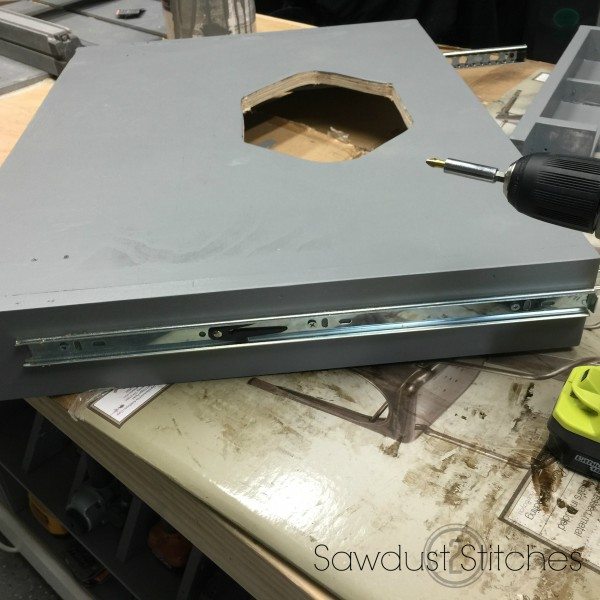
Another issue that needed to be addressed was the need for it to be stable and lock in place. I went for a very basic approach, that worked better than I had hoped. I installed the lock hardware on the tray.
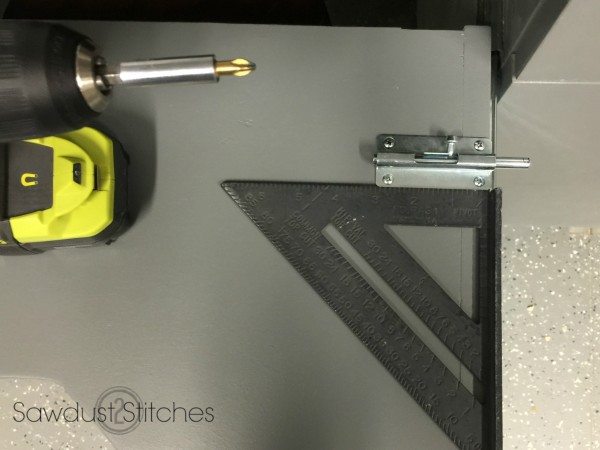 I then drilled a hole into the side of the cabinets. This is where the cam on the lock will be inserted.
 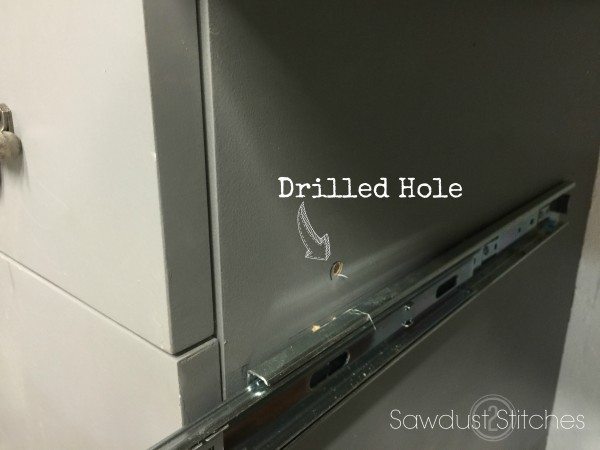 Once the station and the drawer were installed, I added the drawer front. (Just remember to only attach the drawer front to the inner drawer front:)
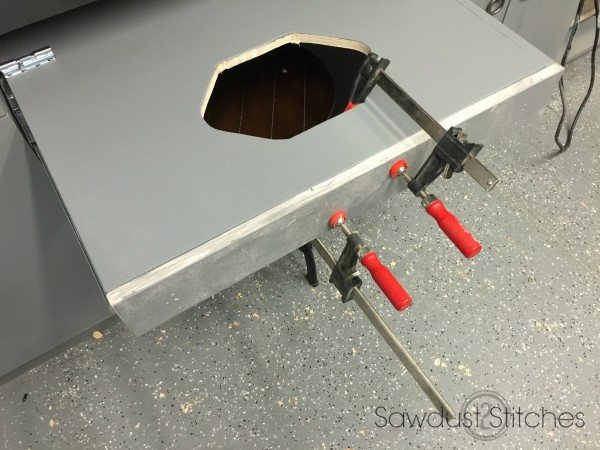
There you have it! A router table that is easily accessible, yet not in the way. The perfect solution. 
Pulls out, and locks in place. 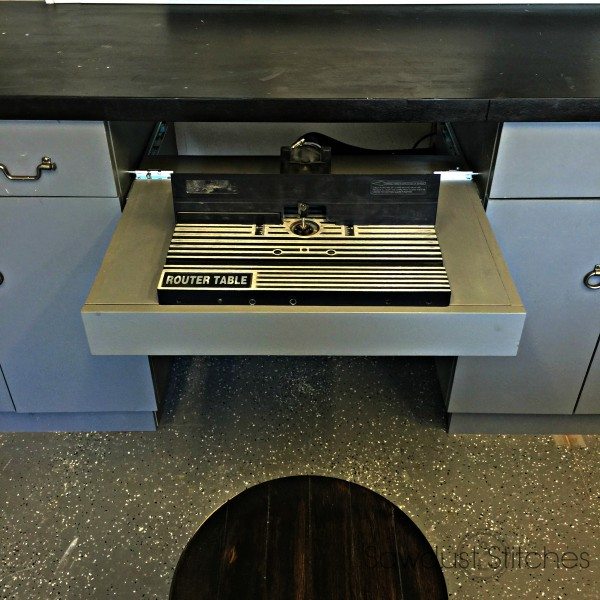
With extending drawer containing all accessories and bits needed!
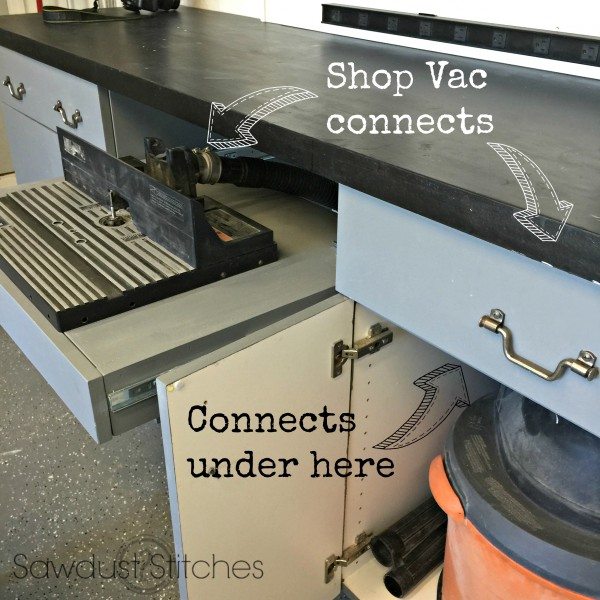
 Last thing it needed ? A dust and debris collection system. I parked my shop vac in the next cabinet over. I used a hole saw and ran the hose through the side of the cabinet and into the back of the router table. It is pretty much perfect. I love it.
Isn’t she a beaut !?
That is all there is to it! Thanks for tuning in, and take luck,
Corey
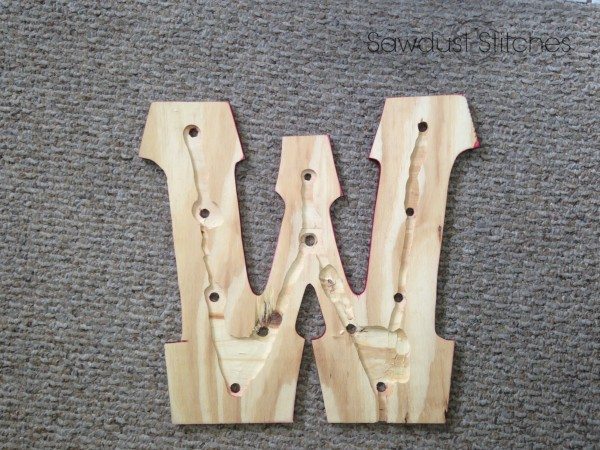
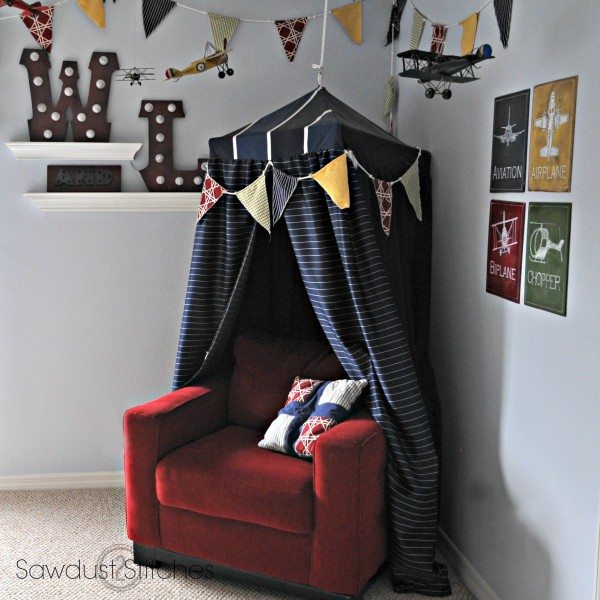
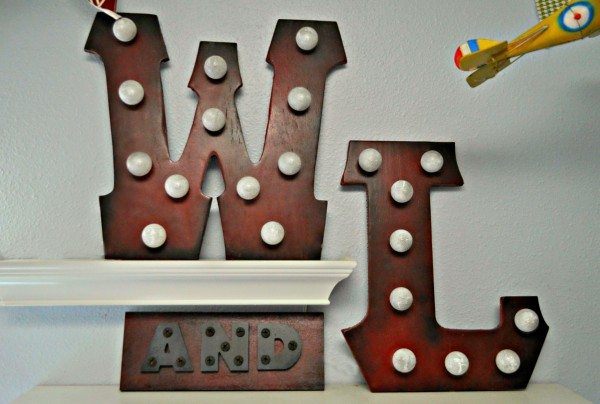 Almost exactly a year ago, we were getting ready to celebrate both of my sons birthdays. (There birthdays are one day apart.) I got a little over-zealous and threw a carnival themed birthday party. You can see all the awesome details
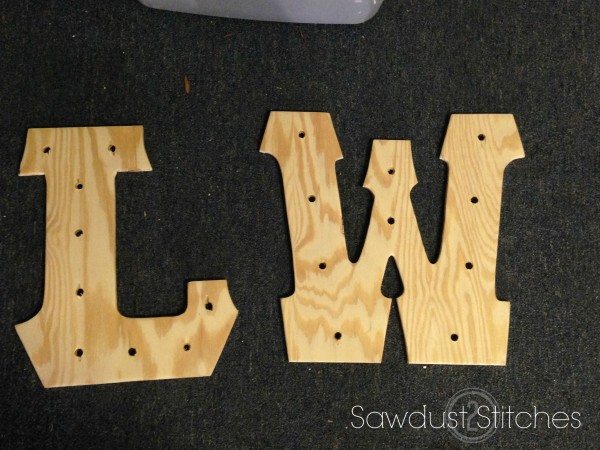
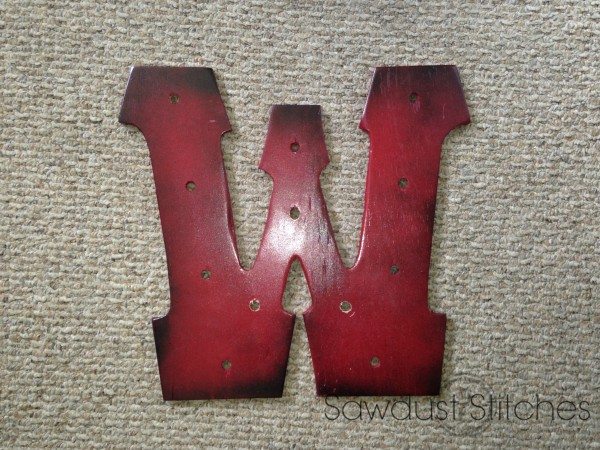
 Next I spray painted the letters. When using spray paint always remember to use MULTIPLE LIGHT COATS! It makes all the difference in the world!
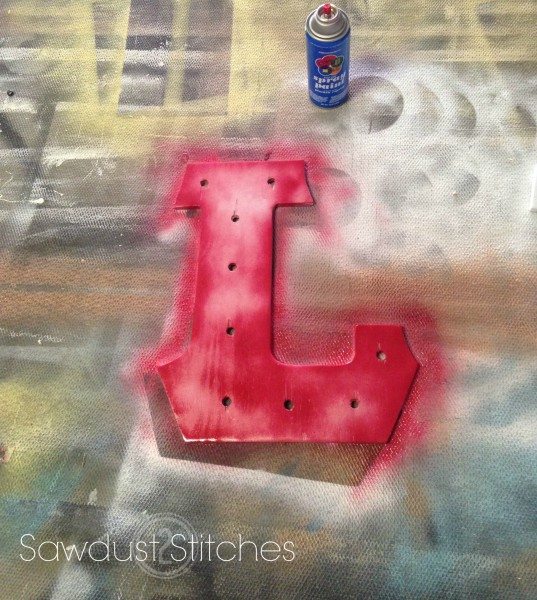
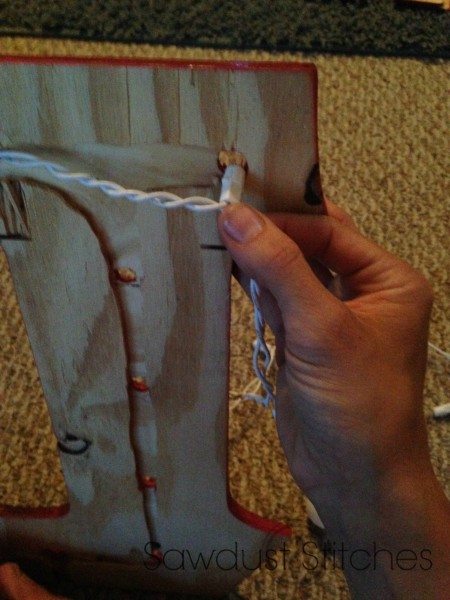


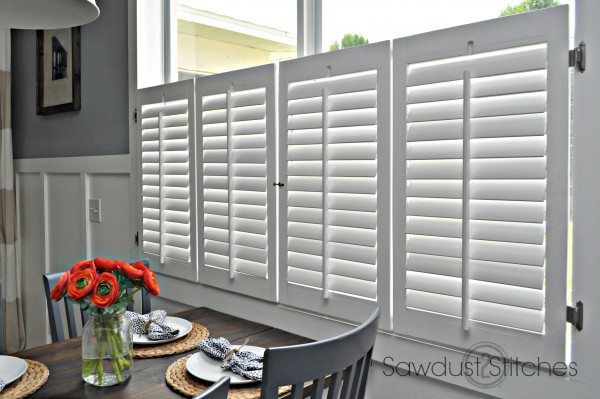
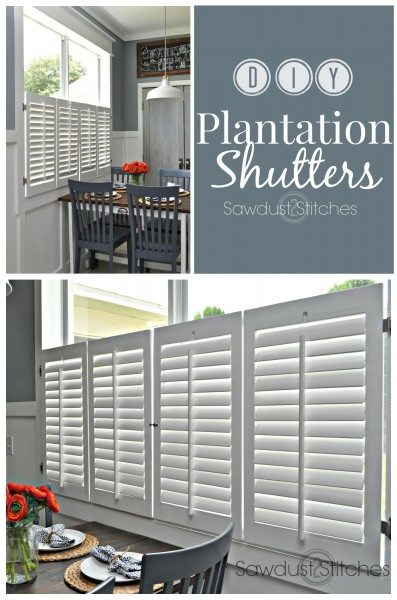
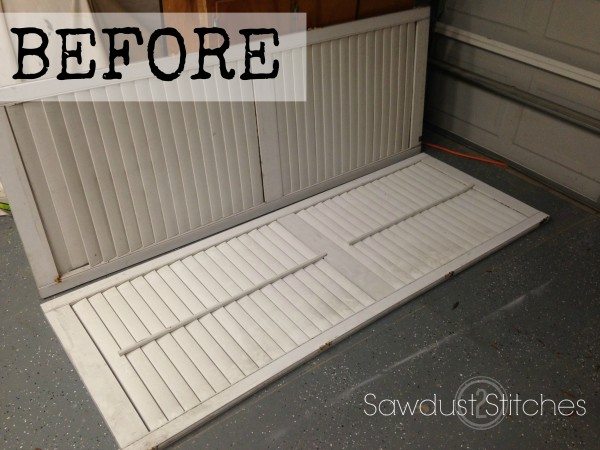
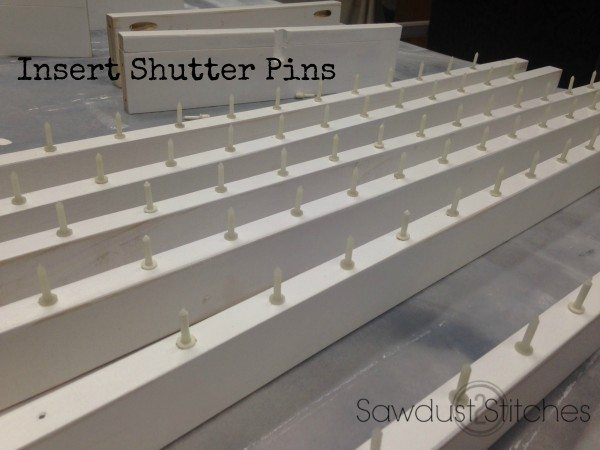
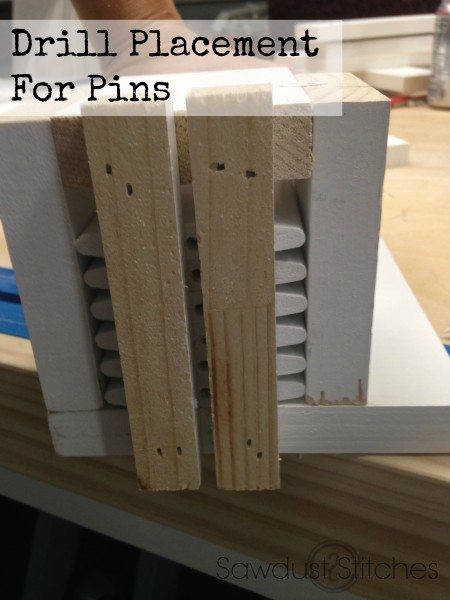
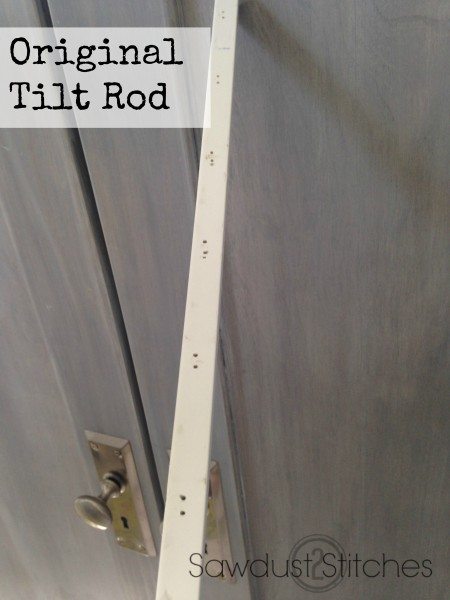
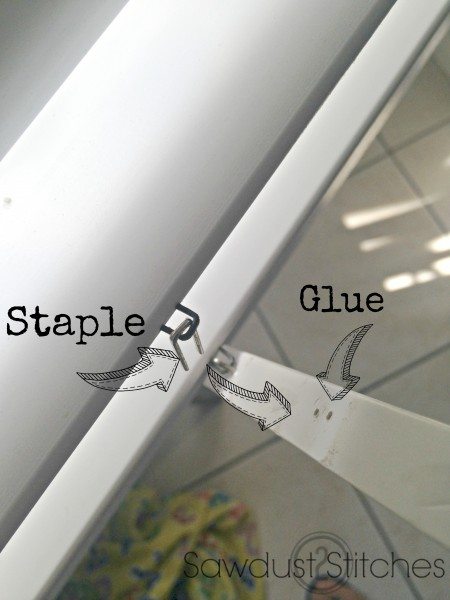
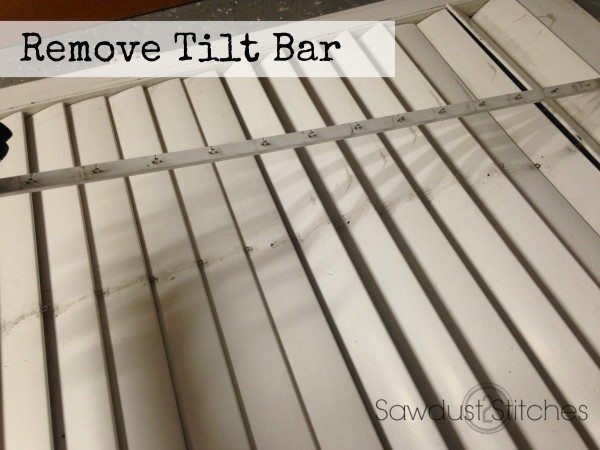 After I removed the tilt bar, I proceeded to remove the Louvers. I was surprised at how easily they popped out. I also removed the “shutter pins”. I saved these, and would use them later.
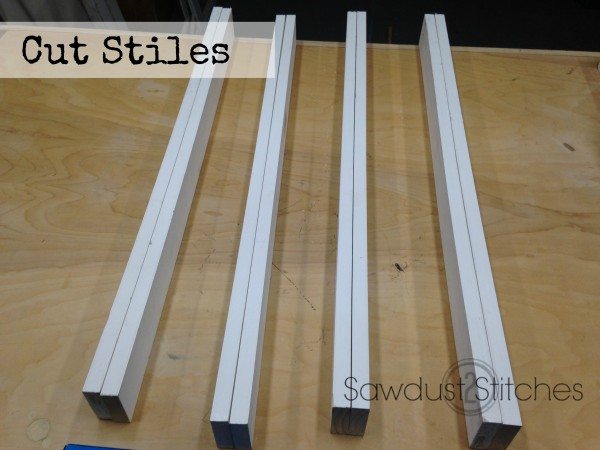
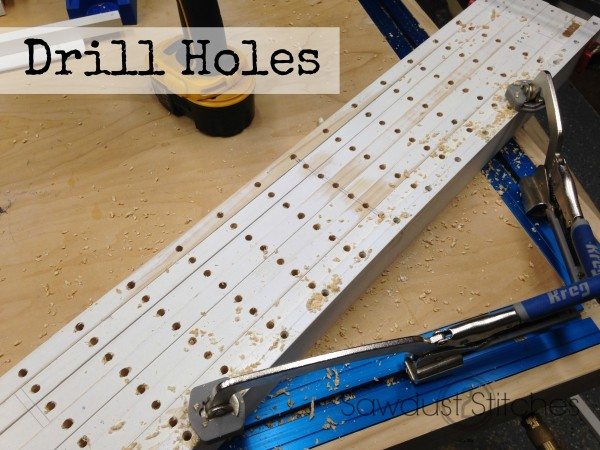
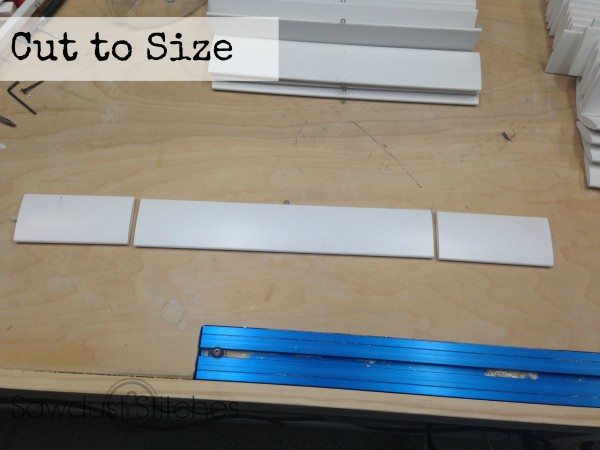
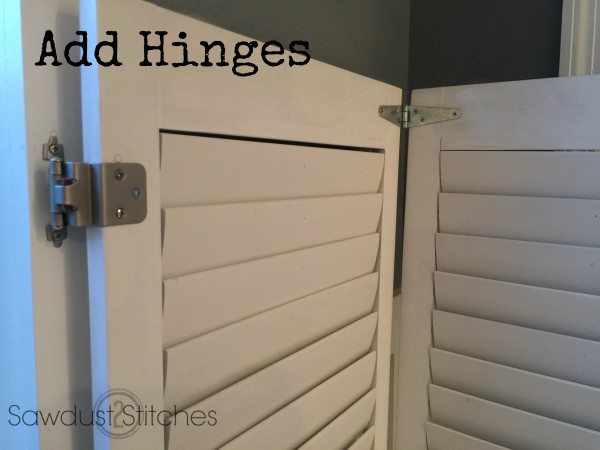
 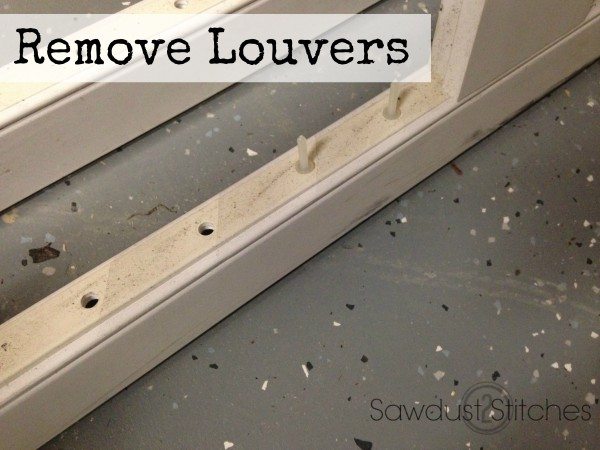 Next I needed to create new frames for my plantation shutters. I cut “stiles” for the frame.
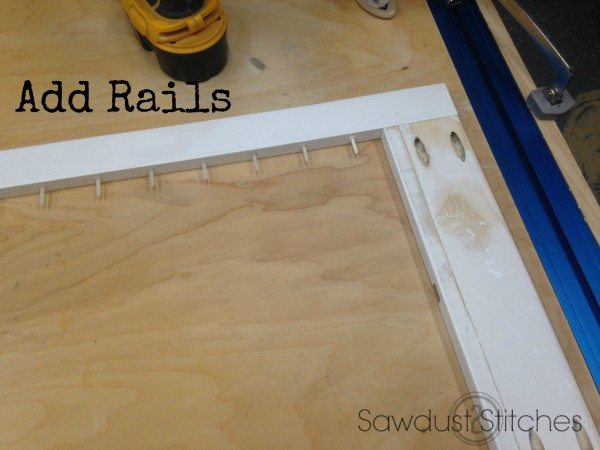
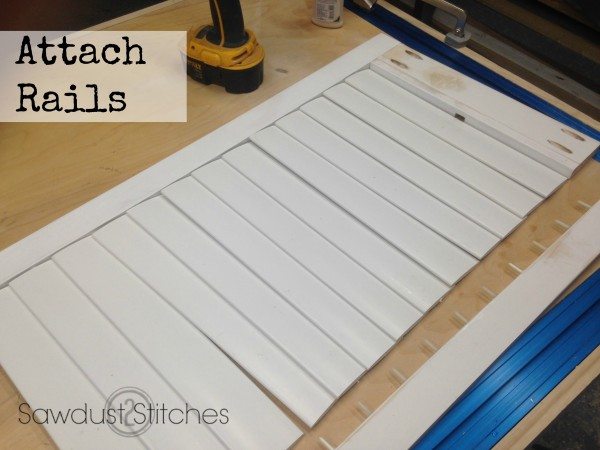