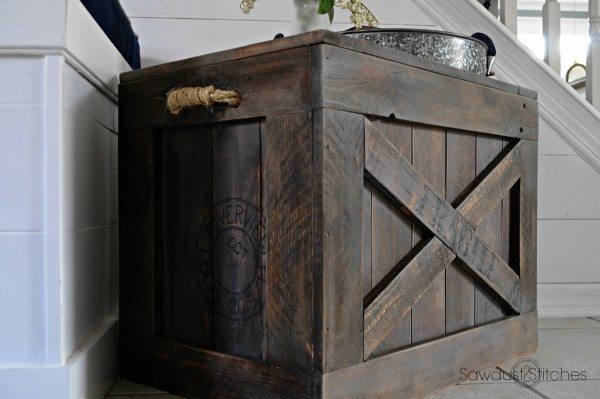
Hey all! Today I am taking a challenge… Sawdust Girl’s “Scrap Wood Challenge”. Sandra wanted to see what could be made using ONLY scrap wood…
WELL… my sweet hubby had recently brought home this pile of rough lumber… it was in pretty rough shape… it was PERFECT for what I needed!
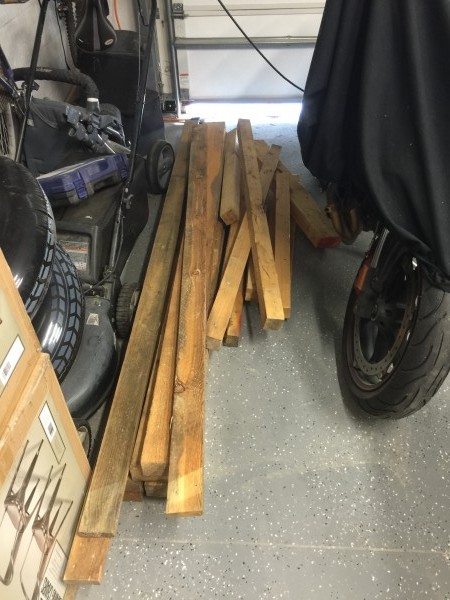
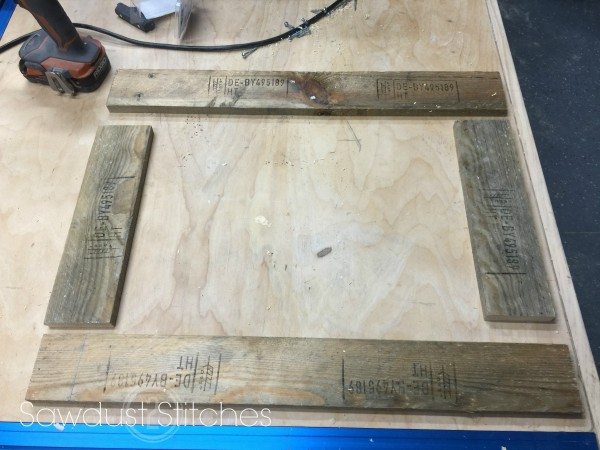
Some of the lumber still had stamps from the mill. I loved it, so I let them stay.
I was running short on rough lumber, so some of my spare 1×3″s got in on my “x” action. 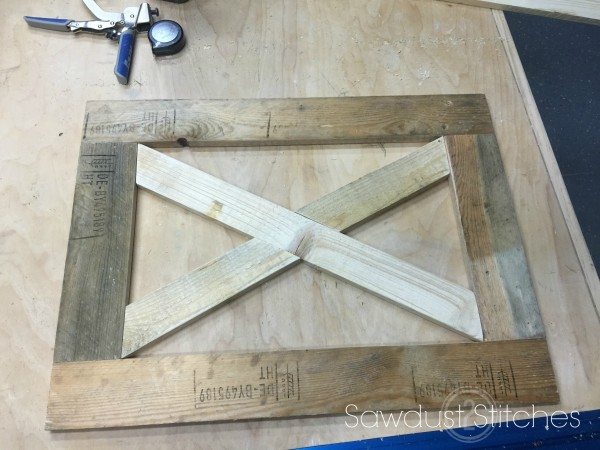
As you can see, this build is a little bit of this, and a little bit of that. 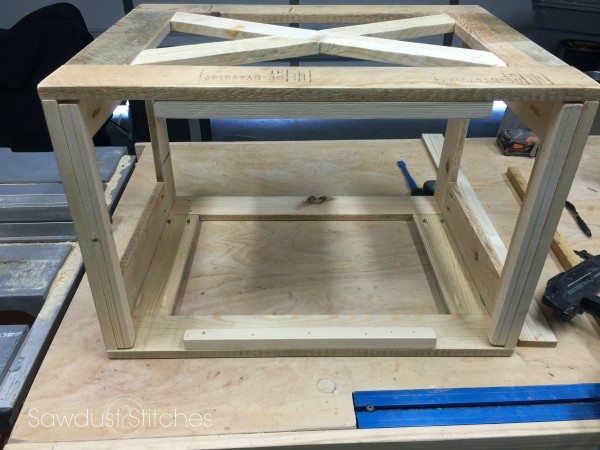
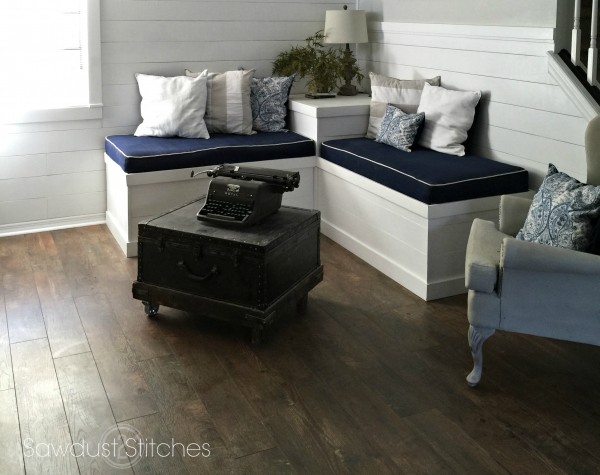
Thank goodness, I hadn’t thrown out all my scraps from applying “faux shiplap” to my walls. It was perfect for what I needed! I used it to plank the inside of my crate.
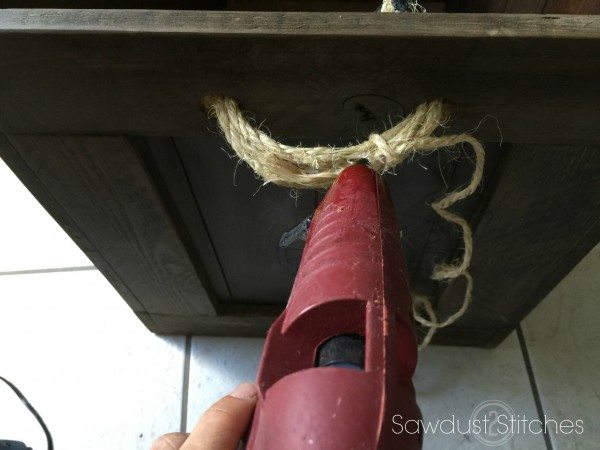
 The last thing it needed was handles, but seeing as this was a “scrap only” challenge, I utilized some leftover jute rope to construct a handle.
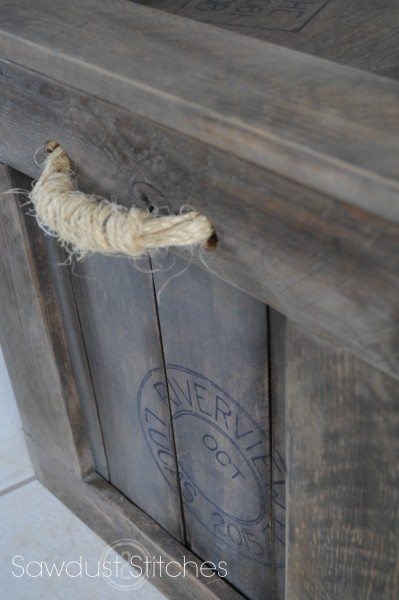
The rope was individually too thin for my tastes, so I layered them up!
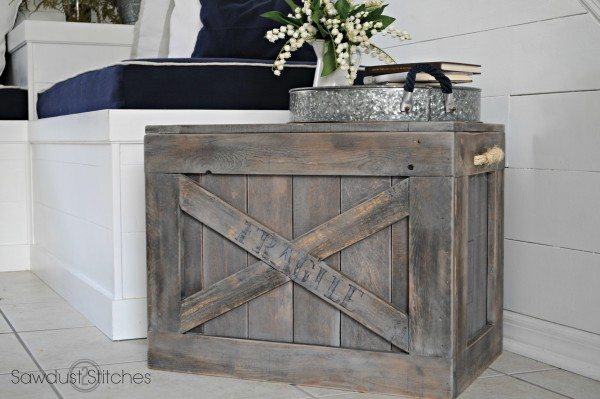
Too add a little more character, I used a sharpie marker and added my own “stamps” to the outside of the crate.
There you have it folks, my 100% scrap wood project! Check out more ideas in the links below!
WP Self Hosted Plug In Code:
[inlinkz_linkup id=584185 mode=1]


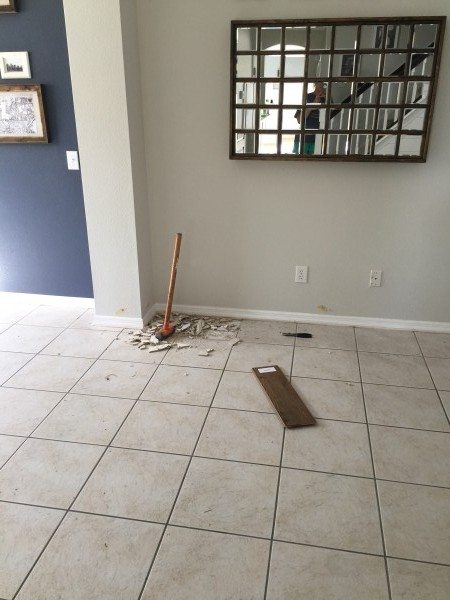
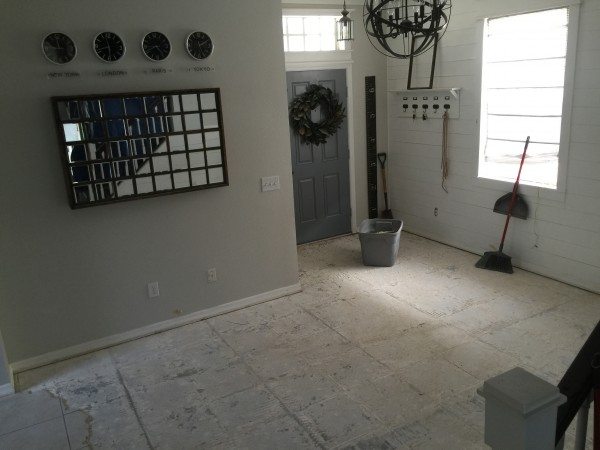
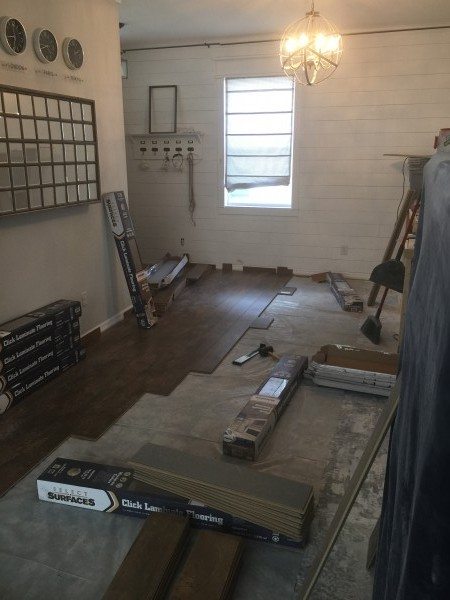
 When we were looking at purchasing our current home, one of the major changes we knew we wanted to make was the flooring. There were some serious traffic stains on the carpet, and the tile that covered 80% of the downstairs was nothing to write home about… We ended up buying our home with plans to update the floors…that was over 4 years ago.
 Yet another reason I chose Select Surfaces laminate, they are pre-equipped with a foam backing. ( This keeps the floors from sounding hollow when you walk on it, and yes it works.) So, the only prep work needed before install is laying down a vapor barrier. We just cut the plastic to fit the room and we were ready to begin laying the floor!
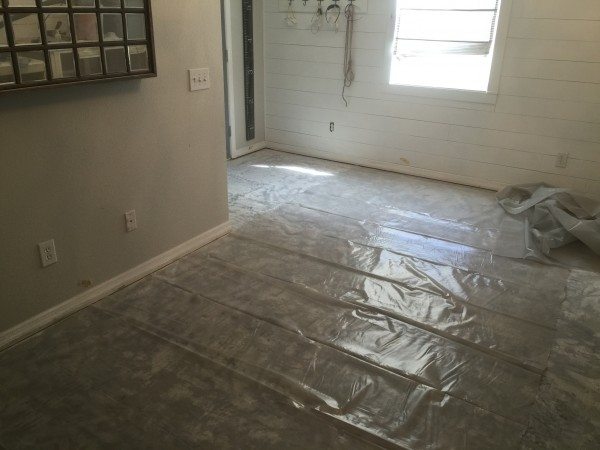
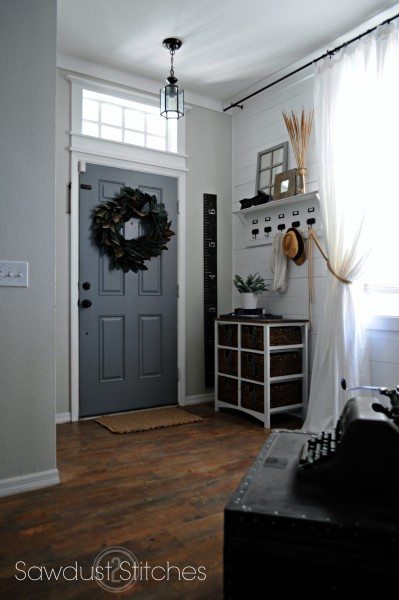 The Front Entry
 Sitting Room
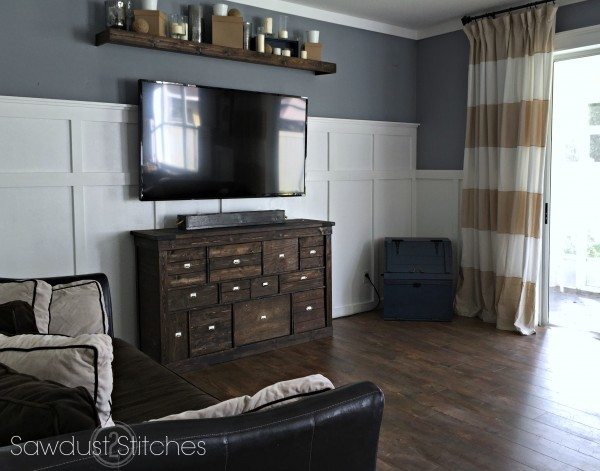 Living Room
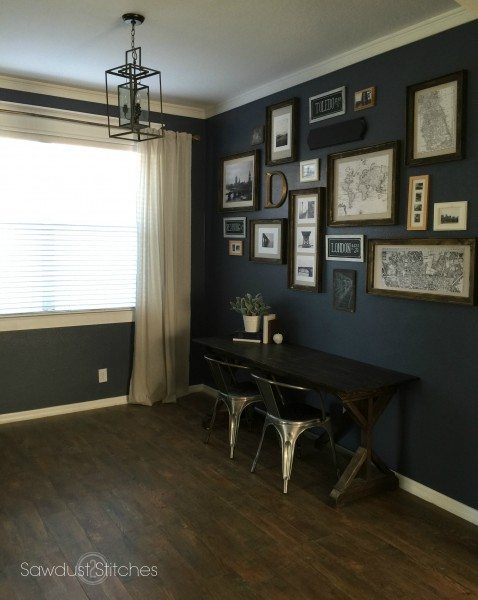 Office
 The Kitchen

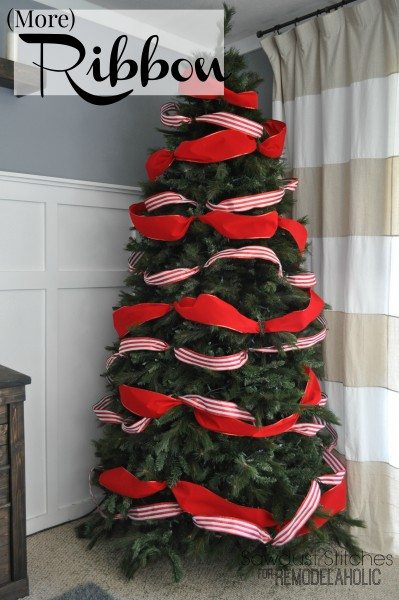
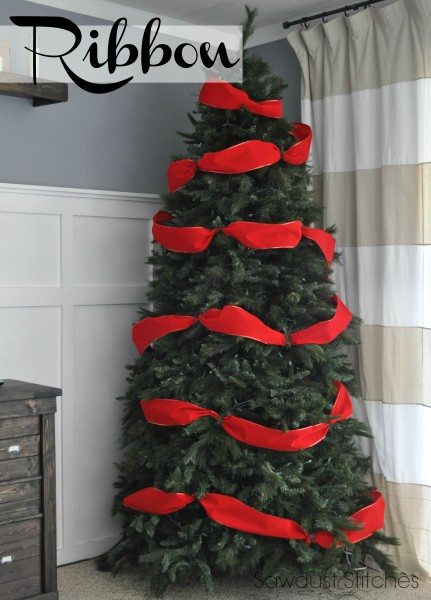 NOW, before you start mummifying your tree…STOP! Don’t just lay it on the branches like a dead fish! When I use ribbon I actually use the wired tree branches to cinch and hold the ribbon in place. ( If you have a real tree, then you can always use pipe cleaners, or wire.)