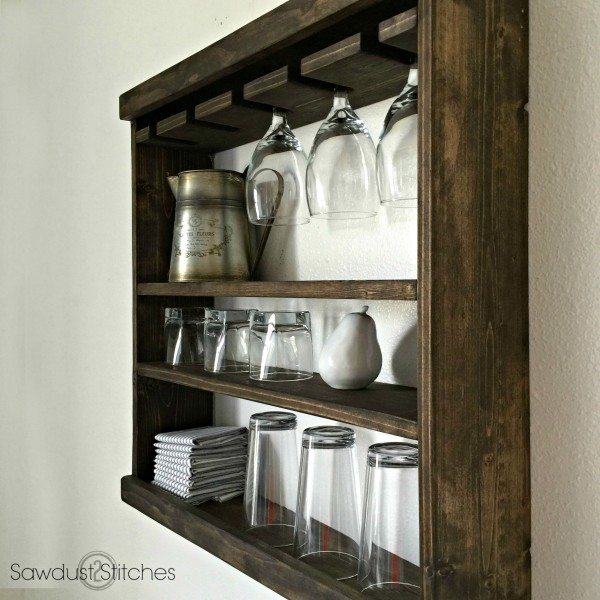
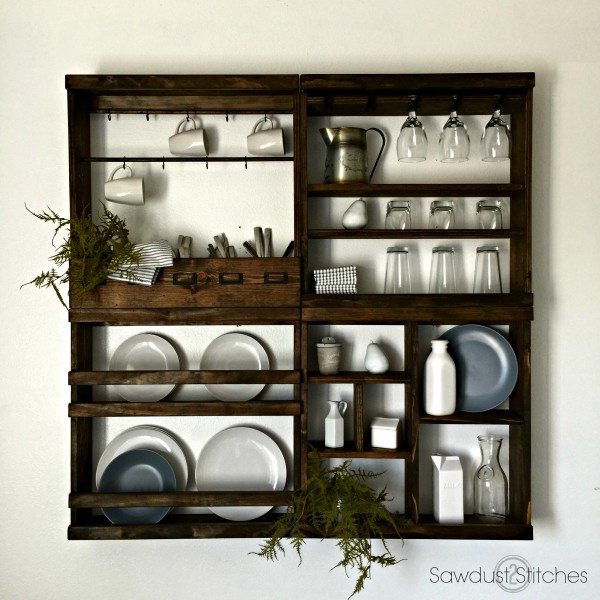
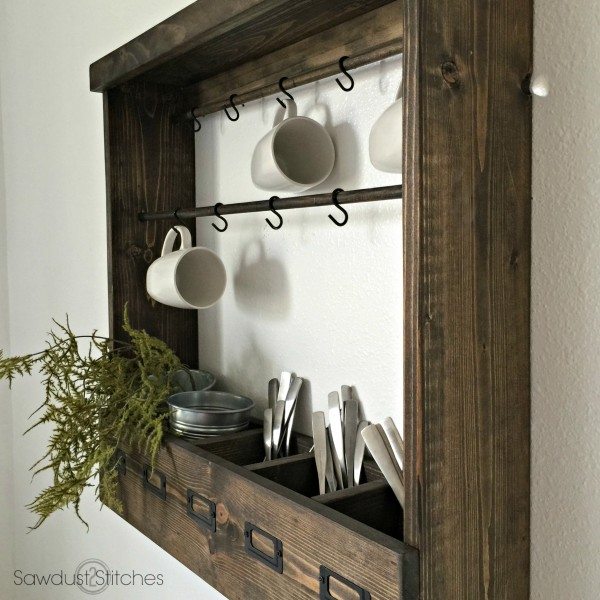
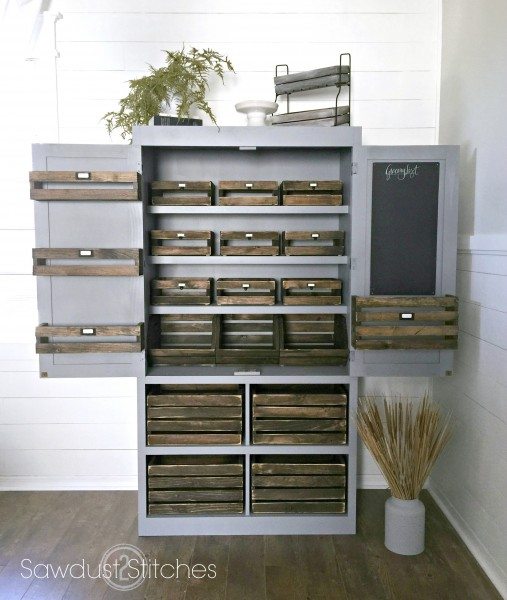
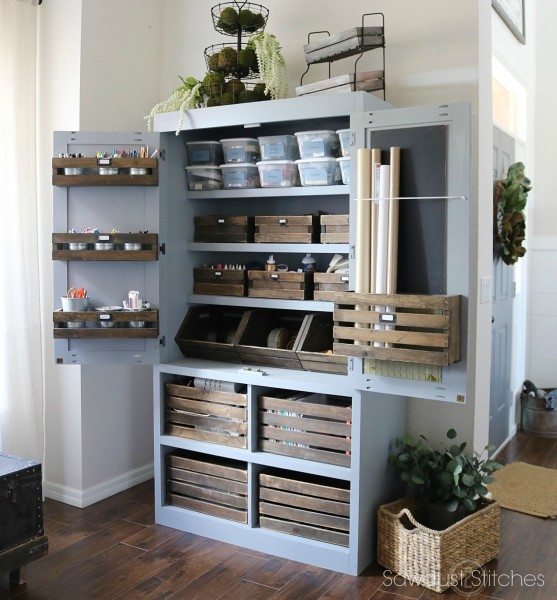
Hey friends, I am sure that many of you have organization on the brain. I am a firm believer that you can create a organized space, AND make it beautiful at the same time. In fact all of the pieces in my home are aimed to be decorative while still serving a very useful purpose. These new kitchen racks are no exception! This Pottery Barn Inspired Glass Rack is intended to clear up some cupboard space and use these in the dining room and or kitchen!
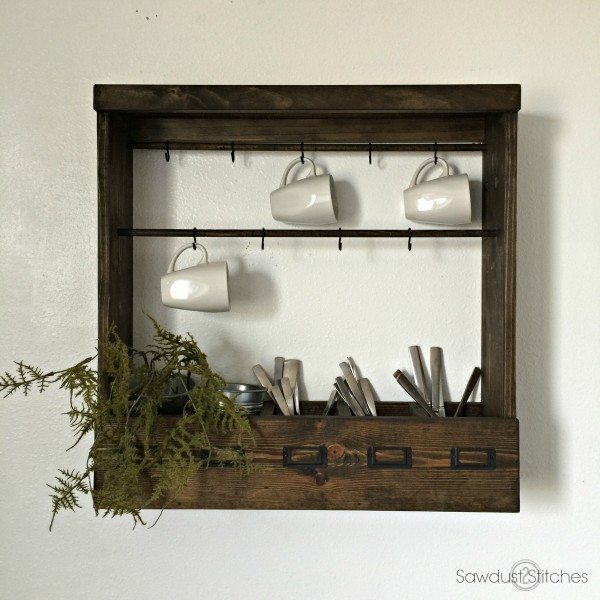
If you missed last weeks, you can find the tutorial here for the Mug Storage here!
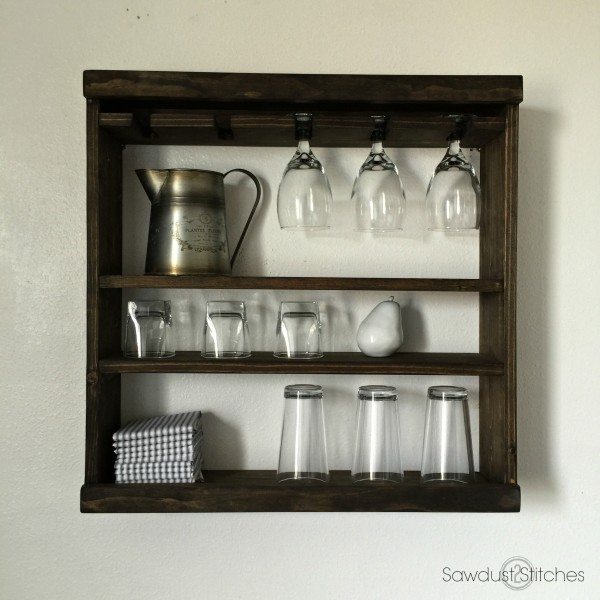
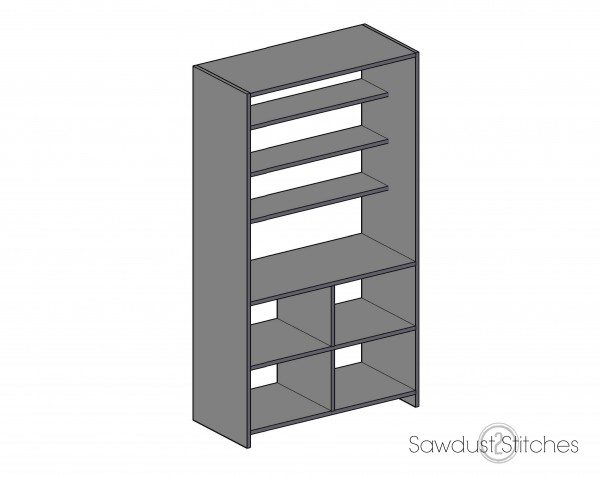
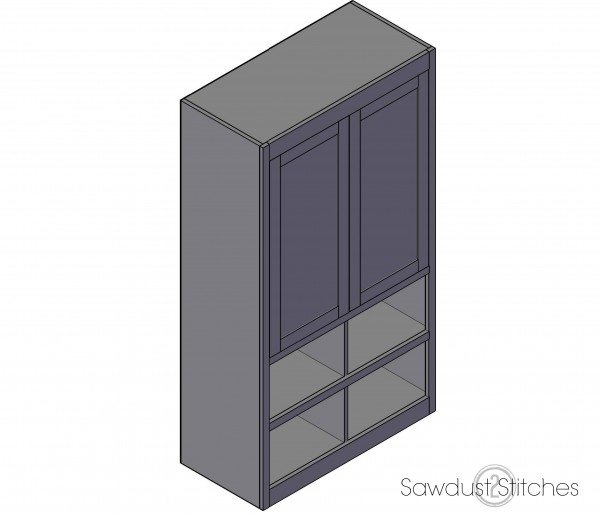
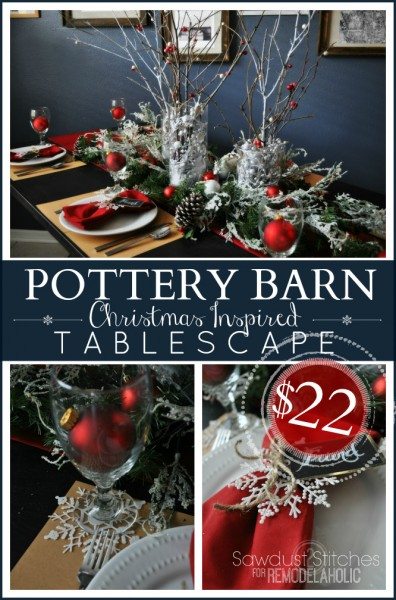
Pottery Barn Inspired Glass Rack
Materials Used:
- (1) -1″x 2″ board
- (2)- 1″x 6″ board
- 2′ 16 gauge nails
Suggested Tools:
- Jigsaw
- Miter saw
- Tape Measure
- Sander
- Nailer
- Wood Glue
- Mounting Brackets
- Paint or Stain
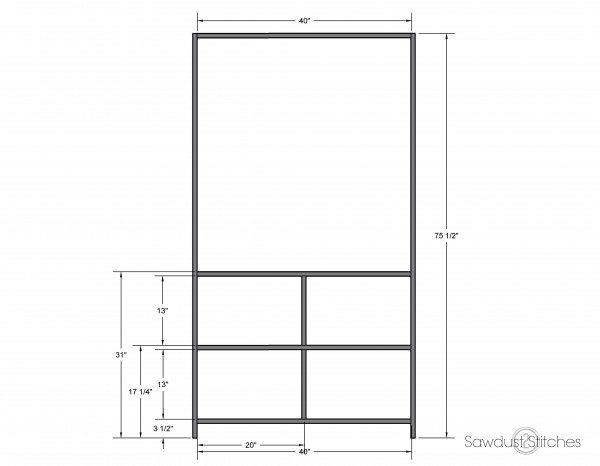
Cut List:
- (5) Shelves – 1″x 6″ x 24″
- (2) Sides- 1″x 6″ x 25 1/2″
- (2) Front Rails – 1″x 2″ x 25 1/2″
- (1) Back Support- 1″x 2″ x 24″
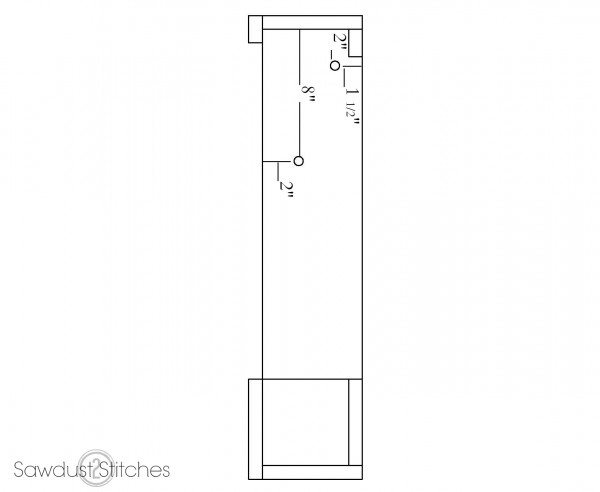
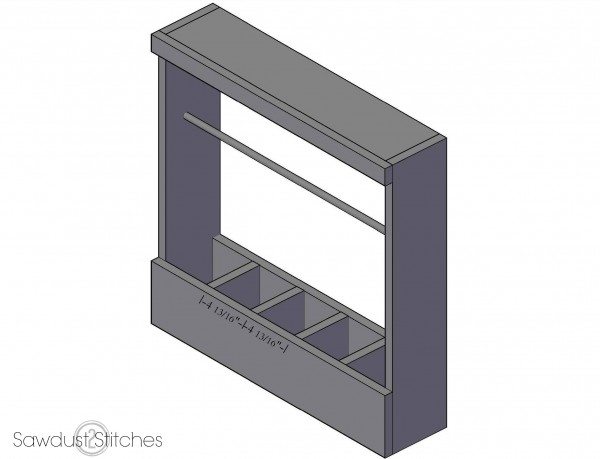
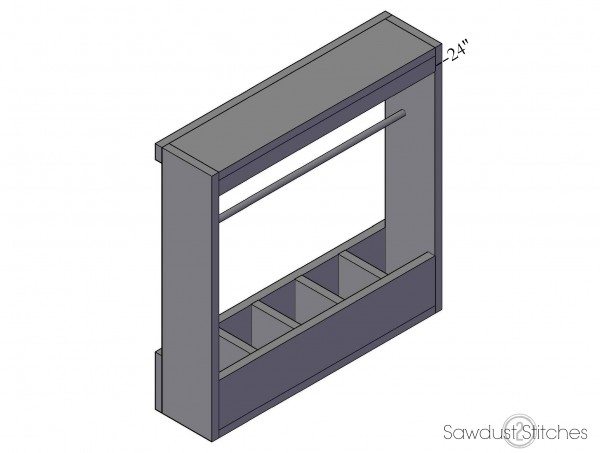
Step 1. Glass Rack Cut Out-
The glass rack cutout will be made out of one of the 1″x 6″ x 24″ boards. Use a jigsaw to cut out 1′ wide and 3″ deep cut outs. Use the dimensions on the diagram to find the center to center placement of the cutouts.

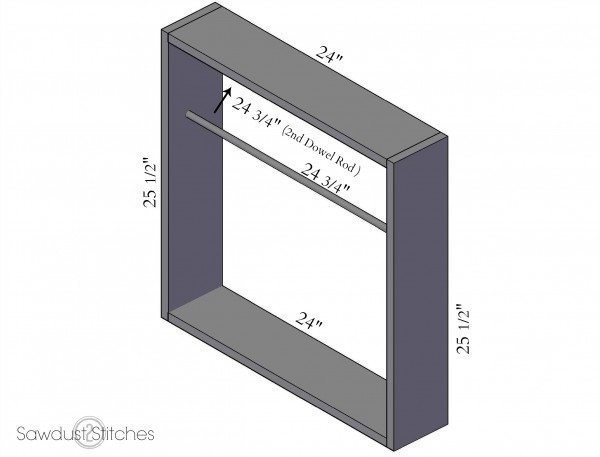
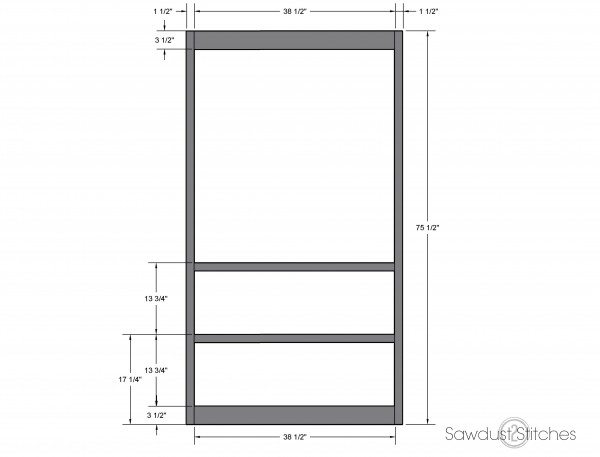
Step 2. Frame-
Join both 25 1/2″ and 24″ 1×6″ boards using wood glue and 2 inch, 16 gauge finishing nails. This will form a 25 1/2″ square. Secure using glue and 2″ 16 gauge finishing nails. 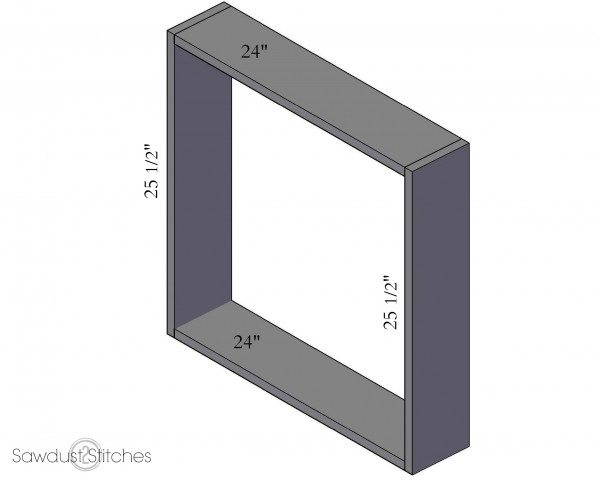
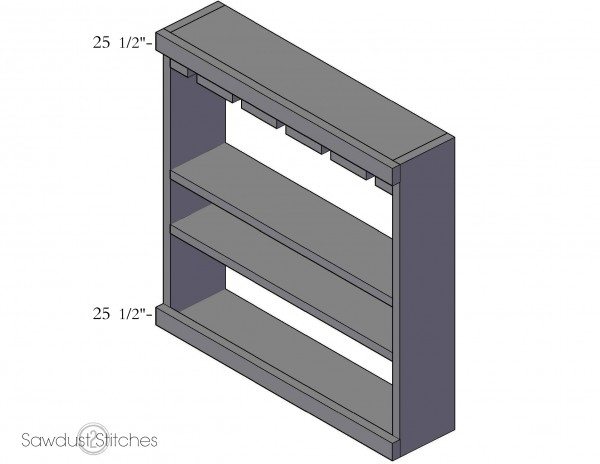
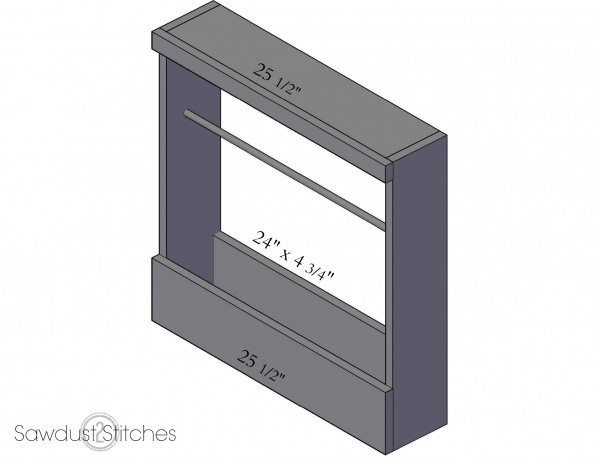
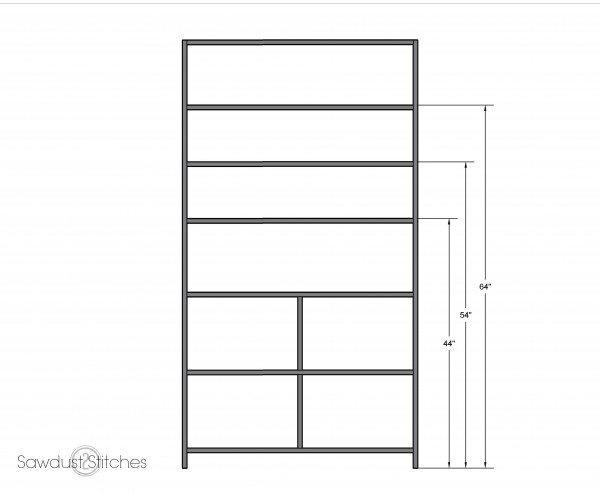
Step 4. Shelves-
Place cut out 1″x 6″x 24″ so that the base of the board is 3″ from the top of the unit. Secure with wood glue, and 2″ 16 gauge nails. Place 1″x 6″x 24″ so that the base of the board is 12″ from the top of the unit. Secure with wood glue, and 2″ 16 gauge nails. Place 1″x 6″x 24″ so that the base of the board is 18″ from the top of the unit. Secure with wood glue, and 2″ 16 gauge nails.

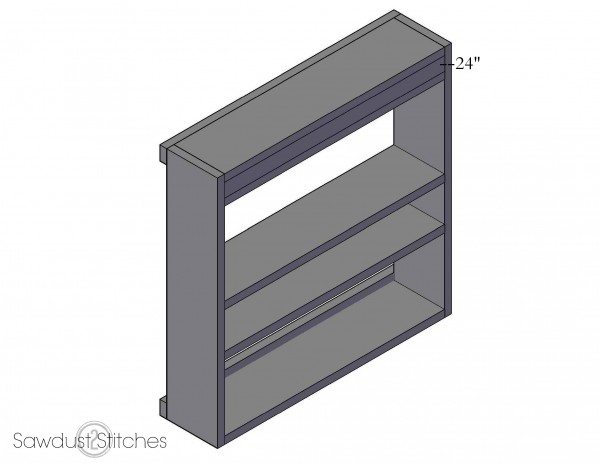
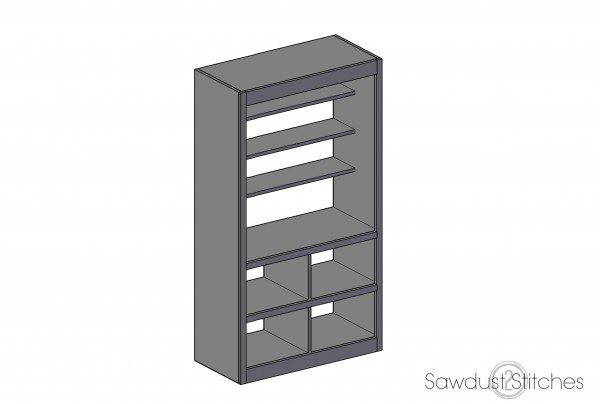
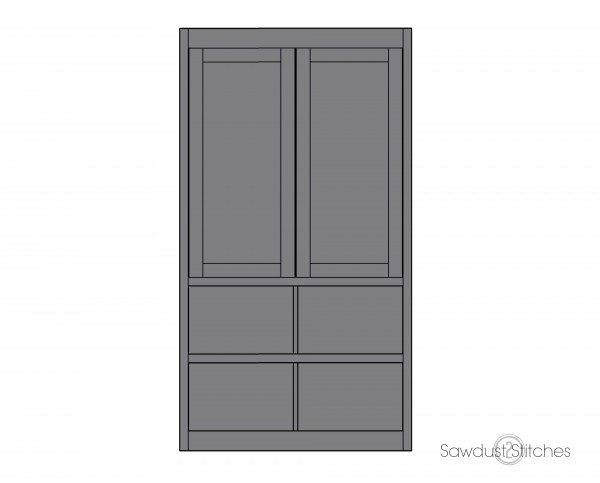
Step 5. Front Rails
Attach the 25 1/2″ 1 x 2″ board(s) to the face of the unit using wood glue and 2 inch 16 gauge finishing nails.
Step 6. Back Support-
Attach the remaining 24″ 1×2″board using wood glue and 2 inch 16 gauge finishing nails. This is an ideal place to attach the unit to the wall, or you can attach hanging hardware to the back.
For sneak peeks of my upcoming projects be sure to follow me on Facebook and Instagram. You can also, follow me on Pinterest to get tons of projects plans from all around the web!
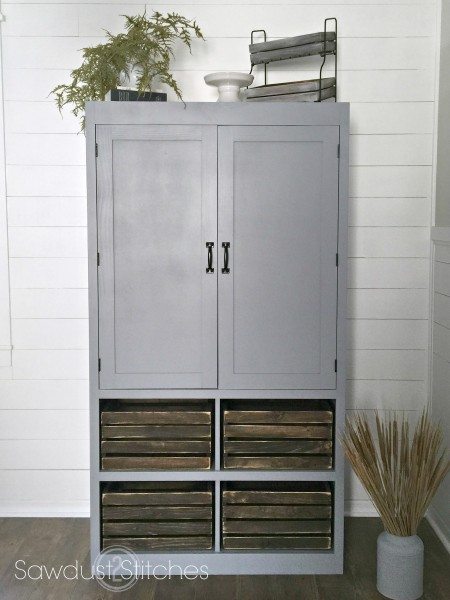
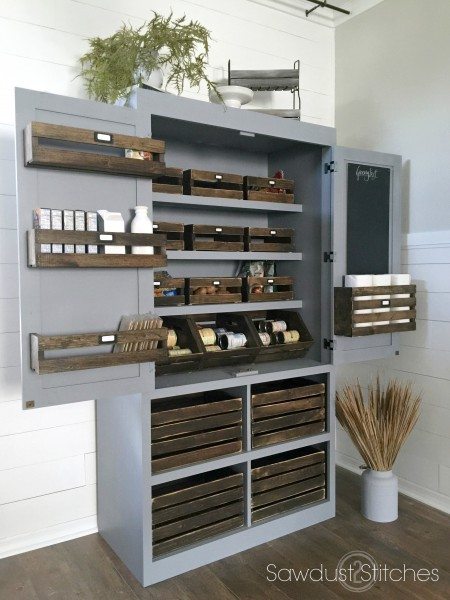
Don’t miss out on the other Modular Kitchen Cubbies that coordinate with this Glass Rack!
Pottery Barn Inspired Mug Rack
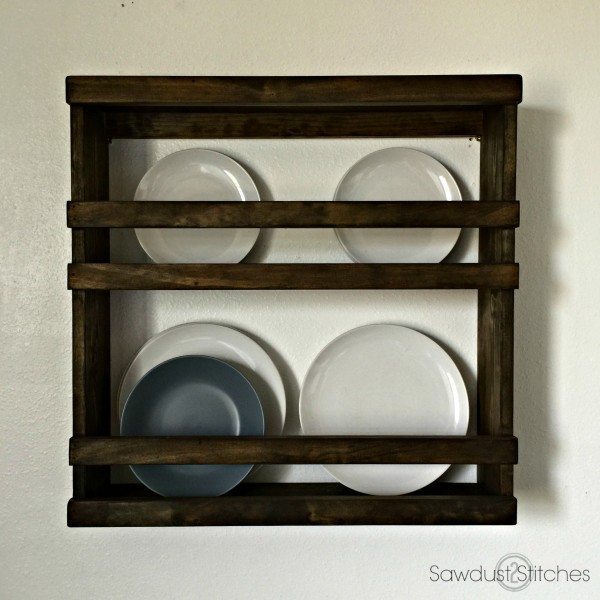
Pottery Barn Inspired Plate Rack (Coming Soon)
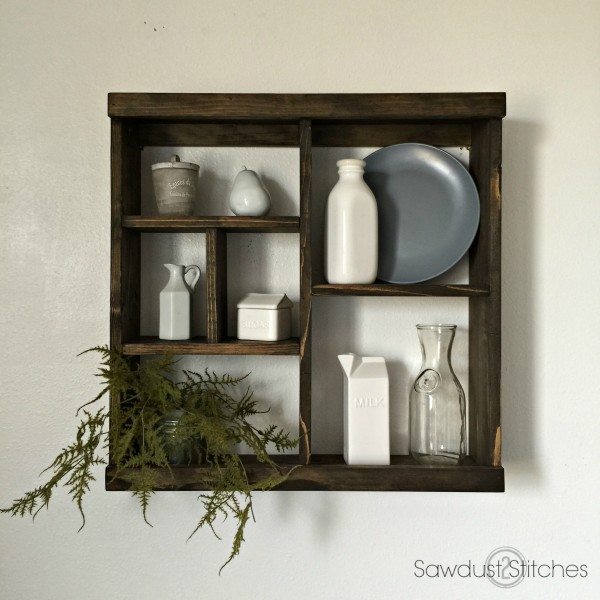
Pottery Barn Inspired Cubby Rack (Coming Soon)


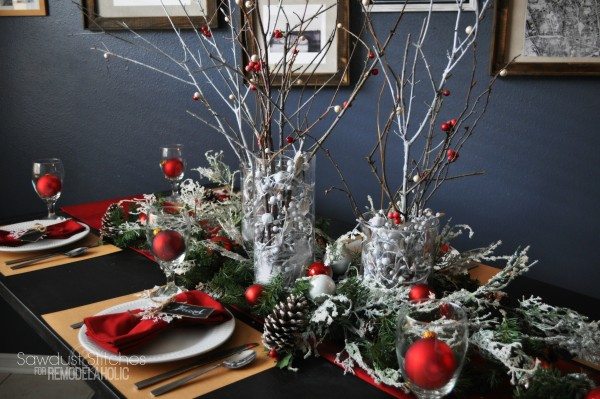
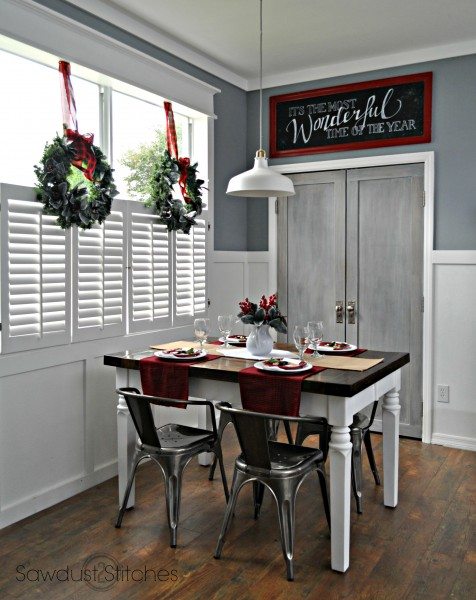
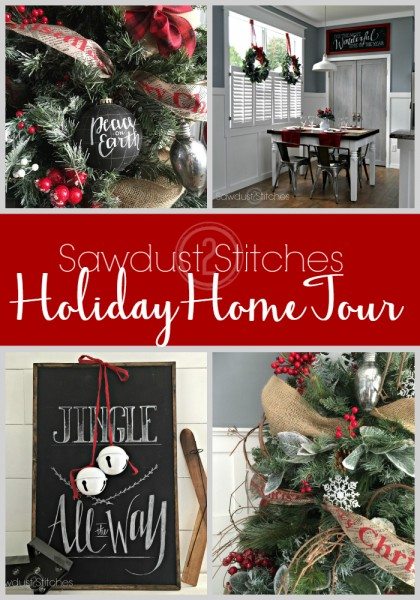 Happy Holidays one and all! I absolutely love this time of year, and decorating my home is one of my favorite parts! I am thrilled to be participating in a HUGE blog hop party, hosted by CountryLiving.com! Make sure you stop and see the work of many other talented bloggers in the links below.
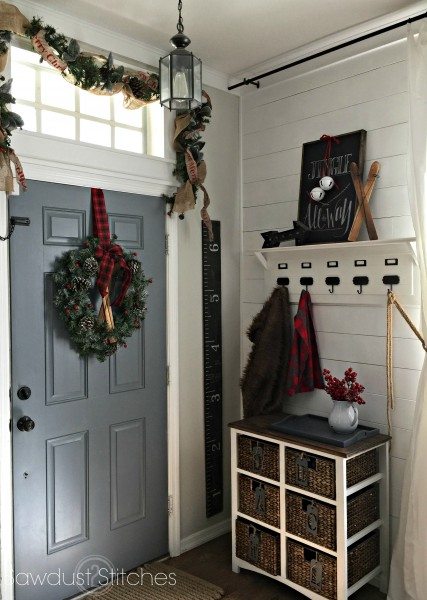
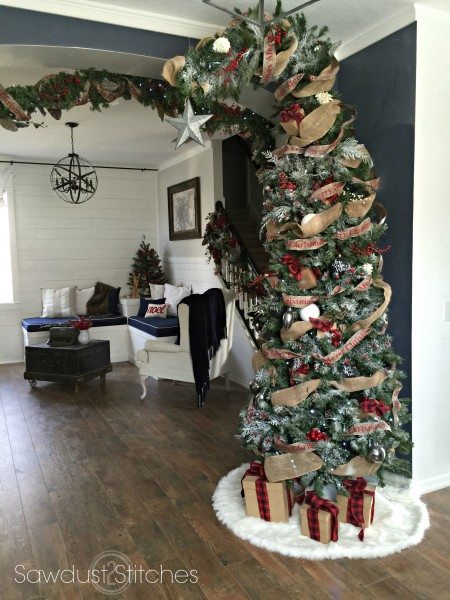
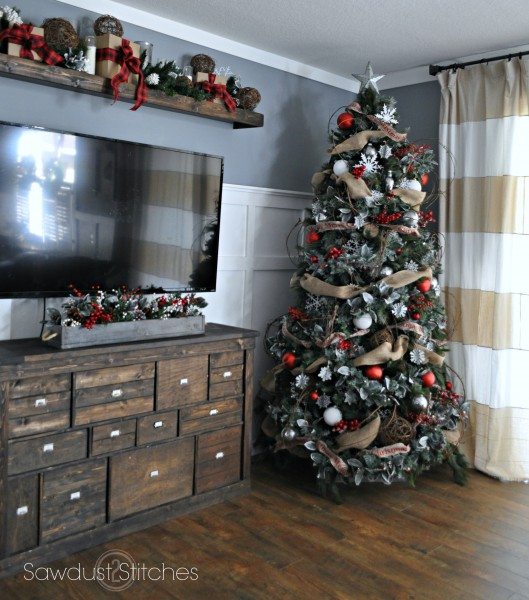
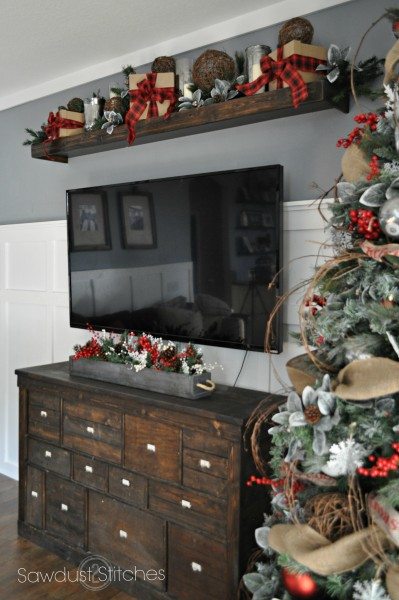
 Living Room
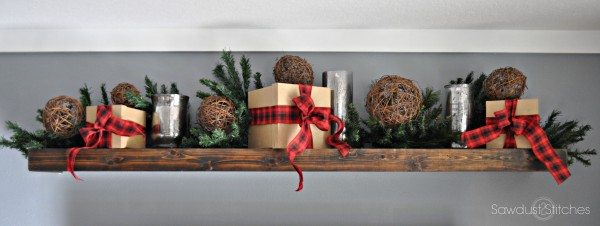
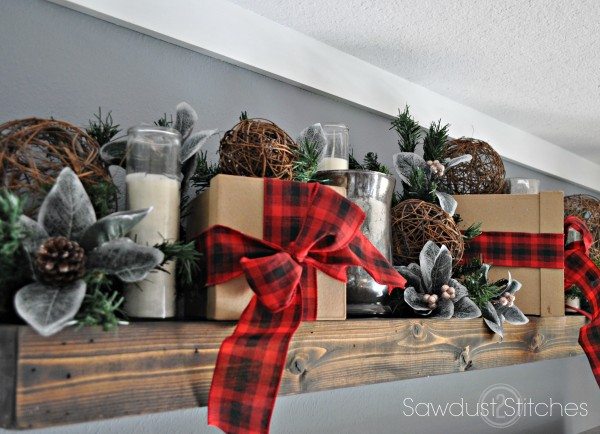
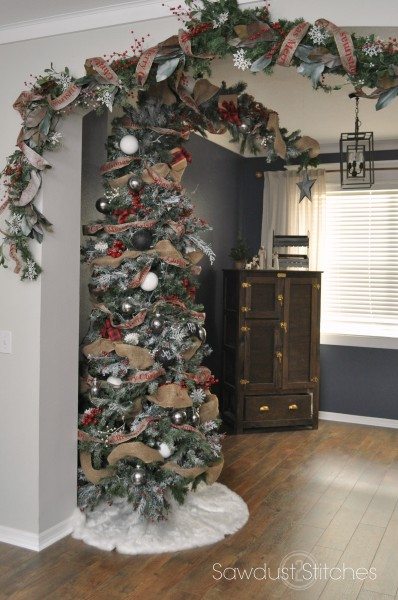
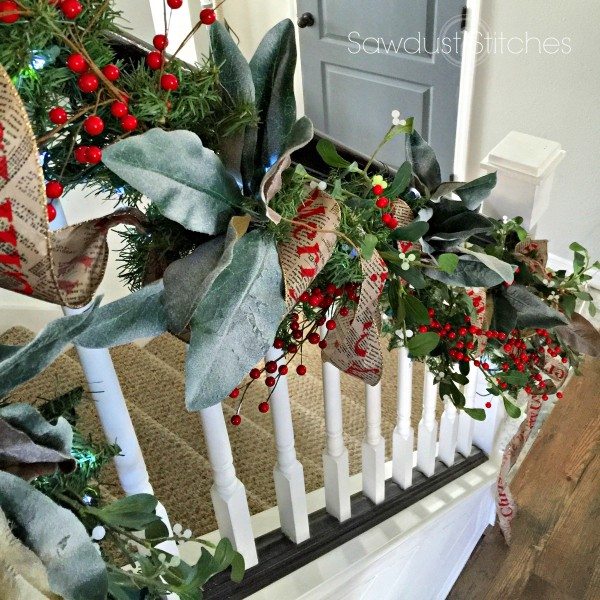
 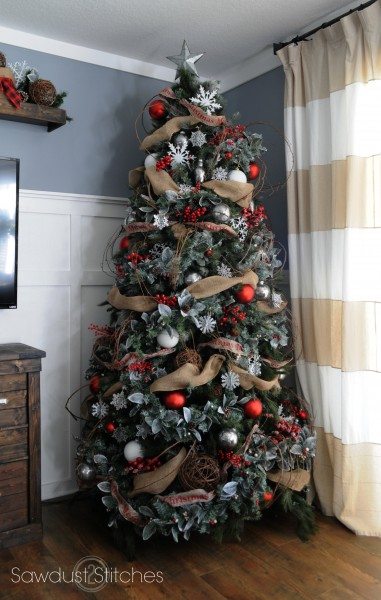 This is our “big tree”, this year I tried to create a more rustic look that was more fitting for our home. I used a lot of grapevine, magnolia leaves, homemade mercury ornaments, galvanized metal ornaments, burlap ribbon, and plenty of red berries! I LOVE red berries. You can never have enough! 😉