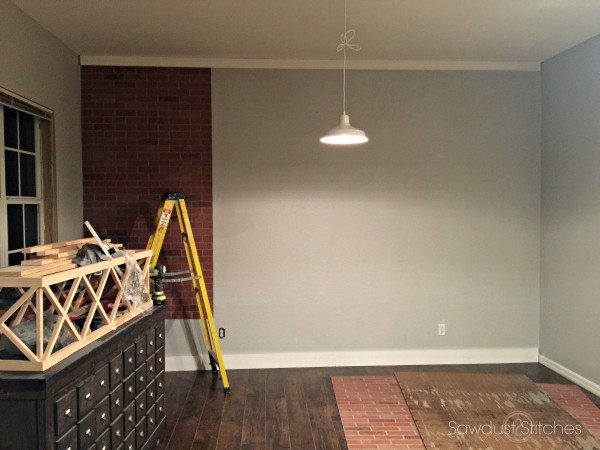
Hey all! We did it, we moved! I apologize for the delay in new projects, but we have been a touch busy. I am finally ready to share with you one of my very first projects in the new house, and I have got to say I am in LOVE with it. It all started with this very large blank wall in out dining room/kitchen. I really wanted the wall to make a statement without adding hanging wall decor. My first instinct was shiplap, but I wanted to try something new! Ever since I made my sons “Fire Station” I have wanted to use the brick paneling elsewhere. This was my chance a faux brick wall!

I wanted to white wash it, and my sister suggested I try a “German Schmear” technique. I loved the idea! Lucky for me Sandra AKA “Sawdust Girl” recently did something a little different, with a TON of character, so if you like my wall, you will LOVE her faux brick wall!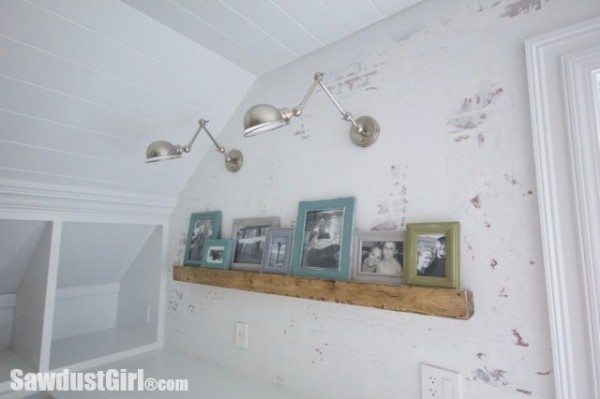
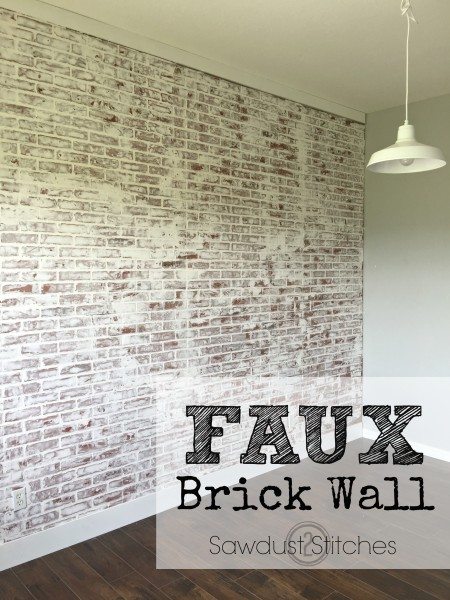
How to: Faux Brick Wall
Materials Used – Faux Brick Wall:
- Brick Paneling ($25 a piece)
- Wall Spackle ($6 per quart)
- White Wash
( It averaged out to be about 1 quart of spackle per 4’x 8′ panel.)
Tools Suggested – Faux Brick Wall:
- Table Saw
- Nail Gun
- Spackle Knife
- Paint Brush
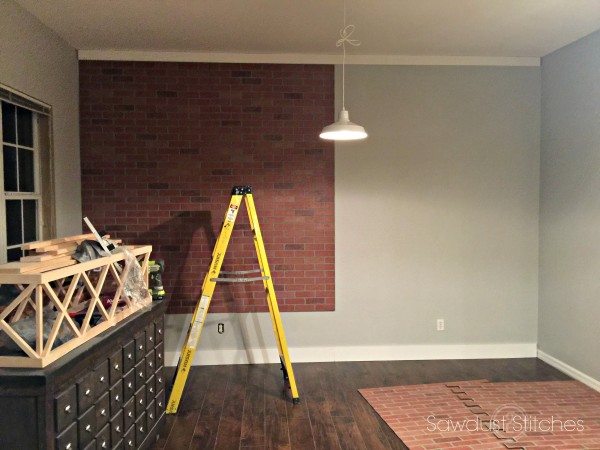
So here is the thing… I freaking love this house, it has nice tall ceilings! On the flip side the 8′ brick panels didn’t really cut it. So I kind of needed to puzzle piece my wall together.
How to: Faux Brick Wall – Attaching Brick Paneling
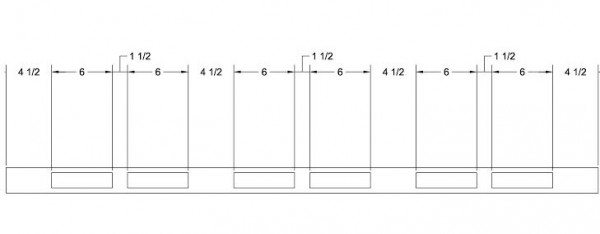
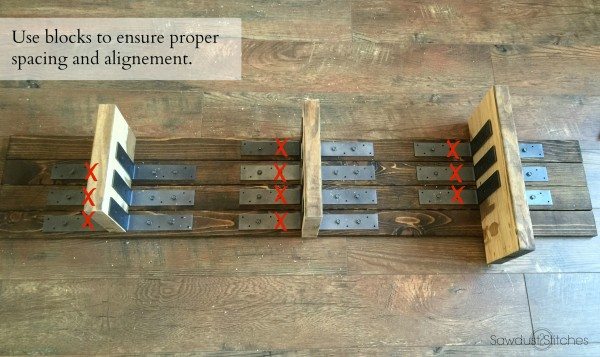
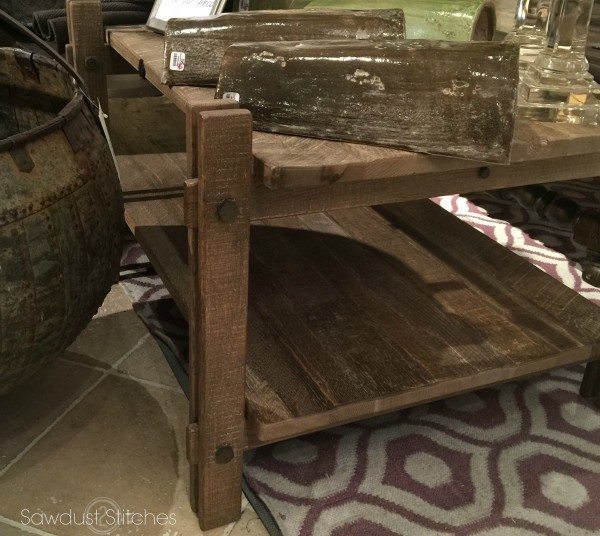
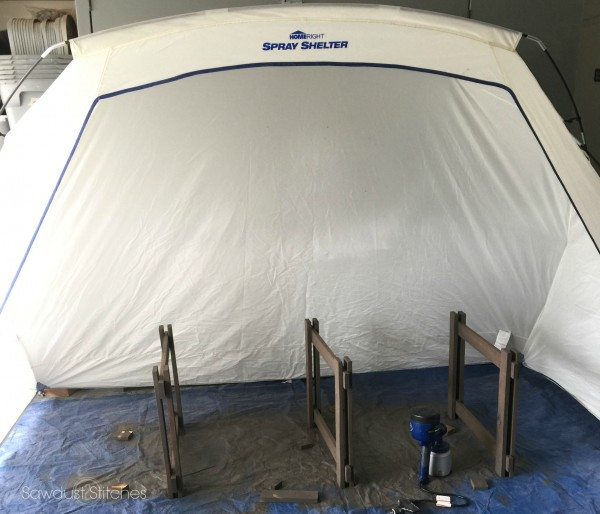
Initially, I had TRIED to cut the bricks in a zig-zag pattern so that none of the bricks would be cut in half where the panels ended. Again, I TRIED! (Look at the picture. Proof: one such panel is laying on the ground.) It was not happening. I got mad and impatient and just slapped the entire panel up.
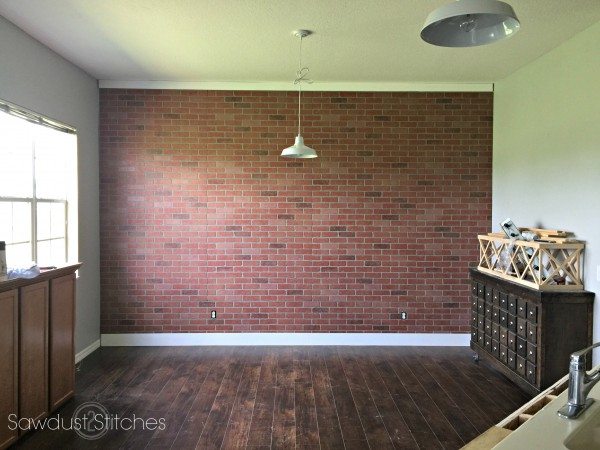
Here is the thing, the panels are made so that they will go together. So no, it is not perfect, but it was good enough for me. Plus, I knew I was planning on adding a few layers, and I crossed my fingers that it would cover the seams.
In order to attach the panel to the wall, I used finish nails. I would suggest securing it with liquid nails or caulk, but I change my mind with decor so much I wanted the option of taking this down. So, I just used the finish nails. ( A LOT of them.) When securing the panel to the wall, make sure you tack throughout the middle of the panel, as well as around the edges.
Even without adding my top layer of spackle and paint, I think that the seams are pretty well hidden.
How to: Faux Brick Wall – The Spackle
Now for the fun part! Try as I may I didn’t know how to show you this technique without a video. So here I am in all of my late night, all day work, glory.
I know this looks like it would take FOR-E-VER, but really it wasn’t too painful. Honest. After a few hours of DIRTY work and 3 containers of spackle later, I had a gorgeous statement wall.

Look at that texture, and would you ever guess I am taking a picture of the seam?! Yup, that is a close up of the seam!

How to: Faux Brick Wall – The Top Coat
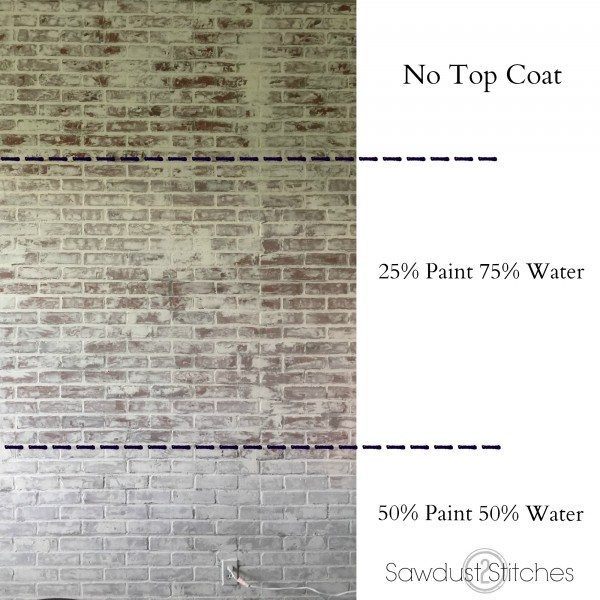
Once the spackle had completely dried, I needed to top coat it. ( Plaster is a chalky consistency, and can rub off on clothing and little hands if it is not sealed.) You can purchase a “white wash” from most home improvement stores, or you can make your own by watering down a white paint or primer. (Which is what I did.)
I have gotten a lot of questions about the top coat, so I made a sample using different paint/water ratios. IF you want more brick exposed, I THINK that a “Acrylic Clear Poly” would work. Definitely test an area before trying, I am just giving you my BEST GUESS.
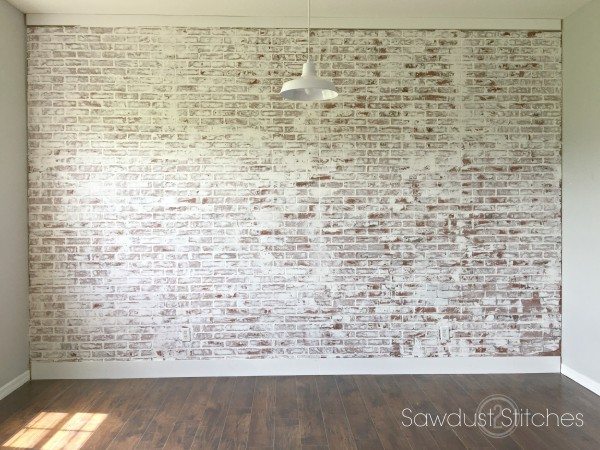
So there you have it folks, a gorgeous faux brick wall that adds a whole lot of character with zero clutter!
Take Luck,
Corey


 Hi all! It’s April back here again from


 Take Luck,
