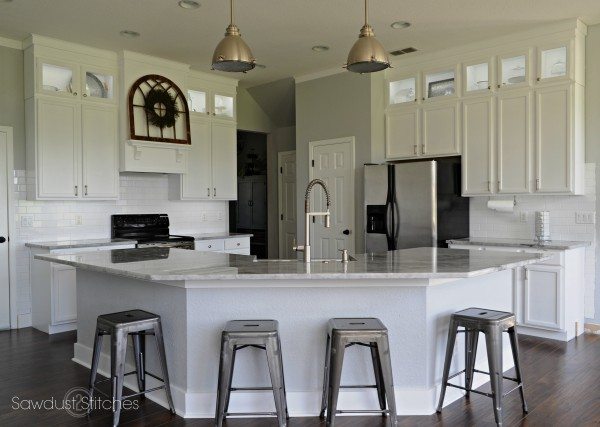
You Guys, I am just so dang excited that I can’t delay this post any longer! This may be a short and sweet preview, but HOT DANG, it is done! I promise I will be coming back and filling you in on more of the details, and be adding some tutorials, but today… today I celebrate that it is DONE and celebrate it by showing it off!
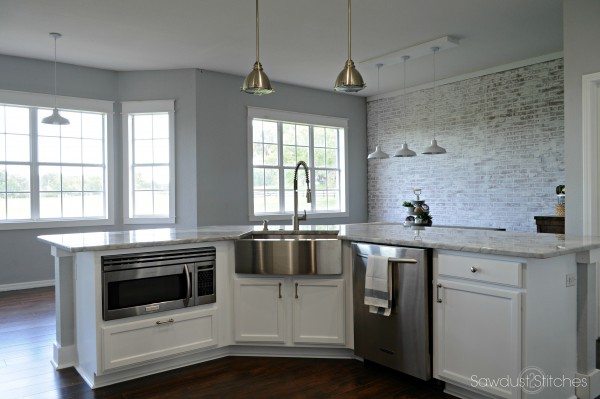
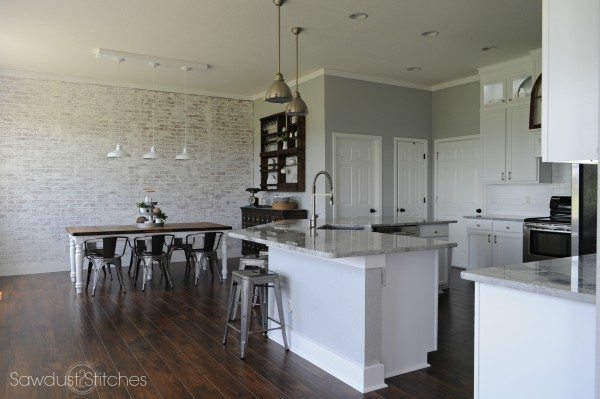 Faux Brick Wall Tutorial
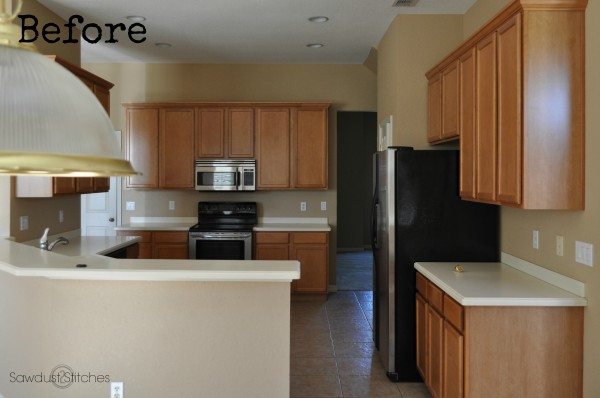
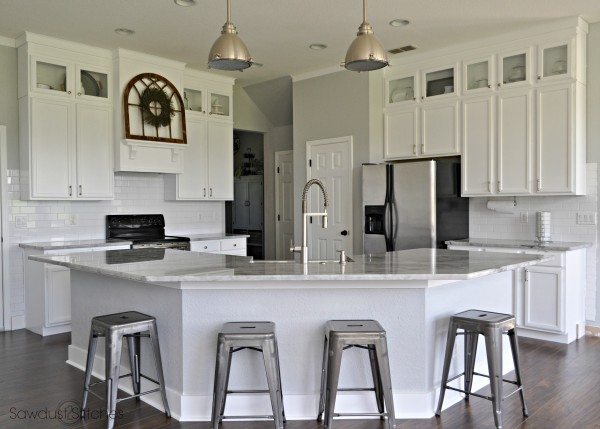
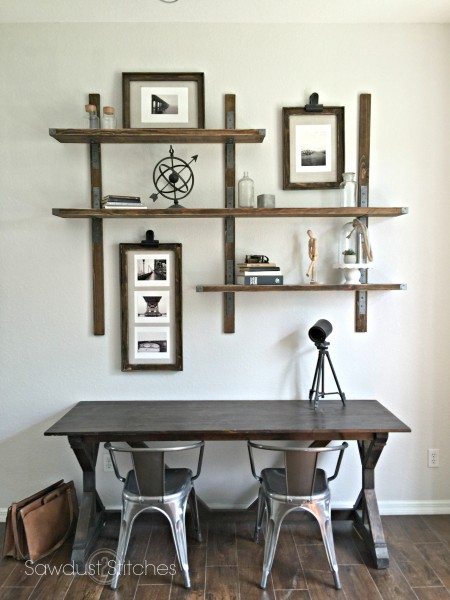
There you have it folks, I PROMISE I will be back with some more details about the makeover. But for now? I am going to sit back and admire my work!
Take Luck,
Corey
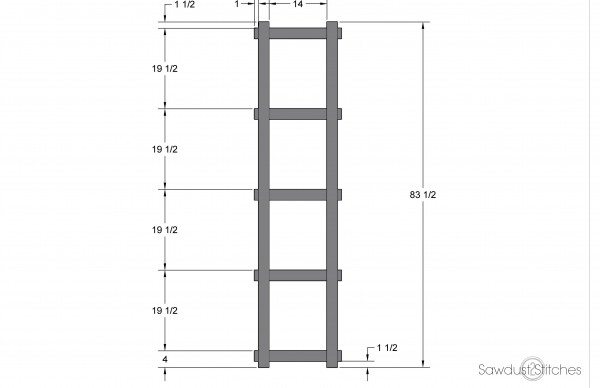
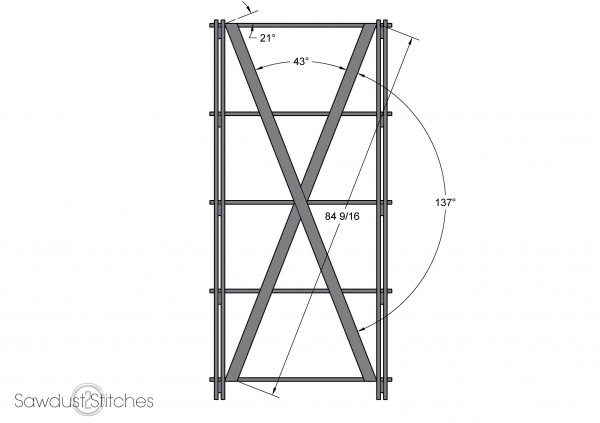
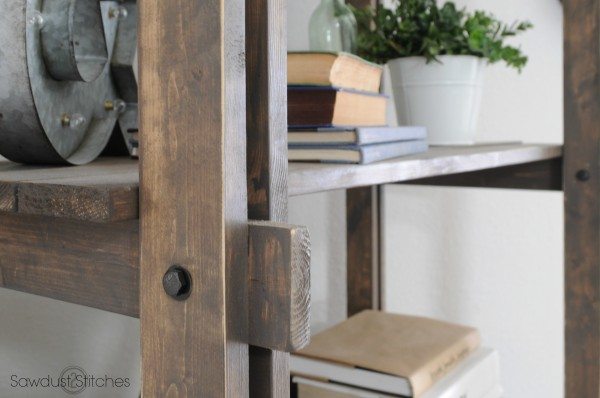
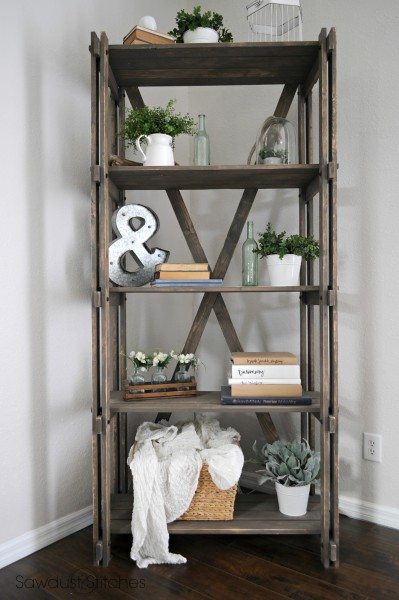
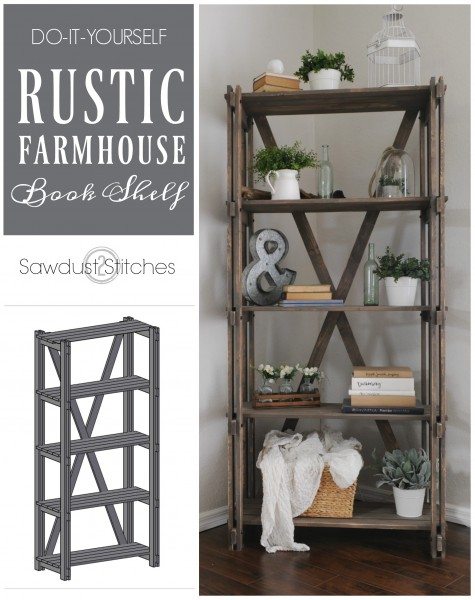
 Hey all! So this post has been a long time in the making, you may remember a while back I made a gorgeous Arhaus inspired
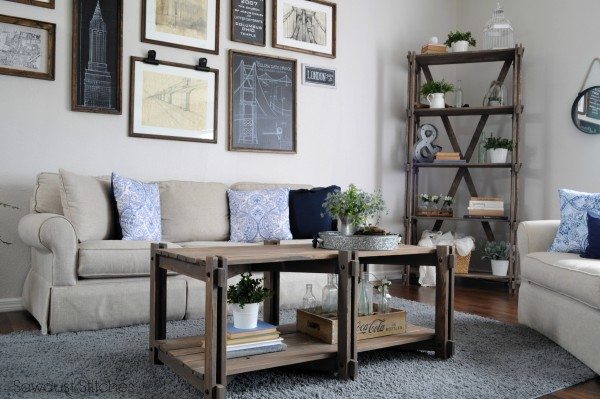


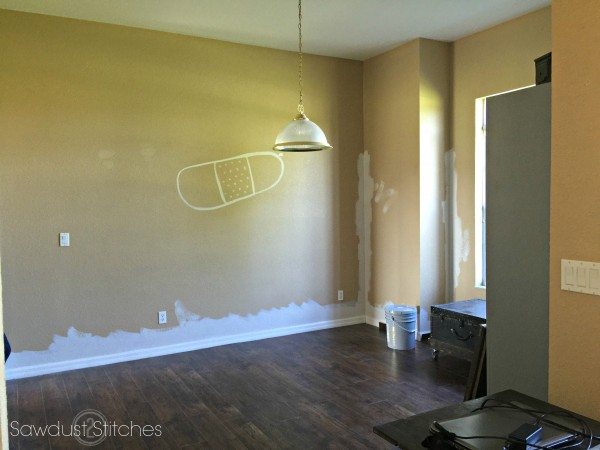

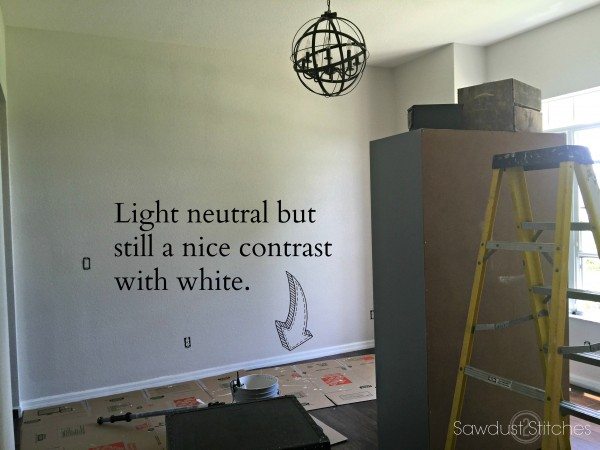
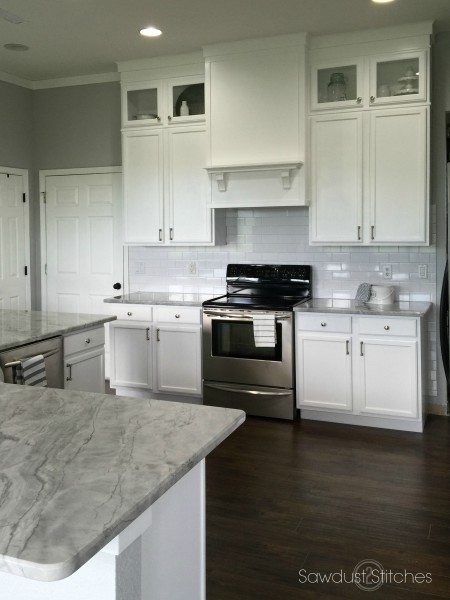
 Wall Color: “Incredible White” by Sherwin Williams / Trim: “Ultra Pure White” by Behr
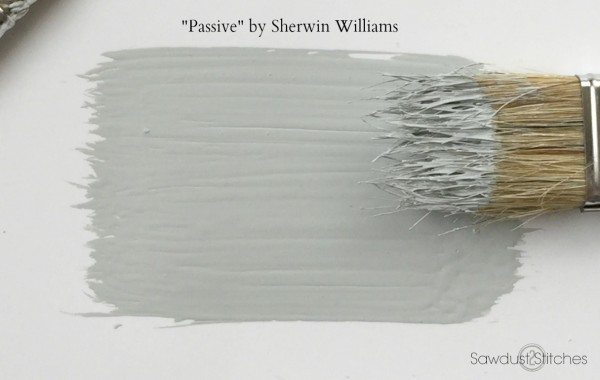
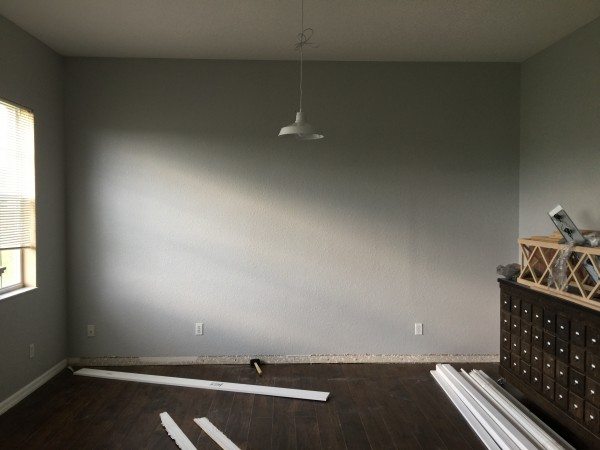 “Passive” by Sherwin Williams
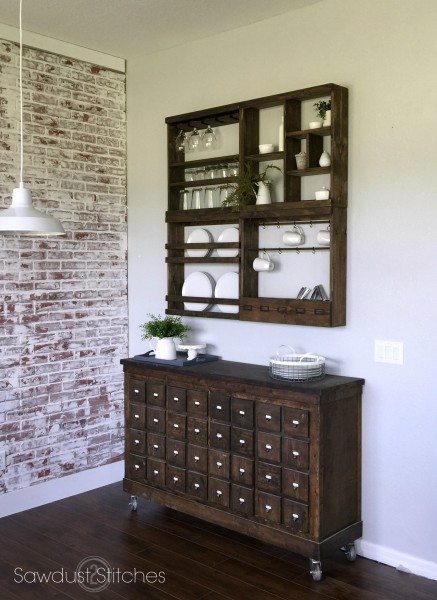 “Passive” by Sherwin Williams
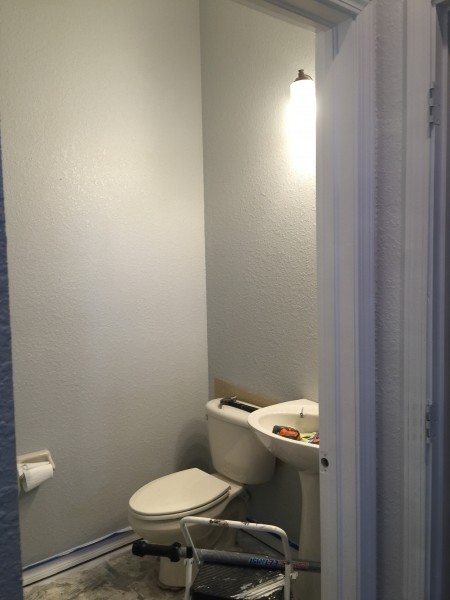 “Passive” by Sherwin Williams
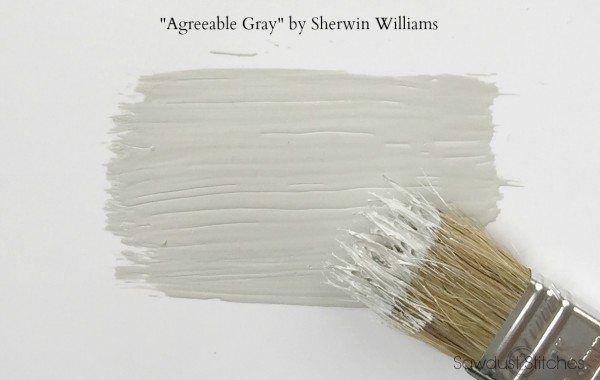
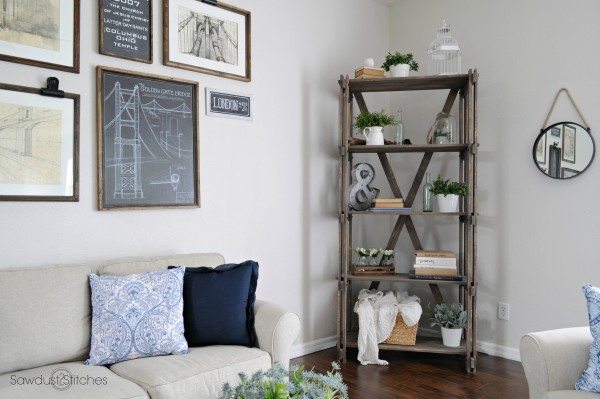
 “Agreeable Gray” by Sherwin Williams

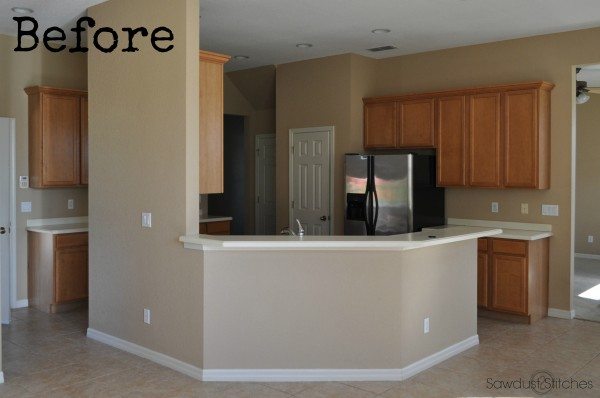
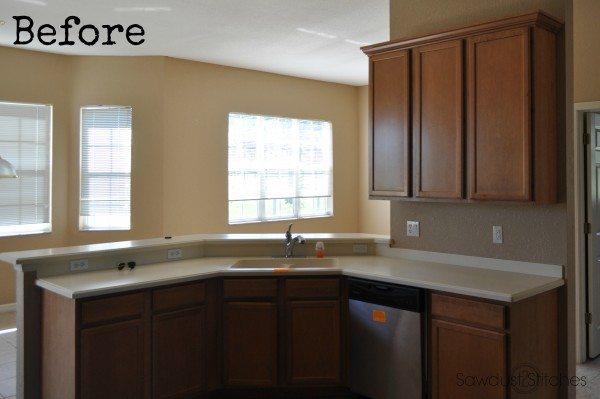
 The one “must” we had when looking for a home was a yard! In our old neighborhood, you could almost touch the neighboring homes from ours. We were kind of over it. I was always loud in the shop, and I always felt a twinge of guilt when I turned on the planer. I also wanted the kids to be able to run around, like I was able to as a kid. This location was a exactly what the Dr. ordered.
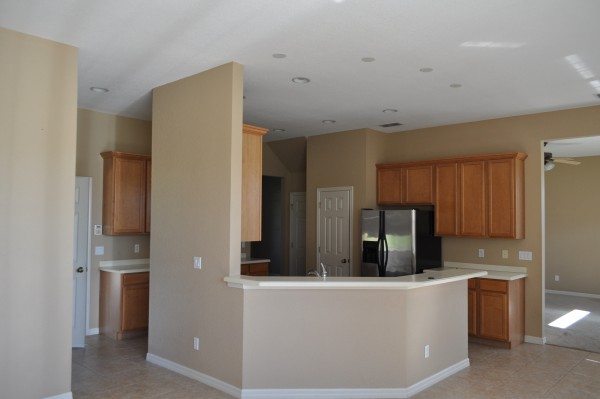 (The *potential* Kitchen of My Dreams)
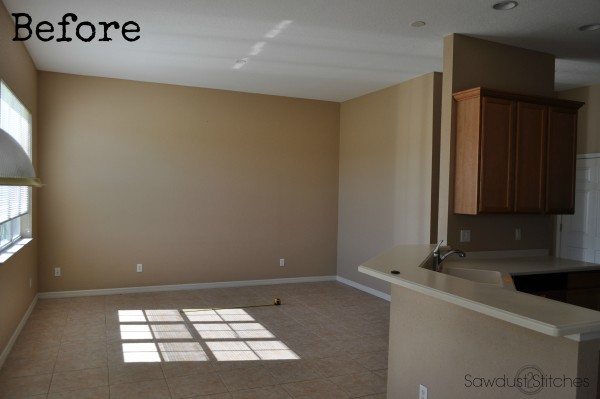
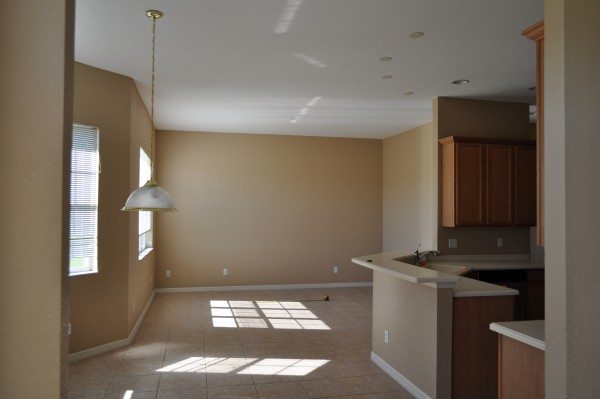 (Dining Area)
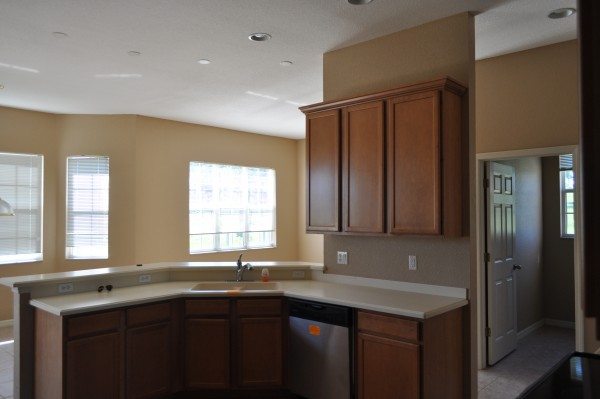 (Kitchen)
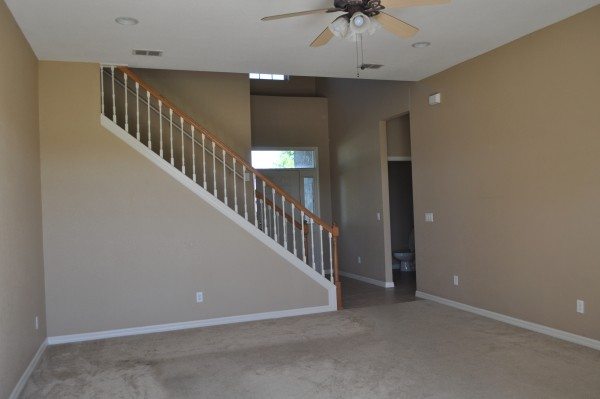 (Family Room)
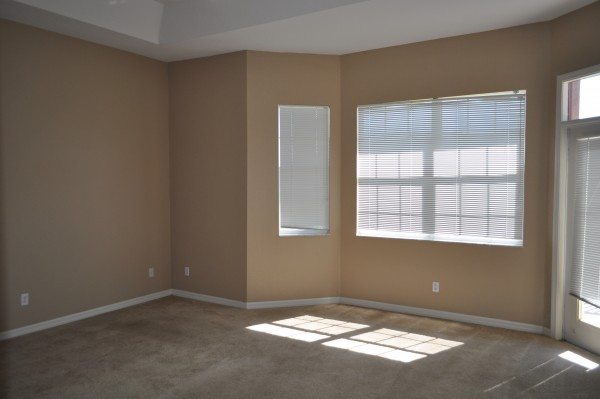 (Master Bedroom)
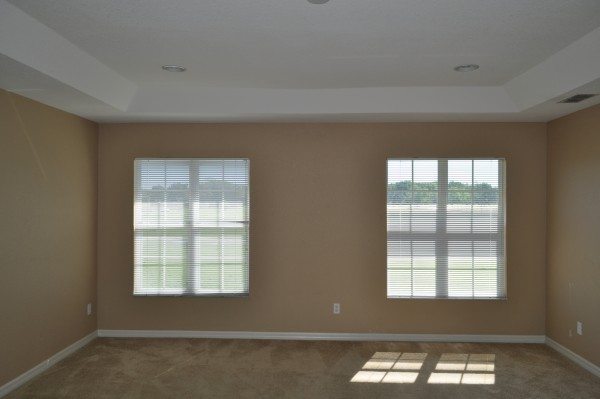 (Bonus Room: YES a BONUS ROOM!!! )