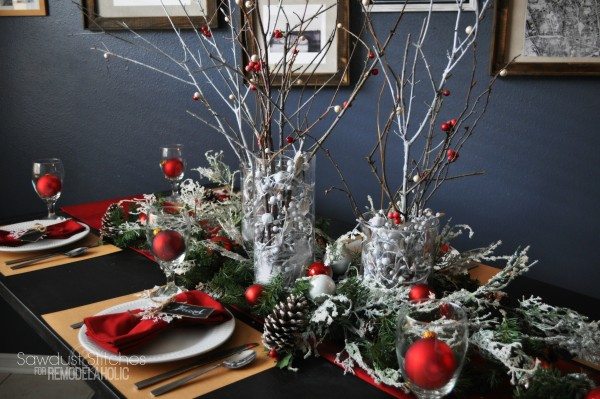
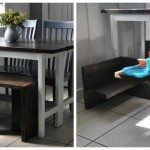
So I am not a BAD cook, but cooking is definitely not my favorite, nor my forte. So, I opt to dazzle guests with my decor and distract them from their dinner. 🙂 Also, a well put together tablescape can really make a big impact! However, if you want to do it on a budget it can be a little tricky! So, today I am going to show you how I put together this Pottery Barn inspired tablescape on a minimal budget!
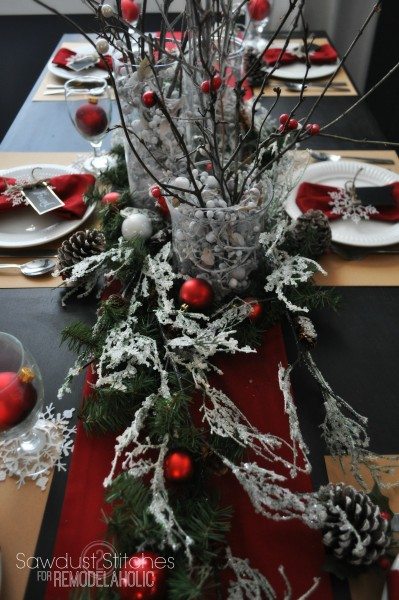
1.) Table Runner-
When creating a tablescape, I would suggest using a table runner to create foundation for your centerpiece.
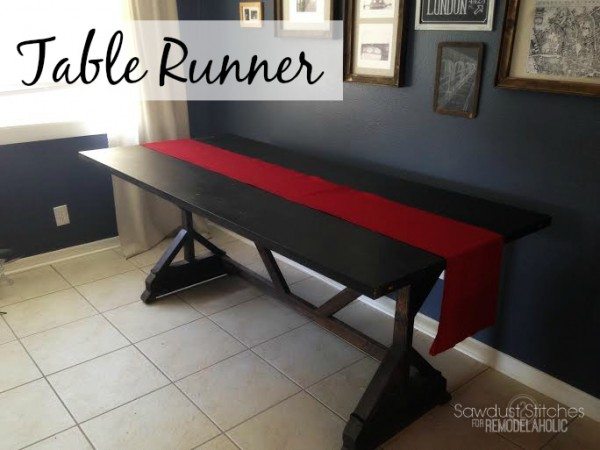
If you do not already have table runner, then here is what I suggest. You can purchase a twin size flat sheet from Walmart for $5. With a basic beginner knowledge of sewing you cut out a long rectangle and hem the edges, and create a custom runner! Also, with the excess fabric I had plenty to make 8 napkins to match!
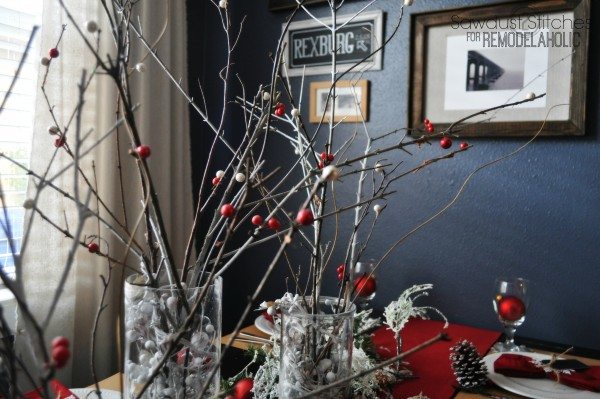
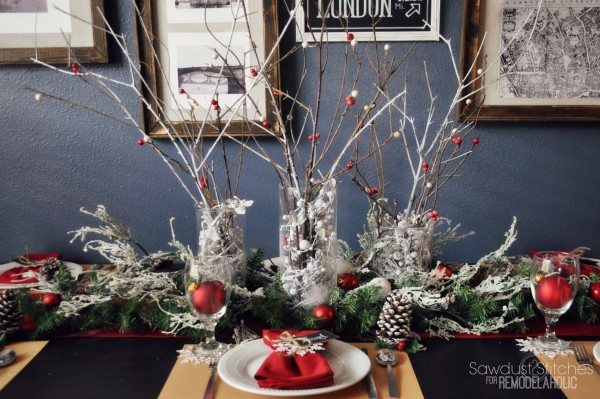
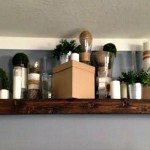
2.) Focal Point-
For the focal point I used cheap vases and berry garland. The berry garland I found at the dollar store. ( It was quite ugly, but nothing a little bit of white spray paint can’t fix!)
 I found the two larger vases at thrift store, for only $2.oo a piece, and the smallest one I found at Dollar Tree! I then lined the vases with painted garland.
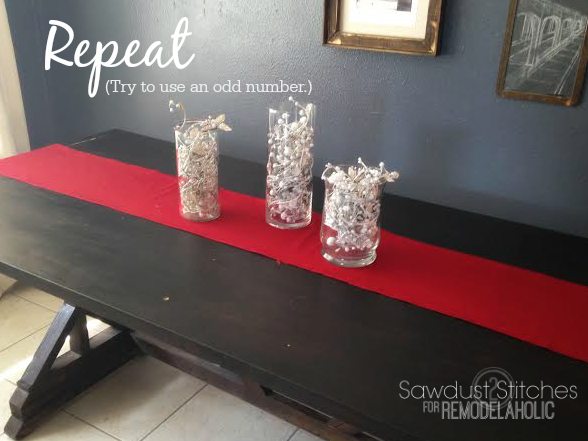
(When creating a centerpiece I would suggest using an odd number of vases. )
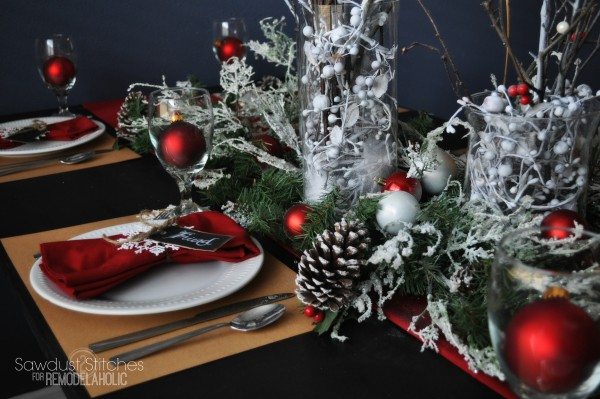
3.) Add Filler-
Next fill the negative space! Seeing as this is a seasonal tablescape, green garland seemed like a natural choice.
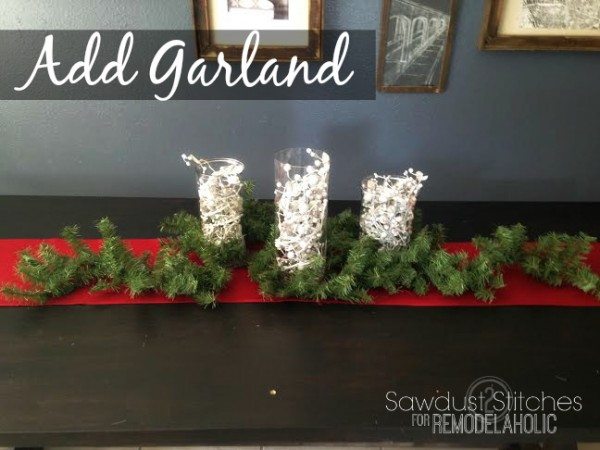
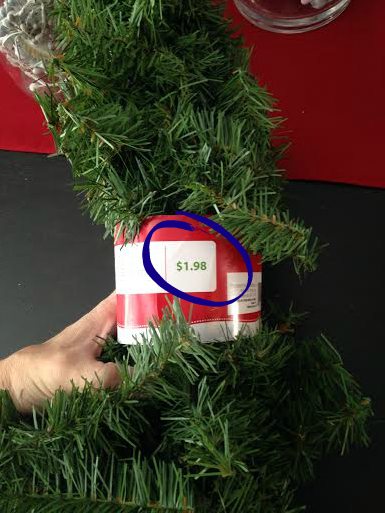
Green garland is available for really cheap too! You can find a 9″ garland for only $2.00!

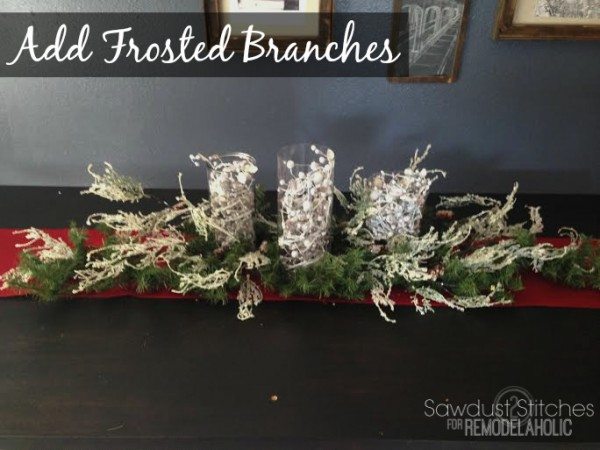
4.) Add Dimension and Contrast
I decided I wanted to add a little contrast in my garland, you can either use “spray snow” or add frosted branches. “Frosted Branches”. There are a lot of different approaches to making these. I used the cheapest option, which consisted of sticks/or fake branches, white spray paint, A LOT of craft glue, and then dipping them in epsom salt!
5.) Add Height (If desired)
I wanted to add some vertical height to my arrangement, so I went with the cheapest option I could think of. Sticks… Yup, back yard sticks. I went and grabbed some out of the backyard and stripped them of their leaves. I then dusted them with white spray paint. 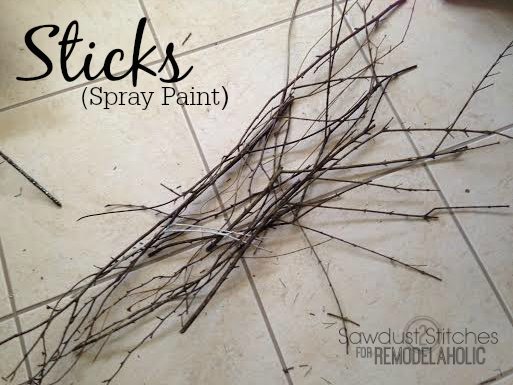
I then took two stems of berries and ripped them apart! You will get more miles from them, if you rip them apart and wire the individual sticks. It gives it a nice little pop of color at minimal cost!

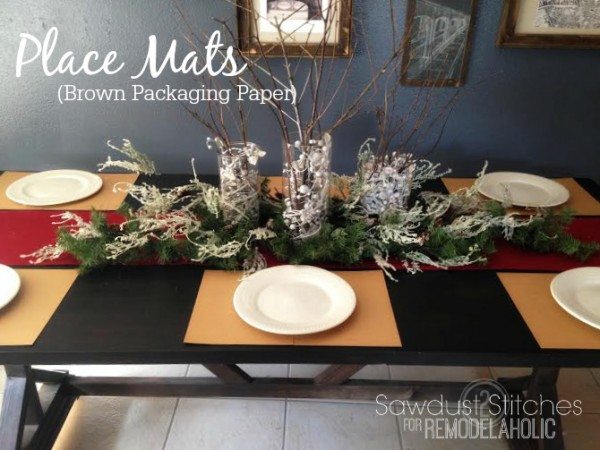
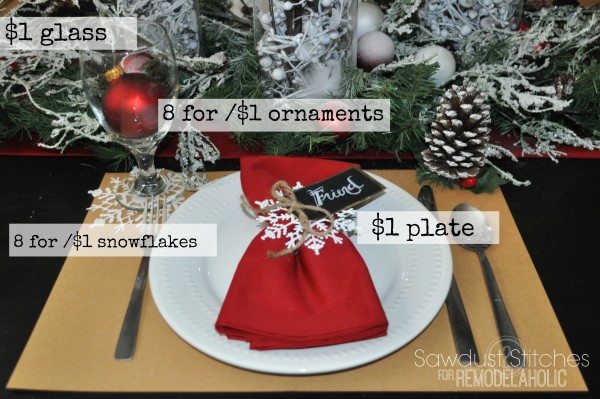
6.) Place Mats
To keep this cheap I used brown packaging paper to create place mats. You can find this in rolls (like wrapping paper).
I found mine at the Dollar Tree, I simple cut mine into 12″x 18″ rectangles.

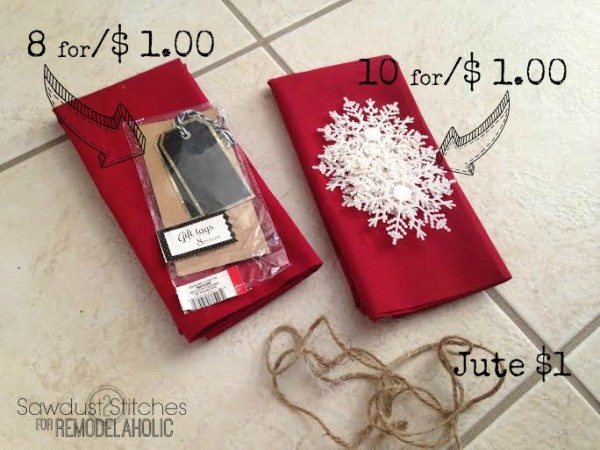
7.) Napkins and Name Cards
Like I talked about back in step 1. If you do not already have napkins, then these are very simple to sew, and you can use the excess fabric from your table runner.
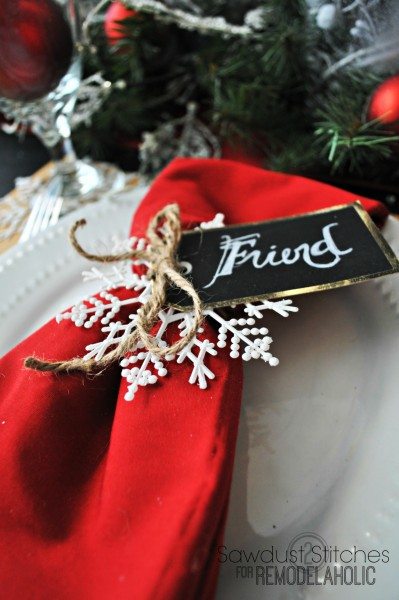
I used my placement cards as a form of embellishment for my napkins! I found the gift tags and the jute in the Dollar Spot at Target, and found the snowflakes at the Dollar Tree.

8.) Finishing Touches
If you do not already own plates that would match the setting, then have no fear. Neither did I! I found these white plates at the Dollar Tree! Booyah. I also picked up a set of red ornaments, and spread them throughout the decor to add small pops of color. Completely unnecessary, but they are a fun addition!

Lets Break it Down:
- Table Runner/ 6 Napkins = $5.00 ( Walmart)
- 3 strands of garland = $3.00 (Dollar Tree)
- 3 vases = $3.00 ( Dollar Tree & Garage Sale)
- cheap spray paint = $ 1.00 (Walmart)
- Garland = $2.00 (Walmart)
- Epson Salt = $1.00 ( Dollar Tree)
- Twine = $1.00 (Dollar Tree
- Snowflakes = $1.00 (Dollar Tree)
- Name Tags = $1.00 (Target)
- 2 packages of Ornaments = $2.00 (Dollar Tree)
- 6 plates = $6.00 (Dollar Tree)
- 6 glasses = $6.00 ( Dollar Tree)
- 6 pack Pine Cones = $1.00 (Dollar Tree)
- Packaging Paper = $1.00 (Dollar Tree)
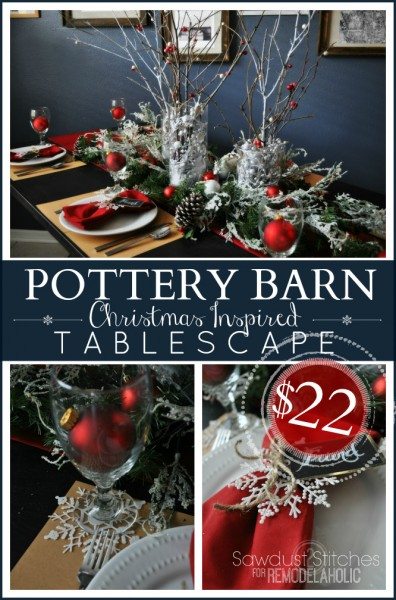
The Damage?
$34.00 for EVERYTHING except the silverware.
If you are using your own plates and glasses it is only $22.00!
Hopefully that at least gets your gears turning, and you can apply some of these concepts to your own ideas.
Happy Holidays and Take Luck,
Corey
 Copyright secured by Digiprove © 2015


So pretty! I love how you used outdoor items! I’ve taken stuff from outside and have made things for rustic weddings and party’s. I had a party that this girl wanted the look of the lightened branches in the urns. The branches online were really exspensive and would of blew her budget. So I went into the woods and found some cool branches, spray painted them, stuck them in the urn and hung some lights. She loved it and had no idea it wasn’t from an upper scale florist!