 Hey there Sportsfans! I have got to tell you, I have been so dang excited to share my latest Home Depot project! I don’t know what it is!? It is by far one of my smallest projects, but I just freaking love it! Is it not the cutest thing you have seen all day !?
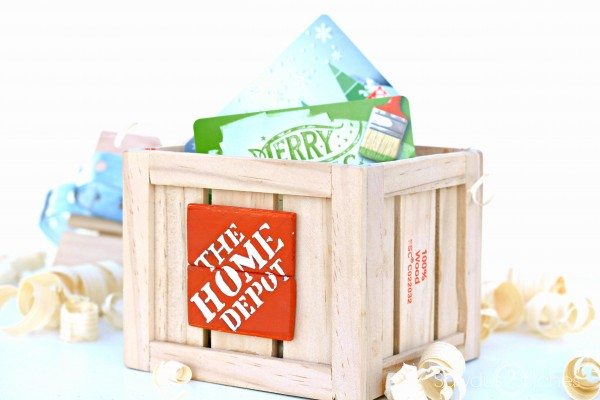
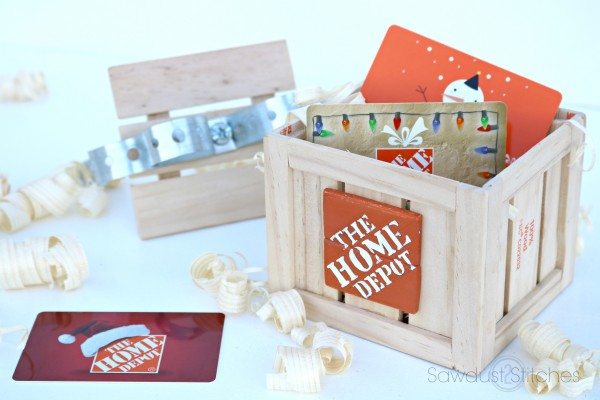
Do you know anyone fixing up a house, building a new home, newly married, or someone wanting to learn a new trade? Gift Cards can be the perfect way show your love and support to friends and family! So, today I am showing you how I add a little bit of personalization to a gift card giving!

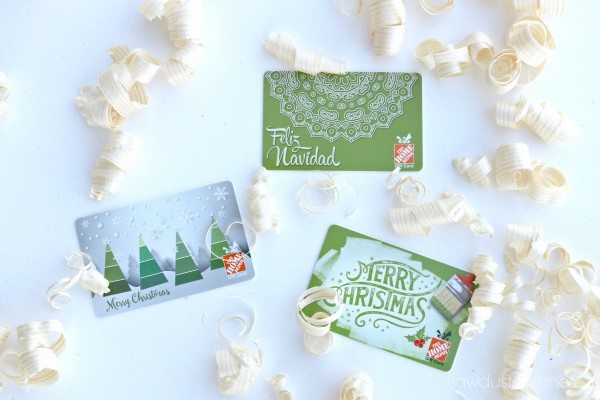
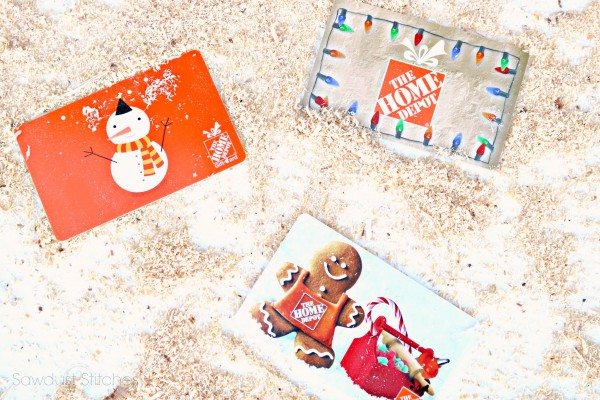
When you give a gift card, you have plenty of fun and festive desigsns to choose from, AND they are re-loadable for the recipient conveninece. However, if you are trying to do some last minute gift giving they do have a very convenient e-card that can be sent digitally! You can get all the info here. #Sponsored
○ Visit http://www.homedepot.com/c/Gift_Cards to

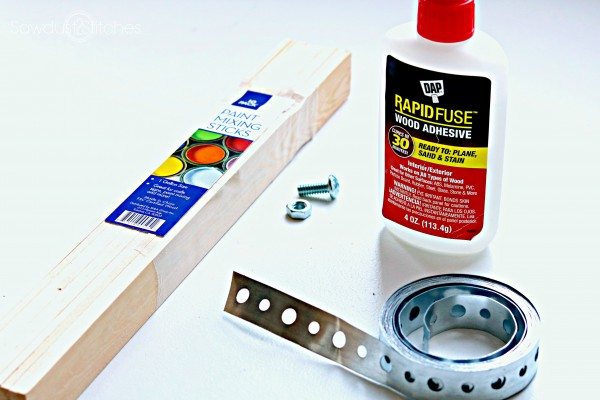
Materials Used:
- 1 pack of Paint Sticks (10 per pack)
- Rapid Fuse Glue (It’s like super glue for wood!)
- 3/4″ bolt and nut
- Plumbing Hanger
- Perforated Metal Hanging Straps
Disclosure: Some of the links provided are affiliate links. By purchasing through these links it supports this site and helps keep content free. You can read more about how we do this with no extra cost to you.
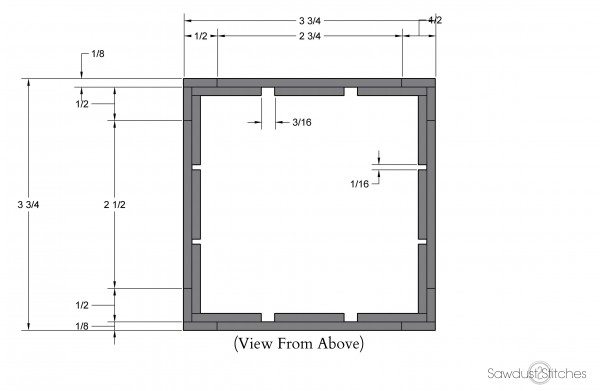
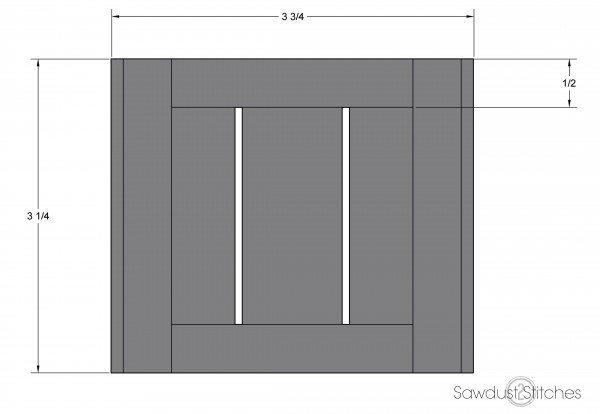
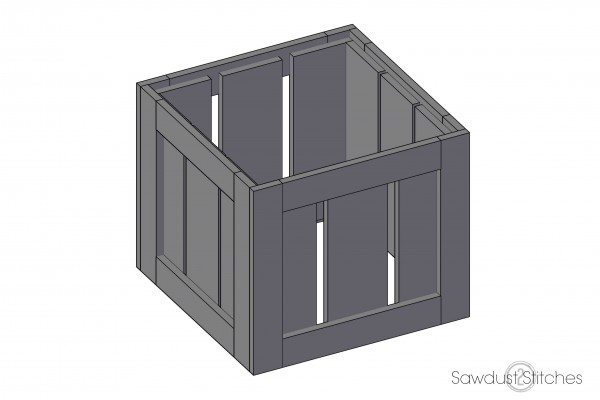
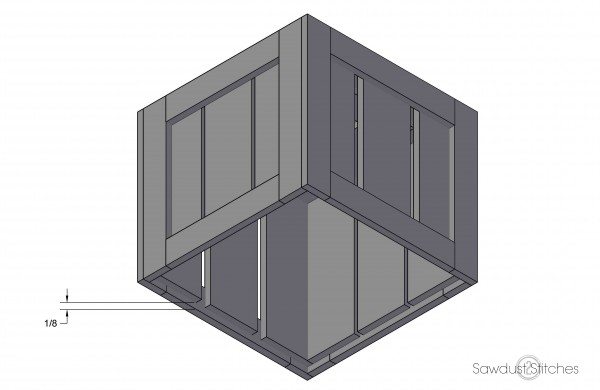
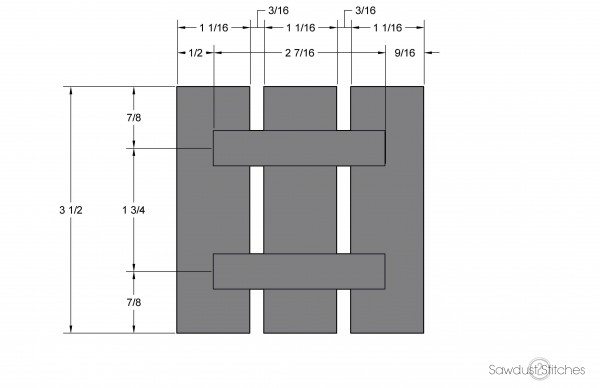
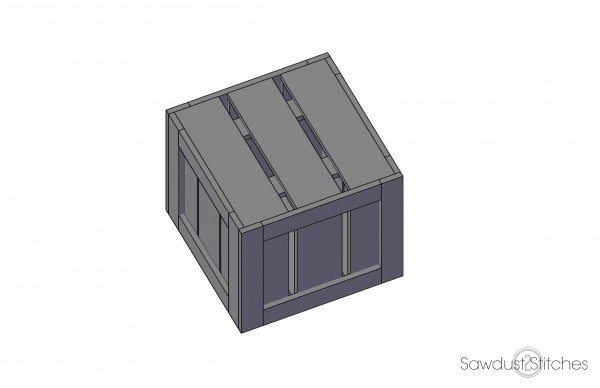
Alright, so if you are interested in making your own, here are some build plans for you! Word of caution, USE the Rapid Fuse wood glue by DAP. It is like super glue for wood, and I would not have had the patinence to complete this project with out it!
NOTE: All of these boards are made from paint sticks! The majority of them are standard width, the smaller boards you will notice in the build plans are the paint sticks cut in half. BE careful when you cut these! )
Now for the finishing touches….
Sidenote… Notice that there is a shocking lack of stain under my nails! Aren’t I FANCY ?
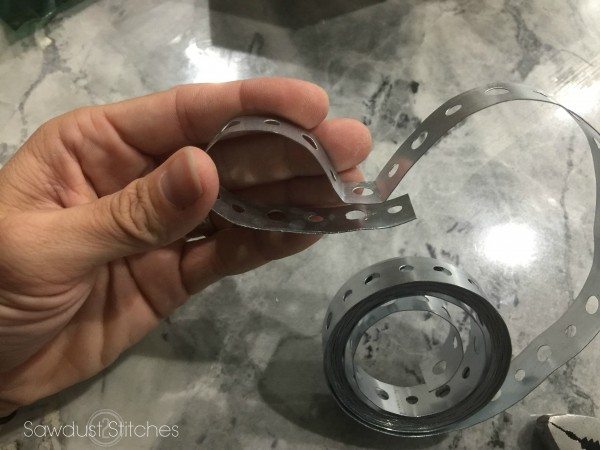
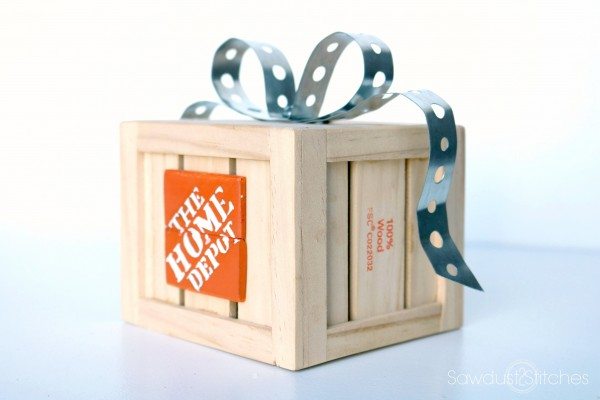
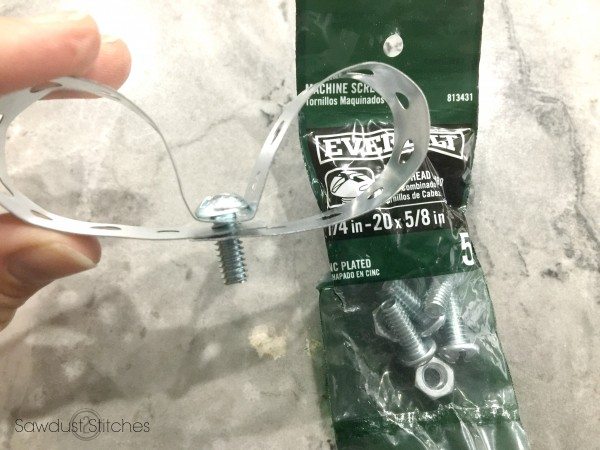
In the event you are wondering what on earth the metal ribbon is… it is “perforated metal hanging straps” you can find it in the plumbing section of the Home Depot. Word of caution, the ends of this can be quite sharp, I would not suggest handing this over to someone who might struggle with point objects.
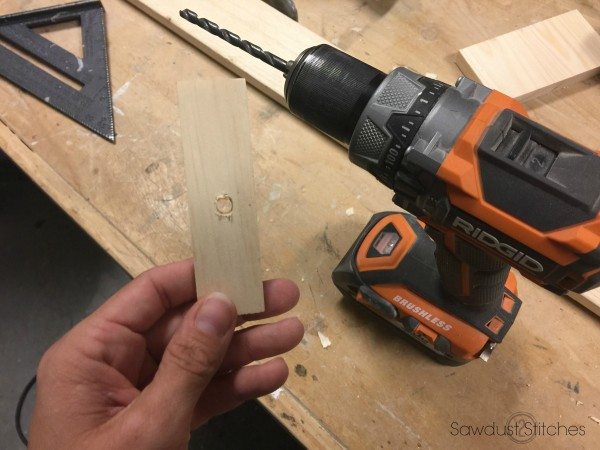
In order to attach the bow, I drilled a 1/4″ hole in the center of my middle/top board.
 I then fed the bolt through the hole, and secured it in place with the accompanying nut.
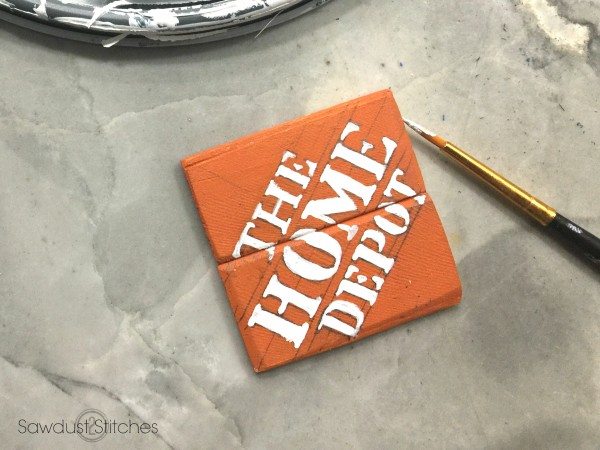
 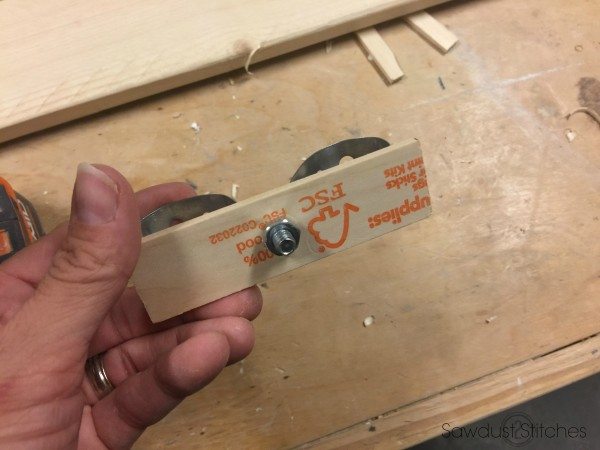 Now because I am a ridiculous over acheiver, I added a cute little logo to the outside of my crate, and it is made out of… You guessed it! Paint Sticks! I glued the two boards together using the Rapid Fuse and it worked like a charm!
Last but certainly not least it needs some packing peanuts! In this case I decided the wood shavings from my hand planer was just the ticket!
Do you want some other amazing ideas from some seriously talented bloggers ? Check out these links below!
· Mr. BuildIt
 Copyright secured by Digiprove © 2016


Oh my goodness!! For the love of all things miniature this crate is just over the top cuuuutttee. Nicely done my friend. #borrowing
Corey,
Your mini crate is like the cutest thing ever, and that pipe hanger bow!!!
You’re so creative.