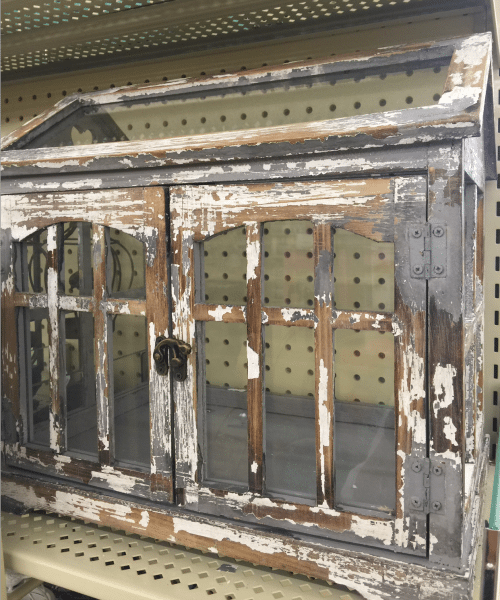
One fateful day I was browsing the isles of Hobby Lobby, and I came across an adorable little terrarium of sorts. Don’t get me wrong the whole thing was cute, but the layered chippy paint finish stopped me in my DIY lovin’ tracks! So, I did what any DIY’er would do. I snapped a picture and decided I would try and create something similar… fast forward 1.5 years and I finally did it! I figured out how to create the layered chippy paint look!
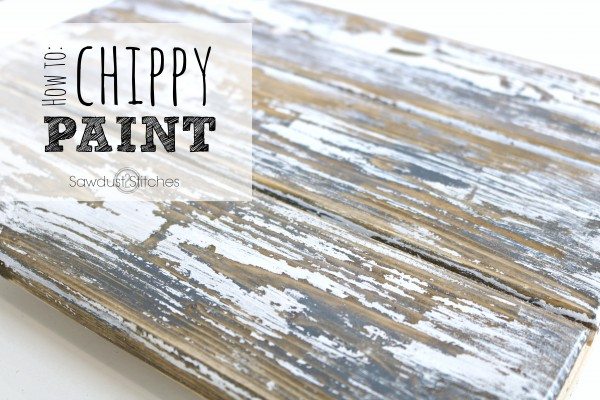
Layered Chippy Paint Finish
SUPPLY LIST:
- Stain ( I used a 1:1 ratio of Jacobean/Weathered Oak)
- (2) Colors of paint ( I used White and Blue-Grey Slate by Behr)
- Candle or Wax
- Wood/Project
TOOLS RECOMMENDED:
- Metal Putty Knife
- Sander
Disclosure: Some of the links provided are affiliate links. By purchasing through these links it supports this site and helps keep content free. You can read more about how we do this with no extra cost to you.

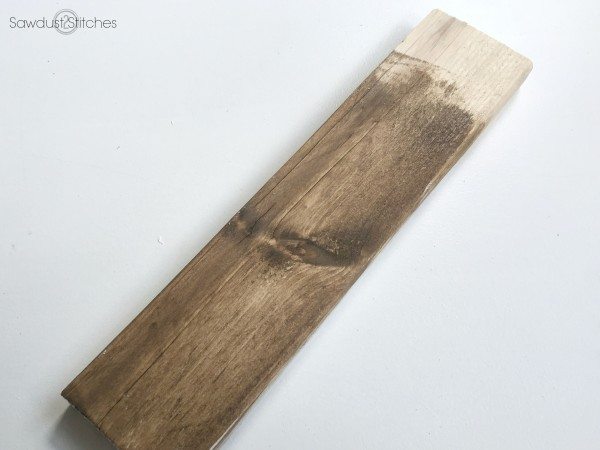
Step 1: Stain
Begin my staining in your choice of stain color. I used a 1:1 ratio of Jacobean and Weathered Oak by Minwax.
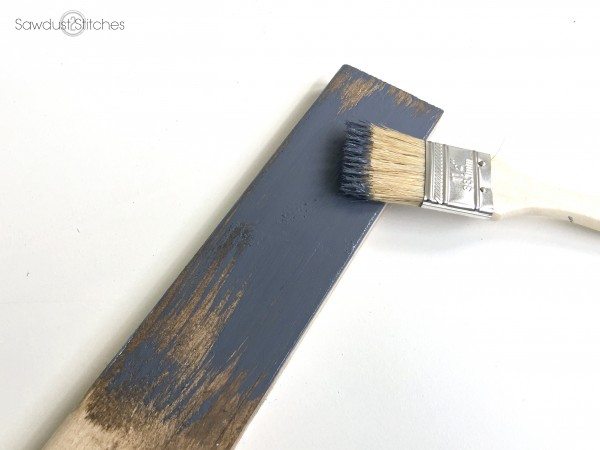
Step 2: Wax & Paint
Once the stain is completely dry we are ready to begin the distressing. BEFORE you start painting, you will need to rub a piece of wax/candle over various parts of the board. The idea is, is that the paint will not stick to the areas where the wax is applied. At this point we are ready for paint. I wanted a nice deep gray blue, so I used a sample size of Behr Grey-Blue Slate. There is no need to make this a smooth even coat. I actually used a stiff bristled brush to make it appear streaky. ( Please reference the video at the bottom of the post for more clarification.)
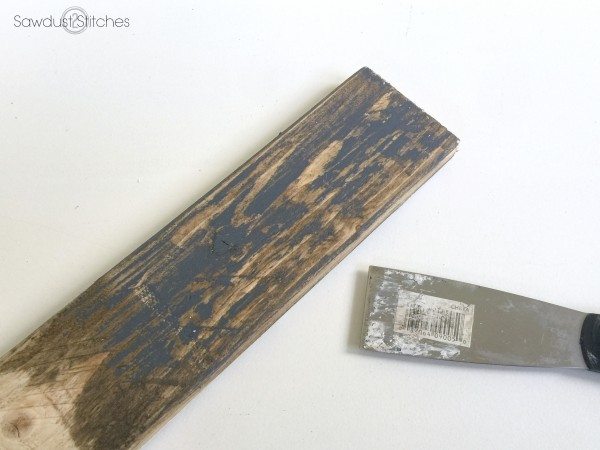
Step 3: Scrape
Once the paint is completely dry we are ready to scrape the board. I used a metal putty knife and it worked like a charm. It should easily take off the paint wherever wax was applied earlier.
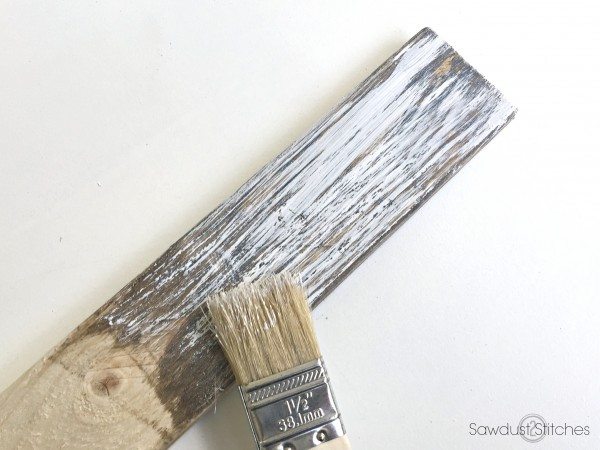
Step 4: Wax and Paint
Seeing as this is a layered chippy pain look, we will repeat the same steps again, only using a different color. I opted for white. Again, before painting I rubbed a little bit of wax in various parts so that some of both the stained wood and the blue paint would show through.
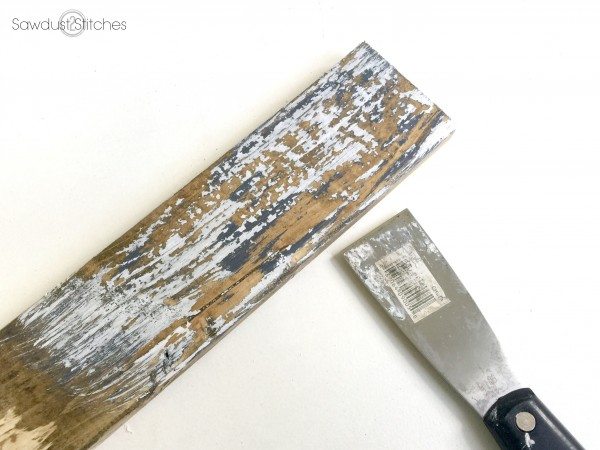
Step 5: Scrape and Sand
Once the second layer of paint is dried, you will again scrape the excess paint off. Once all the loose paint is removed I like to give it a once over with a sander and give it a nice worn look.
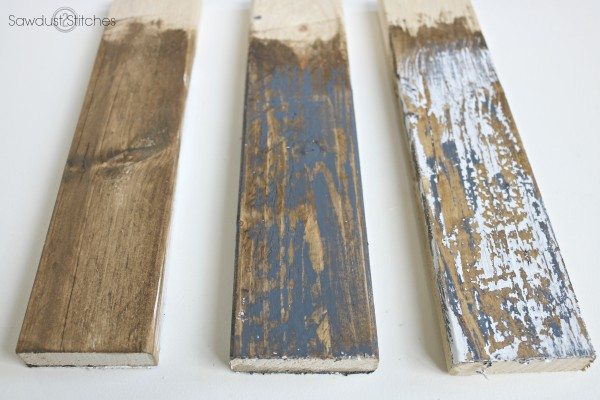
That is pretty much all there is to it! I am in love with this new finish, and can’t wait to try it out with more color variations!
Take Luck,
Corey
 Copyright secured by Digiprove © 2017


I just happen to have that exact terrarium and have wondered if I could do the same paint technique. Now, thanks to you, I can!!
This is fabulous, I’m going to have to try it.
Love the wax idea. I’ve been using Vaseline but not happy with results. This sounds much better!
Very cool! Do you start scraping immediately or have to wait for paint to dry?
Wait for the paint to fully dry. 🙂
Tried your technique over the weekend. Came out great. I think we may have put on too much paint though so we will know for next time.
Awesome!!! Thanks so much for sharing! I’m definitely go My to try this out on a few boards!
Thanks so much Ashlee!
Absolutely beautiful!!!! Thank you for sharing! I cannot wait to try it. 🙂
Great technique, am pinning for future use with maybe some different colors! Thanks so much for sharing this.
I think by sharing this blog you have made easy a lot of lives as chipped paint is really a concern and people generally struggle with it, waxing tip was good.
Do you put any type of protective topcoat over it all once it’s done?
LOVE IT! Do you seal it with anything once complete?