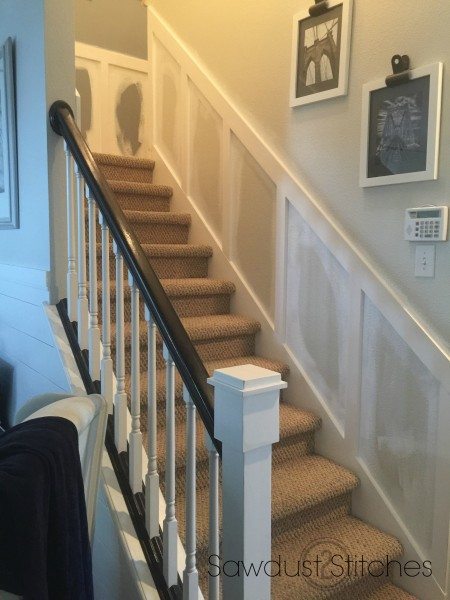
I have put off painting the stairwell for a long time… a long, long time. It was still the contractor’s original ugly FLAT off white paint. I did paint and accent wall about 2 years ago, in hopes to take attention away from all the smudges and little hand prints all the way down the stairs… It worked for a while, but the number of hand prints have since increased, and become larger, and the assortments of medium increased, it had a nice array of crayon marks, shoe scuffs, and I kid you not, I found a booger cemented to the wall… Yeah, it was time to repaint to a more family friendly WASHABLE finish…
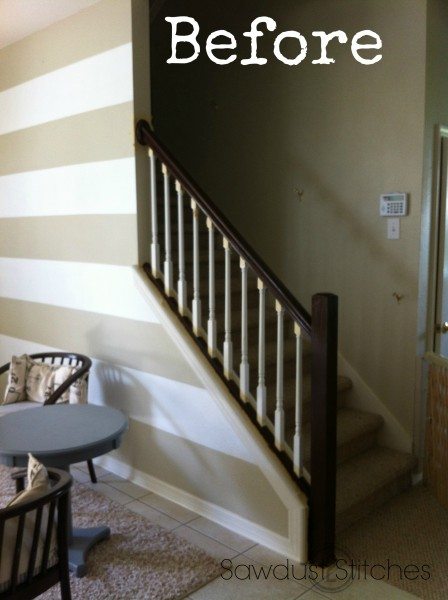
So let the whirl wind renovations begin! I knew I wanted to lighted the area, but I definitely did not want to paint it all white. So I took my Family Room as inspiration and decided to add board and batten to the stair well.
It would allow me to paint the bottom in a nice high-gloss, very washable paint, but it would still allow for some color above the chair rail.
Supplies Used –
- Nail Hole Filler
- Sand Paper
- 1 3/4″ nails
- Nail Gun
- 1×4″ Boards
- 1×3″ Boards
- Paint-able Caulk (lots and lots of it.)
Tools Suggested-
- Nail Gun
- Air Compressor
- Level

- Remove Handrail
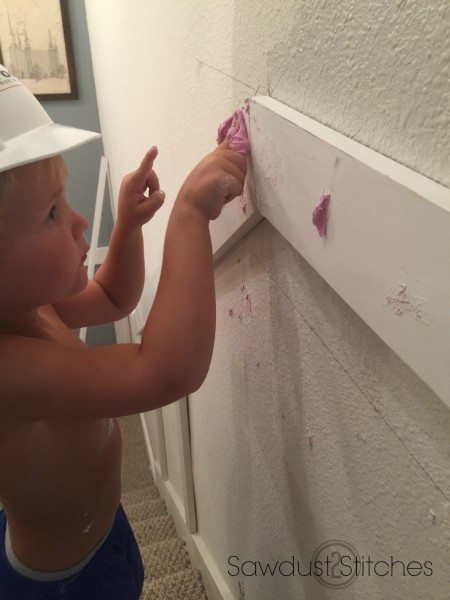
- Fill holes
- Sand Down Nail Filler
SIDE NOTE: The baseboards on the stair case were deep enough that the batten matched up nicely. However, on the landing there was a lower profile baseboards. I ended up removing that baseboard and replacing it with 1×4″ boards.
- Determine height of chair rail. Mine measure 34″ from the top of the baseboard to the top of the chair rail. I used a primed 1×4″ finger board for my top board.
- Mark placement of board
- Install 1×4″ board ( I used 1 3/4″ nails and a nail gun)
- If you are doing the entire stairwell, continue the process up the stairs.

Next install the batten boards (the vertical boards). I used 1×3″ primed finger board.
- Do Math ( I hate this part, but you will need to figure out the angle of your slope etc..)
- Mark Board Placement (Mine are placed approximately 21″ apart, center to center.)
- Cut Boards
- Install ( Again, I used 1 3/4″ nails, and a nail gun)
- Continue the process up the stairs
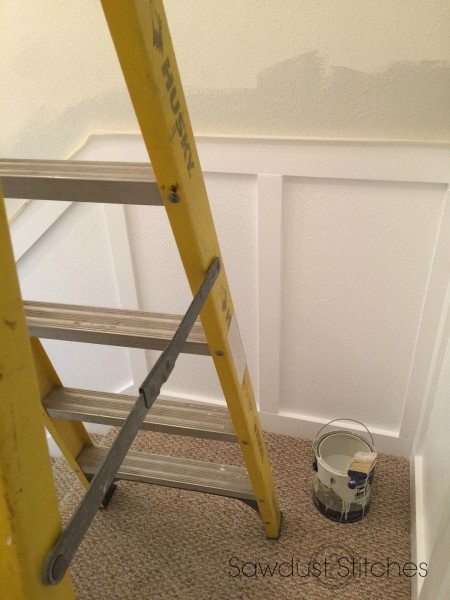
Prep for Paint :
- Fill all nail holes
- Sand Down filler
- Caulk all the edges. ( This is IMPORTANT, it will make it look very finished!)
- I then painted all my edges, then painted the interior
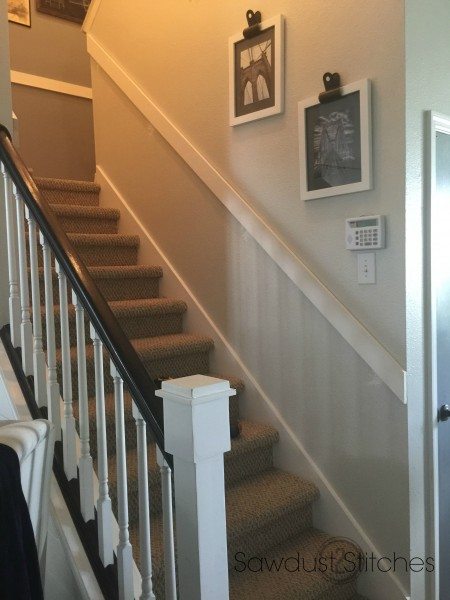
 After the “Board and Batten” was painted, I proceed to paint the wall above the rail. I used “Silver Birch “by Glidden.
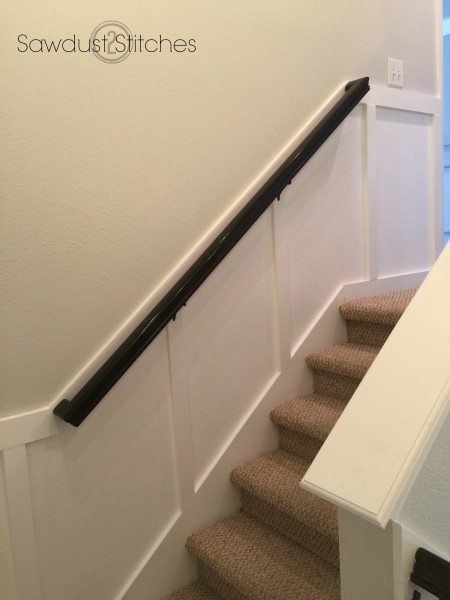
The final step was to re- attach the handrail.
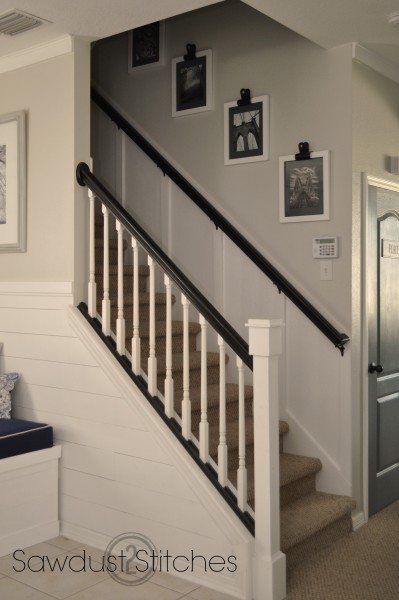
I just LOVE the way this all turned out ! Stay tuned for more info on the Staircase Makeover!
Take Luck,
Corey
 Copyright secured by Digiprove © 2015