Okay, so I had a kitchen table and whenever I needed more space or was mopping, I would push it up against the window. It made the kitchen so much bigger! I loved it and so did my Husband, but the designer in me hated it. So, here was my newly created problem… push it against the wall and have space, or in the middle and have it be functional….
Well I love a good problem…
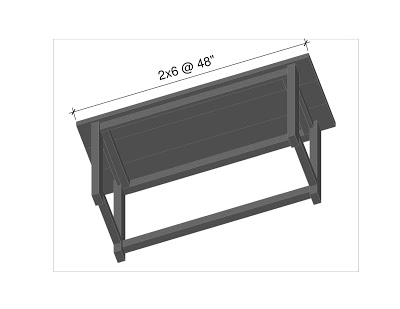
Let me preface this with a disclaimer. I have never used Auto Cad before and this was my first attempt, so no judging.
Now that, that is all cleared up, let’s make a table! (Well, 2 to be exact.)
Here is your shopping list:
3- 2″x6″ (8′) $6.00 x 3 = $18.00
6- 2″x3″ (8′) $2.00 x 6 = $12.00
2- “1×3” (8′) $2.00 x 2 = $ 4.00
Est lumber = $ 34.00ish
You will also need:
-sandpaper
-paint and/or stain (I used Jacobean by Minwax for the top and Behr Ultra White for base)
-paint brushes
– 2 1/2″ Screws
-3 1/2″ Screws
-3 1/2″ Screws
– Brad nails (either hand drive or for nail gun)
-Wood filler
-Wood filler
Tools Suggested:
– Miter Saw
– Electric Hand Sander
– Drill
– Brad nailer or hammer
– Kreg Jig
Okay, so you have visited your local hardware. (I am personally a Home Depot Girl), we are ready to start cutting!
Cut list:
2×3’s
4 @ 39″ (top support, footrest)
8 @ 29″ (legs)
4 @ 13″ (top side supports)
4 @ 11″ (bottom side supports)
2×6’s
6 @ 48″ (top planks)
1×3’s
4 @ 11″ (side fronts)
2 @ 39″ (front)
At this stage I personally double check and make sure all measurements that are supposed to be the same are EXACTLY the same. If there are any discrepancies I even them out.
Then go crazy with the sander.
Now, I know some people prefer to apply paint or stain after everything is put together, not me. I hate trying to paint all the surfaces on a 3D object, flat boards are easier. Like I said personal preference. I undoubtedly will end up doing some touch-ups, but I still say it is easier.
Assembly
Okay, lets do this…
-Center your 11″ 1×3 on the 13″ 2×3, there should be 1.5″ space on either side.
-Secure the 1×3 to the 2×3. If you have a nail gun, use it, if not use a hammer and brad nails, or wood glue.—
-Pre-drill and fasten the the 13″ 2×3 to the back of the legs using 2 1/2″ screws.
-Take your 11″ 2×3″ and secure it so that the base of the new support is 3″ from the bottom of the leg. If you have a kreg jig use it. If not you will need to pre-drill through the leg and use a 3 1/2″ screw.
– Now do it all over again, 3 more times…
Still with me ? Good.
– Take one of your 39″ 2×3’s and secure it at the ends of your 13″ 2×3’s. (It should fit perfectly in the corner)
-Take your 39″ 1×3 and secure it to the front. ( It will be inset about 3/4″)
-Take your other 39″ 2×3″ and secure it so that the base of the new support is 3″ from the bottom of the leg. Again if you have a kreg jig use it.
-Repeat on the other table.
Ok next comes the tops…
– I would strongly suggest having these stained/painted in advance, getting down in the cracks after this point could be near impossible.
– Lay 3 of your 2×6’s side by side on the ground, with the “top” facing down, flip your table base upside down and lay directly on top of the 2×6’s.
– Then predrill through your 2×3 supports so that your will have screws fastening all 3 of your 2×6 boards to the base.
– Flip over and marvel at your work, and then do it again.
Side notes, I know some people will wonder about the cracks, you can put a wood filler in between them, sand it down and then seal it. I did not do that on this table. I made the spacing between the boards large enough that I could clean between with a knife if needed and water would just go through. I have used the filler method before and it has to be very close and sealed very well to work. I had a problem with a seam that repeatedly popped on a kitchen table (actually it is what pushed me to make this table.) Whatever you do make sure your filler is able to be stained or painted depending on your finish.
I did end up adding latches in two spots on the under side of the table in order to help it stay put, and it worked perfectly!
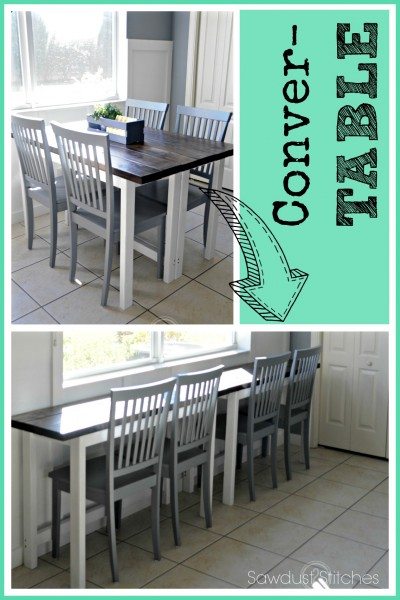
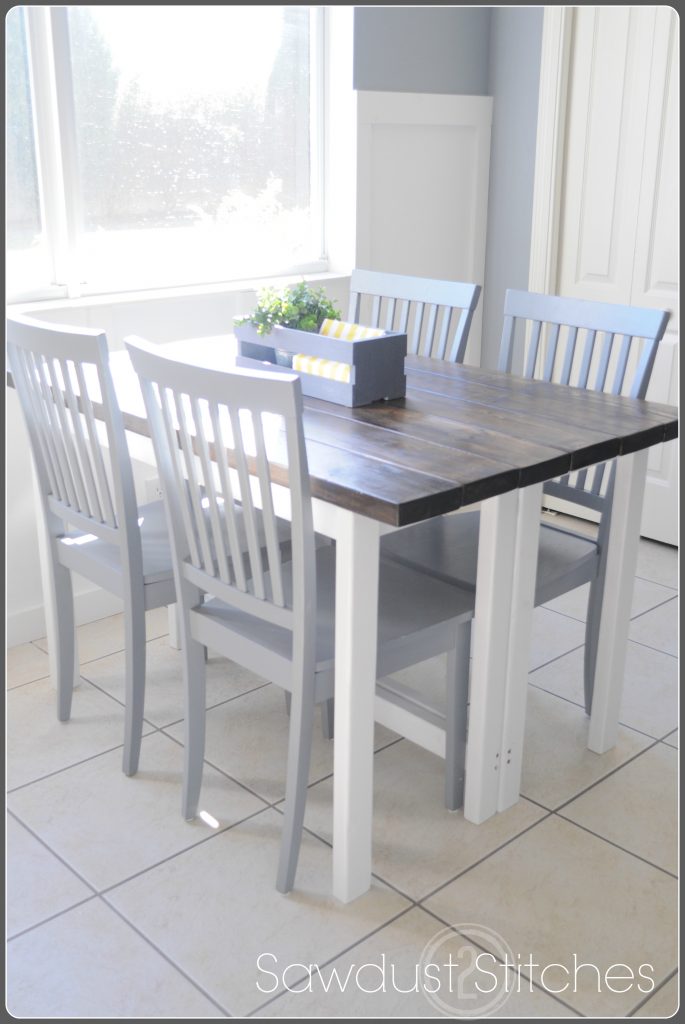
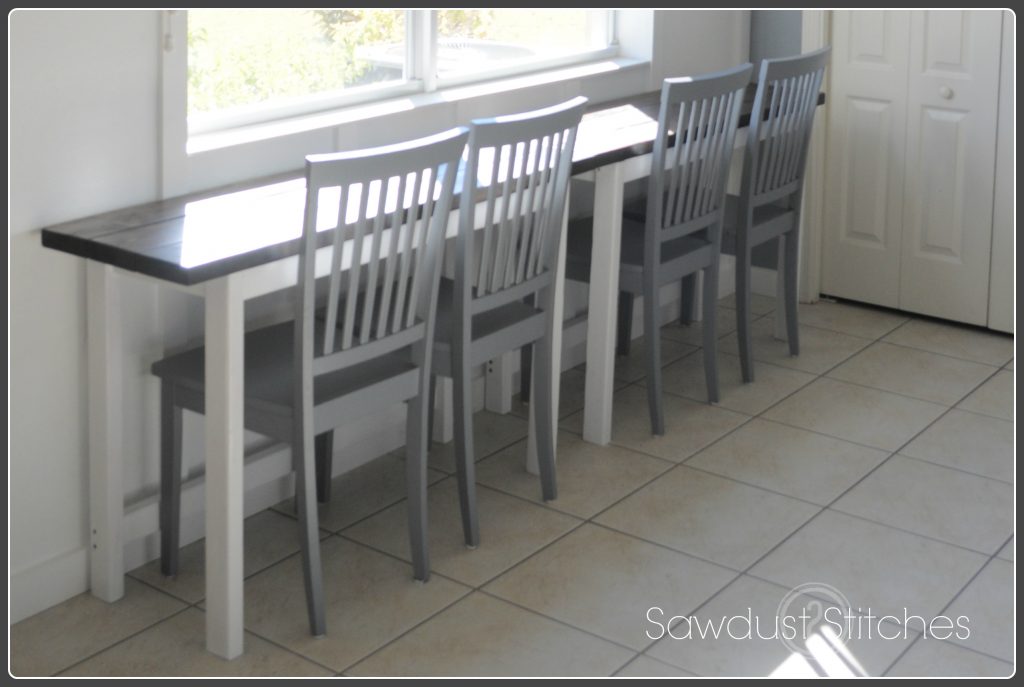
Ta-da, problem solved, a table that could be functional even while pushed against the wall, and still be beautiful as a full kitchen table!
 Copyright secured by Digiprove © 2015






You're a rockstar my friend.
I love it! I'm going to use this in the school room! Such a good idea!
How clever! Your instructions are great! Thanks.
Did you make the chairs too? If yes, do you plans for those also? I love the table idea. I'm thinking of doing 3 stitches to make seating for 4,6, or 8
I wish I could claim the chairs, how ever those are just some old up-cycled chairs. I love the idea of making it bigger! If we ever require more than 4 seats, I would totally do it as well! I would love to see pictures of you do end up making a larger version! Good luck!
Thank you so much! I was pretty thrilled about them. Thanks for stopping by!
I love this! I have the exact same problem at my house with our dining table! However, I have a question-I need a table that will seat 6….have much would you change the measurements to add the extra space for the 2 extra seats? So excited to try this!
I think it is totally do-able! The current tabletop measures at 50″, I think if you were to extend it to 65″ you could safely seat 6. Just make sure to alter all the base measurements as well! Would love to see your finished product.
Thanks for reading!
Great project!
What sort of latches did you find that worked the best for securing the two halves together?
Thanks!
I actually used window sash latches! You could easily use trunk latches, but this is what I had on hand, and it worked perfectly! Thanks for your question.
Beautiful and practical! Have a similar situation in the kitchen. Can this work as designed or could it be adjusted to have a person sit on either end when together? Thanks and keep up the creative and amazing work.
Thanks! I suppose it could be modified, but I wouldn’t necessarily suggest it , because it will start to loose stability. I think it could work, if you were making it in a much larger scale, so that it still had a wide set base. With these dimensions the base could MAYBE be taken in a few inches at most. Hopefully that makes sense! It is good idea though, I have just never tried it.
So I made this because my kitchen is so tiny and I have no dining room to speak of. I also used it as a divider between my living room and kitchen. Only thing I did differently is I made the legs 39″ instead of 29″, added another support in the middle where the two tables come together, and added slats under the top. I mainly added the slats because all I had on hand were some 1x’s and I needed this done asap. That being said it turned out great. Thanks for such a great idea!
That is awesome! If you get a chance I would love to see it! I would like to start featuring some of the readers projects!
This is absolutely genius. Also it looks legitimately store bought! Great finishing job!
Brilliant Fix! Love the fact that when the tables are in the bar formation, your family can enjoy the view out the large picture window instead of having to face a wall too. (I guess in that case I would advocate a mirror, so diners can see the action going on behind them while they nibble.) Also, for folks with an even tinier kitchen set-up that won’t allow them to store two such tables end to end. perhaps they could use one of the tables behind a sofa or against another wall in a completely different room. The second table can serve as work surface for a laptop when needed. If you don’t regular have the need for a table of four, that would make these pieces even more dual-purpose until you need to bring them together for a larger gathering.
Great minds! It has been so handy and great for accommodating needs I hadn’t even anticipated ! Thanks for reading!