*This post is sponsored by DAP and contains affiliate links*
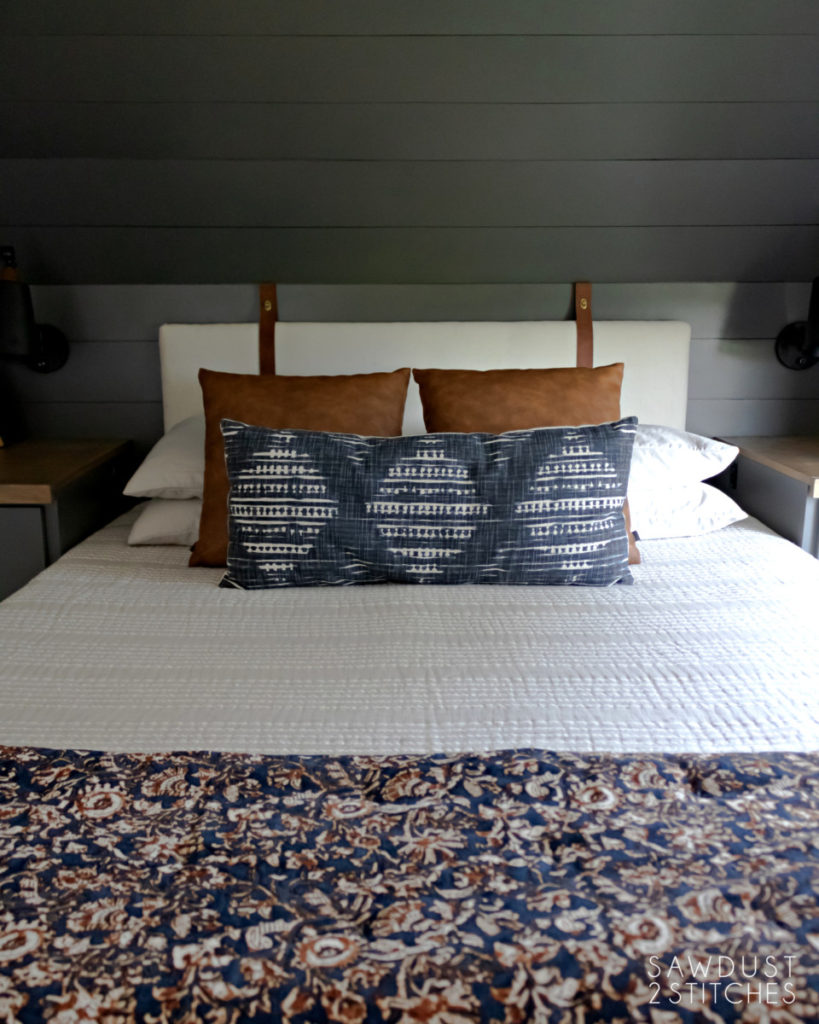
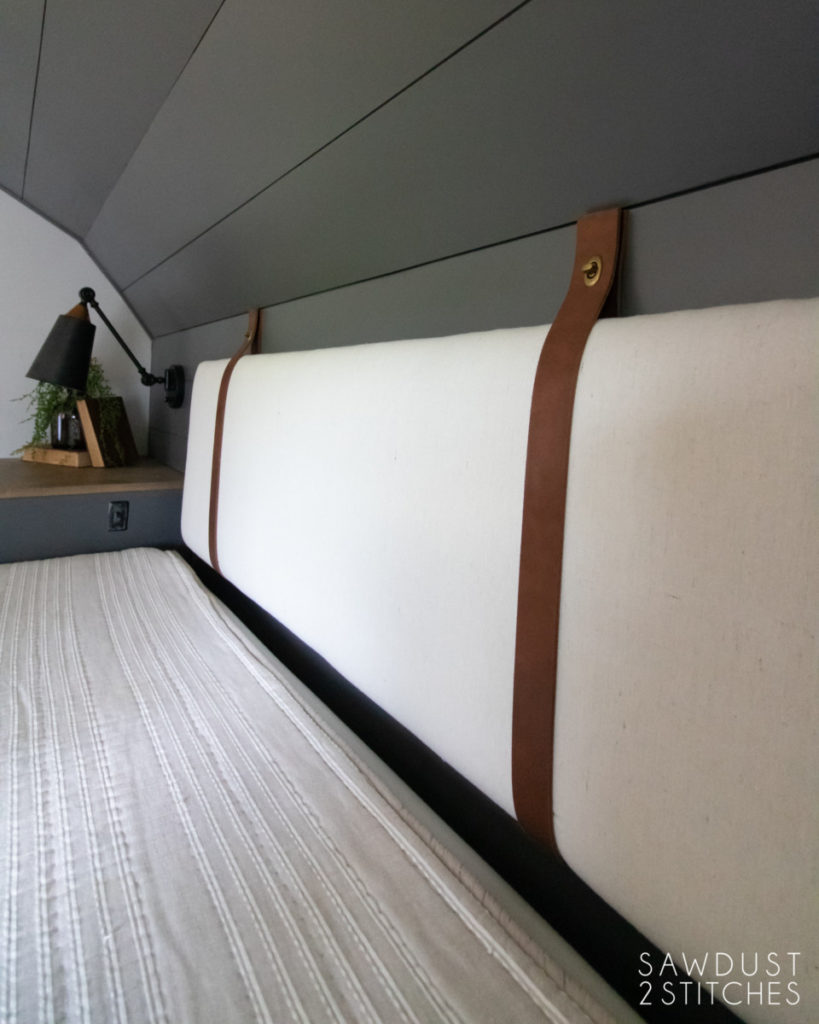
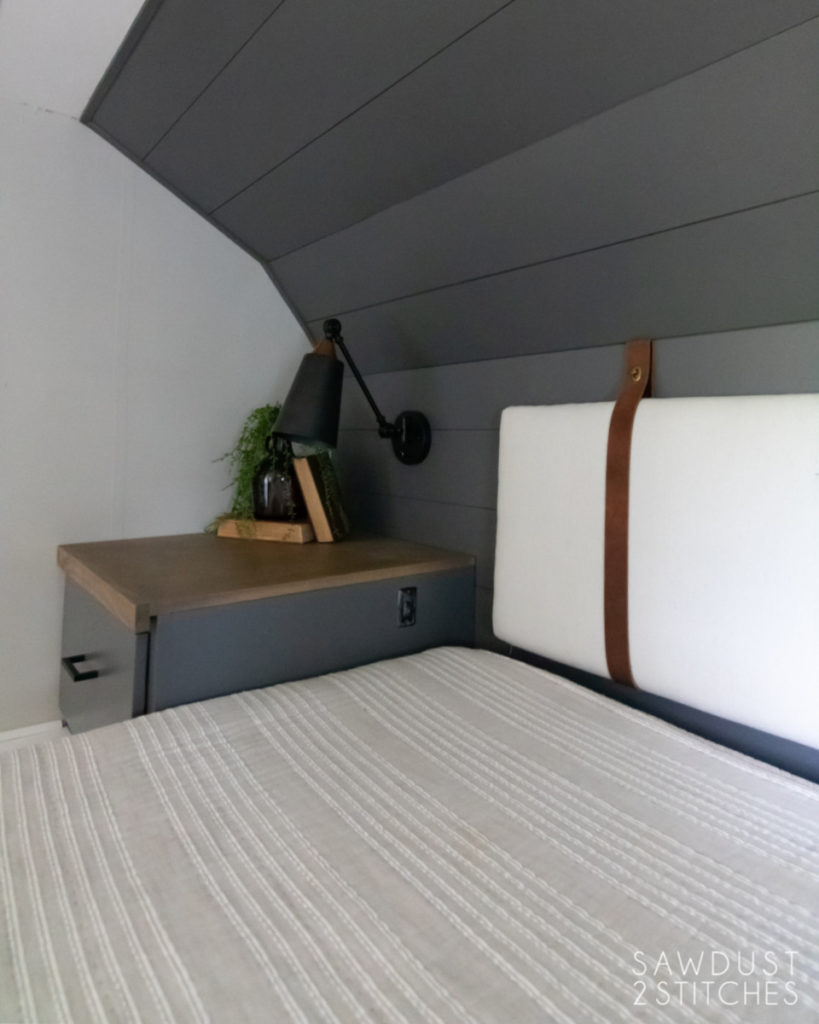
The tricky thing about designing an R.V. is that pretty much everything needs to be practical. Everything is compact and very little space for anything other than the essential. In order to add my style to the space I had to get creative and make sure that even the small things packed a punch. This DIY upholstered headboard with leather straps was just what the master bedroom needed! It added tons of character to the space while still remaining practical . #winning
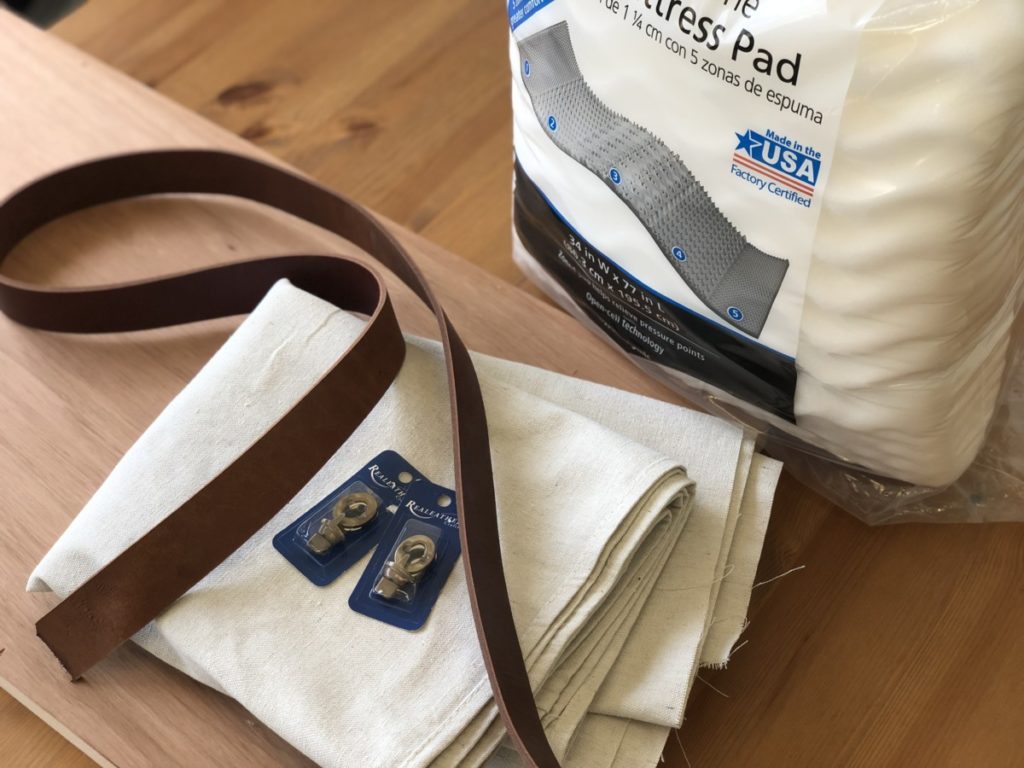
Materials Used
- 1/4″ Paneling/Underlayment
- 1x 2 common Pine Board
- 1 1/4″ Pocket Hole Screws
- DAP Wood Glue
- Foam Padding
- Sharpie Marker
- Upholstery Staples
- Painters Drop Cloth (or preferred material)
- Leather Straps (Comes in more colors.)
- Brass Twist Lock Closures (Not exact but similar)
- DAP All-Purpose Adhesive Spray
Tools Recommended
- Table Saw
- Pocket Hole Jig
- Drill with pocket hole bit
- Nailer w/ 1/2″ nails (optional)
- Tape Measure
- Rotary Fabric Cutter
- Cutting Mat
- Rotary Cutting Straight Edge
- Upholstery Stapler
- X-Acto Knife
- Forstner Bit (Optional)
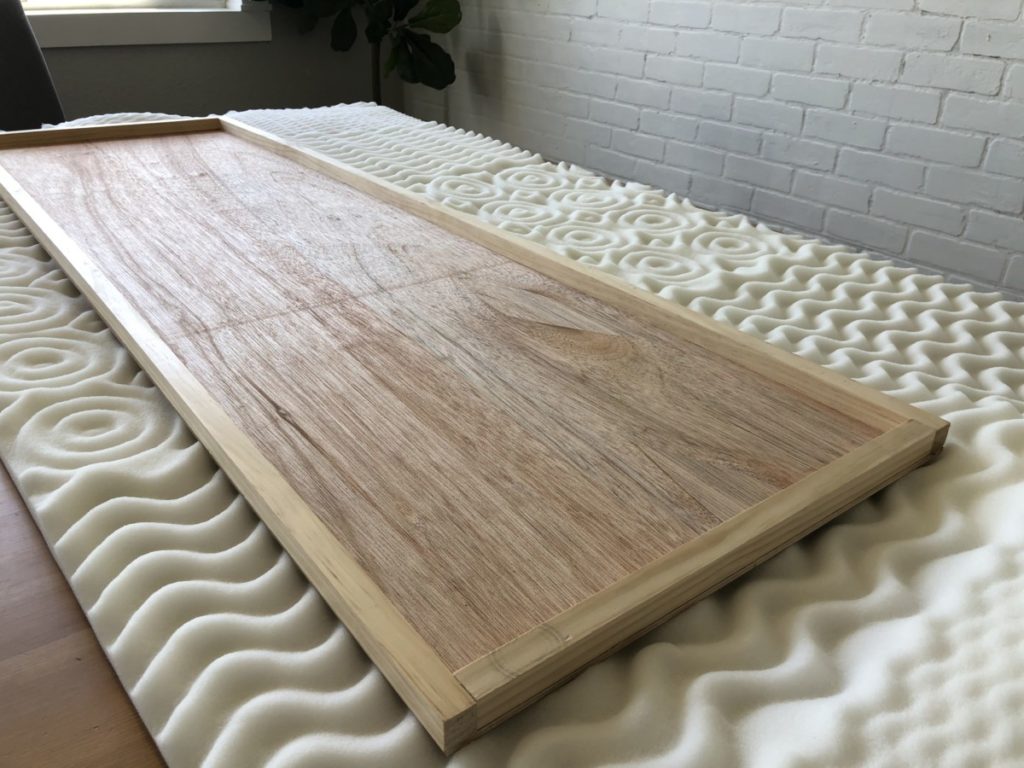
Frame
Before we diver in first determine the size headboard you need. I needed something that was custom to my R.V. so mine is a little smaller scale than I would typically build for a standard bed. Just as a point of reference, mine is 58″ x 18″.
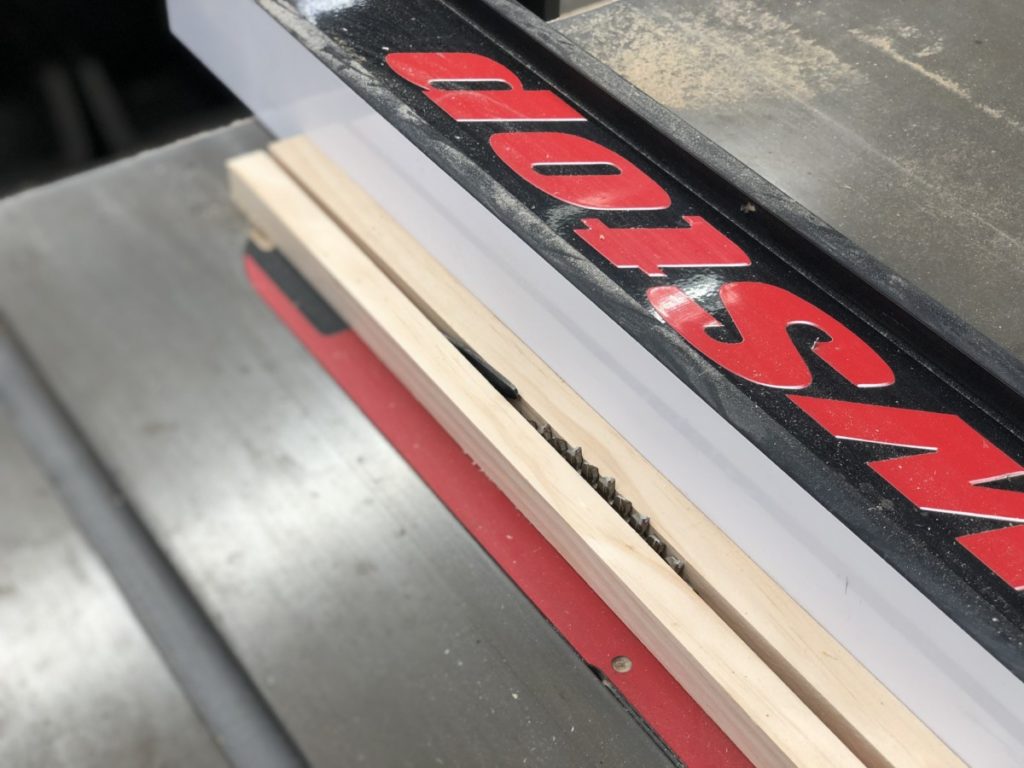
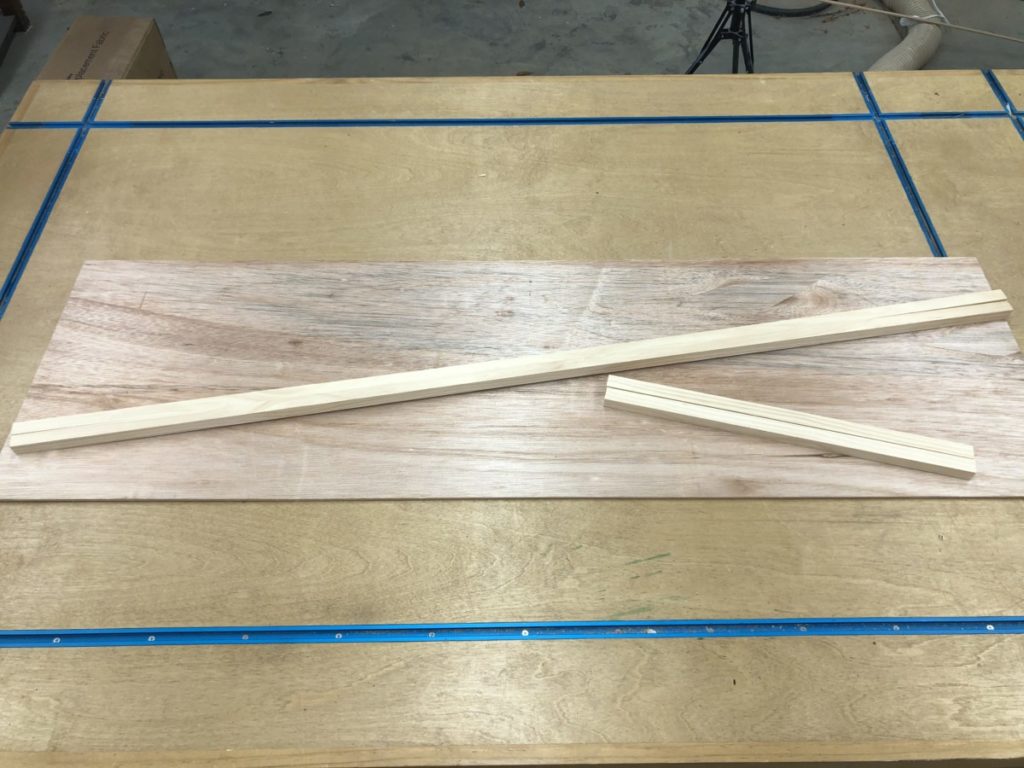
When working in a camper/ R.V. the general premise is to keep it lightweight! This headboard would be ultra light weight, starting with the frame. To start I ripped 1×2 board in half, essentially making two square dowel rods.
Once the “dowel rods” were prepped I was ready to cut everything to size. When creating your own headboard cut a piece of 1/4″ paneling to the exact dimensions you would like your complete head board to be. Next cut the dowel rods to create a perimeter around your board.
In order to stabilize the drill pocket holes on either end the small side rails.
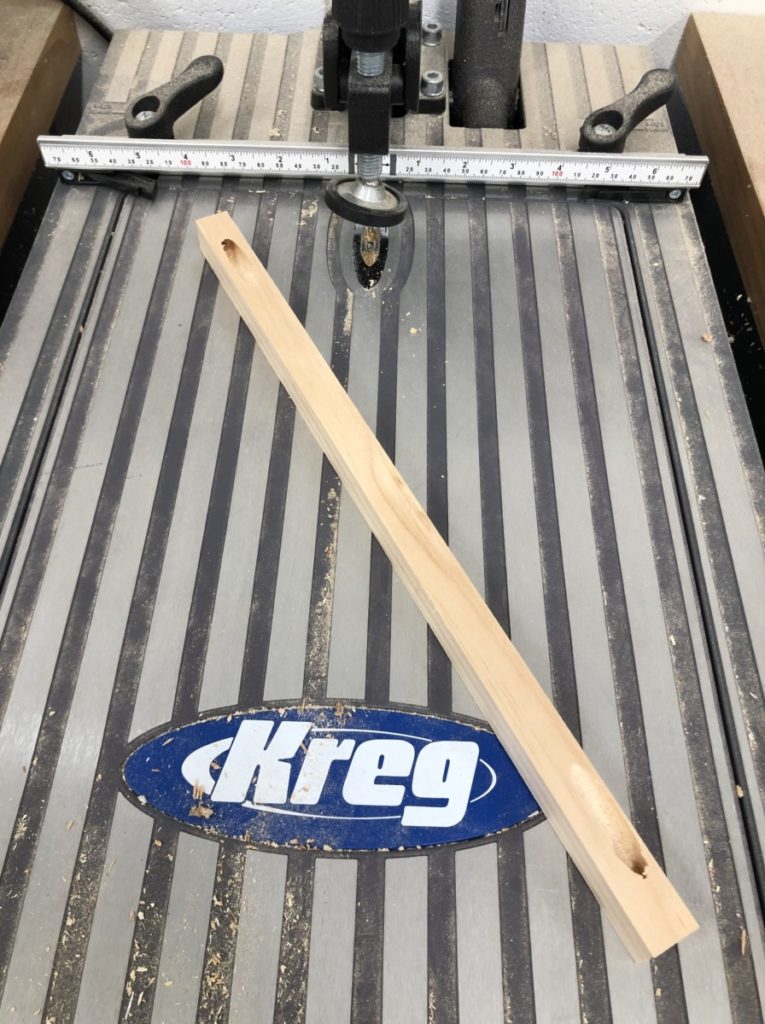
Using pocket hole screws secure boards to create a sturdy rectangle. (This should be the exact size of your paneling.)
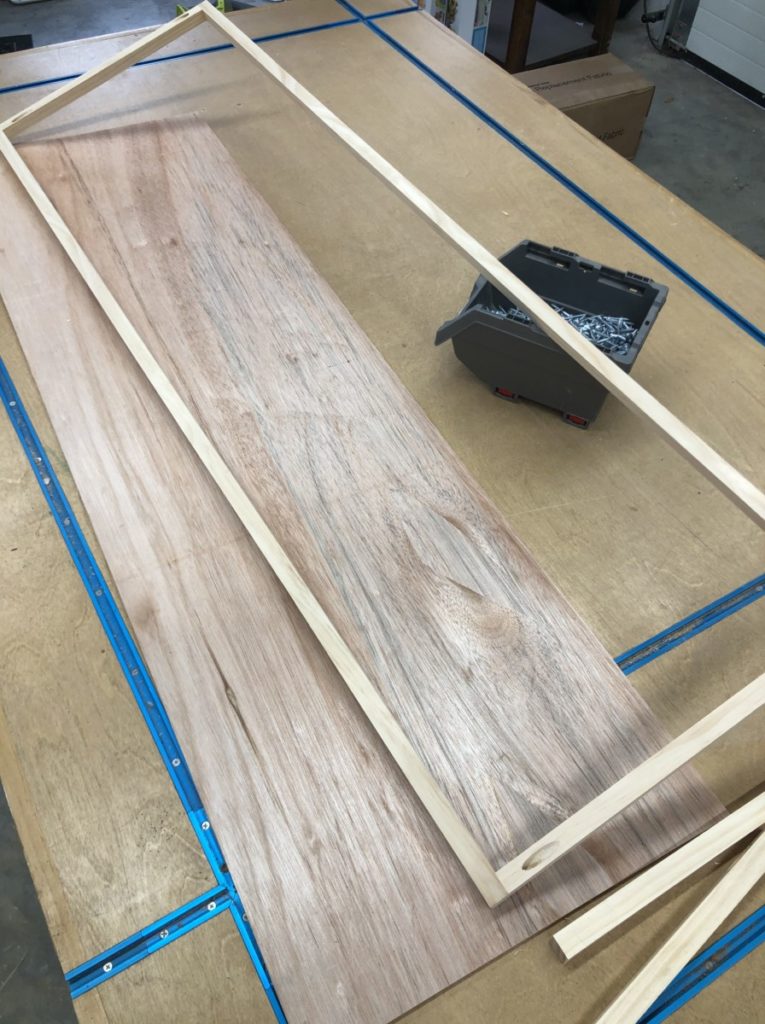
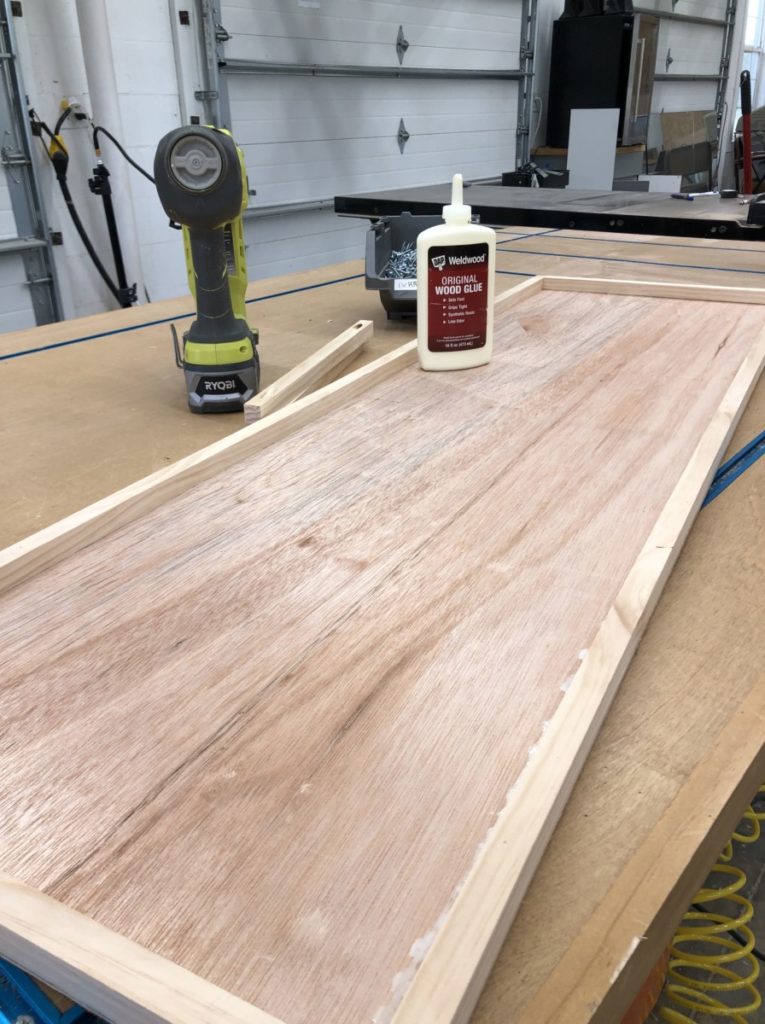
Add a bead of DAP Wood Glue glue to the top of the newly constructed frame. Then flip the frame over on top of the 1/4″ wood paneling. You can either clamp it and allow the wood to cure, or you can tack it in place using a nailer for an instant hold.
Foam Padding
Once the simple frame structure is constructed we are ready to move on to the textile portion of this project! For this “upholstery” headboard I utilized a cheap foam mattress topper pad (Walmart), a painters drop cloth, (x2) leather straps (Amazon), and brass twist locks (Amazon).
Begin by unrolling the foam pad and allow it to relax for a few minutes.
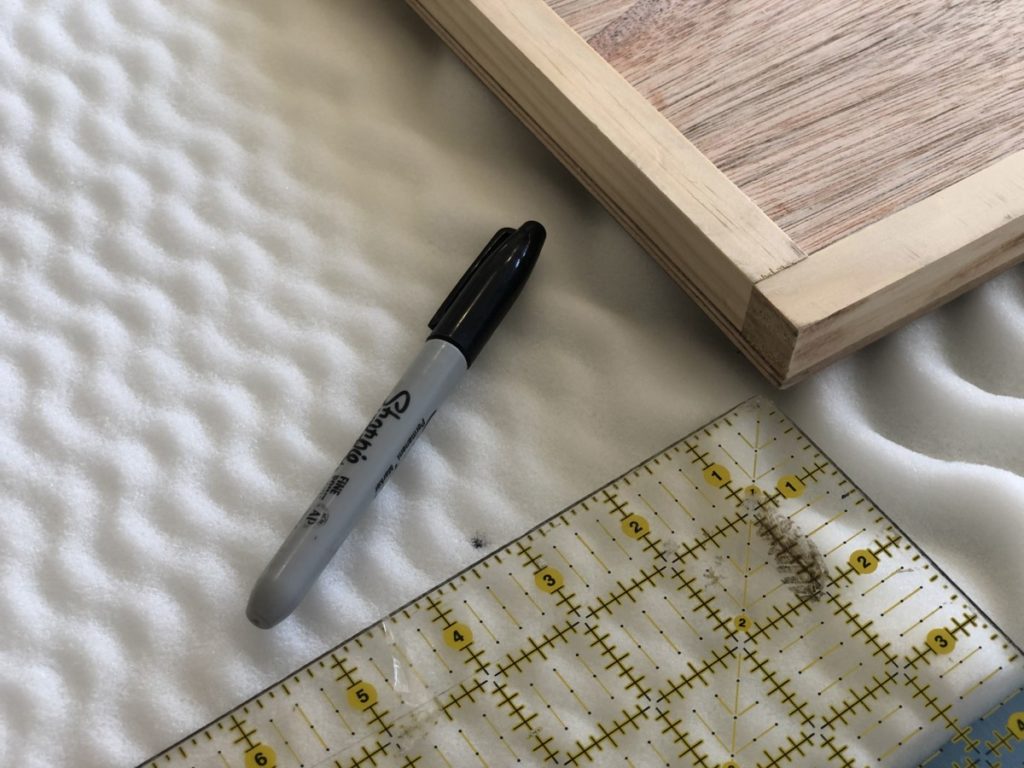
Next we will prep to cut off the excess material. Using a ruler and a sharpie mark a 3″ border around the perimeter of the headboard frame.
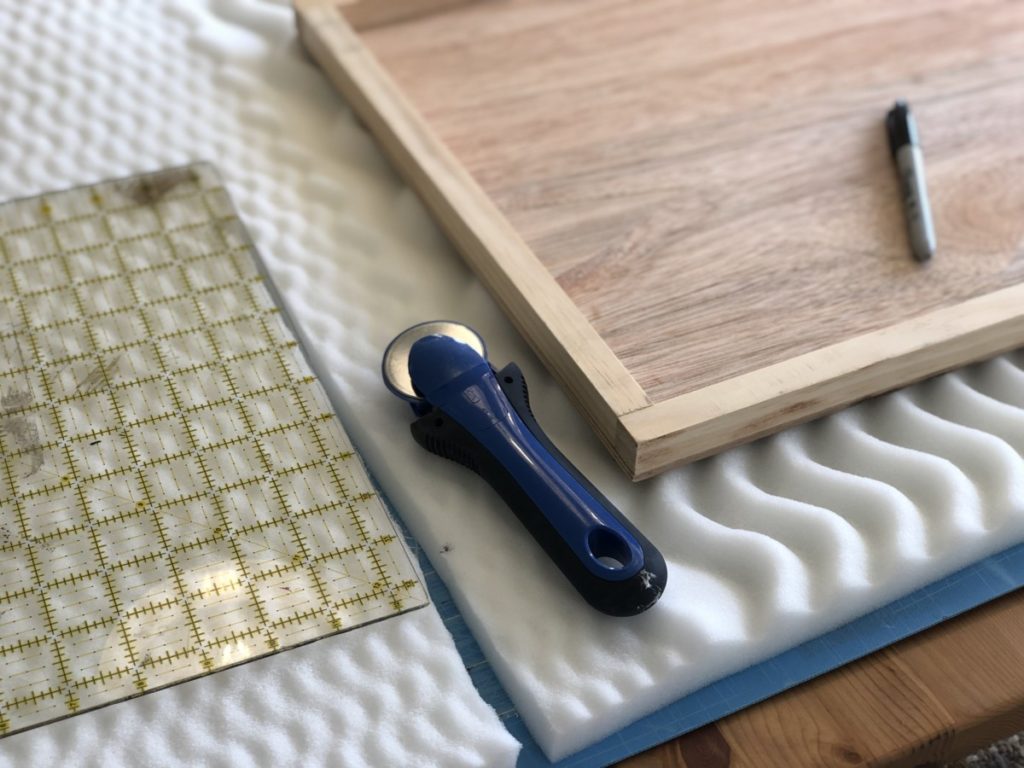
Using a rotary cutter, straight edge and cutting mat, remove the excess material using the previously marked dimensions.
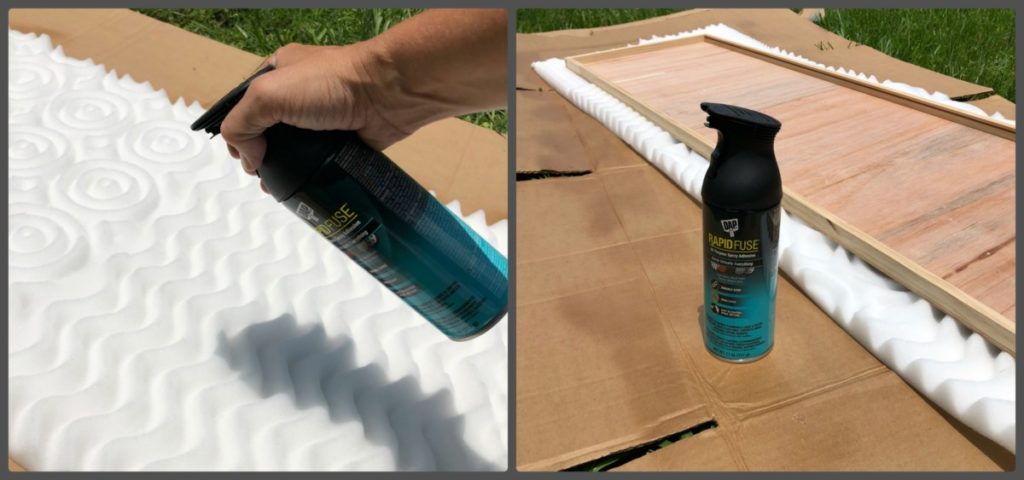
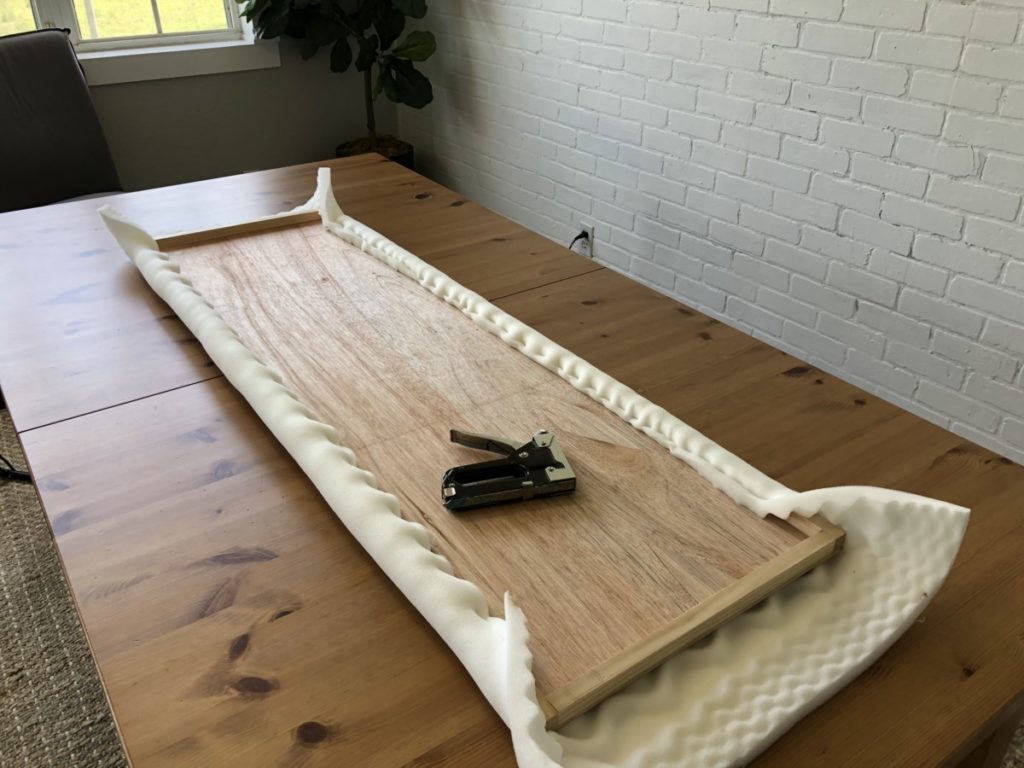
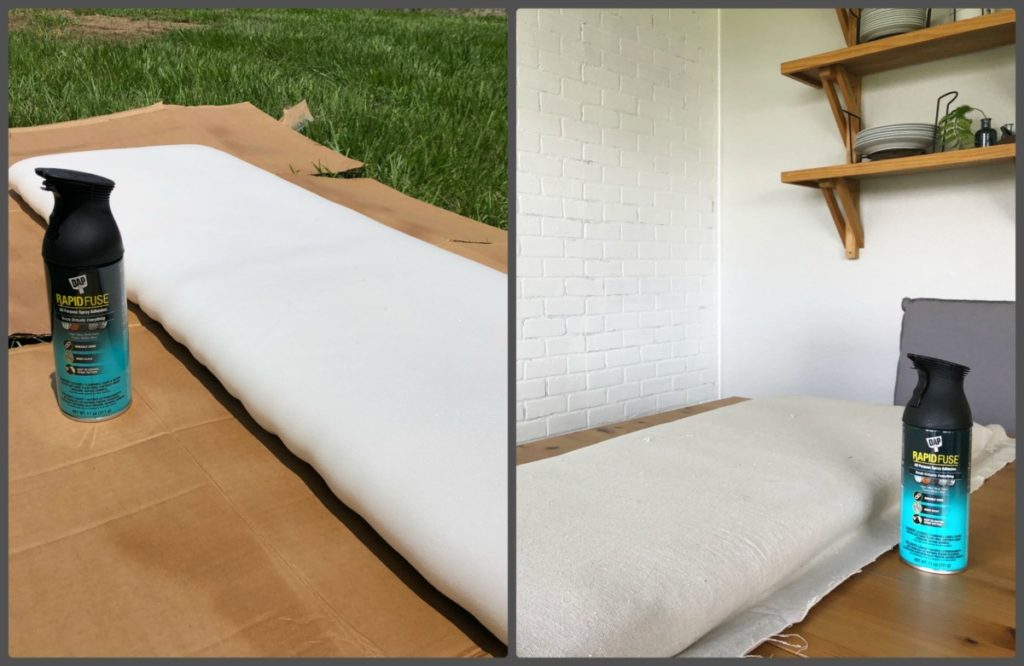
Alright, let’s move this area to a well ventilated location. I like to use DAP multi-purpose spray adhesive to give me a leg up when it coms to upholstering projects. Lightly coat the back of the foam with RapidFuse multi-purpose spray, then position the headboard frame centered on the foam and press firmly. This will keep the foam from shifting as you work and help keep it is place even after it is upholstered.
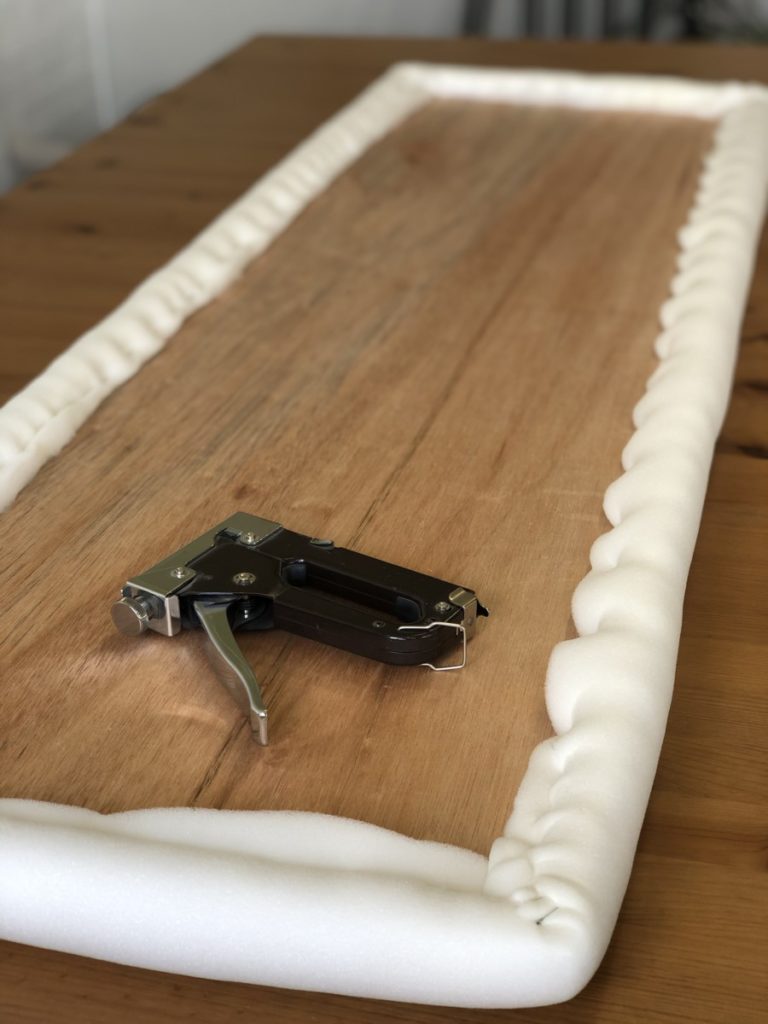
Next? Secure that sucker with ALL the staples. on a project like this I can easily use a lightweight upholstery staple.
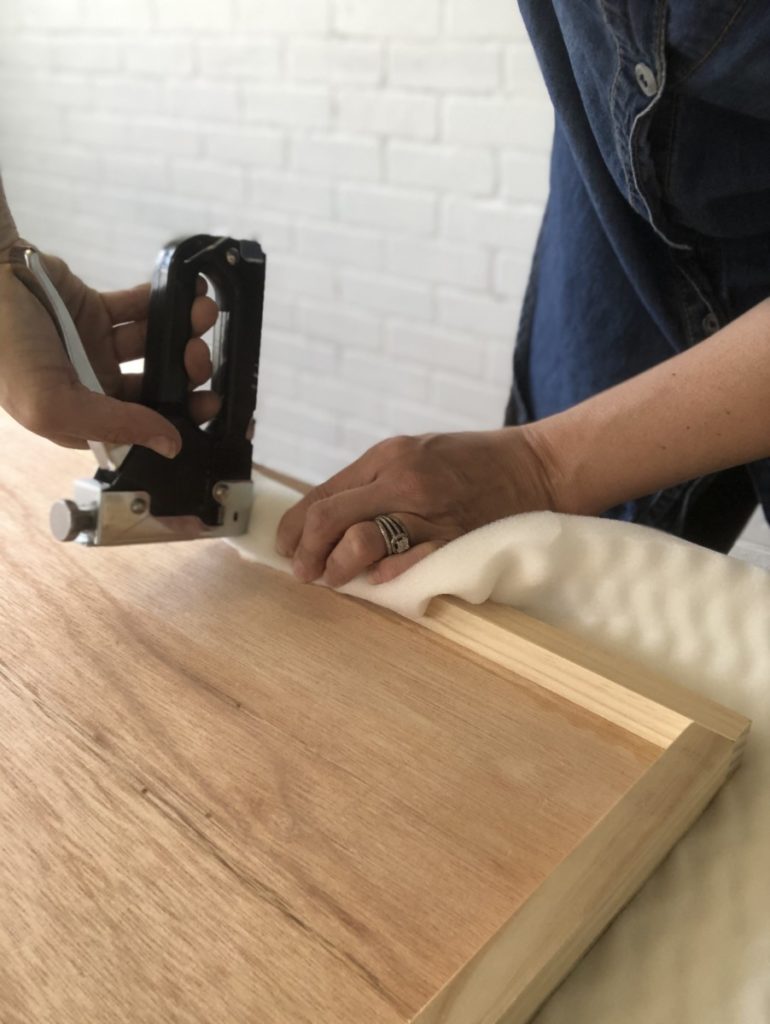
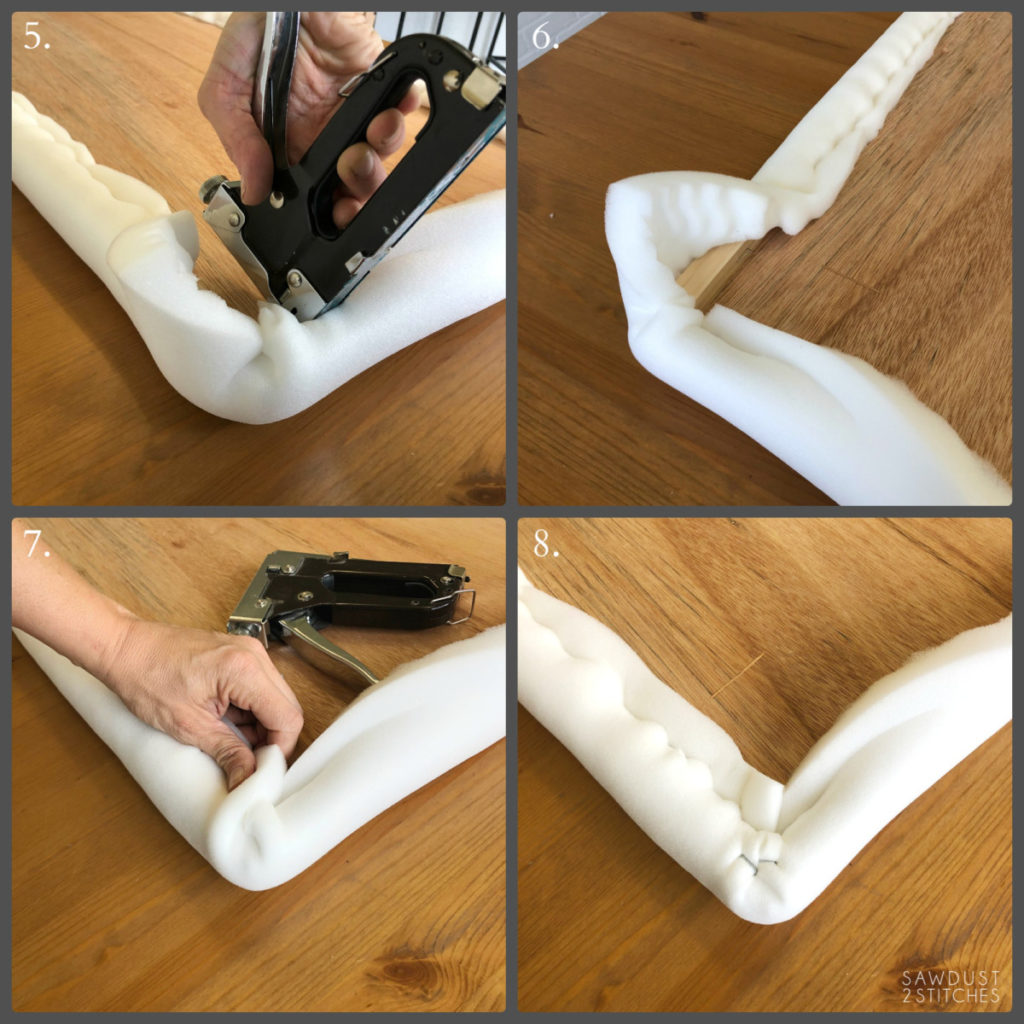
Using the stapler secure the foam to frame along both long edges.
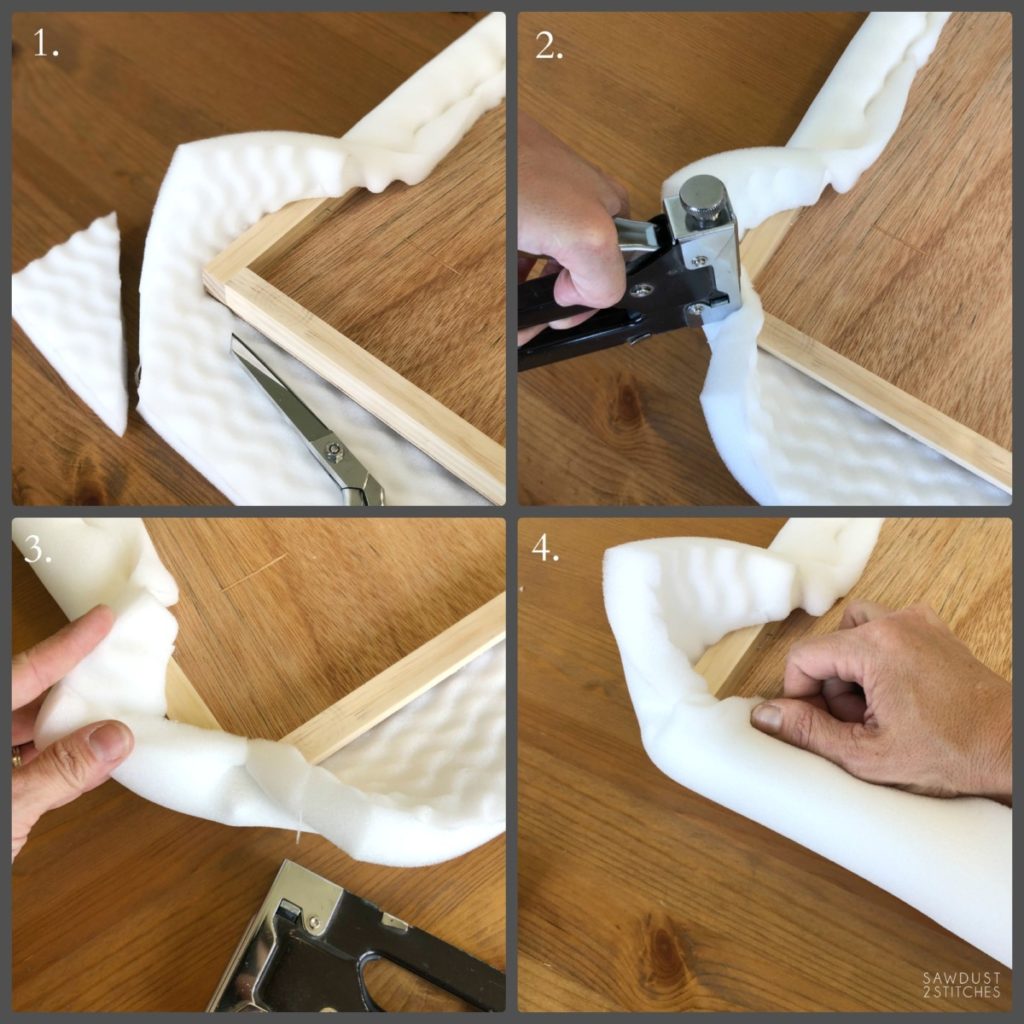
Creating a nice corner with foam can be a little tricky. Use the below images to see my preferred method.
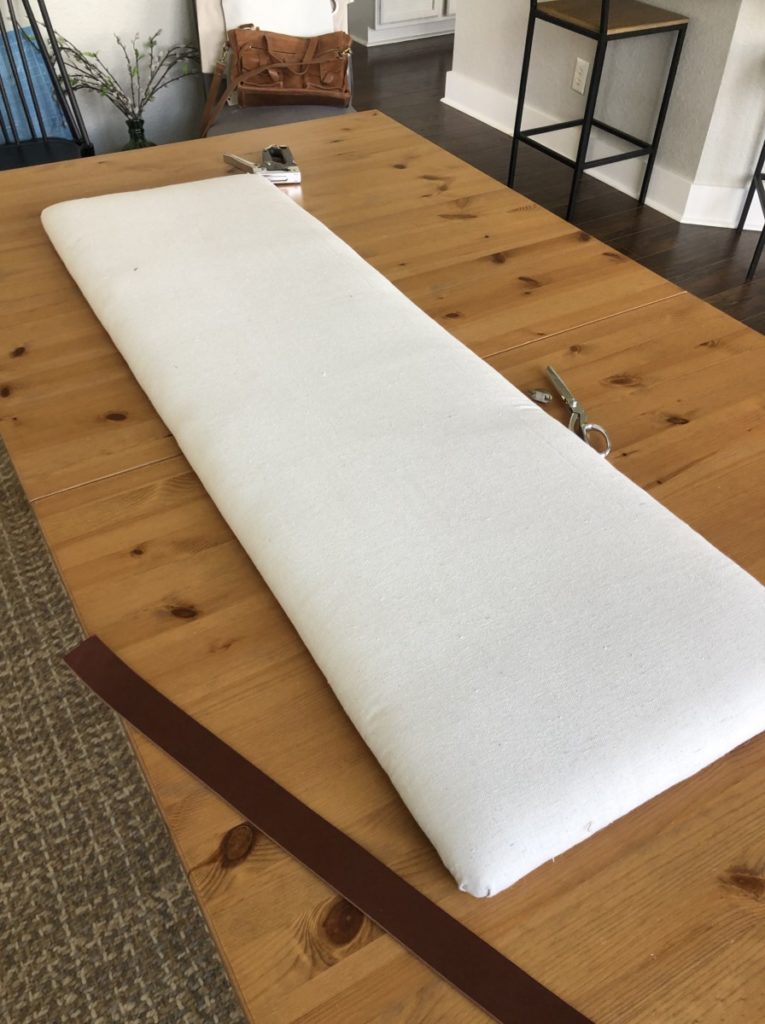
Applying Fabric
Once the foam is in place we are ready to move on to the fabric. It is essentially the same process for applying the foam. To start cut your fabric so that you have an additional 4″ of fabric on all sides. (Take the width dimension and add 8, and take your length dimension and add 8. This will be the size of your piece of fabric.) Once it is cut set it aside.
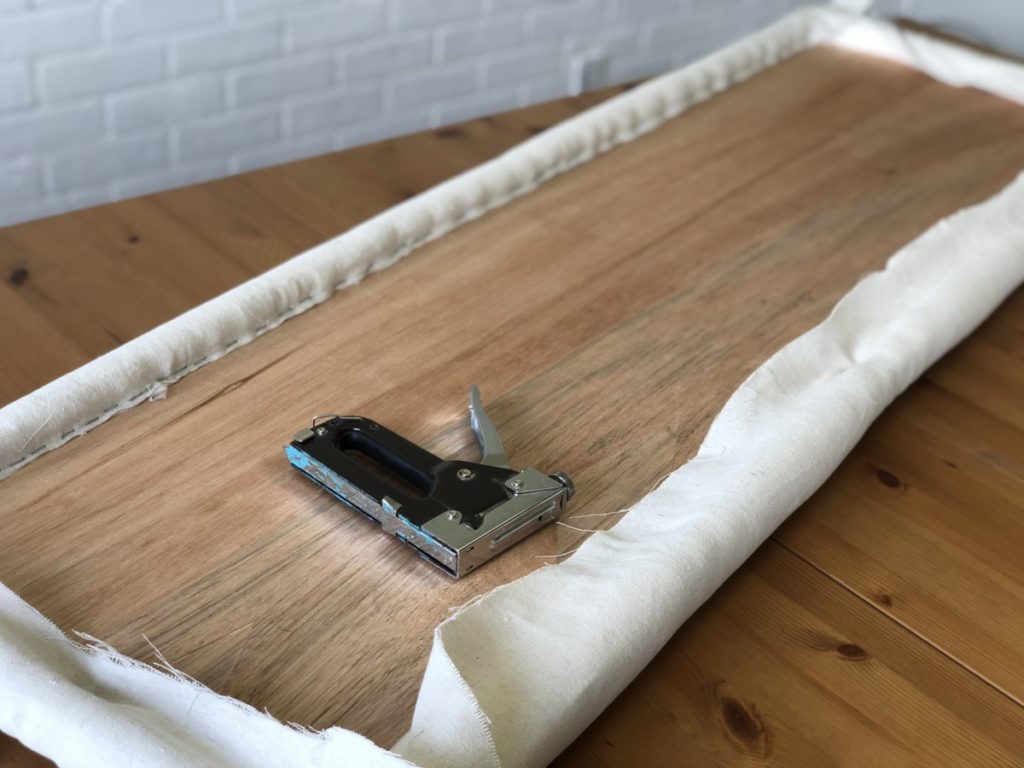
Again, I like to use my DAP RapidFuse spray adhesive when upholstering. Just lightly dust the foam form with the adhesive spray. Then lightly lay your fabric on top of your cushion doing your best to keep it square. Once you are happy with the placement smooth the fabric out over the form.
Then flip over and secure the fabric to the back of the frame using the upholstery stapler. (If you have excess fabric you can easily cut it off with scissors if so desired.)
Ta-Da! Know it is time to give this bad boy some character!
Leather Straps
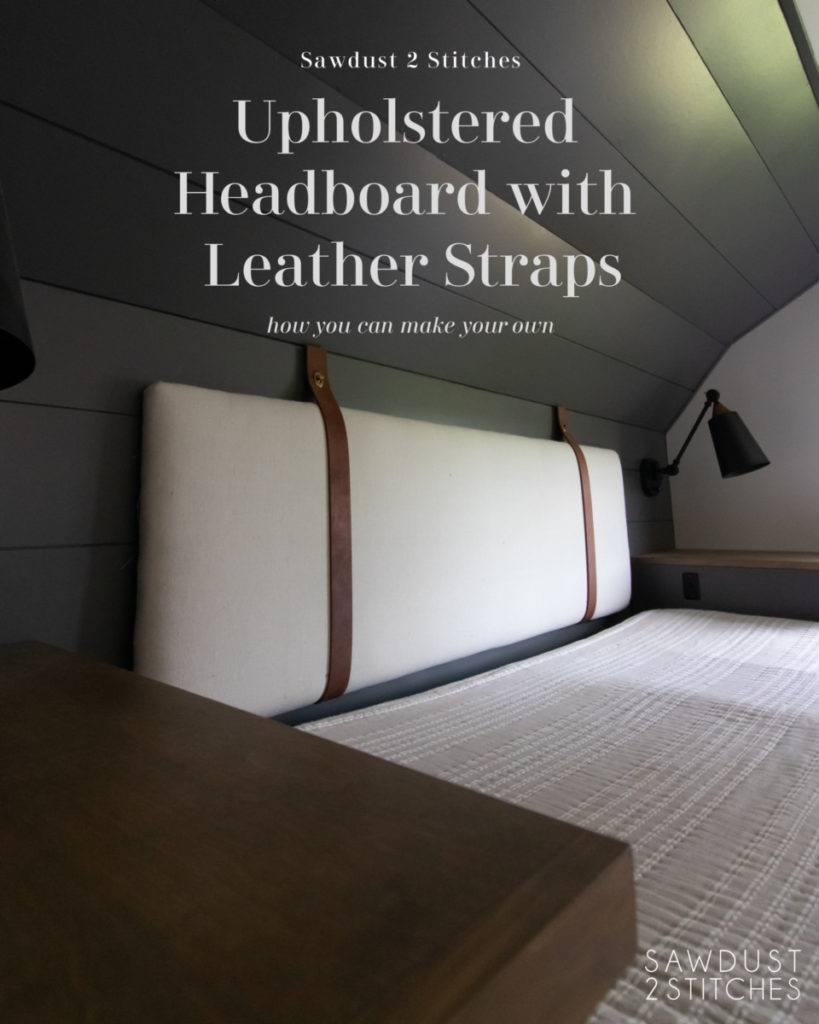
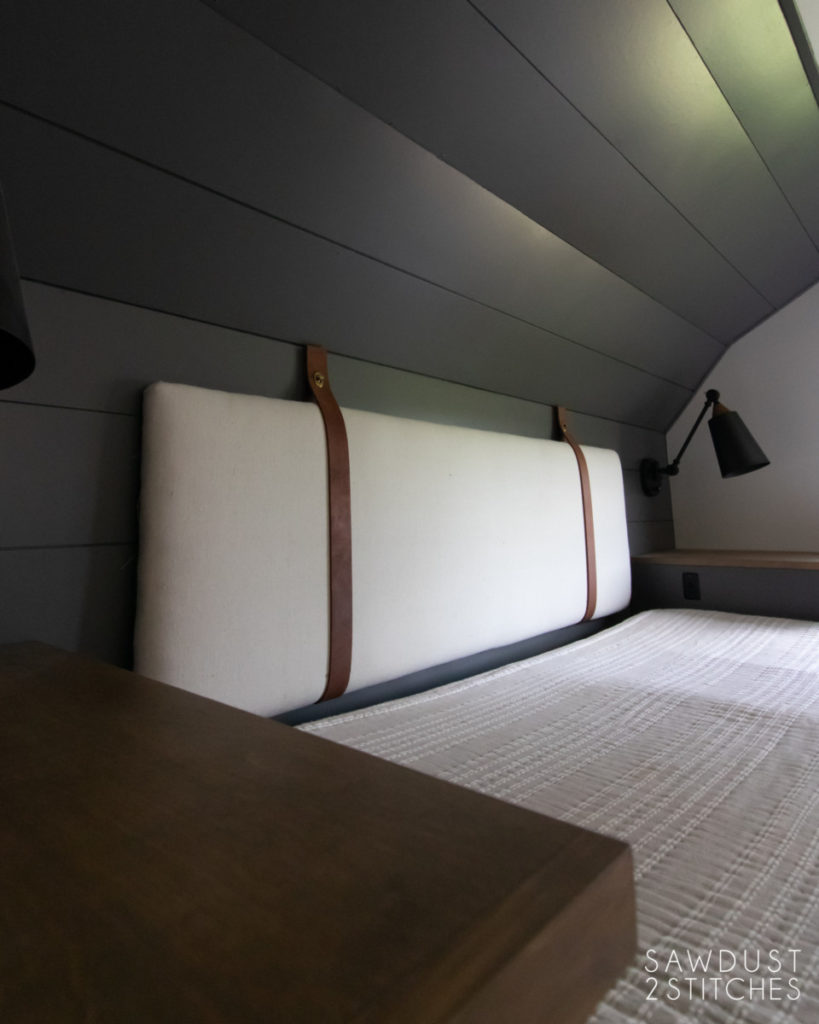
While a simple upholstered headboard is a classic, I was feeling the need for some pizzazz! I recently finished up the curtains in the living room and I loved the style of the leather straps. I used the look and recreated the look on a larger scale. Leather and brass!
The plan was use two leather strips to secure the upholstered headboard to the wall, while also giving it tons of character. In order to determine the length of my leather strap I used the following formula. (Height of headboard x2, + 8″) The additional 8″ will allow for an extra 4″ on each end of the strap allowing space for the brass twist lock closure.

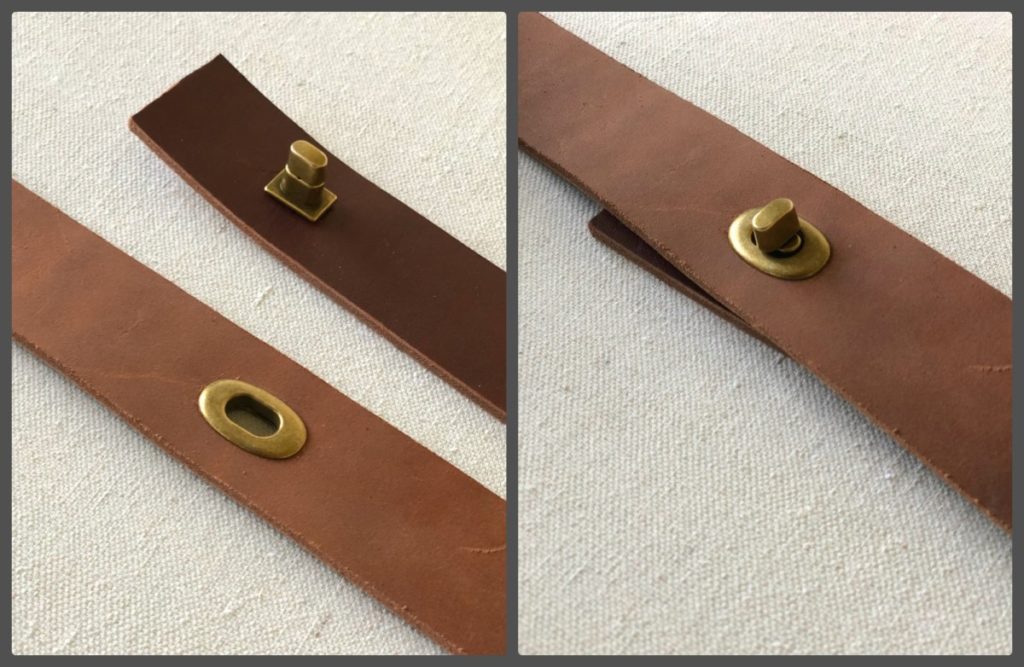
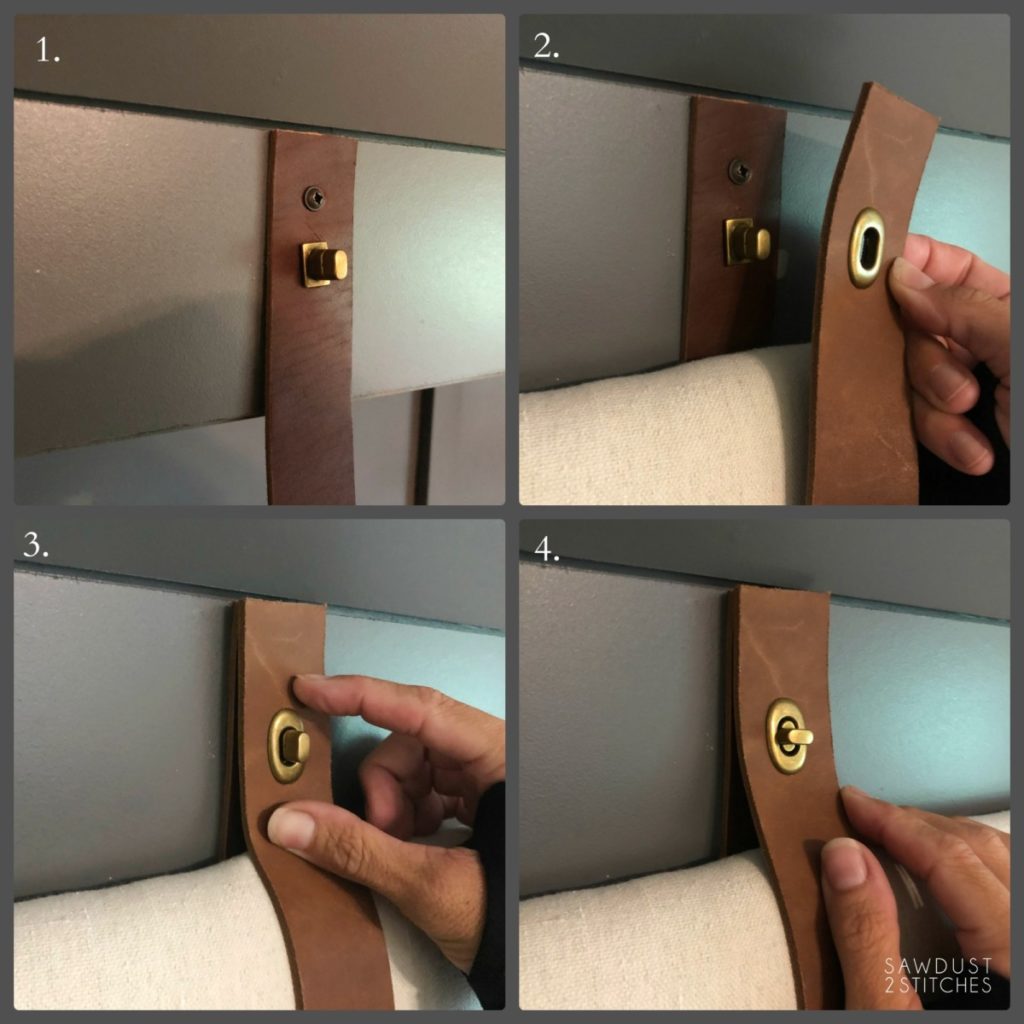
Most clasps will come with their own set of instructions. Please consult them, but this is a basic overview. I centered my closure approximately 2″ down from the top of my strap. I used a forstner bit and an x-acto knife to form the proper size hole in the leather allowing me to install the brass closure opening.
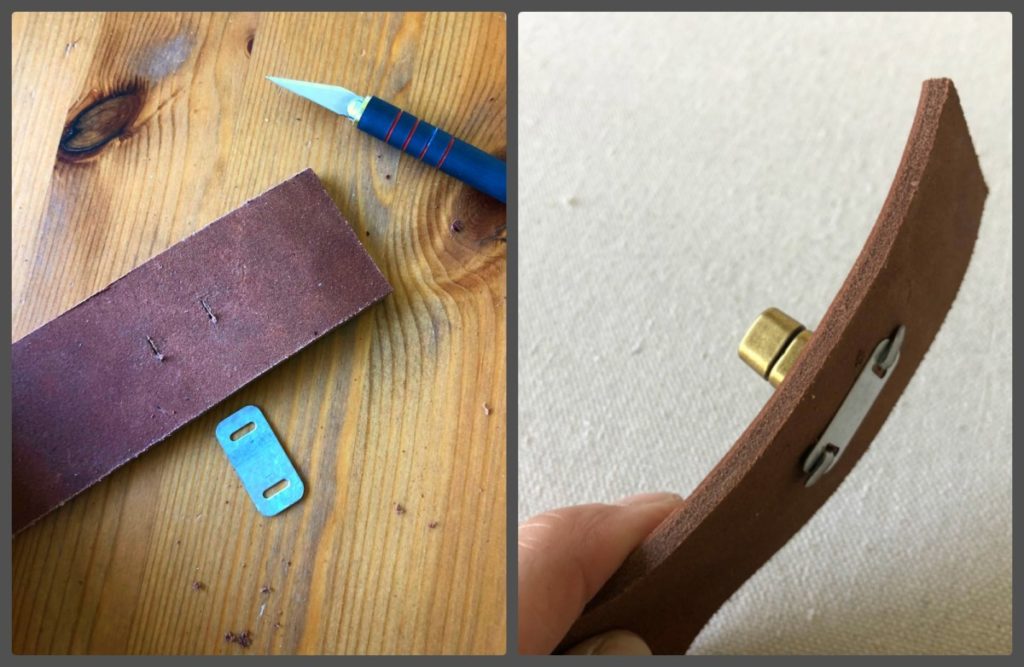
Installing the twist lock mechanism is very simple. It is just two small incisions, then feed the metal prongs through and fan out. Easy-peasy.
Installation
Begin by marking where you would like your straps to be situated on the headboard. (Mine are placed approximately 12″ from each edge.) Next, find the middle/center of the leather strap. Using a 1/2″ screw, drive the screw through the strap and into the bottom frame of your headboard.
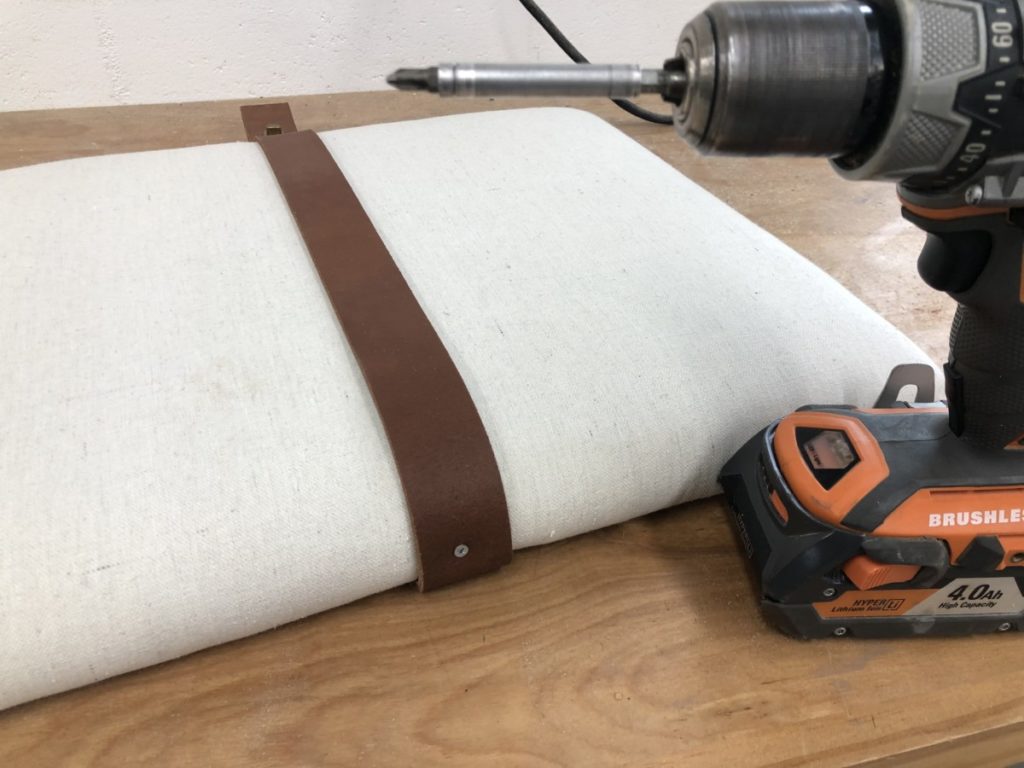
The headboard is designed to be extremely light weight and as such will not require much by way of install. I used 2 screws placing them slightly above closure on the back strap. I would highly recommend these go into a secure stud or utilize mollies.

Once the screws are in place you can latch the top strap to the back. This will complete the installation process while also hiding the screws!
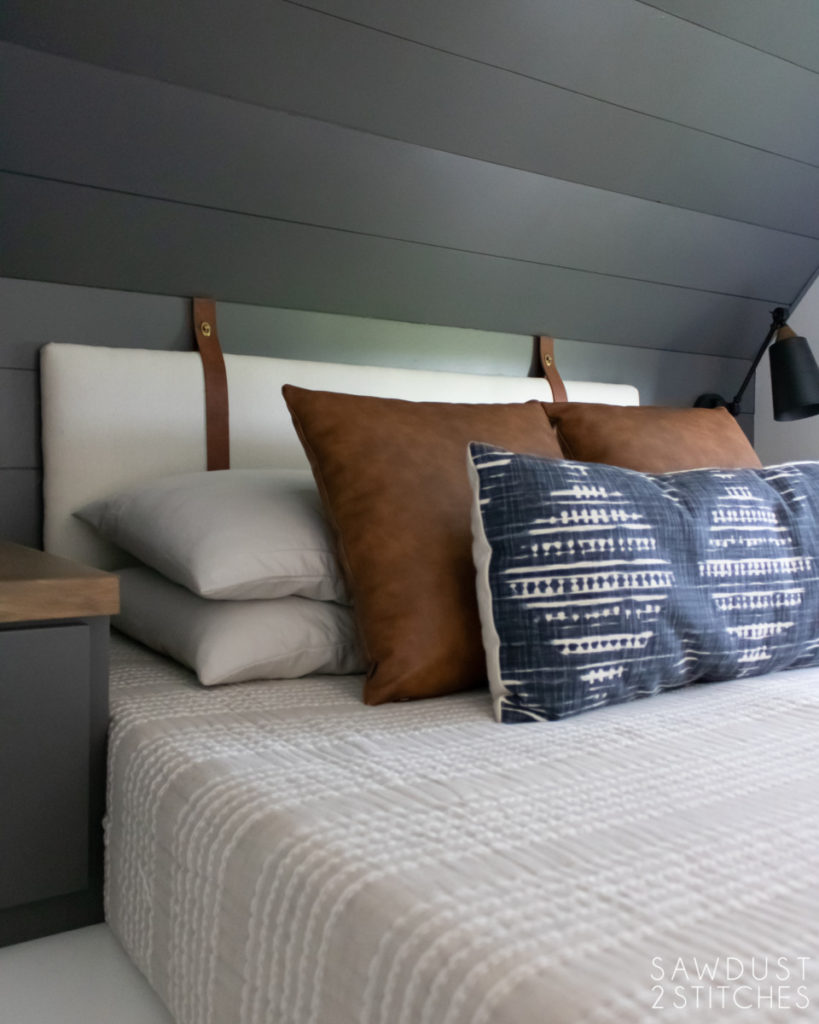
That’s all there is to it! A simple elegant piece that is not only cheap and practical, it totally completes this space! Stay tuned for the full room reveal!
Want to see more R.V. projects? You can can check out all the progress and projects here:
- Toy Hauler Kitchen Makeover
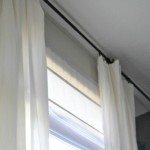
- R.V. Curtains Tutorial
- Toy Hauler Living Area Makeover
- R.V. Reveal
- R.V. Bathroom Makeover
That about wraps it up for this project! Thanks so much for following along.
Take Luck,
Corey